|
|
Post by florida70bee on Jun 29, 2015 20:58:37 GMT -5
Hi Everyone. I guess you can call me an open wheel modeling newbie and I am in the process of building my vintage AMT Parnelli Jones 1963 Indy roadster. Now I realize that most of you seen this car built a million times before but hopefully its got enough of my touches to keep the build interesting to you all. I have posted these pictures on other forums but it was suggested a couple of other members to bring the progress pictures here in case some of you have not seen them. Anyway back to the build . I am using the updated resin nosecone, resin tires, and vacu-formed windshield, and decals I got from Indycals. My work shows constructing the chassis, lots of body work (still not complete) and scratch-building the front of the Offenhouser engine to remove the awful molded in starter yoke and make the AMT kit engine more realistic. Attached in these next bunches of posts are progress pictures I have thus far. 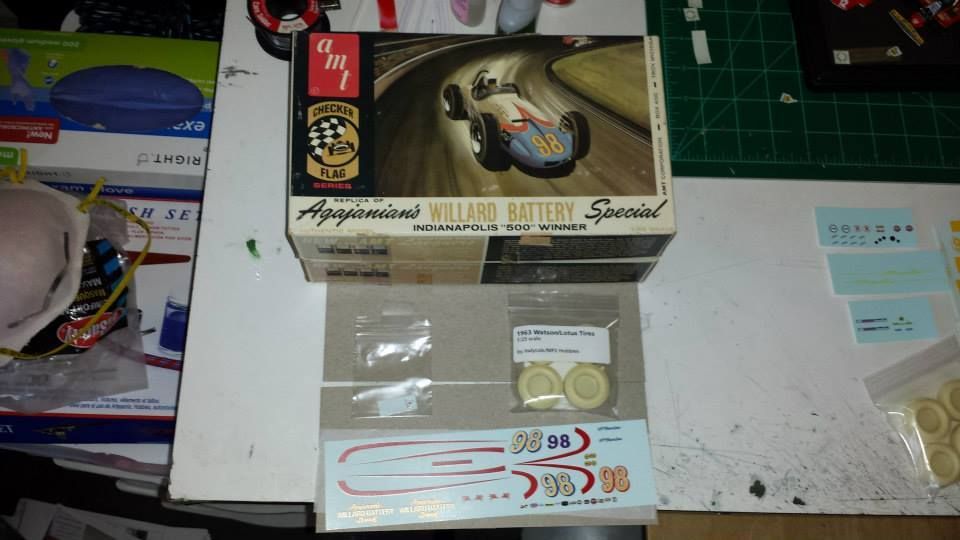 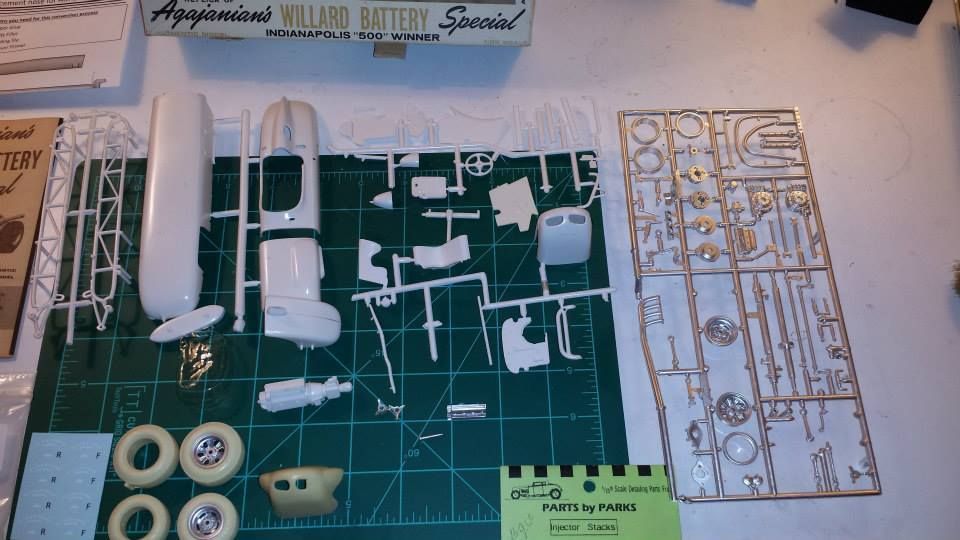 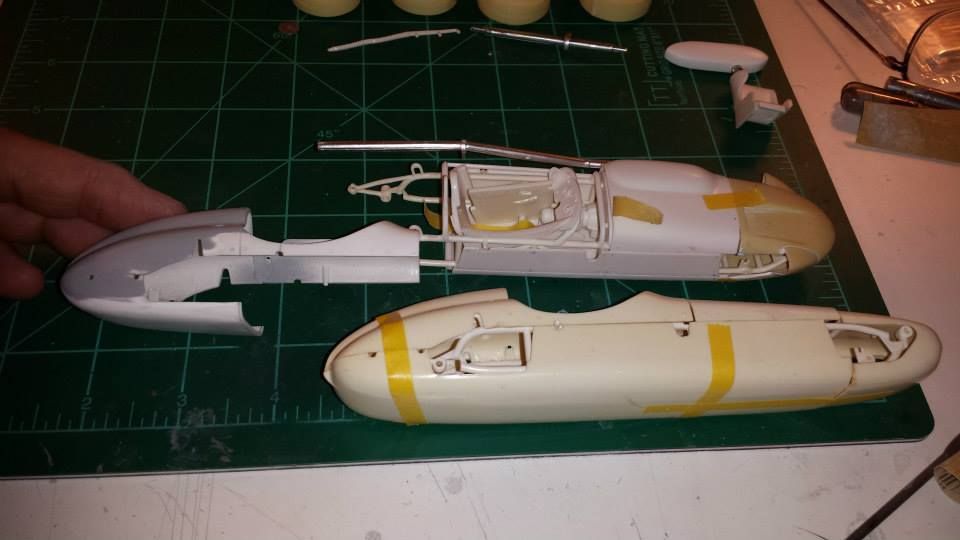 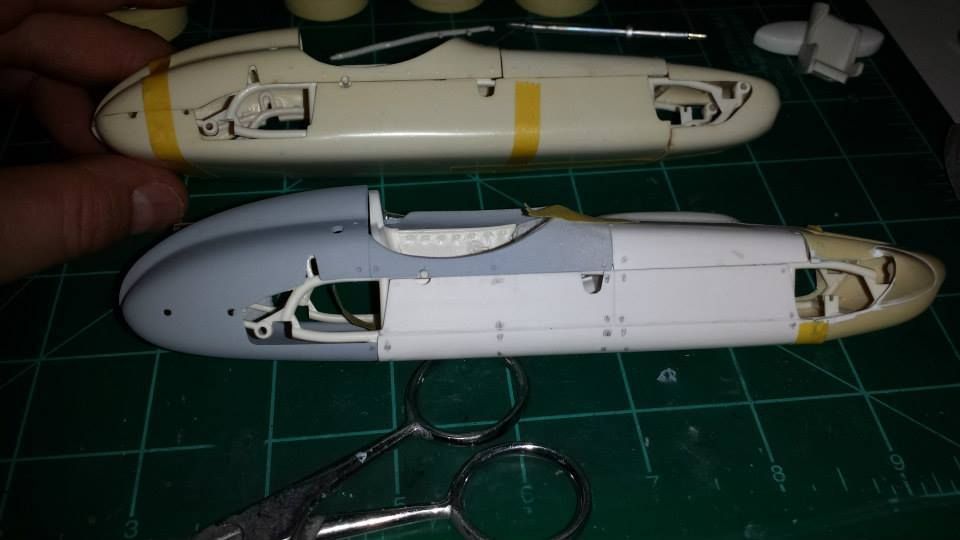 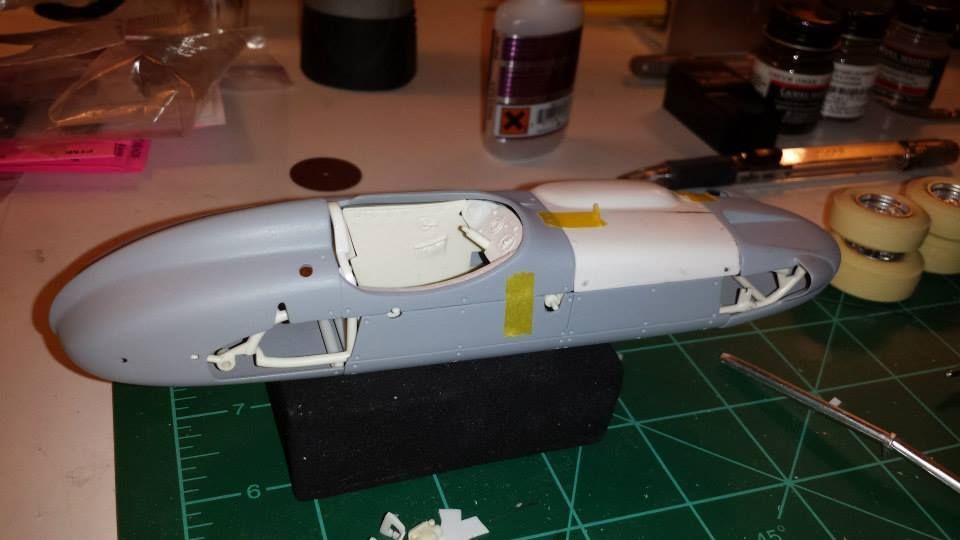 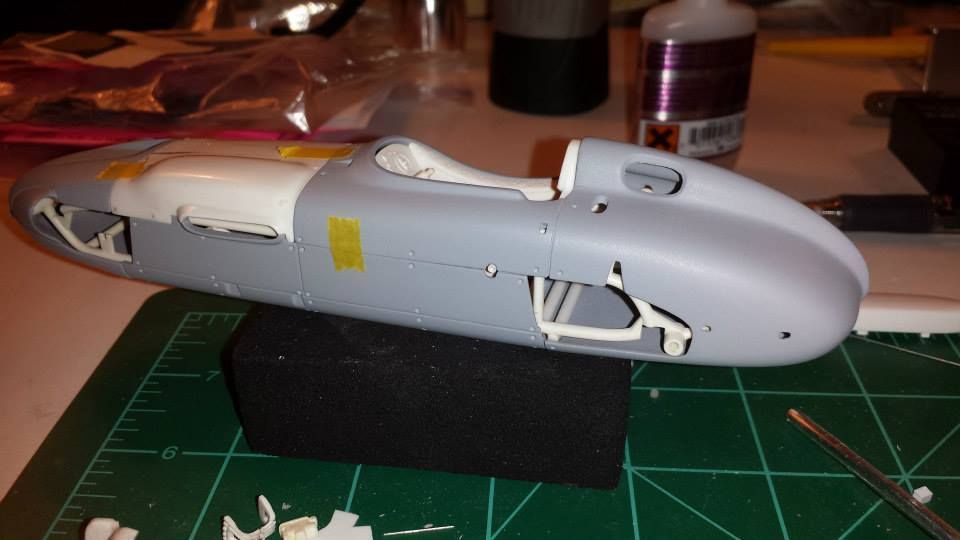 |
|
|
|
Post by florida70bee on Jun 29, 2015 21:00:27 GMT -5
Couple of pictures of the scratch building on the front of the Offenhouser kit engine. 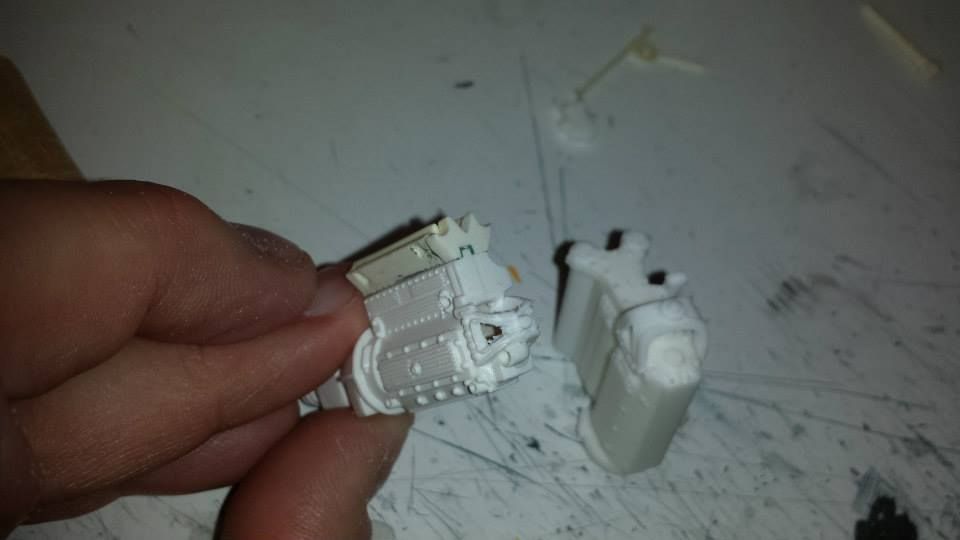 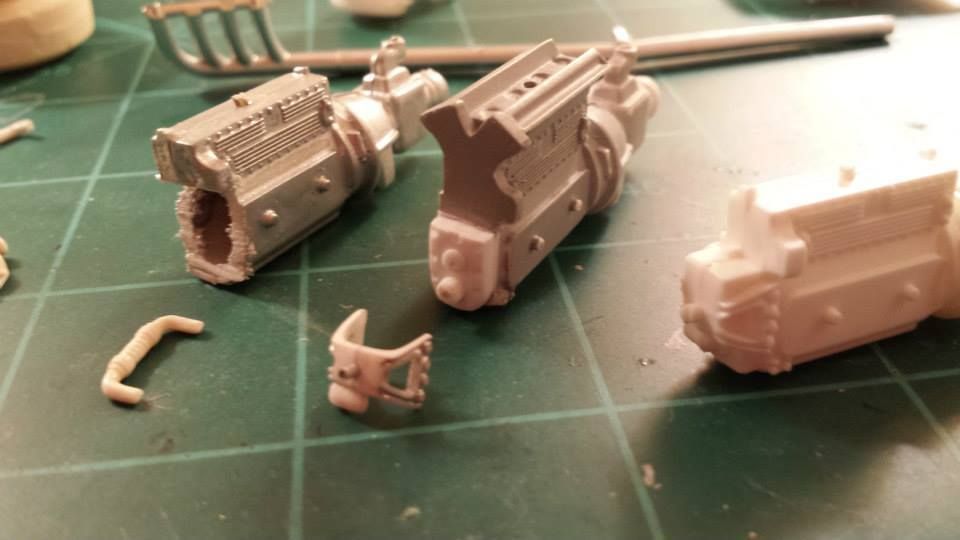 |
|
|
|
Post by florida70bee on Jun 29, 2015 21:01:43 GMT -5
Here are a couple of more pictures showing the work I did on the Offenhouser kit engine when compared to an unmodified engine.. 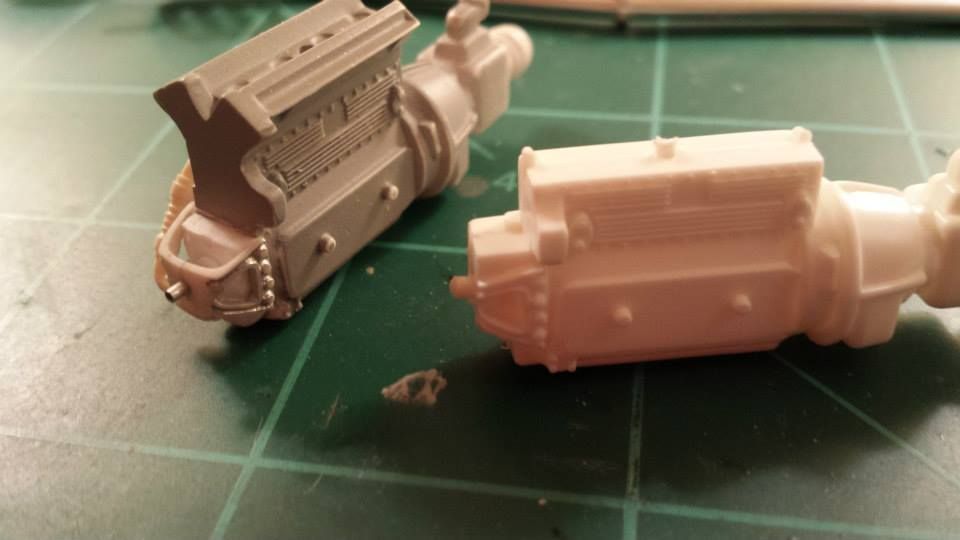 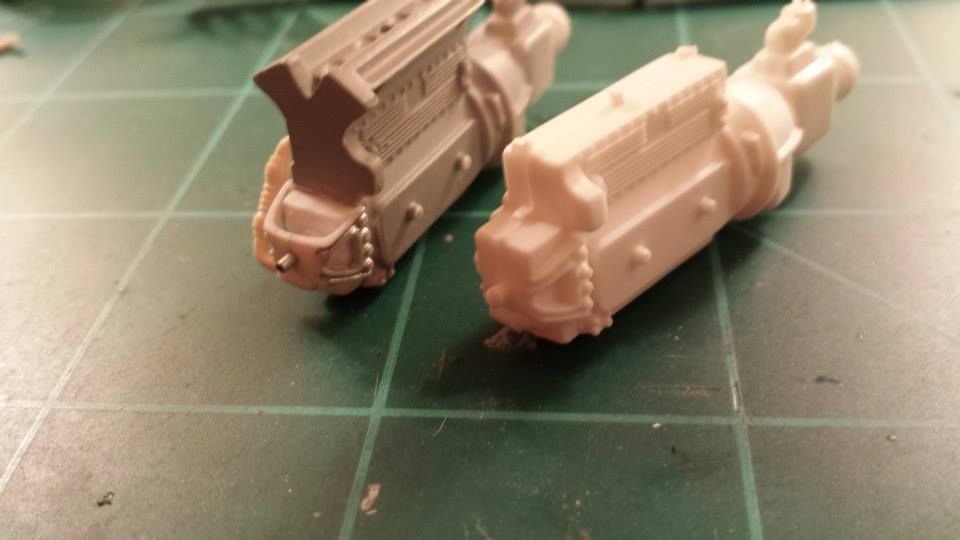 |
|
|
|
Post by florida70bee on Jun 29, 2015 21:03:27 GMT -5
|
|
|
|
Post by florida70bee on Jun 29, 2015 21:04:04 GMT -5
|
|
|
|
Post by florida70bee on Jun 29, 2015 21:04:32 GMT -5
|
|
|
|
Post by florida70bee on Jun 29, 2015 21:05:00 GMT -5
|
|
|
|
Post by florida70bee on Jun 29, 2015 21:05:39 GMT -5
|
|
|
|
Post by florida70bee on Jun 29, 2015 21:07:07 GMT -5
More pictures building and detailing suspension parts, radiator, dashboard, interior, firewall, installation of the engine, oil lines, fuel lines and installation of the front suspension. .......... Got a tip from another builder of this kit that the right side offset is way too much in this kit. So I cut a 1/16 of an inch from the right side to make the offset more like the real car. 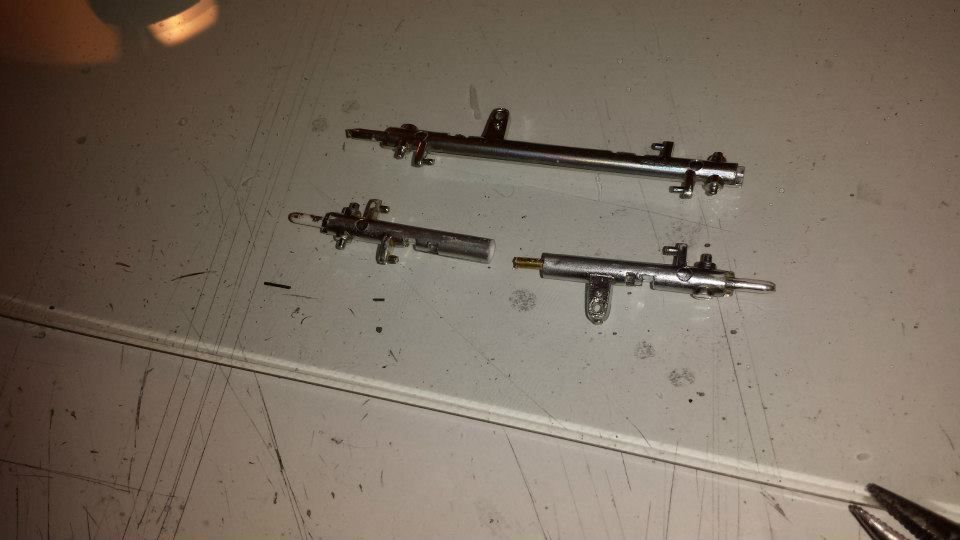 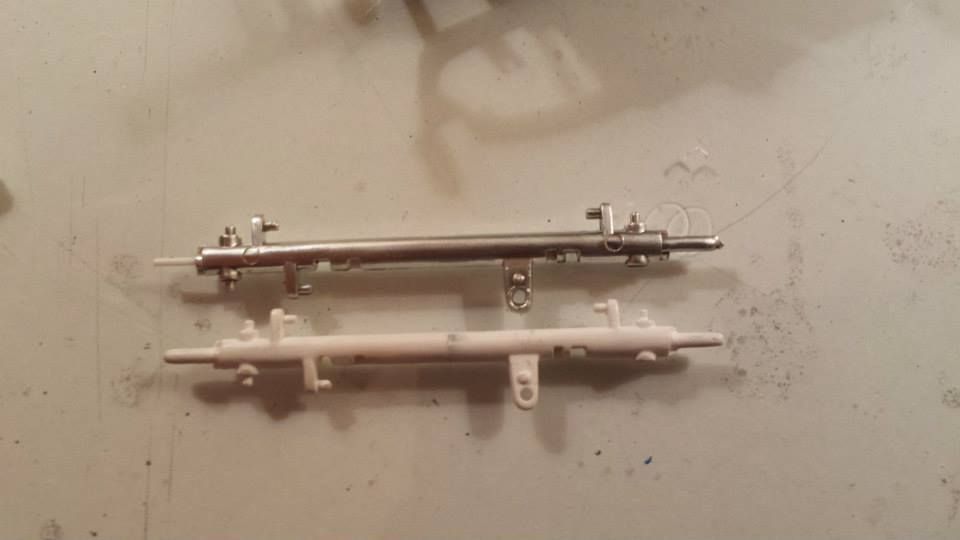 Next group of pics I tackled one of the most boring aspect of any build for me.. And that is the time consuming process of removing all the flash sink marks and nasty mold lines from all the small parts. Most of these parts were were chromed in the kit so I used the chrome as kind like a guide paint to show the mold lines and where to sand. Afterwards the part were dunked in straight chlorine bleach to remove any remaining plating. These parts are going to be repainted with Alclad chrome. 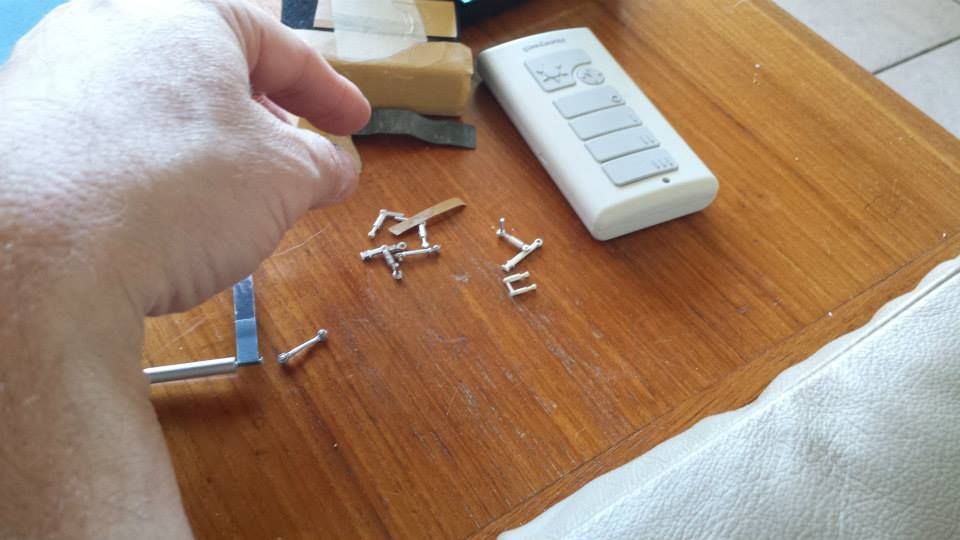 After sanding away the mold lines on some the suspension parts the tubing parts still did not look right so I decided to cut away the tubing portion of these parts and replaced them with Albion micro tubing 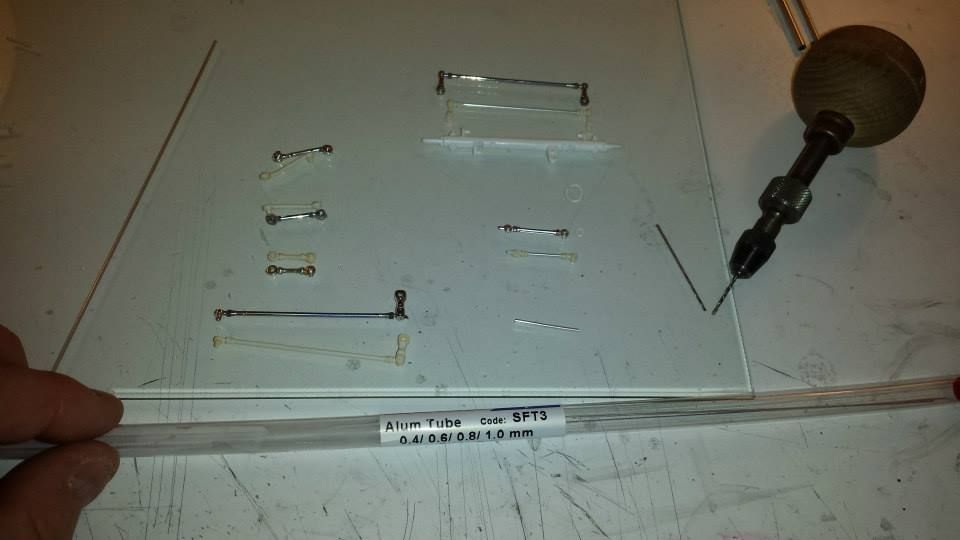 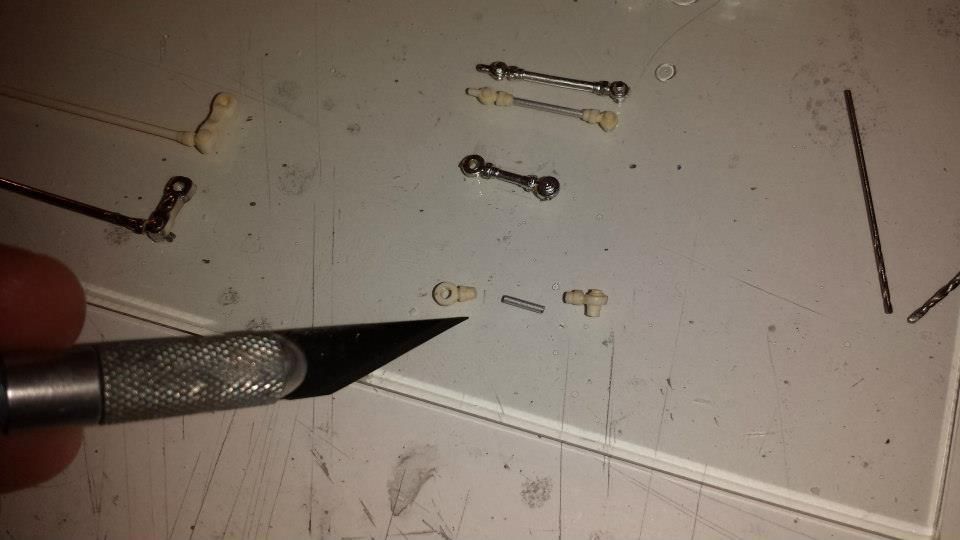 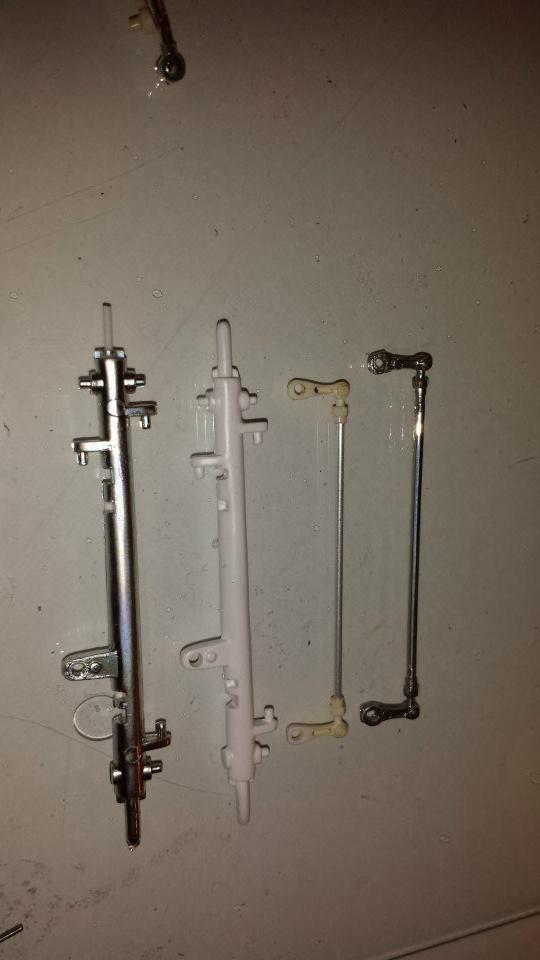 |
|
|
|
Post by florida70bee on Jun 29, 2015 21:07:29 GMT -5
Test fitting rear suspension with aluminum tubing replacements.. 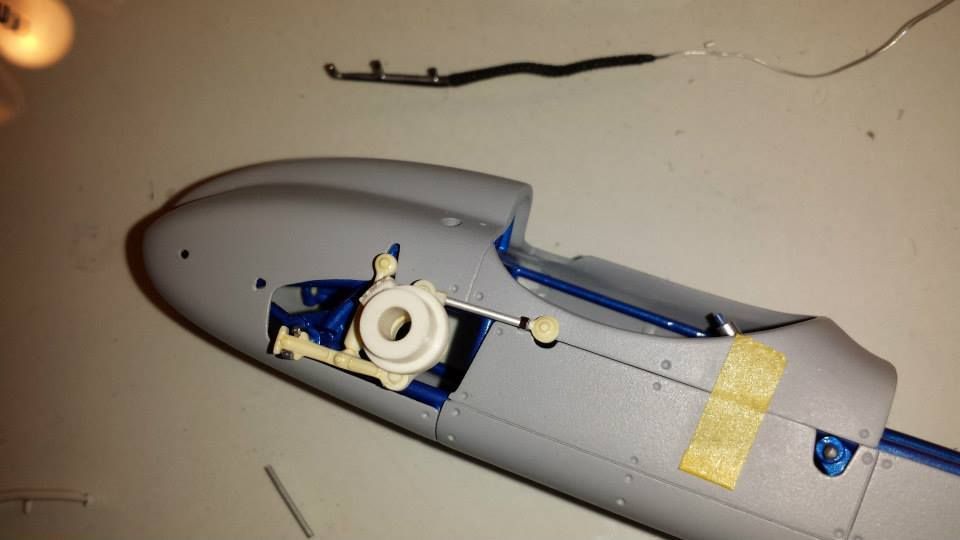 Parts being painted Alclad Base-Coat Black then either Chrome or Polished Aluminum 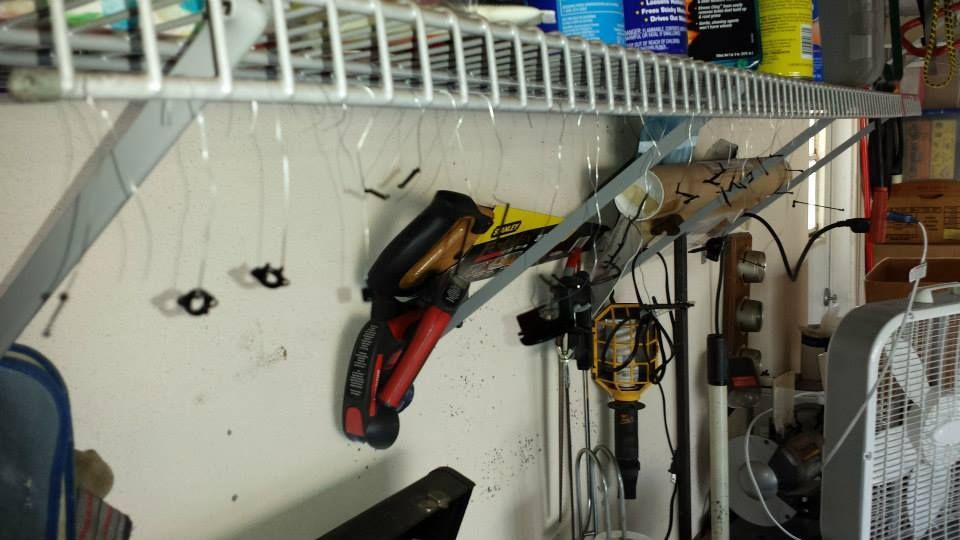 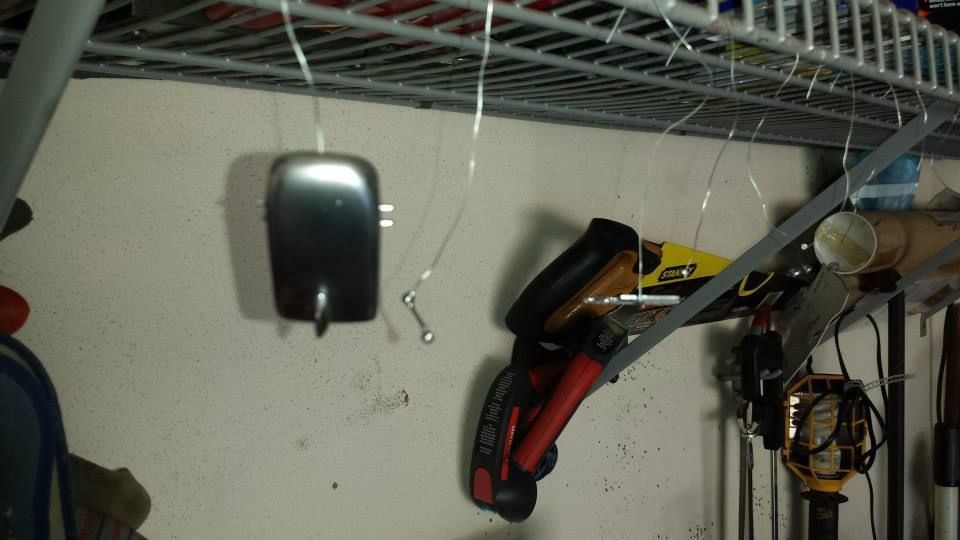 Parts laid out.. 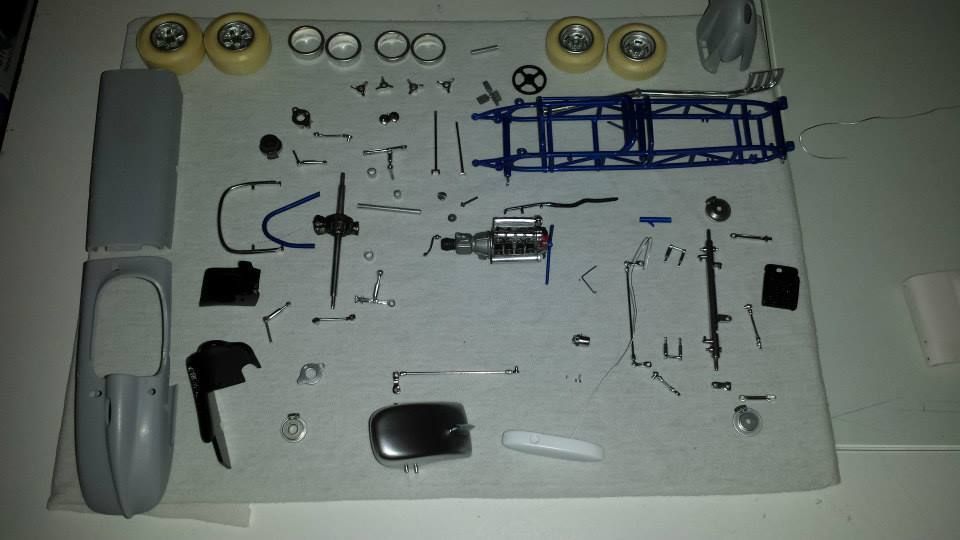 |
|
|
|
Post by florida70bee on Jun 29, 2015 21:08:06 GMT -5
Now my attention turned to the radiator and the nasty sink marks in the middle of radiator core. (The side that will show of course) To fix I needed anther radiator from a 2nd kit and a saw... 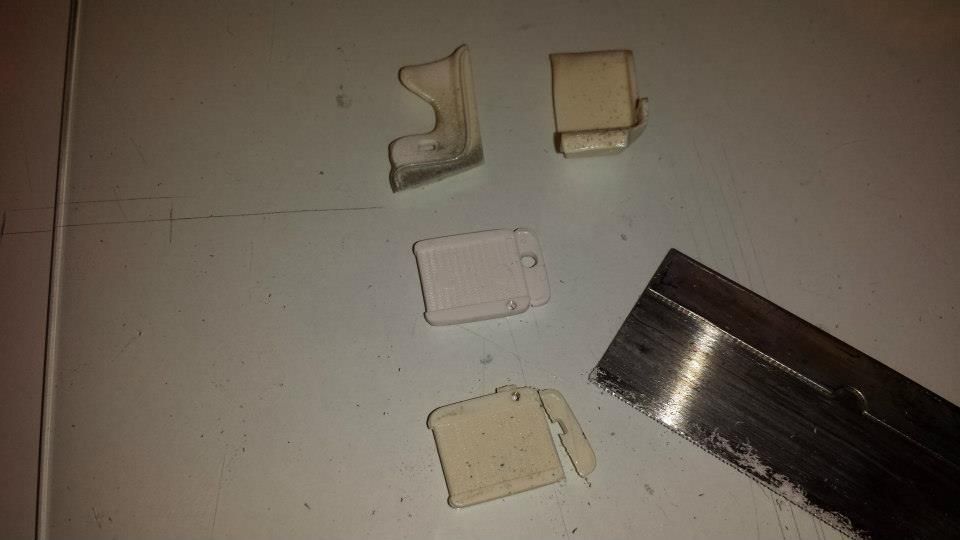 Sink mark cores are sanded away in the 1st radiator and the core from the 2nd radiator cut and sanded.. 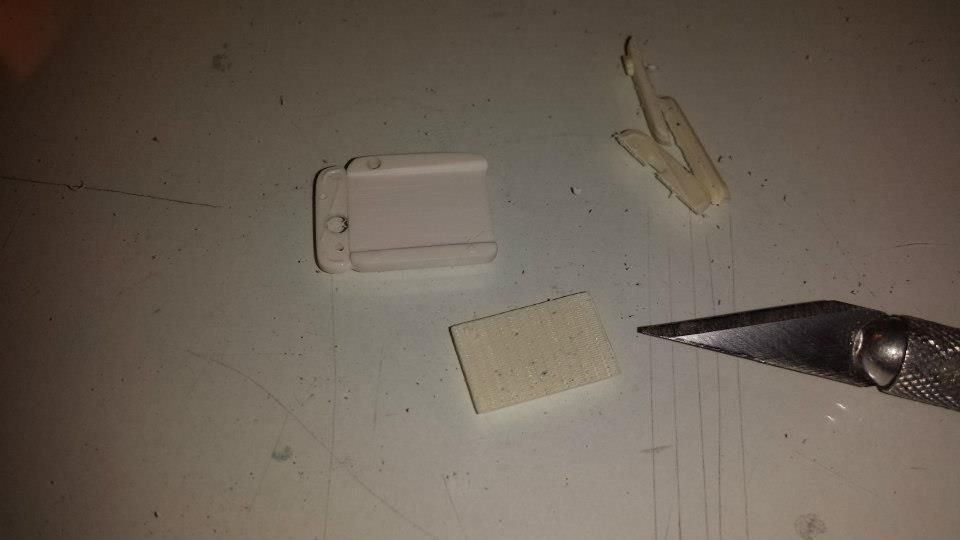 Core from 2nd radiator lays in the 1st radiator perfectly! No more sink marks! I also drill a hole for the starter tube and add upper and lower radiator hose inlets.. 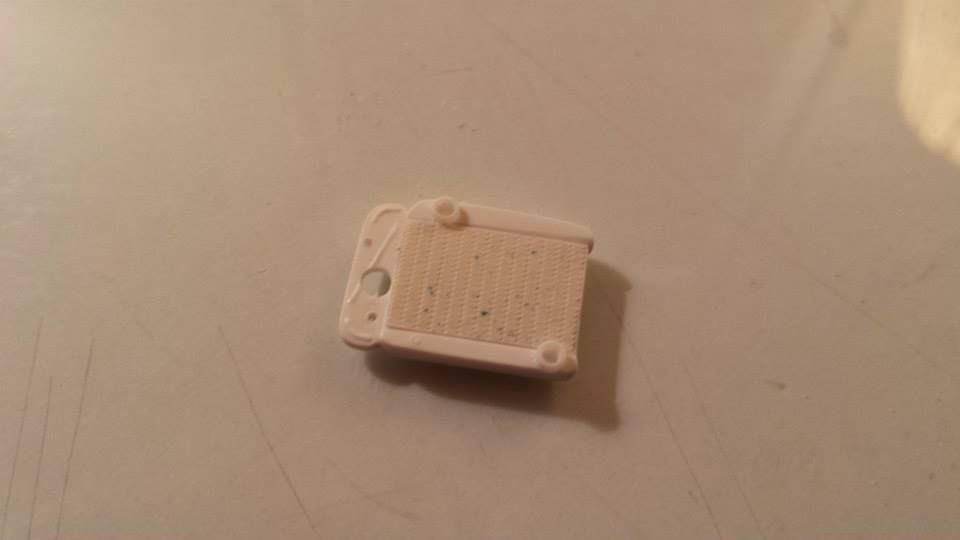 |
|
|
|
Post by florida70bee on Jun 29, 2015 21:08:36 GMT -5
Now I start detailing the dashboard (one of my favorite parts of any build). For this I'm going to use some Scale Hardware Stainless Steel 0.7 mm simulated Phillips head screws and some silver florist wire to simulate rivets for the gauges. 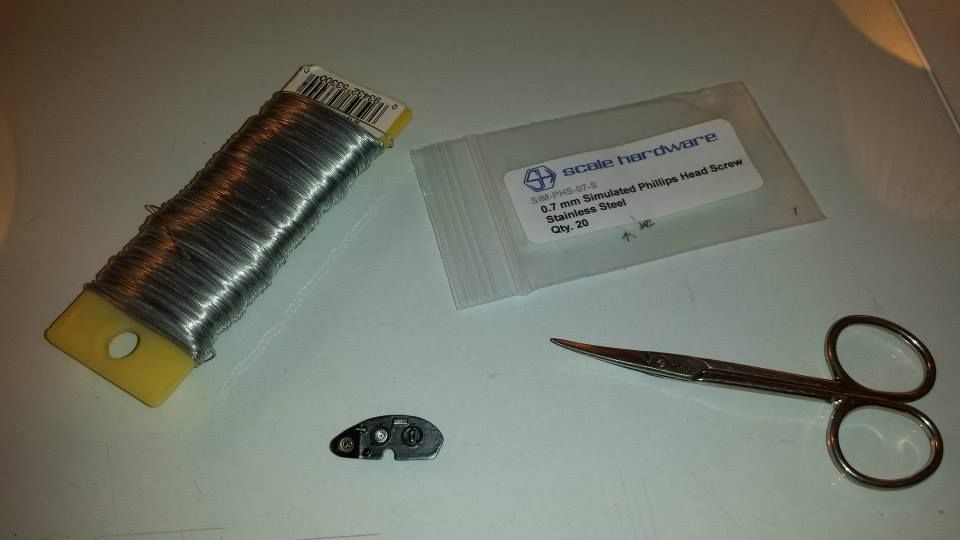 The micro Phillips head screws are installed.. 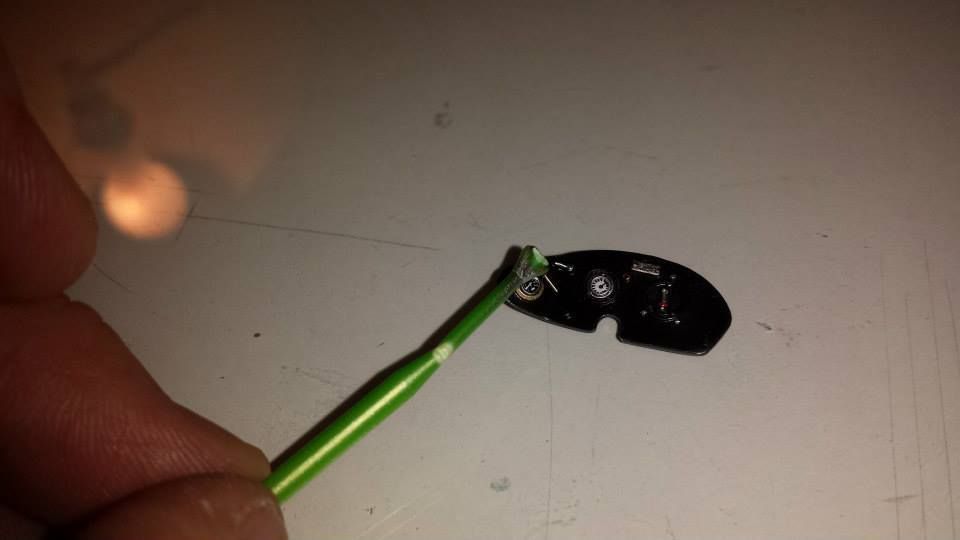 Then I used some decals for the gauges and then covered them with 5 min epoxy to simulate lenses..I also created a magneto toggle switch with some florist wire a little glue and some paint. 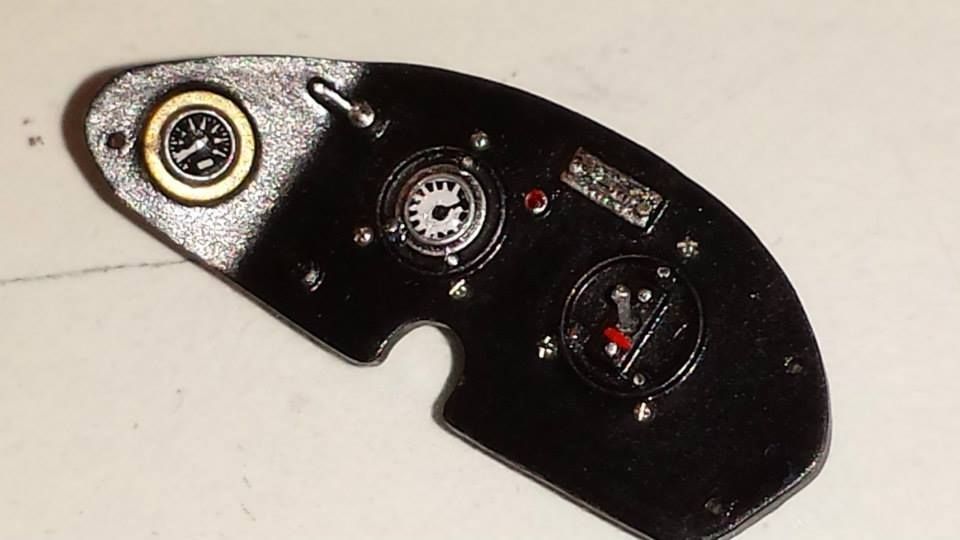 |
|
|
|
Post by florida70bee on Jun 29, 2015 21:08:52 GMT -5
Next I modified the firewall by removing the ugly molded in details and added a master cylinder brake arm, an oil filter to accept some oil line fittings and a throttle return spring I made out of some wire. 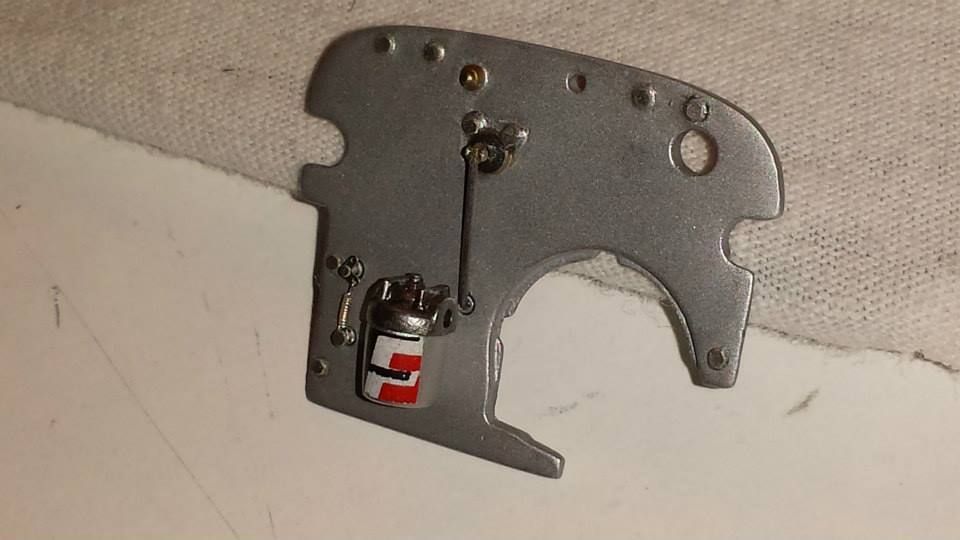 Also added some Pro Tech photo-etched bolts. 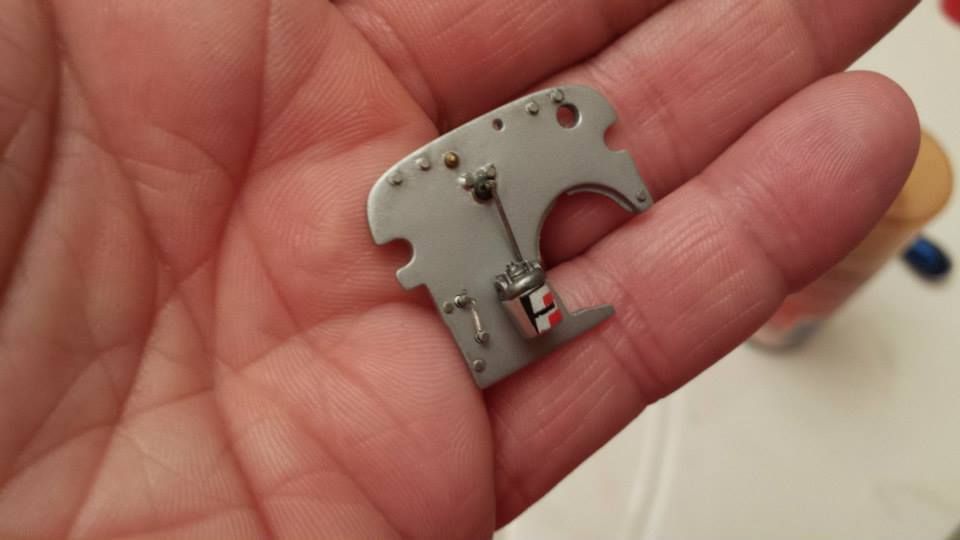 Modified firewall compared to original kit firewall 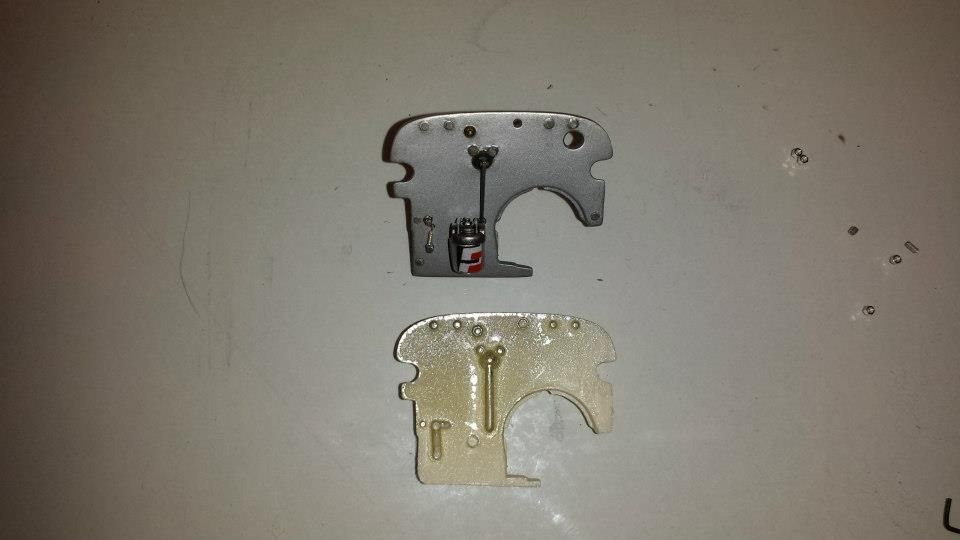 |
|
|
|
Post by florida70bee on Jun 29, 2015 21:09:26 GMT -5
Offenhouser engine is permanently installed in the chassis. 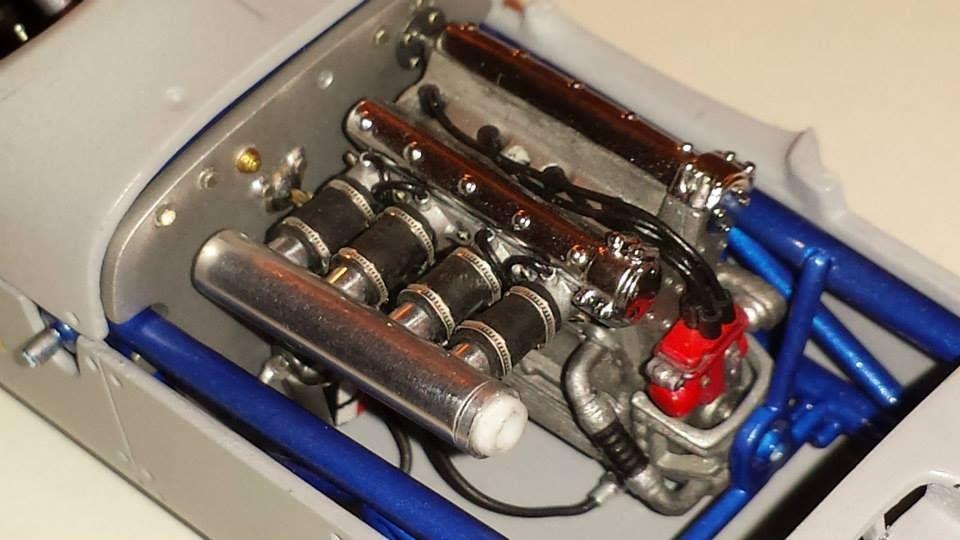 I added some oil lines and fittings from the oil filter to the engine block 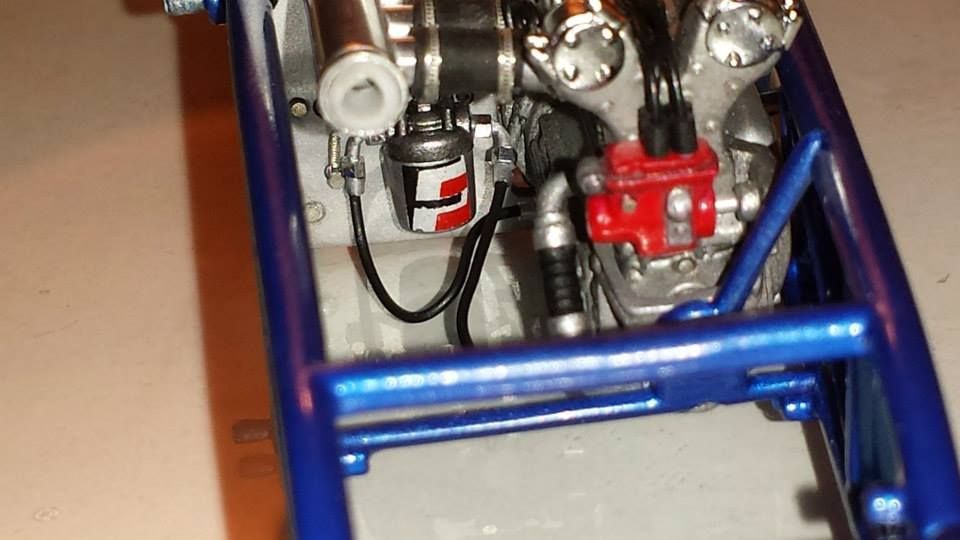 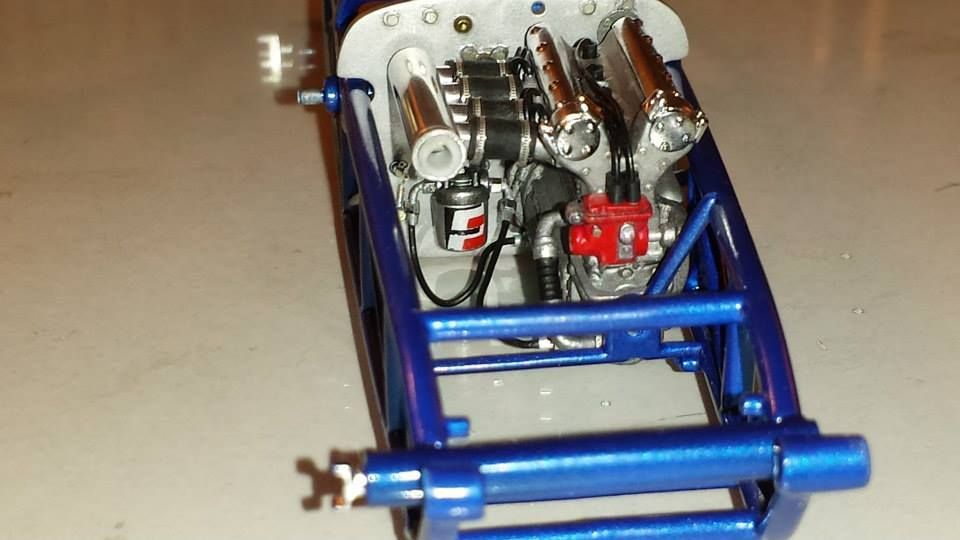 |
|
|
|
Post by florida70bee on Jun 29, 2015 21:09:47 GMT -5
Time to detail the water hoses with some hose clamps. To do this I used some lead foil from a wine bottle some aluminum micro tubing and some of those micro screw heads as well. 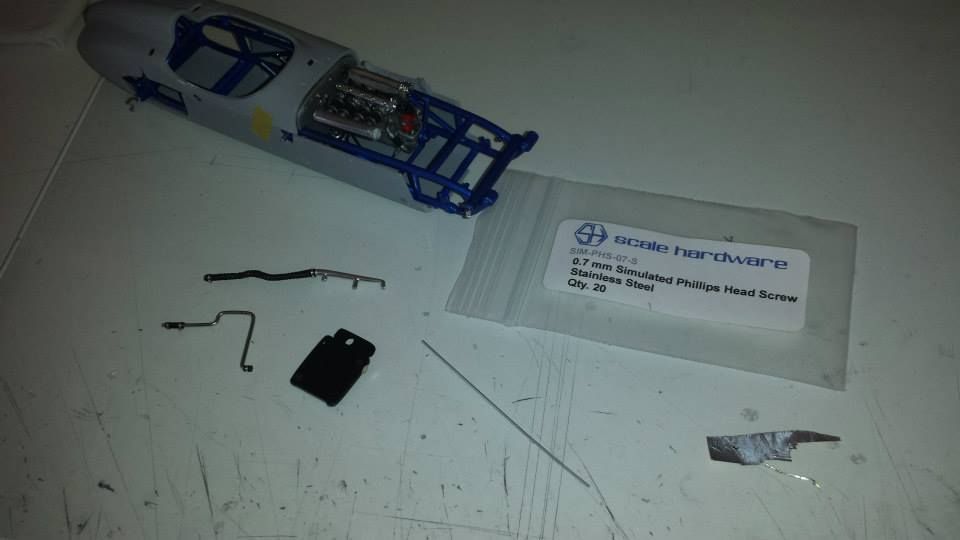 Created a lower radiator hose (Since the original kit had no lower radiator hose) from some silver solder and vinyl tubing. Plus I added a photo-etched radiator cap to the radiator. 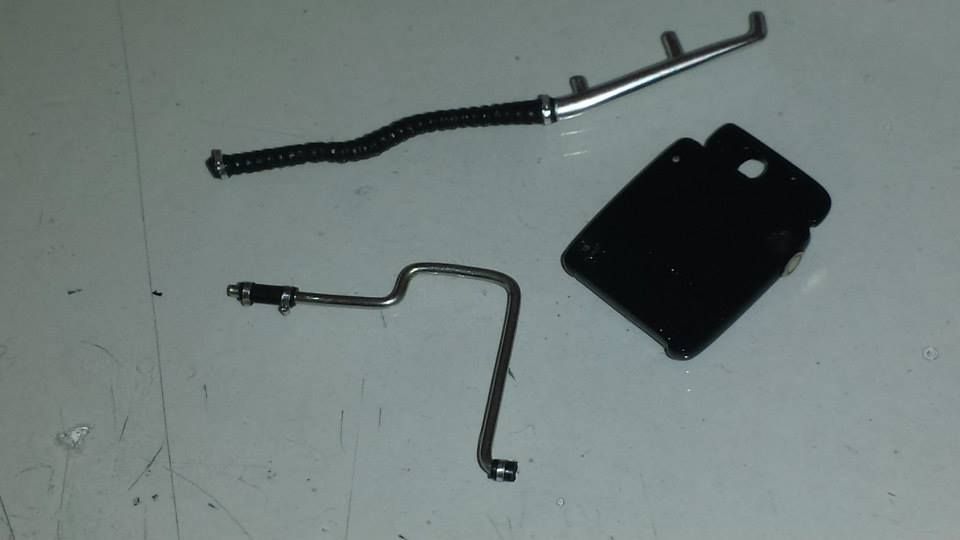 Close up of the completed radiator clamps 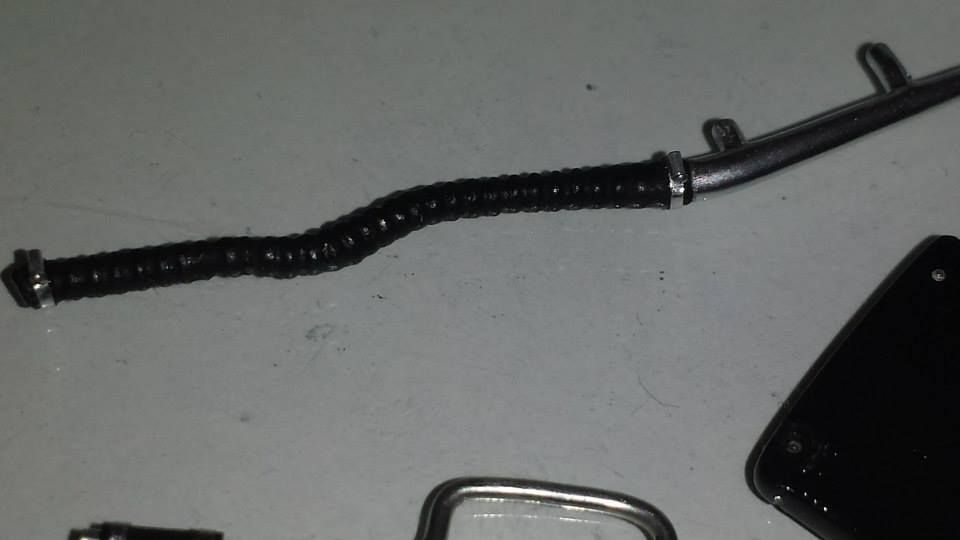 Water hoses and radiator are installed. 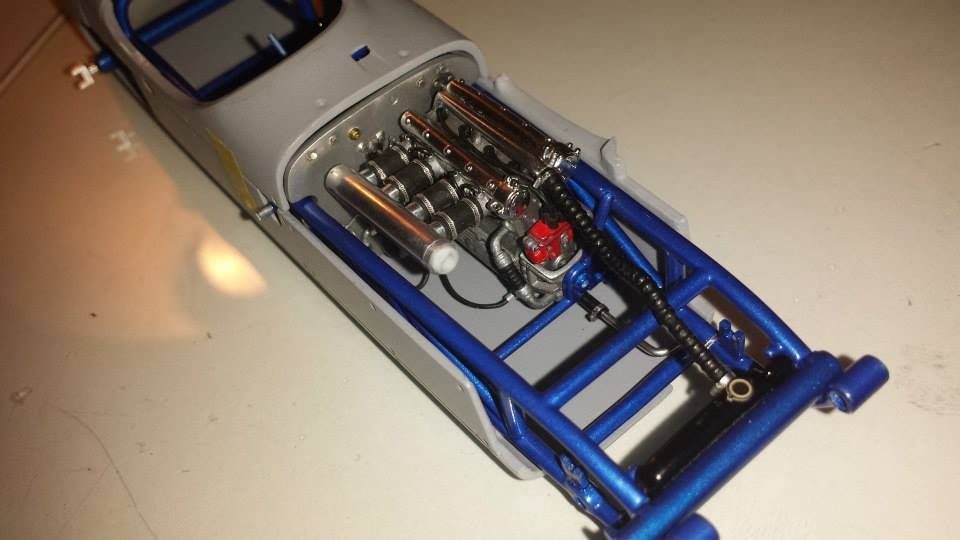 Another look at the hoses 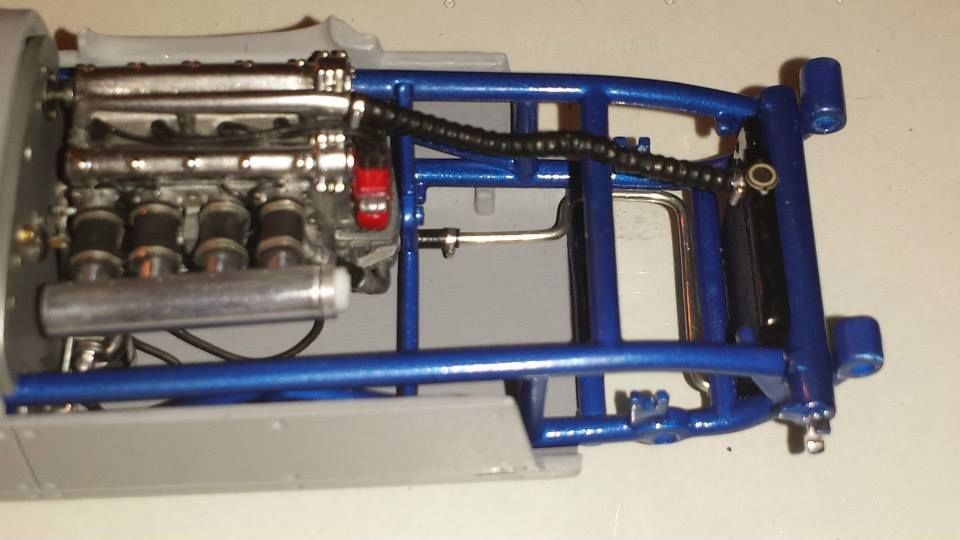 |
|
|
|
Post by florida70bee on Jun 29, 2015 21:10:26 GMT -5
If you look carefully at the back of the injectors I bent a throttle linkage bracket and connected it to the throttle return spring bracket on the firewall. 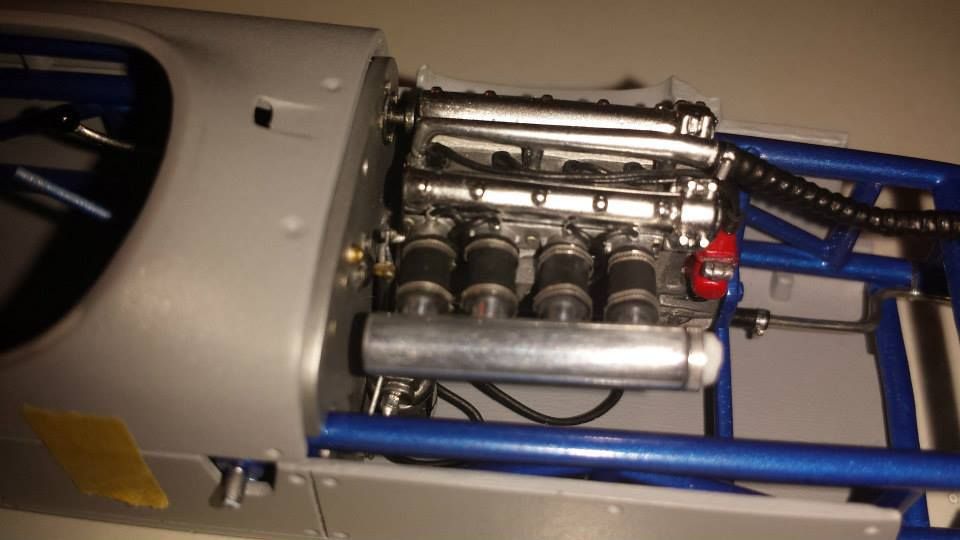 Main fuel line is connected from fuel distribution block in the center of the injectors to the firewall 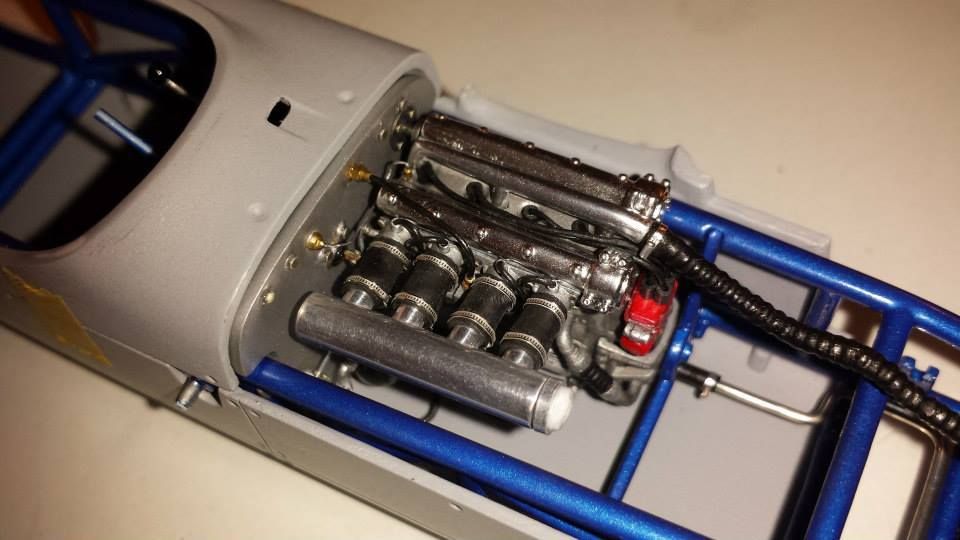 Decided to create a temperature sending unit.. So with a little aluminum tubing and some 0.2 mm lead wire.. 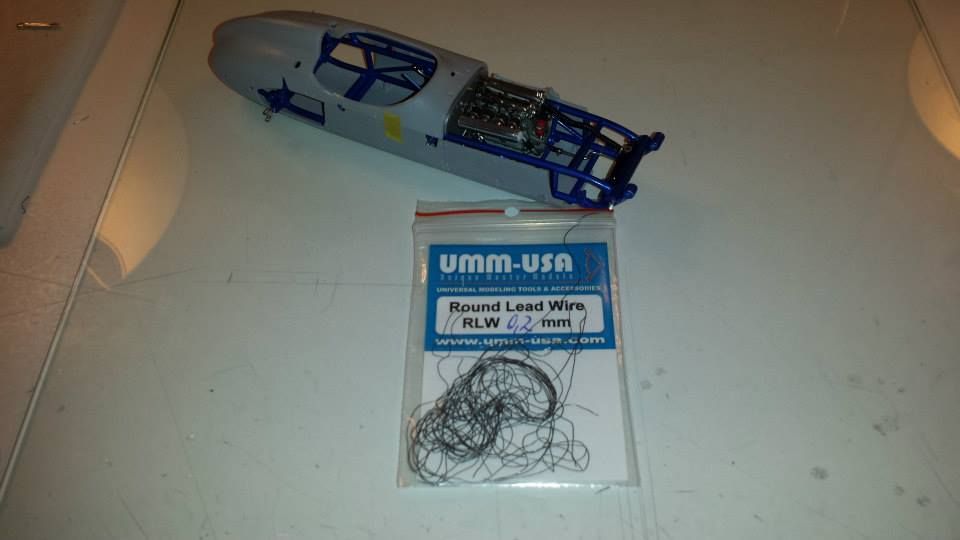 Ran the lead wire from the temp unit on the firewall to the brass painted micro tube on the back of the head. 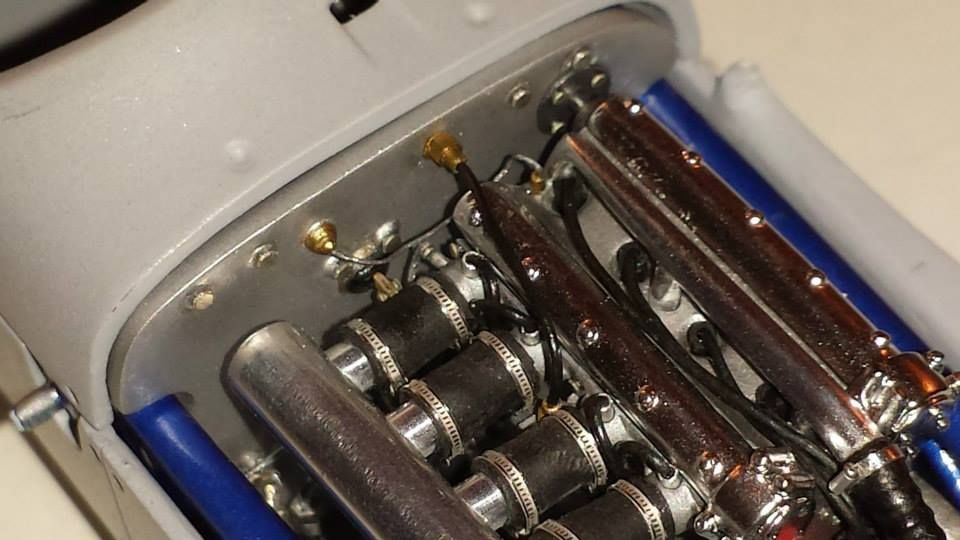 |
|
|
|
Post by florida70bee on Jun 29, 2015 21:10:54 GMT -5
Assembled the front suspension assembly with the chrome / polished aluminum parts I painted a couple of weeks ago. 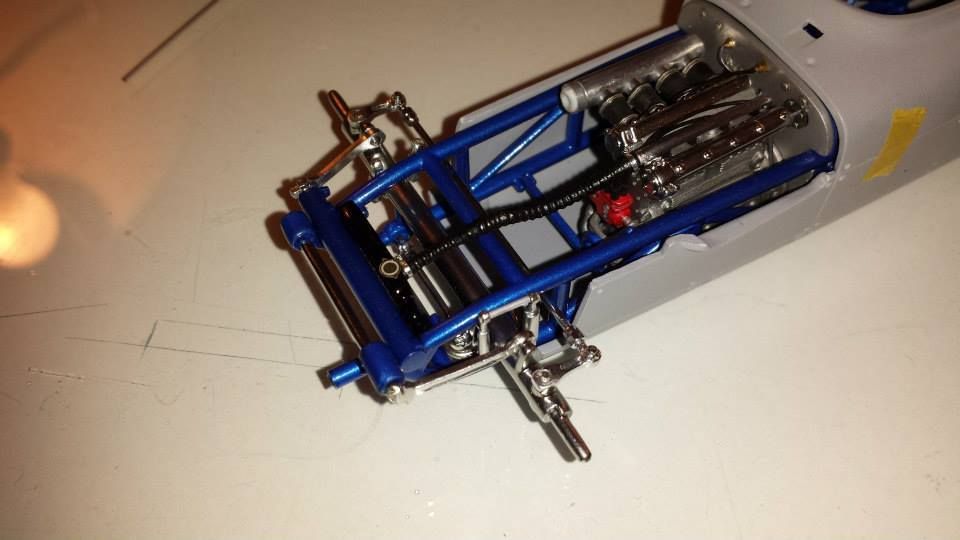 Also added a starter tube (created with aluminum tubing) to the front left of the radiator. 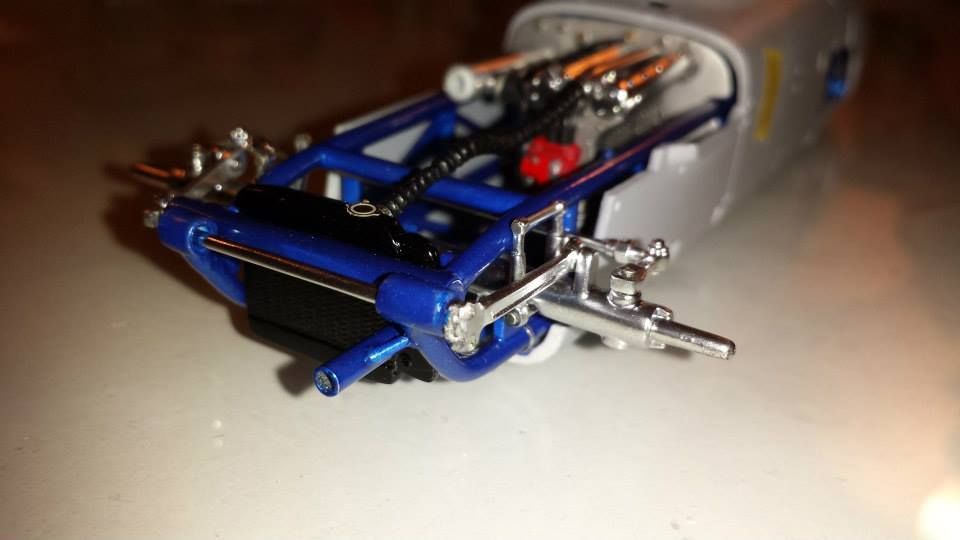 Another view 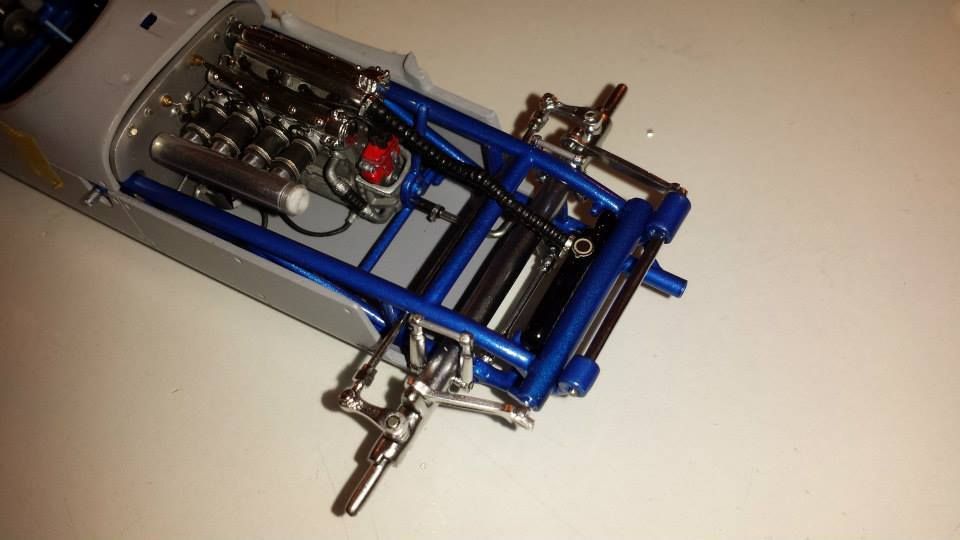 Test fitting the nose cone with suspension in place. 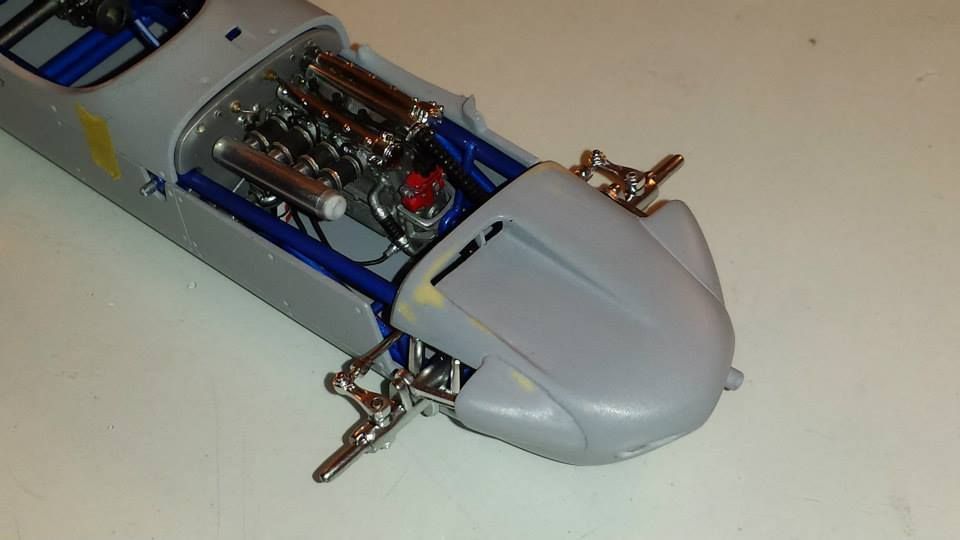 |
|
|
|
Post by florida70bee on Jun 29, 2015 21:11:33 GMT -5
More test fitting with rear axle, resin tires and the ram air scoop. 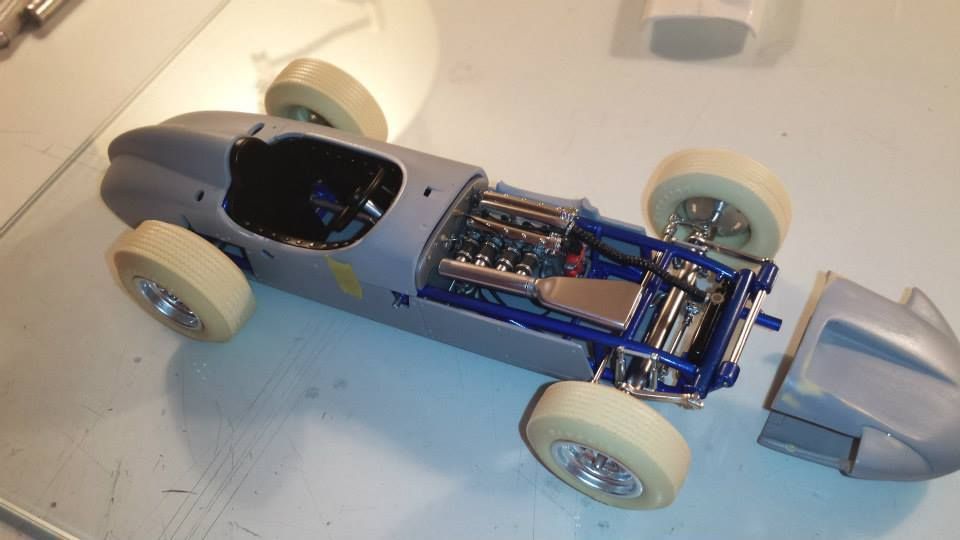 Ram air scoop is mocked in place. 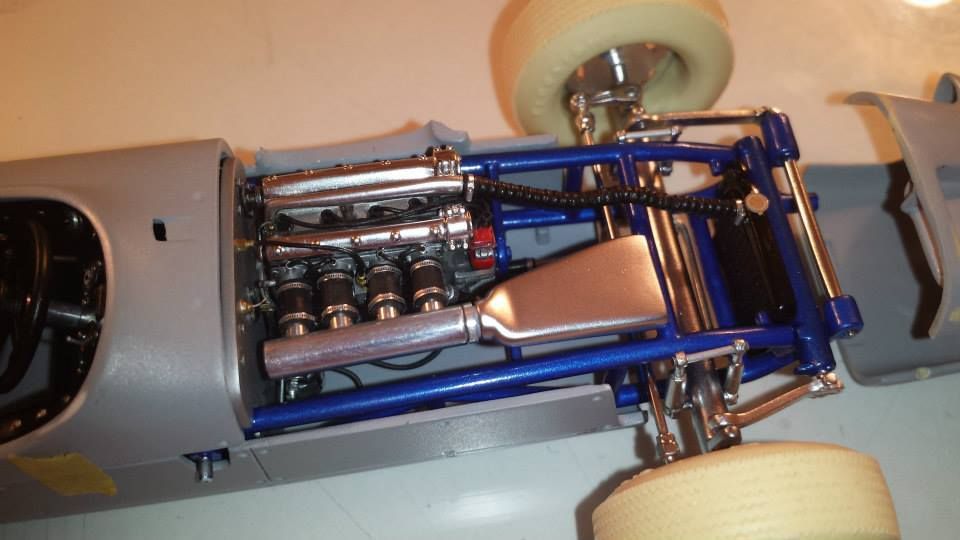 Another View of the air scoop. 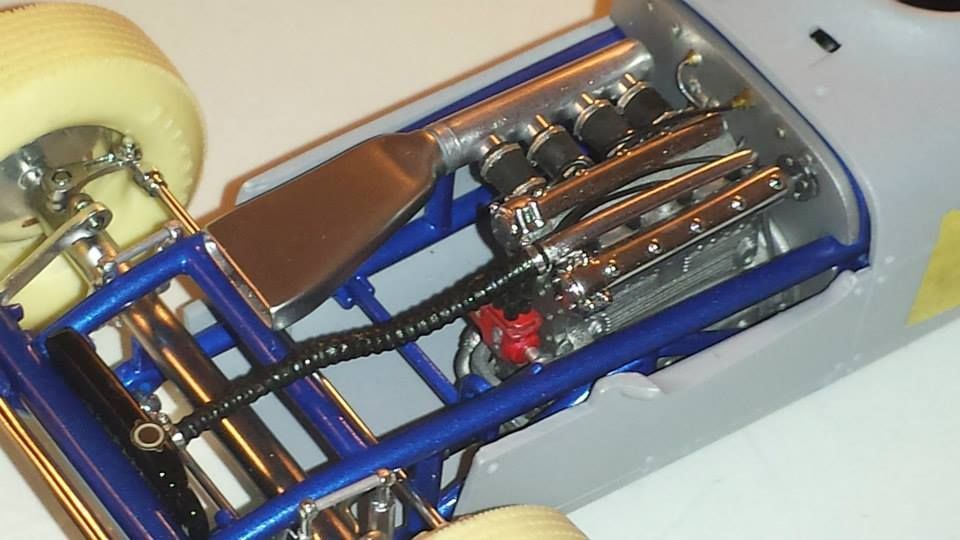 Installed the interior panels which I detailed the snaps with photo-etched bolt heads. also installed the dashboard, steering wheel and the aluminum drive-shaft. 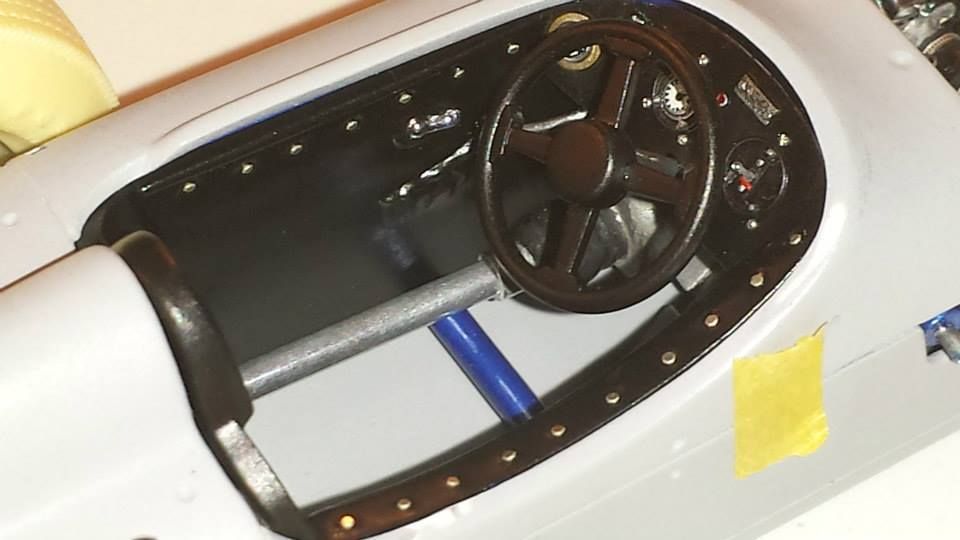 Also pedals are installed. 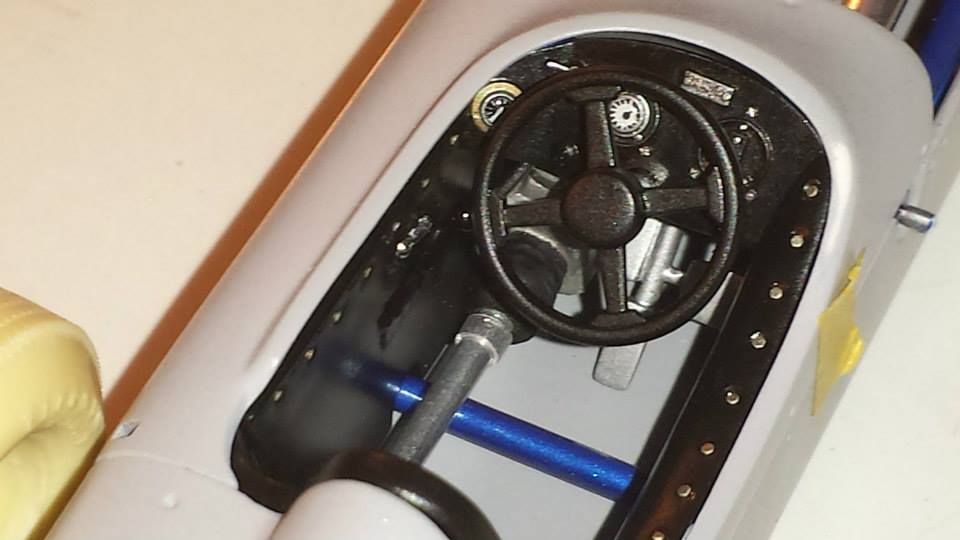 |
|
|
|
Post by Calvin on Jun 29, 2015 21:12:41 GMT -5
This is very Impressive! WOW! This is awesome! The detail is TOP NOTCH!
This is great motivation for people!
|
|
|
|
Post by florida70bee on Jun 29, 2015 21:12:55 GMT -5
Last group of pictures for now...Hope you all like them! Nose cone is installed with air scoop. Figured out the scoop will need a little massaging to get it to fit the way I want it to. 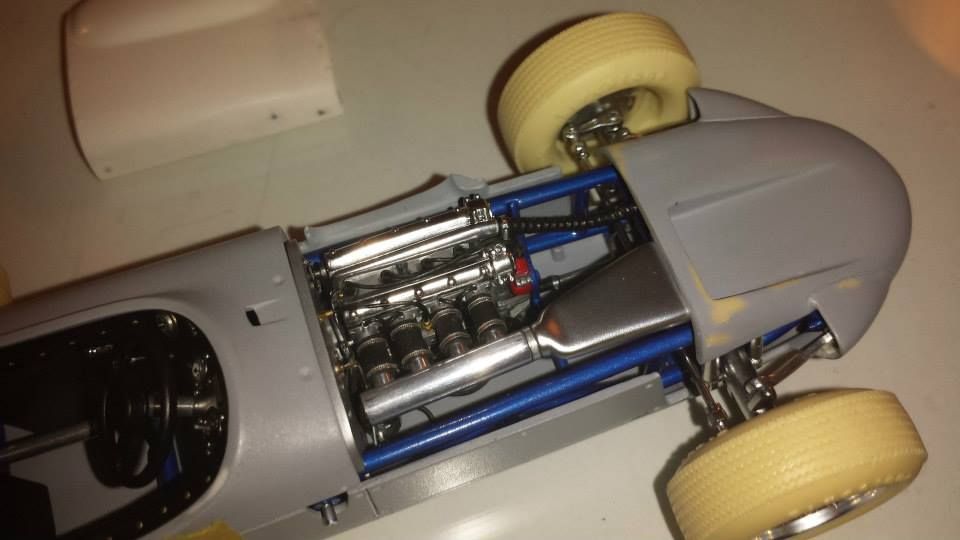 Overall view.. It's coming together! 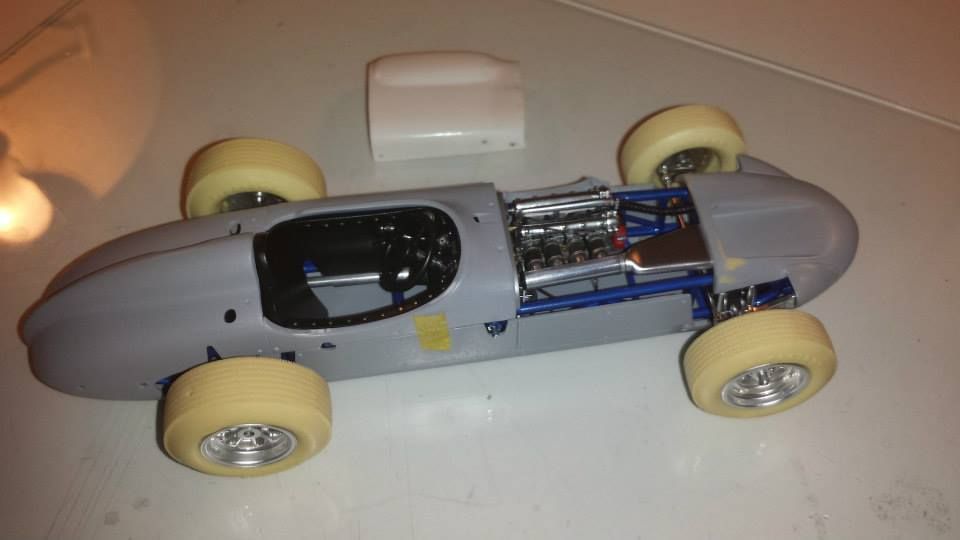 Checking scoop with nosecone opening. 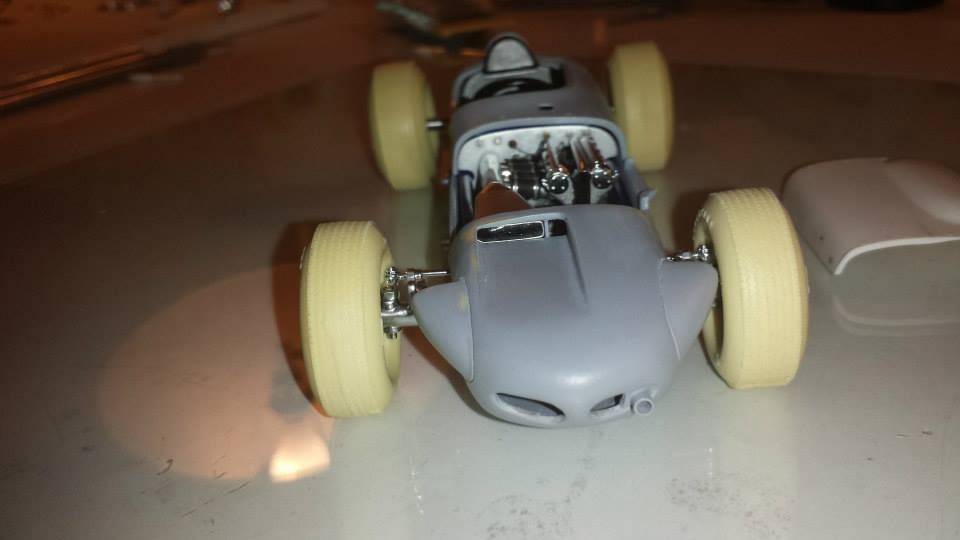 With interior in place 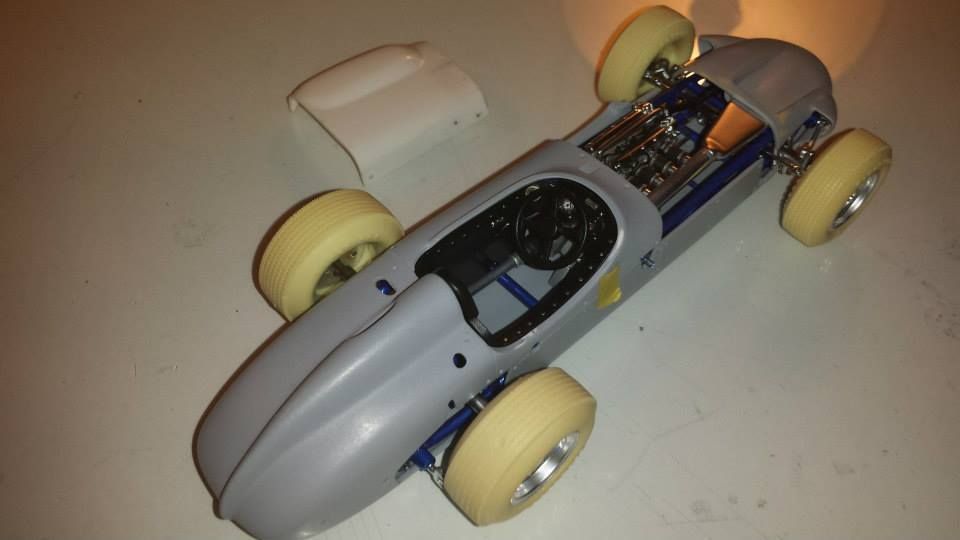 Time to start working on rear suspension, exhaust , tires and the body in prep for the pearl white and mica blue paint. 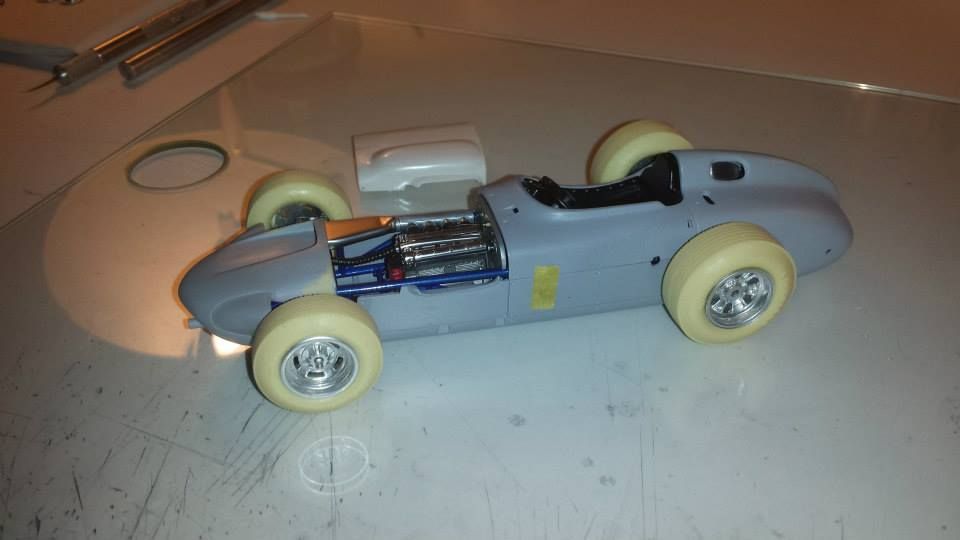 |
|
robh
Race Winner
  
Posts: 526
|
Post by robh on Jun 29, 2015 21:19:09 GMT -5
Outstanding! Gorgeous detail work!
|
|
|
|
Post by racerbrown on Jun 29, 2015 21:28:27 GMT -5
this is just incredible to see.
it takes a long time just to go through it all.
thanks for sharing and am looking forward to what's next.
duane
|
|
|
|
Post by clm1545 on Jun 29, 2015 22:35:26 GMT -5
Just super work, Very impressive.
|
|
|
|
Post by billj on Jun 30, 2015 1:12:53 GMT -5
Very impressive work. Your details really make that Watson look sooooo much better! PJ would love it  |
|
|
|
Post by indycals on Jun 30, 2015 3:40:39 GMT -5
I think I've seen this on Facebook. Fantastic work!
|
|
|
|
Post by alterrenner on Jun 30, 2015 4:59:48 GMT -5
Damn, man! That's incredible! Nothing like coming into the forum and flooring us!
Great to have you here!
--Frank
|
|
|
|
Post by IndyCarModels on Jun 30, 2015 6:45:54 GMT -5
Great work!!!!
|
|
|
|
Post by racerbrown on Jun 30, 2015 6:52:39 GMT -5
i'm still trying to figure out how you did the air scoop.
duane
|
|
|
|
Post by gwstexas on Jun 30, 2015 8:50:35 GMT -5
I've always thought the AMT Watson kit was a pretty good starting point in spite of its obvious flaws, but this is truly amazing.Can't wait to see more.
Best,
Gary
|
|
|
|
Post by sandysixtysfan on Jun 30, 2015 9:25:07 GMT -5
I've never seen this level of detail in this kit. Off the chart great. Thanks for posting these pics.
Sandy
|
|