|
|
Post by Patrick on Jul 20, 2010 23:30:41 GMT -5
I am very impressed, Chris! You've exceeded my detail level. KILLER!
Patrick
|
|
|
|
Post by Chris on Jul 23, 2010 17:02:58 GMT -5
Thanks Patrick, I wish..... More work the last couple of days, the headaches begin, 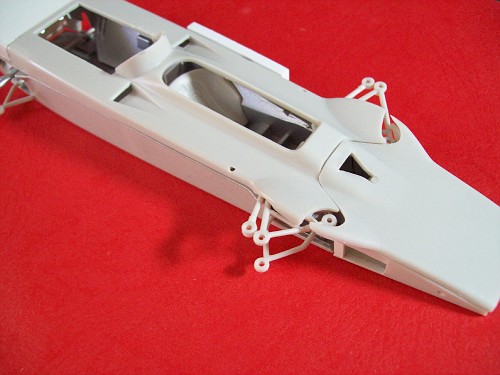  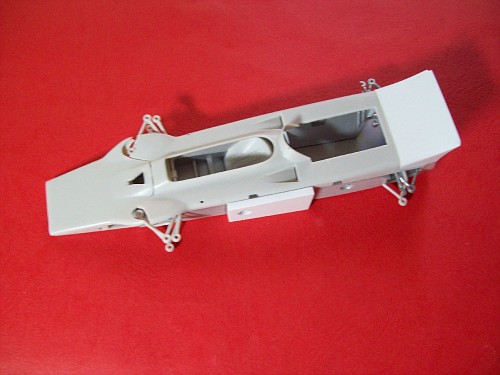 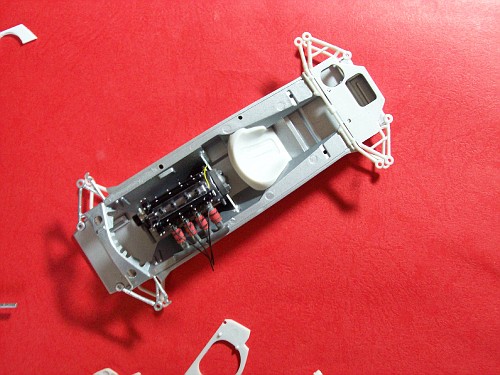 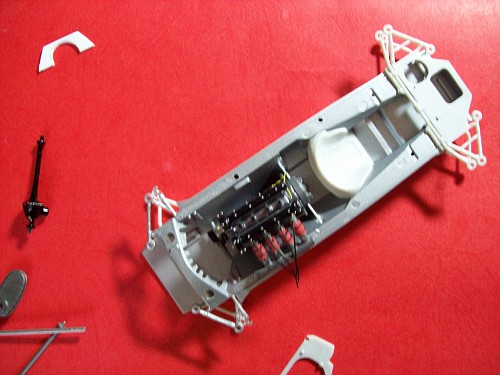 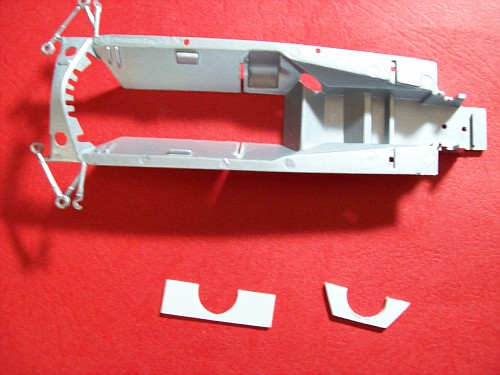 I made the Panard Oil tank, note the Fuel Filler is inside the hole in it, thats the way the real car was. I cut the rear deck open for the engine, the engine got fuel injection hoses, and the final drive that connects to the transfer case. I cut the nose open on both sides for the cooling ducts. I had a radiator from a IMC Ford GT40 sitting there and guess what? It fits perfectly so that saves completely scratchbuilding one... In the one pic you will see two middle motor mount plates the first one I did I figured out the angle of the chassis , which is different on each side and cut it out for the final drive to mount in it. Then I realized I needed some adjustability to match up with transfer case and cenetr the engine,clear the drive shaft.. I slept on it and woke up this morning BINGO cut slots in the chassis and use a square piece that can slide side to side for adjustment until everything is in place.... Now the headaches, the body doesnt go down because the engine is a bit too tall so I modified the body to clear it now the fuel injection hoses and intake plenum are in the way.. Hoses I will bend down out of the way since I havent made a distribution block or injection pump I have some room to work.... The Intake plenum may have to be cut and the runners shortened but in the end the body will have to be cut out to clear the engine, just how much will depend on the shortened runners, but I am getting more done every day so look for more this weekend.. |
|
|
|
Post by illeagle10 on Jul 23, 2010 17:16:17 GMT -5
Nicely done Chris! I've found that there's always more work than you figured on to begin with, but I'm sure this will be worth the effort. Keep "grindin' away!"
Jim
|
|
|
|
Post by indy on Jul 23, 2010 18:11:34 GMT -5
Wow that looks great - very nice scratchbuilding!!
Jordan
|
|
|
|
Post by Patrick on Jul 23, 2010 21:42:20 GMT -5
Chris, How about cutting a hole for the sump...good for cooling and for clearance? Unless you have photos that don't show a sump hole(which you probably do!  )!!! Looking excellent my friend! Patrick |
|
|
|
Post by Chris on Jul 23, 2010 22:02:03 GMT -5
Patrick The cars of this era used a side Fuel filler and rather than relocate it I guess Mr. Granitelli figured it would be easier to just put a hole in the Oil tank!!! By this time he had invested some $20+ million dollars in no less than 14 cars just for the 1969 Indy 500 so he was cutting corners everywhere....
|
|
|
|
Post by Calvin on Jul 24, 2010 0:46:45 GMT -5
Brilliant!
|
|
|
|
Post by Chris on Jul 31, 2010 15:42:12 GMT -5
;D Just a note to Everyone following my WIP, I had Back surgery last Tuesday, it went O.K. , I just feel like someone kicked (expletive deleted), The severe pain is supposed to go away in a week or two so I am taking a little break. It did give me some time to order out some supplies and redo the intake to fit the body a bit better. So look for more in a week or so....Thanks Patrick and Russ for your well wishes!! Chris  |
|
Deleted
Deleted Member
Posts: 0
|
Post by Deleted on Jul 31, 2010 16:13:44 GMT -5
Great work, Chris! I hope you recovery quickly, and properly, from the surgery.
Bill
|
|
|
|
Post by Chris on Aug 2, 2010 17:18:43 GMT -5
|
|
dale
Rookie
 
Posts: 92
|
Post by dale on Aug 2, 2010 18:20:06 GMT -5
These are the 1969 Lotus 64. Same as Andretti trashed.
|
|
|
|
Post by Chris on Aug 2, 2010 19:09:54 GMT -5
The car in the rear is no doubt a Lotus 64 but the car in the forground is the car in question, the front chassis is Lotus 56B. Why would the Engine be in backwards if it was a Lotus 64?? The only differences I can see is the rear of the tub appears to be cut down to clear the V of the engine but beyond that ? Also the body work against the wall is Lotus 56... Chris
|
|
|
|
Post by Chris on Aug 2, 2010 19:19:07 GMT -5
Dale You are correct after looking at the pic's on Ultimatecarpage.com I do see that the Lotus 64 also had the southward facing engine and this pic is of that car...Sorry I thought I had a follow up car to build after the 56B Offy..Thanks Chris
|
|
|
|
Post by Patrick on Aug 2, 2010 19:29:26 GMT -5
Are you surfing the internet or doing your rehab exercises? LOL!!!!
Patrick
|
|
|
|
Post by Chris on Aug 2, 2010 21:19:04 GMT -5
One in the same!!
|
|
|
|
Post by Chris on Aug 9, 2010 18:18:46 GMT -5
I am doing a little better (still in a lot of pain) so I was able to sit down and do some work over the weekend, lots of little stuff but here goes, 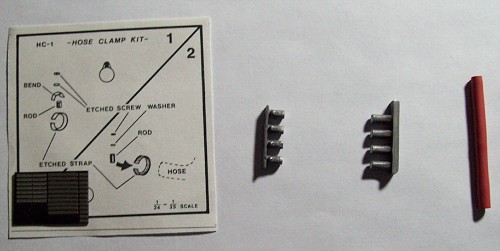 I noticed the Gauge cups on the real car were quite a bit longer than the kit so I added to them also added the switshes to the dash 3 toggle and 3 push.. 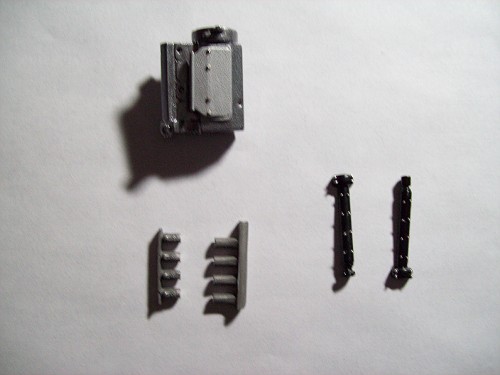 Cleaned up the tie rod added bolts and painted. 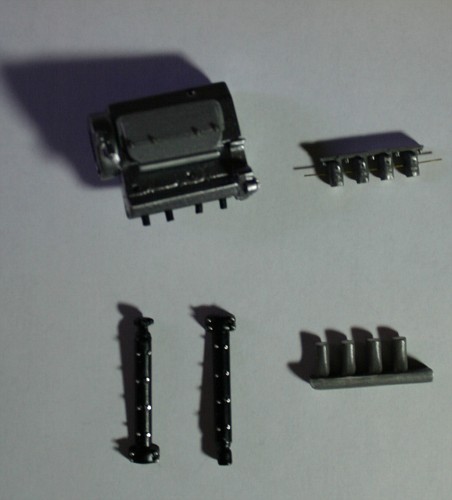 I scratchbuilt the front tube frame and added the radiator. 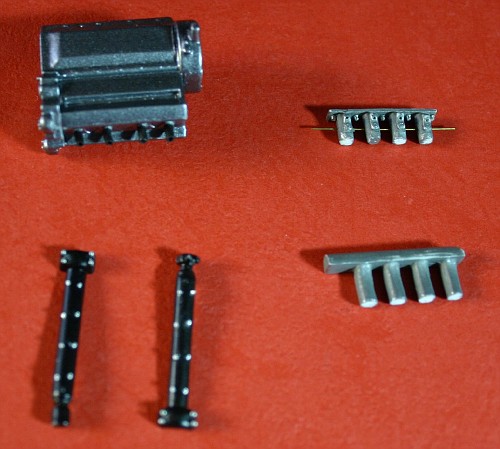 re-painted the monocoque the proper light gray, painted the assorted suspension bits. On he engine I removed the intake to re-do it, The headers got a mounting flange and bolts, the turbo pipe and header both got flanges and now bolts together. 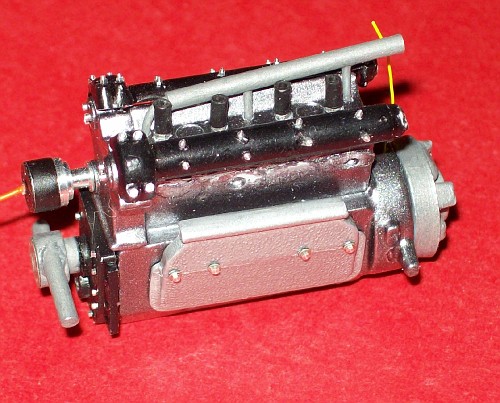 also added the manifold water lines. The body got the vents in the nose, filled all the unused holes with plastic ( I try to not use filler if I can) re-shaped the Ducktail. 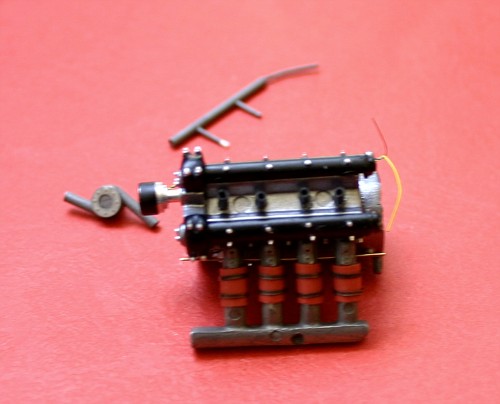 and here is the latest mock-up 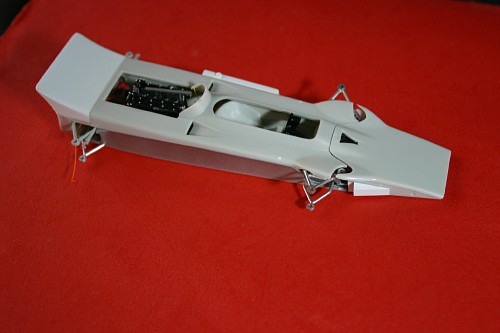 more work tonight and in the morning.... 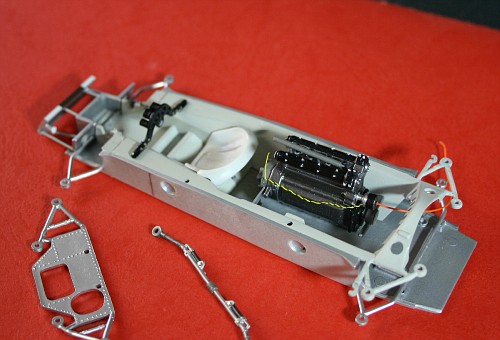 "] 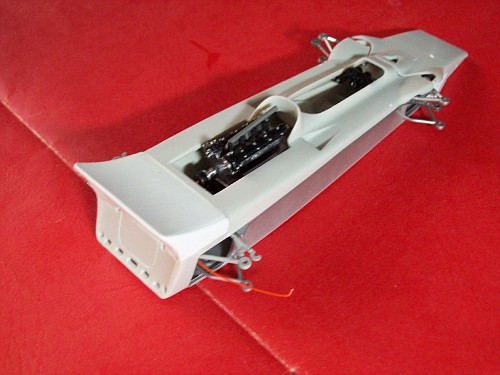 Its getting to the point of painting and a ton of chassis detail...Chris **EDIT** Fixed a bad link and reformatted a little -Jordan |
|
|
|
Post by Chris on Aug 9, 2010 18:20:33 GMT -5
A couple of pics of the chassis mock up 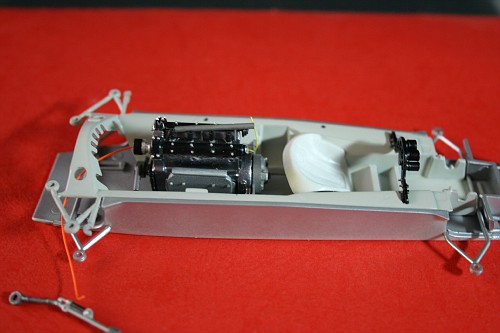 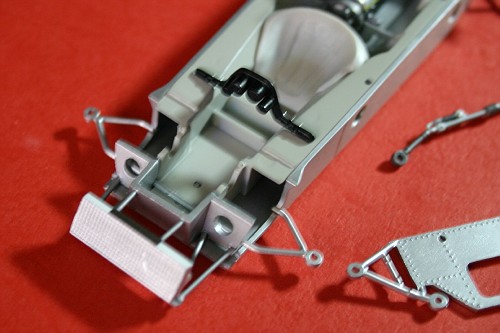 That is all for today!!  |
|
|
|
Post by herk56 on Aug 9, 2010 19:18:01 GMT -5
Looking great! Excellent scratchbuilding & detail painting.
Brian
|
|
|
|
Post by 2lapsdown on Aug 9, 2010 20:01:38 GMT -5
Seeing work like this makes me proud to be a member of this forum. Awesome!!!
John
|
|
|
|
Post by Patrick on Aug 9, 2010 21:14:47 GMT -5
John said it for me! Excellent build, Chris. Thinking of your pain.
Patrick
|
|
Deleted
Deleted Member
Posts: 0
|
Post by Deleted on Aug 9, 2010 22:30:26 GMT -5
Looking good Chris!!!!!
|
|
|
|
Post by indycals on Aug 9, 2010 22:49:55 GMT -5
This is really impressive.
|
|
|
|
Post by Chris on Aug 9, 2010 23:39:34 GMT -5
Thanks Guys, Brian I think what you are refering to as paint detail is RB Motion turned Aluminum Bolts, Nuts and photo etch washers, for each a hole was drilled , most had a stem size of .015 and then add a bolt, washer and then a nut and insert. Some are Allen cap screws, some are studs and nuts and me I'm just Plain Ol Nutz!!! When completed the engine and detail will be basically bolted together. I use a very, very small dot of Super Glue to hold them in place..The switches are .005 stem and the Toggle is .013. So far I have not detail painted anything??? I am glad everybody is enjoying this build as much as I am. Chris
|
|
|
|
Post by sandysixtysfan on Aug 10, 2010 7:55:47 GMT -5
Awesome work, the detailing is outstanding!
Sandy
|
|
Deleted
Deleted Member
Posts: 0
|
Post by Deleted on Aug 10, 2010 8:57:13 GMT -5
Very cool Chris. Love how this is shaping up!
Stu
|
|
|
|
Post by pylonguy2003 on Aug 10, 2010 19:06:32 GMT -5
I have to agree this is an impressive build and one that I always wished I had the courage to attempt myself!
Tim
|
|
|
|
Post by herk56 on Aug 10, 2010 19:39:24 GMT -5
Actually, Chris, I was referring to the great metallic shades you used on the steering linkage. I DID notice the bolts and they look great, too! I had a decent supply (mine are almost gone)of "The Model Doctor" styrene nut & bolt castings, very easy to use but no longer available. How pricey are the RB Motion items?
Brian
|
|
Deleted
Deleted Member
Posts: 0
|
Post by Deleted on Aug 10, 2010 20:52:04 GMT -5
Interesting subject your doing a great job what kit are you using?
|
|
|
|
Post by Chris on Aug 10, 2010 22:31:05 GMT -5
Brian, RB Motion are not cheap but once I started using them it changed the wat I build model cars.. Robert Bentley just put up a web site www.rbmotion.com Gooch this is the re-issue MPC kit and the engine is out of the AMT 73 Unser Eagle, relax it was a poorly built, built-up that I scavenged it from. I will have more pics later tonight or in the morning as I did some more today  |
|
|
|
Post by Patrick on Aug 11, 2010 0:32:48 GMT -5
Some train stores have the HO scale styrene nuts and bolts. I use them and they are great. Don't remember the brand name... oh, Detail Associates out of San Luis Obispo, CA. part #2203.
Patrick
|
|