|
|
Post by pje on Dec 17, 2010 19:02:54 GMT -5
You know......I was just thinking a little bit, I dont mean to get ahead of myself, but after I get this 82 car done it wouldn't be that hard to take one of my castings and turn it into a 1981 Wildcat.....so we then could have a 1981 (May-October) Winner  Aside from the nose and sidepods they were pretty similar. The 81 Wildcat was a very beautiful car in it's own right. And the wheels can come directly from the Penske PC6 kit! Count me in for one of each.  Paul Erlendson |
|
|
|
Post by Calvin on Dec 17, 2010 19:45:23 GMT -5
Calvin Those castings look great. Look out Lance, there might be a new game in town. Take Care Craig Thanks! Im still learning how to do these little parts. Im just currently playing around with stuff. I guess you can call it R&D work!  |
|
|
|
Post by Calvin on Dec 17, 2010 20:11:20 GMT -5
And the wheels can come directly from the Penske PC6 kit! Sometimes they ran those but it looks like they used their own wheels most of the time? 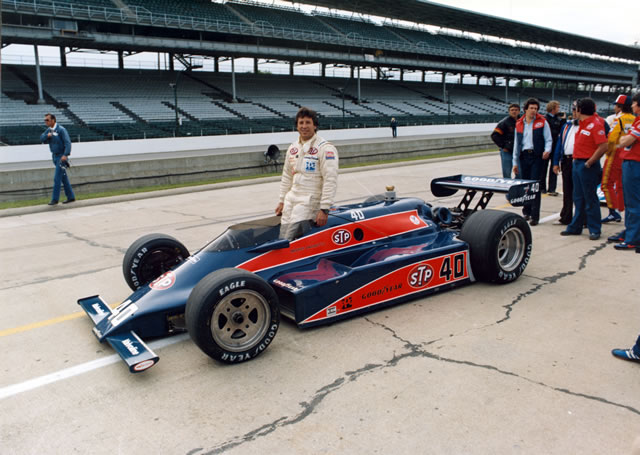 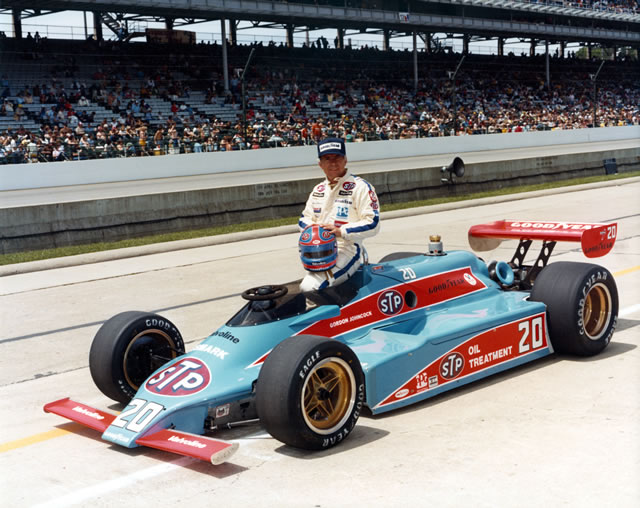 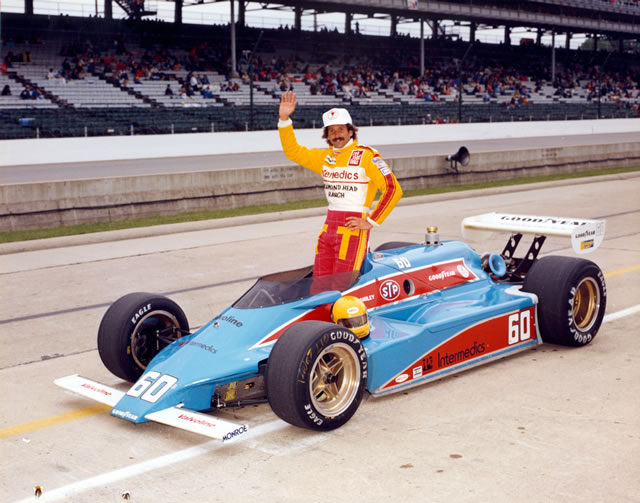 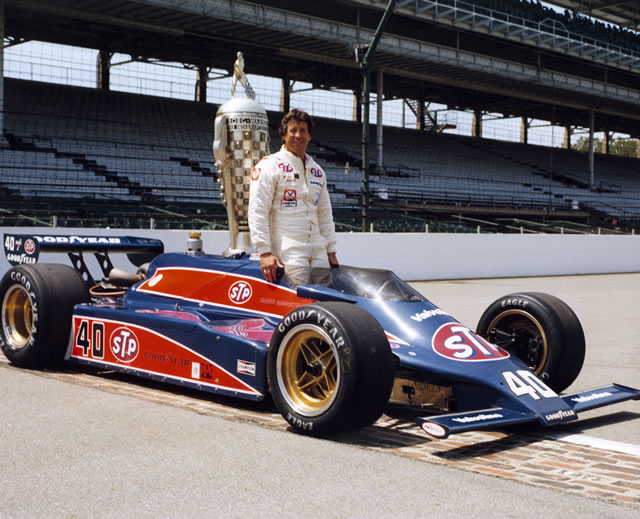 |
|
|
|
Post by Calvin on Dec 17, 2010 23:14:34 GMT -5
The parts are starting to add up! Hopefully here in the next few weeks everything will be in "resin color"  ;D 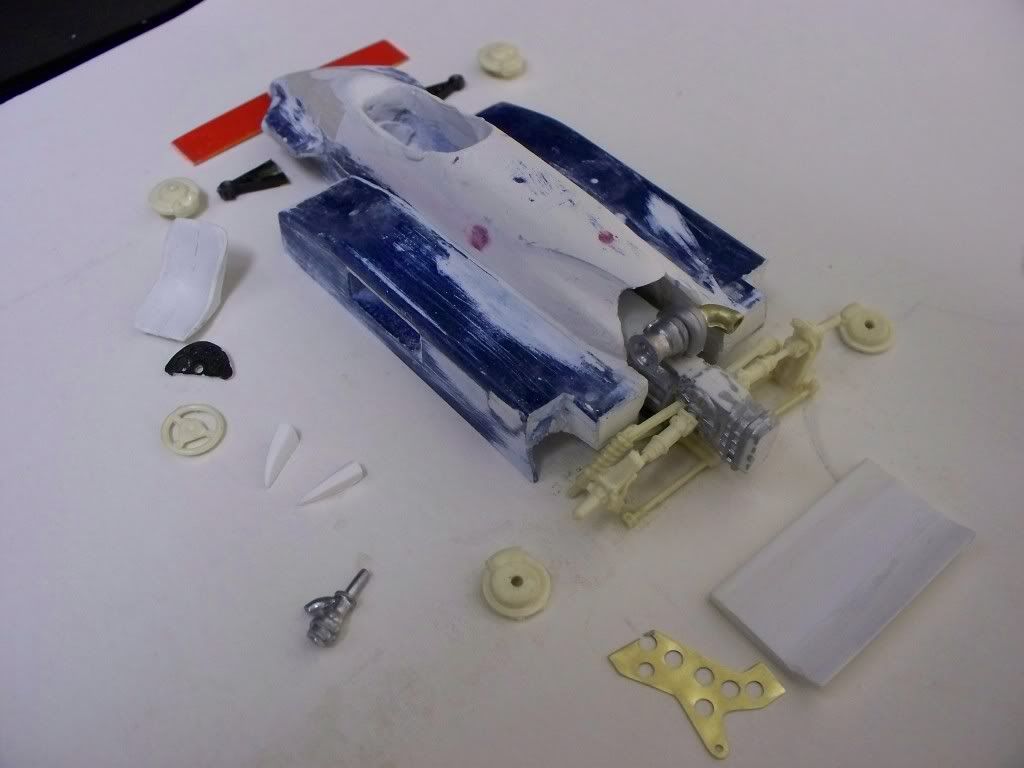 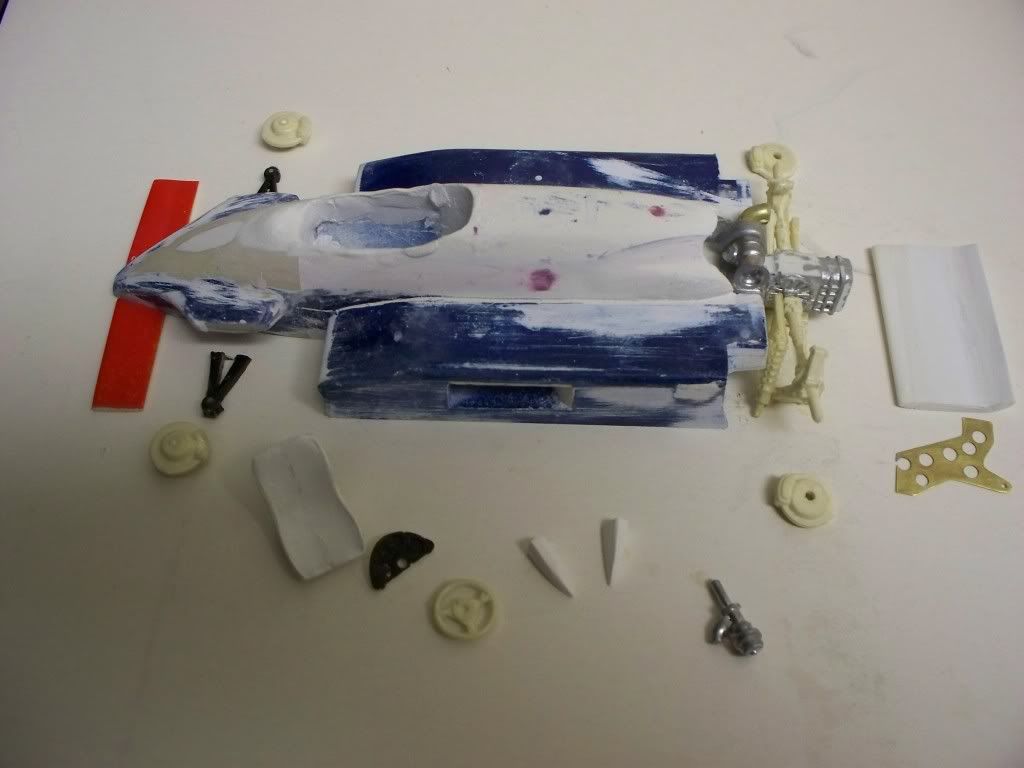 I did some more work on the tail end of the cowling and all I can say is Im very very very happy with the shape.....its just kinda hard to tell because its hard to see from the picture - I need to spray some blue on it so I can share it with you all.  |
|
|
|
Post by indycals on Dec 18, 2010 1:48:51 GMT -5
I'm getting all excited - this is looking great!
|
|
|
|
Post by Calvin on Dec 18, 2010 2:05:10 GMT -5
Thanks! Im excited myself. I'm going to give my all this weekend once again. My goals for this weekend on this car is finish the current eye sore and that is the cockpit area, I want it done! -roll bar area and all! I also want to get the Radiator exit "blades" done. Then take those "blades",rear wing, front wings, and seat in some rubber by Sunday night at least. I currently have my Tires in the rubber as of now, more on that later...... Im using the late 80's AMT tires which they are the best IMO and match the Tire specs the closest for this Cat. As for the rest of the body, I need to drill the fuel opening & pop off valve. Hopefully after this weekend I'll start worrying about cleaning up the car for scratches and pin holes. So a lot going on  |
|
|
|
Post by Calvin on Dec 18, 2010 2:43:00 GMT -5
Im currently working on the Radiator exit blades....I think I have them about right? The look kinda funny but I think thats because of the color. Shape wise they look close? BTW I made those Blades into a "D" shape the rounded part is facing out. They are just like mini sideways wings.  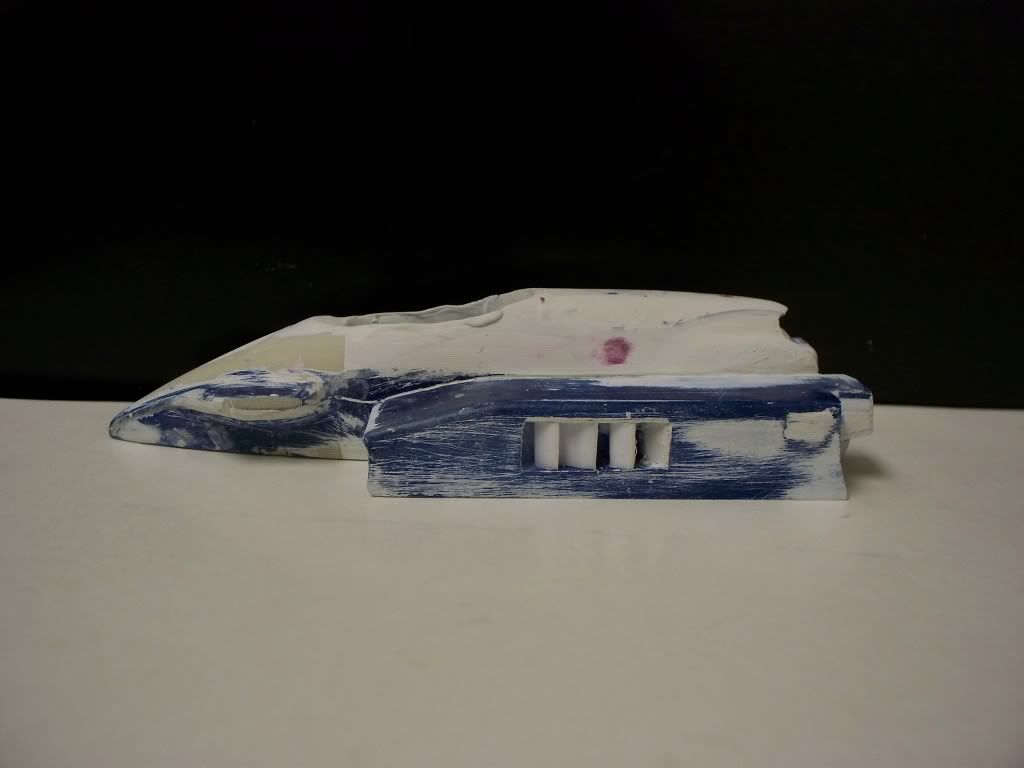 |
|
|
|
Post by indycals on Dec 18, 2010 3:12:21 GMT -5
I think they look pretty good. I notice you puttied up that little radiator vent at the back of the sidepod.
|
|
|
|
Post by Calvin on Dec 18, 2010 3:20:59 GMT -5
I notice you puttied up that little radiator vent at the back of the sidepod. It was in the wrong spot, its actually level to the top of the radiator exit. |
|
|
|
Post by Calvin on Dec 18, 2010 4:28:53 GMT -5
I think I got the cockpit almost to were it needs to be......well kinda, Im starting to see things wrong after looking at these pics. My cockpit outsides are way to rounded? Dont worry about my over size roll bar intentions I just got done with them and its hard enough to get them to that size....I'll work with it when it drys. 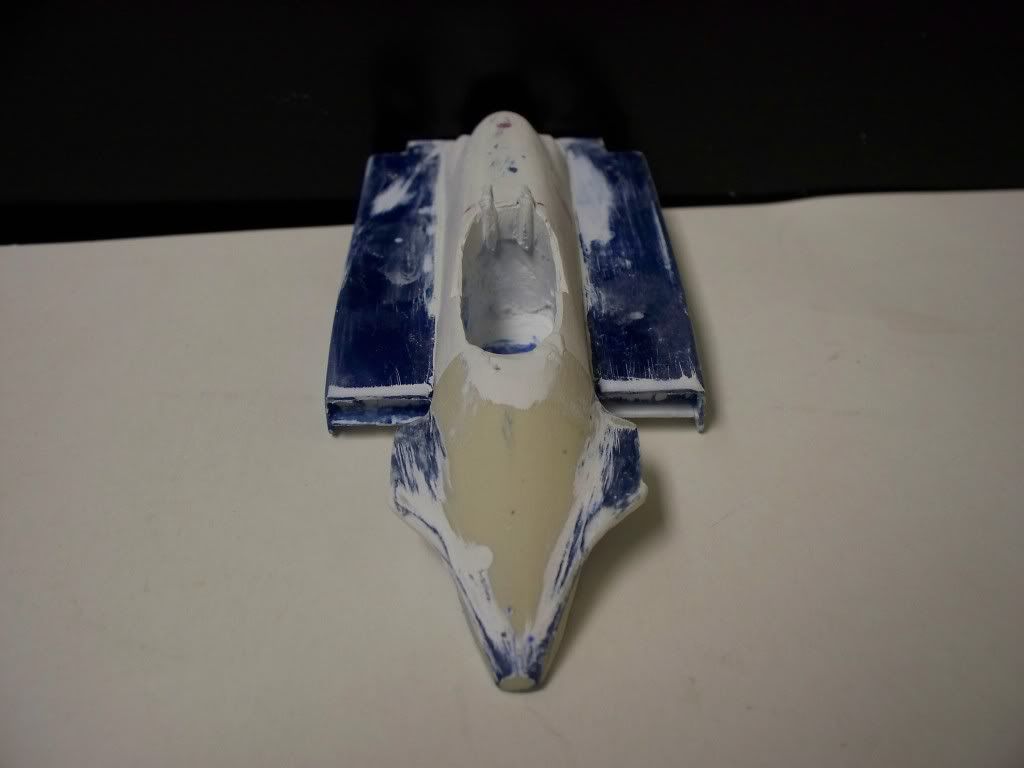 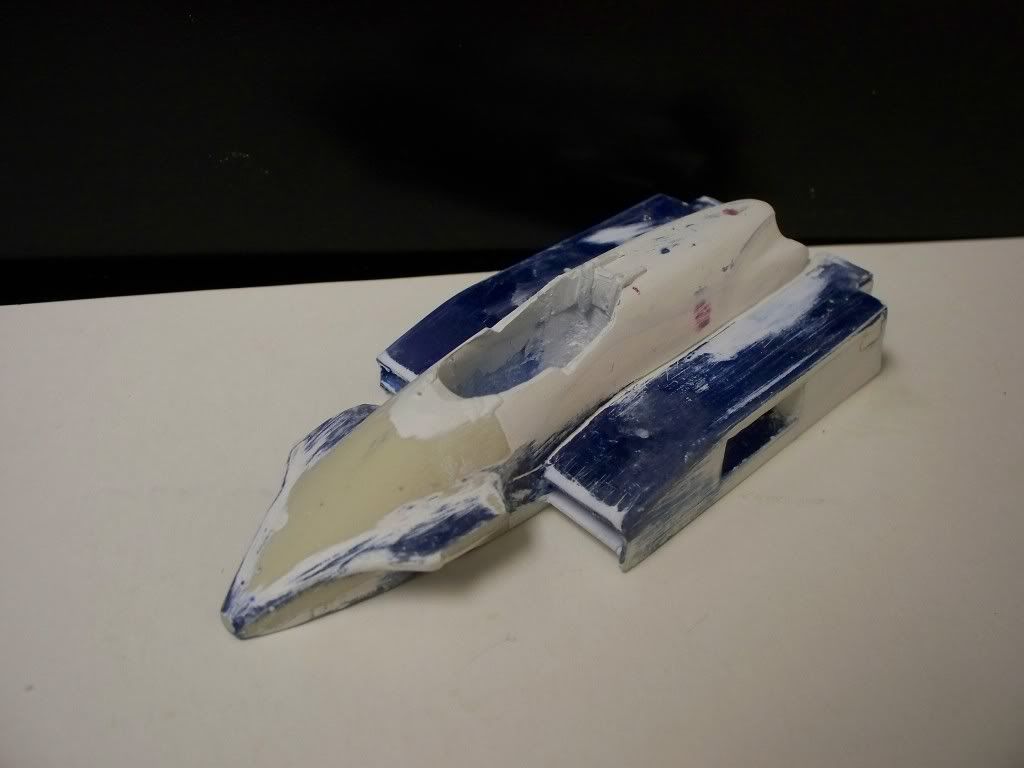 |
|
|
|
Post by elsapito on Dec 18, 2010 5:20:18 GMT -5
Bravo!
Some questions/suggestions.
Is the dark blue stuff the resin you are using? looks weird!
I deeply reommend polyurethane resin, has many advantages over the polyester one.
If you are to make resin copies of the car, it's advisable to leave the radiator vent fins as a separate feature: not a moulding/casting friendly device ;-)
Other thing, sine you are still fighting twith the general shape of car (those smooth lined cars are tricky) and seen you are into it quite seriously, I recommend that you manage the final shape, let's say to the extent that you DON'T need to add more putty, then spary it with primer, then gloss and THEN make a mould and cast a opy. This copy will have a reasonable finish, and then you can scribe panel lines, smoothen finish, open small holes, etc. Those latter operations are usually nasty on bodyworks made with varied materials. An example: try to scribe a line over an area that has resin, thick putty oat, and a thin coat on the transition zone: results of sribing are so different between epoxy putty and resin, and an simply tore off the thin putty so arefully applied in the middle...
Hope this all helps
James
|
|
|
|
Post by Calvin on Dec 18, 2010 12:07:38 GMT -5
Thanks for the tips! BTW the Blue is just paint  |
|
|
|
Post by Calvin on Dec 18, 2010 13:44:33 GMT -5
Look! Black Resin Tires! ;D They came out OK I'm fairly happy with them, they got a little air pocket next to the steam STEM. Seems to be hard to avoid? I guess if you put the air pocket side down on the ground you'd never see it. But Besides that they look like real late 80's AMT tires! I sanded off the Goodyear logo so you can buy Indycals Tire decals for them.  BTW the center part of the tire is just thin "flashing" Im just showing what these tires look like straight out of the mold. 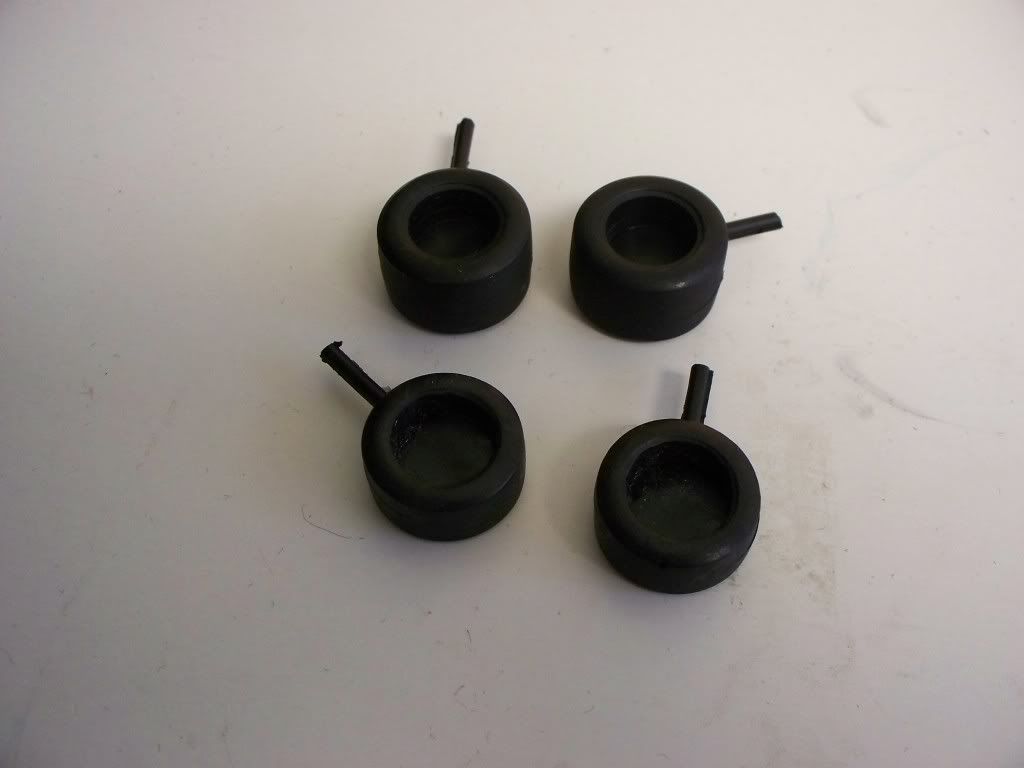
|
|
|
|
Post by indycals on Dec 18, 2010 13:46:57 GMT -5
Simple solution to the seam problem. Take these resin tires and it off, fix any imperfections in the tires, then make molds from the resin tires
|
|
|
|
Post by Calvin on Dec 18, 2010 14:36:30 GMT -5
I guess Im not getting what your saying? But Im happy with how the tires came out for my first try but I just need to do a different technique of pouring with my current rubber molds to hopefully solve my minor air bubbles that formed right next to the pouring hole (Stem/rod)
|
|
|
|
Post by Calvin on Dec 18, 2010 14:41:55 GMT -5
Oh I know why we are not seeing eye to eye I miss spelled Stem and you thought I was saying seam like the seam around the tire.
|
|
|
|
Post by indycals on Dec 18, 2010 14:45:18 GMT -5
Ah... Got it...
|
|
|
|
Post by elsapito on Dec 18, 2010 14:59:24 GMT -5
Tip: instead of a tubular vent, use a 1mm thick plastic plate that covers the whole width of tyre. Stick it to the original by the edge. It even allows to pull out the cured tyre thru that from a 1 piece mould. I do that and it works ;-) Ok, so color is paint  I thought it was some strange colored resin. |
|
|
|
Post by Calvin on Dec 18, 2010 15:25:30 GMT -5
Good idea, I could actually carve that pore hole/vent bigger into more of a rectangle shape like you said, which in turn would allow the air to escape better. Because Im not really into the fact of redoing my molds because just doing two different tire molds is around $15 that I can figure.
|
|
|
|
Post by kurzheck on Dec 18, 2010 15:33:16 GMT -5
Elsapito's suggestion of a 1mm plate works well. I have also done well with adding a vent. Here is a Dunlop fresh from the mould. The small vent stub is at the very top of the tire and the larger pour stub is directly beside it. This allows air to escape preventing air pockets, if there is a pocket it's between the pour and vent stub which becomes the bottom of the tire when demoulded. Trevor 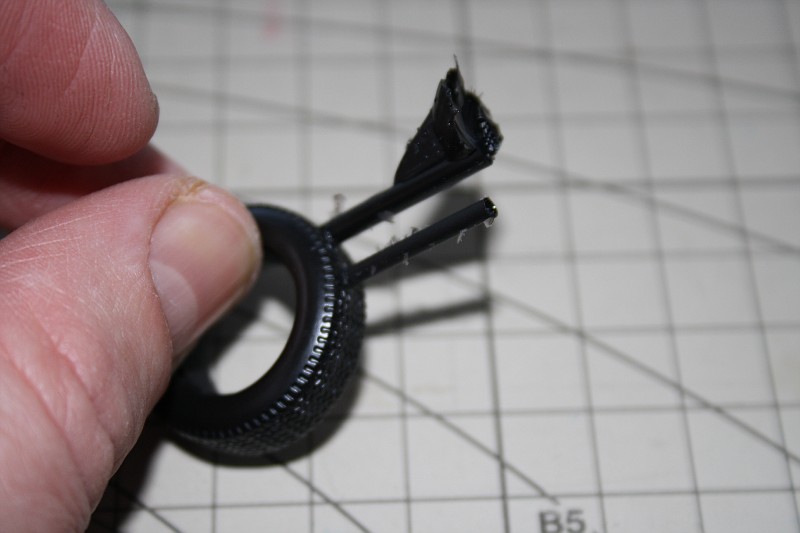 Hosted on Fotki Hosted on Fotki |
|
|
|
Post by Calvin on Dec 18, 2010 16:17:55 GMT -5
I opened up the pour hole more and they came out a lot better! Thanks for the help!!!! It made all the difference. 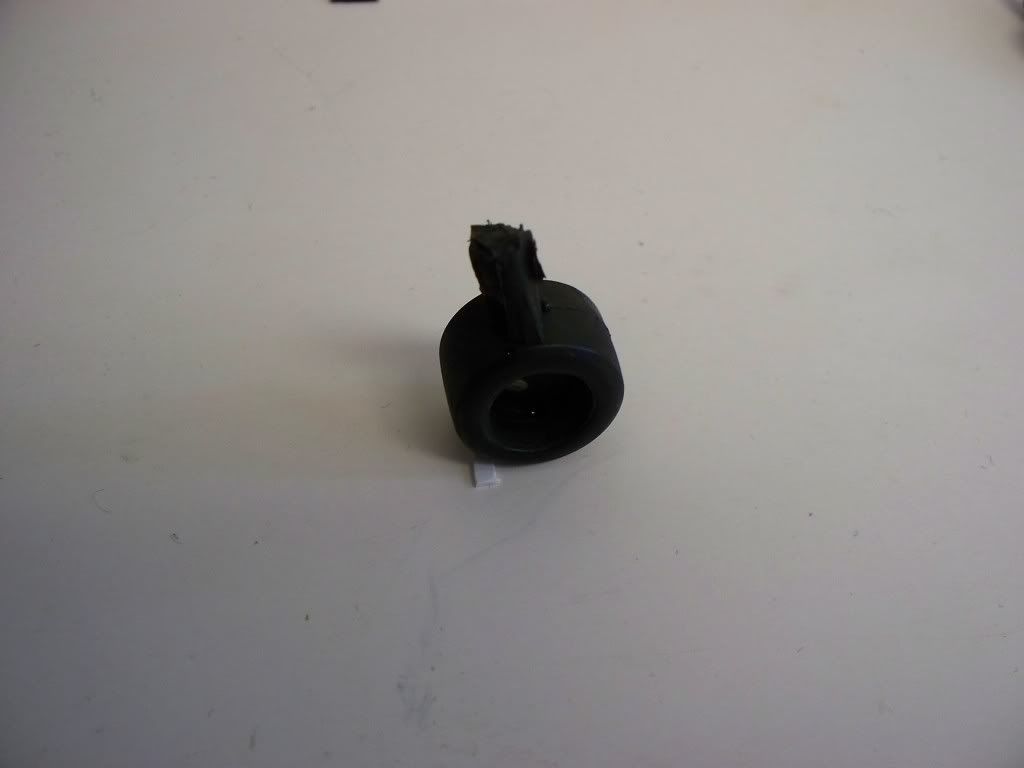 |
|
|
|
Post by Calvin on Dec 18, 2010 18:47:02 GMT -5
|
|
|
|
Post by stonecold44 on Dec 18, 2010 22:06:46 GMT -5
What will the approximate price be? I love that car and you're doing a great job on it.
|
|
|
|
Post by Calvin on Dec 18, 2010 22:34:03 GMT -5
What will the approximate price be? I love that car and you're doing a great job on it. I dont have an approximate price set. I will set the price when I make my official announcement.....which I think will be very soon. I still need to pencil out everything.  |
|
|
|
Post by 2lapsdown on Dec 18, 2010 23:02:28 GMT -5
Would you consider making those tire sets available separately?
John
|
|
|
|
Post by Calvin on Dec 18, 2010 23:30:46 GMT -5
Would you consider making those tire sets available separately? John Yep, but after I can get the Wildcat all done, Im to busy right now....but later after the Cat is done, heck yes! Im really happy with how well the tires came out! I think they would work on a lot of cars and improve the looks. I know they would help out the PC6. Im not to sure what the real tire sizes are on the 70's Mclaren's and Eagles? It would be nice to use these resin tires on those instead of those cruel 70's AMT split tires that dont seem to stick together. |
|
|
|
Post by Calvin on Dec 19, 2010 4:20:45 GMT -5
Another Update. I just got done with some more resin pieces. They came out pretty good, the front wings could be better but still Im doing a lot of trial and error. 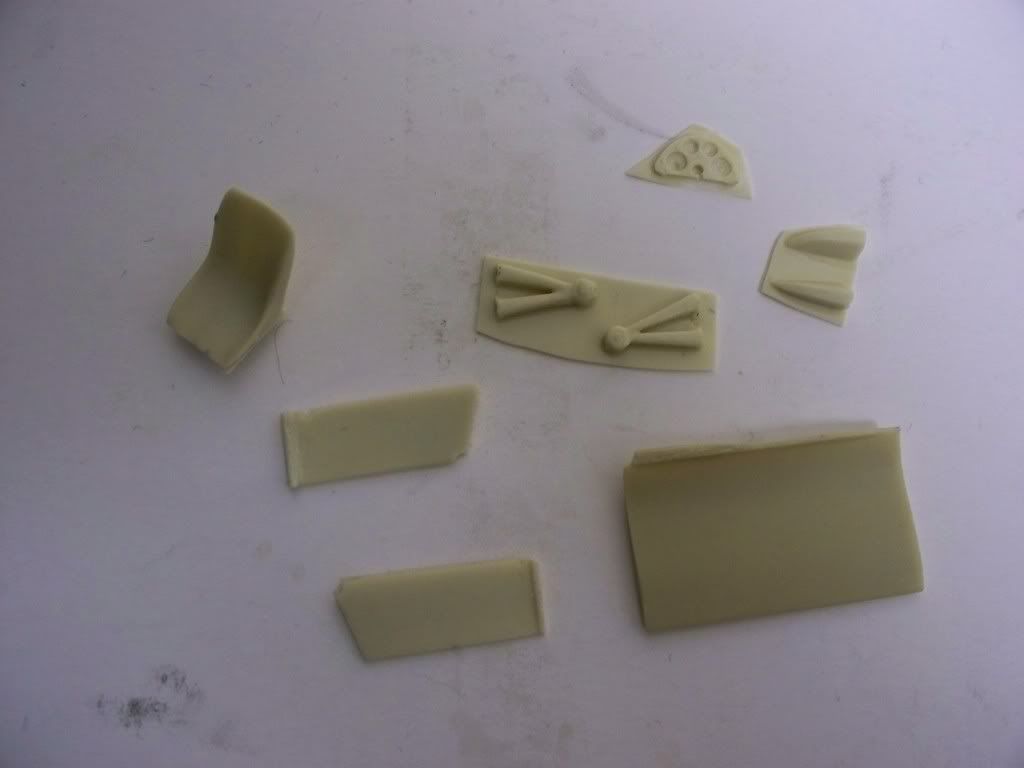 Its hard to see but I got the roll bar area almost worked out I think and I've been checking over the car looking for anything wrong which I still do find.  but less and less 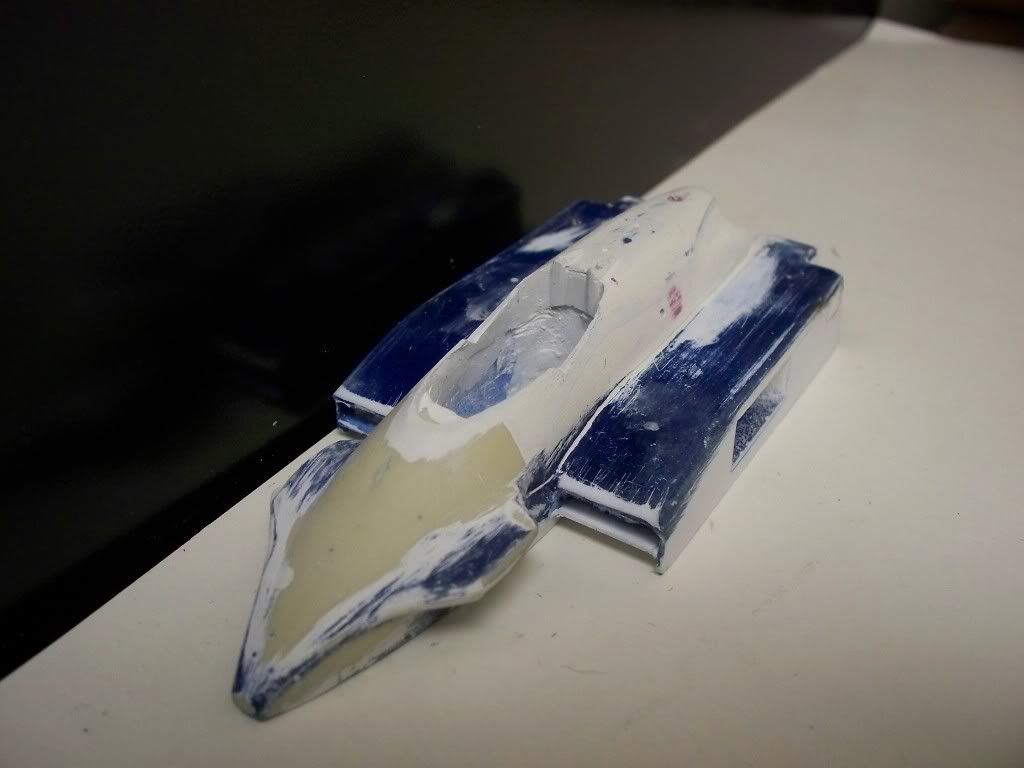 I'd like to put some color on tomorrow so we can really see whats going on!  |
|
|
|
Post by 2lapsdown on Dec 19, 2010 8:15:40 GMT -5
Thanks for the response on the tires. I was thinking along those lines, that's why I wondered about separate sets being available. Calvin, I'm afraid that when you finally take a well deserved rest from this project you'll end up like Rip Van Winkle. Thanks again for all the hard work. It looks fantastic!!
John
|
|
|
|
Post by elsapito on Dec 19, 2010 10:33:44 GMT -5
I'd like to put some color on tomorrow so we can really see whats going on!  Better use just grey primer: it's better for revealing mistakes and with "good" color you'll be carried away by the will to see it finished  the boring dull grey will help you to keep some distance from your "son"  and remain analyti and objective! Glad the tyre trick worked. And good trick to modify the mould rather than doing a new one. Yes that's the point: resin in, air out. |
|
|
|
Post by Calvin on Dec 19, 2010 12:27:08 GMT -5
Calvin, I'm afraid that when you finally take a well deserved rest from this project you'll end up like Rip Van Winkle. I dont think so....LOL ;D |
|