|
|
Post by raceparke on May 16, 2015 17:08:47 GMT -5
I recently got this kit and couldn't wait to do stuff to it. (Sorry Eagle 755- you're on hiatus) First I put in bulkheads behind and in front of driver and added one in front of engine bay. I painted black in the wheel mounting areas. 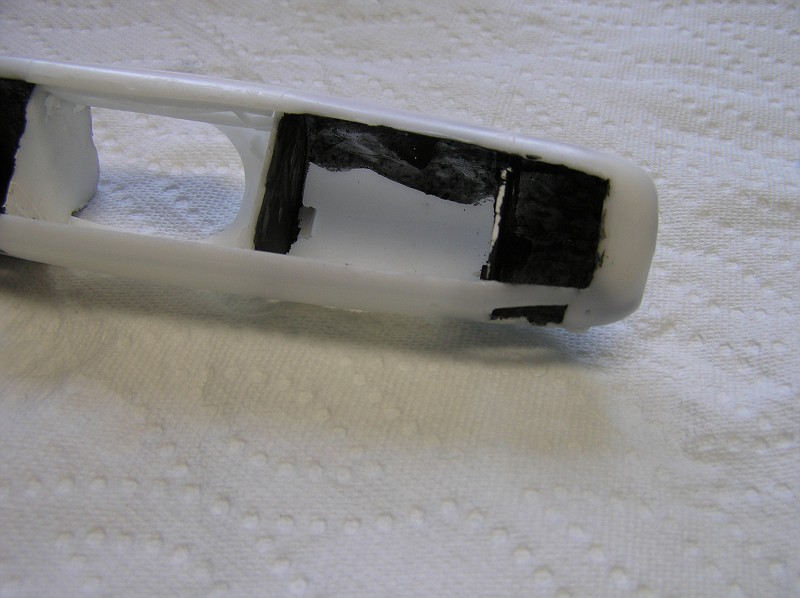 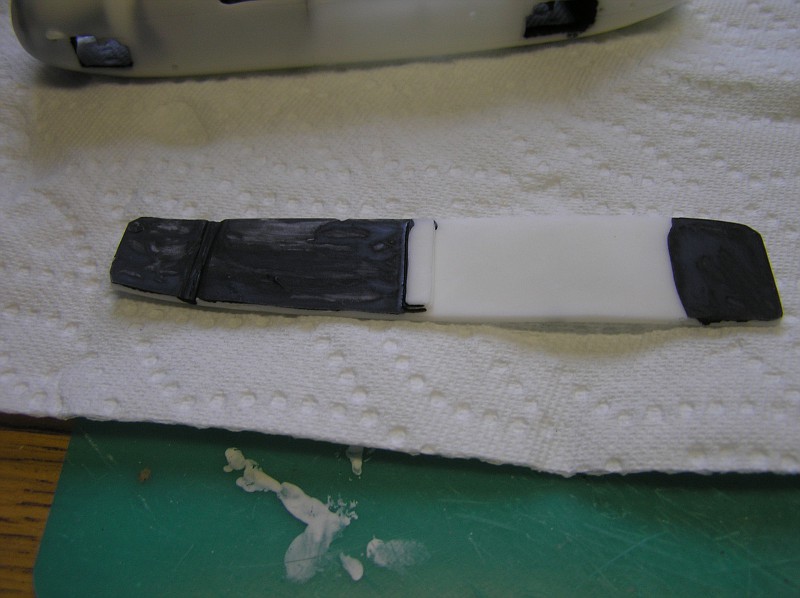 Then I cut the floor apart at the molded in panel lines and glued the front and back pieces in place leaving access to the cockpit area. 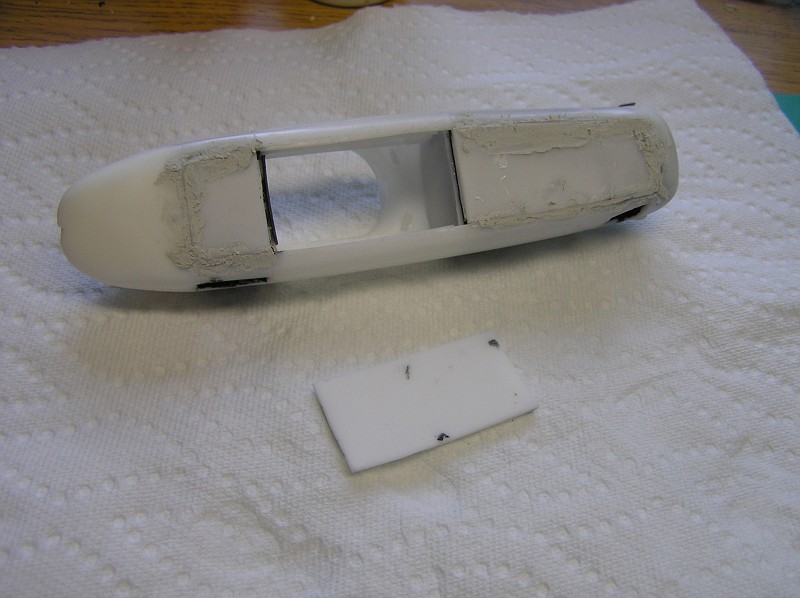 The openings in the body for axles are black inside. When I paint the body I'll fill those spaces with peanut butter or something to keep them black. 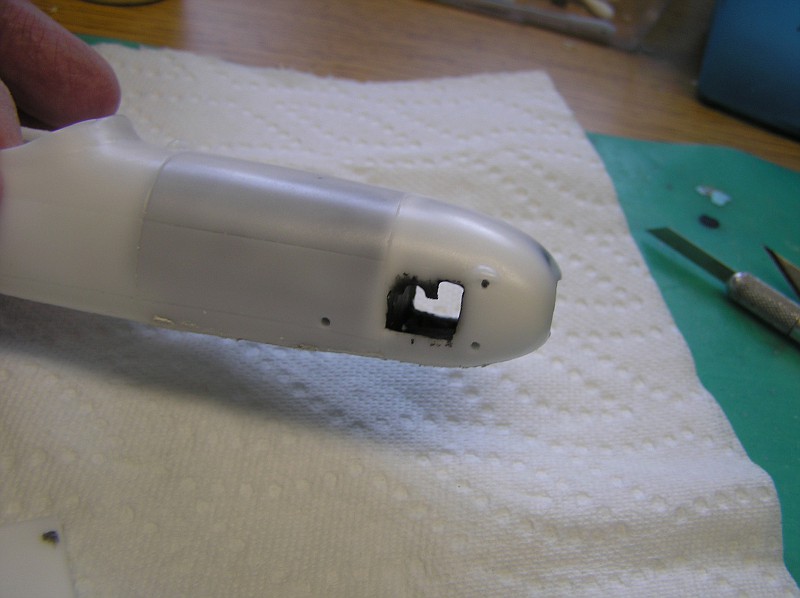 I also added the frame rails and tranny/driveshaft. 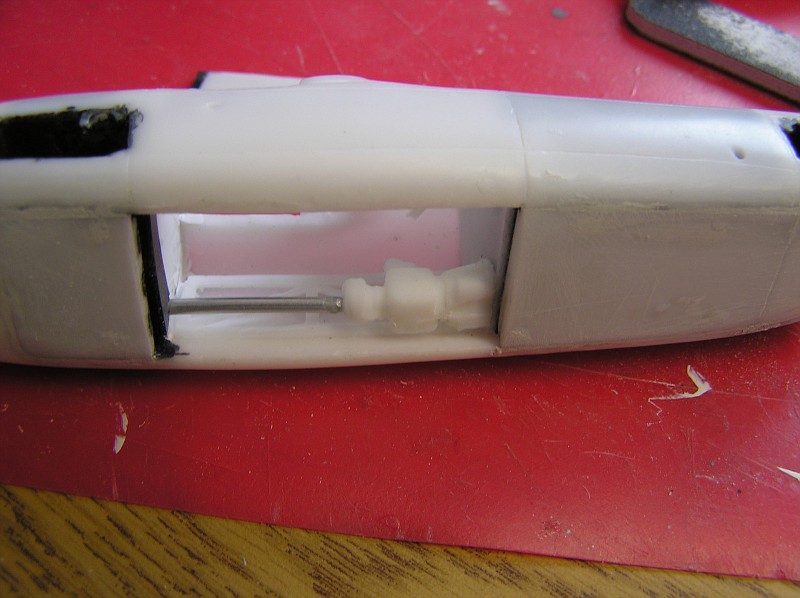 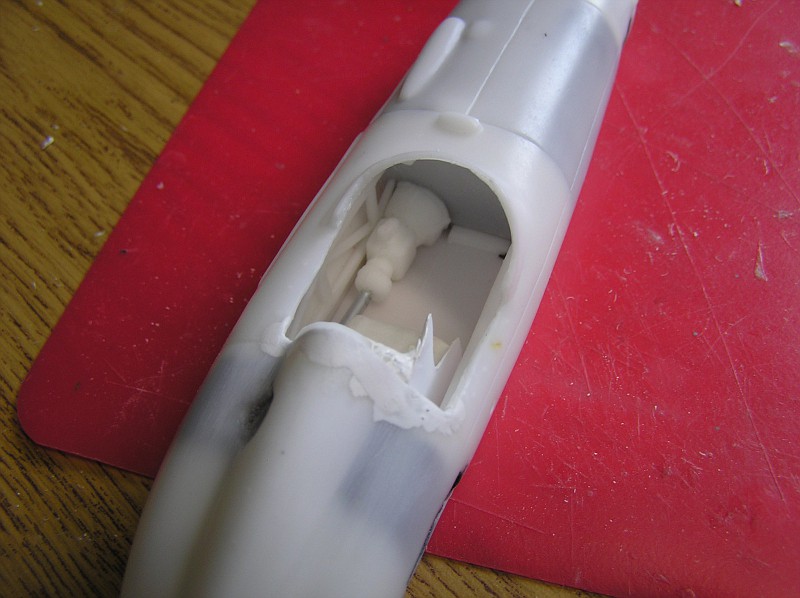 The idea is to fill and sand the body work around and beneath the axles while still being able to detail the interior, seats and dash. Hopefully more soon. Herself has some gardening plans that look to burn some time, but we'll see. Maybe the Indy rains will move this way. . . |
|
|
|
Post by Gary Davis on May 16, 2015 19:12:58 GMT -5
This is going to be cool..(it is already...) I also have this Kit along with the Etzels Dirt Kuzma. I plan to build the 1956 Jimmy Bryan Dean Van Lines Team cars. That should be in the next....let's see...year or two???
|
|
|
|
Post by clm1545 on May 16, 2015 20:44:15 GMT -5
Looking great so far. I have done some research on this car, and as a result, I'm going to paint mine WHITE.
|
|
|
|
Post by racerbrown on May 16, 2015 22:03:14 GMT -5
Looking great so far. I have done some research on this car, and as a result, I'm going to paint mine WHITE. and what shade of white would that be sir?  duane |
|
|
|
Post by clm1545 on May 16, 2015 22:39:25 GMT -5
Whatever comes out of the Krylon can, Duane.
|
|
|
|
Post by kip on May 17, 2015 7:26:58 GMT -5
I got mine last week. I am glad you are doing this WIP. The idea of splitting the belly pan is one that I am going to use. I would not have thought of that myself. Thanks for sharing. Great start.
kip
|
|
|
|
Post by sandysixtysfan on May 17, 2015 8:01:12 GMT -5
I got mine last week. The idea of splitting the belly pan is one that I am going to use. I would not have thought of that myself. Thanks for sharing. kip Ditto here, a really good idea. Now Craig, Duane and Cal, let's talk white. Refrigerator white, Chaparral white, Tamiya Honda Racing white, Tamiya pure white, Krylon #1236 white, Duplicolor #42-621 Camaro white, #14-596 Chrysler Sebring white... BTW, Gary has just released the yellow and black DA Lube Kuzma. Sandy |
|
|
|
Post by alterrenner on May 17, 2015 8:03:06 GMT -5
What color of peanut butter are you going to use: the Skippy tan color, Kebbler dark brown, or maybe that chocolate stuff that's out now?
Let's get a real peanut butter debate going here...
--Frank
|
|
|
|
Post by raceparke on May 17, 2015 8:52:03 GMT -5
ROTFLMAO a peanut butter color debate! Oh Calvin, what do you think?
|
|
|
|
Post by Calvin on May 17, 2015 14:02:20 GMT -5
I dont know anything about peanut butter besides that more people than ever before are allergic to peanuts!
|
|
|
|
Post by racerbrown on May 17, 2015 14:10:07 GMT -5
I dont know anything about peanut butter besides that more people than ever before are allergic to peanuts! try the almond butter calvin! easier to get off the car as well. duane |
|
|
|
Post by clm1545 on May 17, 2015 21:50:30 GMT -5
Well, Sandy, my can of Krylon says "glossy white" and that's close enough for me. Years ago, a guy that worked for me always would say "that's good enough for who it's for". I guess that sums up my build philosophy.
Duane, cashew butter FTW.
|
|
|
|
Post by 2lapsdown on May 17, 2015 22:21:05 GMT -5
Craig, "Good enough for who it's for" works for me too. I've been building models for over 50 years and not once has anyone told me I painted one the wrong color.
John
|
|
|
|
Post by Calvin on May 17, 2015 22:40:16 GMT -5
I've been building models for over 50 years  I started building models in 1999 so that means I wont make it to 50 years until 2049! and not once has anyone told me I painted one the wrong color. If you post some picture on here we can fix that problem!  |
|
|
|
Post by sandysixtysfan on May 18, 2015 5:44:04 GMT -5
Well, Sandy, my can of Krylon says "glossy white" and that's close enough for me. Years ago, a guy that worked for me always would say "that's good enough for who it's for". I guess that sums up my build philosophy. Duane, cashew butter FTW. Honestly Craig I'm with you on this. The 'keep it simple' principal applies here also. So, with a can of Krylon at the ready, have you started a Kuzma yet? Sandy |
|
|
|
Post by clm1545 on May 18, 2015 12:47:19 GMT -5
Well, Sandy, I opened the box, saw there was a kit in there, and put it on the shelf. Does that count?
|
|
|
|
Post by sandysixtysfan on May 18, 2015 14:36:48 GMT -5
Well, Sandy, I opened the box, saw there was a kit in there, and put it on the shelf. Does that count? Yep. |
|
|
|
Post by racerbrown on May 18, 2015 17:09:28 GMT -5
Well, Sandy, I opened the box, saw there was a kit in there, and put it on the shelf. Does that count? Yep. at least wait until the smoke clears out of it before you start...  duane |
|
|
|
Post by bobbyc on May 18, 2015 18:50:42 GMT -5
You guys left out Testors Classic White, which is the color I'm going to paint mine. (I just got it last Saturday). On the real car, the entire back of the left side radiator shell is open, right?
|
|
|
|
Post by bobbyc on May 18, 2015 18:51:47 GMT -5
I forgot to mention- Nice job on the car so far. I, also, would not have thought to split the floor pan. That was a good idea!
|
|
|
|
Post by raceparke on May 19, 2015 16:59:05 GMT -5
Little steps. . Using my patented Slingshot Rubber Band Mounting System (SRBMS), I attached the axles temporarily to see what was what 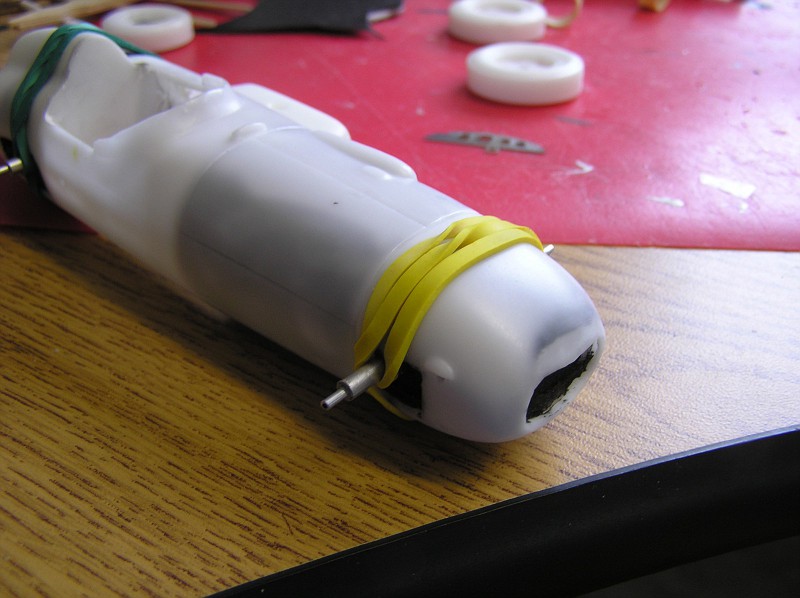 For reasons that will become apparent, I glued the oil tank atop the guide rail, not along it. It's hard to tell it clearly and not easy to photo either, but I know what I mean! 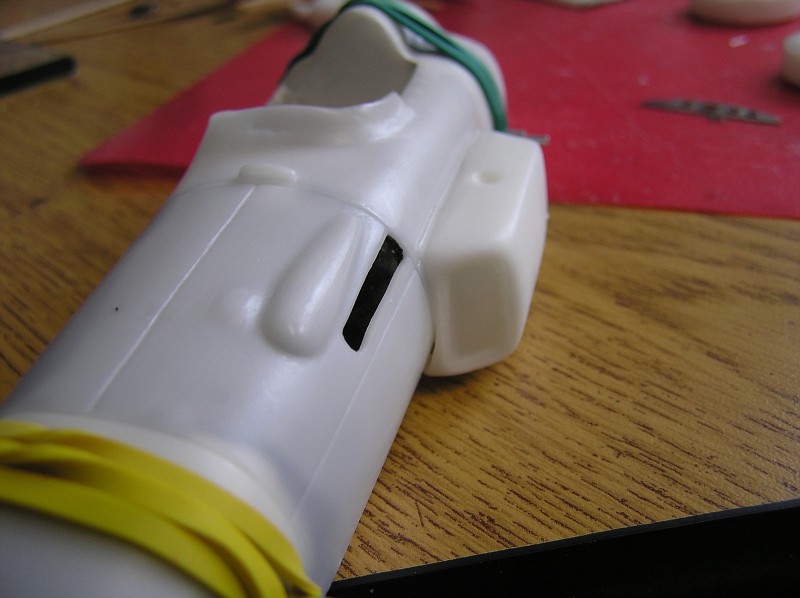 This had the effect of raising it slightly on the body (away from the ground plane). 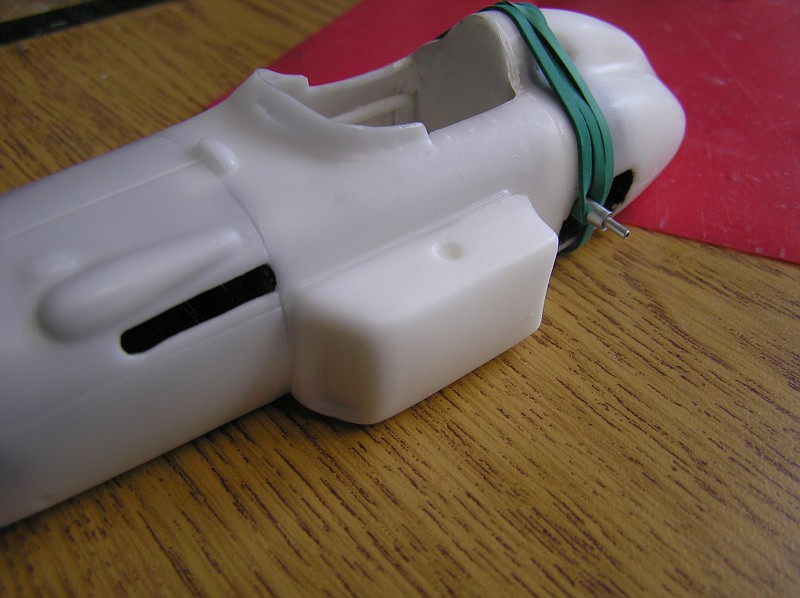 Thus matching the curve at the back of the tank to the curve of the rear tire. 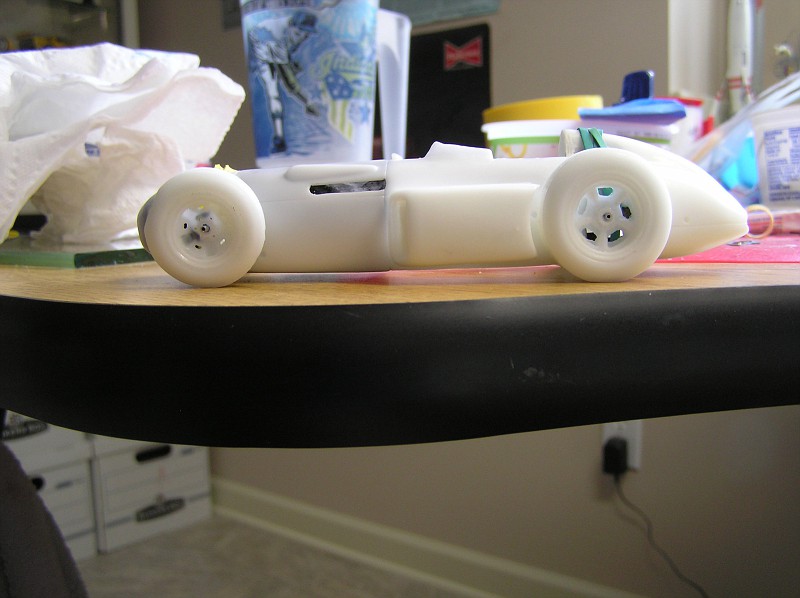 I'm opening up the holes in the wheels a bit too. 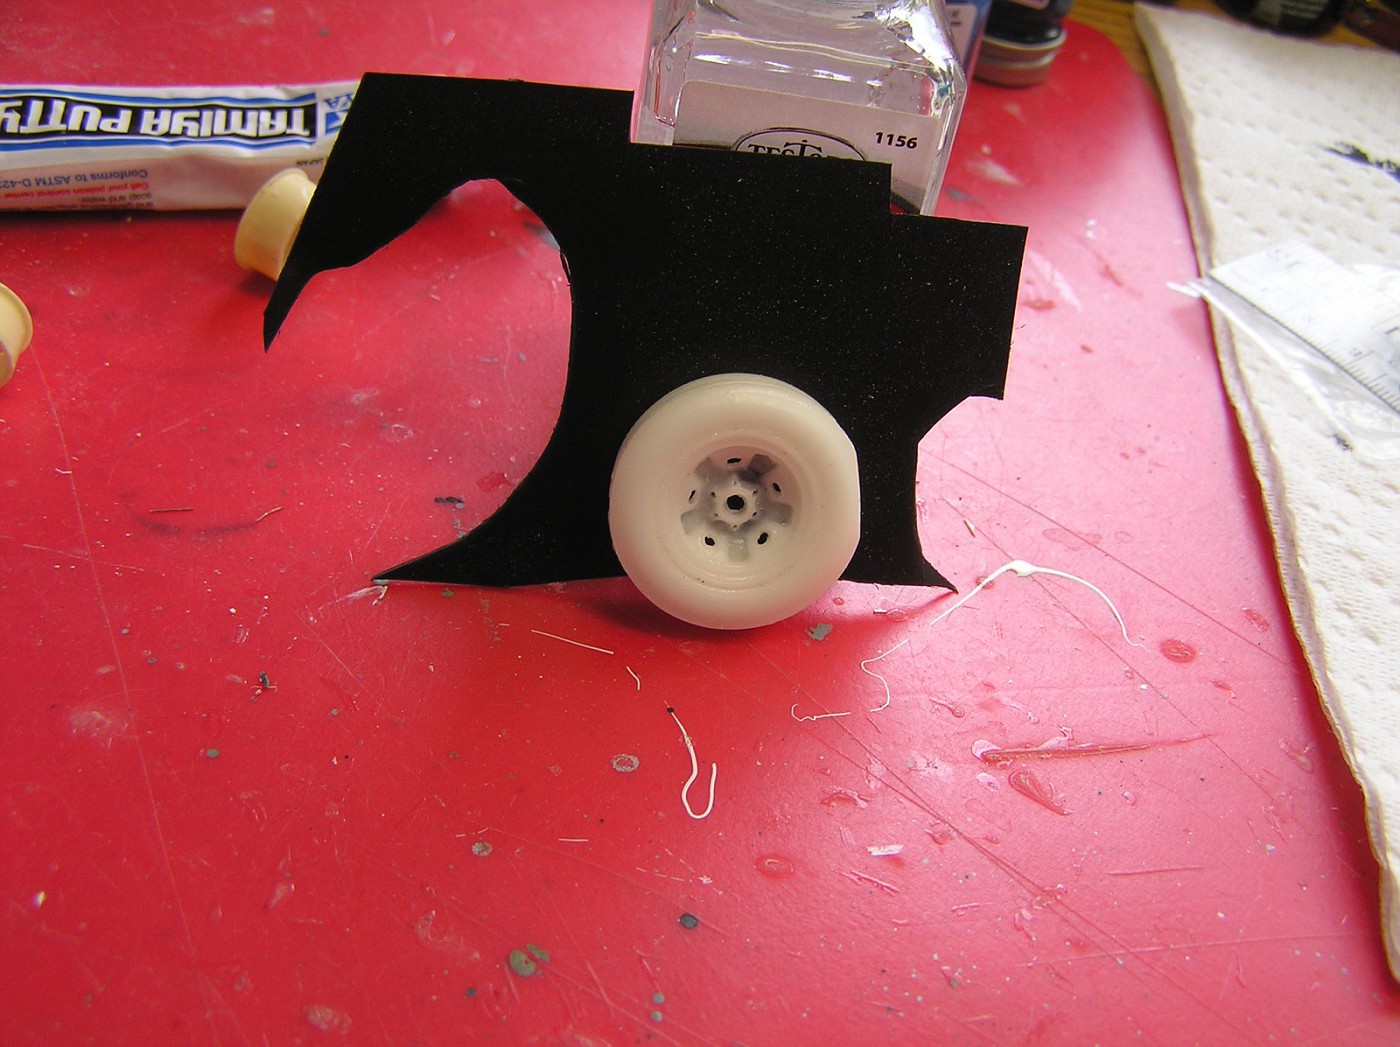 Gotta love the old timers. More coming |
|
|
|
Post by clm1545 on May 19, 2015 17:53:45 GMT -5
Looking great, Dan. I think I will ignore the instructions, and just follow your build.
|
|
|
|
Post by sandysixtysfan on May 20, 2015 6:05:23 GMT -5
Looking great, Dan. I think I will ignore the instructions, and just follow your build. Same here. I was messing with the placement of the side tank the other night. Thx, you cleared up this question for me! Sandy |
|
|
|
Post by Calvin on May 20, 2015 8:49:59 GMT -5
at least wait until the smoke clears out of it before you start...  duane Something tells me that Gary smokes this brand....   Short for extra Doucette's? |
|
|
|
Post by 1961redlegs on May 20, 2015 20:52:42 GMT -5
This is in my queue to build too, I'll be watching closely. You've got a great start going!
|
|
|
|
Post by bobbyc on May 21, 2015 7:58:04 GMT -5
I also would like to confirm that the back of that side pod is open so the air going through the radiator can escape. I suppose it could also exit through the bottom, but I don't think that would be the case. I was unable to find any photos of the back of that fairing/pod. Anybody know for sure?
|
|
|
|
Post by sandysixtysfan on May 21, 2015 16:12:09 GMT -5
I also would like to confirm that the back of that side pod is open so the air going through the radiator can escape. I suppose it could also exit through the bottom, but I don't think that would be the case. I was unable to find any photos of the back of that fairing/pod. Anybody know for sure? With this in mind I plan to Dremel out the back of the pod. It won't take much to give the back an open look as the wheel obstructs a lot of the view, but will still add some 'depth' to the model. Thx guys for posting your info on this build. My DA Lube Kuzma arrived today. I'm probably going to build this version as there's only a few differences beyond the color between the two kits. Sandy |
|
|
|
Post by bobbyc on May 21, 2015 17:25:53 GMT -5
Thanks for that info. Did you notice in the photos of the various Kuzma cars from the 1956 500 that the headrest area is different on some of the cars? Some have the seat covering that area, some don't have anything there, and some have holes drilled out on the panel, either to let air go through without resistance or to save weight. Check it out.
|
|
|
|
Post by sandysixtysfan on May 22, 2015 5:56:56 GMT -5
Thanks for that info. Did you notice in the photos of the various Kuzma cars from the 1956 500 that the headrest area is different on some of the cars? . Thats a good heads-up on these cars Bobby. I did some checking of photos for the one I'm planning on building. Yep, check your references for the particular car being built. Thanks. Sandy |
|
|
|
Post by raceparke on Jun 2, 2015 15:07:09 GMT -5
Company recently- had to clean up before visit and clean up after visit. Finally getting back in the shop. Well, I was out of PB, so I stuffed paper towels in the spaces. (closest match to the PT color is probably Krylon white primer  ). 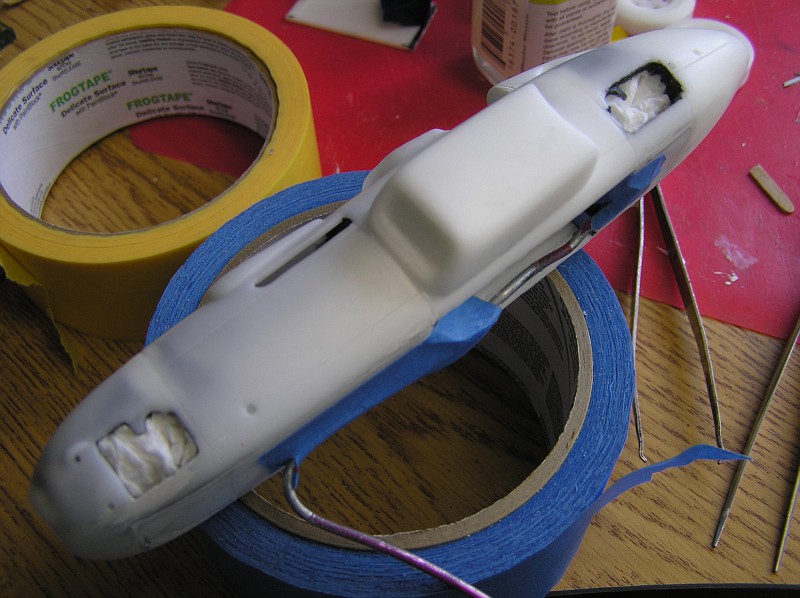 I had filled and sanded the headrest area, then rescribed a panel line to connect to the ones on the sides. Don't know if this is prototypical, but it looks neater to me. 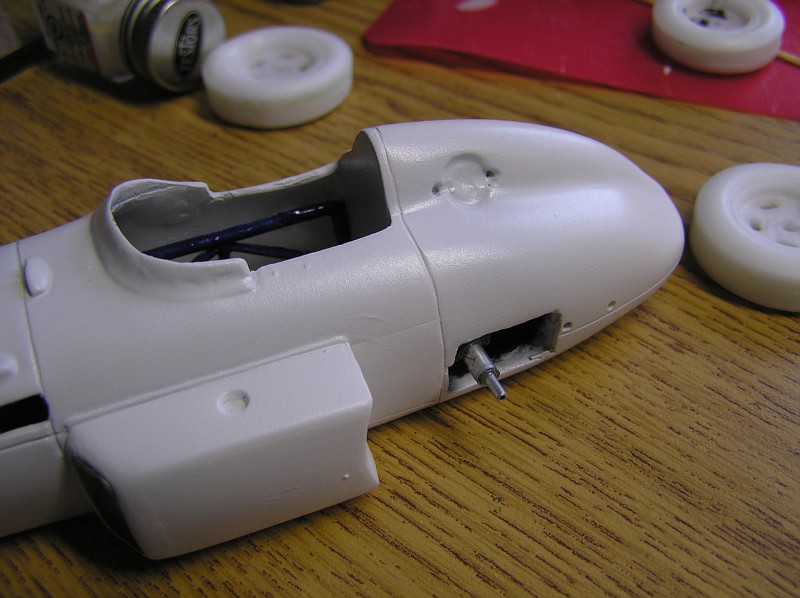 I decided to paint the frame rails blue and floor flat black. Inside of body stays white. 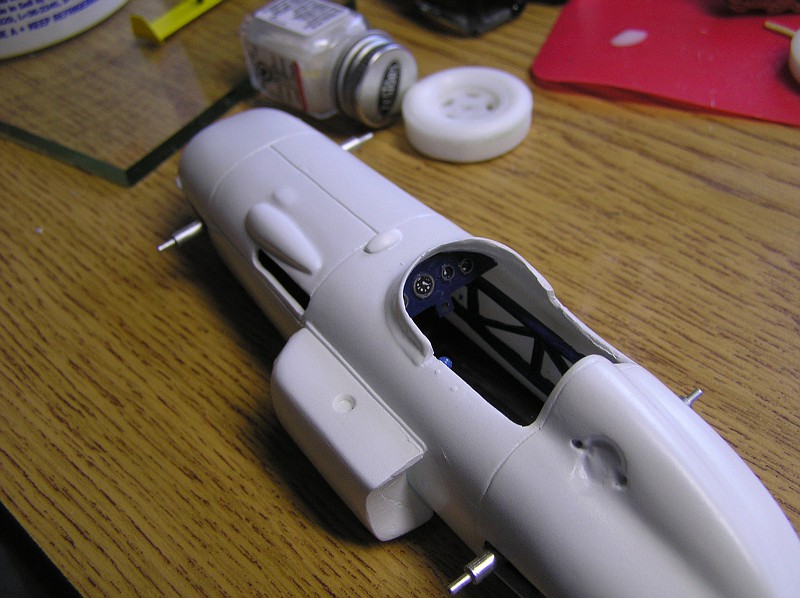 glued the axles in and attaching the links. The front is pretty straightforward. 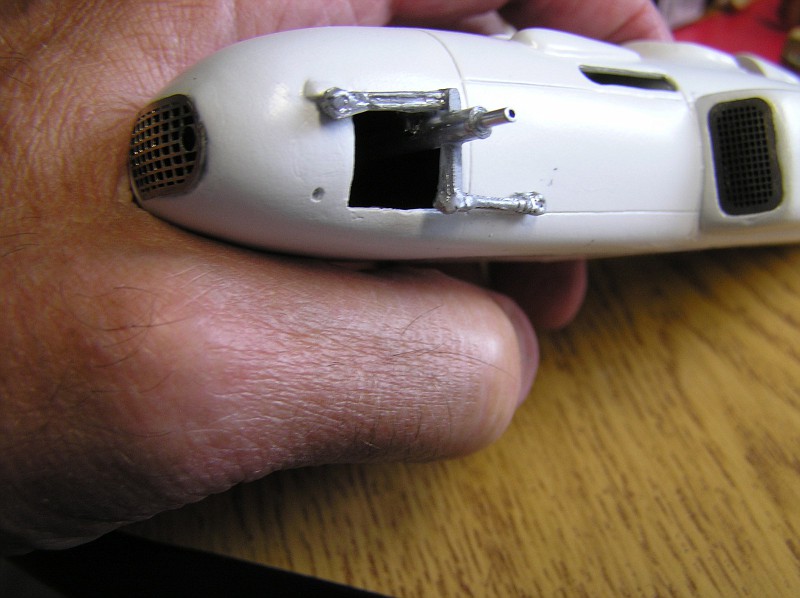 In the rear, I nearly goofed until I realized the torsion bar lever comes forward from the rear of the car and attaches to the bottom of the axle- all opposite to front scheme. 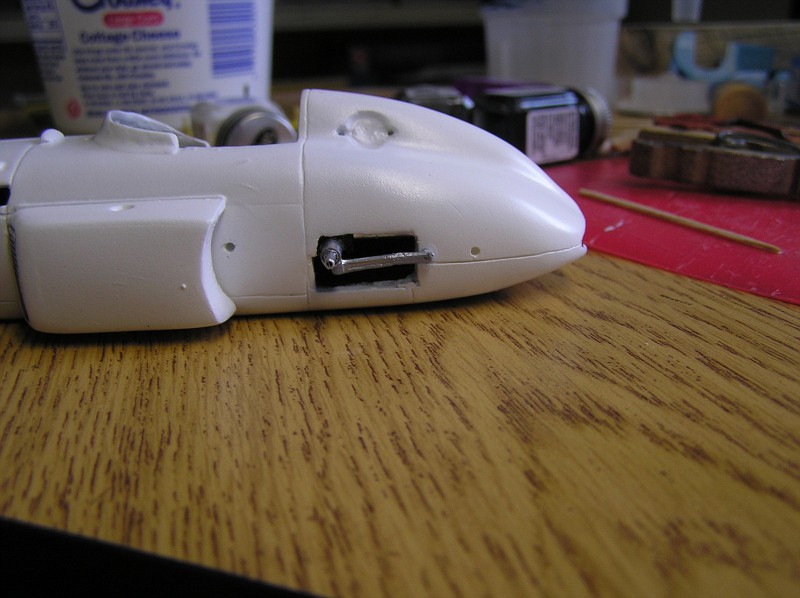 This is the T.B.R.R. (as on Gary's information key for the links) 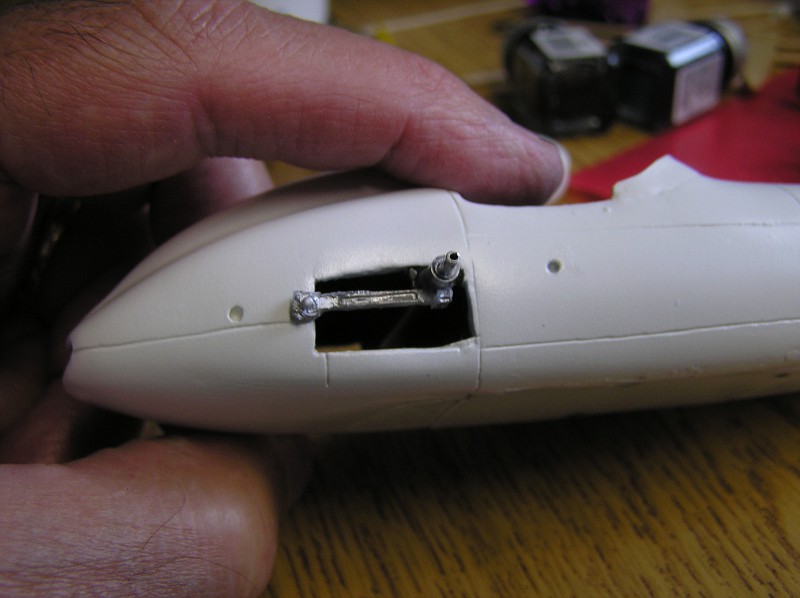 More to come |
|