|
|
Post by raceparke on Sept 20, 2021 15:26:16 GMT -5
Well I've been thinking on this for quite a while, and like the the young boy on the top diving board for the first time, finally held my nose and jumped! I’m reusing an old Mercedes 540 K from Monogram, slightly shortened, as a chassis mock-up. This will a no guts build only what you can see from outside. The wire wheels are wrong but won’t be seen with body on. 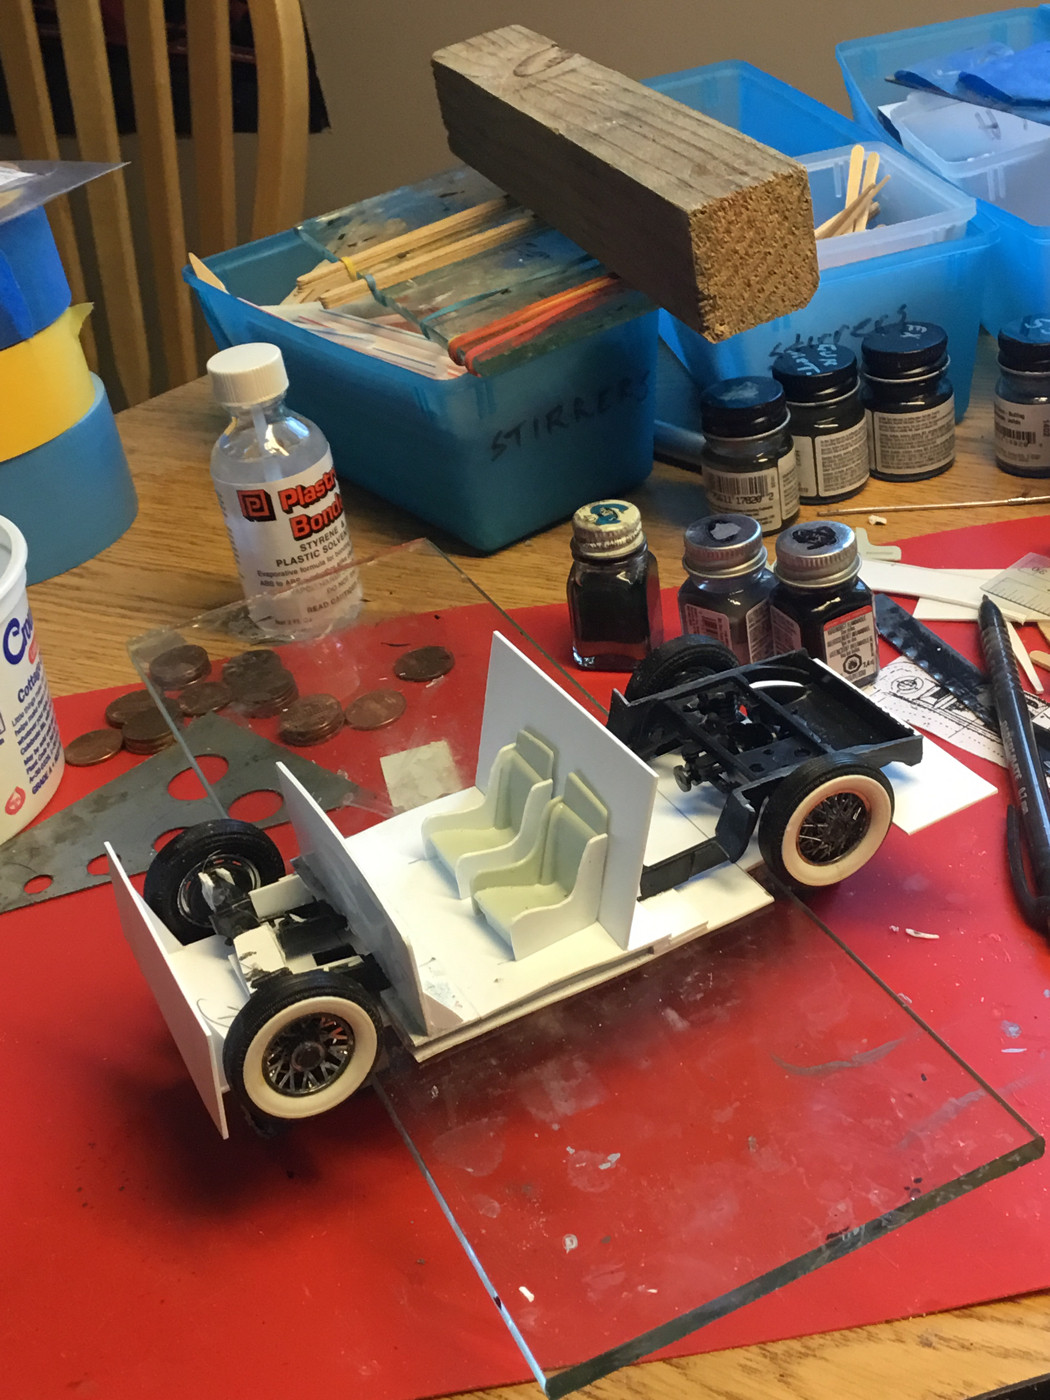 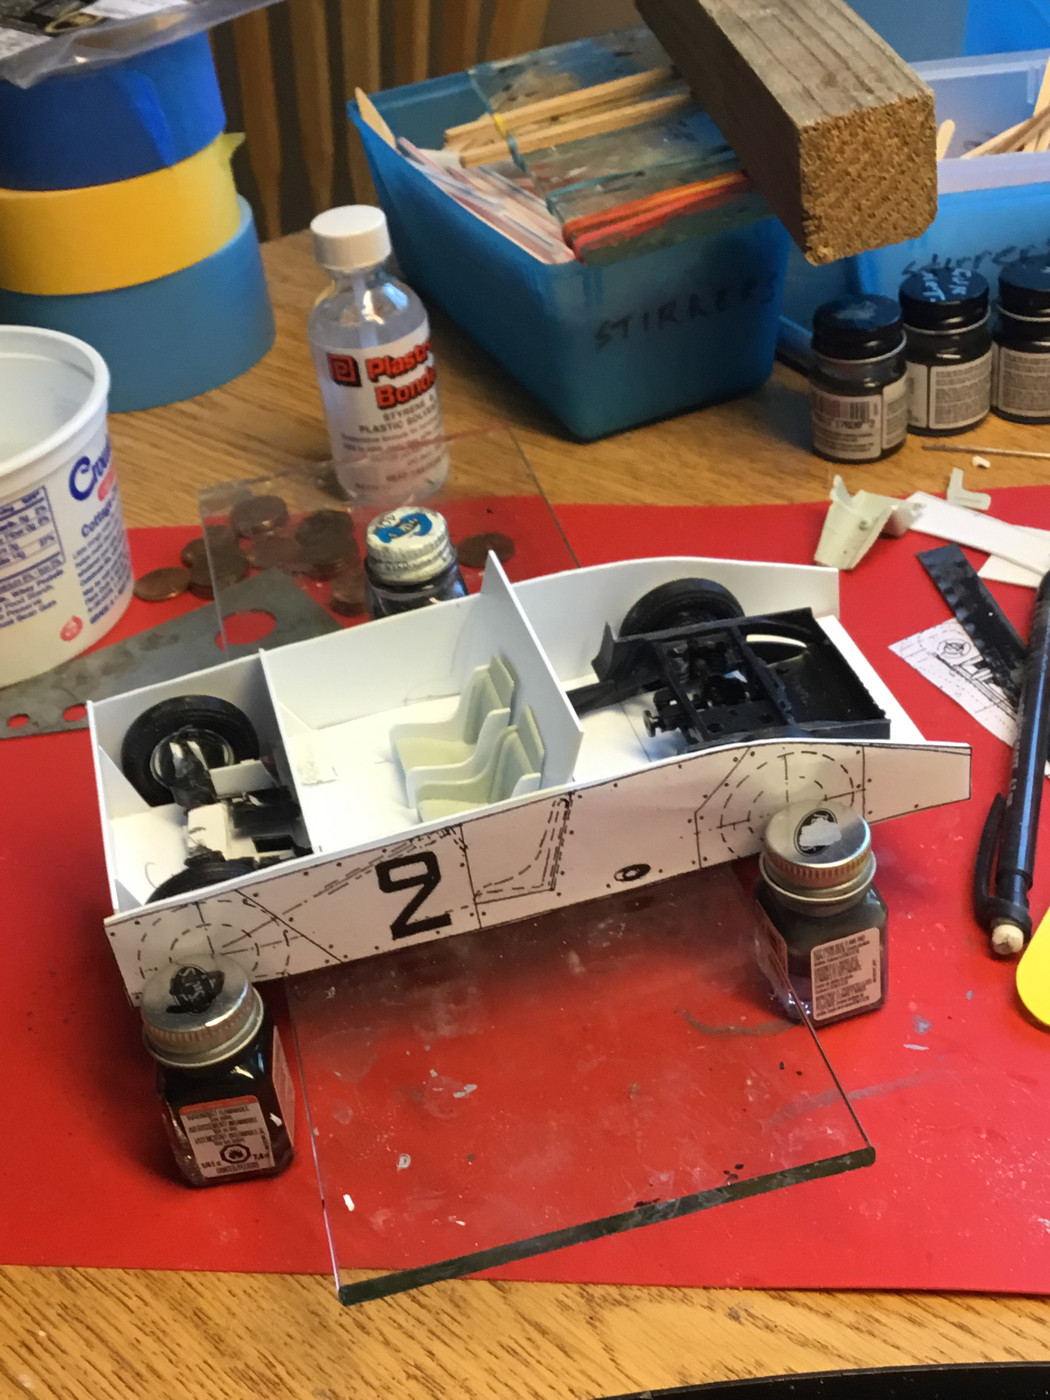 It is of course Le Monstre from 1950 Le Mans entered by Briggs Cunningham, a special bodied Cadillac sedan. He also entered a near stock Caddy which placed 10th to the Le Monstre 11th. Cunningham’s entry at Le Mans was interestingly facilitated by good friend Luigi Chinetti, who won the year before. |
|
|
|
Post by indy on Sept 20, 2021 15:47:53 GMT -5
I love this project. I tried to marry these drawings up a few years back in Sketchup but it did not quite line up. It was not a priority so it was soon abandoned. I recently watched a video about strange LeMans cars and it was talking about the '61 Caddy being a base which brought this back to mind. Great to see you tackling it. Should be easier than some of your other projects  Jordan |
|
|
|
Post by raceparke on Sept 20, 2021 16:29:13 GMT -5
LOL
Yeah, easy-R-us! 😵💫
I’m using plans from an old article in MRRN that I’ve been saving. That plus accumulating quantum mass units of plastic sheet. Amazing how big this vehicle is!
Thanks for looking
Dan
|
|
|
|
Post by indy on Sept 20, 2021 19:16:49 GMT -5
I am looking at the drawings again. I think some of the issues I had could have been self-induced.
Best of luck on the project. Cannot wait to see how you master it!
Jordan
|
|
|
|
Post by Calvin on Sept 21, 2021 2:05:35 GMT -5
Lol 😂 you're awesome! I love how you jump in a BUILD!
I'll be curious how you go about it.
|
|
|
|
Post by raceparke on Sept 21, 2021 13:24:35 GMT -5
The rear panel would have benefited from some perfectly shaped punches. Unfortunately I don’t have such so went with Plan B. Traced the holes and drilled. 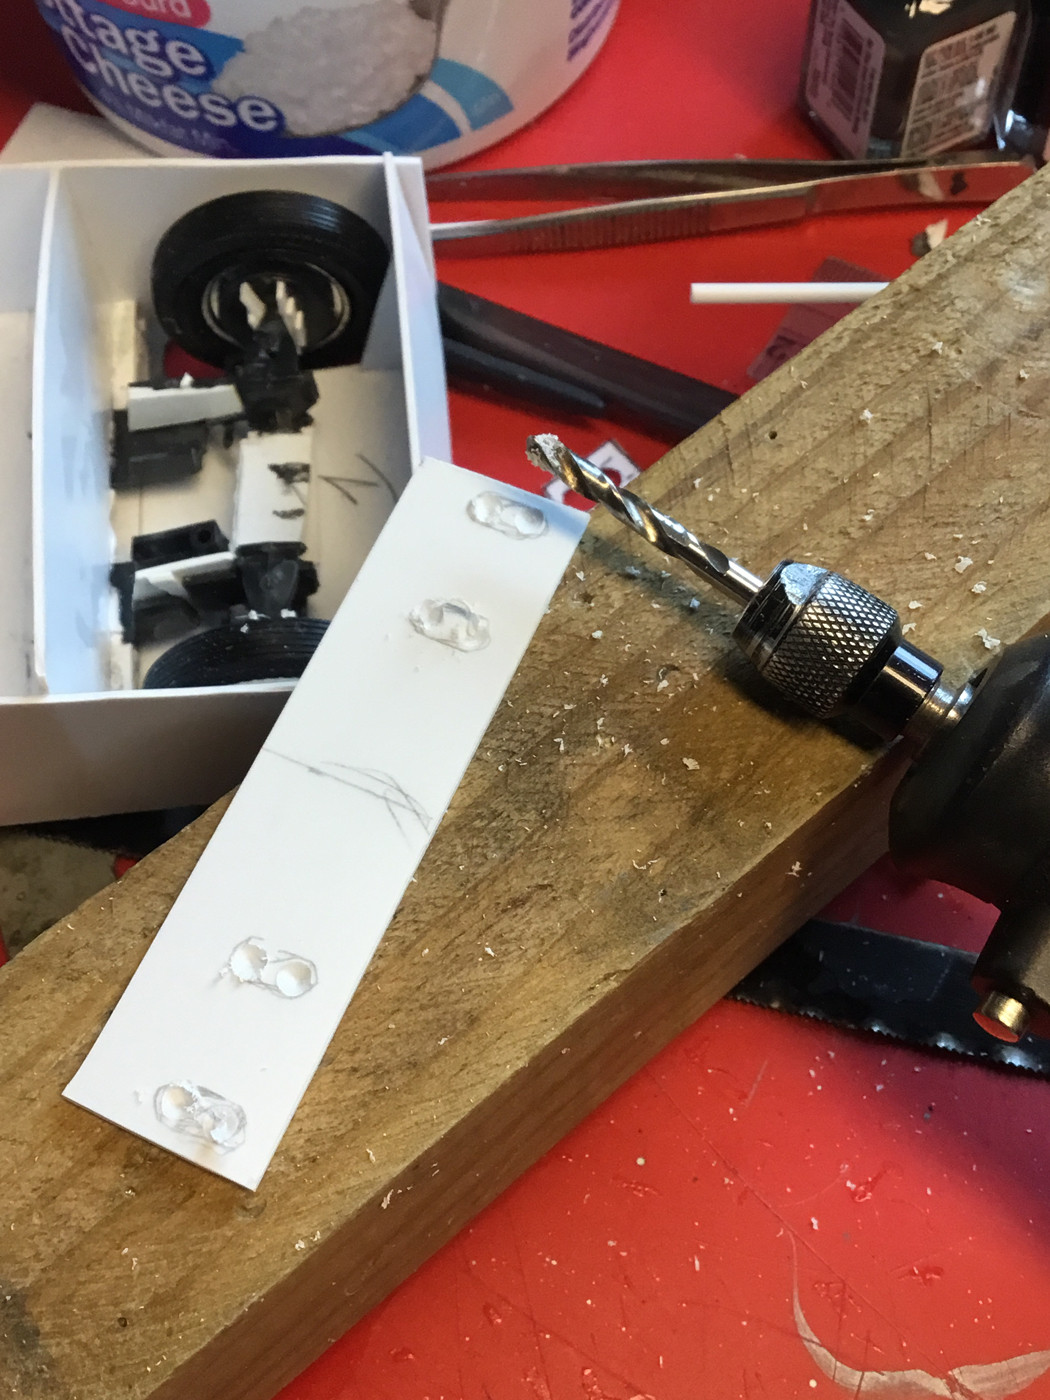 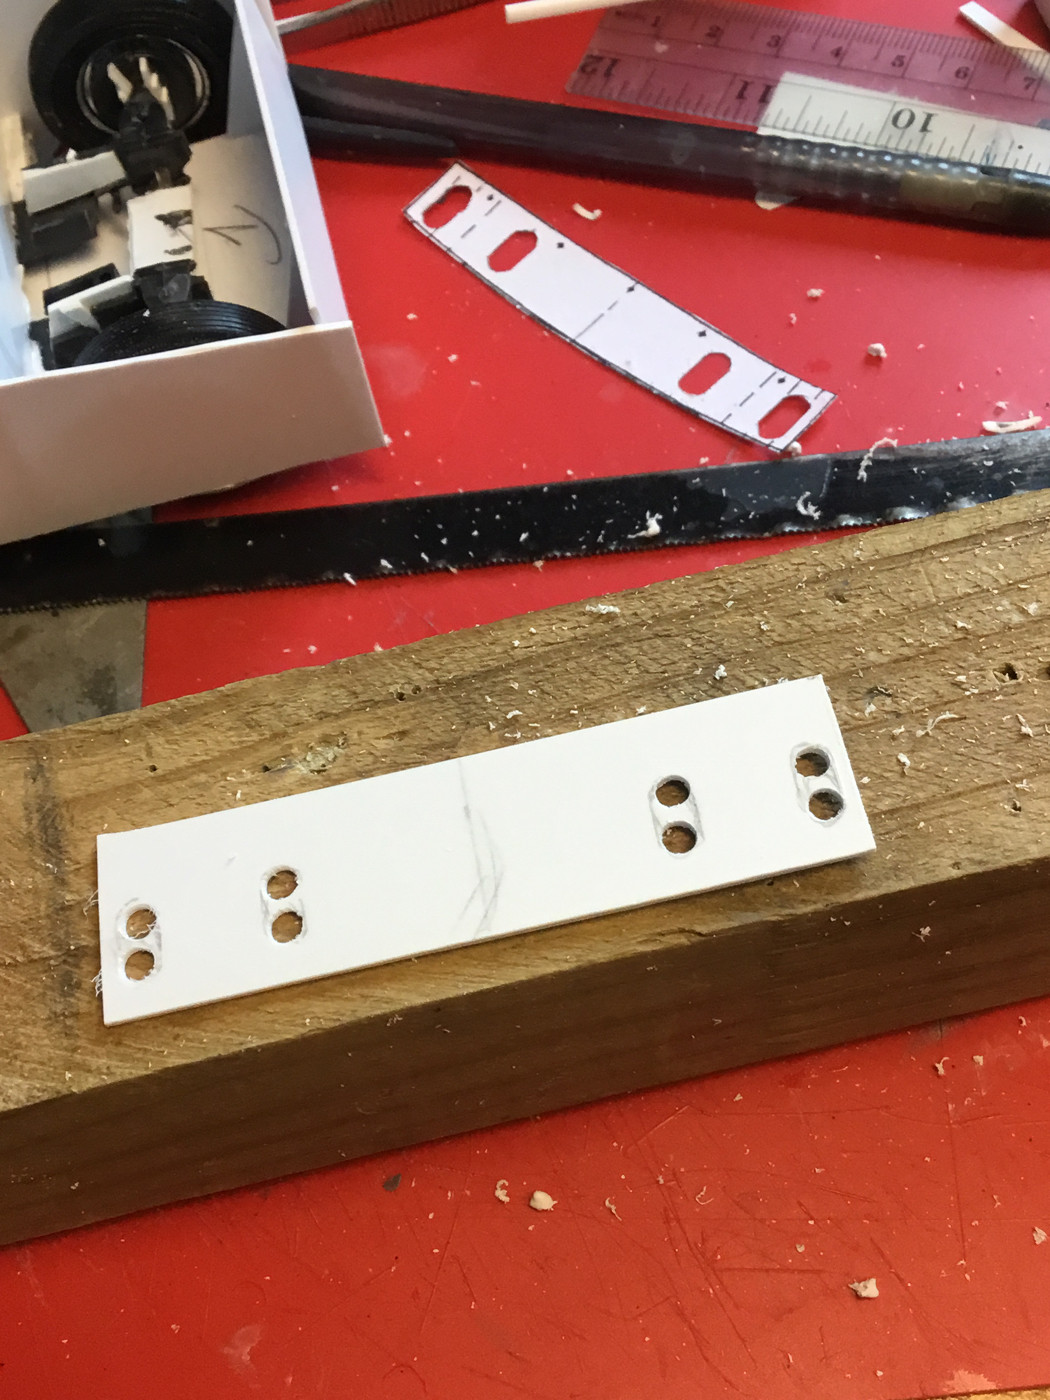 Enlarge the openings 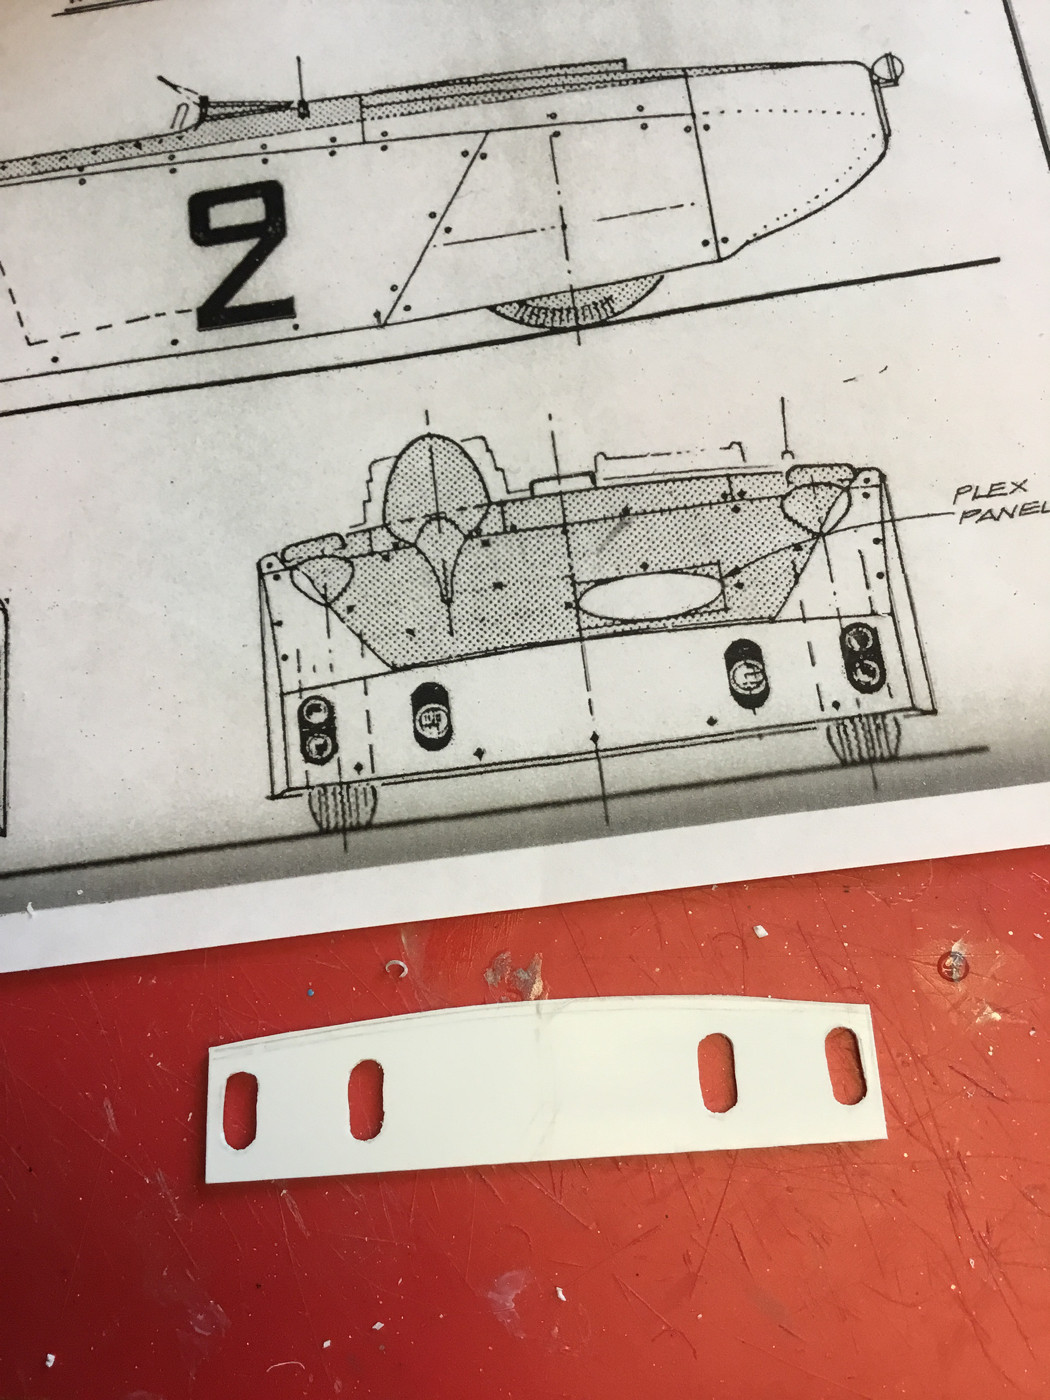 Refine the shapes and attach 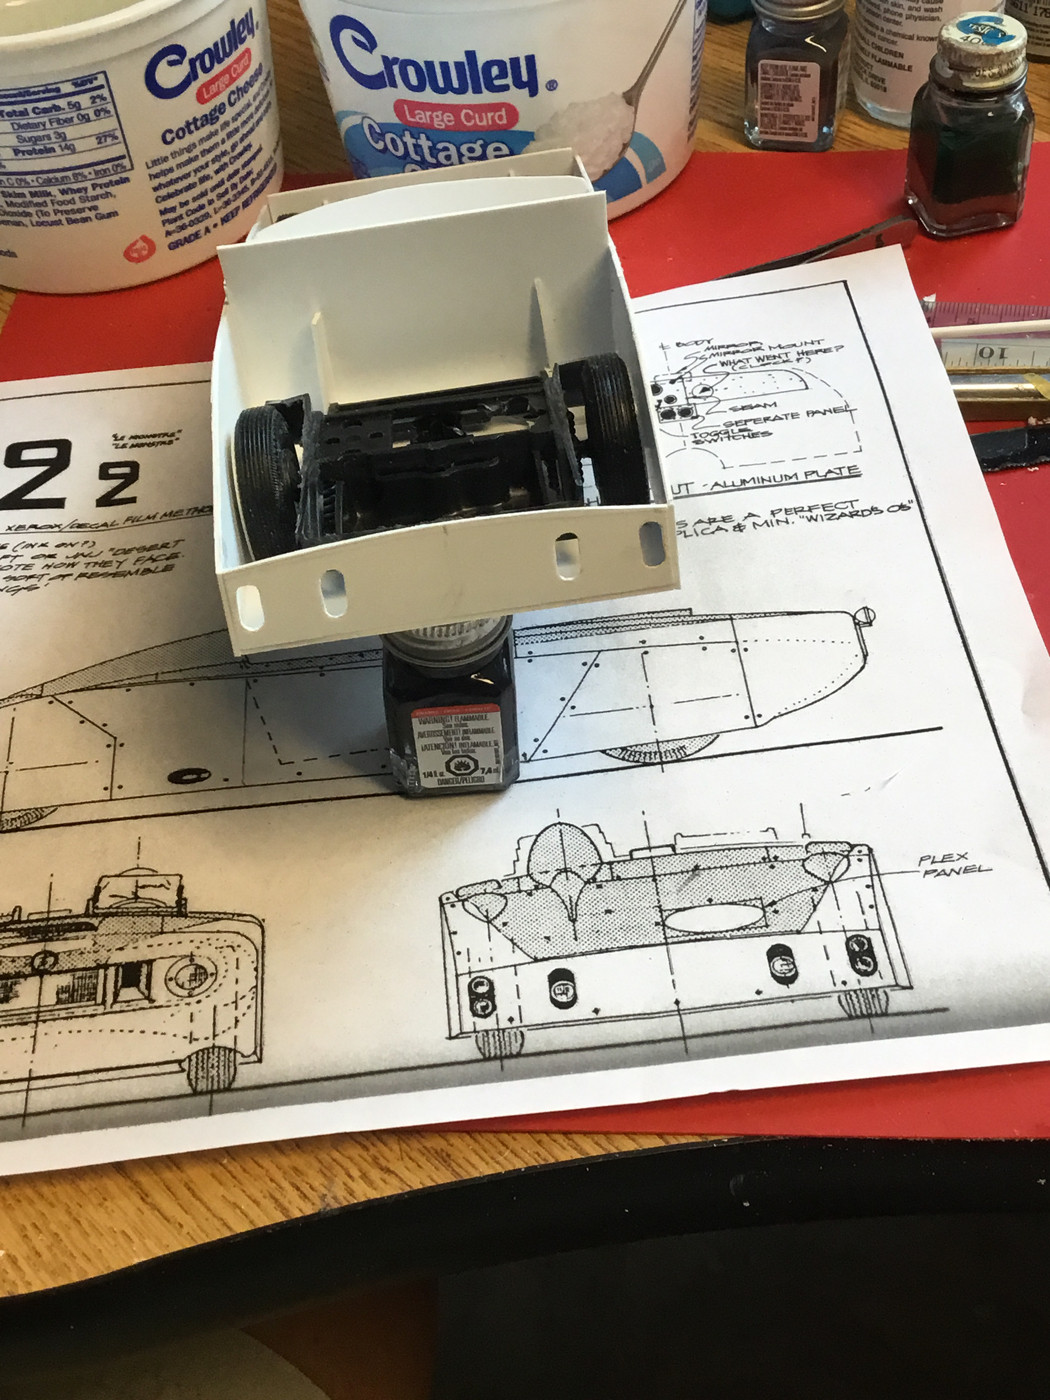 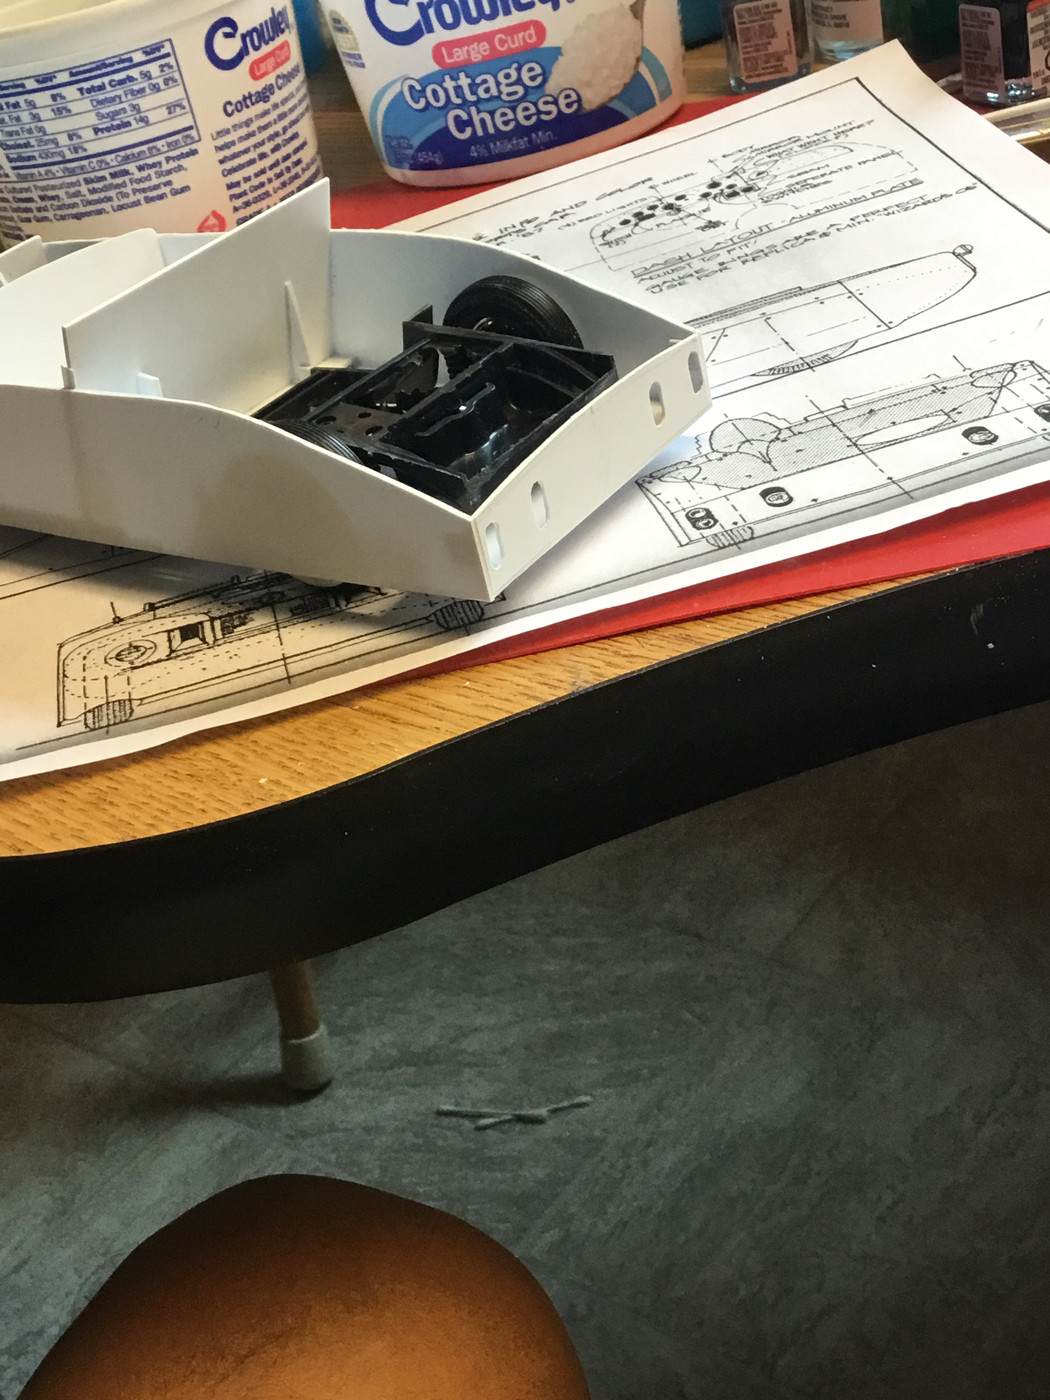 |
|
jj66
Podium Finisher
  
Posts: 363
|
Post by jj66 on Sept 21, 2021 13:50:30 GMT -5
Very cool! Love these builds
|
|
|
|
Post by raceparke on Sept 21, 2021 15:24:16 GMT -5
Here’s some info I found on a 10 year old slot car forum. The info is attributed to Doug Nye. If displaying this is any sort of infringement I will take it down.
Confirmed measurements just taken from the car in the Collier Collection, Naples, FL:
Length: 201”
Width: 80”
Height: 41”
Wheel base: 122”
Track – F: 59” R: 63”
Overhang – F: 45” R: 43”
Ground clearance: 5.5”
Weight: 3,705 lbs
Cockpit-
Width- 53" at max
Length(front to rear)- 36"
Edge of front cockpit to rear lip of bonnet- 22.5"
Bonnet-width- 40.5 at widest(rear)-33.5" at narrowest ( front)
Misc.-
Length from bonnet edge to front nose 24"
Wheel size 16"
Driver fairing height - 10.5"
Height of cockpit from floor boards ( cowl to floor at lowest point)24"
Bonnet length overall- 38.5"
Wheel stud size - 1/2"
Engine size - 331 cu in..
Now there's no excuse for getting it wrong?

DCN
◦
|
|
|
|
Post by raceparke on Sept 21, 2021 16:06:44 GMT -5
Converting these numbers and comparing with the MRRN drawings I’m using shows discrepancies, some big (width) some small (front track).
Since I’ve got this far,I’ll continue to the finis and perhaps adjust some surfaces in light of this new info.
When I display this, I’ll set it at certain angles so perspective will cleverly hide any issues. No direct side or frontal views. I’m sure my clever plan will not fail
|
|
|
|
Post by alwaysindy on Sept 22, 2021 10:25:13 GMT -5
Dan:
You appear to be just like Briggs Cunningham; here’s a Caddy chassis , let’s just build a streamliner around it! A very cool scratch build! Keep it going!
Tim
|
|
|
|
Post by indy on Sept 22, 2021 16:02:40 GMT -5
Those measurements help point out the inaccuracies of the drawing (still glad we have it, it helps).
Any idea the tire size the car? Best I can find is '50 Caddy 61s ran 8x15 tires but this shows 16" rims!?
Jordan
|
|
|
|
Post by raceparke on Sept 22, 2021 16:36:24 GMT -5
As mentioned, I’m using the running gear from a Monogram MB 540K roadster. I picked that because the wheels are the same size as the drawing. I couldn’t find anything close in parts. Since the wheels are covered any discrepancy with reality is hidden. I suspect the MB wheels were probably 20” and the Caddy’s are 16”, but the outer circumference was the only value that mattered to me. Other sources comment that the Monstre wheels/tires were “huge”, probably in contrast to tires used by some of the European teams. As always, research can be as much fun as building.
Scheduling note: this weekend is reserved for grandkids visits and events, starting tomorrow evening through Monday PM. Progress will be limited.
Thanks for watching
|
|
|
|
Post by raceparke on Sept 28, 2021 13:50:42 GMT -5
After a weekend with Grandson Dan and girlfriend Peyton touring wineries sightseeing and eating and drinking too much they’re back home. But. . . . . 20 mins after leaving yesterday, we got a frantic message saying something went flooey with the car. Long story short exhaust pipe and muffler got divorced. I leapt into action with wire and side cutters and lashed said pipe so it wouldn’t drag, gave them some earplugs and saw them off. They got back to their place in D. C. last night so all’s well that ends well. I did have a beer (or two) so didn’t get back to this until now. Looking at this, I realized I goofed. The pattern I cut out for the side panel I used the height to the highest point of the rear hump (A), not the line of the fender (B). 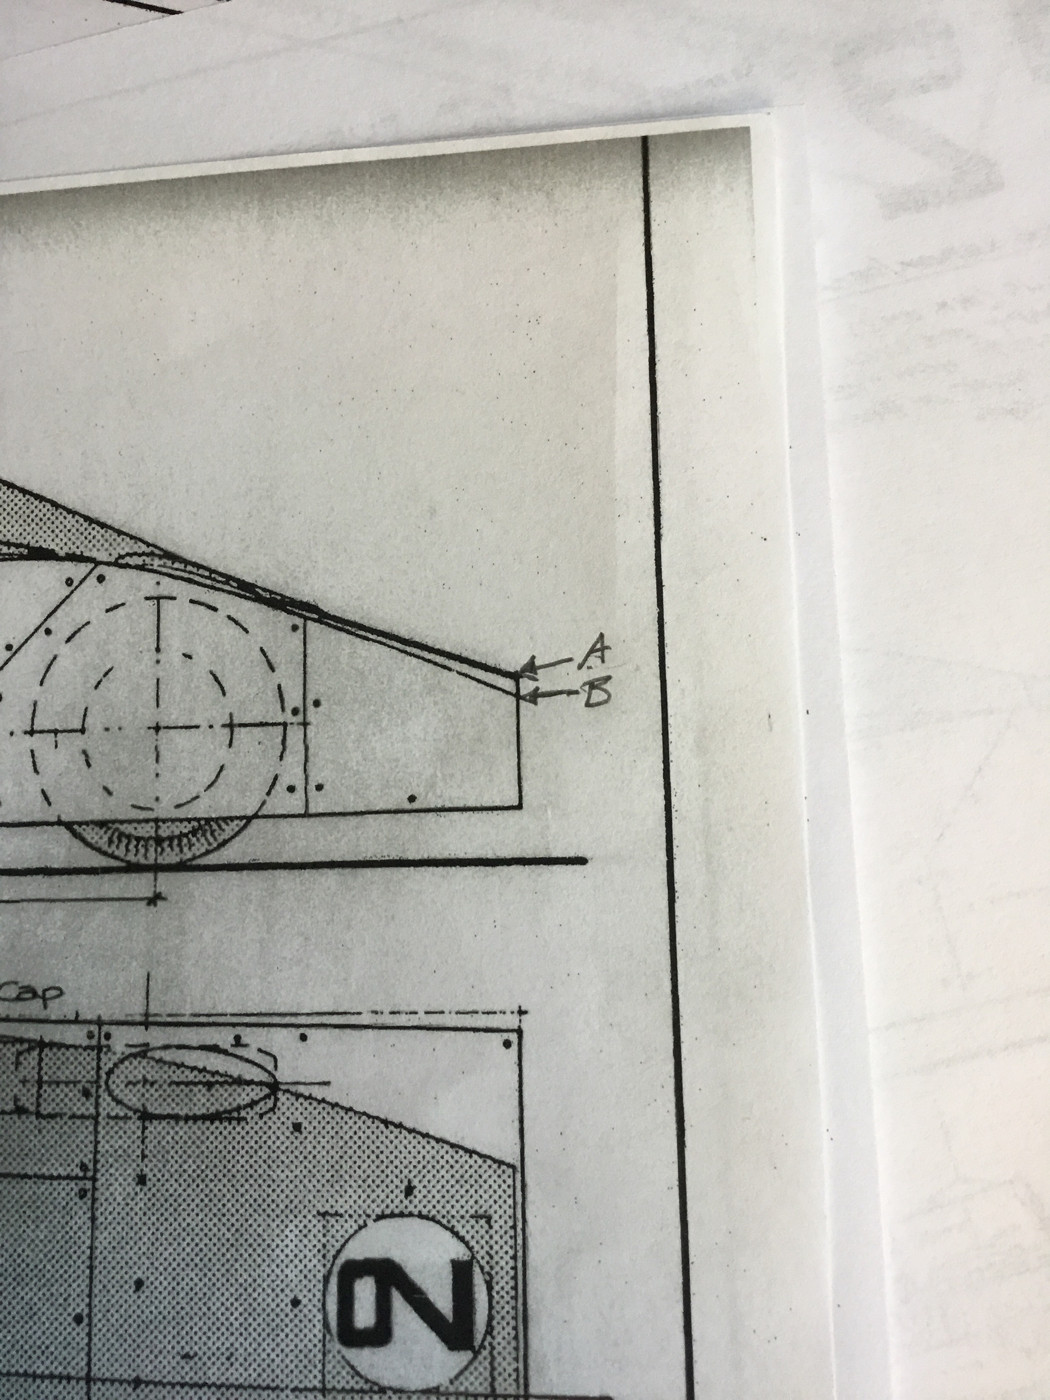 So we’re going to undo, trim and eventually redo. 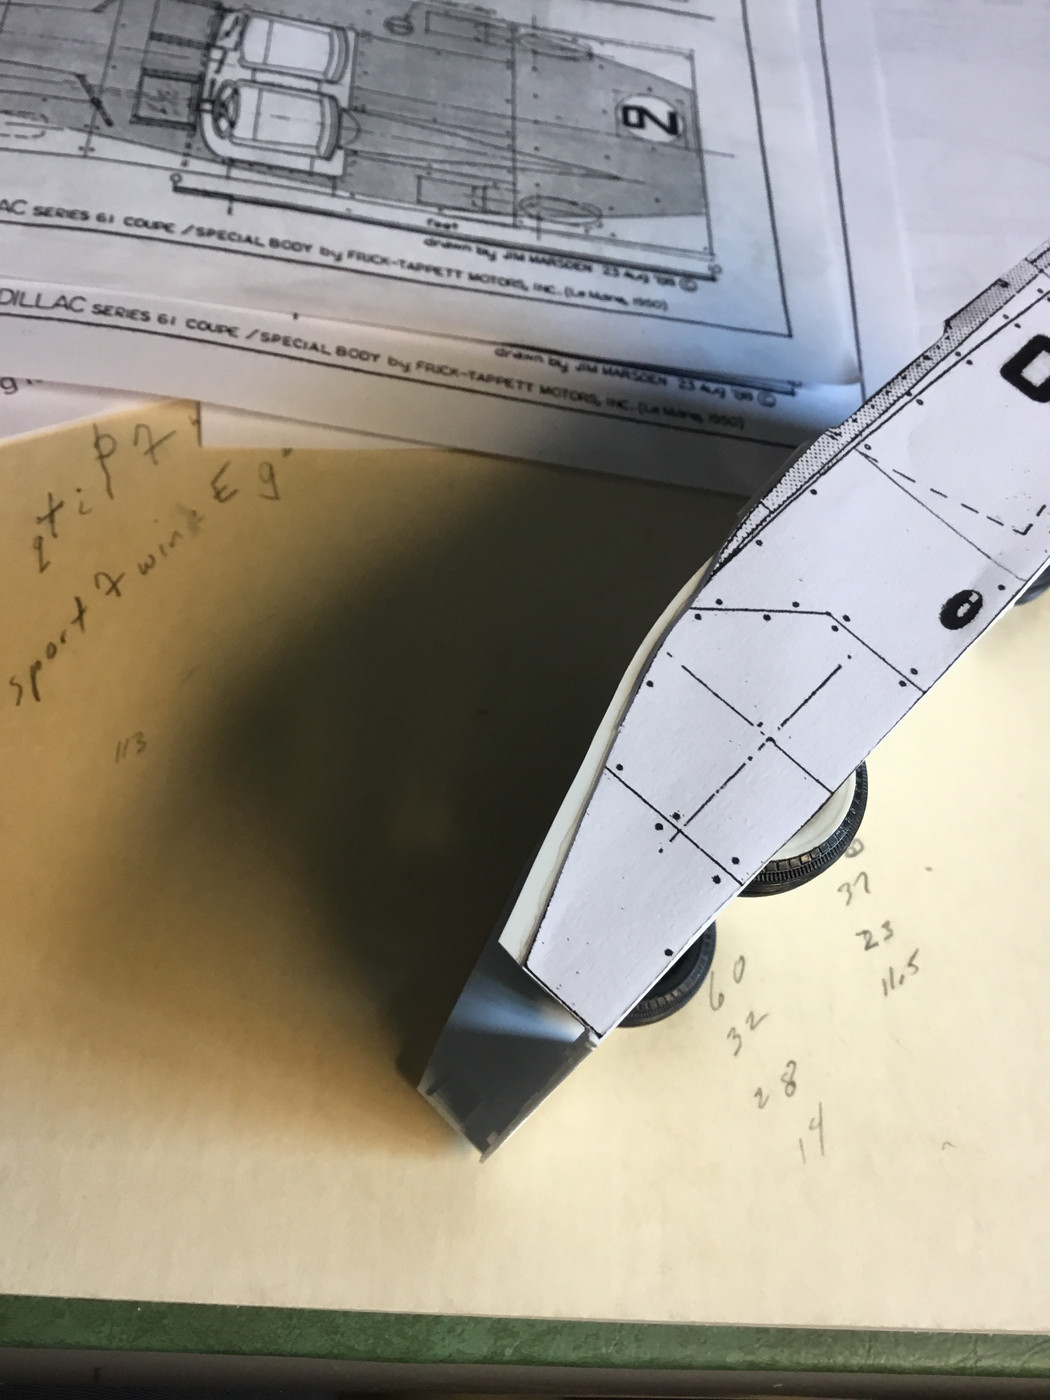 This also implies trimming the rear panel. 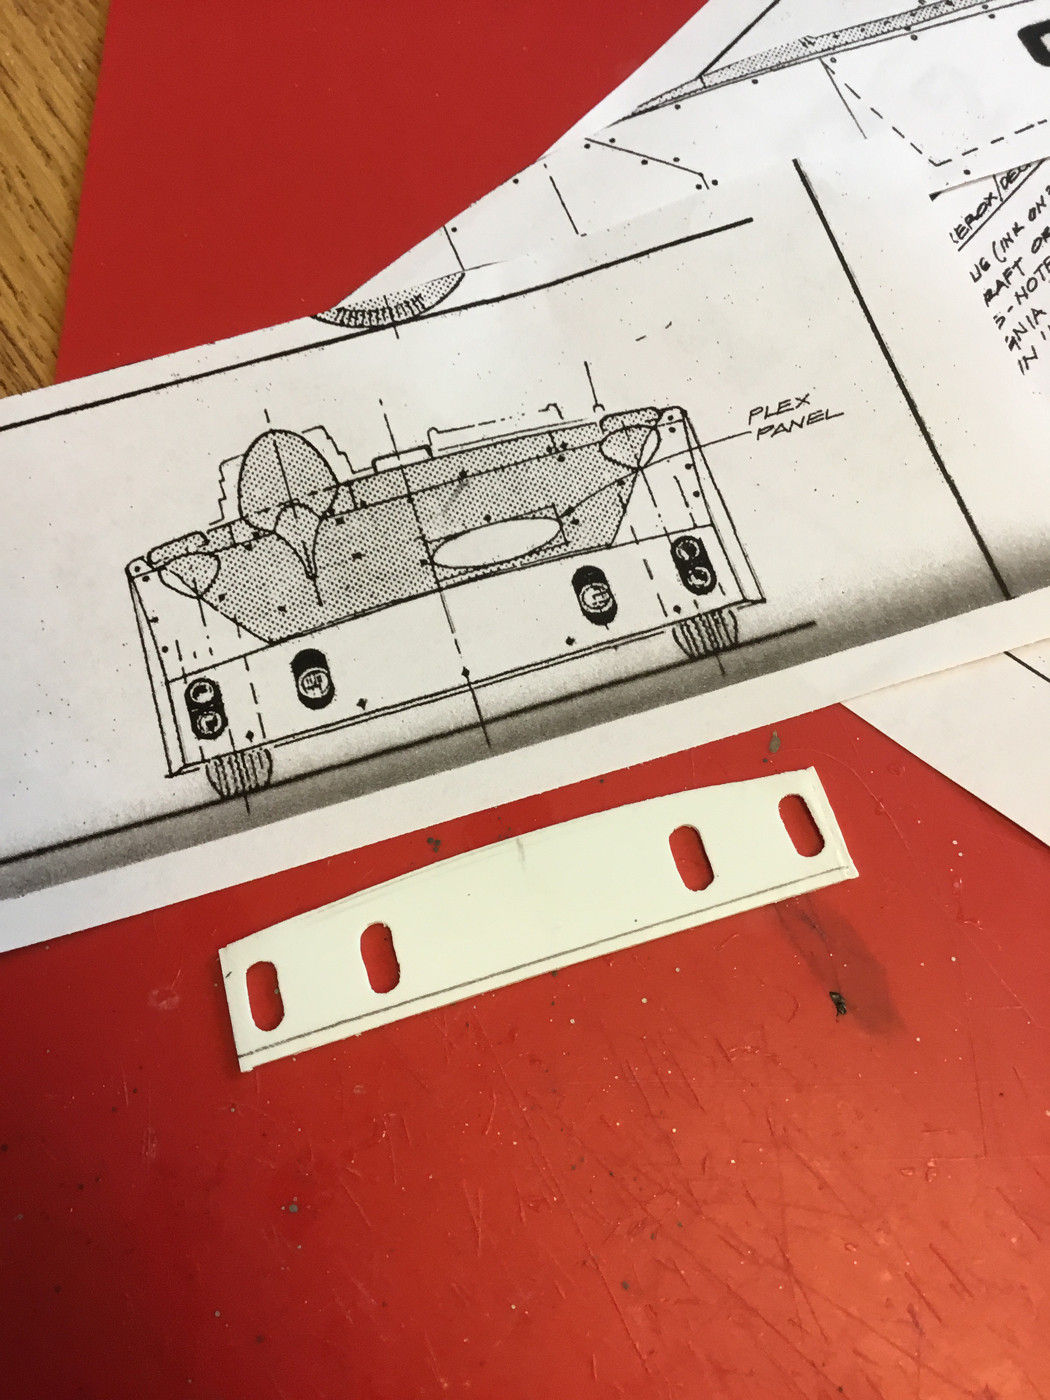 Later . . . |
|
|
|
Post by raceparke on Sept 28, 2021 16:17:12 GMT -5
We’re back where we were before but betterer i hope. 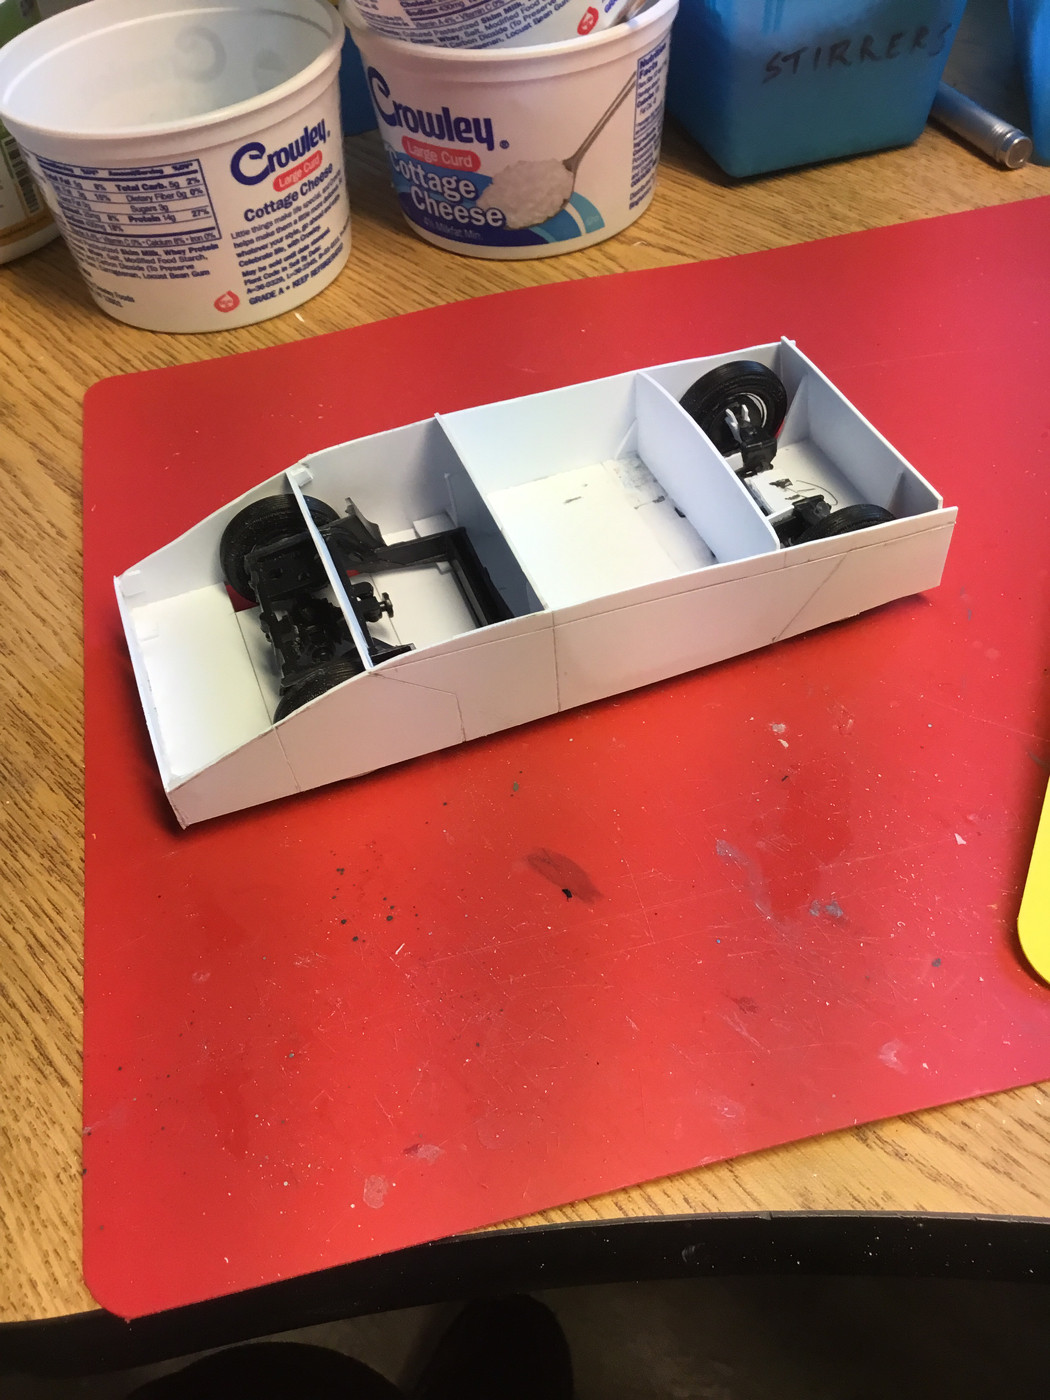 I put a brace across to attach the rear deck to. Dang! I was going to cut a license plate opening in the rear panel before reattaching it. 🤬🤬 |
|
|
|
Post by raceparke on Sept 30, 2021 15:18:02 GMT -5
And in today’s mail: 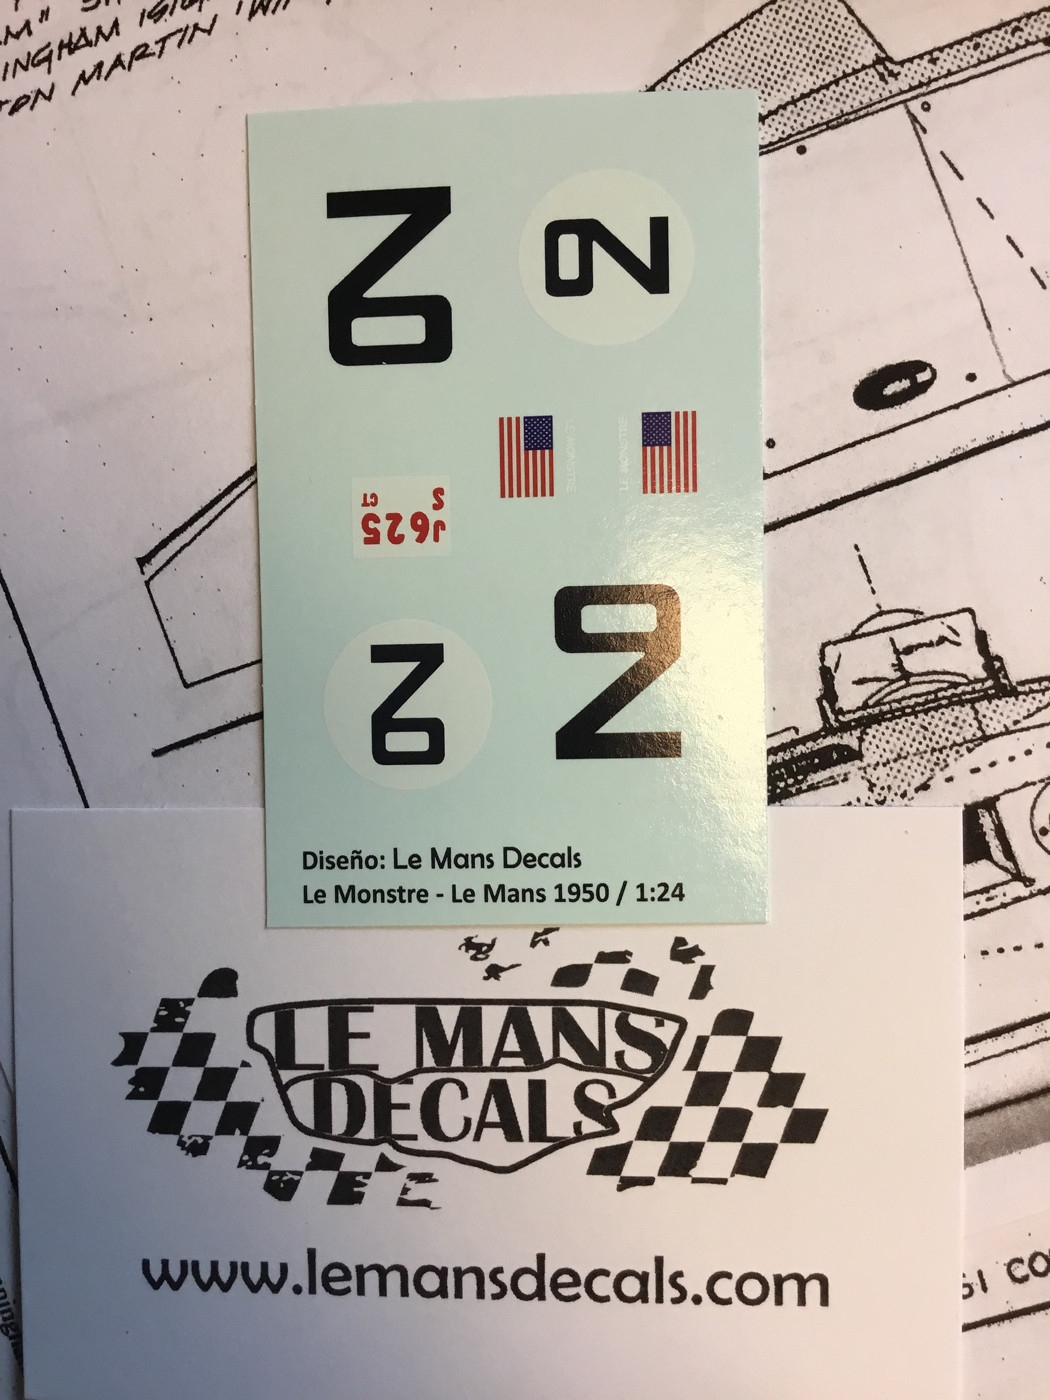 Yippee! |
|
|
|
Post by raceparke on Oct 6, 2021 14:16:17 GMT -5
Well I’m still here. Friday in the OR to pin my big toe to the rest of me, like we attach small parts rather than a simple butt joint. Since I’ll be off my feet for a few weeks, it’s good news (no chores), bad news (downstairs Modelwerkes inaccessible). So I’ve been getting things at home shipshape in preparation. Probably my last WIP for several weeks, but I’ll still weigh in from the couch. Anyway, I’ve been cogitating the side panel to top panel transition. It seems at the rear from in front of the tire access panel going forward there is a crease becoming a curve by the time it gets to the front bulkhead. I’ve stolen borrowed JaunJo’s technique of using narrow strips to form the smooth curve near the front and will simply bend the rearward portion for the sharpening crease. ![]() 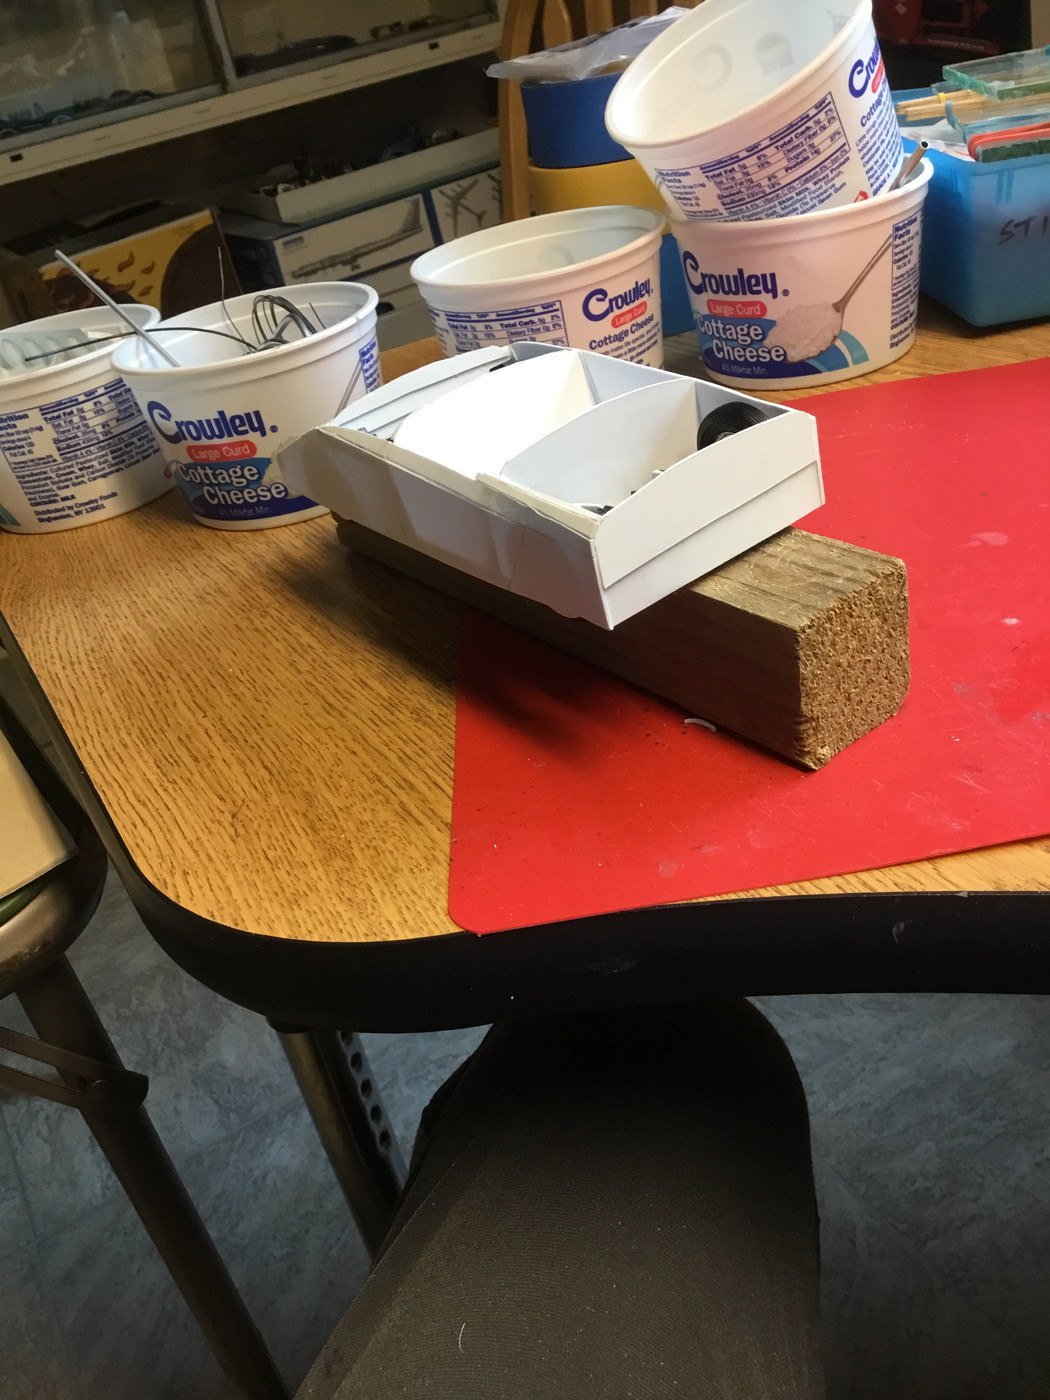 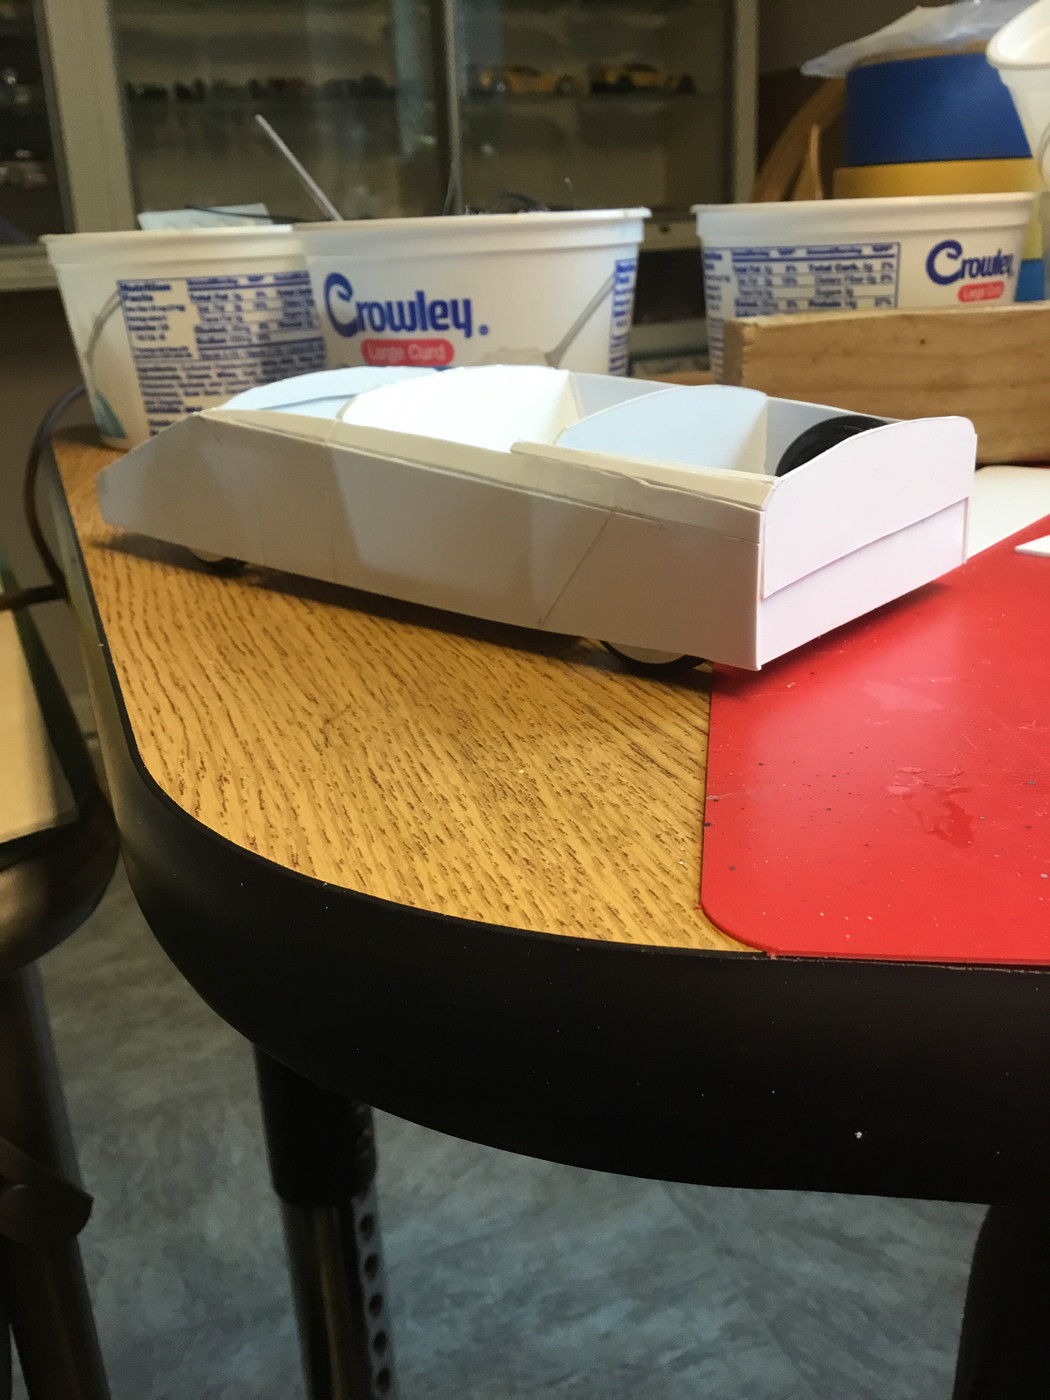 Of course filling and sanding will occur. Again and again. And then the the other side all over again. In other news, I’ve laid out the panel behind the rear panel that will back up the lights and hold the license plate. 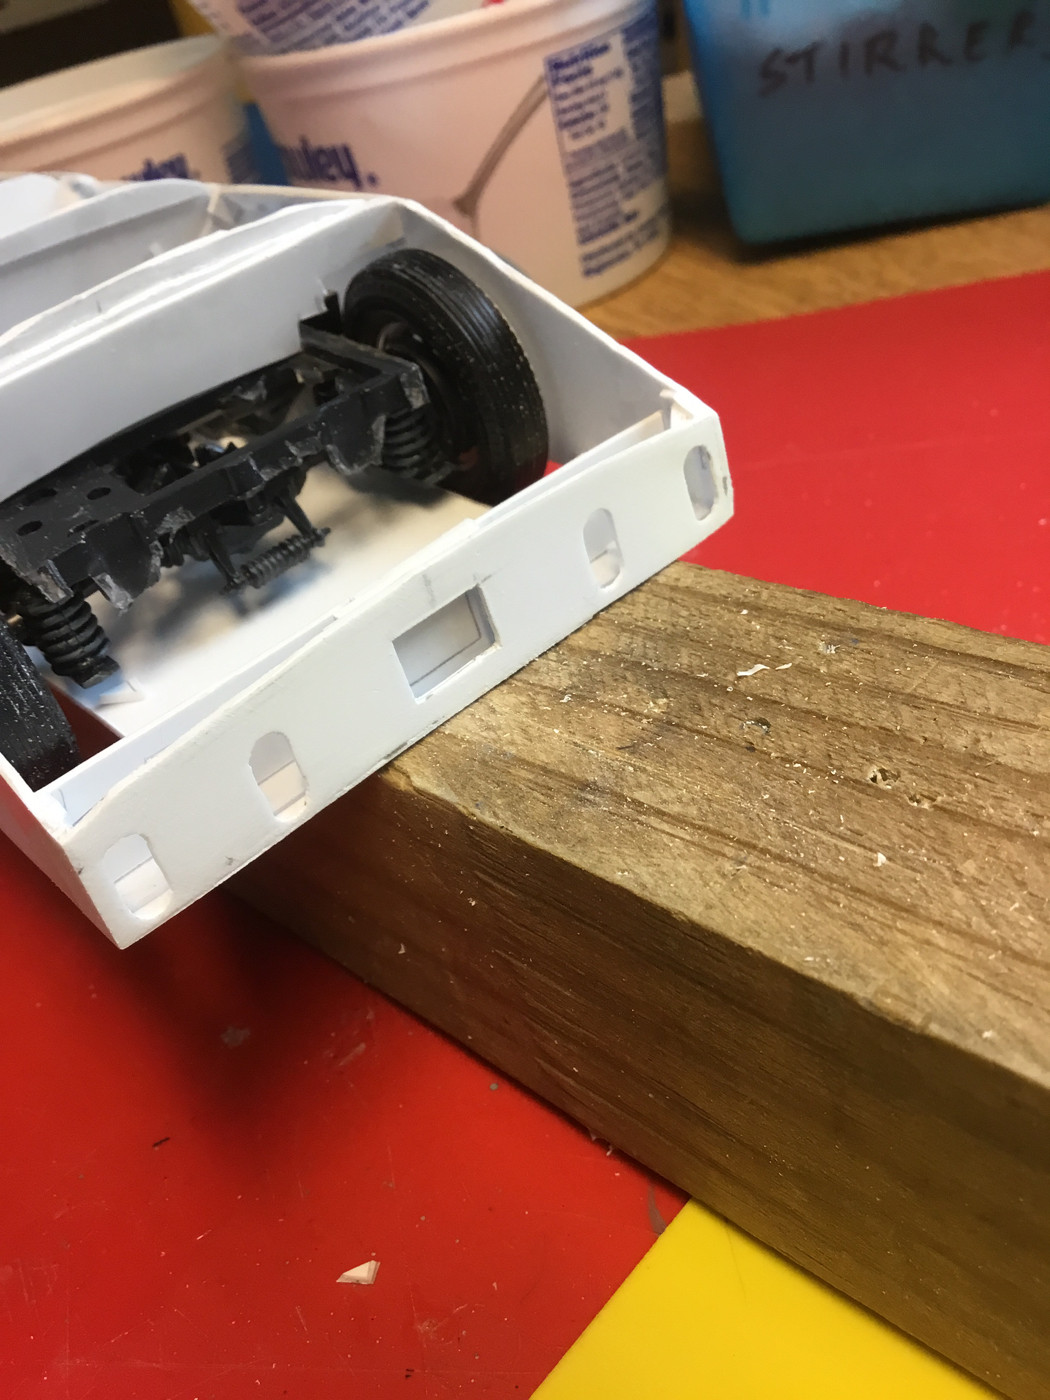 The pencil outline will locate the license. I’ll glue a clear sheet inside the body, then attach the inner panel with the license slightly recessed, then button up the rear deck, mask the windows and eventually add color. I’m specifying all this here now so when I get back at it and forget what my cunning plan was, I can simply go here and review my notes! I scare myself sometimes with my brilliance. No need to comment- I know what you’re thinking, and I appreciate it. |
|
|
|
Post by indy on Oct 7, 2021 8:36:18 GMT -5
Sorry to hear about your toe. This is progressing nicely and keeping a record somewhere of what you intended to do it really smart. I found a set of directions with old notes and I was like - Wow, I noticed all of that?!? LOL
Jordan
|
|
|
|
Post by Gary Davis on Oct 7, 2021 14:29:42 GMT -5
I scare myself sometimes with my brilliance. No need to comment- I know what you’re thinking, and I appreciate it. ROTFLMBO.....Now that is funny! I hope your toe heals up fast for ya! |
|
|
|
Post by raceparke on Nov 11, 2021 13:30:28 GMT -5
Getting back to this. Now with a hood roughed in. Progress will be, shall we say, stately. . . 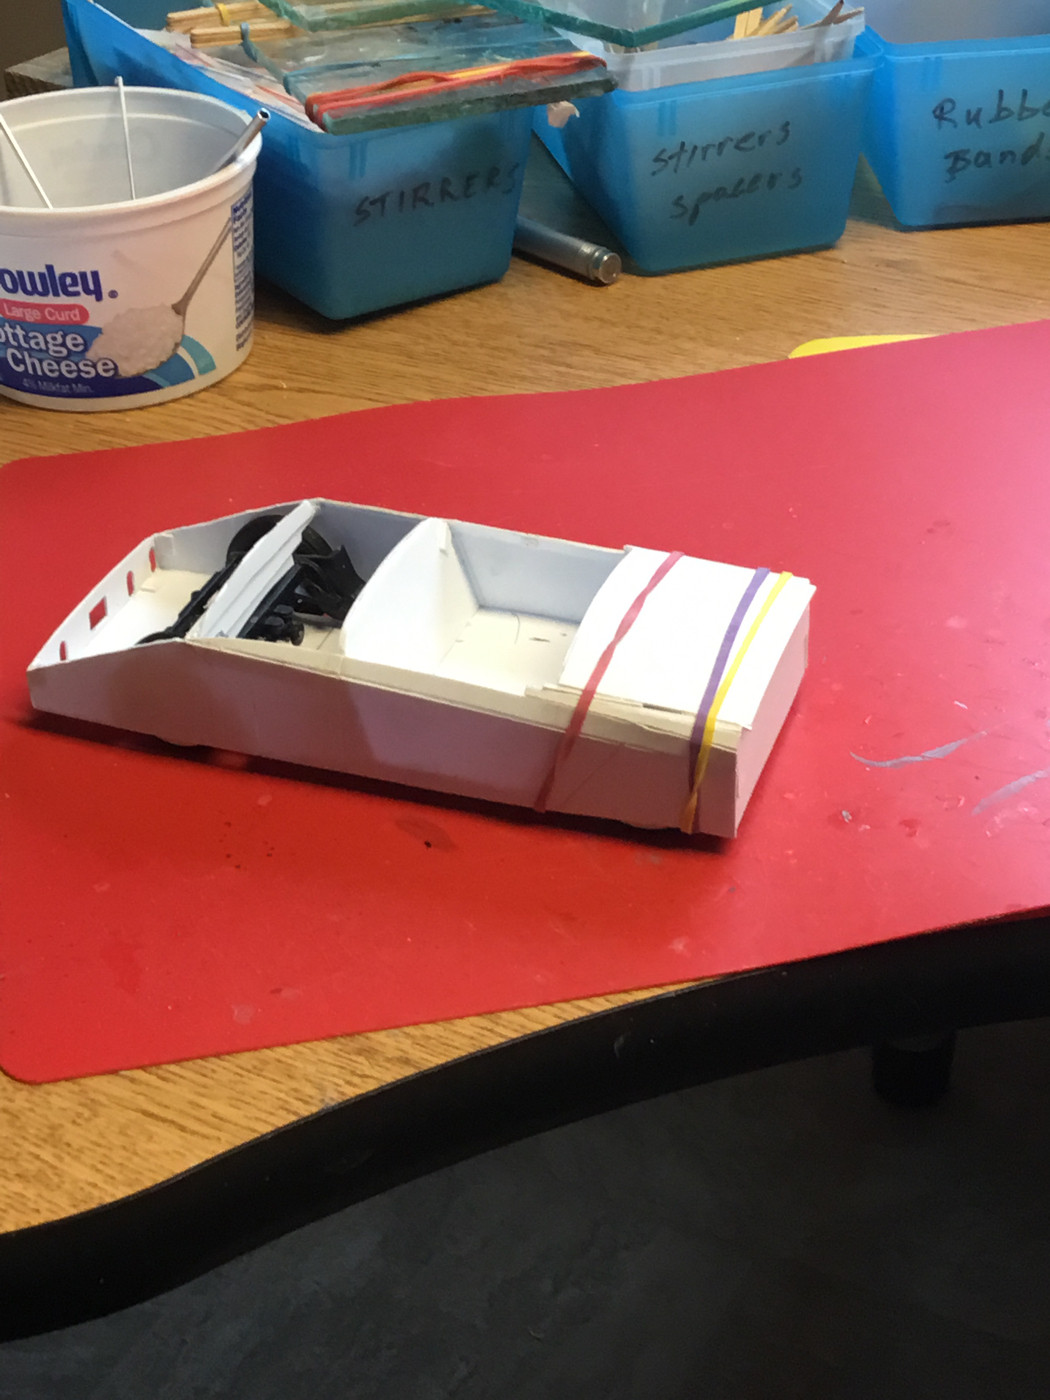 |
|
|
|
Post by Gary Davis on Nov 11, 2021 14:17:52 GMT -5
You're making good progress here Dan. Hope your toe is doing better.
|
|
|
|
Post by raceparke on Nov 11, 2021 14:21:09 GMT -5
I rubbed pencil on he back of paper to create “carbon paper”. (Youngsters, ask your elders what that is.).  And traced over the drawing: 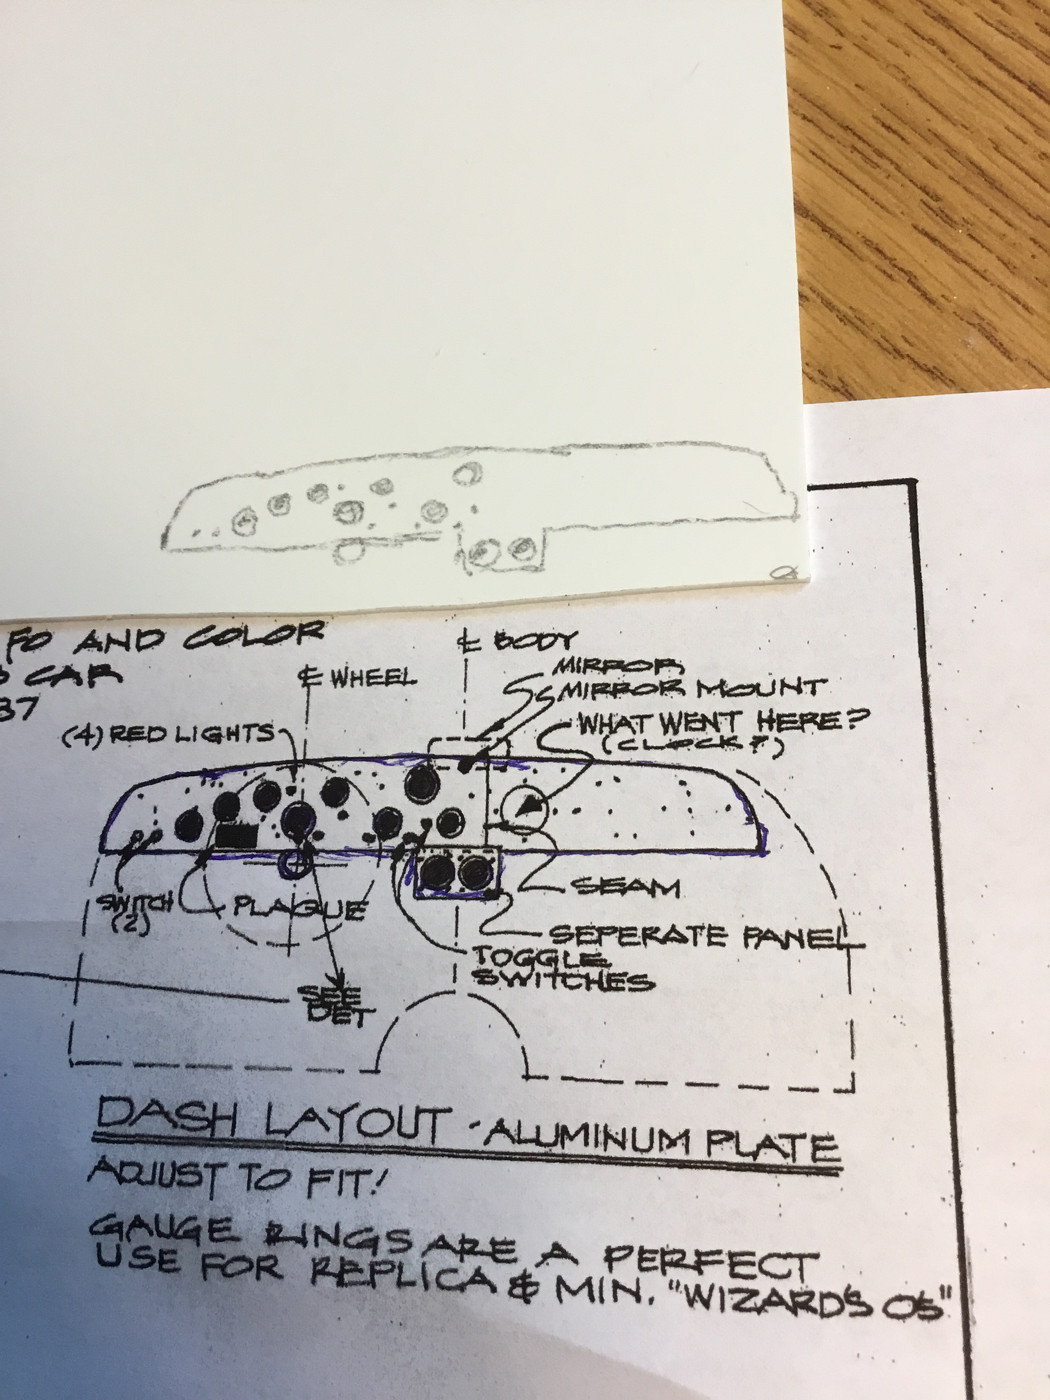 |
|
|
|
Post by raceparke on Nov 11, 2021 14:37:40 GMT -5
And the rough part 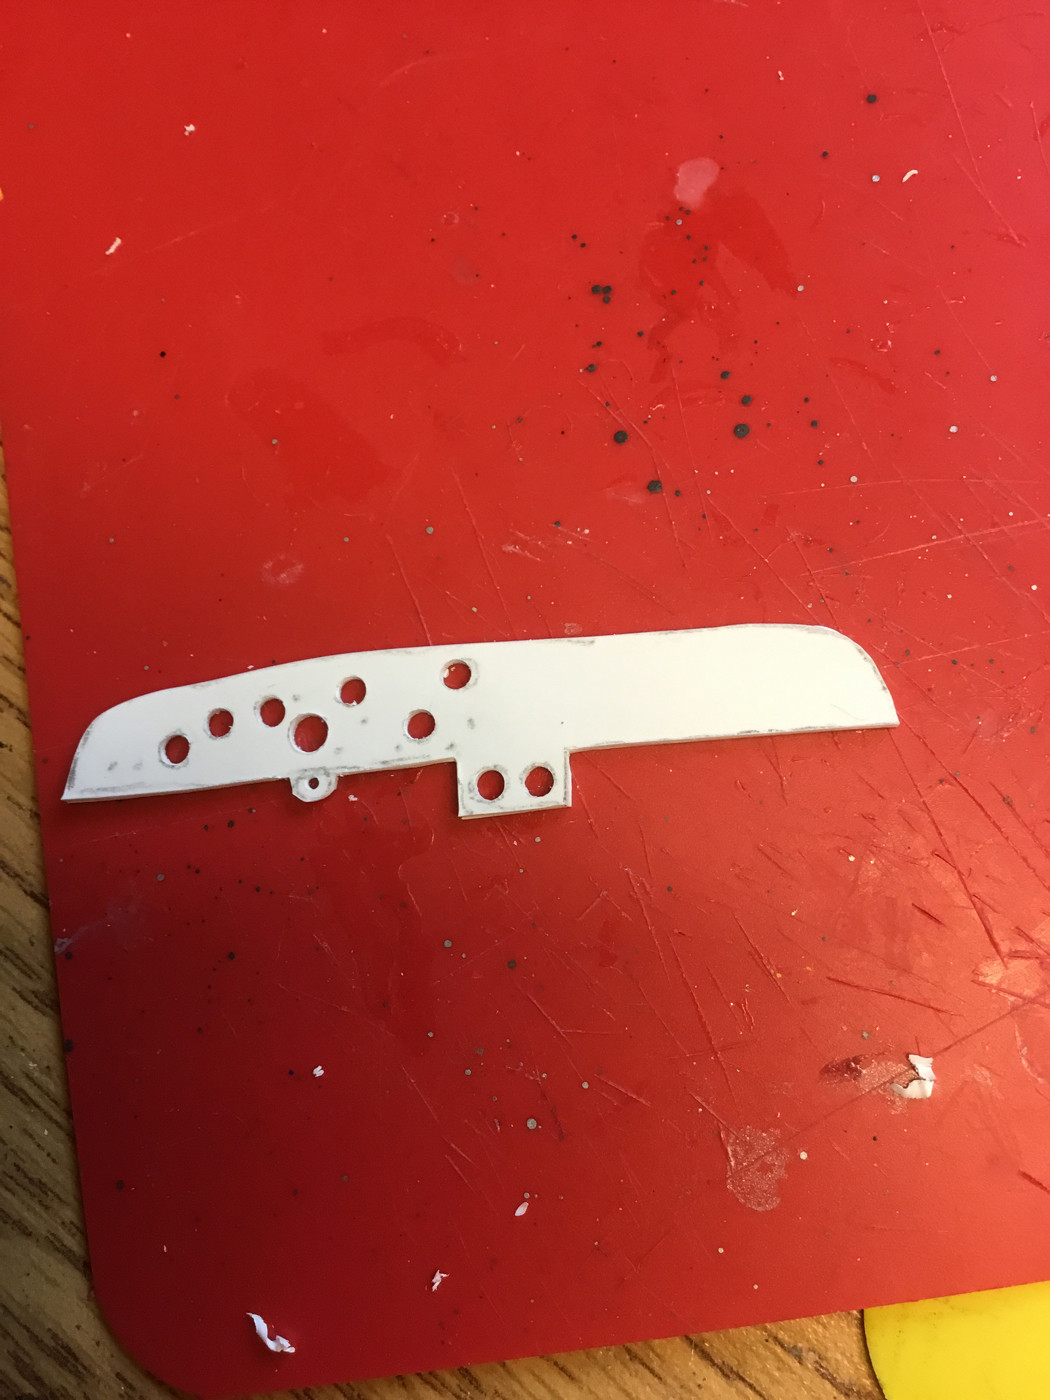 |
|
|
|
Post by raceparke on Nov 11, 2021 16:59:53 GMT -5
Dash support and cockpit top panel 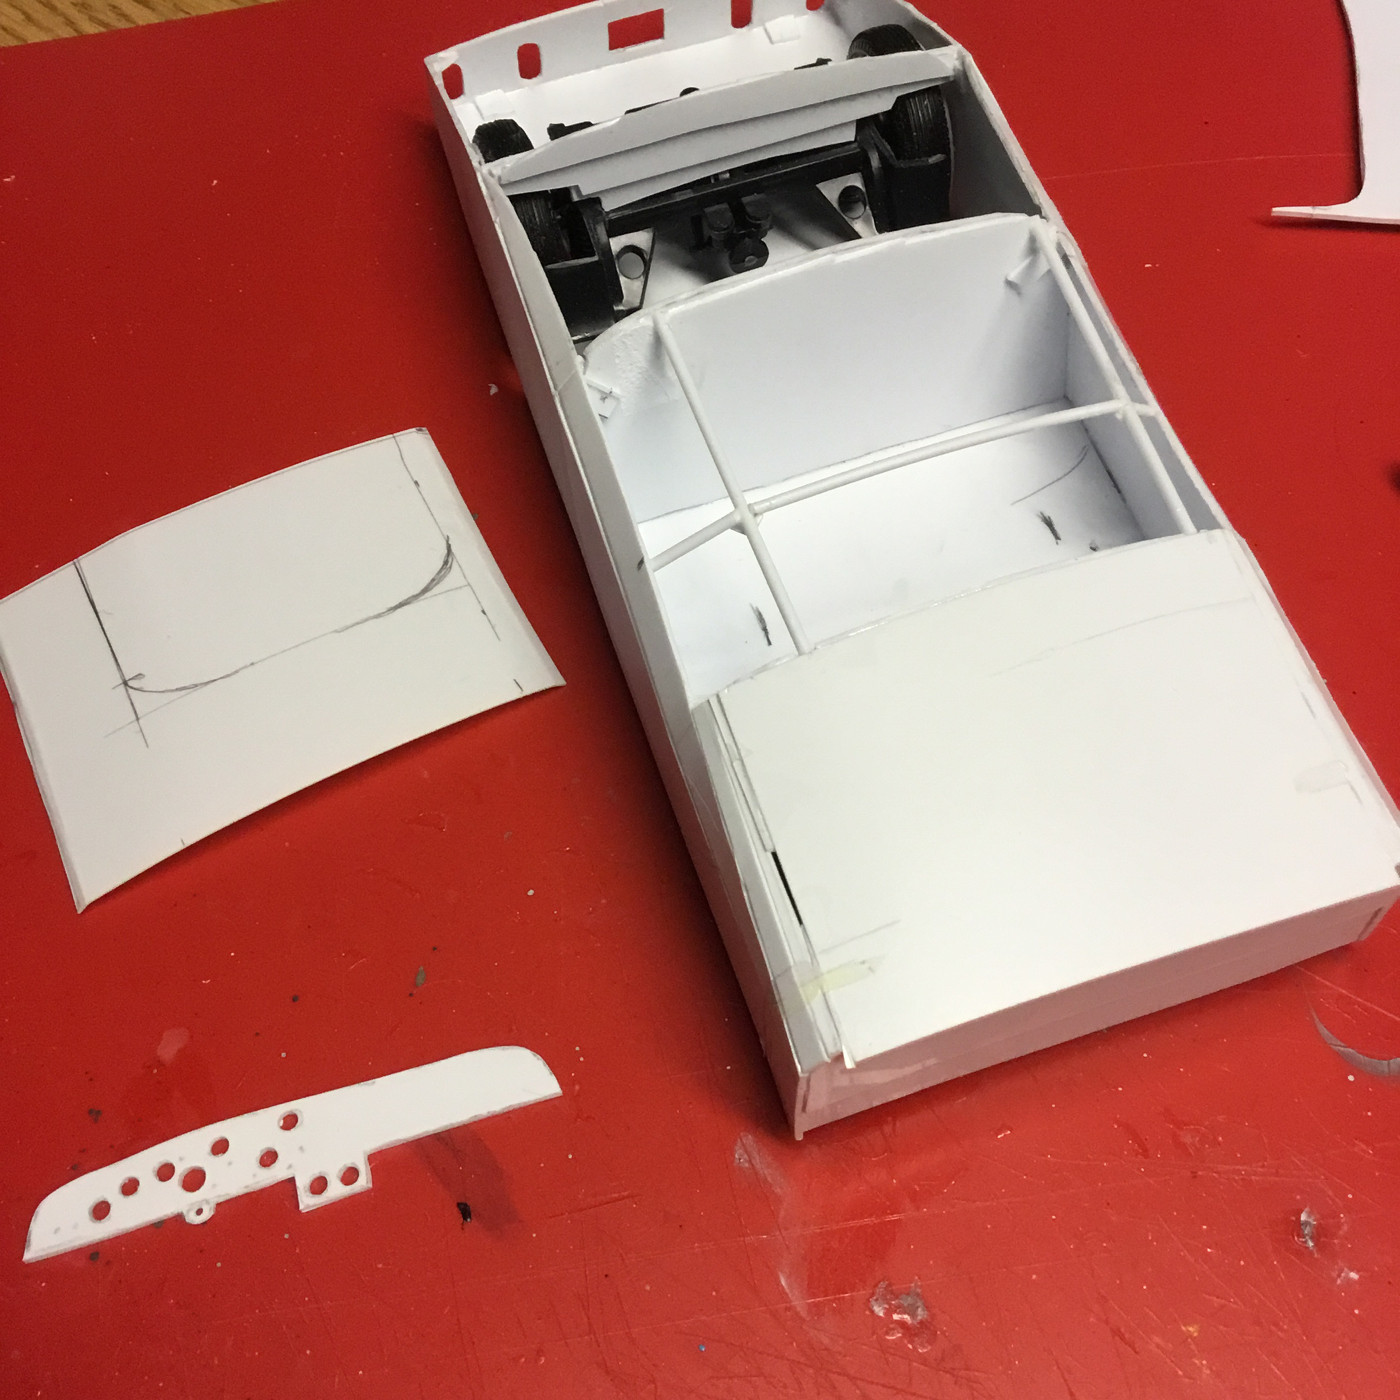 |
|
|
|
Post by raceparke on Nov 11, 2021 17:34:23 GMT -5
Gary Davis,
Thanks, feeling much better. Four weeks on knee scooter thankfully in the past. Now a honkin big rigid boot for two more then back to whatever normal is.
Dan
|
|
|
|
Post by raceparke on Nov 13, 2021 17:22:05 GMT -5
Roughly mocking up some stuff. No glue. 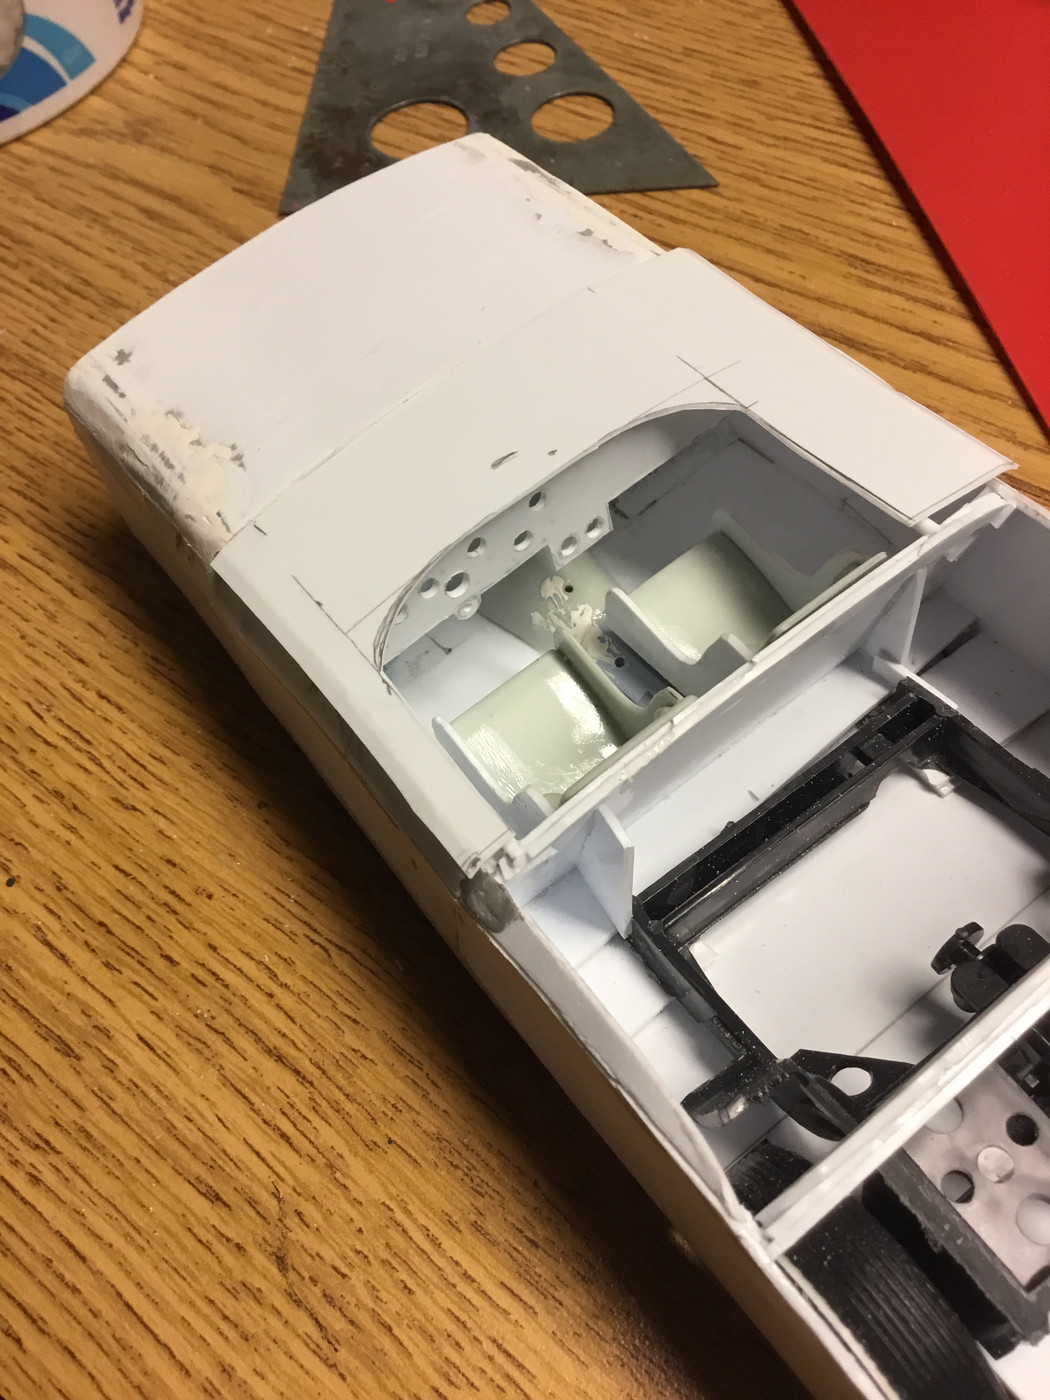 |
|
|
|
Post by raceparke on Nov 16, 2021 17:28:42 GMT -5
Some paint going on. I’ll use a needle to scratch faces on the dials, then fill with canopy cement. 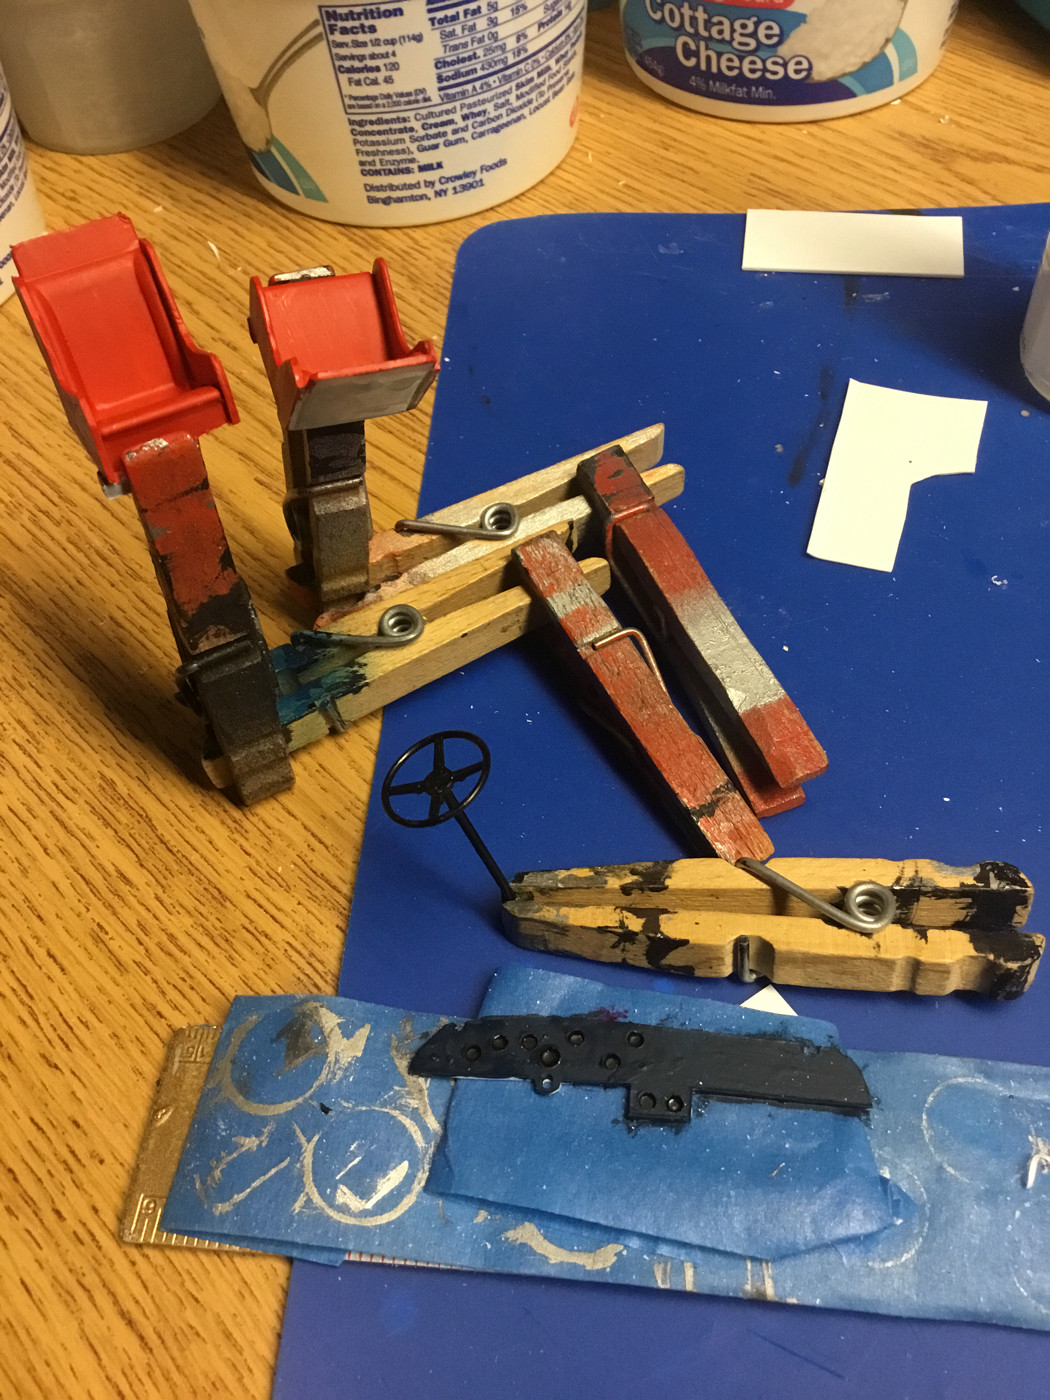 Pedals. V dark in there, but they’re there. 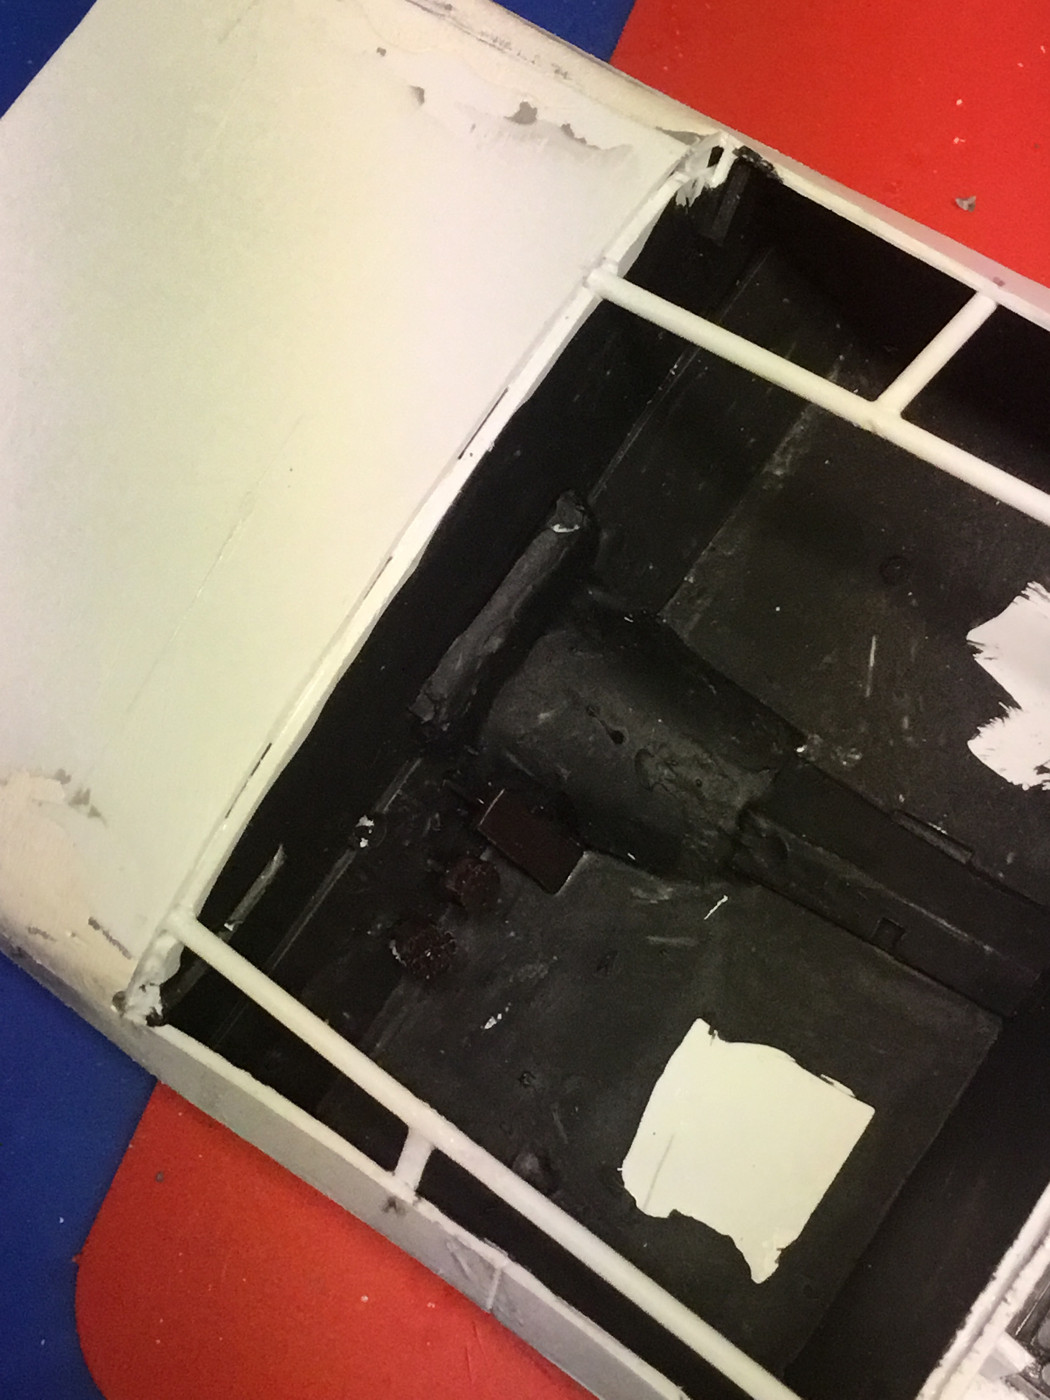 |
|
|
|
Post by raceparke on Nov 19, 2021 13:58:02 GMT -5
Getting the drivers compartment organized. 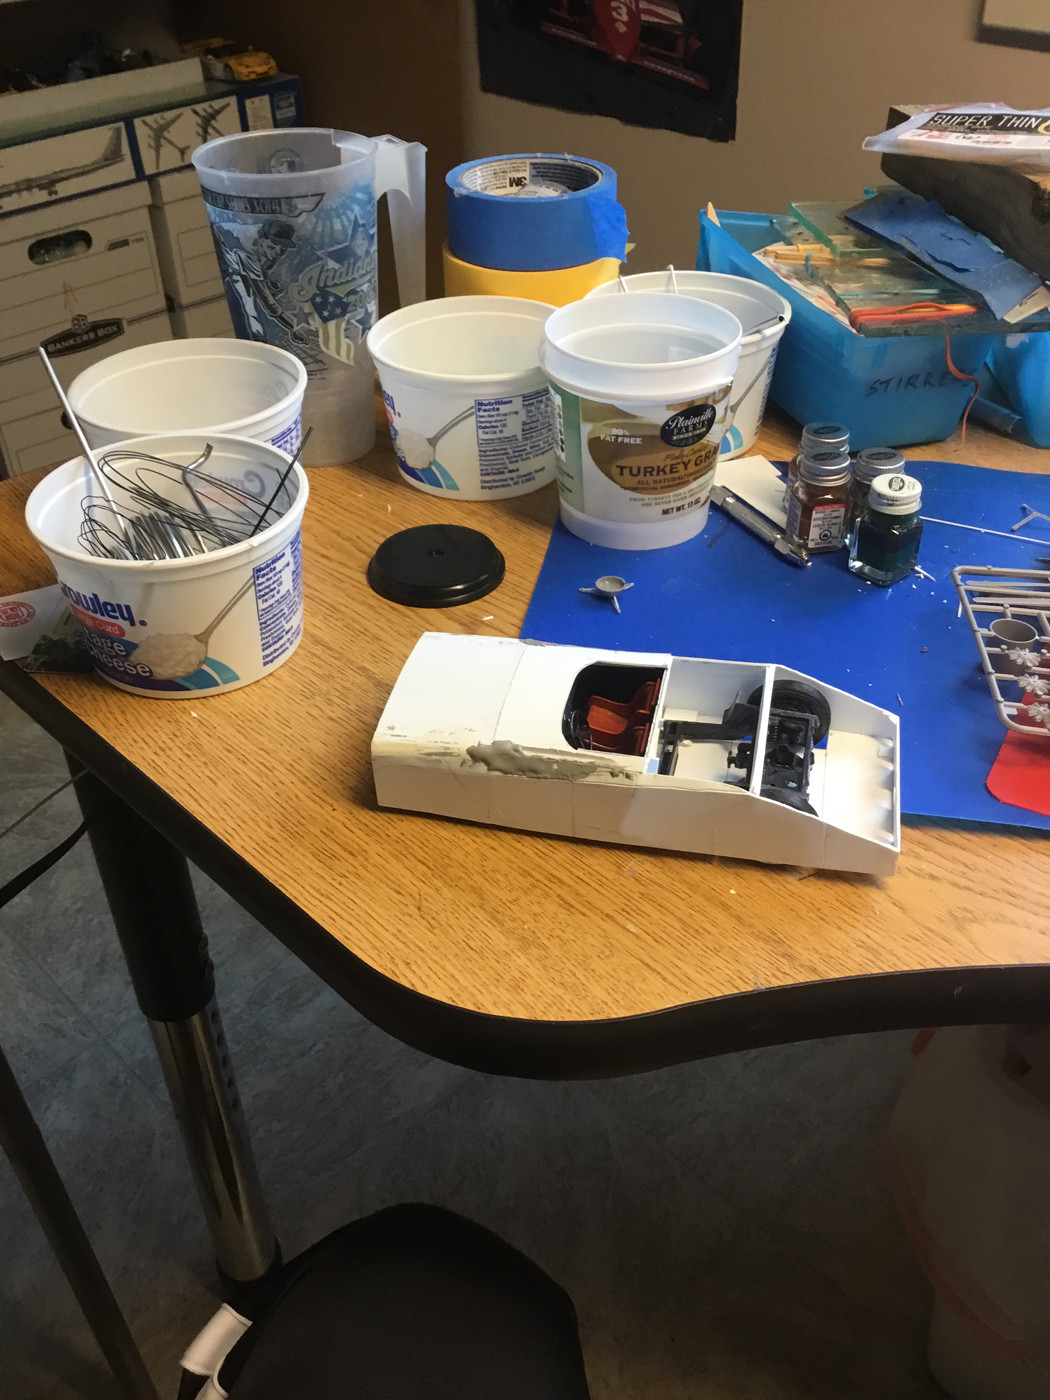 The steering wheel is in loose now. Will get a column shifter (remember them?) after masking and painting. 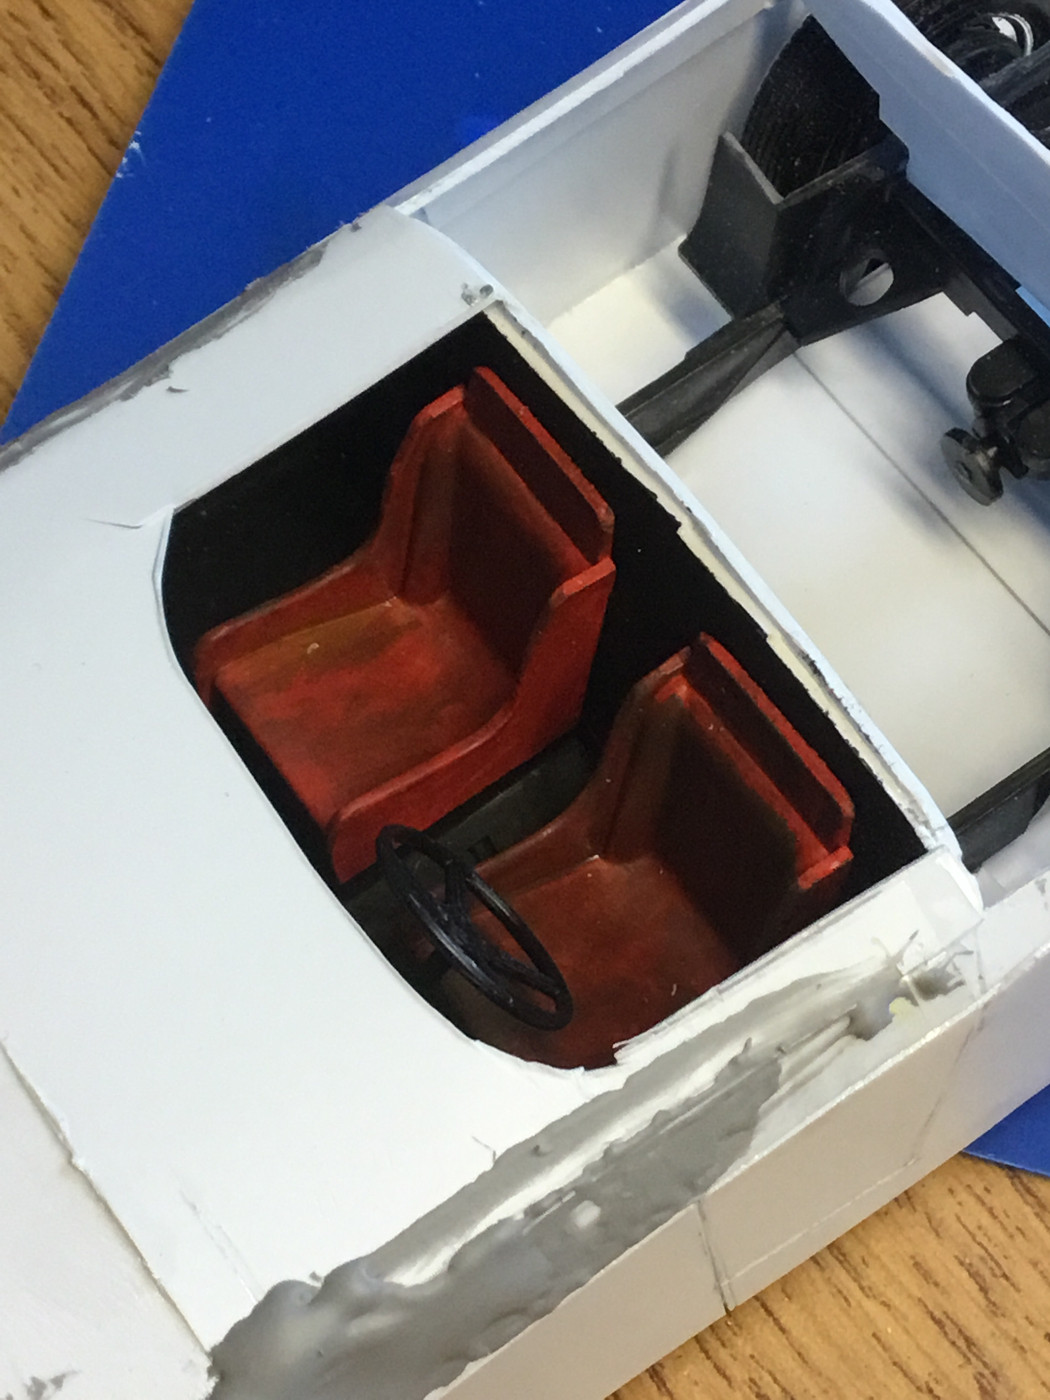 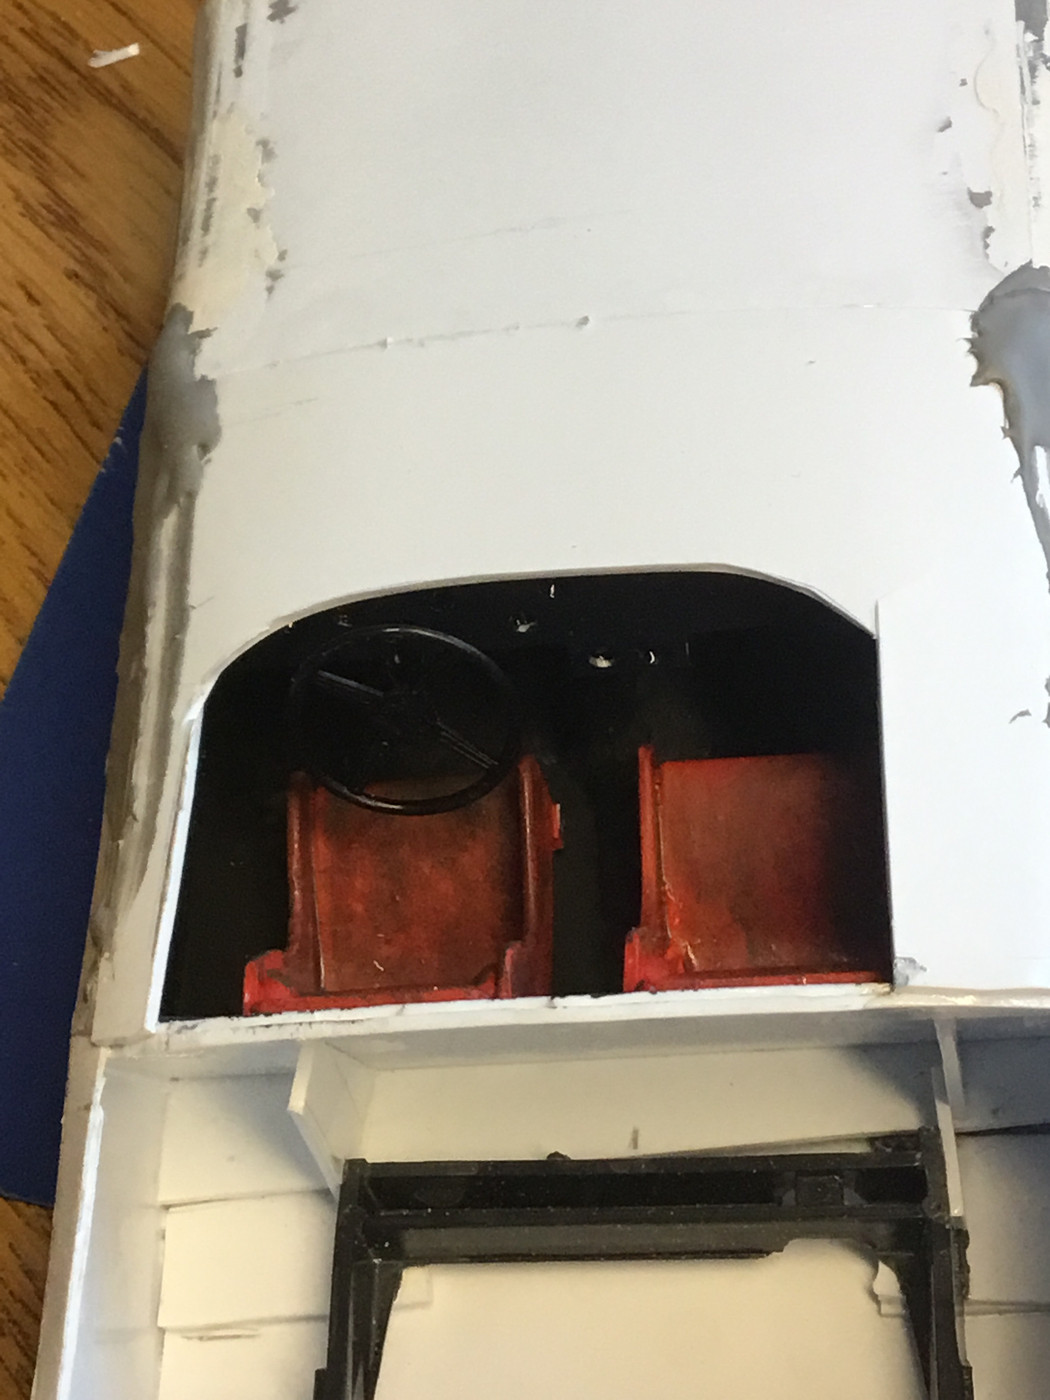 |
|
|
|
Post by raceparke on Nov 22, 2021 15:35:23 GMT -5
More of the top deck laid in. Starting the hood scoop 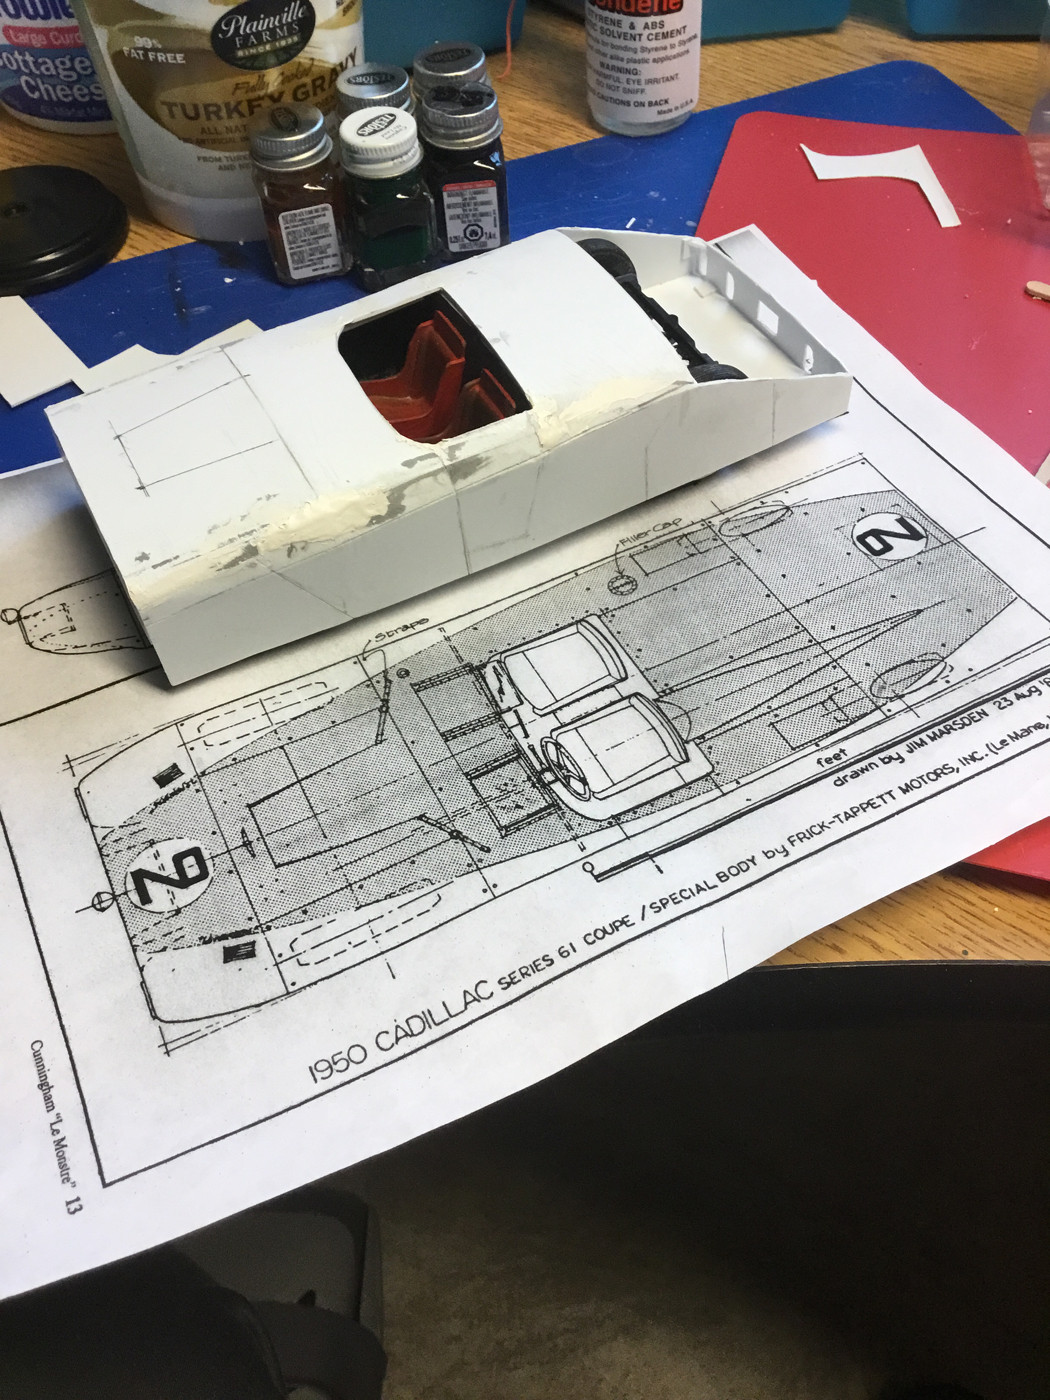 |
|
|
|
Post by Gary Davis on Nov 22, 2021 16:19:58 GMT -5
This is looking very cool Dan...
|
|
|
|
Post by raceparke on Nov 24, 2021 14:44:37 GMT -5
Top deck on. Brake vents started, lots to trim 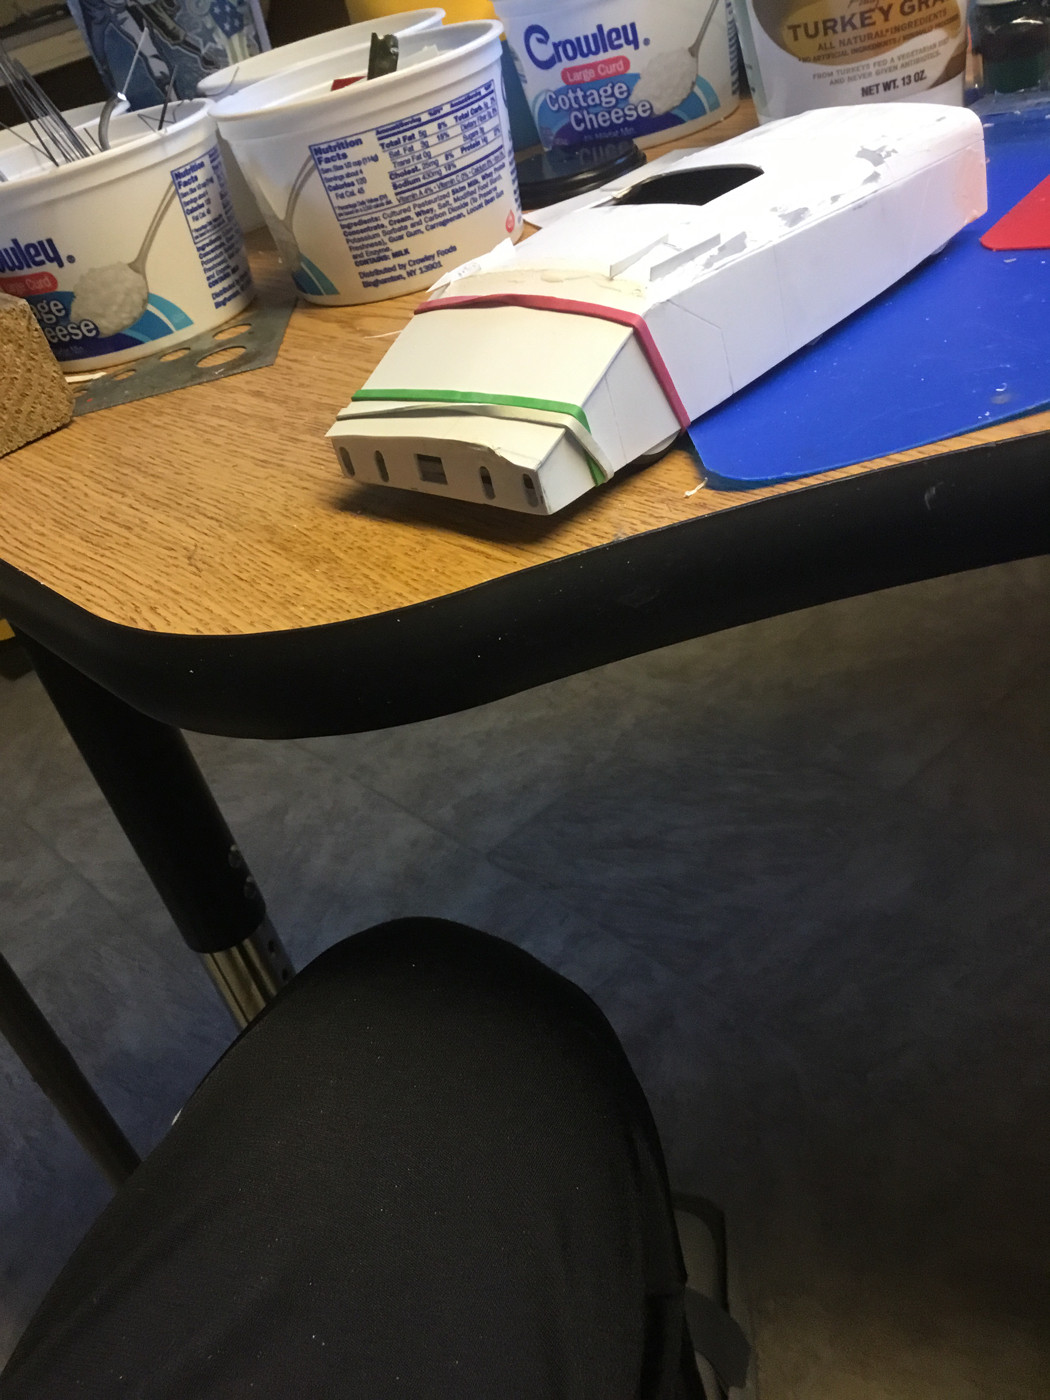 Hood scoop getting there 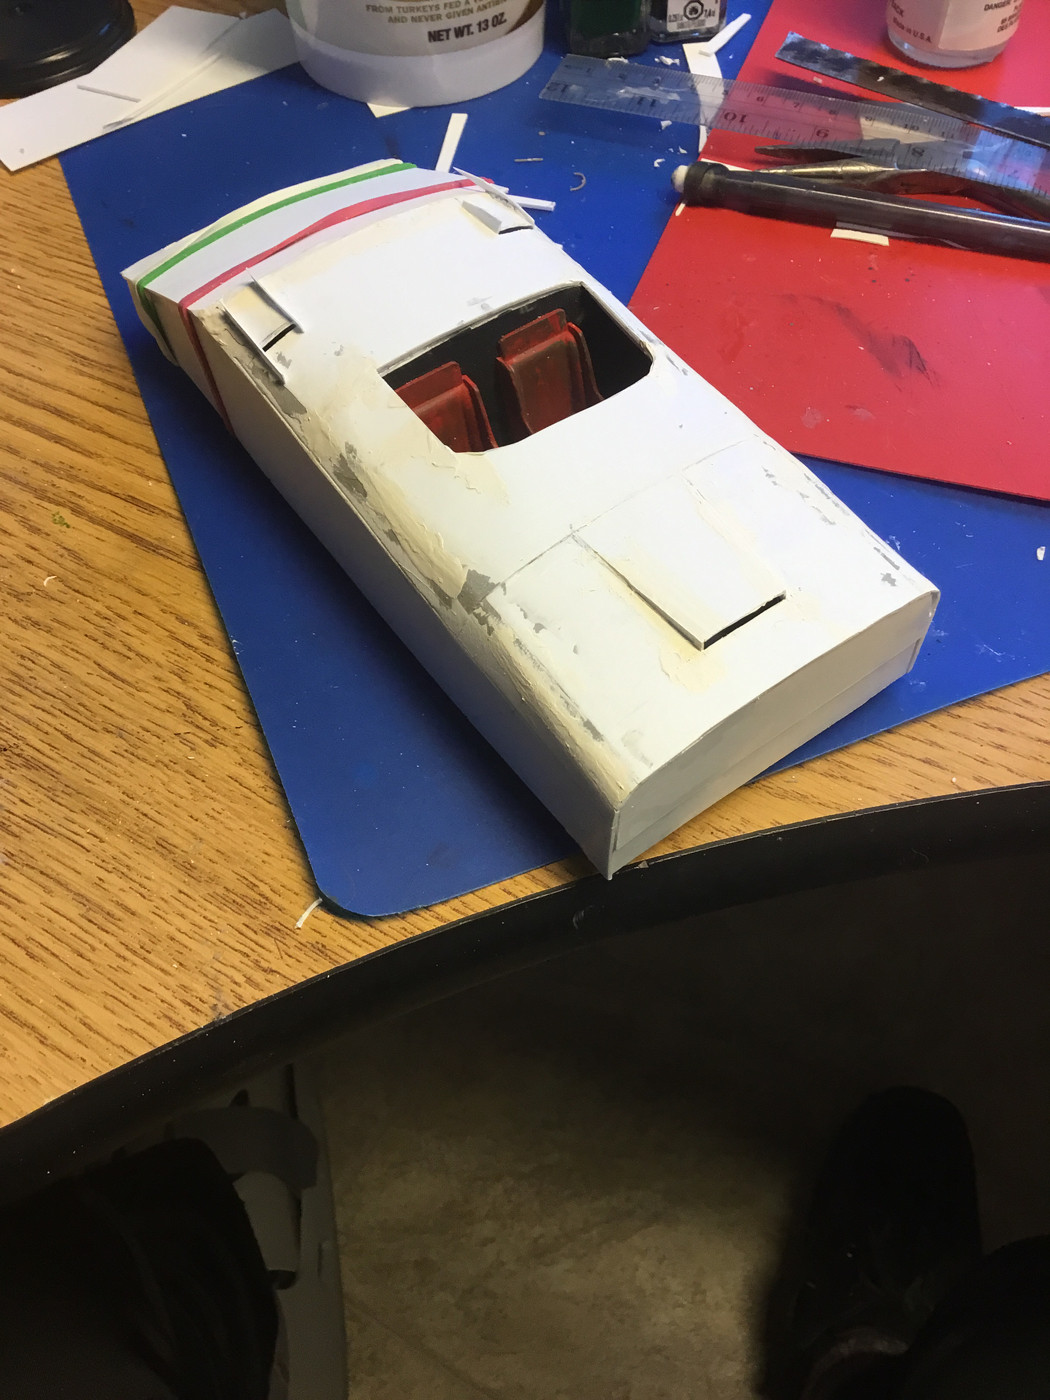 |
|