|
|
Post by builder77 on Apr 6, 2018 17:39:56 GMT -5
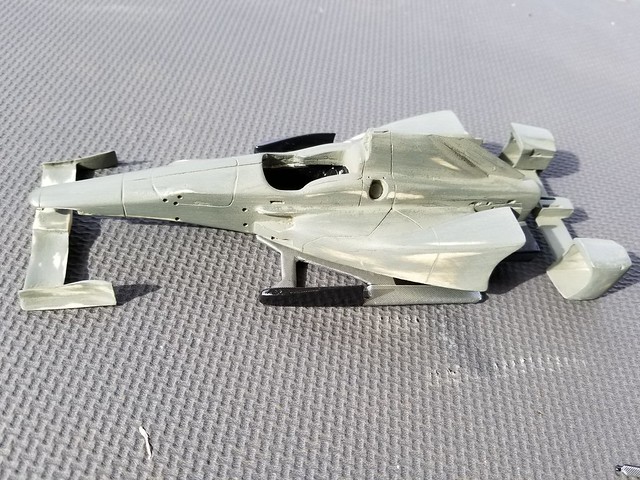
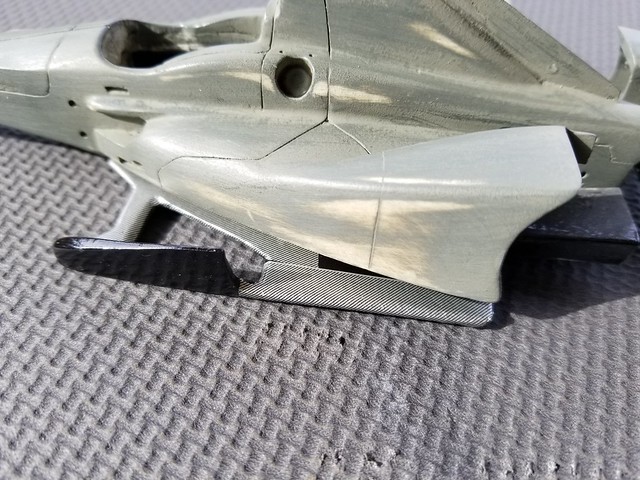
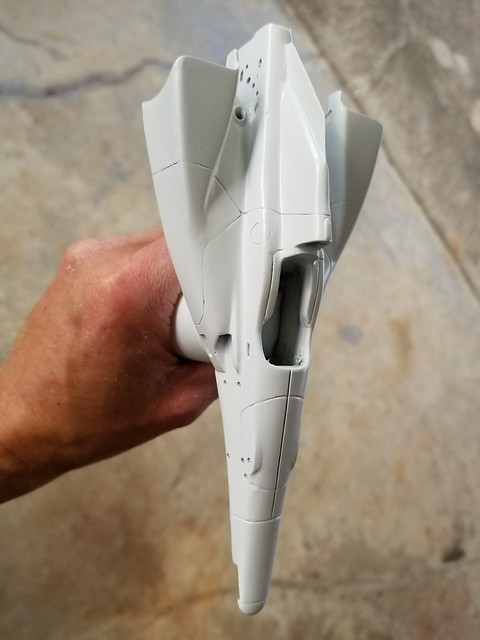
Hi Everyone. This is my first post here. I found the site looking for others that had built the great kit that Calvin sells. Big thanks to Calvin and Michael at Indycals for the products they produce to keep the hobby alive! This is the 2016 Napa Dallara driven by Alexander Rossi at 100th running of the Indy 500. The kit was washed and sanded, with areas filled in using Tamiya UV putty. After the body and all parts, including the white metal, were clean everything was hit with oven cleaner and washed with Dawn. Automotive primer was used and everything sanded before a final primer of Tamiya white. Krylon gloss black was sprayed from the can and dried in the dehydrator for 90 minutes before carbon fiber decals were applied. I'm going to hit them all with Tamiya smoke to make them darker before final assembly. The body is ready for the Yellow and Blue and will be sprayed from the Krylon rattle can this weekend. Thanks and enjoy! Chris
 |
|
|
|
Post by Art Laski on Apr 7, 2018 10:28:59 GMT -5
Hi Chris,
Congratulations on your first post! Looks like it's going to be one to watch. Keep it going!
-Art
|
|
|
|
Post by Gary Davis on Apr 7, 2018 14:42:29 GMT -5
That's looking REAL good Chris and welcome to the forum. That white looks as smooth as glass. Looking forward to the next update..
|
|
|
|
Post by builder77 on Apr 7, 2018 15:49:31 GMT -5
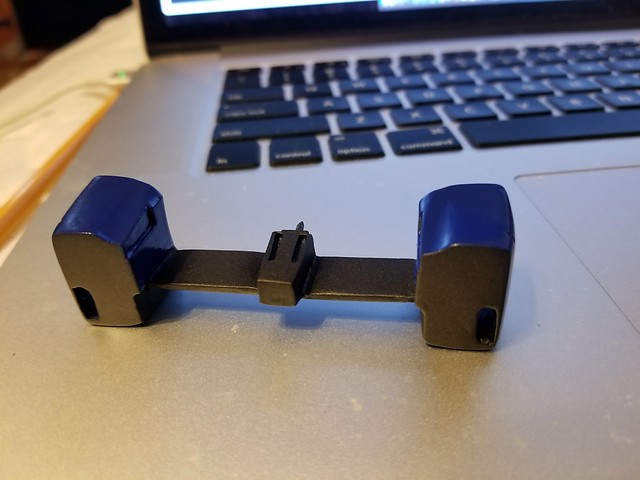
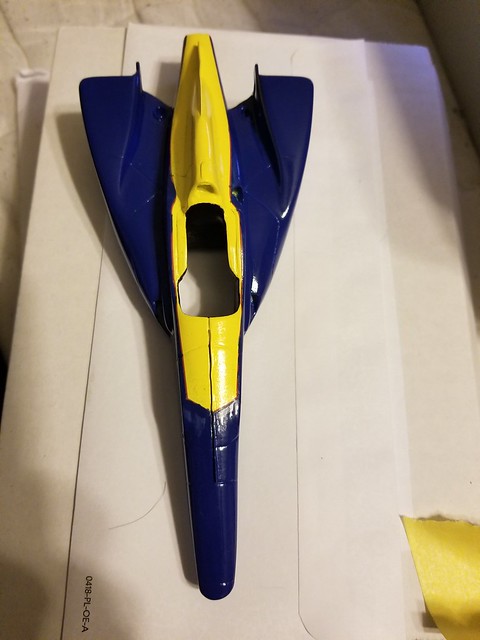
Thanks for the comments. Blue painted and allowed to dry overnight before Carbon Fiber decals added to the front wing. For the rear section everything was painted blue before masking and airbrushing a mix of black and silver. The checker pattern Carbon decals come with the NAPA markings and Michael has done a great job on these. Very crisp looking and easy to work with.
       |
|
|
|
Post by builder77 on Apr 8, 2018 12:31:12 GMT -5
I applied the decals for the stripe because I couldnt figure out how to mask the yellow section. After the decal had set I used Super Clear to seal the decal so I could tape over it. 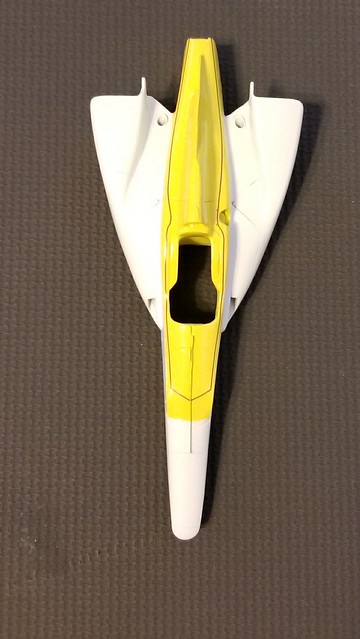 Decals added to front and rear sections. They will have a clear coat added after they dry.  Again, great decals from Michael. They really look good on the car. 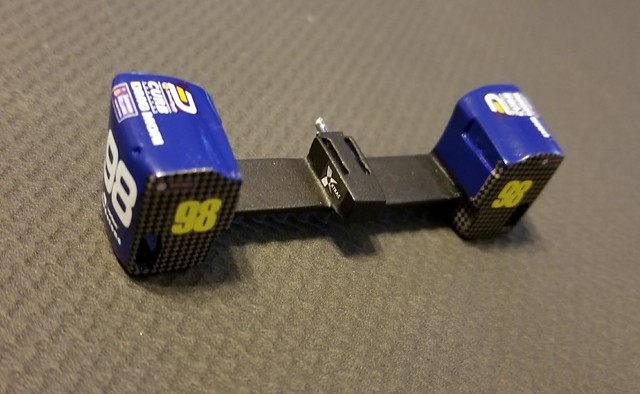 This was tricky to tape right on top of the decal so it was as close as possible for the blue. 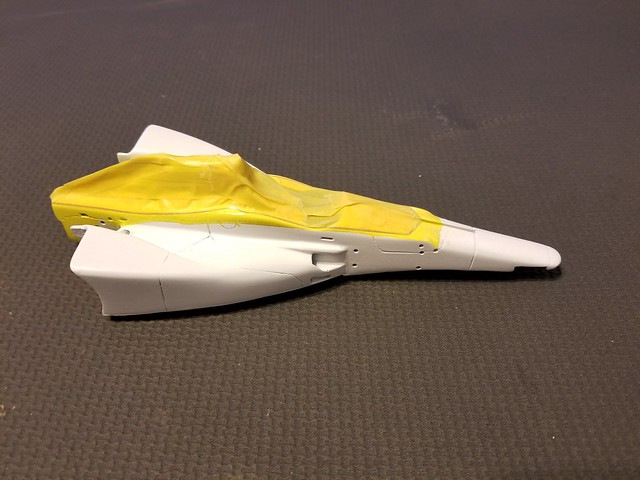 A little bit of cleanup work needed but overall I'm happy. I'm going to order another sheet of decals and use the stripe on top of the paint so it looks a little cleaner. 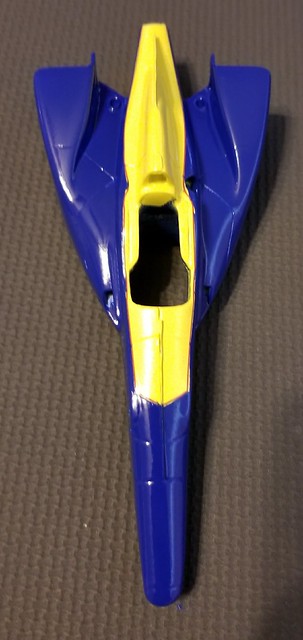
After this dries I will sand down the edge of the blue and yellow and apply a clear coat before the second set of decals arrive. Thanks for watching! Chris |
|
|
|
Post by Gary Davis on Apr 8, 2018 13:26:53 GMT -5
This looks GREAT Chris! What brand of paint are you using? That blue looks super rich. Good idea on that thin stripe also. Thanks for that tip...
|
|
|
|
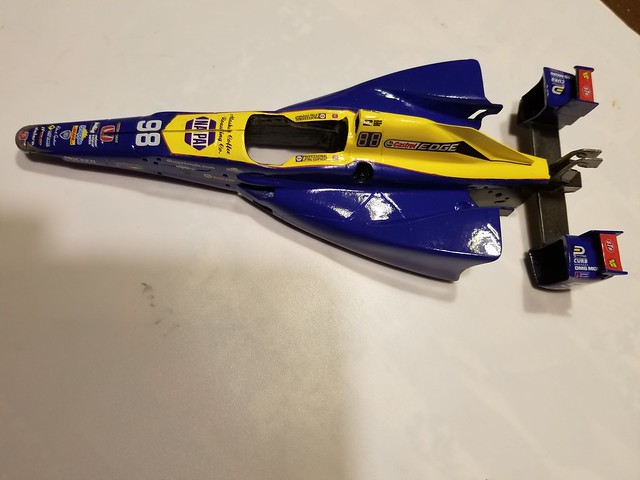
Post by builder77 on Apr 8, 2018 17:39:16 GMT -5
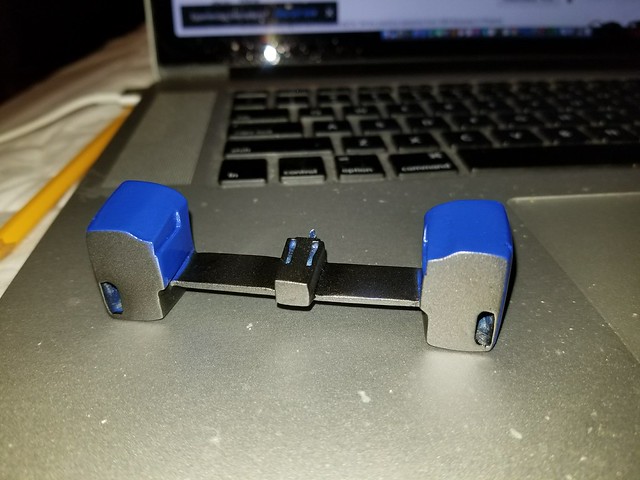
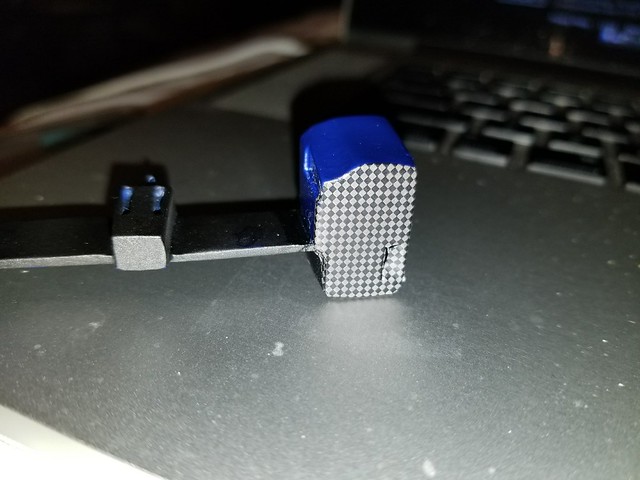
Gary - I used Rustoleum Satin Ink Blue and Rustoleum Sun Yellow as suggested by Michael in another thread. I am going to do touchups next to the stripe after I sand down the blue a little and paint the black sections before decals. Here are a couple of better pictures that show the areas that need to be touched up and you can see how bright the colors are. 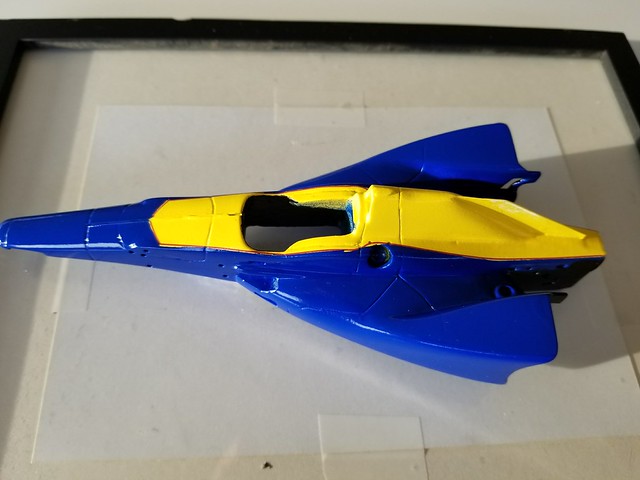 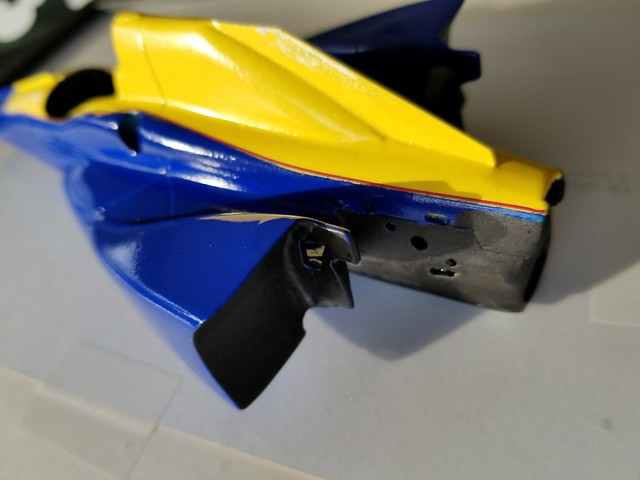 Also - a quick trick I found a couple of years ago when working with resin is that heating the parts may warp or change them so I throw the parts in the freezer to make the paint dry faster. After about an hour I let the parts come up to room temp before handling and allowing to sit for a couple of days. So the body has been in the freezer and is to room temp now so i can sand the line and allow the paint to dry before I add the decals. The Carbon Fiber parts were also airbrushed with Smoke today so they are darker and are ready for final assembly. Today I also spent time cleaning up the 2015 Juan Montoya car and will be starting that WIP in the next few days. More to come. Chris |
|
|
|
Post by Gary Davis on Apr 8, 2018 18:32:21 GMT -5
Thanks for the new pics Chris. Also...a new one for the resin stuff for me also. Sooo...How long do you wait to put the body ( or any resin for that matter)into the freezer after your last coat of paint?
|
|
|
|
Post by alterrenner on Apr 8, 2018 18:53:25 GMT -5
We have a gentleman in our local club that brush-paints his car models,and puts them in the freezer overnight so the brush marks will disappear. I can't argue with his results! Looks like he sprayed the color to me!
That was the first time I heard of such a method, but apparently is common practice?
Any theories, other than slowing the evaporation and prolong the drying time?
By the way, the paint and those colors look great, and welcome to the forum...
--Frank
|
|
|
|
Post by builder77 on Apr 8, 2018 20:37:20 GMT -5
Gary
I wait a couple of hours before putting it in the freezer and I have found that it draws out the wet and almost dehydrates the paint.
Again it just seems to shorten the time needed for full dry so I can work with the parts.
Thanks for the comments.
I'm getting the tires done now and will post pictures of the progress.
Chris
|
|
|
|
Post by indy on Apr 9, 2018 22:58:24 GMT -5
I have beeen enjoying this WIP, very nice work so far. Looking forward to this coming together.
Jordan
|
|
|
|
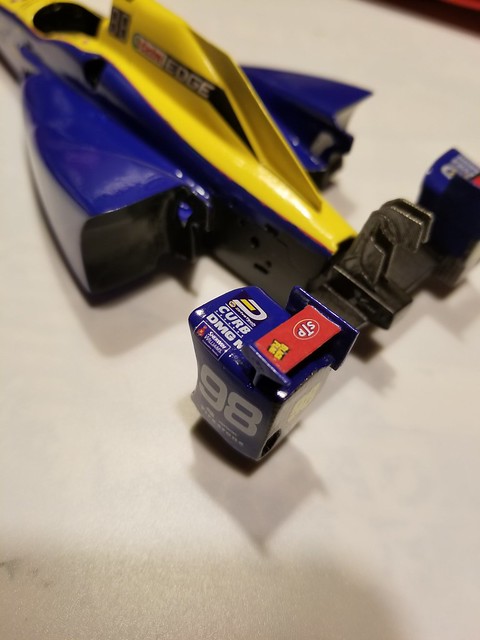
Post by builder77 on Apr 11, 2018 21:30:59 GMT -5
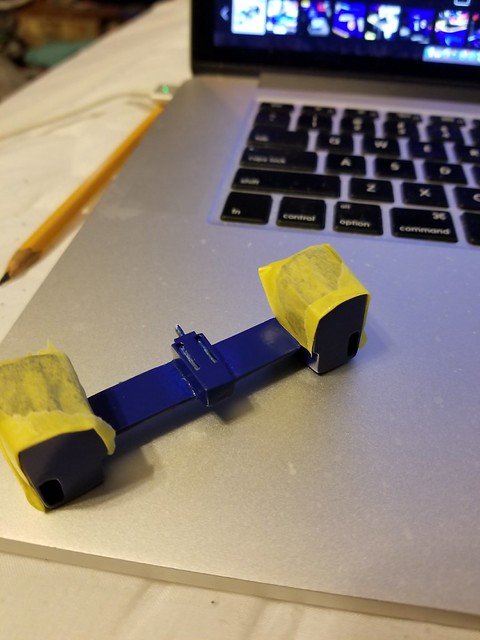
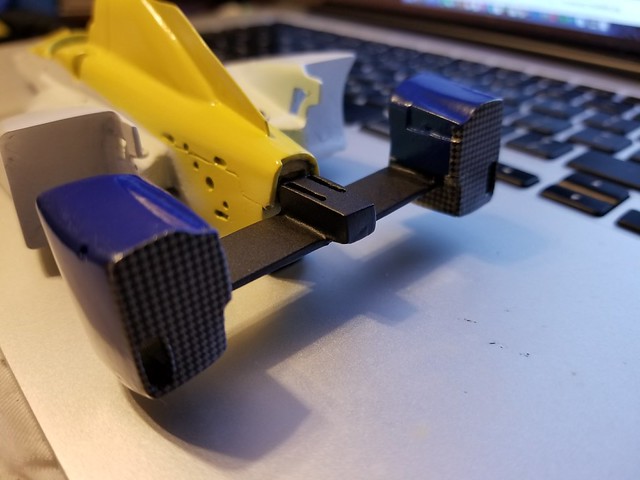
Thanks for the comments! I masked and touched up the yellow because I had some blue bleed through. The blue along the pinstripe was also touched up so when the other decal set comes the new pinstripe can go on top and cover the blend line. I also sanded the edge of the blue so the transition wouldnt cause the decal to wrinkle when it is applied.
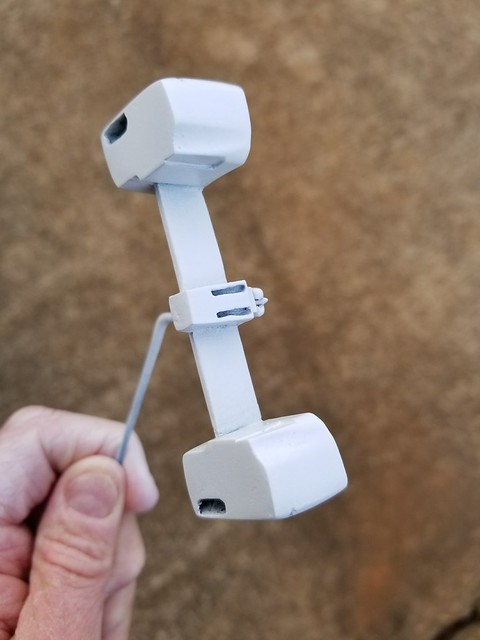
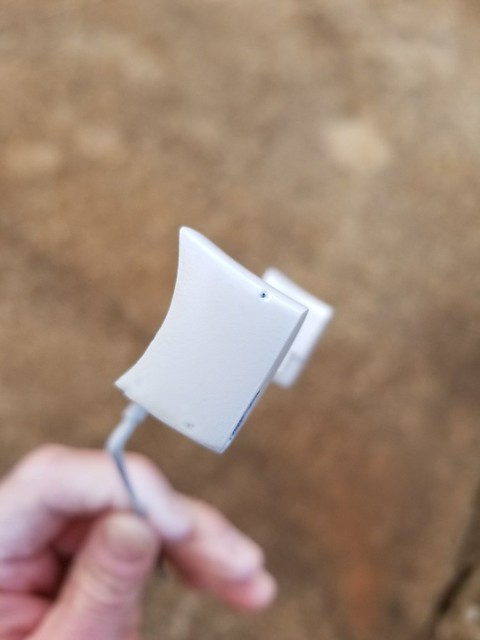
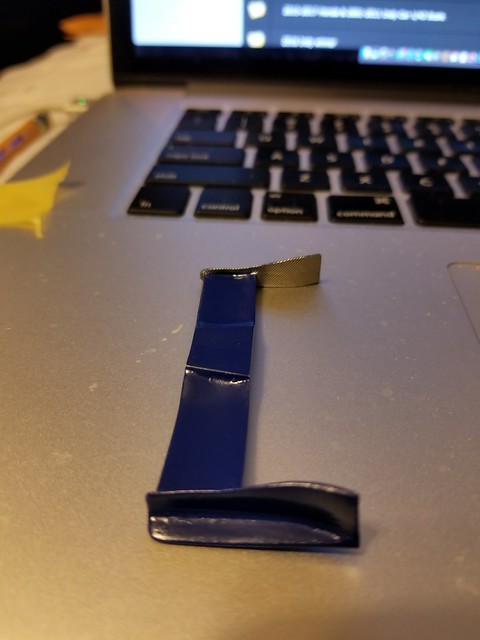
 Started adding the decals with the chrome on the front nose. I also used a new Chrome marker I saw used on costumes that I was going to use for the Juan Pablo suspension and tried it on the nose of this car. Its amazing how chrome the finish is from the pen! I didnt let it dry enough so another layer will be added after the clear coat. Another note is that the brass down the center of the nose makes for a pain adding the decals. I had to split them all and apply half and half and along the way the brass is getting bent from all of the taping and handling. On my next Honda build (Sato 2017 Indy 500 winner) I am going to use a little stronger photoetched material and see how that works. The decals are great and easy to work with. Thanks for that Michael! Tomorrow the final decals will be applied and the body left to dry before a clear coat.  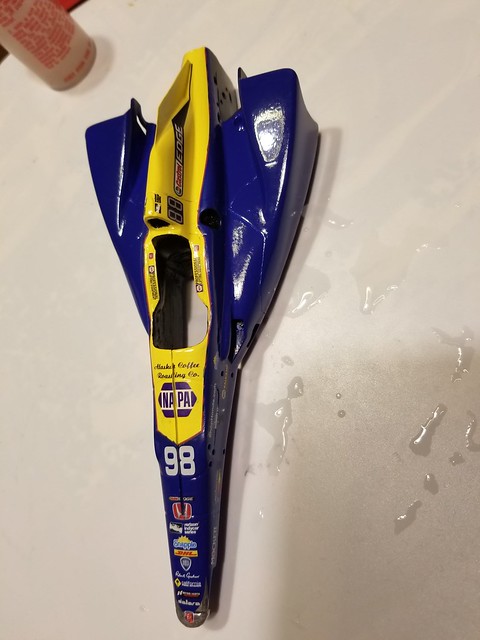
  |
|
schix5150
Hot Shoe
 "You just don't know what Indy means!"...Al Unser Jr. -1992
Posts: 168 
|
Post by schix5150 on Apr 12, 2018 21:36:56 GMT -5
Hi Chris. You’re doing a bang up job on this model. I wish I would have checked in earlier before the decals went on. Just wanted you to see this photo. It wouldn’t be too hard to fix it if you wanted to do it before your final clear coats but it looks great even if you don’t. Here it is. I hope you can forgive me. Keep up the great work though. Mike  |
|
|
|
Post by builder77 on Apr 15, 2018 9:10:48 GMT -5
Thanks for the feedback.
Schix - are you saying the blue at the back of the car?
Chris
|
|
schix5150
Hot Shoe
"You just don't know what Indy means!"...Al Unser Jr. -1992
Posts: 168
|
Post by schix5150 on Apr 15, 2018 10:24:02 GMT -5
Yup. I looked long and hard for every image I could find on this car to do my own. I like your technique with masking the 2 colors it just stinks to use 2 set of decals. When I have to mask and have a pinstripe decal to separate the two colors, I make a few color copies from the printer and cut that up as if they were the decals. It helps with masking and paint layouts.
Thanks, Mike
|
|
|
|
Post by builder77 on Apr 15, 2018 10:35:20 GMT -5
Yeah i went with the natural bend of the decals because they wrinkle when you try and force it to this.
At this point I'm just going to leave it and finish the kit.
Thanks for feedback.
Chris
|
|
|
|
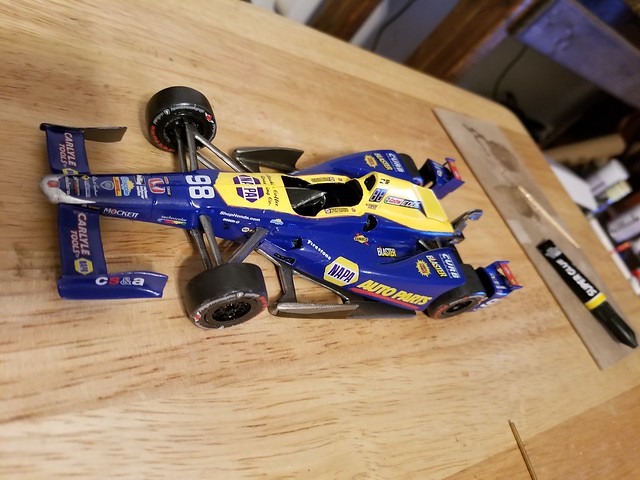
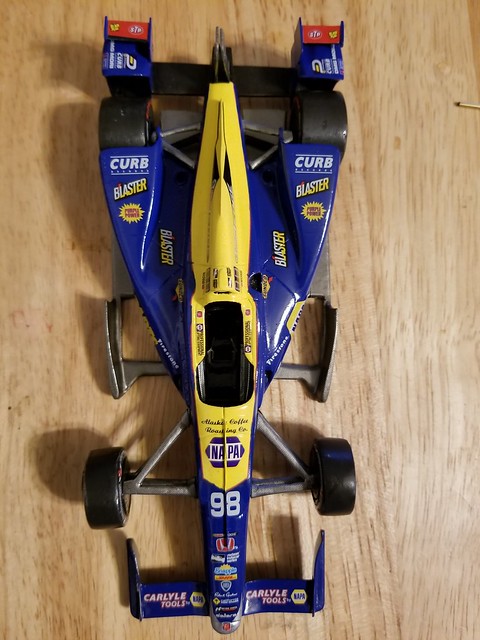
Post by builder77 on Apr 22, 2018 18:38:49 GMT -5
Quick update Still need to add the pin stripe but at the point of doing final assembly. Traveling the next 2 week so not much time to any work on it.

|
|
|
|
Post by Calvin on Apr 24, 2018 1:39:07 GMT -5
its looking great!
Im impressed!
|
|
|
|
Post by 1961redlegs on Apr 24, 2018 15:38:26 GMT -5
This is a beautiful build!
|
|
|
|
Post by indycals on Apr 25, 2018 2:20:04 GMT -5
Yup. I looked long and hard for every image I could find on this car to do my own. I like your technique with masking the 2 colors it just stinks to use 2 set of decals. When I have to mask and have a pinstripe decal to separate the two colors, I make a few color copies from the printer and cut that up as if they were the decals. It helps with masking and paint layouts. Thanks, Mike If you are referring to the decal placement on the top of the bumpers, Builder 77 has them correct. This was taken during post-race inspection:  I have quite a few post-race detail shots posted on my MP2Photography website: www.mp2photography.com/p1032155761 |
|
schix5150
Hot Shoe
"You just don't know what Indy means!"...Al Unser Jr. -1992
Posts: 168
|
Post by schix5150 on Apr 26, 2018 0:49:20 GMT -5
No, I was referring to the engine cover and the separation between the blue and yellow. Everything else is great.
|
|
|
|
Post by builder77 on May 6, 2018 19:11:12 GMT -5
After traveling all last week I had some down time to work on the tires and wheels and start the final test fit.
 |
|


 Pro Tech | MAD | Scale Motorsport


