|
|
Post by killick on Feb 10, 2018 17:46:54 GMT -5
OK guys you have inspired me to put this out into the world. I'm building a MFH 1:20 Gurney Eagle. Oh man I didn't realize how many parts these things have! I think I counted 95 for the engine alone. I may be in over my head. But what the heck. I did build the tub before taking the pictures. Hopefully I'll have the engine complete tomorrow. So, here we go... 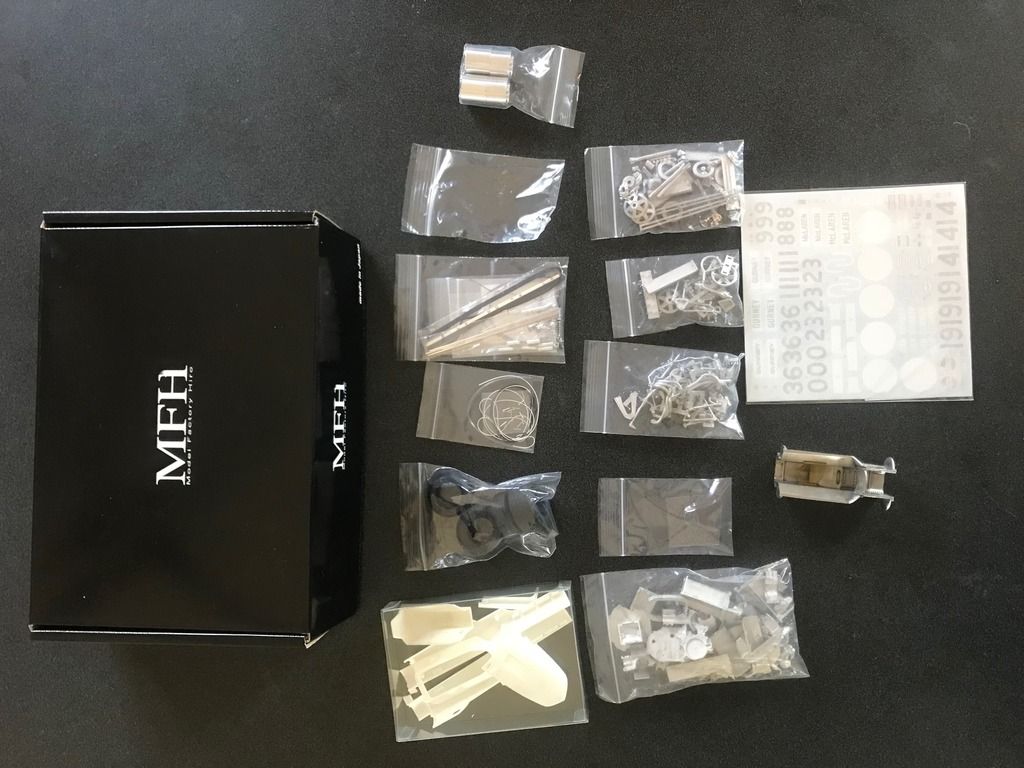 ![]() |
|
|
|
Post by pje on Feb 10, 2018 18:52:50 GMT -5
Good luck with this one. I'll be following along closely. I started mine a couple of years ago but ran into some fit problems as you can see here: mb2501.proboards.com/thread/7976/mfh-1967-gurney-eagle-progressI finally got tired of drilling holes and took a break. When I get back into it I'll be firing up my Dremel as this model has a serious amount of holes to deepen. Paul Erlendson |
|
|
|
Post by indy on Feb 10, 2018 20:30:44 GMT -5
A great project, looking forward to your updates on this one. Feel free to chime in with "drilled a few more holes" posts if necessary so we can encourage you! lol  Jordan |
|
|
|
Post by racerbrown on Feb 10, 2018 22:16:42 GMT -5
really looking forward to this!
duane
|
|
|
|
Post by sandysixtysfan on Feb 11, 2018 8:18:08 GMT -5
really looking forward to this! duane Ditto! Sandy |
|
|
|
Post by killick on Feb 11, 2018 12:27:20 GMT -5
Thanks guys! And please, if anyone has words of wisdom and or advice I will gladly accept. OK engine done. Not to bad. I have no idea how the fuel pump, (I think that's what it is), linkage got messed up. When I installed it was fine. I can't imagine how I it got bend without it coming off or apart. Is what it is. One thing I find different from building wooden ship models, (my modeling background), to these guys is the glue. The CA glue certainly acts different then good ole' Elmer's wood glue. OK a couple of pictures. I played with the tub and body work. I taped it together to get those pesky holes drilled haha. BTW Paul I did review your post prior to the build and did what you did with the engine. I cut the plate rather than the oil pan. There are a lot of holes to drill out. 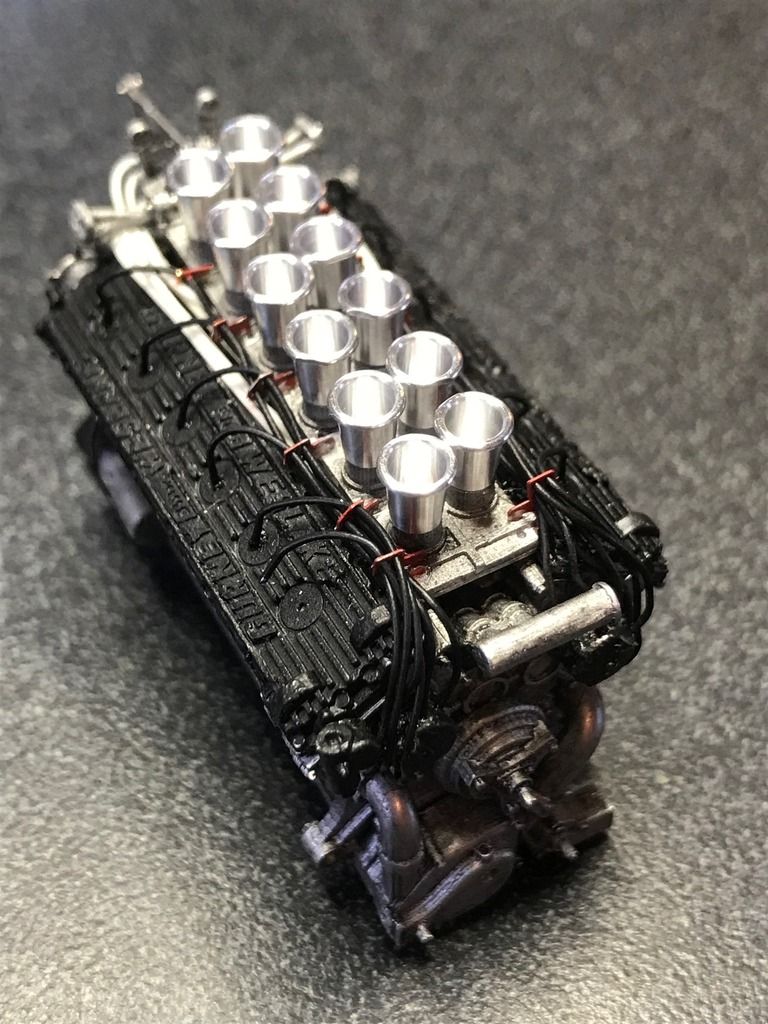 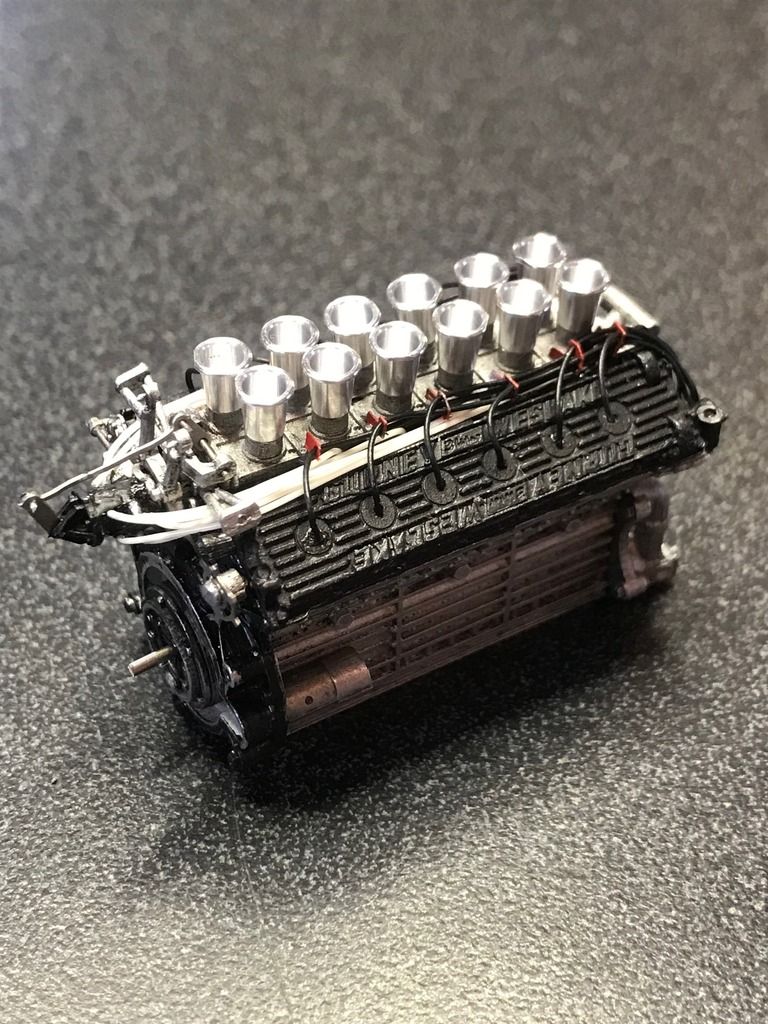 ![]() |
|
|
|
Post by killick on Feb 11, 2018 12:42:46 GMT -5
I have been waiting for the body paints since the 18th of January. I won't go into the gory details. Then it did arrive and I can't get it as my mail has been held all week at a USPS hub. A lady ran off the road and murdered my mailbox. Put a knew one up yesterday so i'll get the paint and hopefully the rivets. Of course I have to go out of town for 3 days starting Monday grrrr. Here's the body taped together. 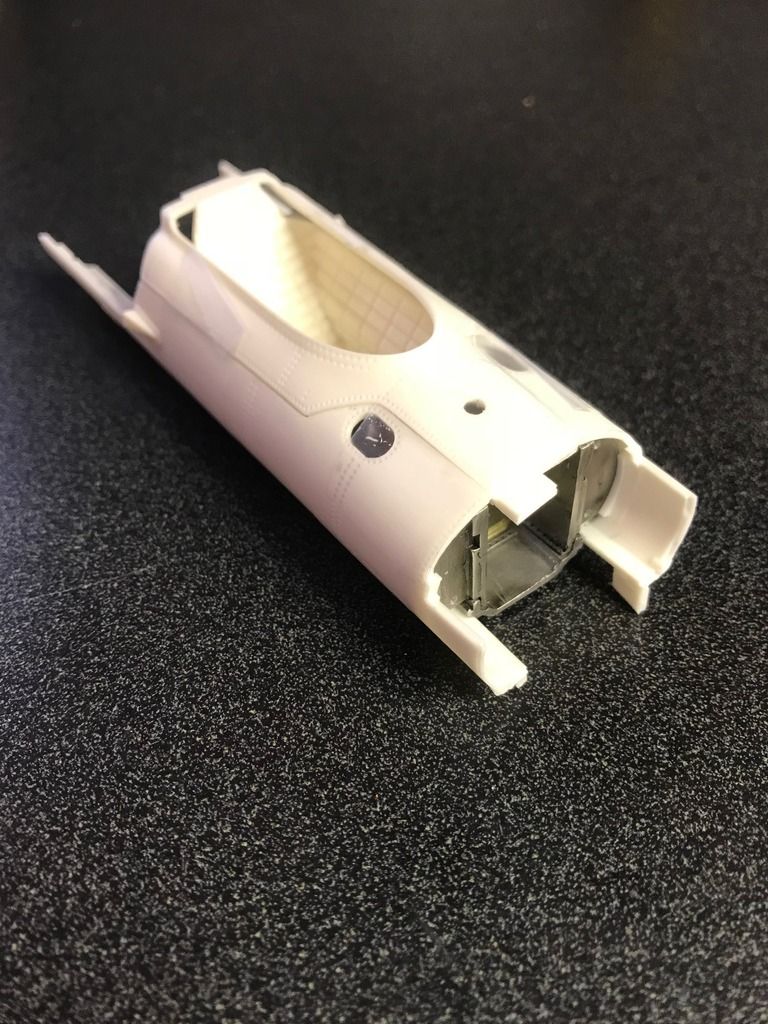 |
|
|
|
Post by Gary Davis on Feb 11, 2018 13:40:24 GMT -5
This is looking good Killick.
|
|
|
|
Post by killick on Feb 14, 2018 16:10:12 GMT -5
Thanks guy, really appreciate the kind words. OK, I got the rivets from Archer and they are nice but I'm not sure I'm going to spend the time on riveting the bodywork. I did a row of them. They are fairly easy to place. I just don't know they are worth the time. You can feel them but also I must have pick the right size as there is a section of them that you can't even feel. I think they went into the rivet holes in the resin! I think I'll stick with Michael and just use the recessed rivets on the body. Maybe the next build. 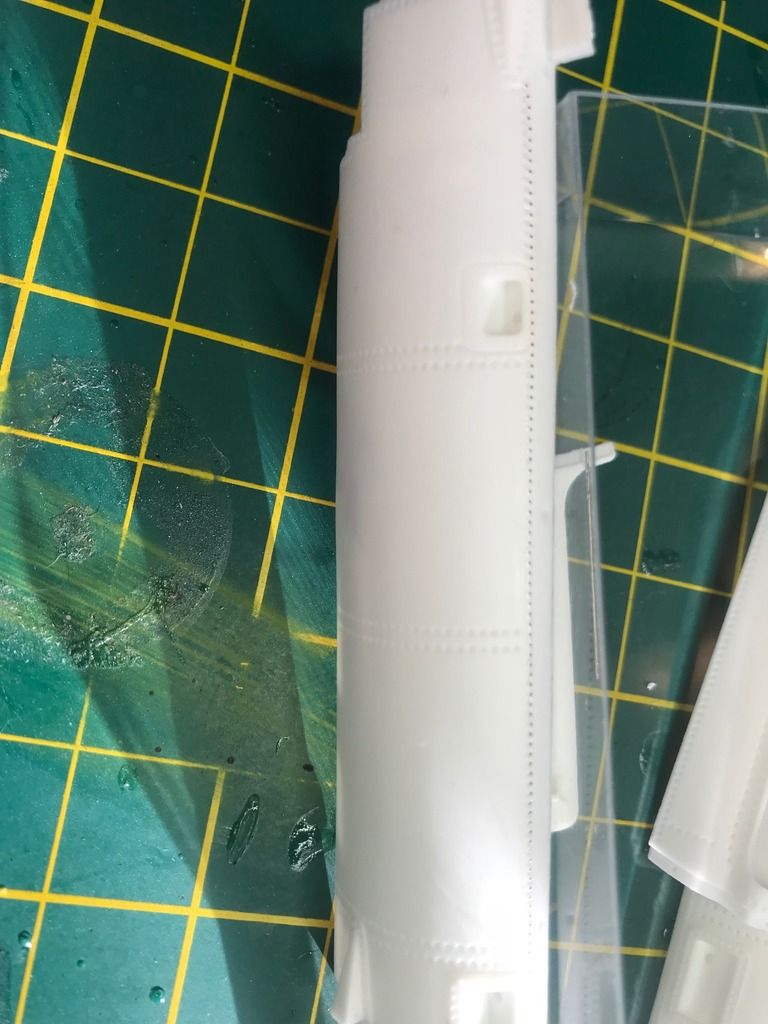 |
|
|
|
Post by killick on Feb 15, 2018 6:25:33 GMT -5
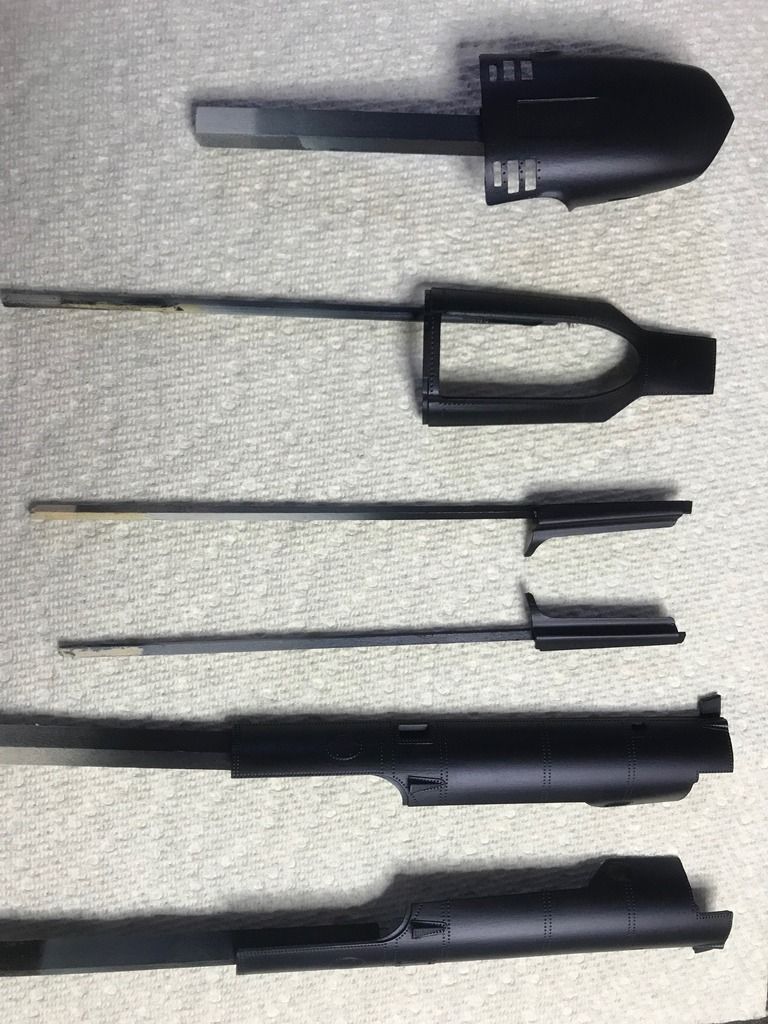
Good morning boys & girls. Last night I made my initial stab at using an airbrush to prime the bodywork. Things didn't come out to bad. 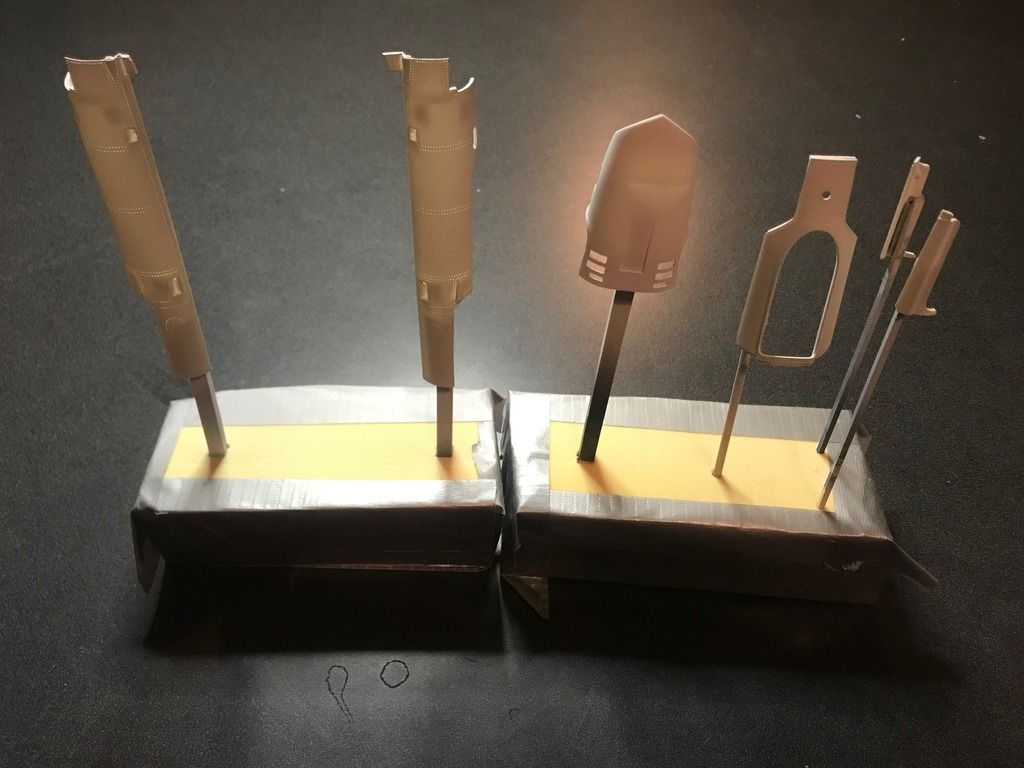 Then this morning I figured I'd wet sand them, (2500), to getting ready for topcoat, (I woke up way to early). Pretty impressed I actually got enough primer on the parts to not sand through to the substrate or fill the details, a good start! 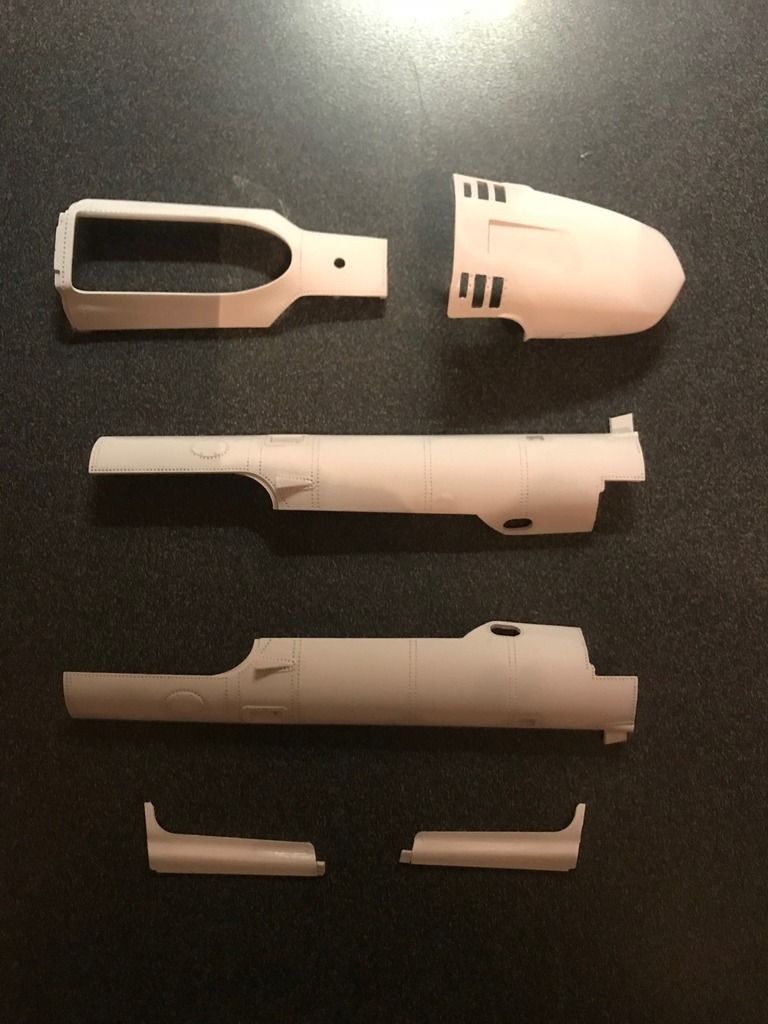 So after work, (no I'm not that old, ((but close)), I still have a job), I'm going to attempt to topcoat the pieces parts. Wish me luck. |
|
|
|
Post by indy on Feb 15, 2018 11:25:04 GMT -5
You are making good headway on the body, very nice!
Jordan
|
|
|
|
Post by killick on Feb 15, 2018 13:35:11 GMT -5
You are making good headway on the body, very nice! Jordan Thank you Sir! OK Got the body panels sprayed. They look pretty good I think. About a 15-20 degree gloss. No runs, drips, or errors. All edges have coverage. Now you may be asking yourself how is he finished with work AND have the panels sprayed since he works for a living? I'll tell you...
I never said I worked hard!! Haha. I do have it pretty easy these days. Maybe sometime I'll get into details. Anyway, I need to search and find out how long the paint has to cure prior to decaling.
Here are my implements of destruction. I'm not cheap by any means but at the same time if I can make or utilize what I have I will. So the homemade gun stand and a Maxwell House coffee container for the spray waste.
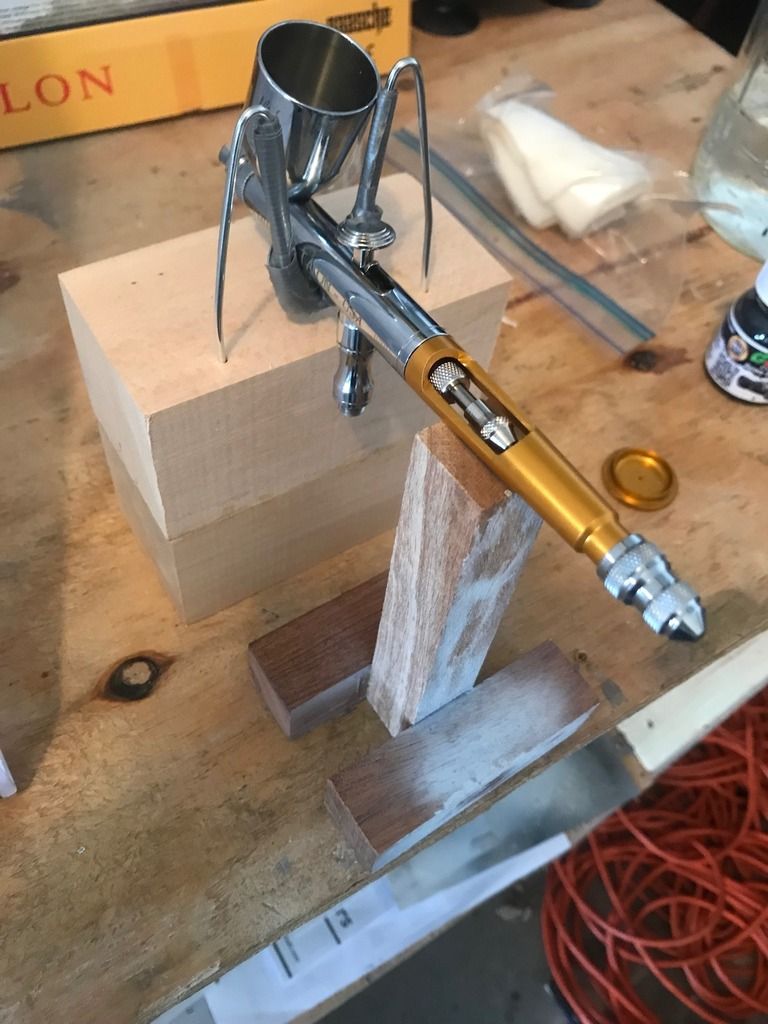
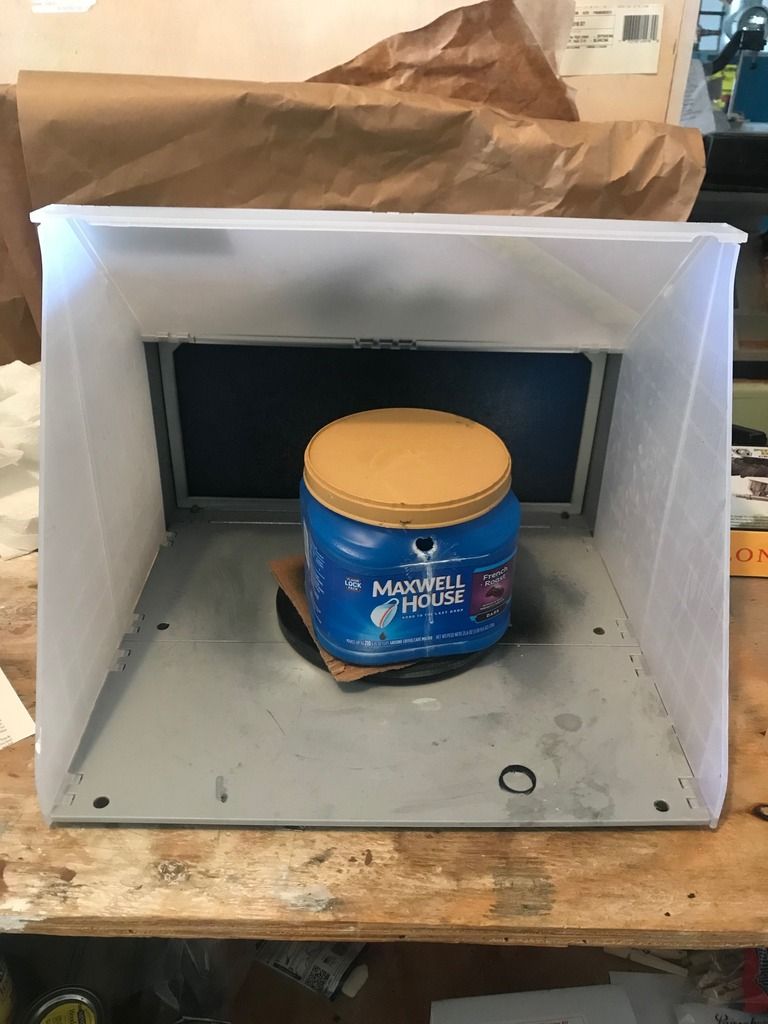
|
|
|
|
Post by killick on Feb 18, 2018 15:32:28 GMT -5
I put the decals on Friday evening. I did end up painting the nose as being a total rookie with decals I couldn't get the the decal to go around. I used header flat white. Color match is really good. 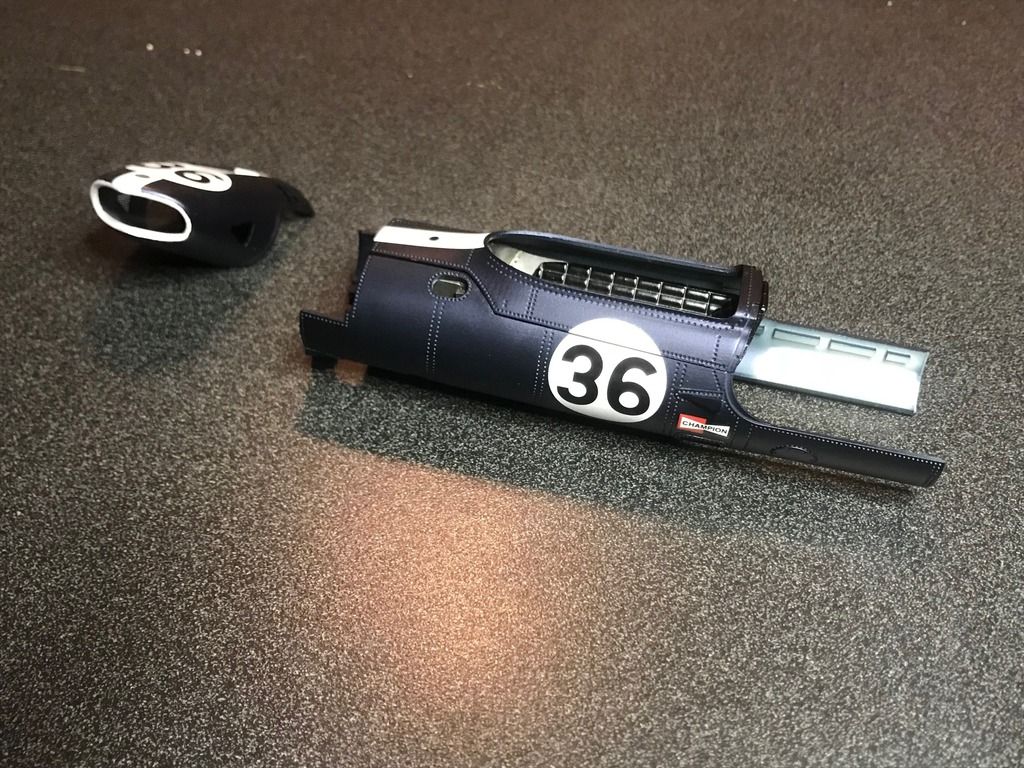 Then had a little fun putting the parts together trying to make it look like a car. A bit of motivation. 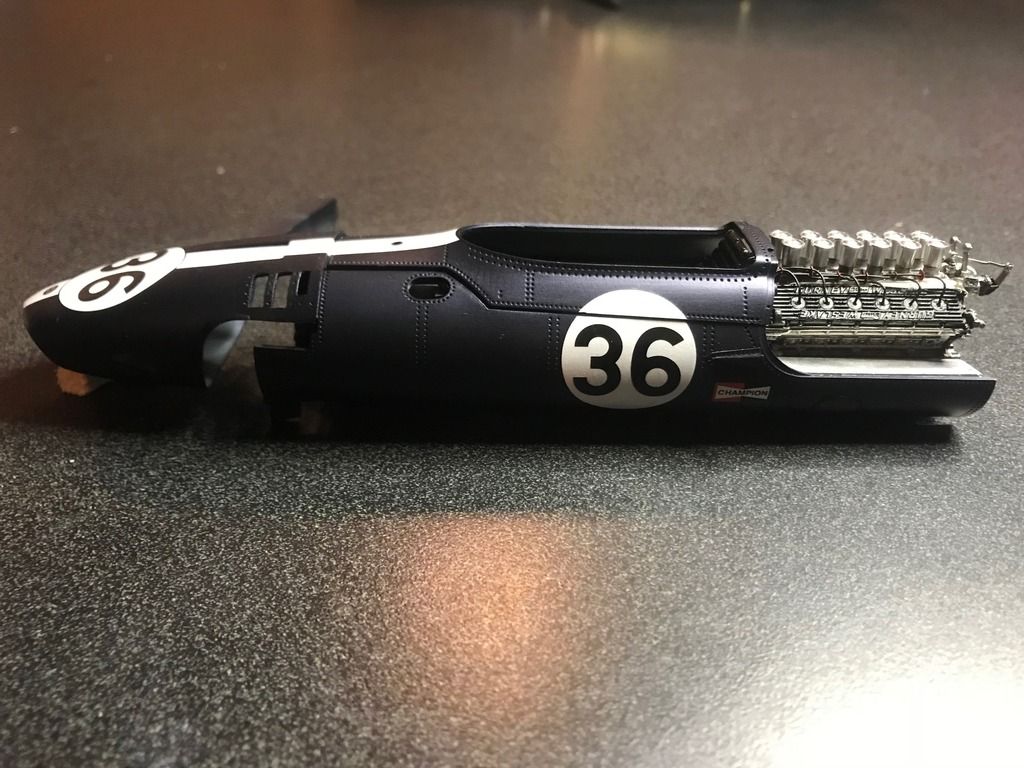 This morning got the clear coat on the pieces parts. I have to say I like the Gravity paints. The primer, topcoat & clear coat seem to be pretty much idiot proof as evident of me getting a decent paint job. I used their 2K clear. 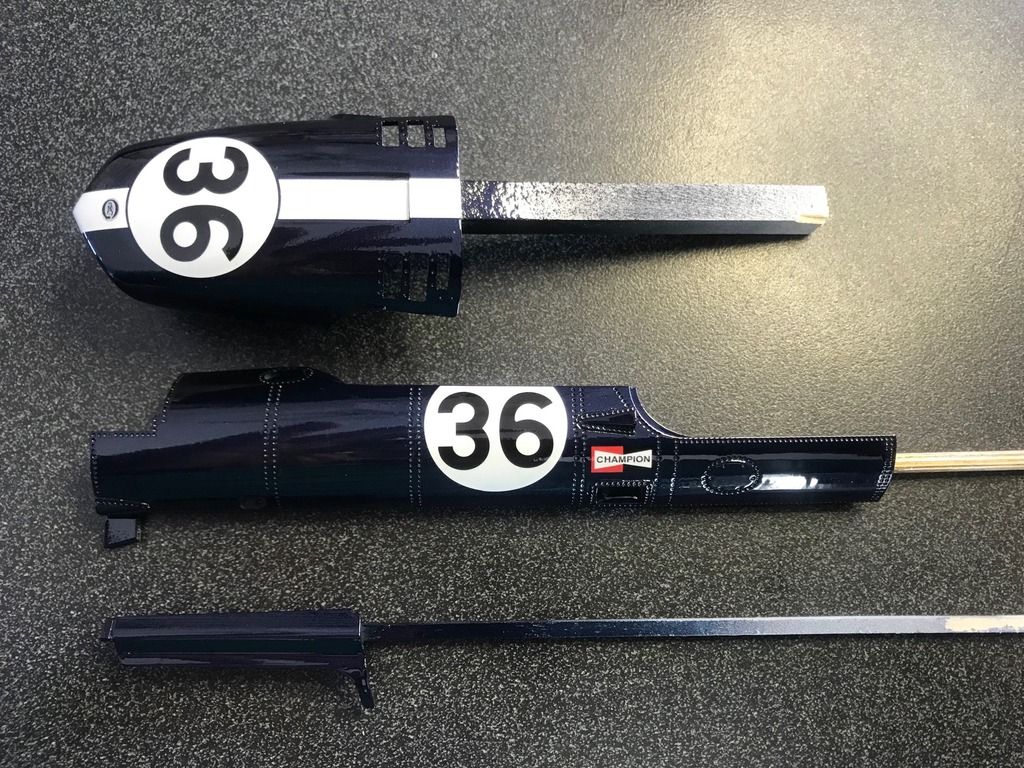 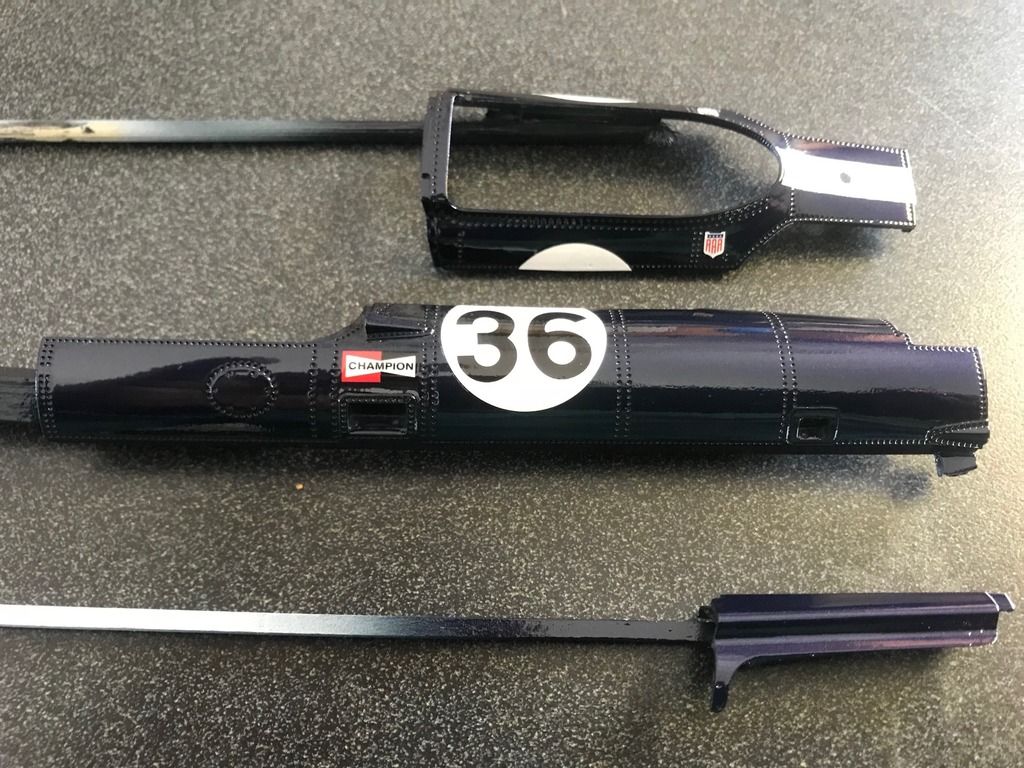 |
|
|
|
Post by hurtubise56 on Feb 18, 2018 15:48:10 GMT -5
Very nice paint work! I need to check out the Gravity paints. Apparently you didn't have any trouble decaling over the semi-gloss surface? Are they Cartograph decals or does MFH do their own?
Brian
|
|
|
|
Post by killick on Feb 18, 2018 17:56:22 GMT -5
Very nice paint work! I need to check out the Gravity paints. Apparently you didn't have any trouble decaling over the semi-gloss surface? Are they Cartograph decals or does MFH do their own? Brian Thank you for the compliment. All 3 products worked nicely, (I just wish Gravity's customer service was as good as their paint). IMHO the 'metalflake', more like pearl, is pretty spot on for scale. I really didn't even notice it until I was fondling the parts in the sunlight admiring my fine work, LOL, that i even noticed it. I'm sure you guys know this but in the automotive paint business there are tons of sizes of flake to make up paint. Some colors have two or three different sizes to match the face, flop, and flash of a color. So for Gravity to get such a fine 'flake' is really cool. I tried capturing the look... 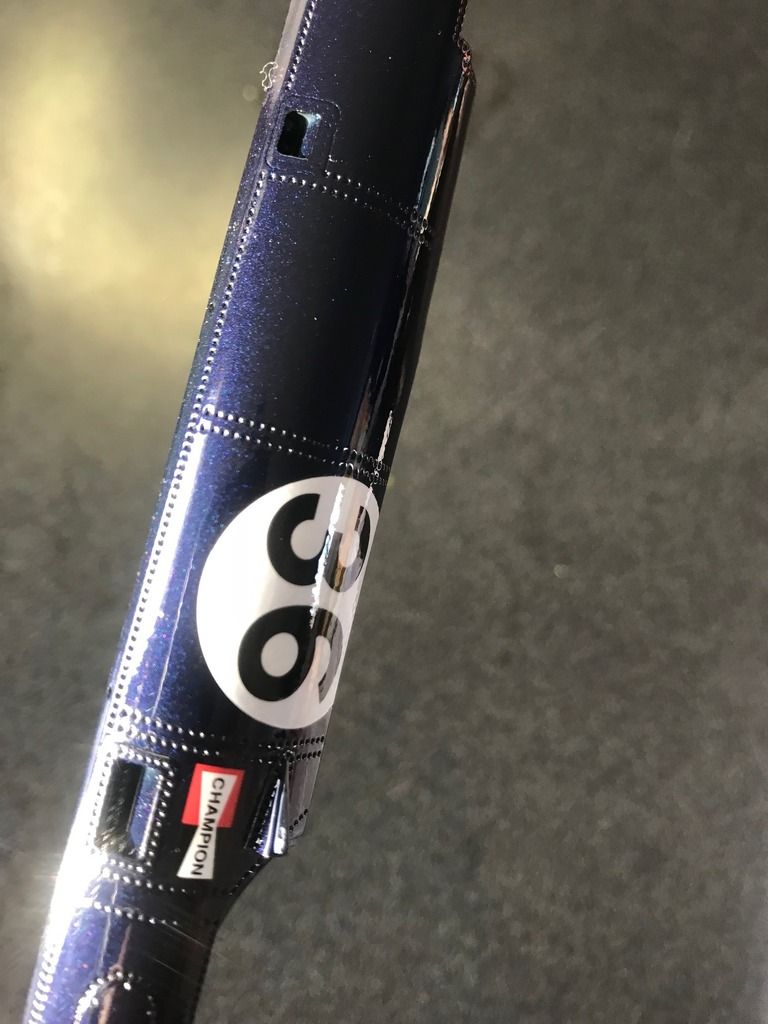 Thank you all for the likes. I'm enjoying building this car. |
|
|
|
Post by Gary Davis on Feb 18, 2018 20:09:11 GMT -5
That paint really looks good Killick. This is one of my favorite Gurney cars...I like them ALL but the early Shark mouth Eagles are my Favorite and you're doing it justice.
|
|
|
|
Post by drums01 on Feb 19, 2018 14:21:18 GMT -5
Liking this build so far!
Nice work!
|
|
Deleted
Deleted Member
Posts: 0
|
Post by Deleted on Feb 19, 2018 20:44:09 GMT -5
Looking good and nice paint job!
My recommendation for any MFH kit is always test fix all the parts before final assembly. They do take some more time to build, but the detail is unreal once completed.
Jim B.
|
|
|
|
Post by killick on Feb 20, 2018 9:01:06 GMT -5
Thanks guys. Yes I certainly know that well. When building wood ship models making the parts is the easy part, it's the fitting! Got the body parts permanently attached to the tub. Was a bit traumatic. I did pre-fit the panels to drill the holes. But with the vent figures in place, (my bad I didn't pre-fit those), I had some trouble but it's together. Then I didn't do a terrific job masking to paint the silver on the panels. Also one of the "36" decals came loose pulling the tape grrrr. Trials and tribulations! Got the engine in place. Going to start on the front next. A couple crappy pictures... 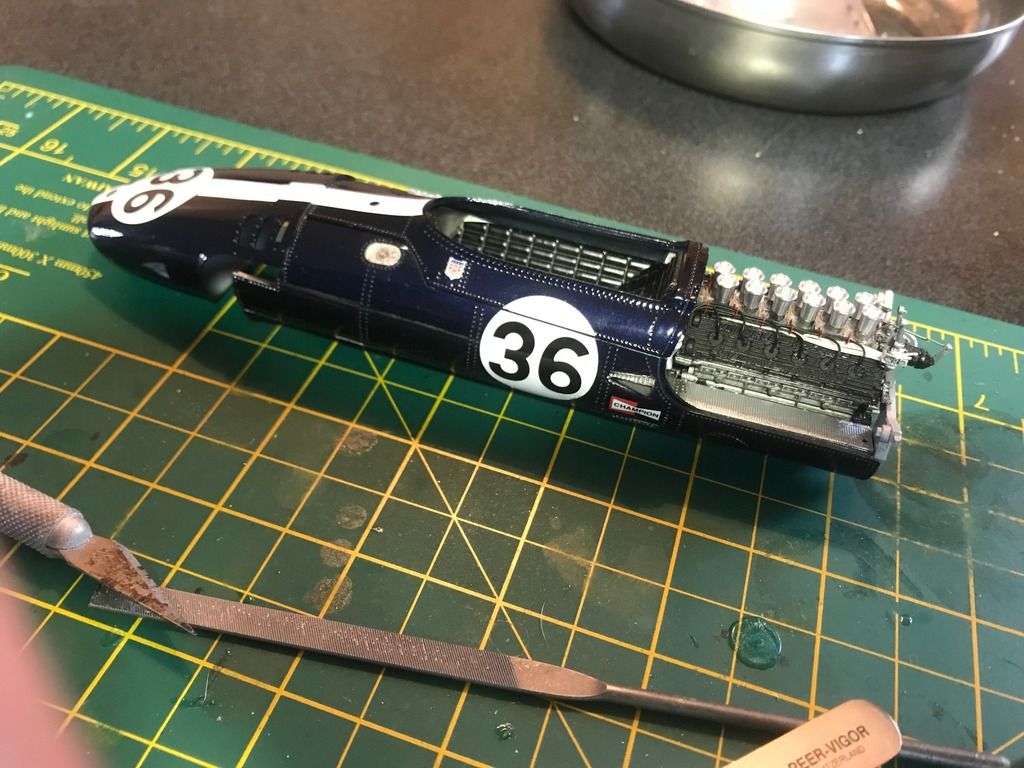 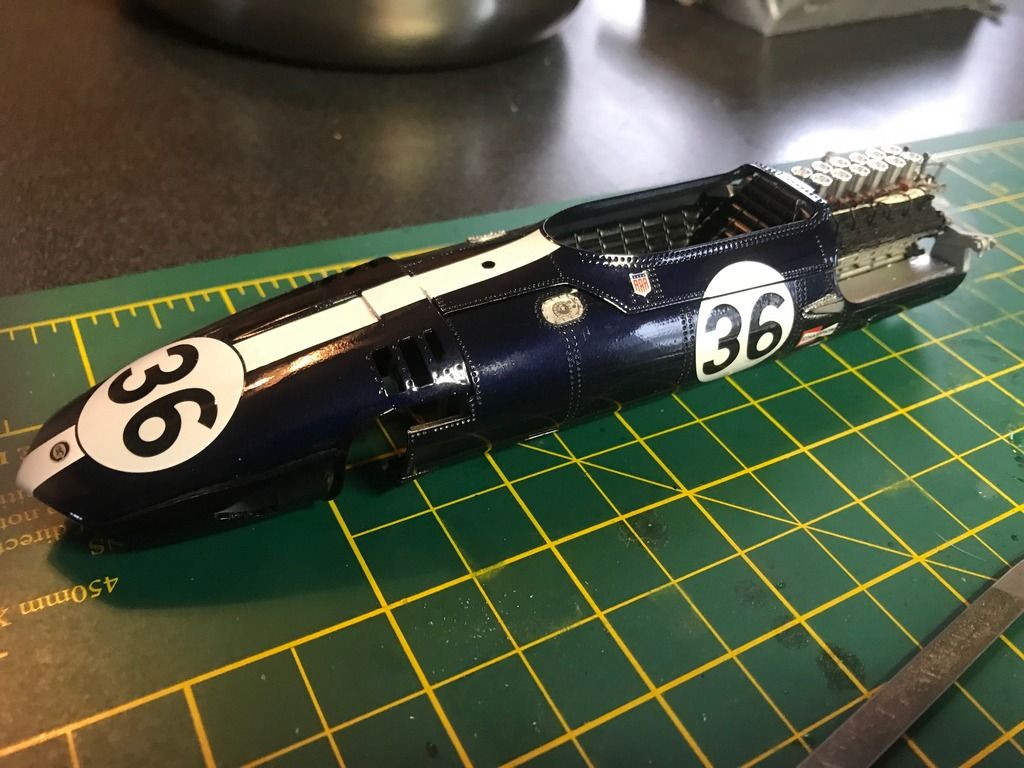 |
|
|
|
Post by Michael Chriss on Feb 20, 2018 10:04:29 GMT -5
Wow, looking really great!
|
|
|
|
Post by kip on Feb 20, 2018 15:11:43 GMT -5
What a fantastic paint job!!!
kip
|
|
|
|
Post by killick on Feb 24, 2018 20:55:47 GMT -5
Thank you Michael & Kip, (nice pup also!). I have two cattle dogs myself. I got the front suspension done in the last couple of days. Also all the front cooling bits are primed and painted ready for assembly. 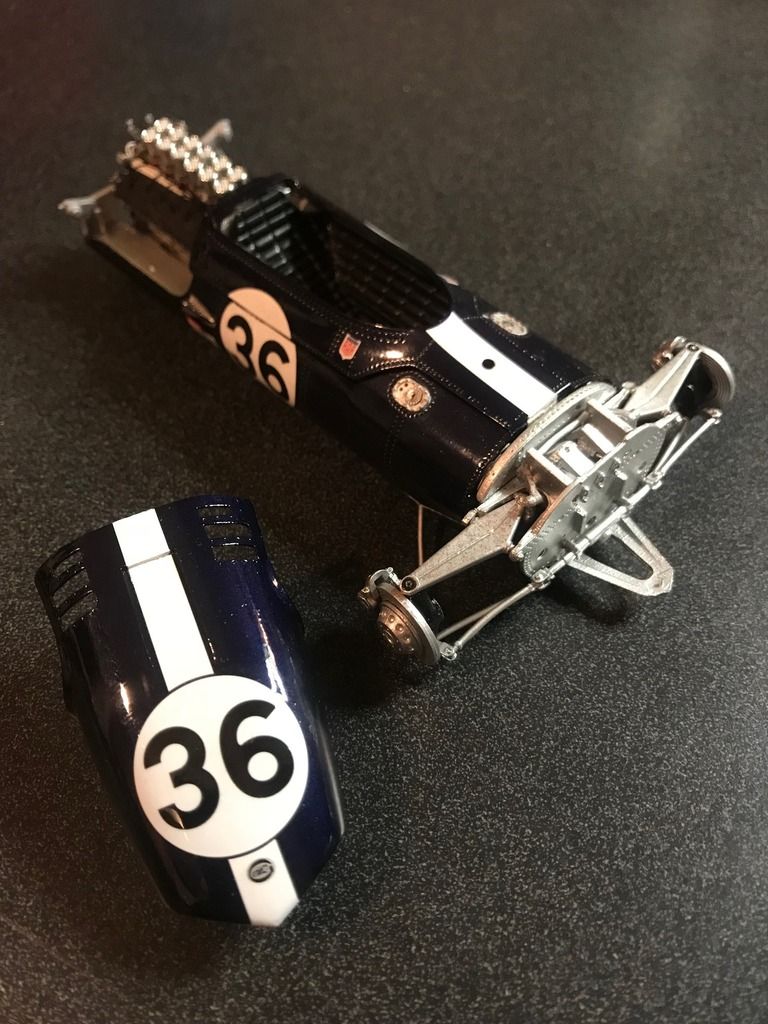 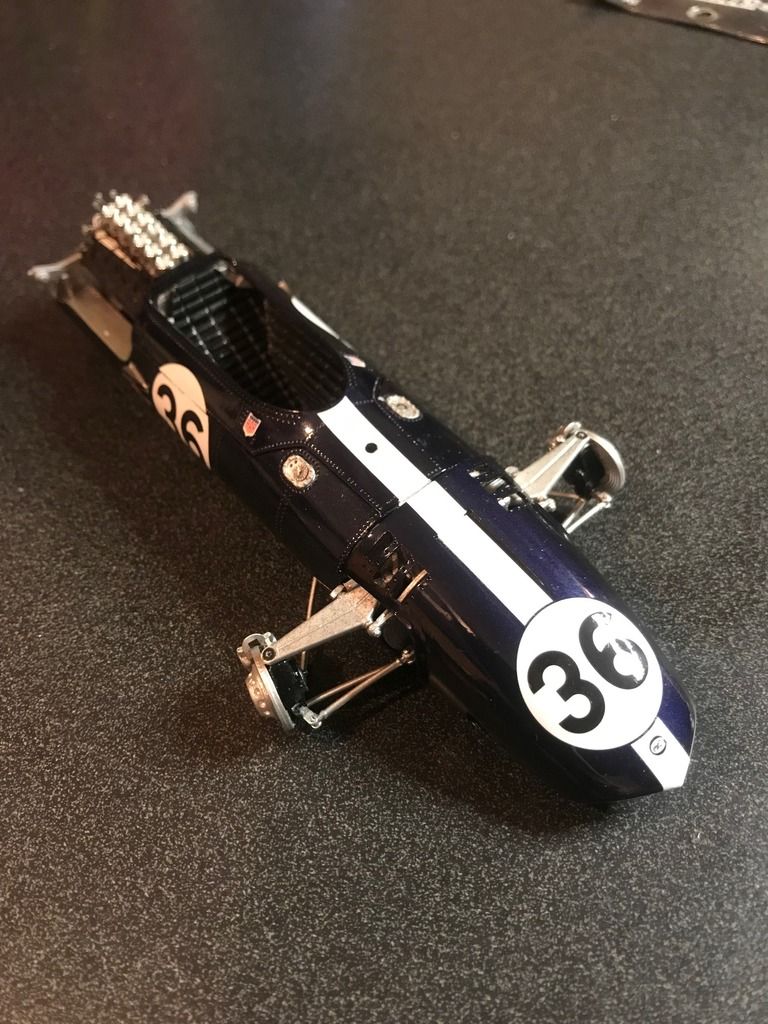 |
|
|
|
Post by Calvin on Feb 25, 2018 2:30:25 GMT -5
Beautiful!
|
|
|
|
Post by Gary Davis on Feb 25, 2018 22:28:37 GMT -5
This is really looking good Killick!! That paint is killer...
|
|
|
|
Post by killick on Feb 27, 2018 16:07:24 GMT -5
Thanks guys. Of course as I figured would happen I've run into difficulty with a step. The plumbing for the radiator and supports. I need an extra hand, (if not two). Just can't seem to get everything attached without something else failing. I'm hoping a good vise will do the trick. So I ordered a PanaVise model 350 vise. It tilts, turns and rotates. Even fetches coffee!
We'll see in a few days.
|
|
pg265
Front Runner
 
Posts: 231 
|
Post by pg265 on Nov 10, 2018 10:12:25 GMT -5
Hi,
Great start!
More please: I love that beauty!
Pascal
|
|
|
|
Post by Gary Davis on Mar 22, 2019 14:50:33 GMT -5
Man Mark.... This, is one of my Favorite cars ( as I've probably mentioned...A FEW TIMES!!!!) LOL. You are really doing it justice my friend. I'm looking forward to seeing the next update on this puppy for sure....
|
|
|
|
Post by billj on Mar 26, 2019 19:14:53 GMT -5
Super nice work. The MFH kits are way above beautiful and way over my head (and budget) I am fortunate to be able to see one being done so nicely. Looking forward to seeing more of your fine build.
|
|
|
|
Post by 2lapsdown on Mar 26, 2019 20:14:27 GMT -5
I've never really understood why this car was never mass produced in plastic or resin 1/20 or 1/24. I'm enjoying you doing this kit justice, thanks for taking us along.
John
|
|
|
|
Post by Gary Davis on Jun 19, 2021 11:26:53 GMT -5
Hey,Hey Mark...do you have an update on bad Boy?
|
|