|
|
Post by raceparke on Jul 19, 2017 10:20:26 GMT -5
I think I got it! Still can't use ipad w/ this forum, but can use pc to get pix from Fotki into threads. Anyway, I will recreate this from scratch and post new pix as I go. I placed a large piece of sprue onto the gearbox to use as solid mounting for frame bits at the rear. 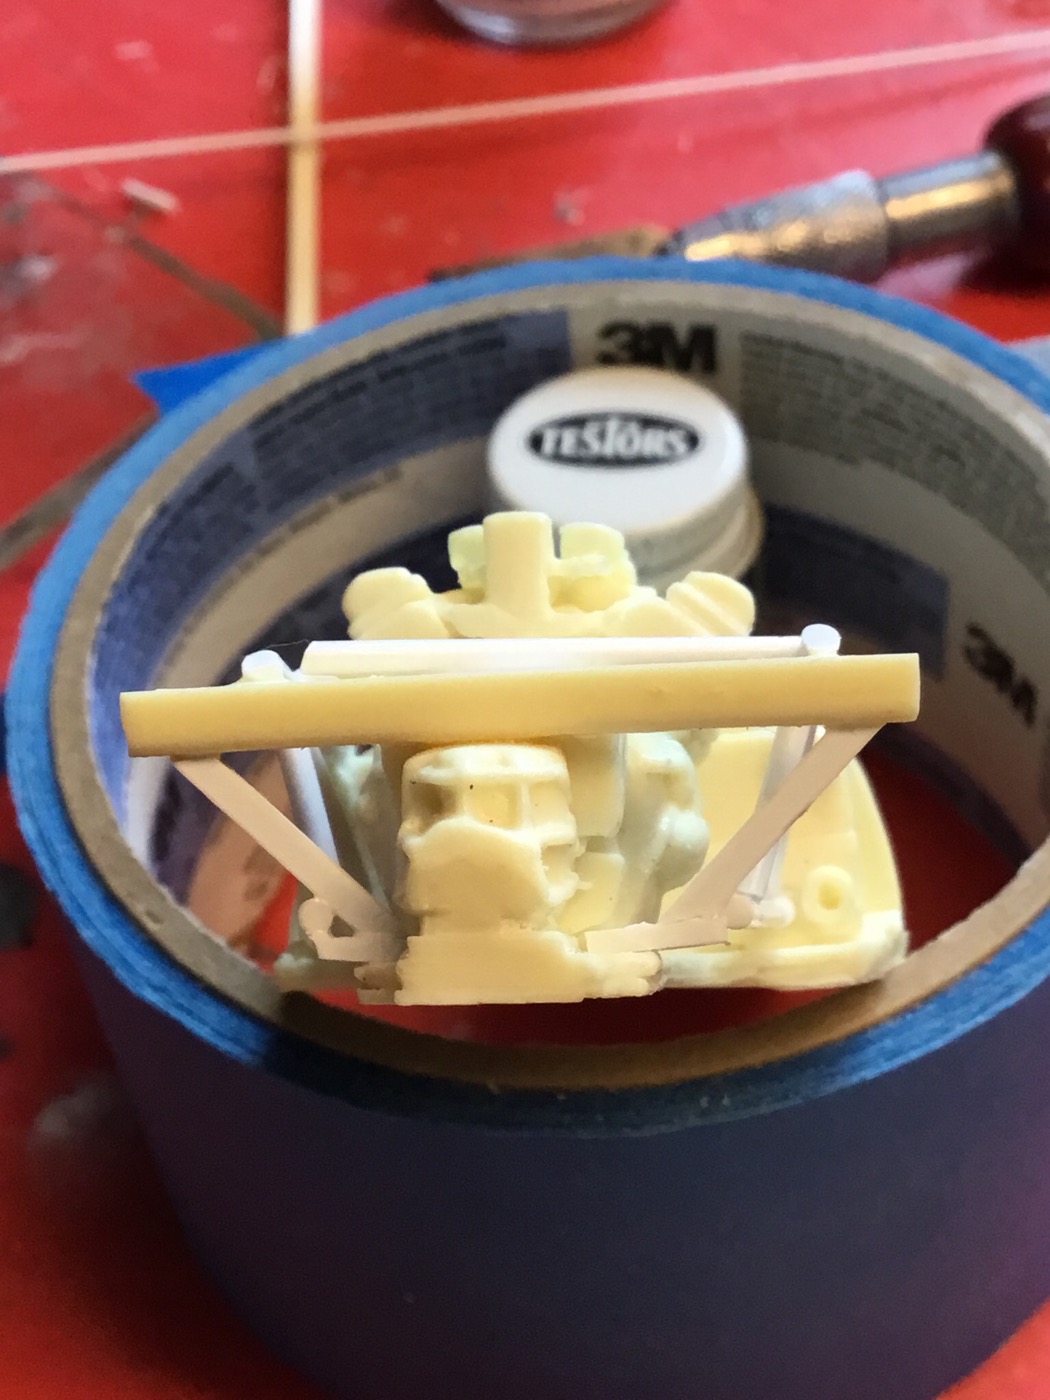 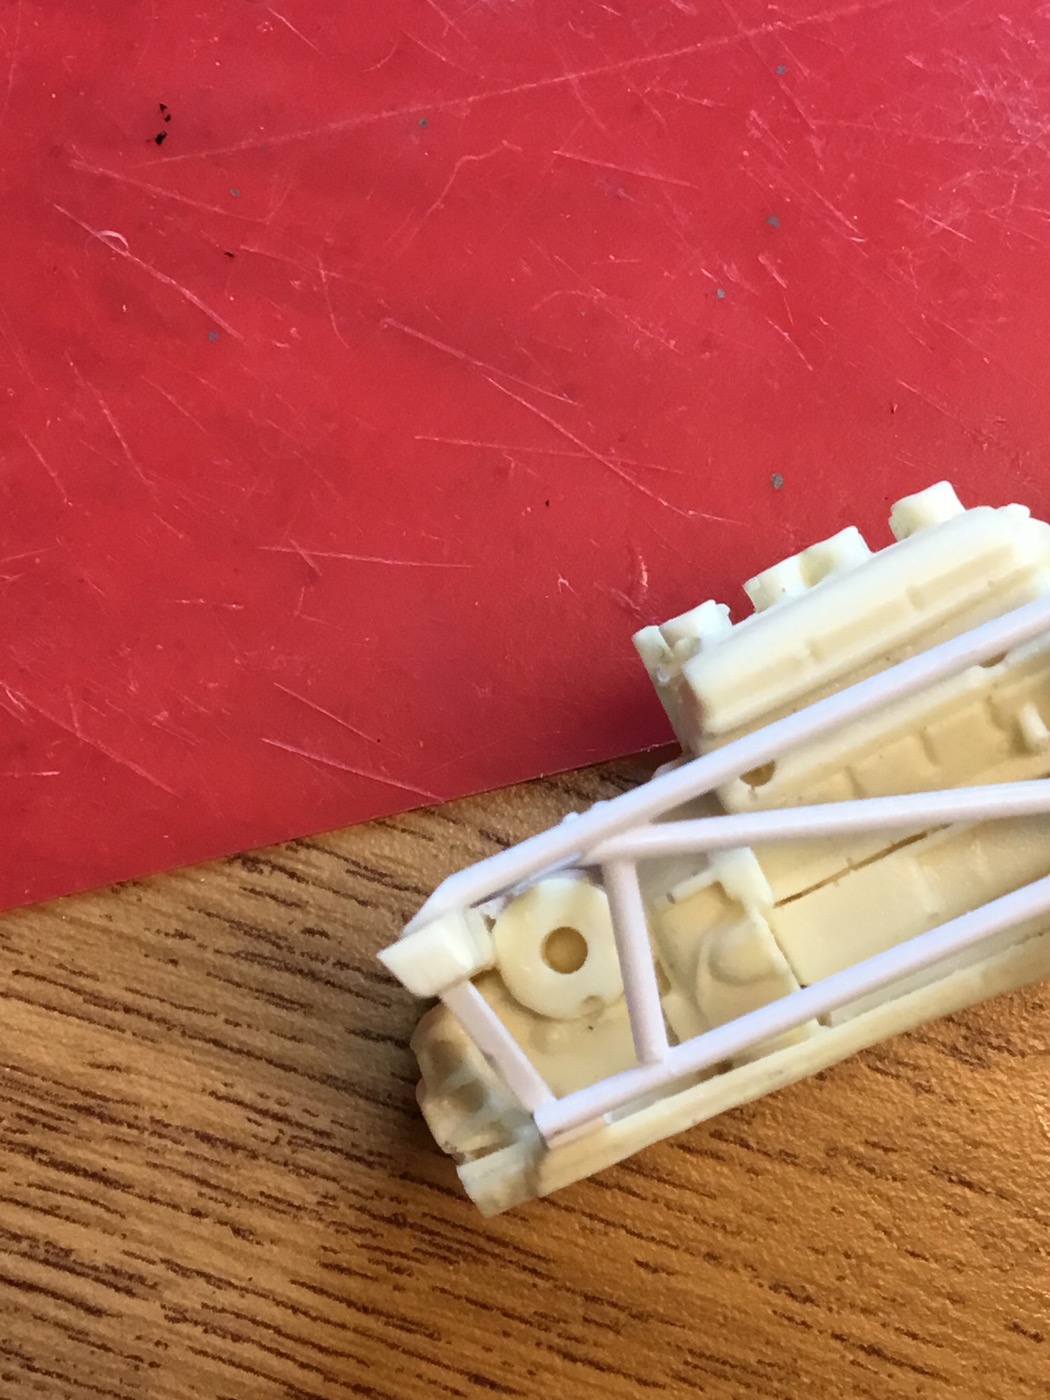 I trimmed the ends of the sprue and attached frame and suspension pieces using plastic rod. The axle is Harvey Aluminum tubing. 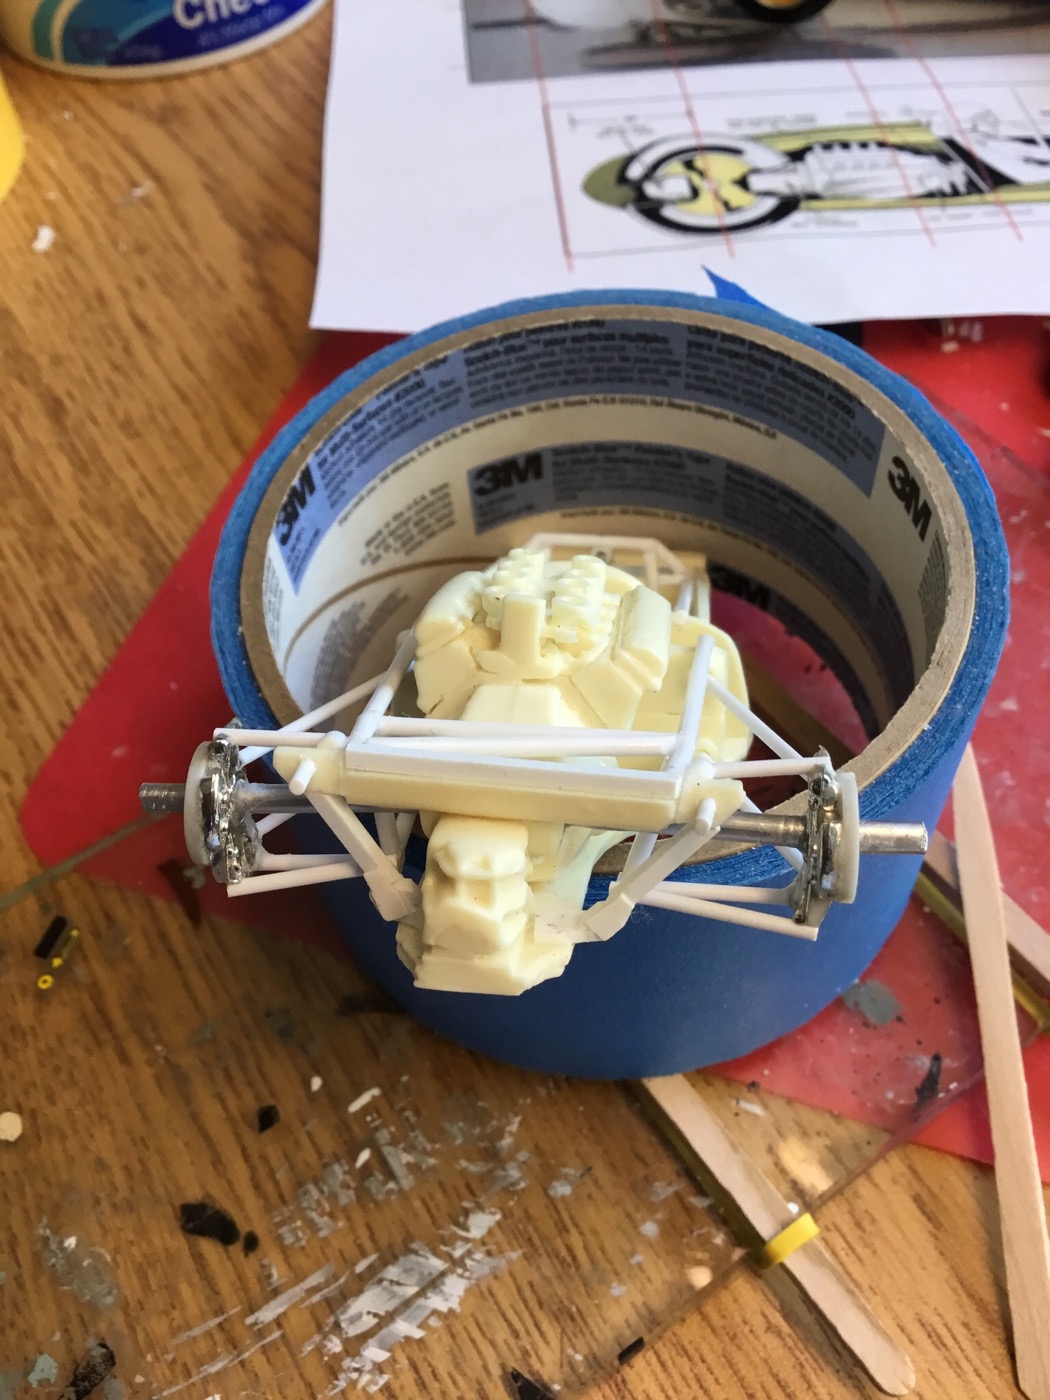 I will make springs and antiroll bars later. I set the track width at 55 mm. 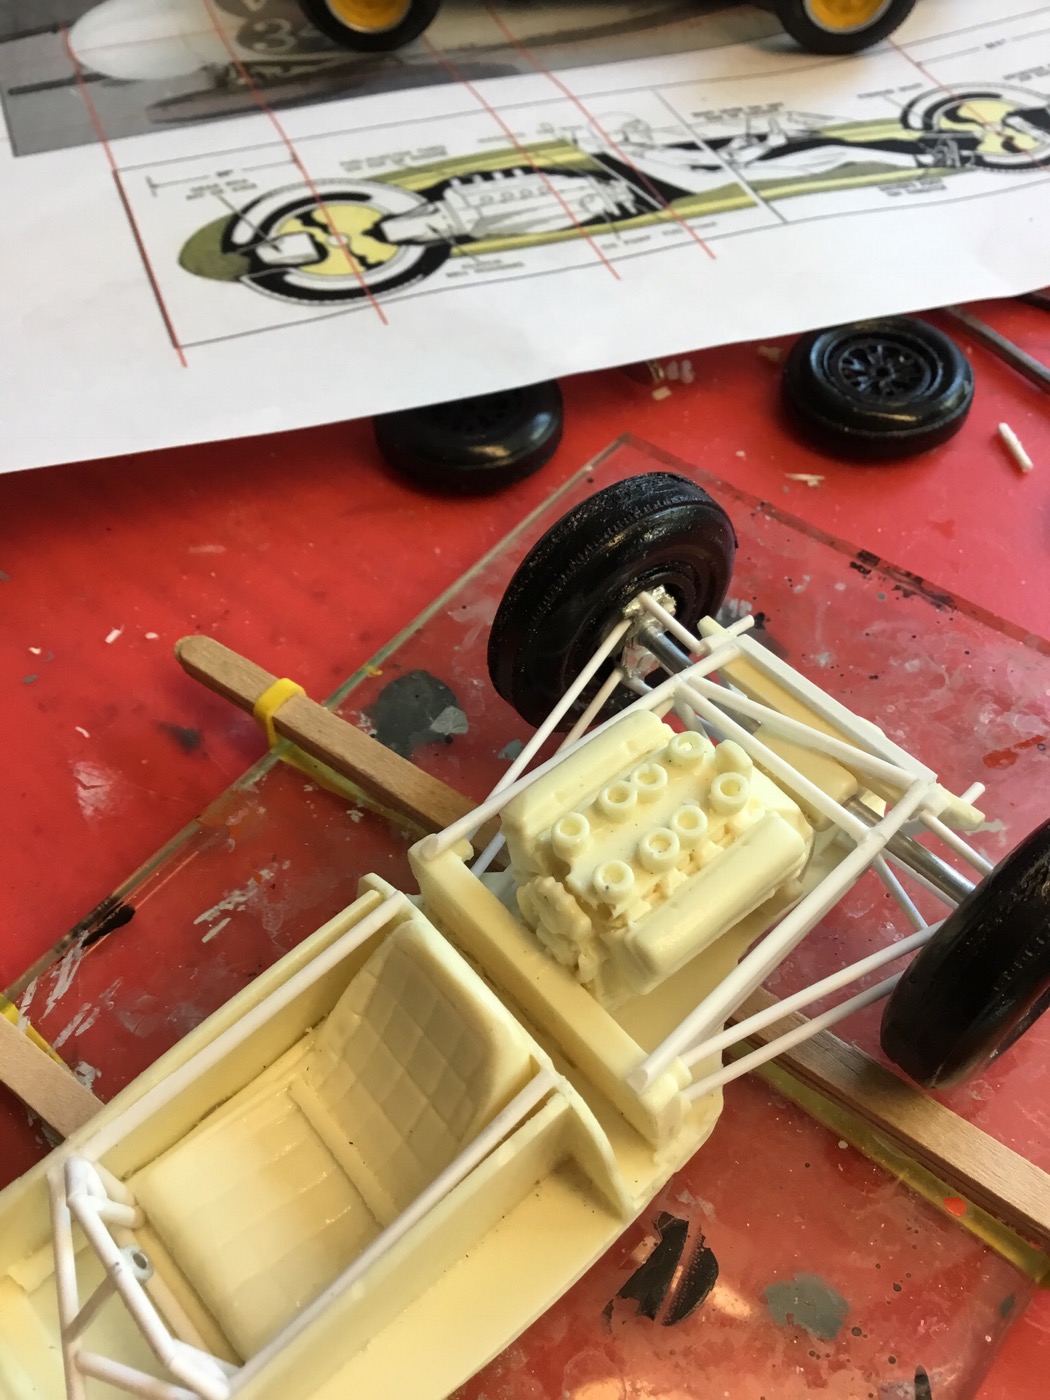 At the front, I made a framework for the cockpit interior. 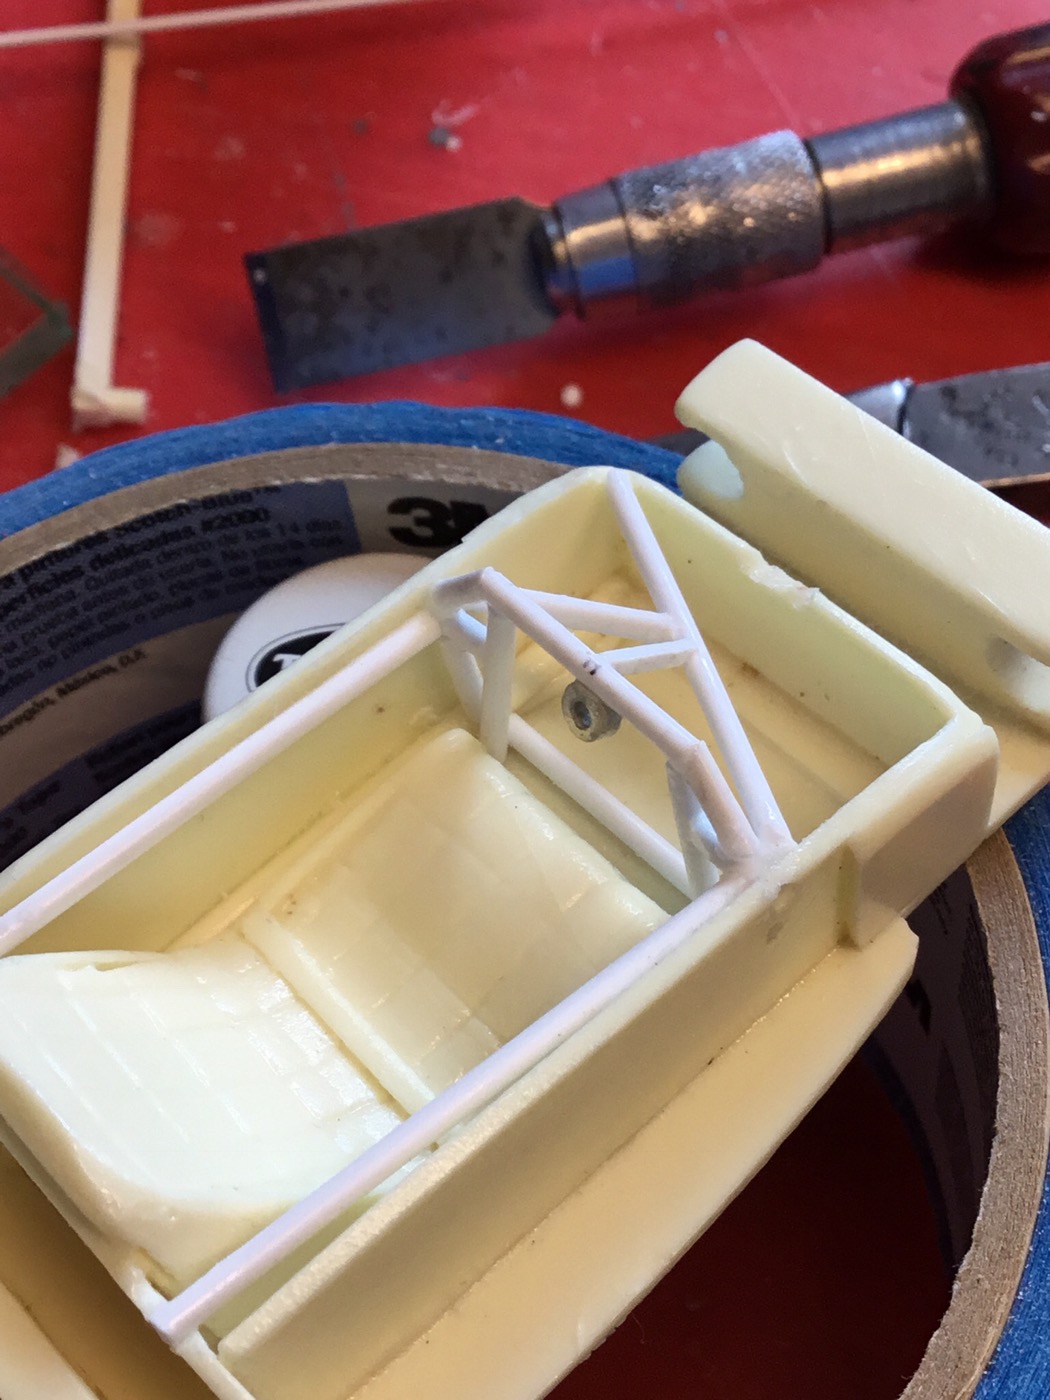 I am beginning the front suspension. Here are the uprights. 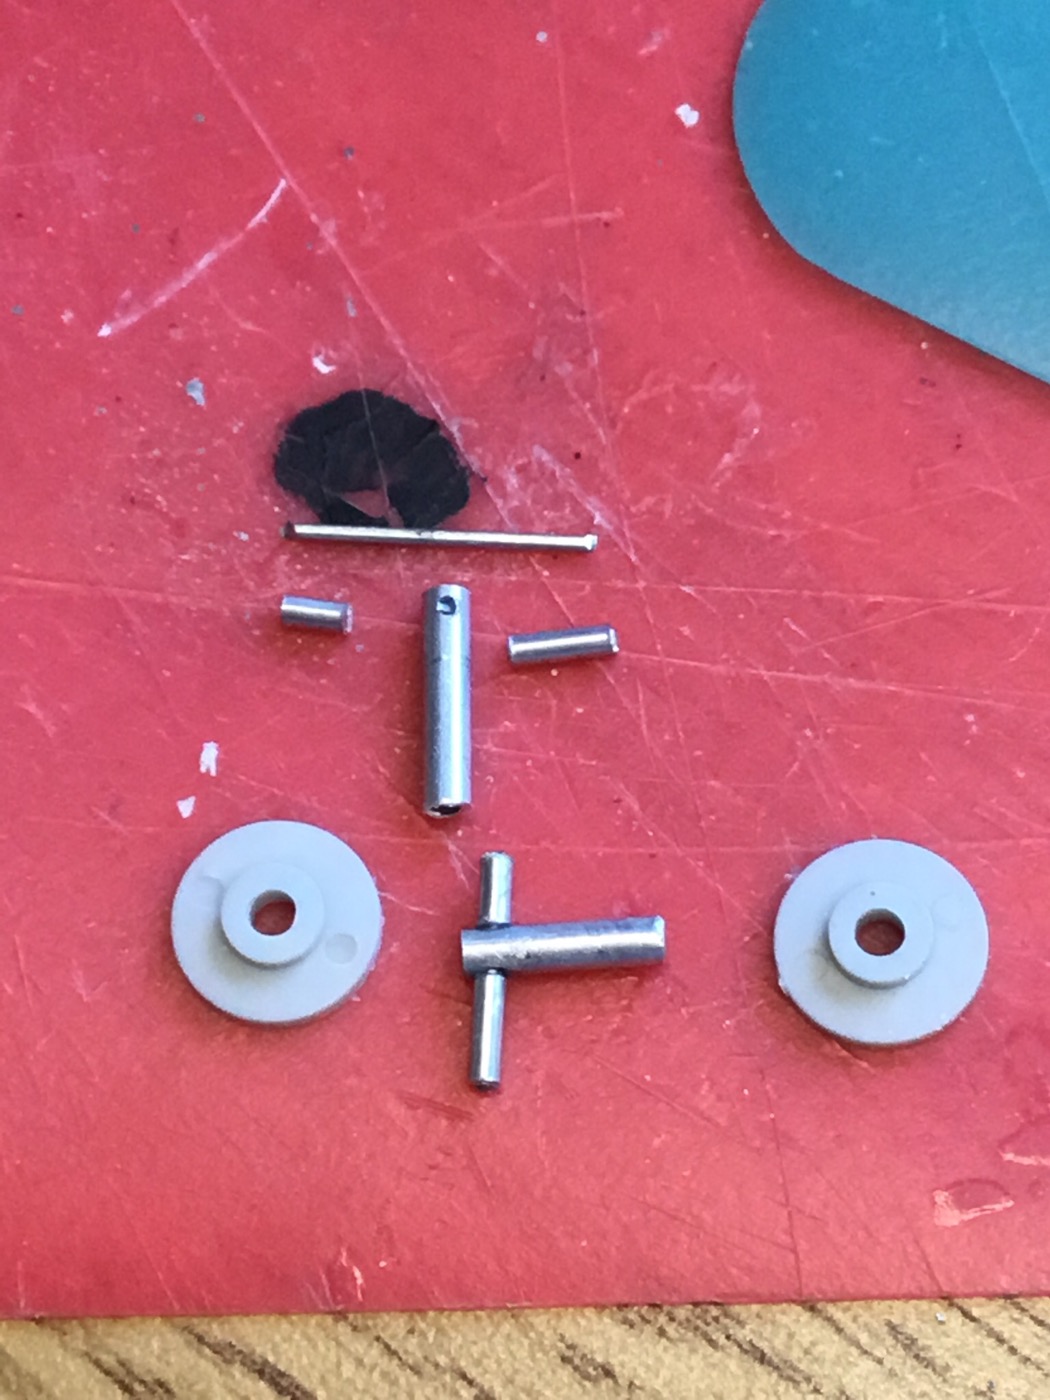 |
|
|
|
Post by raceparke on Jul 19, 2017 10:43:16 GMT -5
I'm using brake discs from the Turbine CanAm. I flattened the ends of the uprights in order to attach the links to them. 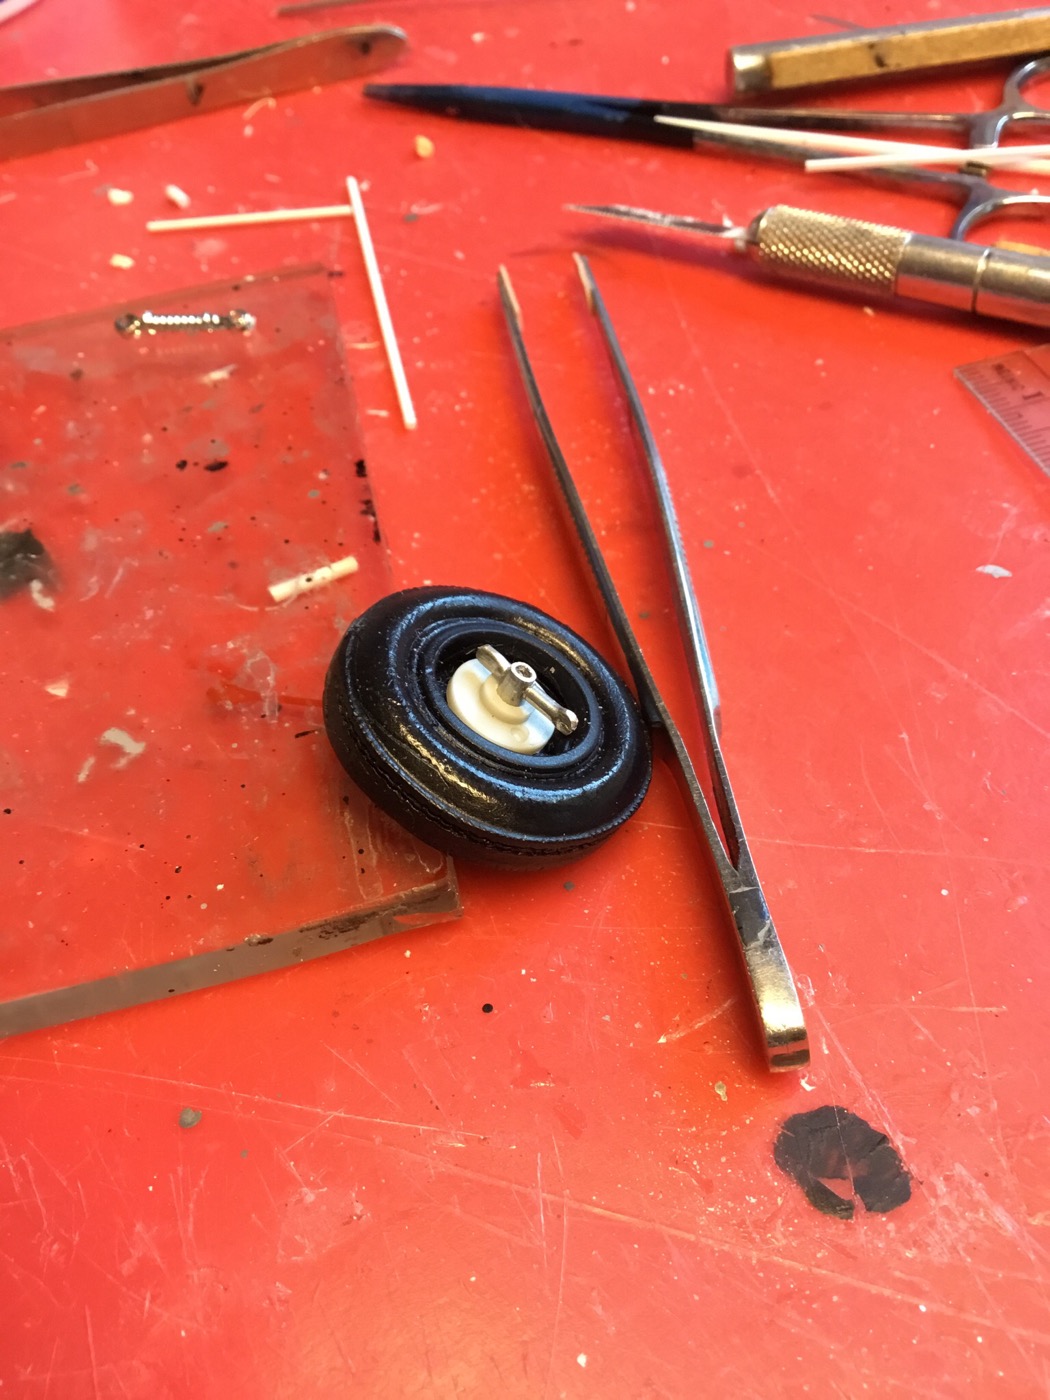 I made frame to attach the links to. 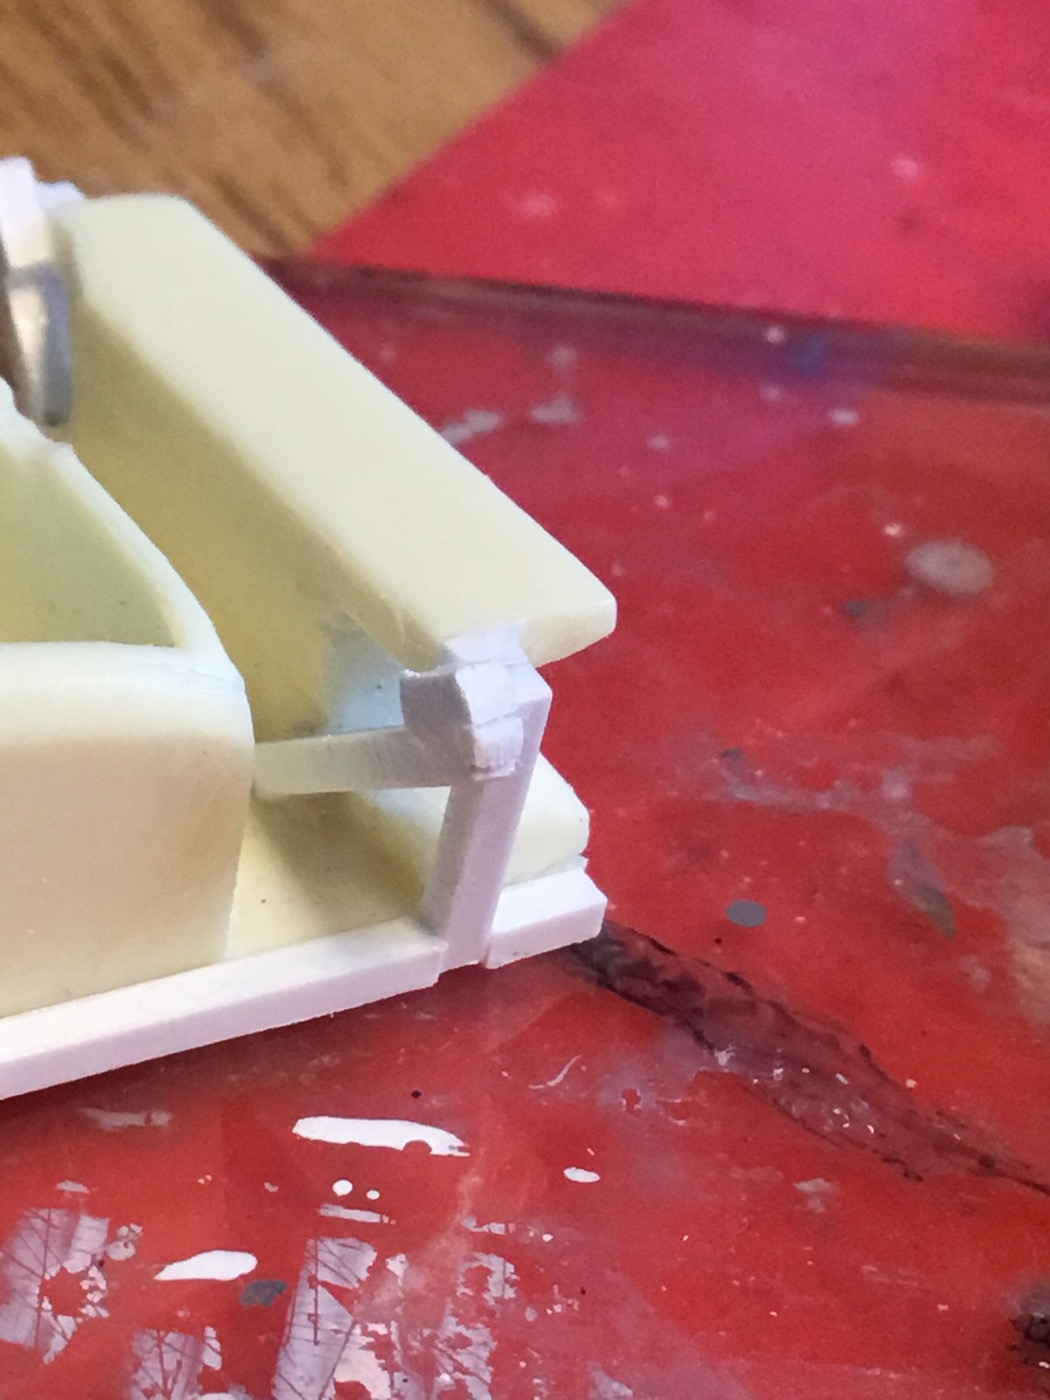 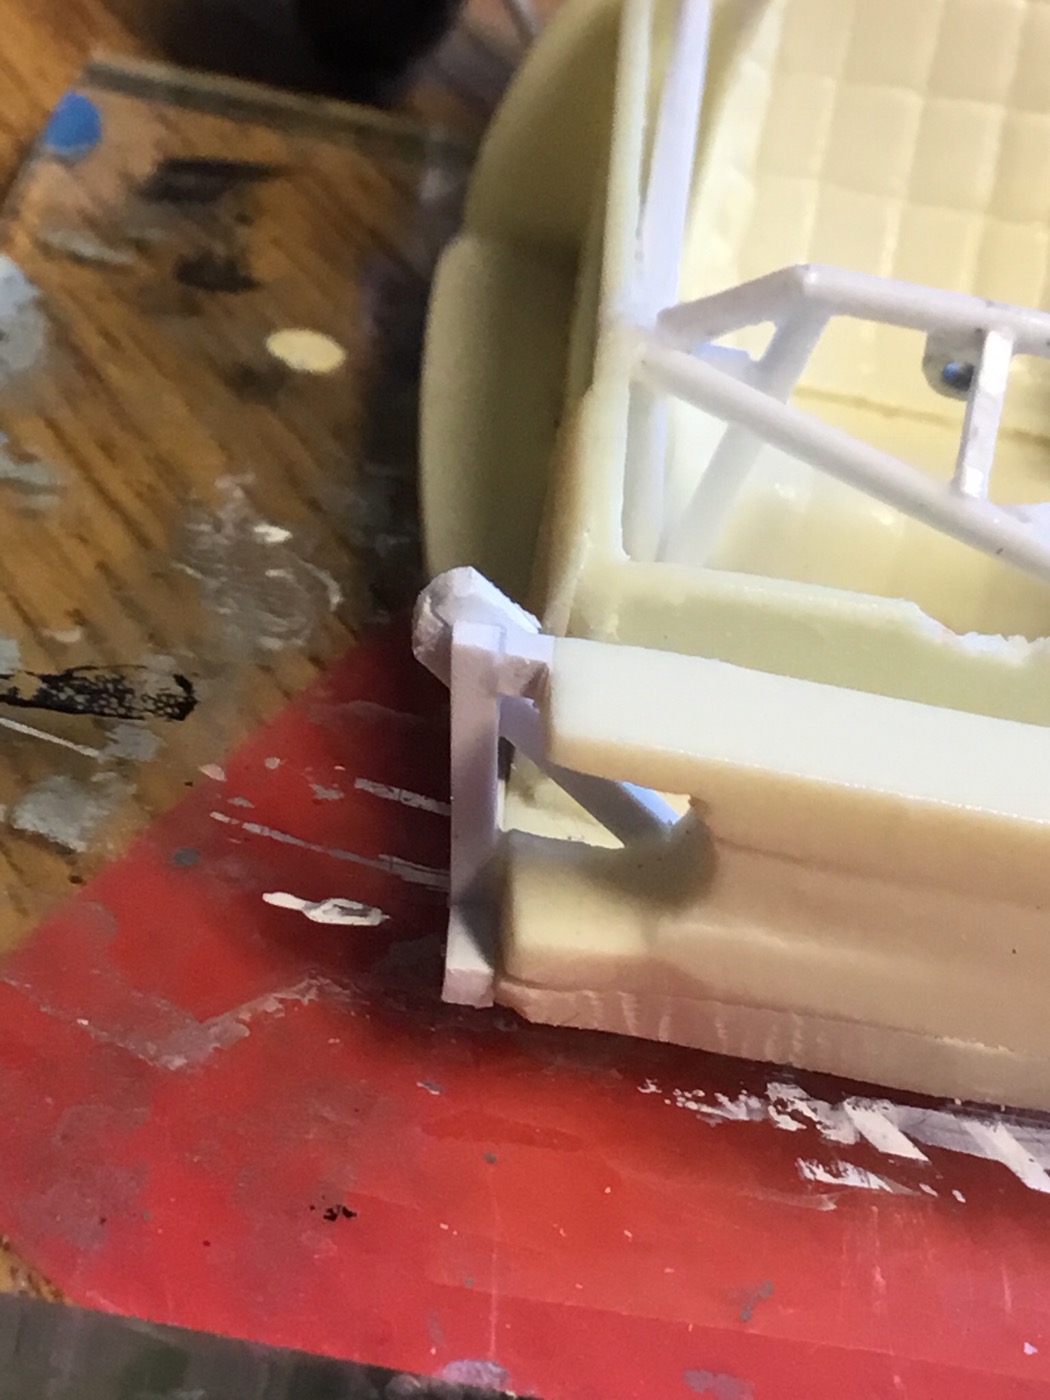 I'm laying out the components to see how it looks. I aiming at a wheelbase 98-100 mm. 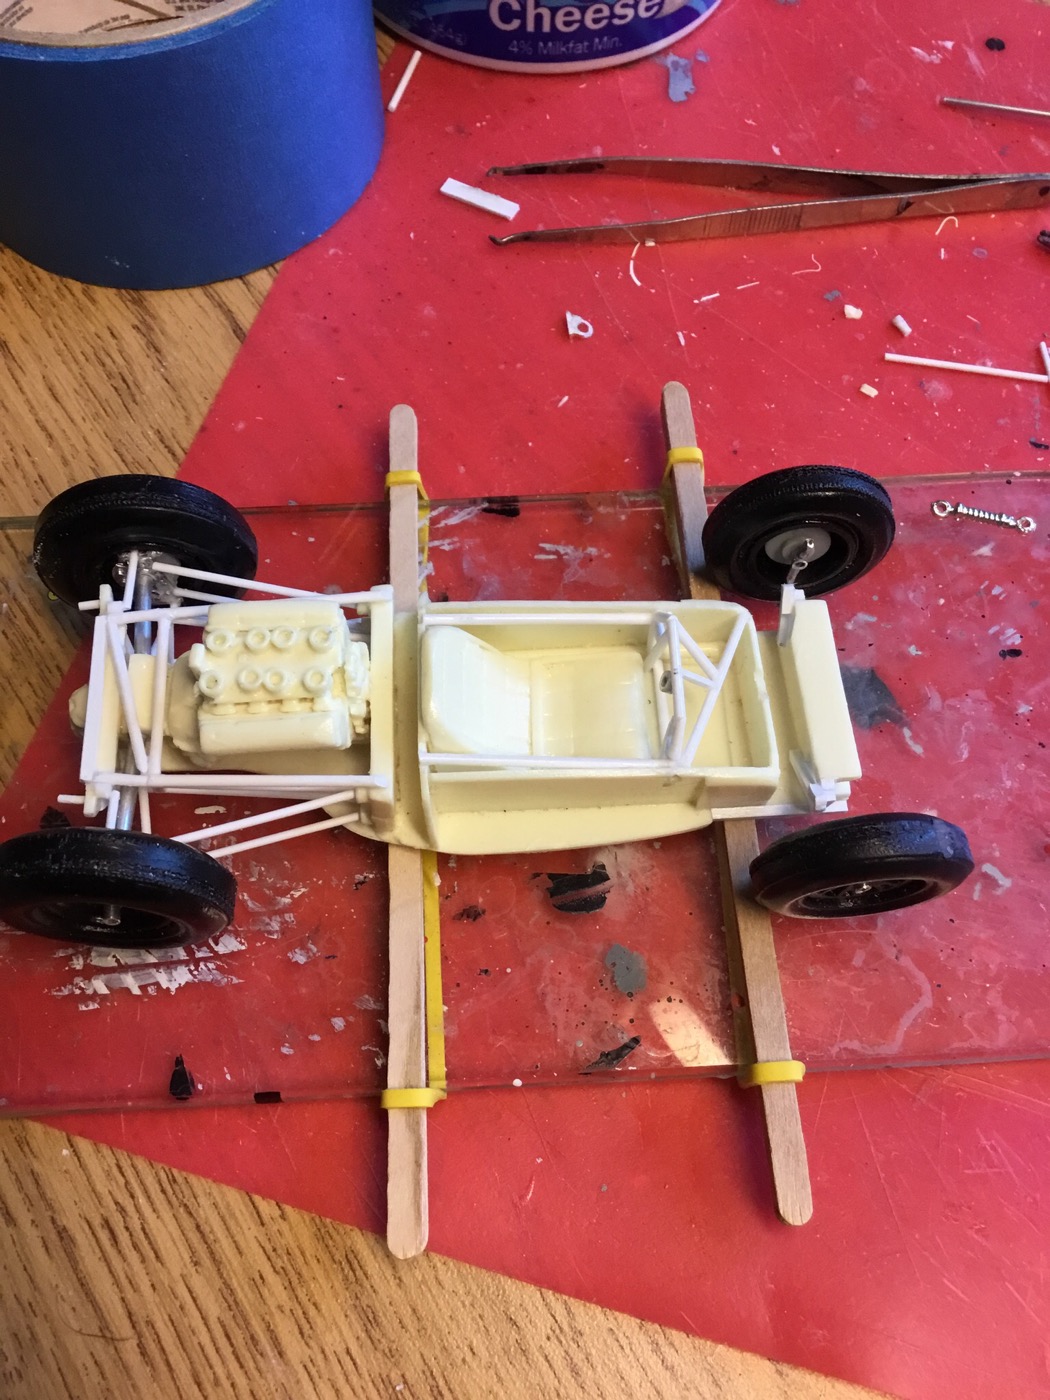 Later. . . |
|
|
|
Post by pje on Jul 19, 2017 10:50:38 GMT -5
I've been enjoying this thread on both my iPad and computer with no problems Dan. Keep up the innovative work on this one!
Paul Erlendson
|
|
|
|
Post by lance on Jul 19, 2017 21:46:47 GMT -5
Have really enjoyed watching this build.
|
|
|
|
Post by raceparke on Jul 20, 2017 15:10:24 GMT -5
Thanks for the kind words. So to the front bits. I made a jig to hold the upright while I attach suspension links between it and the frame. 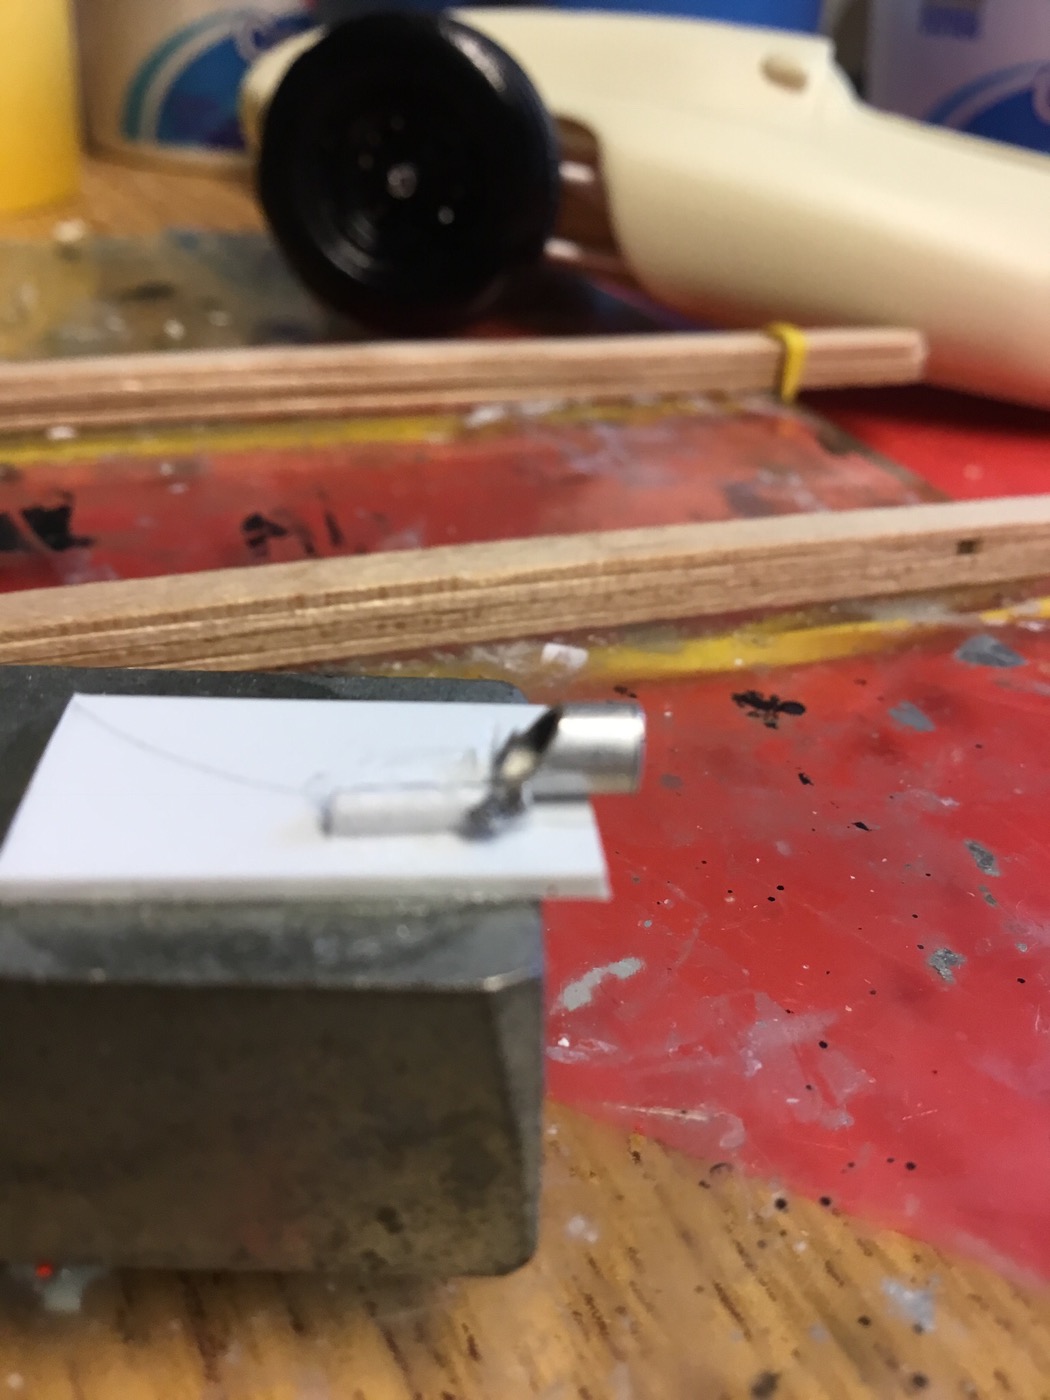 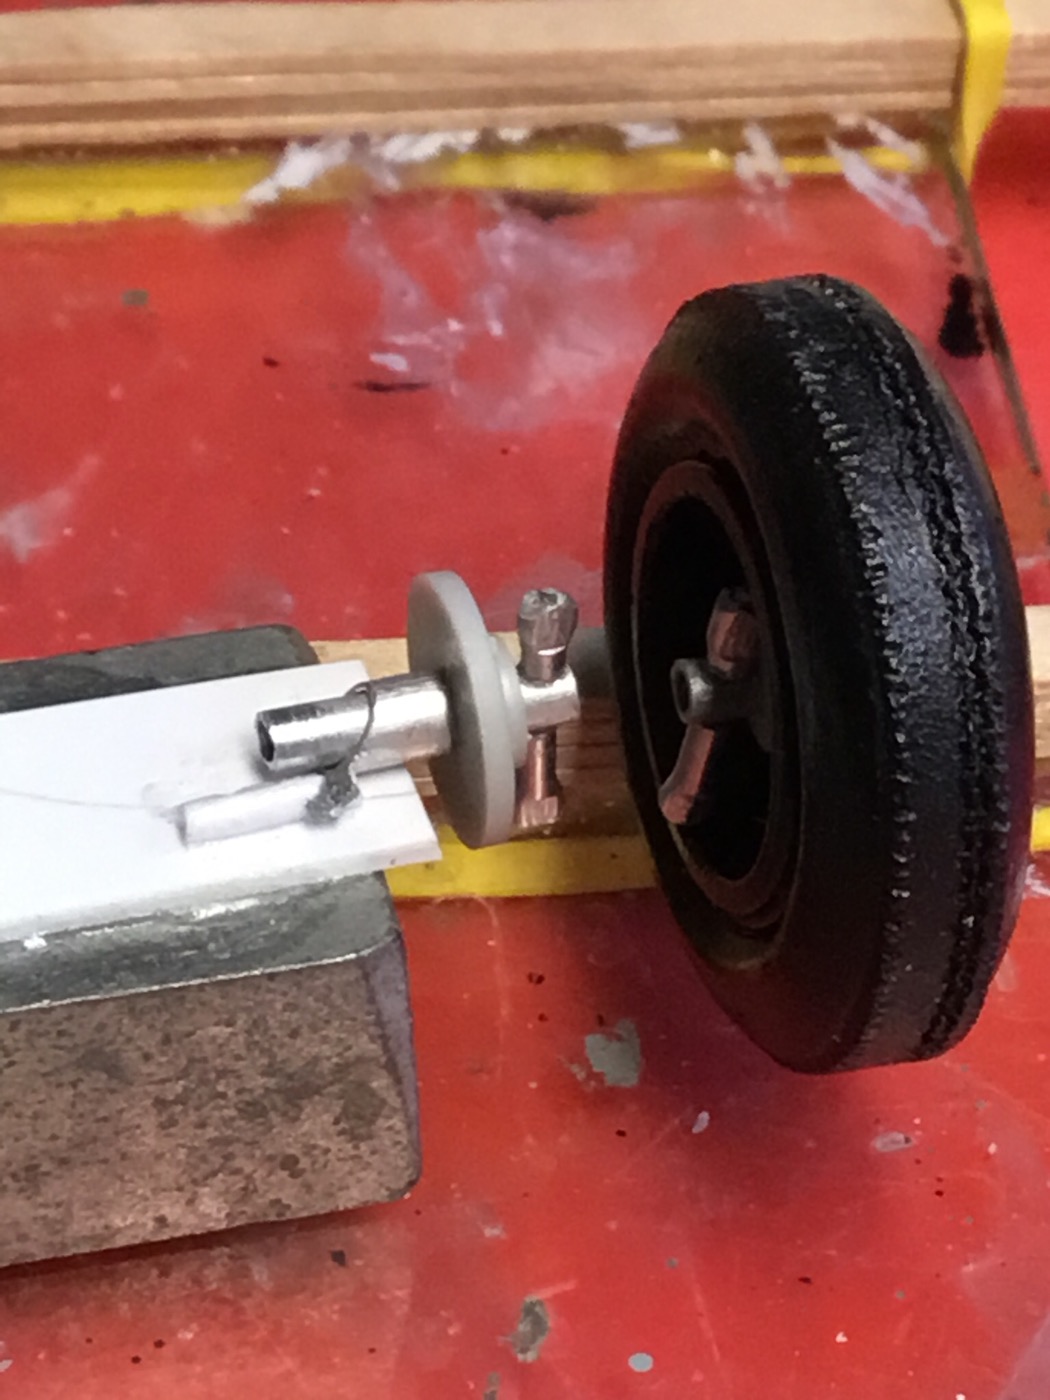 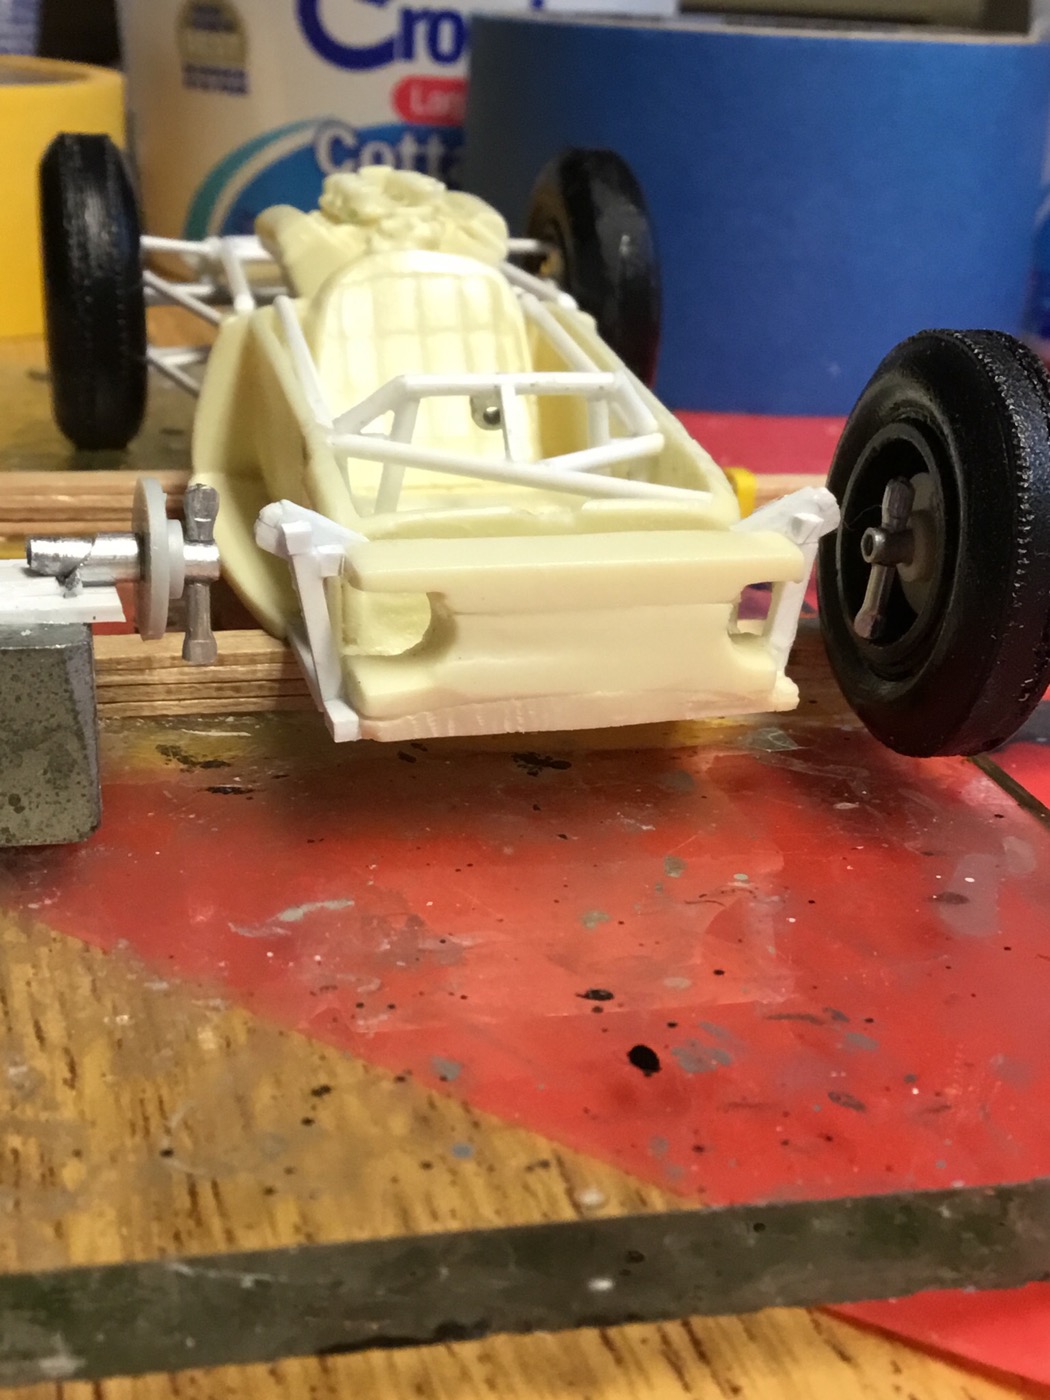 And cut and added links 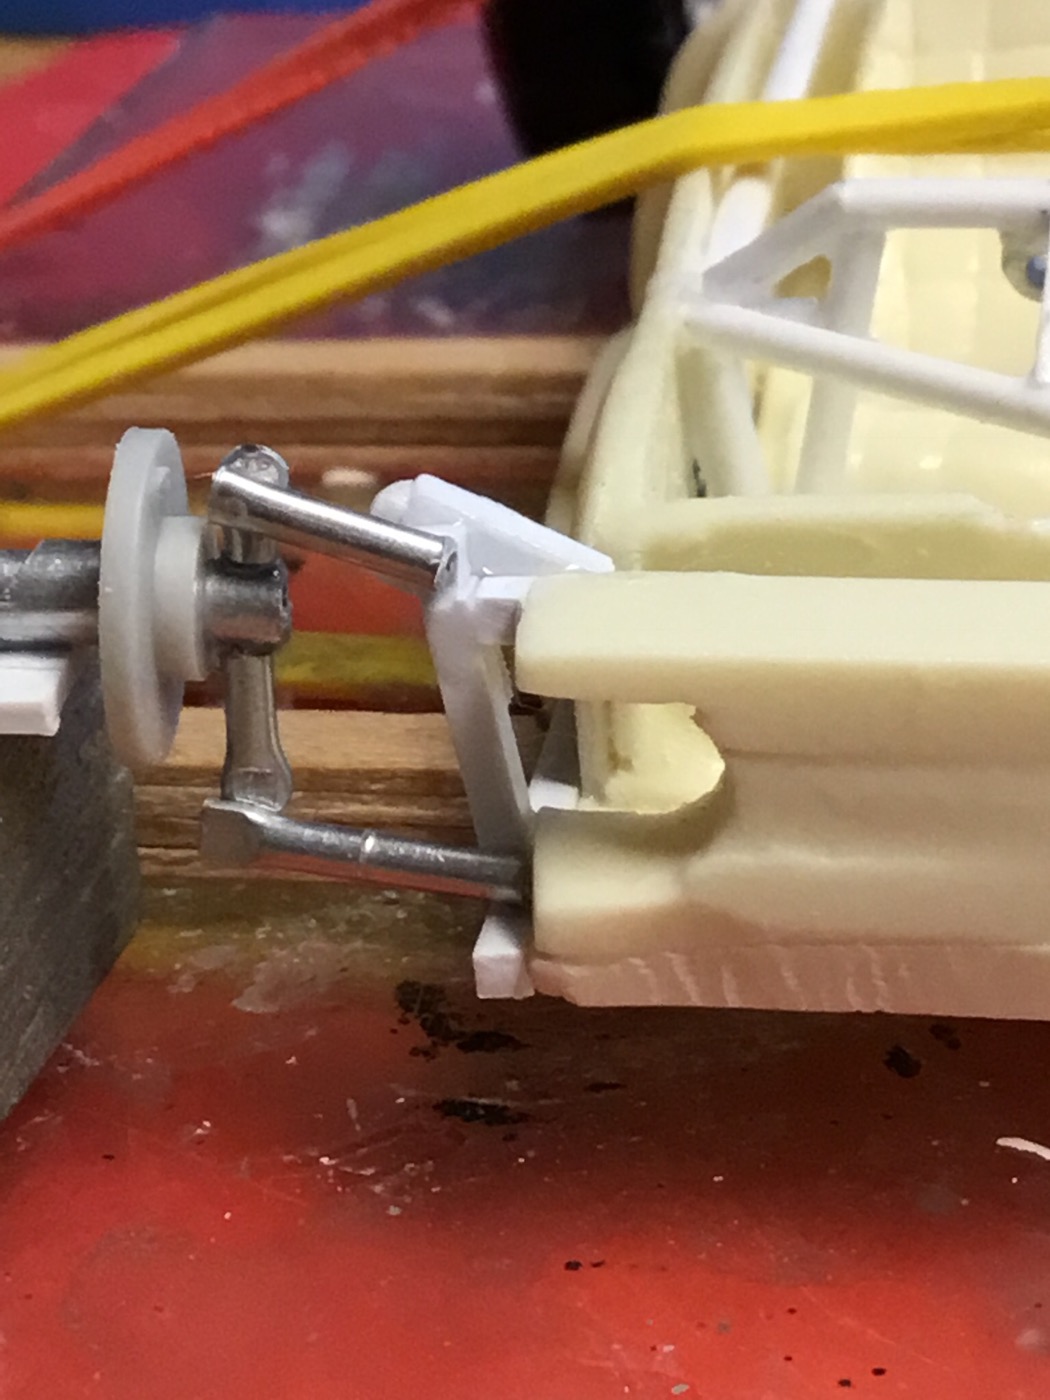 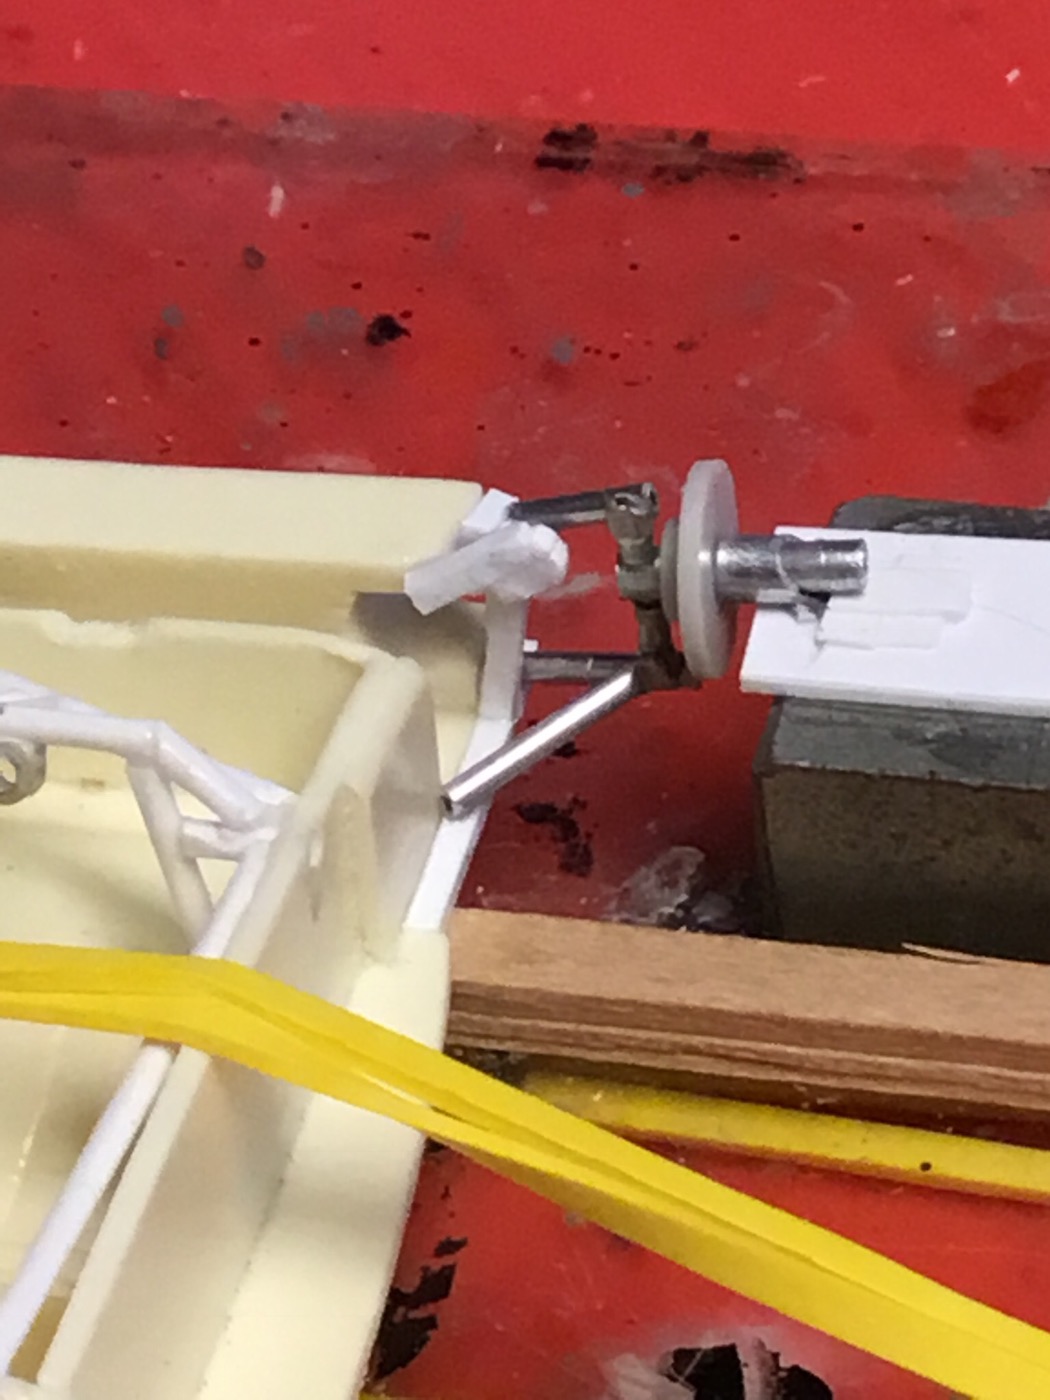 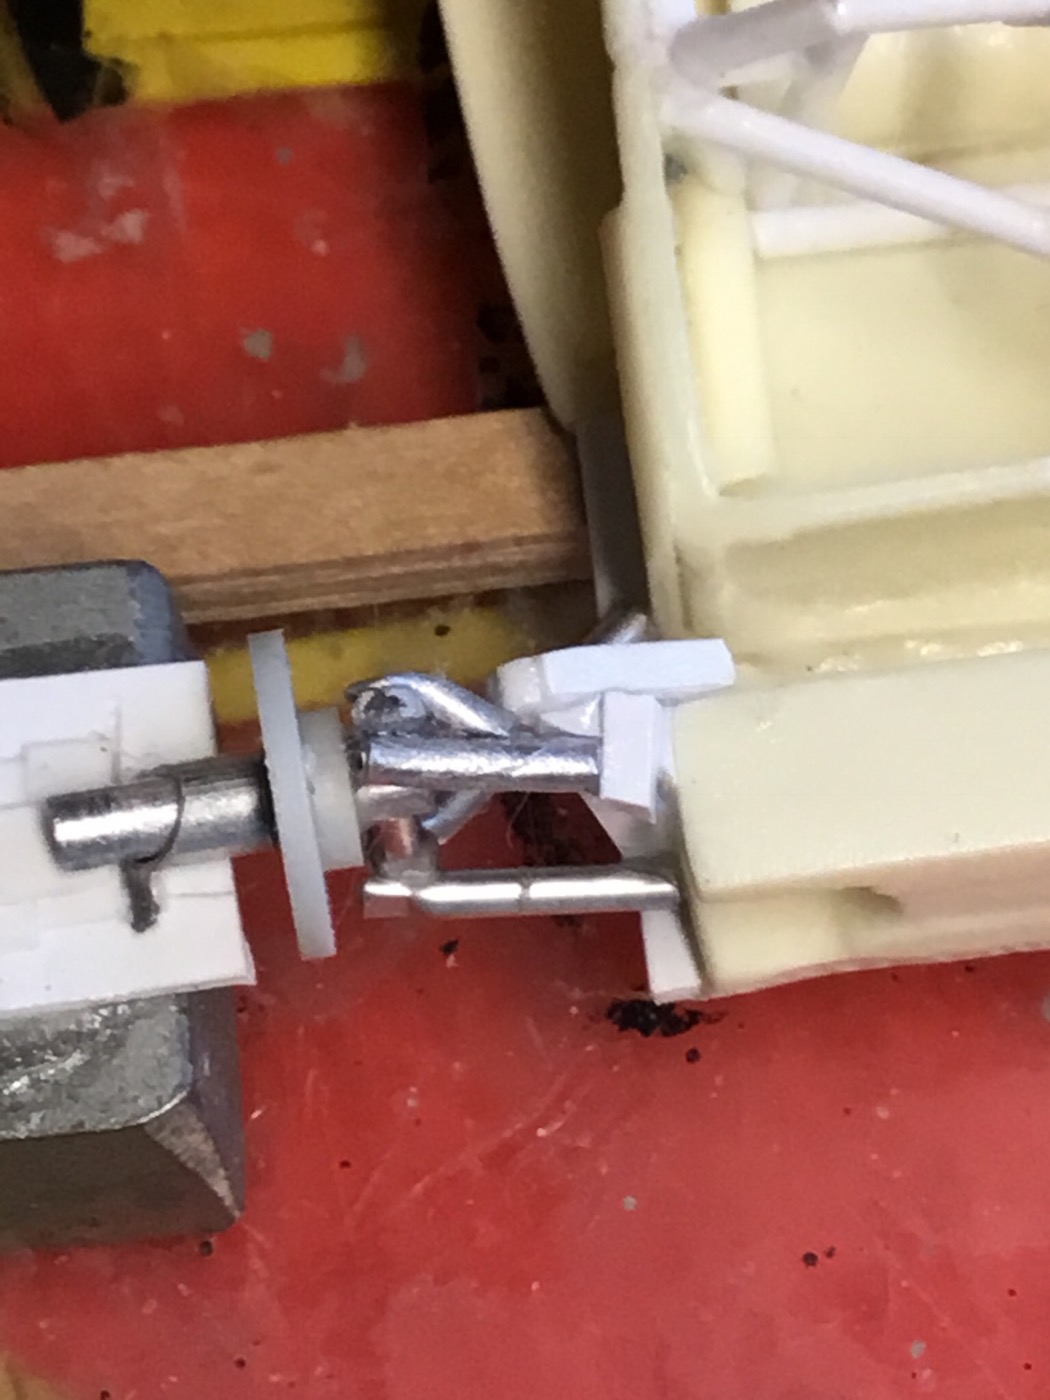 Now I switch sides and do it all over again! |
|
|
|
Post by alwaysindy on Jul 21, 2017 14:39:42 GMT -5
Dan:
Certainly a great start which should set the standard...With what I know now, I should have consulted you before getting it to Calvin! I have a few thoughts on improving the body...it is soooooo easy to see flaws AFTER the resin body is poured...more on that later...
And I need to add Another stop on The World Tour of Modeling Museums: upstate New York...your collection appears "right up my alley."
On the race day color, my initial thought was the same : Nassau Metallic Blue...having recently painted AJ's Scarab, I now believe that may be a shade or two dark...Craig found a lighter color Gravity MBenz Ice Blue that he is gonna use...I will start the second paint debate: icebox or pearl white on the qualifying car? (Yes, Gary at GWS will be making me those decals)...
Keep up the outstanding work!
Tim
|
|
|
|
Post by raceparke on Jul 21, 2017 16:26:07 GMT -5
Thank you Tim,
I used MCW A9003 Neon Blue Metallic Lacquer for some Mecom Nassau racers I did years ago. It is rather dark; the Testors paint is lighter. I will look into the paint you mentioned. How is it obtained?
Dan
|
|
|
|
Post by raceparke on Jul 21, 2017 16:38:24 GMT -5
The saga continues. . . I was not satisfied with the front suspension using the alu. rod. It looked clunky and oversized. Also I feel the arms were angled too much, they seem to be more horizontal than I ended up with. So I tore it all off. So here is the Mk. II version. ![]() 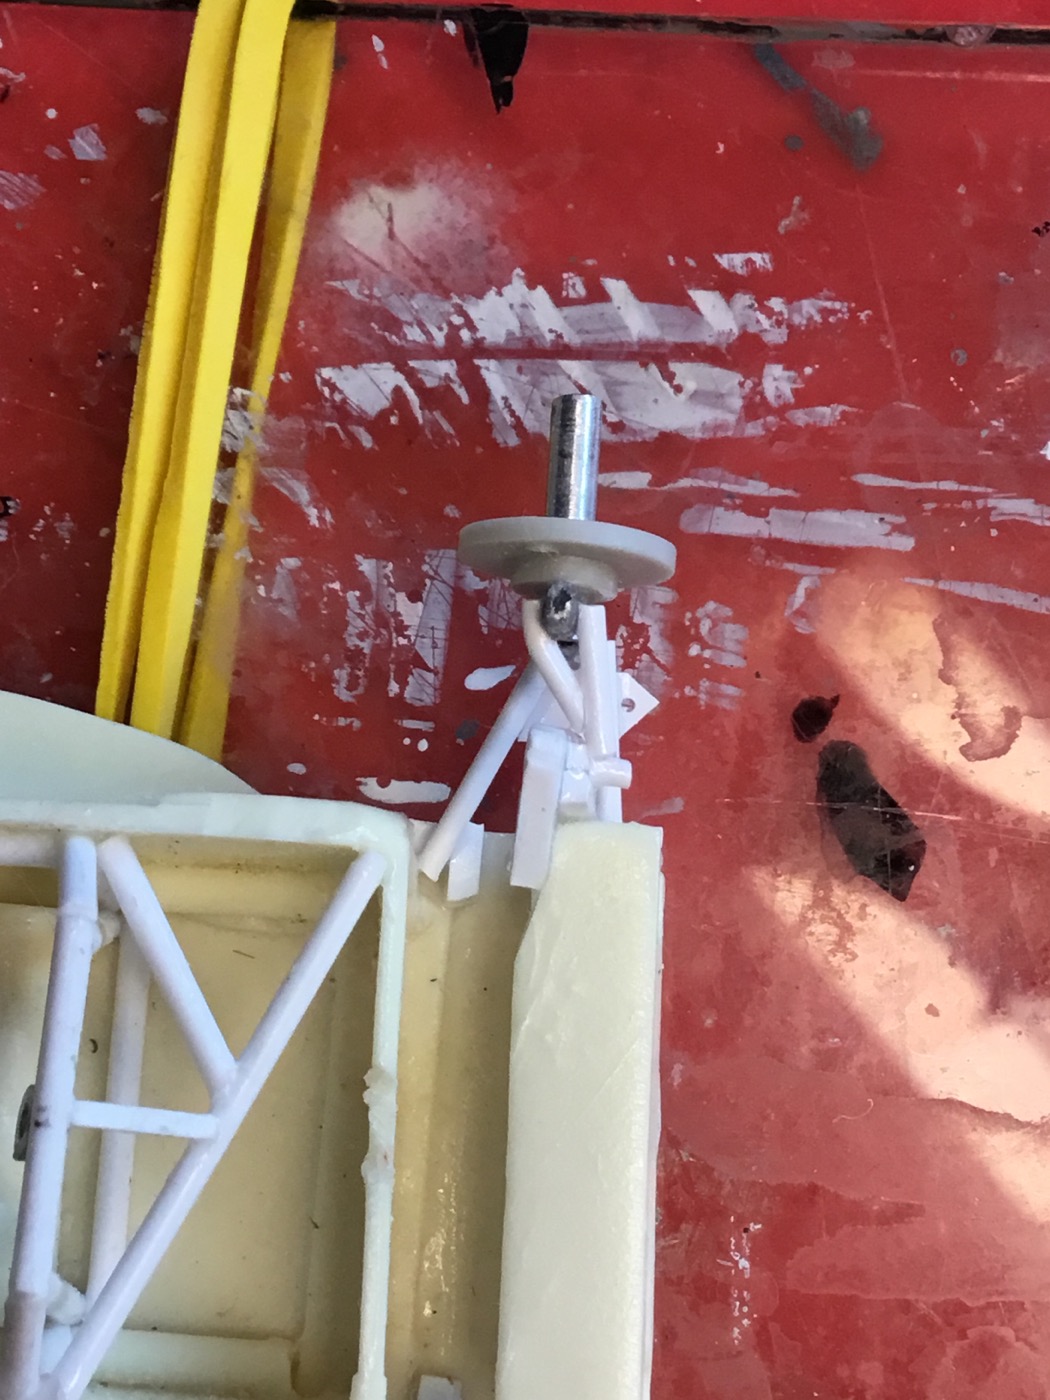 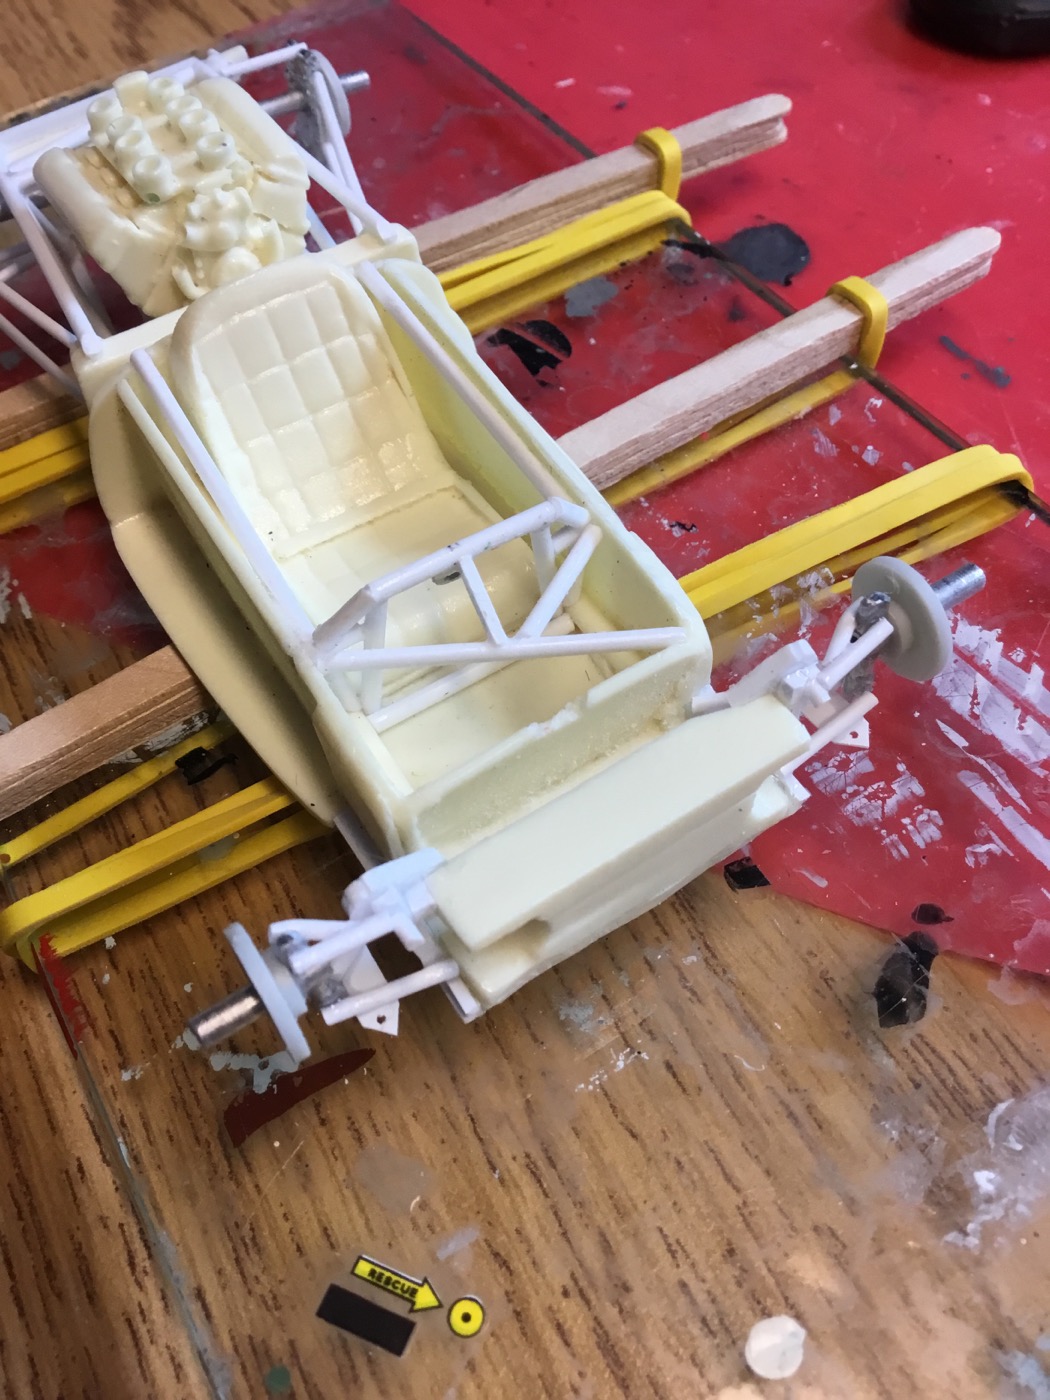 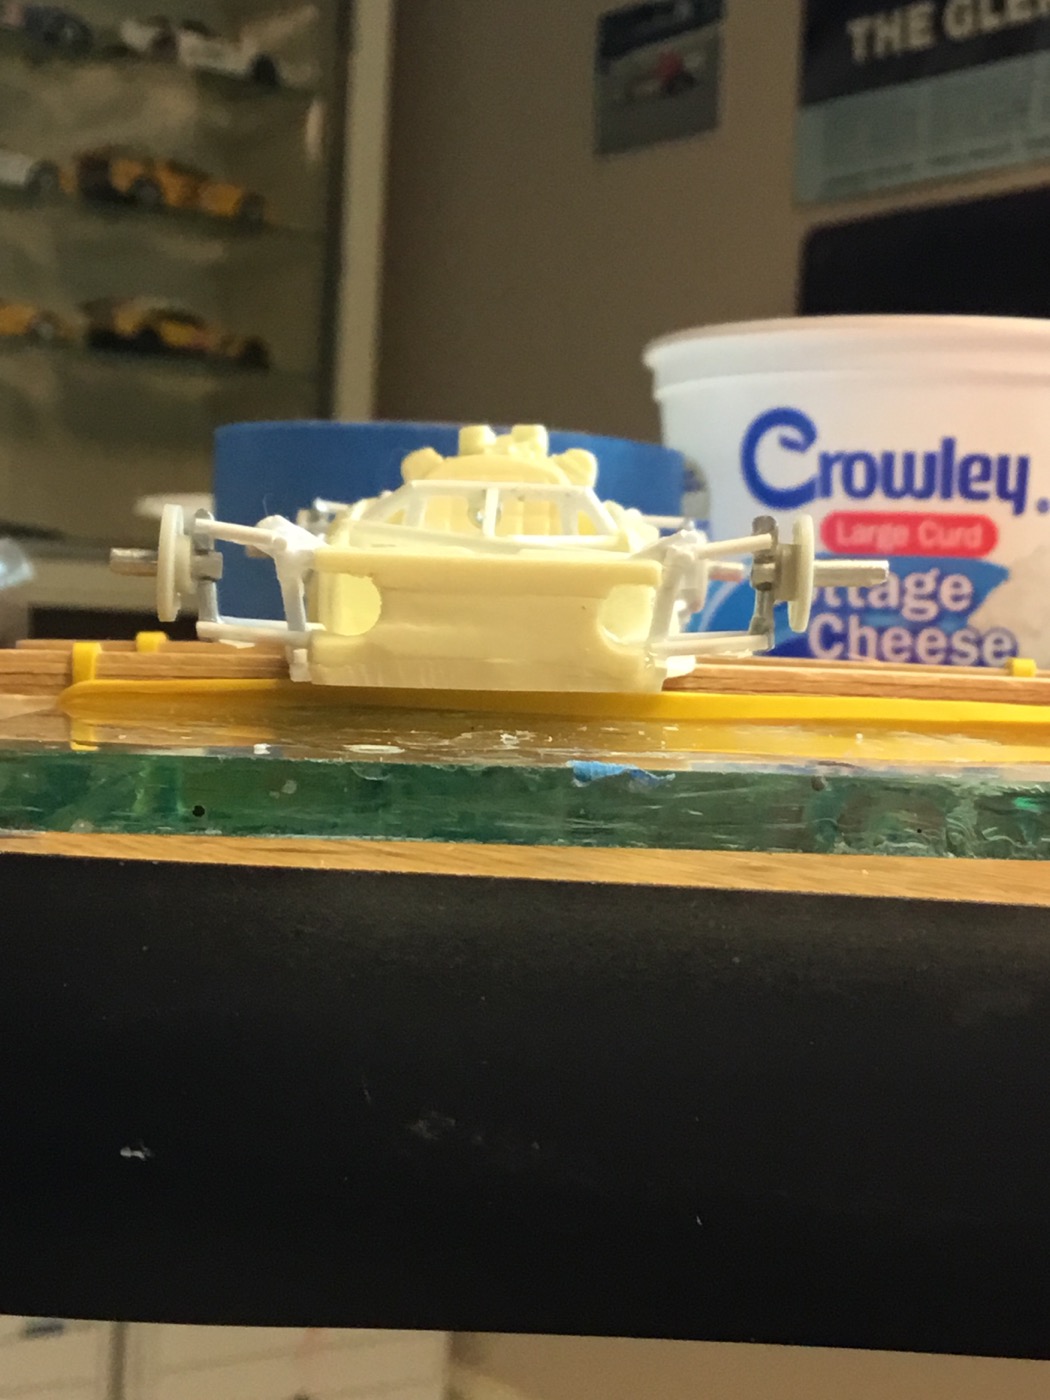 The WB is right around 100 mm. I think that is a bit high but it looks OK. I will make some tunnels in the body behind the upper link for radius rods which I will attach after the body goes on. Springs, antiroll bars headers and detail painting and the chassis is getting there. |
|
|
|
Post by indy on Jul 22, 2017 12:21:59 GMT -5
Really enjoying watching this one come together. A pretty flat suspension looks right for the period.
Jordan
|
|
|
|
Post by clm1545 on Jul 22, 2017 12:32:41 GMT -5
Thank you Tim, I used MCW A9003 Neon Blue Metallic Lacquer for some Mecom Nassau racers I did years ago. It is rather dark; the Testors paint is lighter. I will look into the paint you mentioned. How is it obtained? Dan Just google Gravity model paint to get to the website The paint is"airbrush only" |
|
|
|
Post by billj on Jul 23, 2017 11:44:17 GMT -5
Nice work on the MT car. you have just about talked me out of attempting one  I would use 1962 Chevrolet Silver Blue Metallic for the car It is a light blue metallic that looks just right to my eyes. You can get it from Scalefinishes and they sell acrylic enamel automotive paints that do not require a clear coat like lacquer paint does. Comes pre mixed for airbrushing. They also sell the GM Nassau blue, if that one is more to your liking. |
|
|
|
Post by raceparke on Jul 24, 2017 13:46:11 GMT -5
Thank you all for paint ideas. I am limited to spray cans and probably will revert to the Testers. Tim and anyone else, if you find yourself going to the Finger Lakes country in NYS, you would b e more than welcome to visit. Some of the best wines in the world. . . Just sayin'. . . .
|
|
|
|
Post by raceparke on Jul 24, 2017 13:53:15 GMT -5
|
|
|
|
Post by raceparke on Jul 29, 2017 17:08:18 GMT -5
More little steps. I painted the frame matte yellow. I think it should be zinc chromate yellow, but I don't have any. 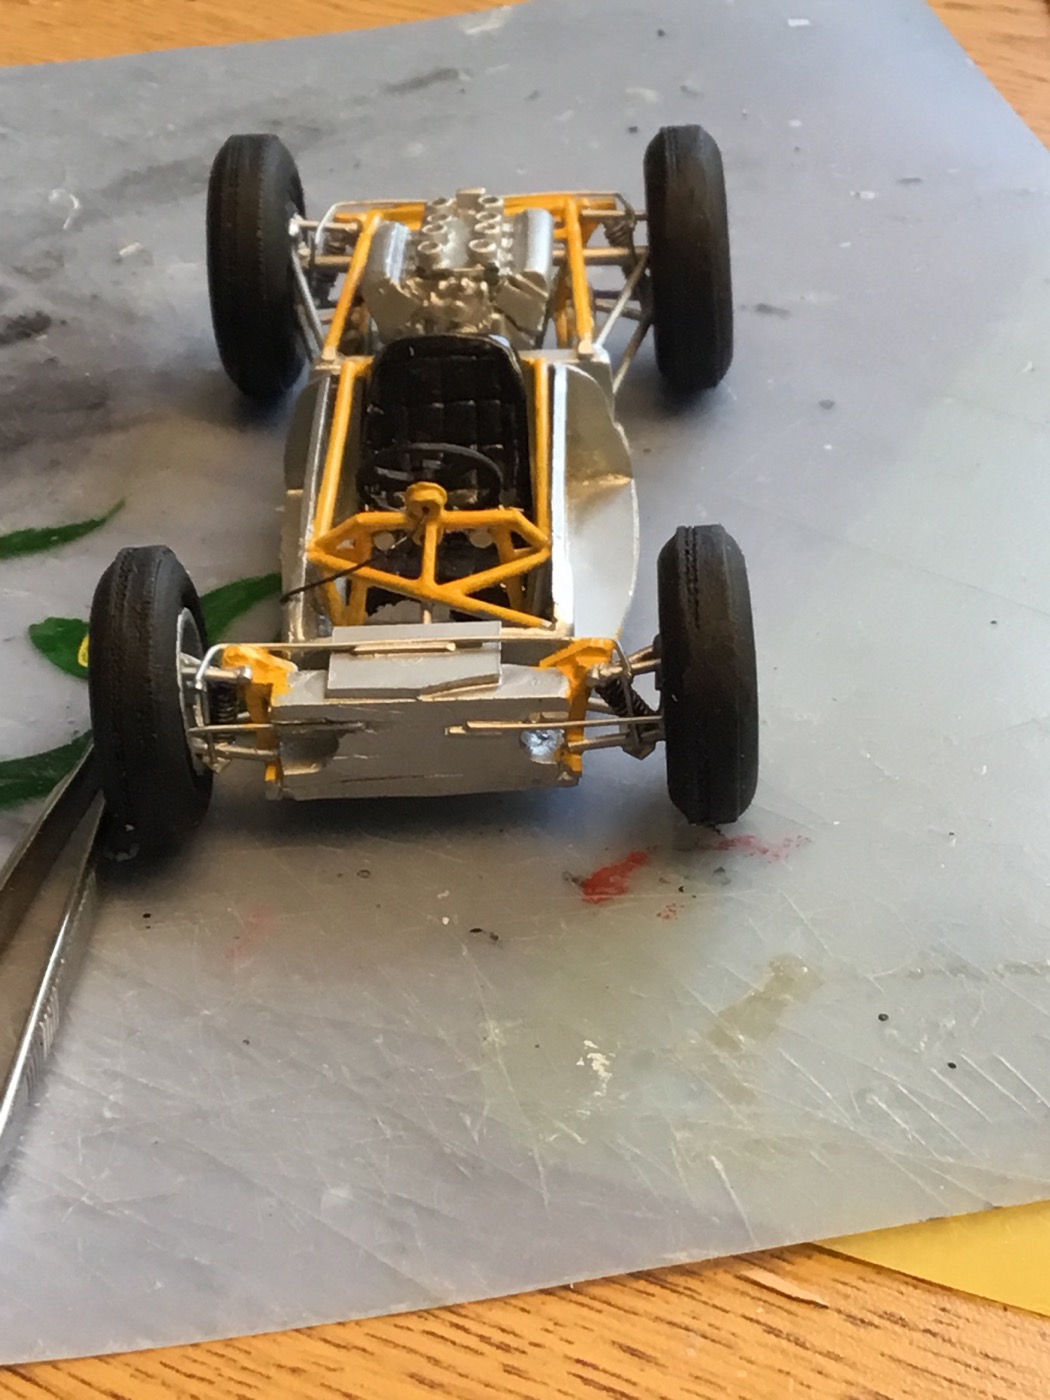 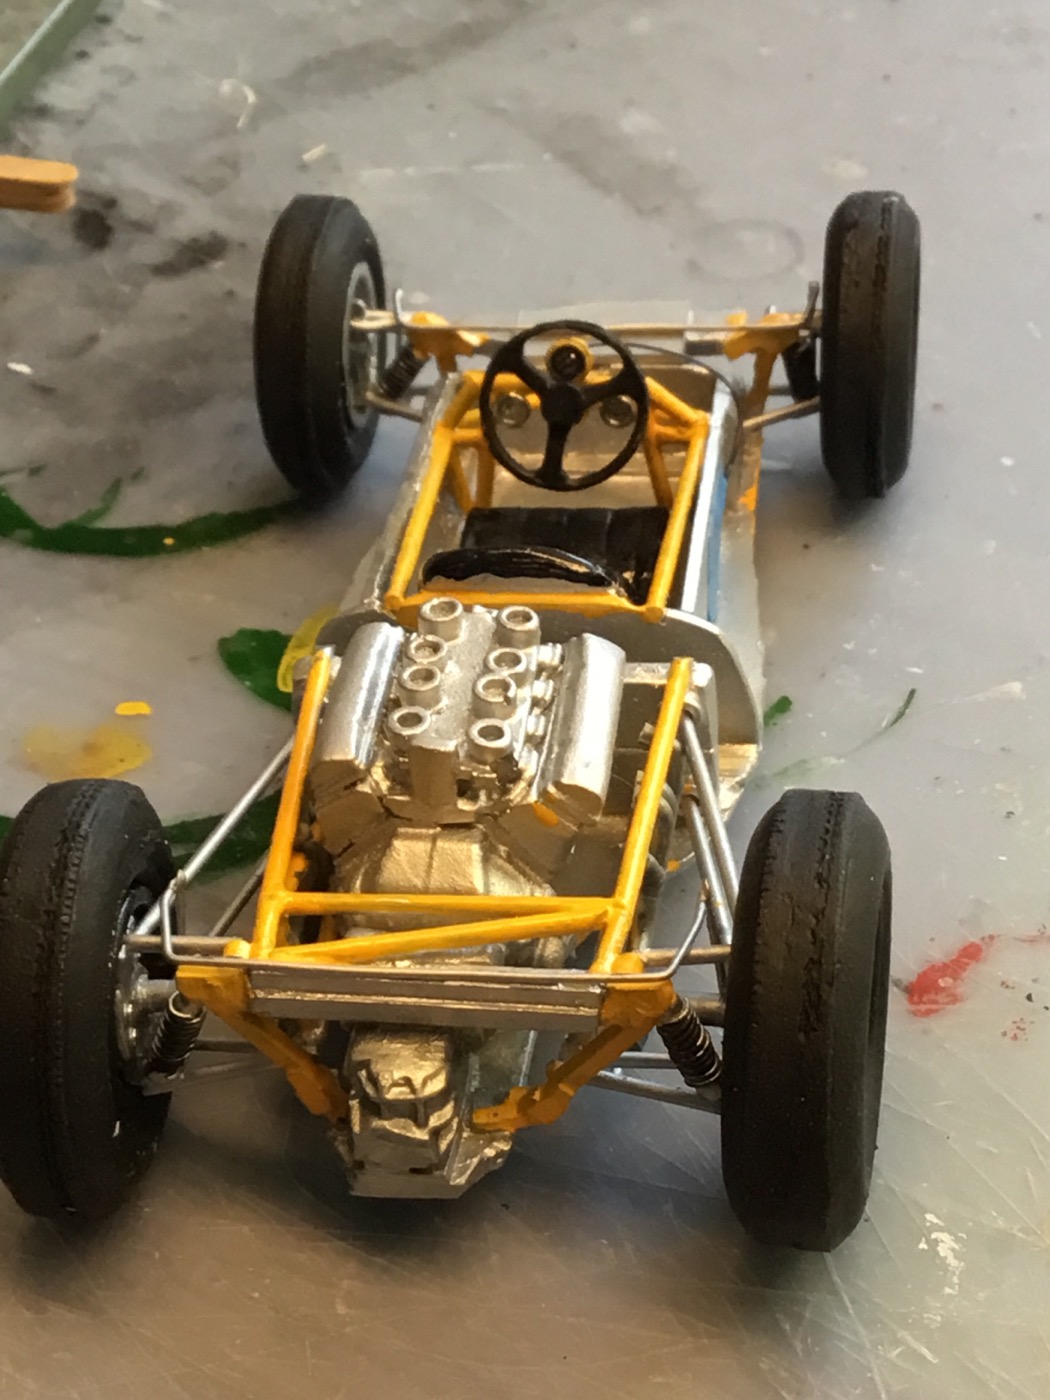 I stuck the headers onto the frame without worrying about trying to connect them to the engine. With body on, you cant tell anyway. 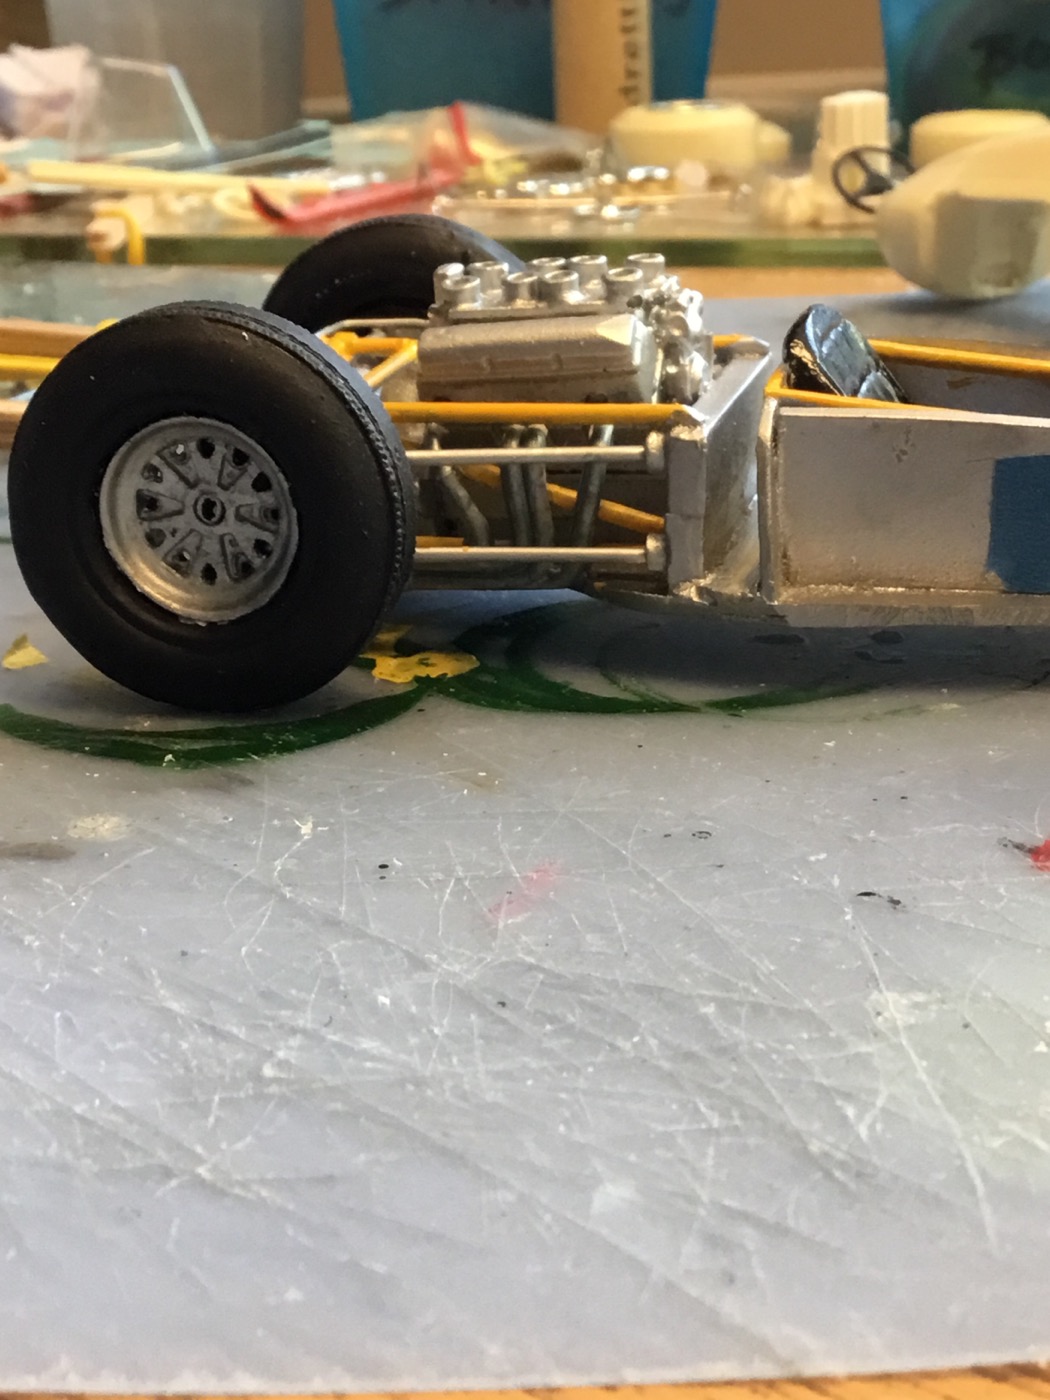 And with body on. 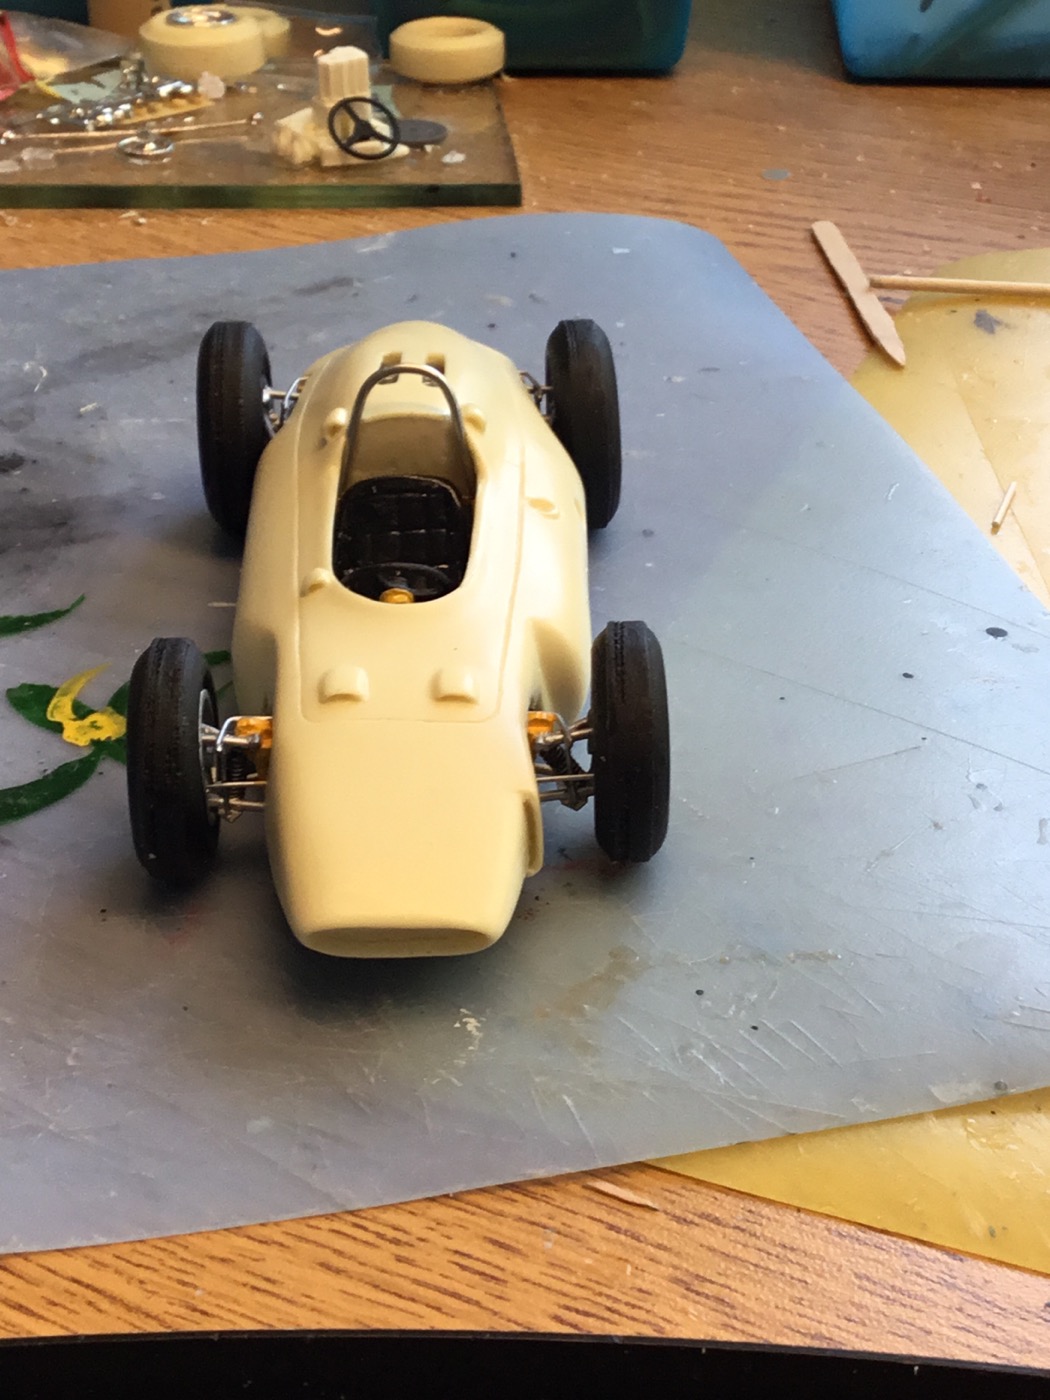 If I were doing this again, I would have the upper front links mounted closer together- they seem to stick out a bit too much. I carved a bit of the body behind the drivers head and left a lip. The headrest area will be Harveys Aluminum color and the lip will be body color. 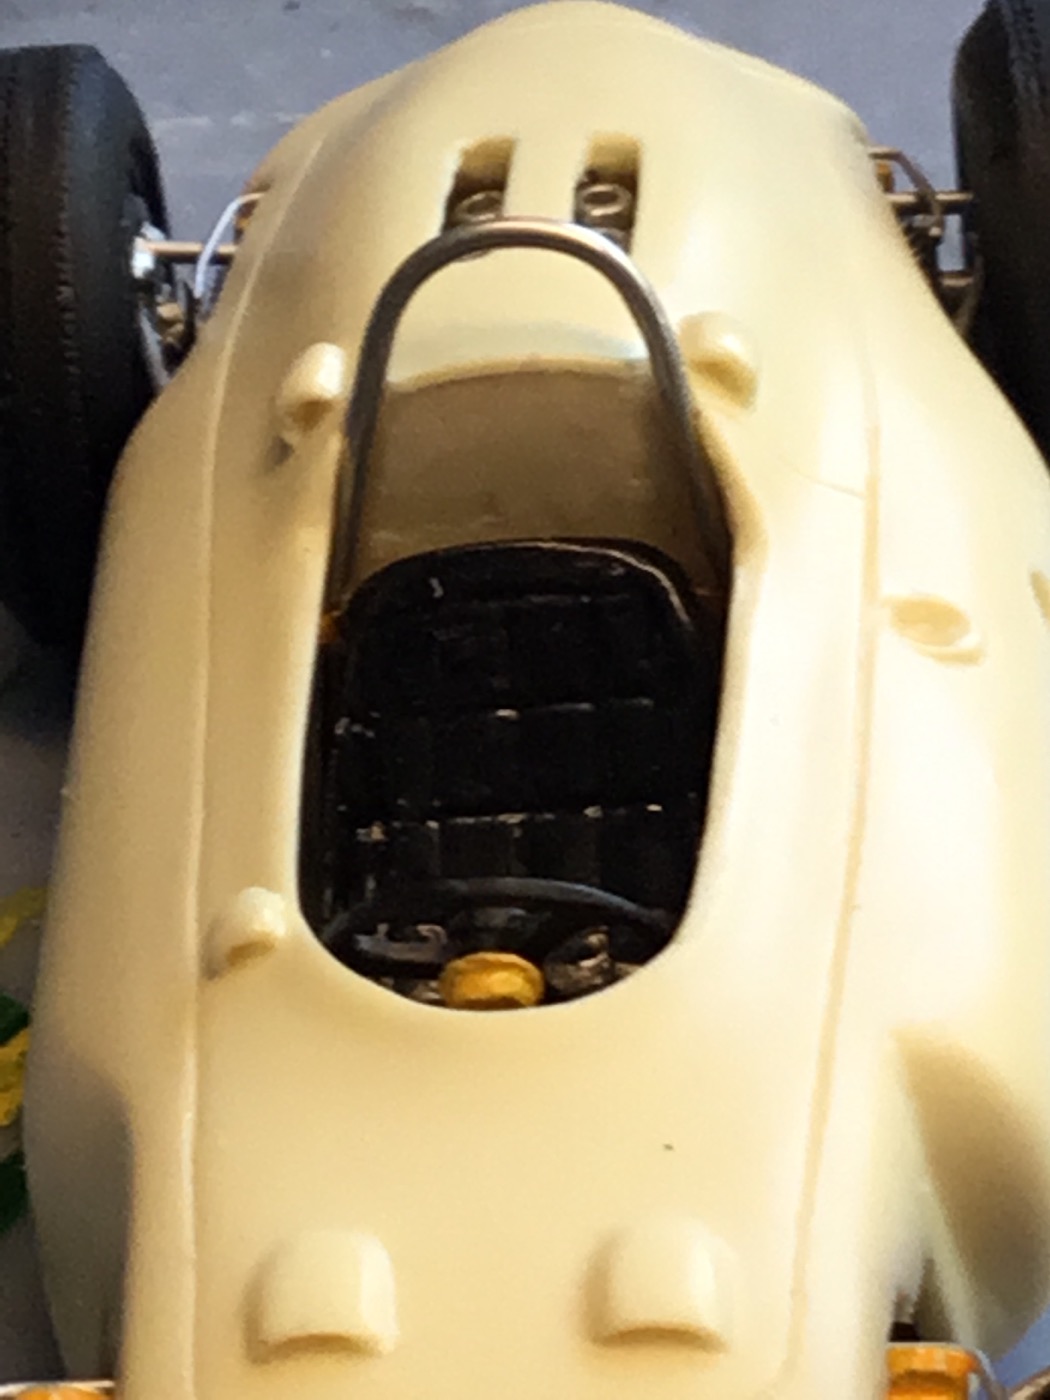 I cut a slot into the rear for the bumper. I filled the starter hole and drilled another one more to the right to sort of line up with the rear of the tranny. I will mount a starter motor guide and exhaust pipe supports to the bumper. 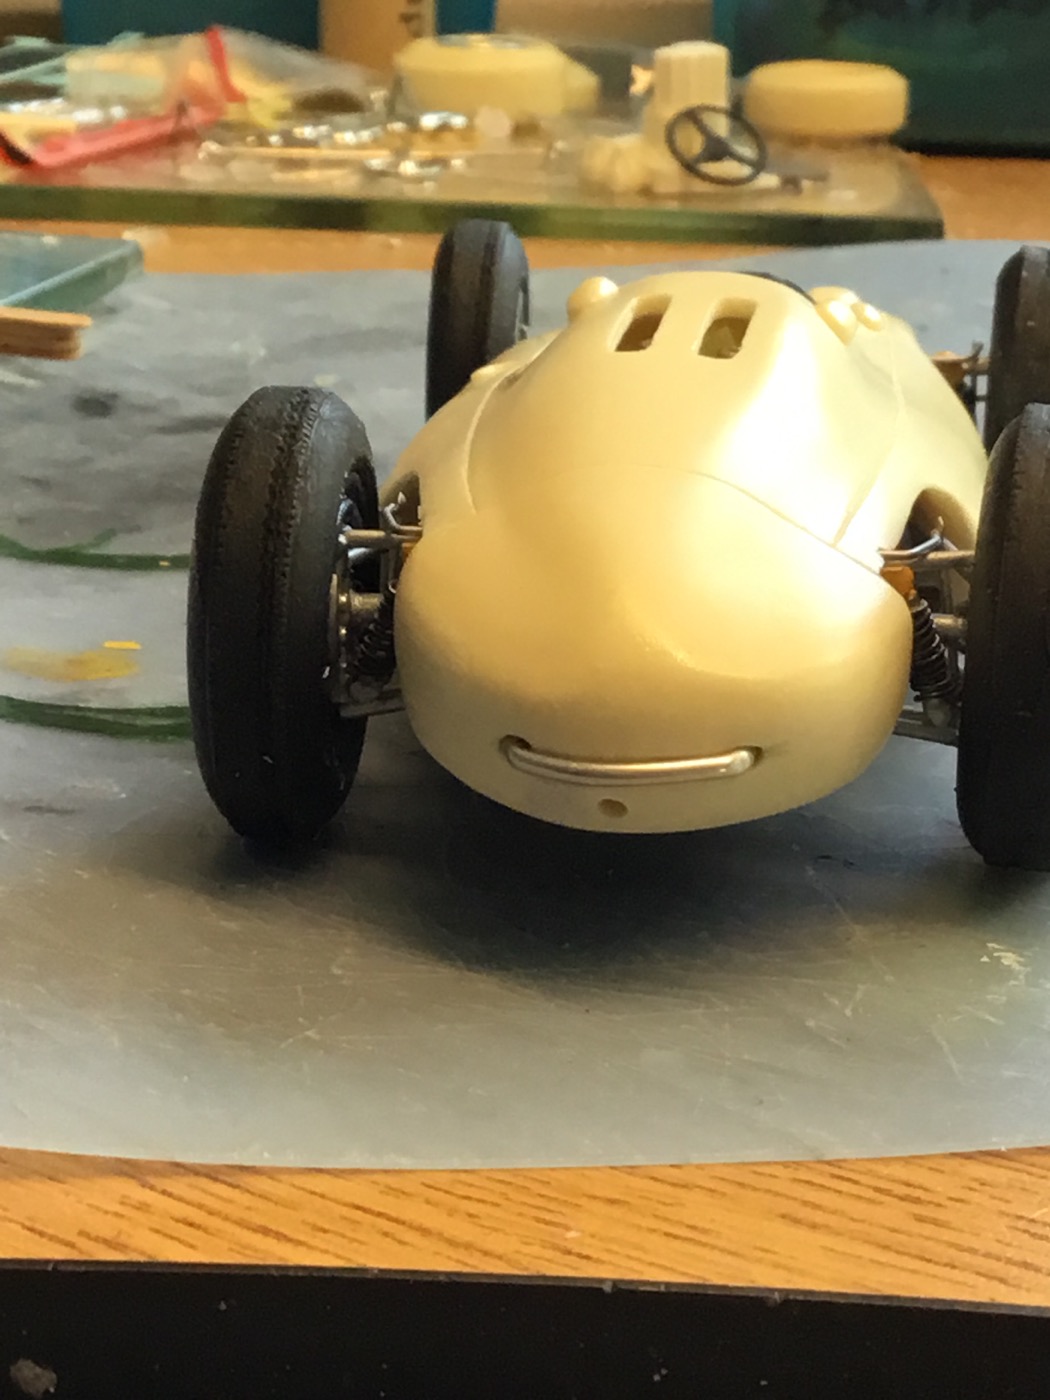 Next will be body prep and painting. I really need to send Michael an order. . . . |
|
|
|
Post by racerbrown on Jul 29, 2017 21:50:55 GMT -5
just seriously good scratch building here!  duane |
|
|
|
Post by raceparke on Aug 3, 2017 16:10:43 GMT -5
So I went ahead and sprayed on the Nassau Blue, and as has been said, it is too dark. But it is a pretty shade of blue. 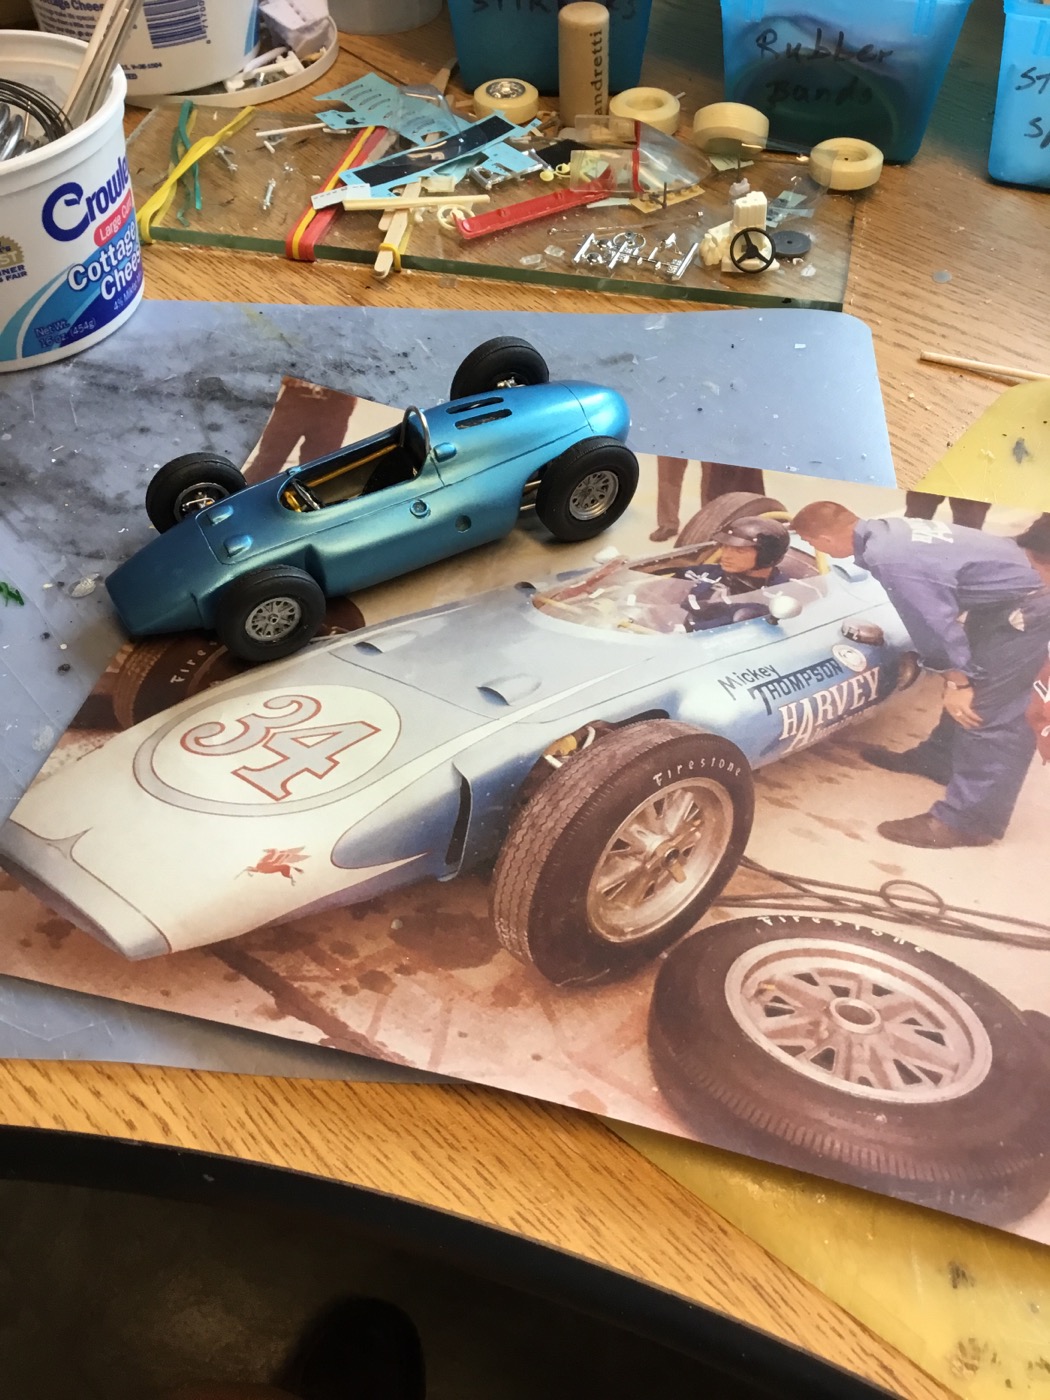 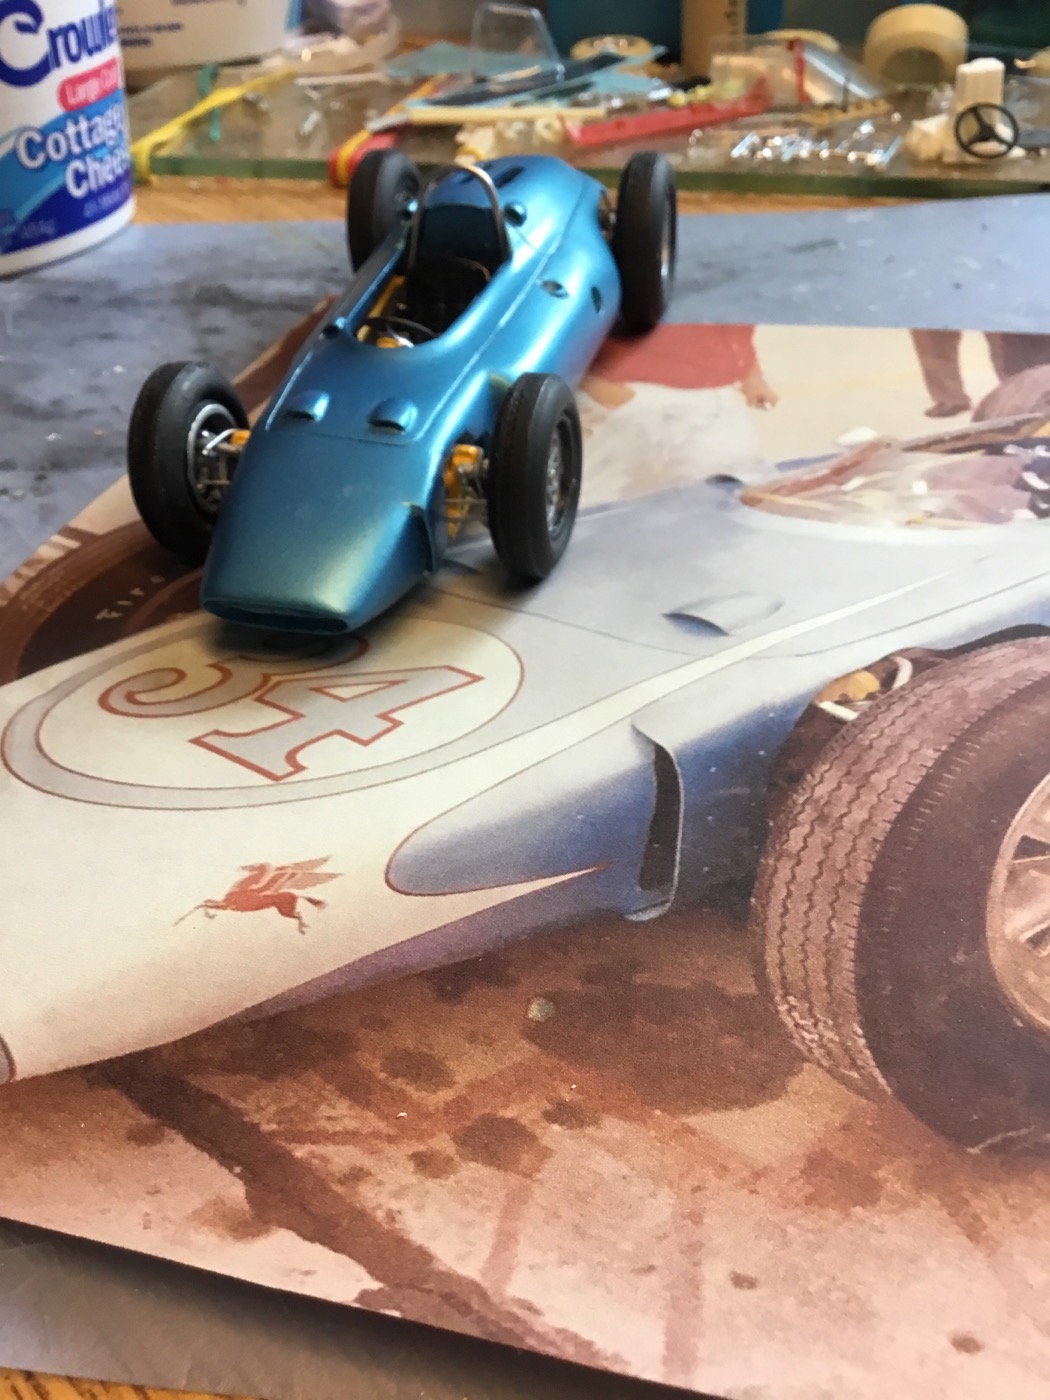 I have ordered a spray can of 1962 Chevrolet Silver Blue Metallic from automotivetouchup.com. Will take some time to arrive, I will strip this down and wait. Pictures when available. |
|
|
|
Post by raceparke on Aug 6, 2017 15:08:41 GMT -5
Another detail- I felt the rims needed more definition so I cut the edge from a spare wheel. 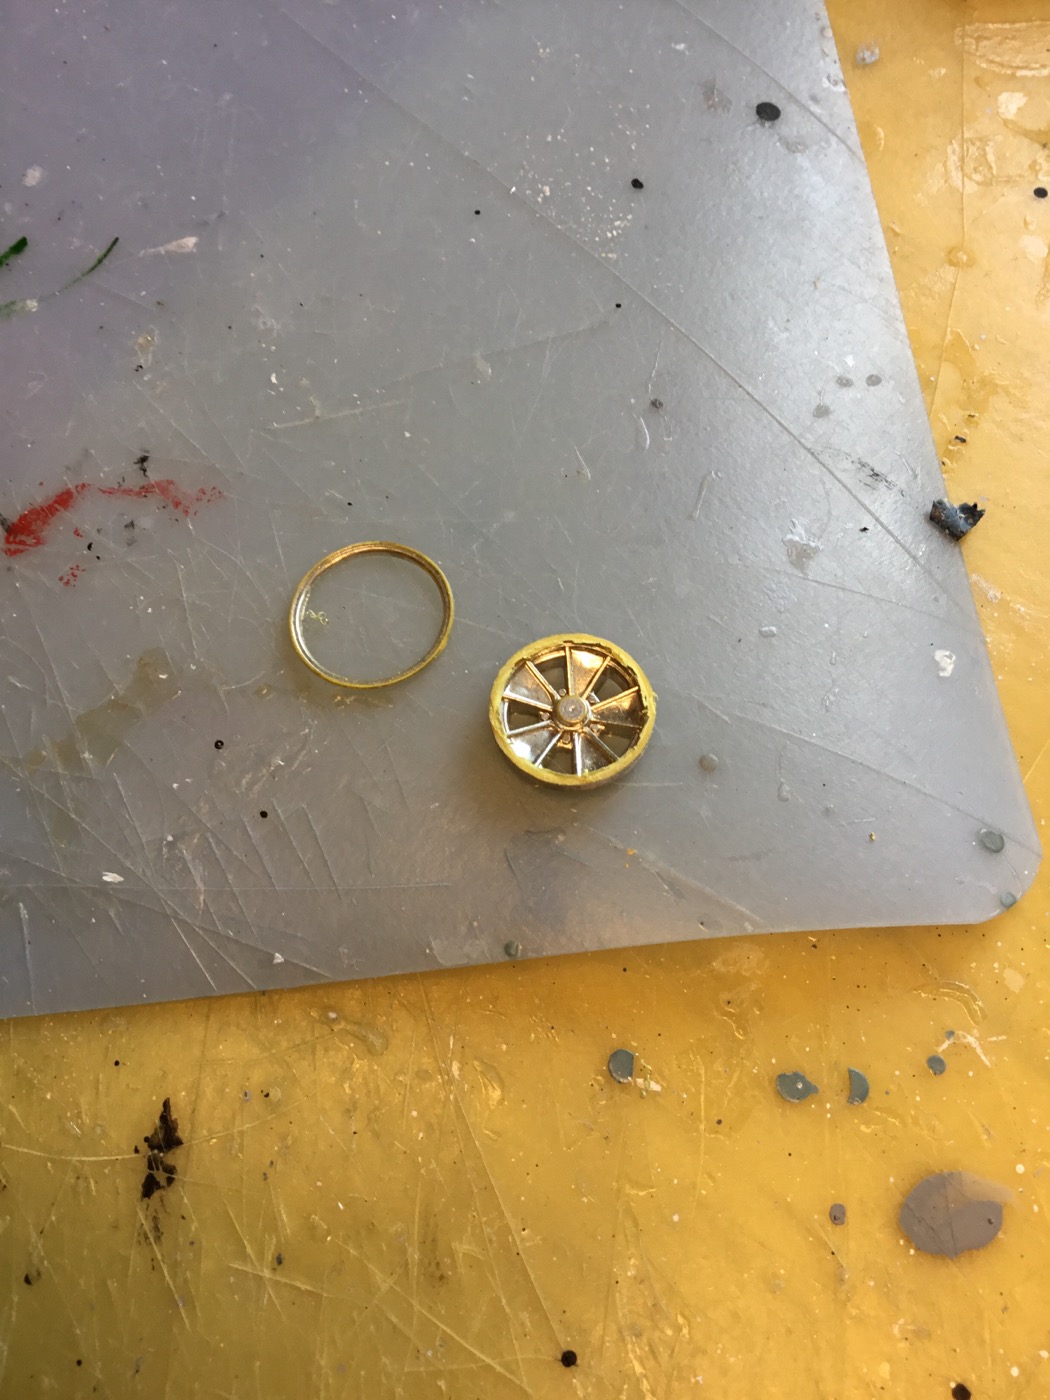 And attached it to the front wheel. 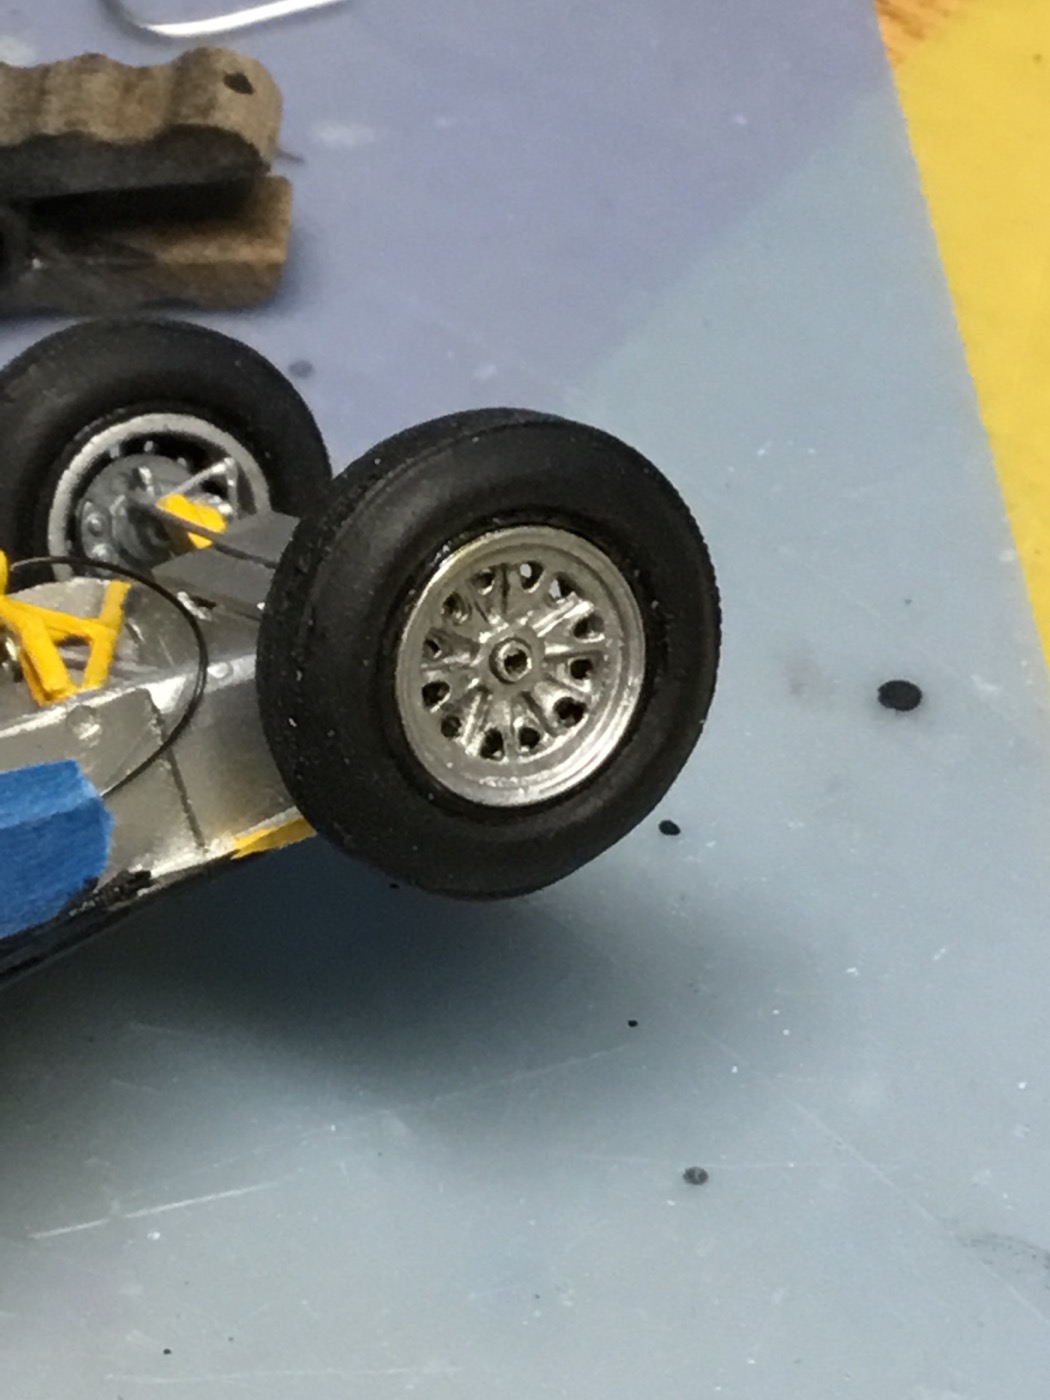 And the finished wheel. 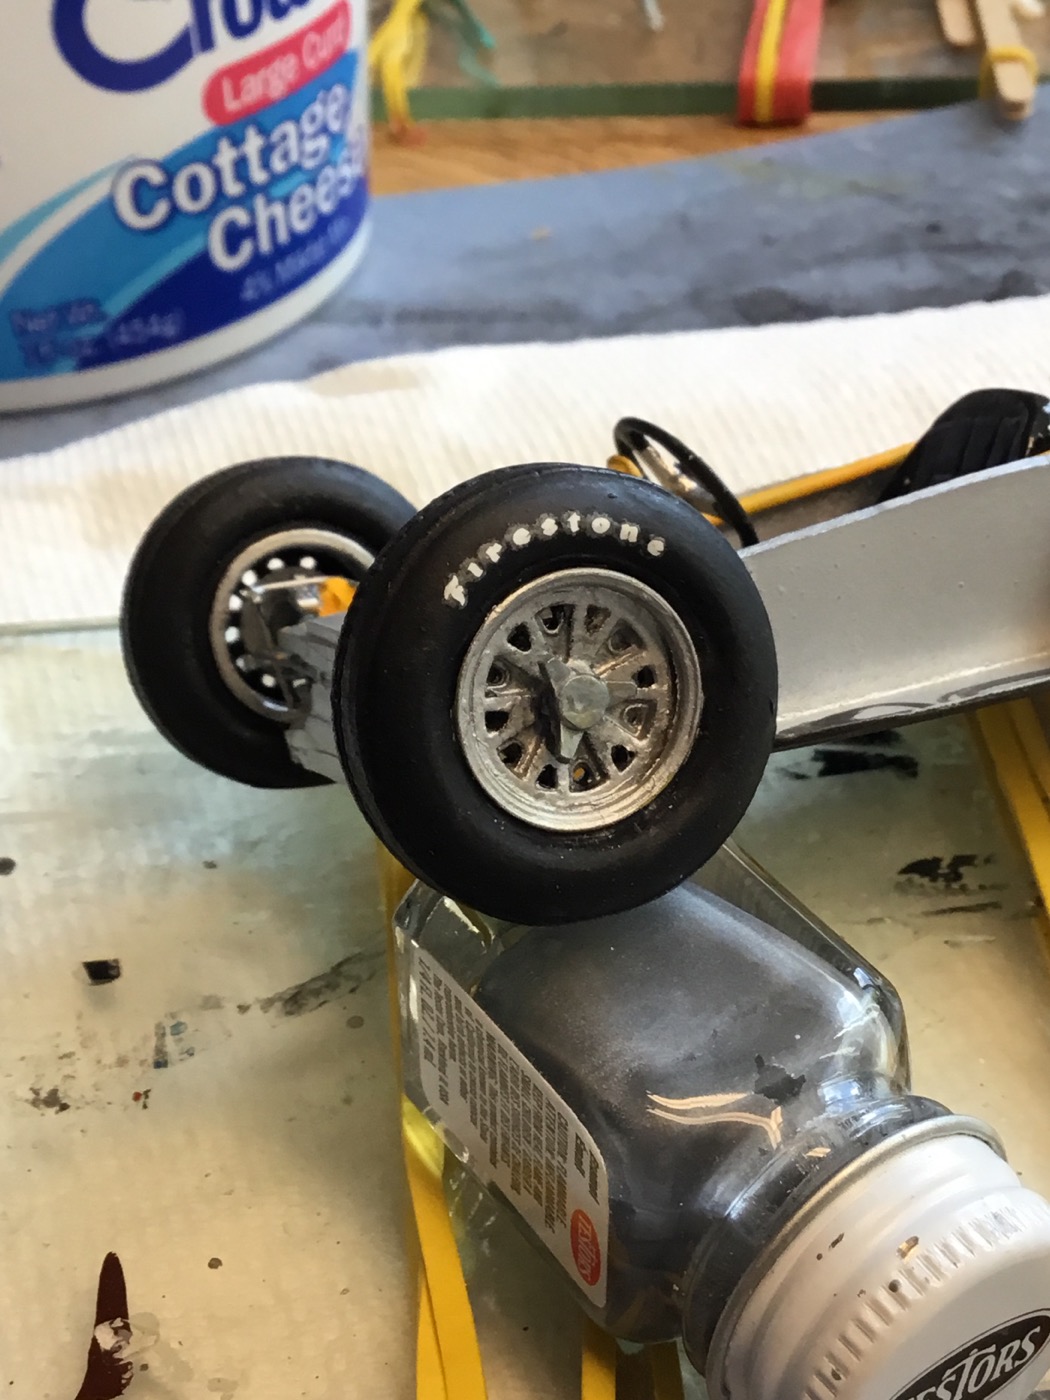 And at the rear 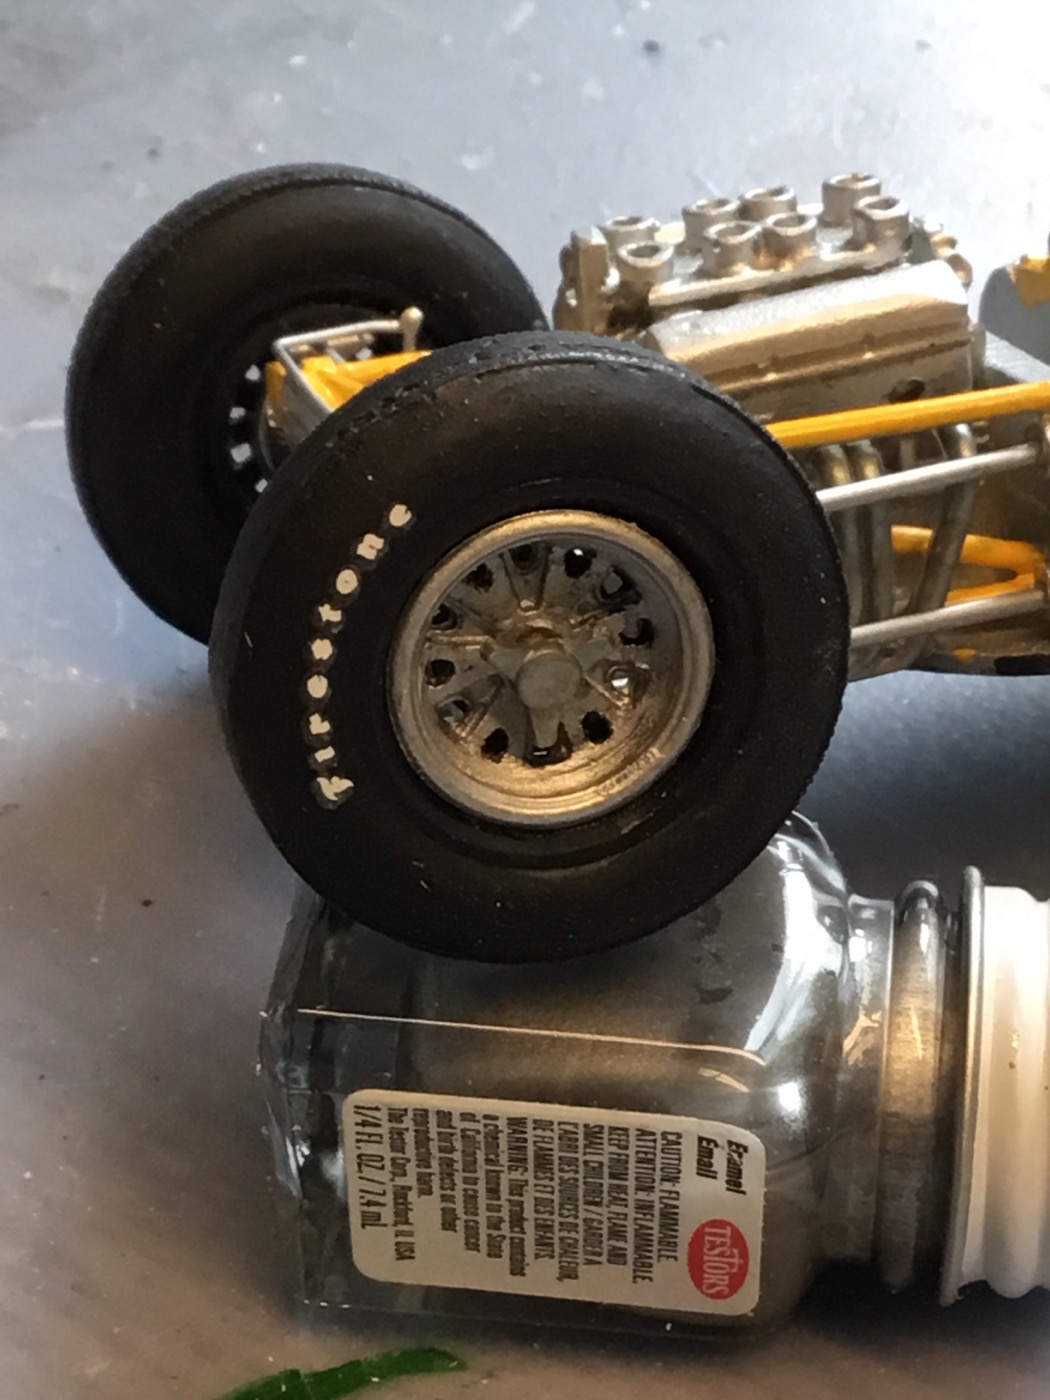 More to come. . . |
|
|
|
Post by alwaysindy on Aug 8, 2017 10:58:19 GMT -5
Dan:
I was thinking the same thing...it needs extra, small rims to make it look better...dang! It Still looks good in blue! Keep up the outstanding work!
Tim
|
|
|
|
Post by Patrick on Aug 8, 2017 21:06:38 GMT -5
Wow! You are doing such a great job on this. It's coming out beautifully!
Patrick
|
|
|
|
Post by raceparke on Aug 9, 2017 19:58:57 GMT -5
So a step ahead a step back. The paint came today. The paint booth fan crapped out. A new one is in the mail. Progress is delayed. And so it goes.
|
|
|
|
Post by raceparke on Aug 12, 2017 12:15:02 GMT -5
Still no paint booth fan, so I reverted to an older technology - the garage with open doors. . . This looks darker than it really is. 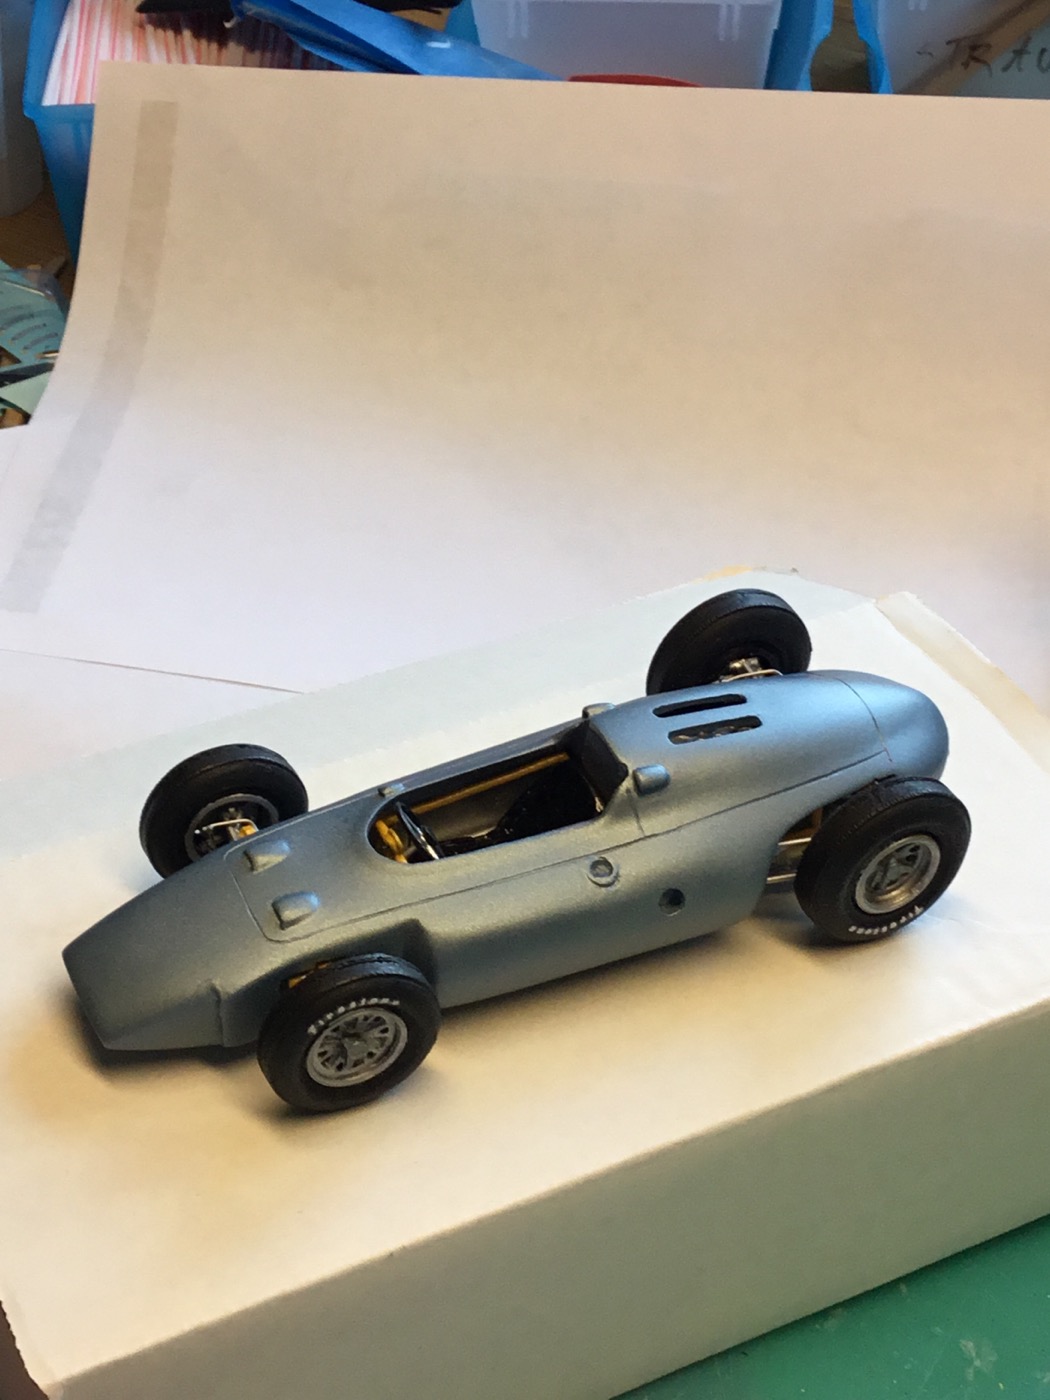 It's a neat color. Now for the last steps. |
|
|
|
Post by billj on Aug 12, 2017 14:30:20 GMT -5
Nailed the color, I can see it looking perfect once cleared. Funny thing is that the modified car as it sits today is more like Nassau Blue, nice color but wrong for the restoration. Not sure why the car ended up like it is today. I like the original much better  Your model is really coming along nicely too! |
|
|
|
Post by raceparke on Aug 12, 2017 15:05:43 GMT -5
The windscreen is too short! I may be able create one, but it'll be a slow go. 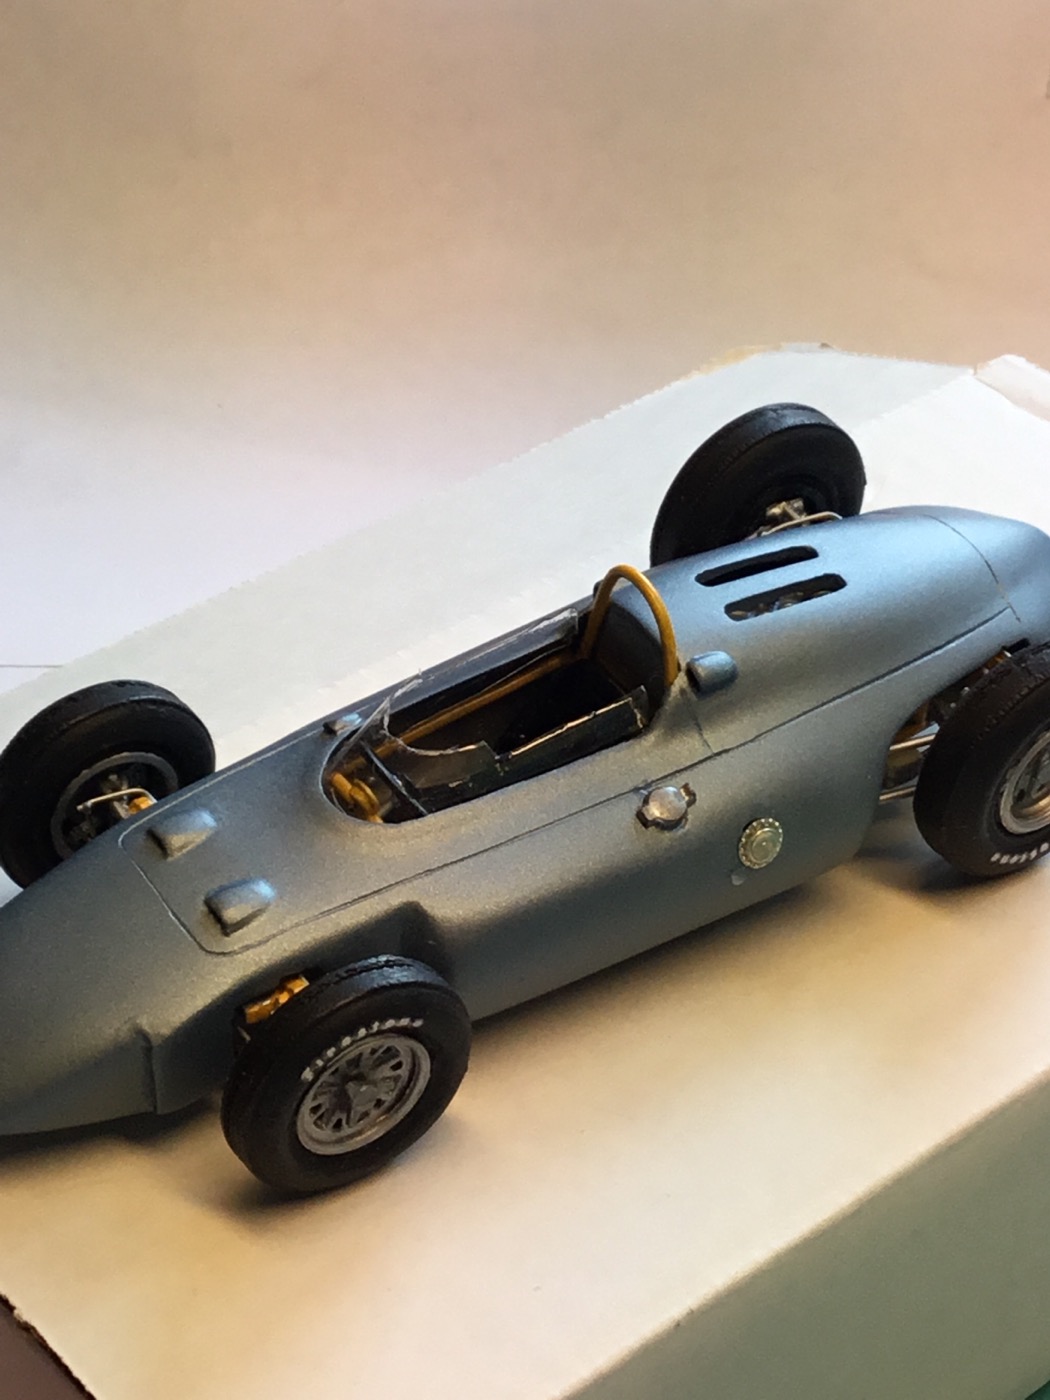 |
|
|
|
Post by raceparke on Aug 12, 2017 15:07:34 GMT -5
Going away next week, packing preparing etc. I'll be off until next weekend. Bye for now.
|
|
|
|
Post by alwaysindy on Aug 12, 2017 16:27:47 GMT -5
Dan:
Holy Crap! That color looks spot on...it looks like the pictures of MT receiving the car from Croswaite...this is a very cool WIP!
Tim
|
|
|
|
Post by raceparke on Aug 14, 2017 16:59:58 GMT -5
Ok so I'm still going dark soon, but did some more little stuff. 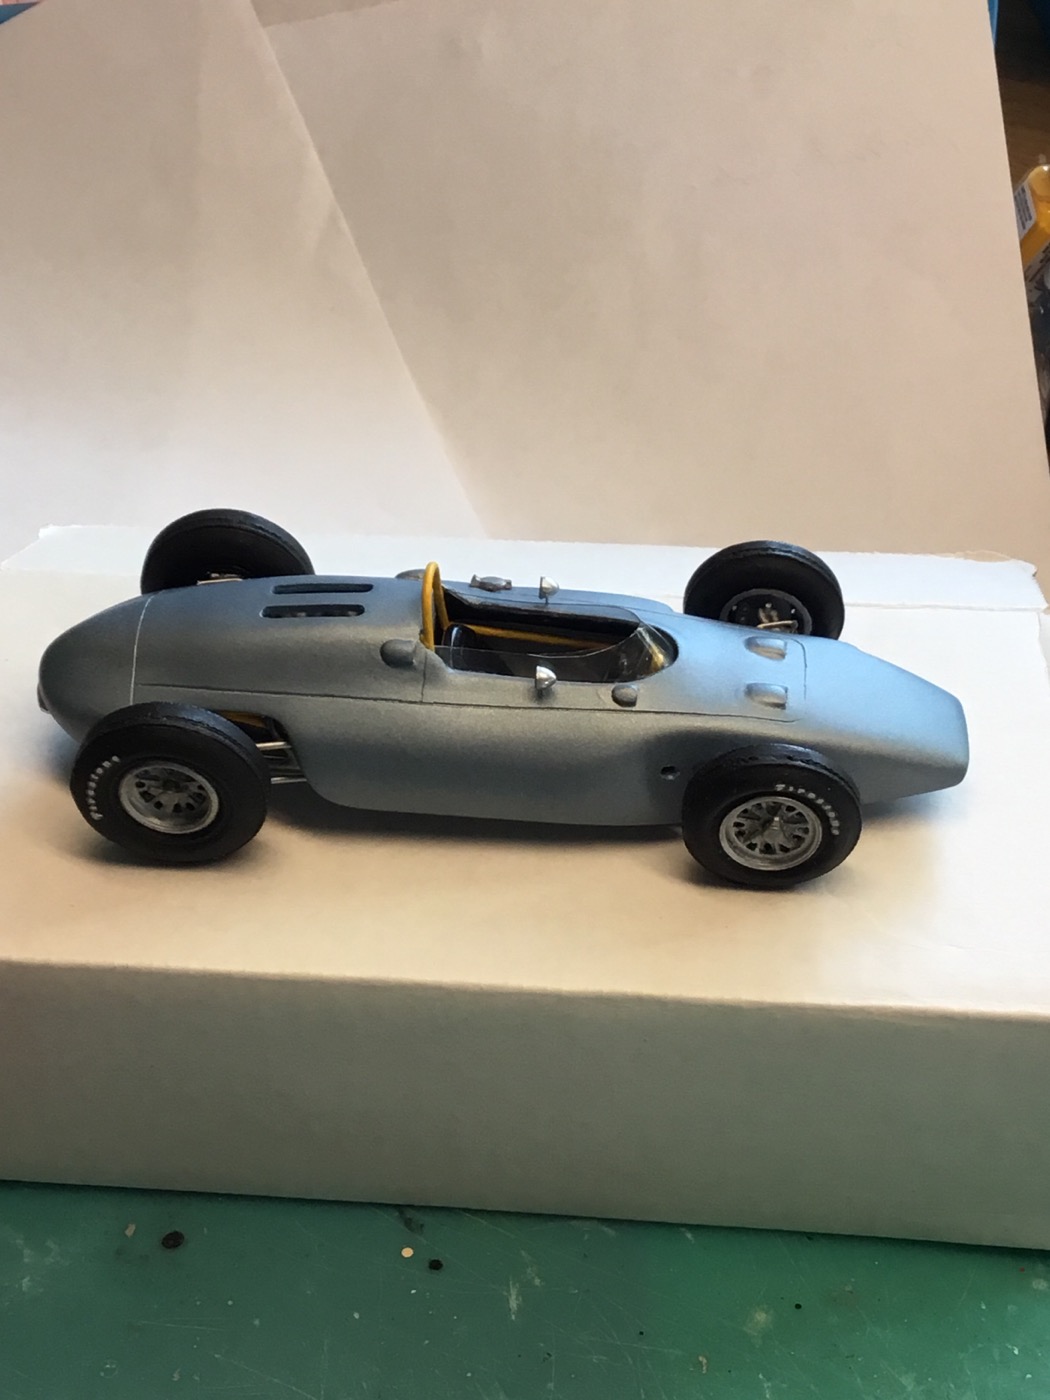 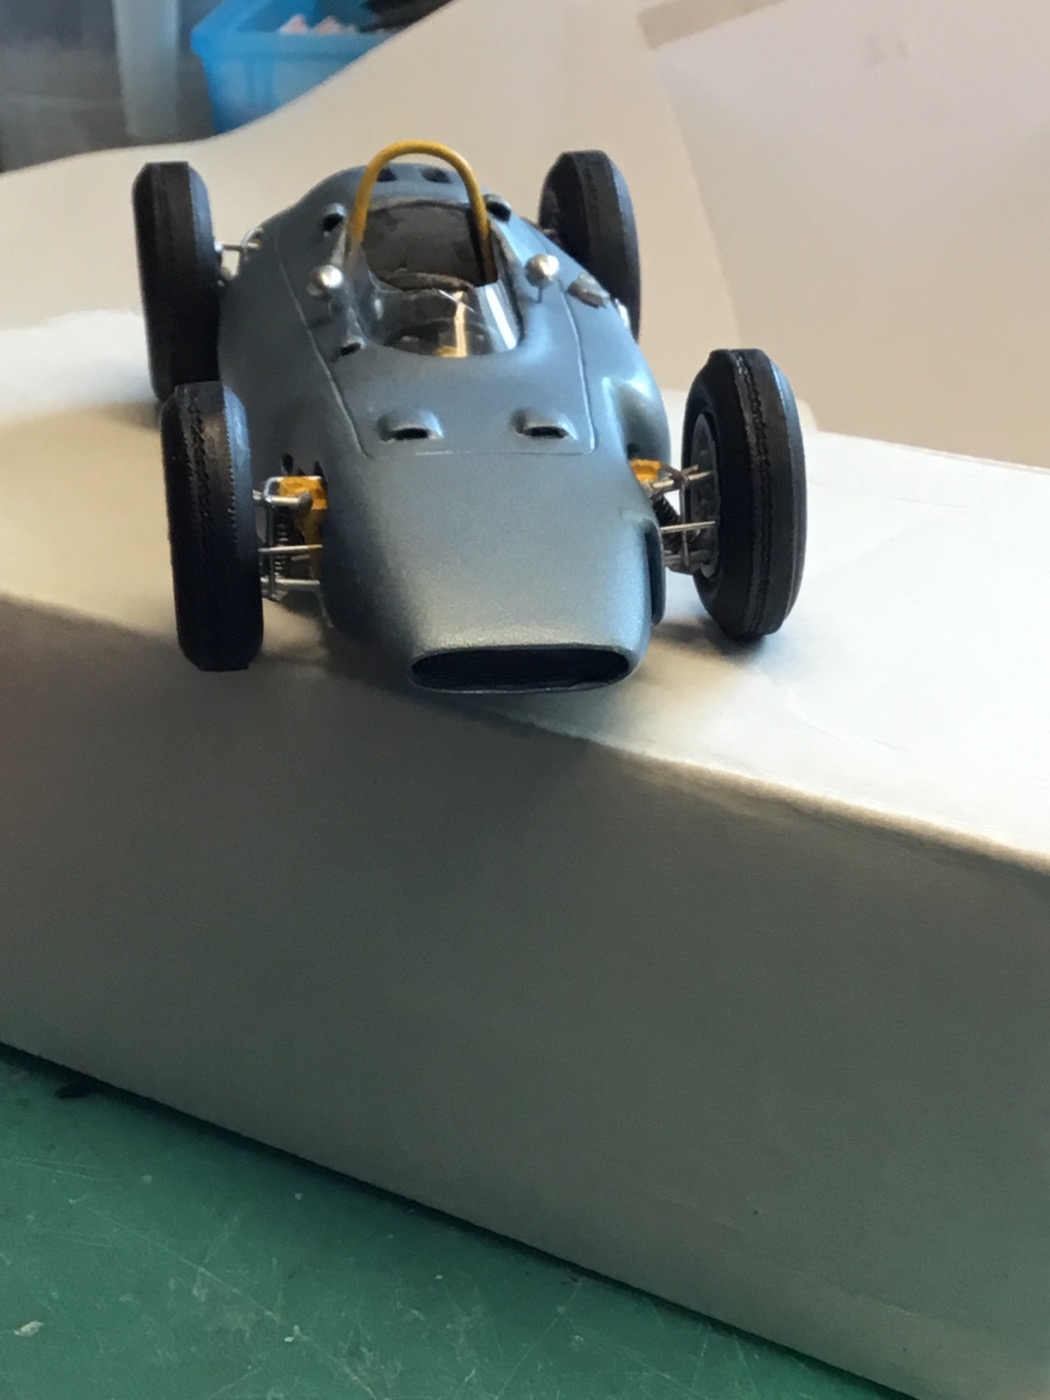 [img src="https://images51.fotki.com/v1654/photos/4/1797084/14352129/31524439991008-vi.jpg" alt=" " 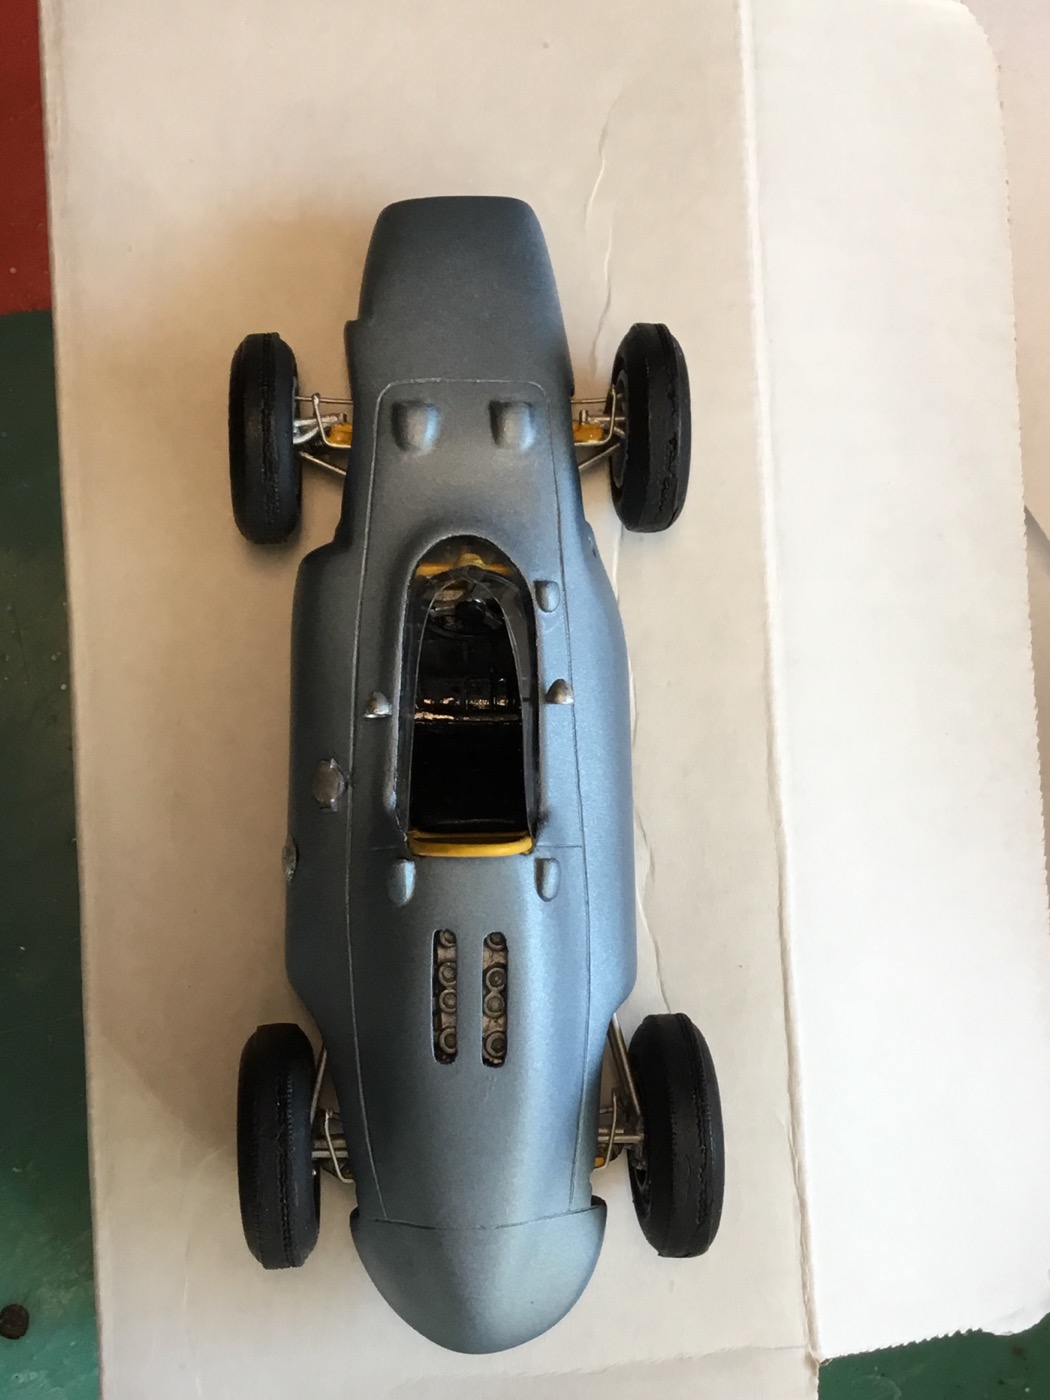 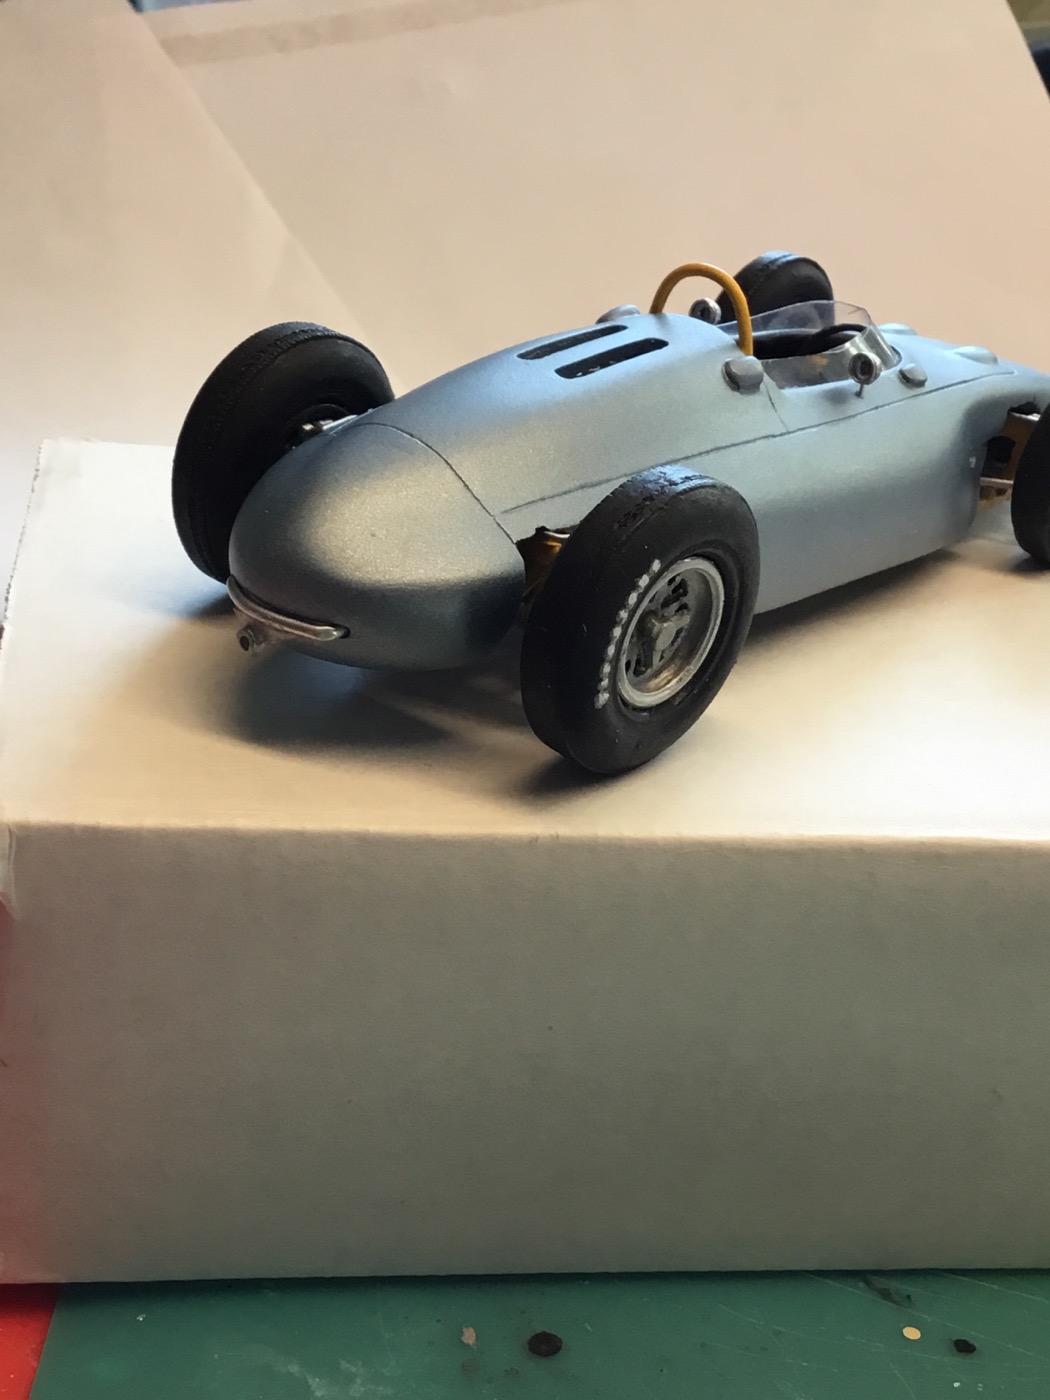 I definitely am not back until the weekend. Then it's time for intake and exhaust parts. |
|
|
|
Post by Patrick on Aug 14, 2017 23:49:25 GMT -5
This is such a cool car! It great to see it in model form.
Patrick
|
|
|
|
Post by alwaysindy on Aug 15, 2017 9:55:56 GMT -5
Dan:
I was very afraid when I started the master because I "couldn't see" the finished result...but you sure blew the fear away...it looks so cool!...the end result turned out much better than my vision!
For the umpteenth time, this is the car that brought Thompson, Gurney, Chapman, and eventually Clark to the Indy 500 (Chapman as an observer in 1962)...after seeing this car race, Chapman decided to cross the pond, Gurney called Ford, and the rest is history...
Great work! Can't wait to see the decals!
Tim
|
|
Deleted
Deleted Member
Posts: 0
|
Post by Deleted on Aug 15, 2017 10:54:48 GMT -5
Nice work on the push bar/starter guide. I was pretty sure that the provided windscreen wouldn't work. I'll wait and see what you come up with.
|
|
|
|
Post by raceparke on Aug 23, 2017 14:54:50 GMT -5
Well, I think most of the parts are on. Next will be the marking. 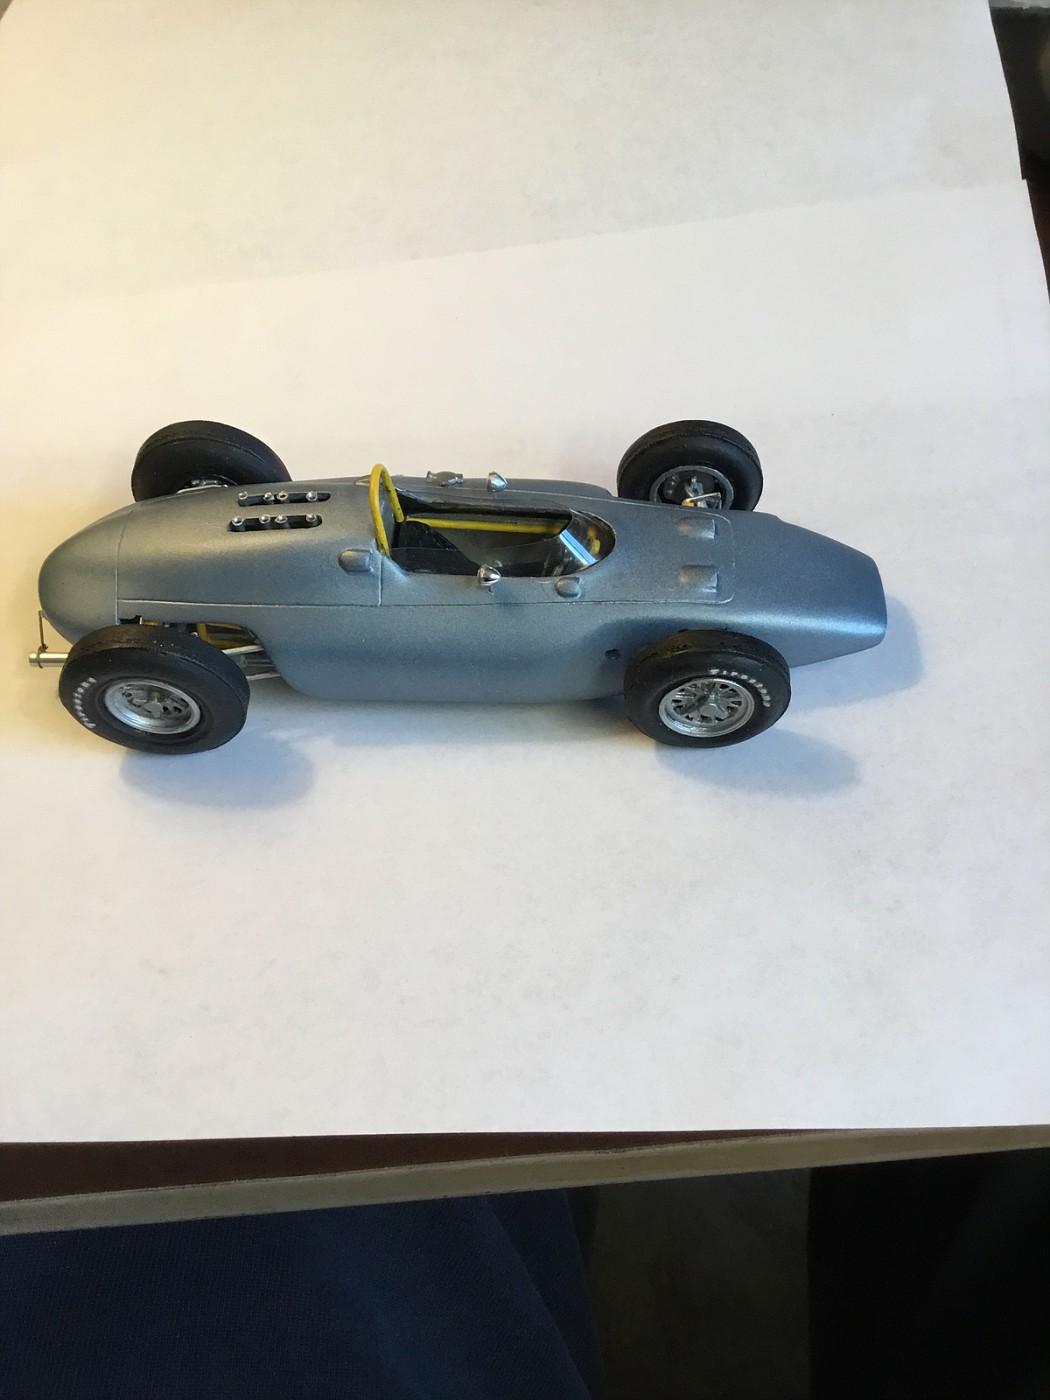 [img src="https://media.fotki.com/2v2uweCh4xaQ3nG.jpg" alt=" " 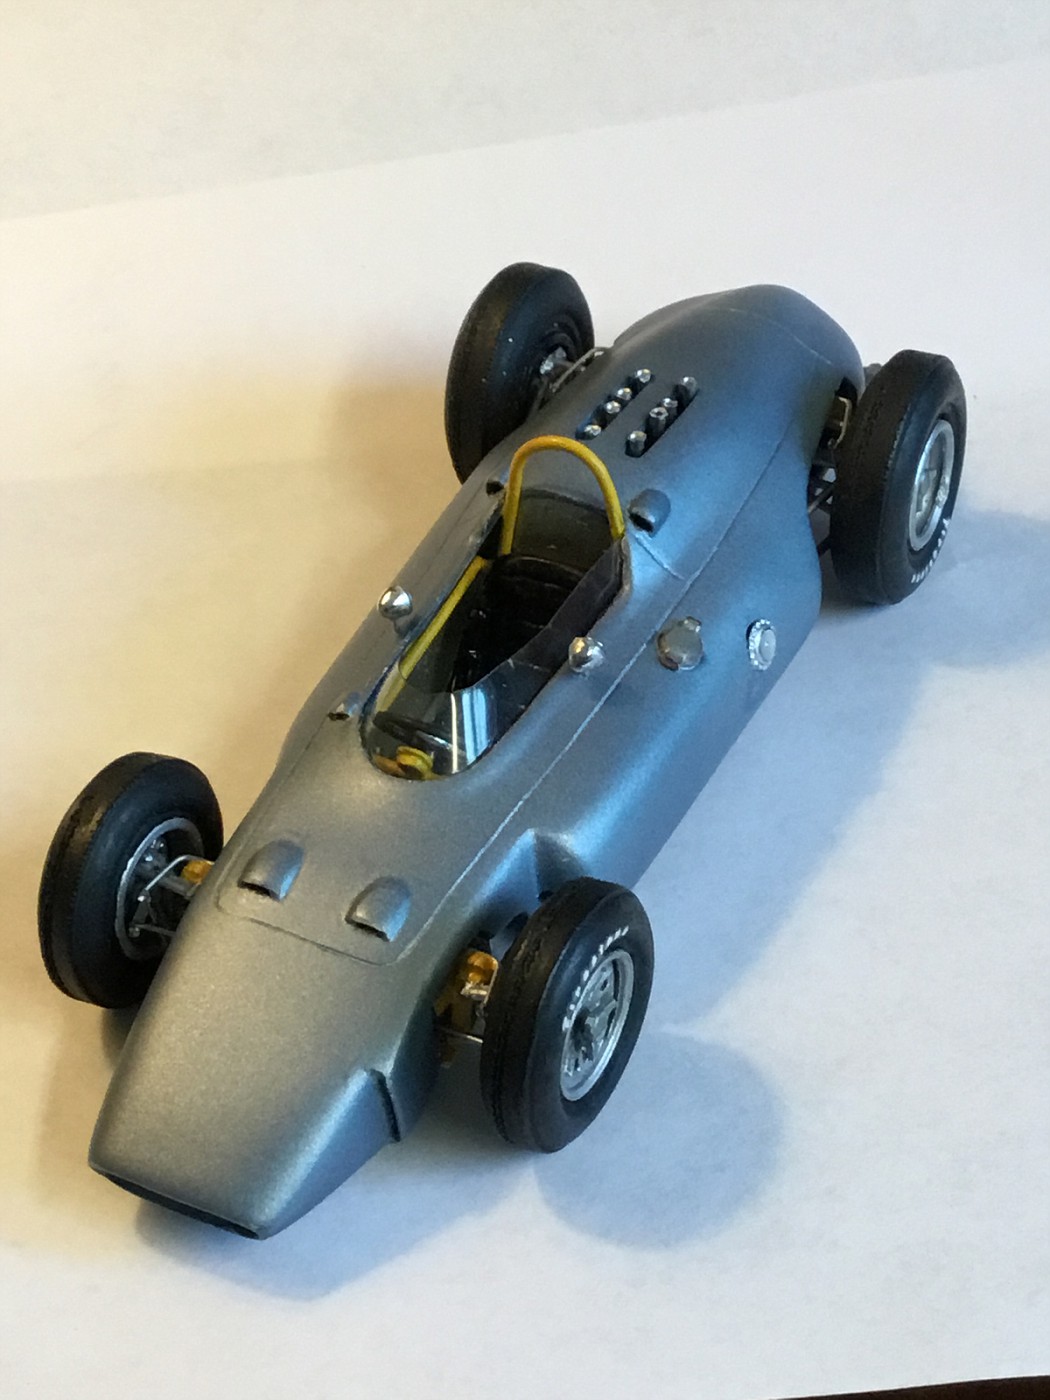 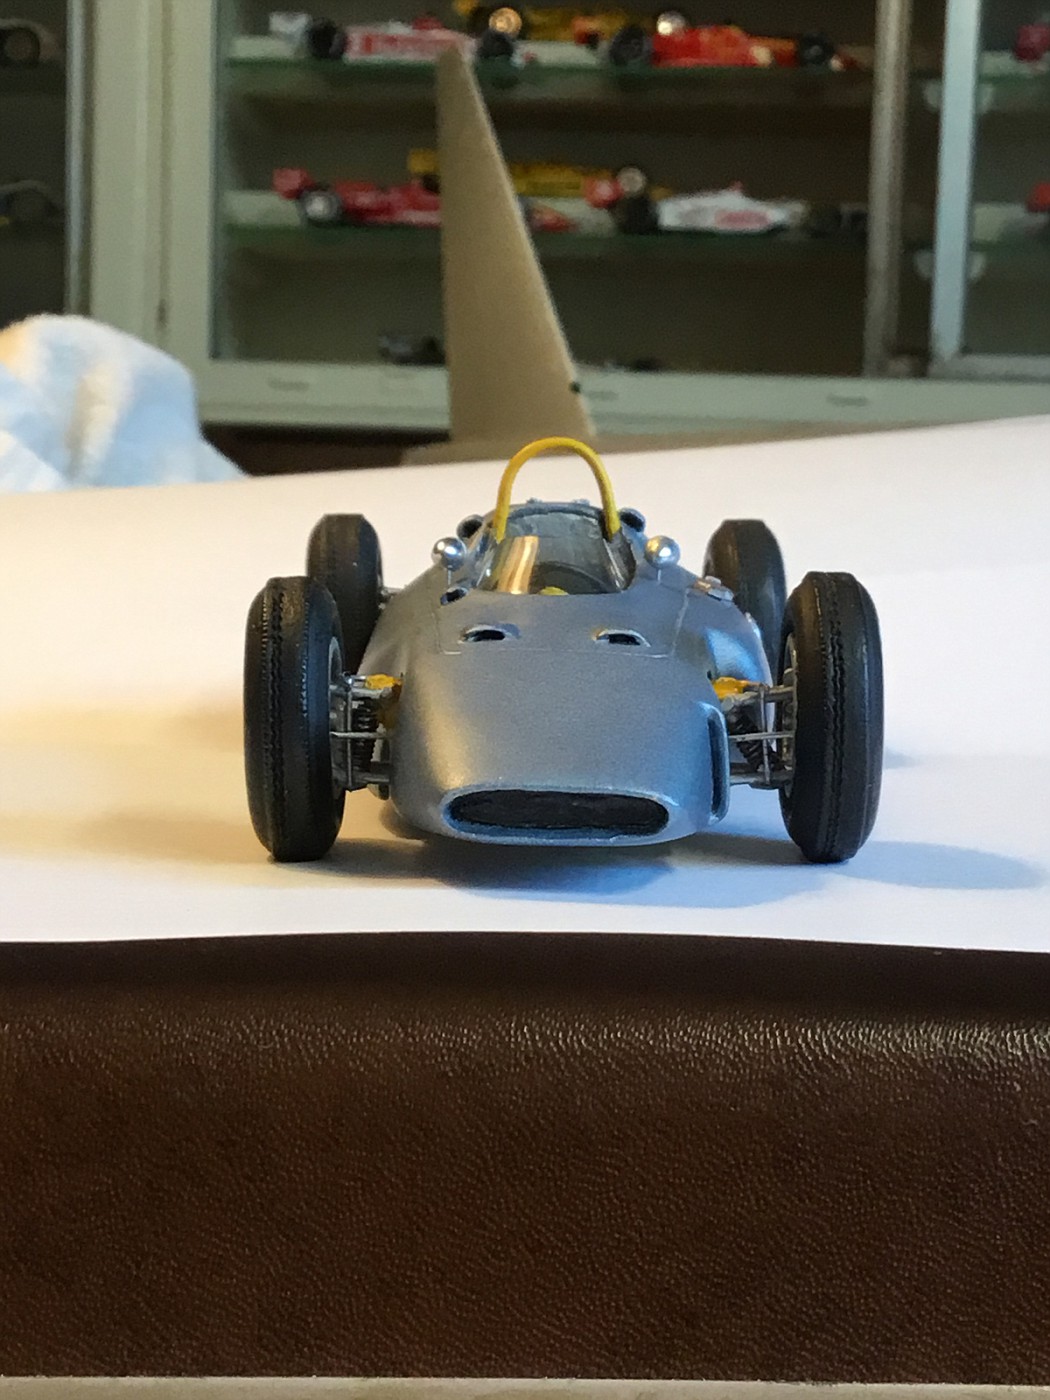 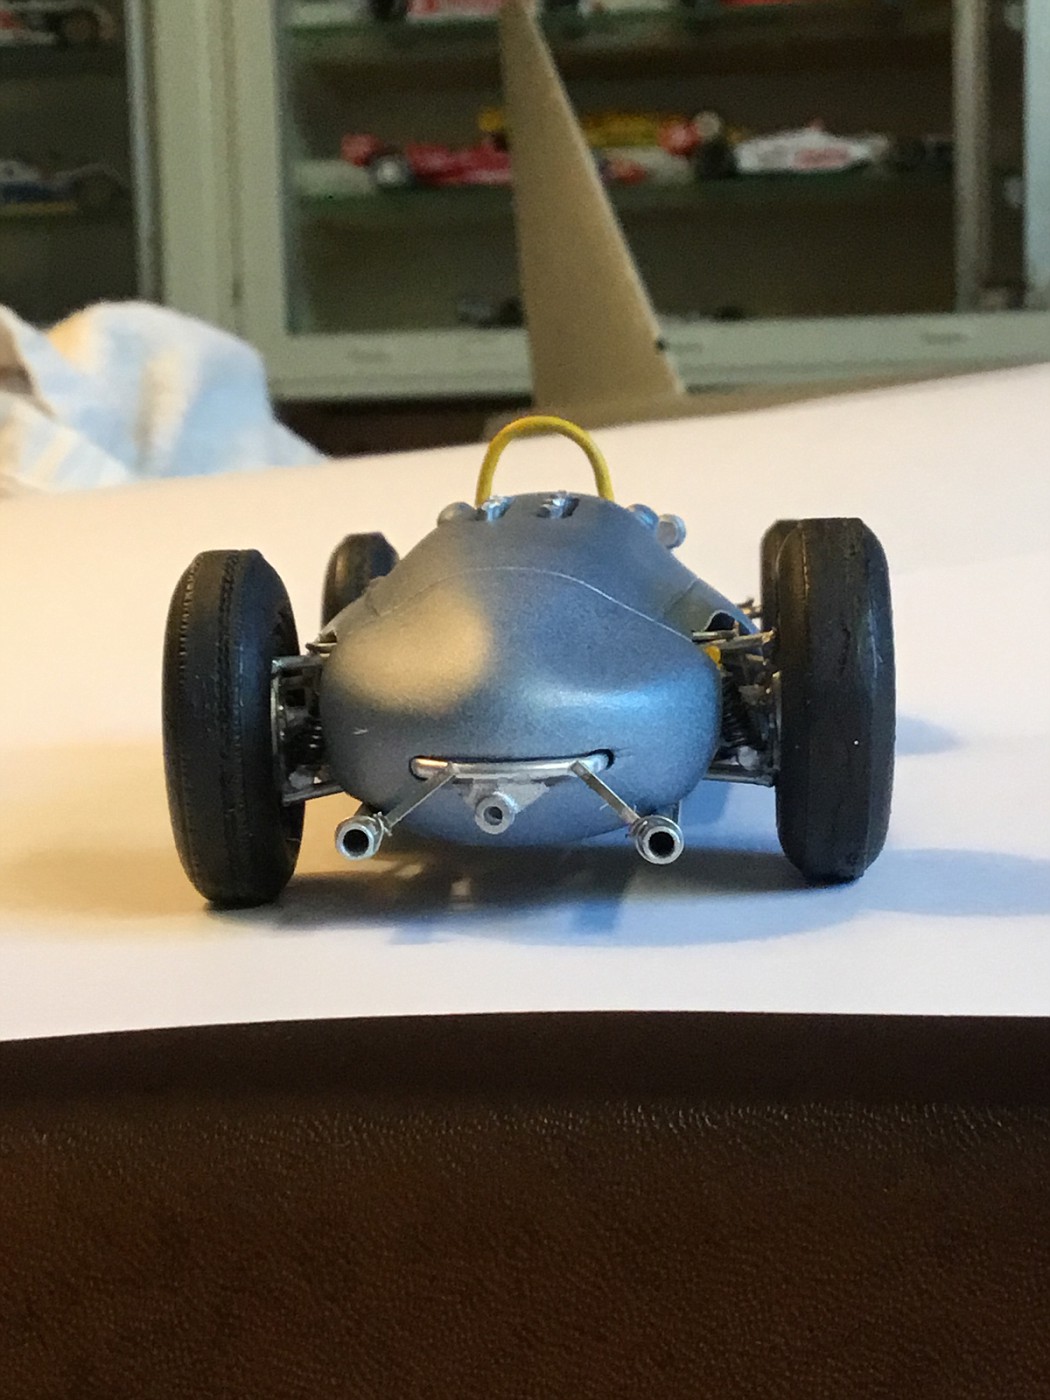 Final pix soon. |
|