|
|
Post by Patrick on Nov 1, 2016 21:47:57 GMT -5
Phew! Well, after the knee procedure and the move to the new house, AND setting up the modeling space (still a mess, but...), I am finally working on a rare, but simple kit. This kit was kindly given to me by one of our OWRM folks. I built this model OOB back in the mid-80s... 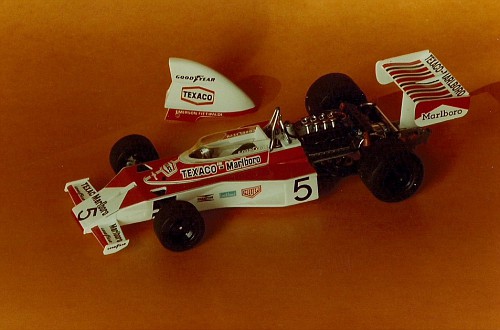 I have always liked the odd car or livery and was happy to see that Michael had made Dave Carlton's M23 livery...  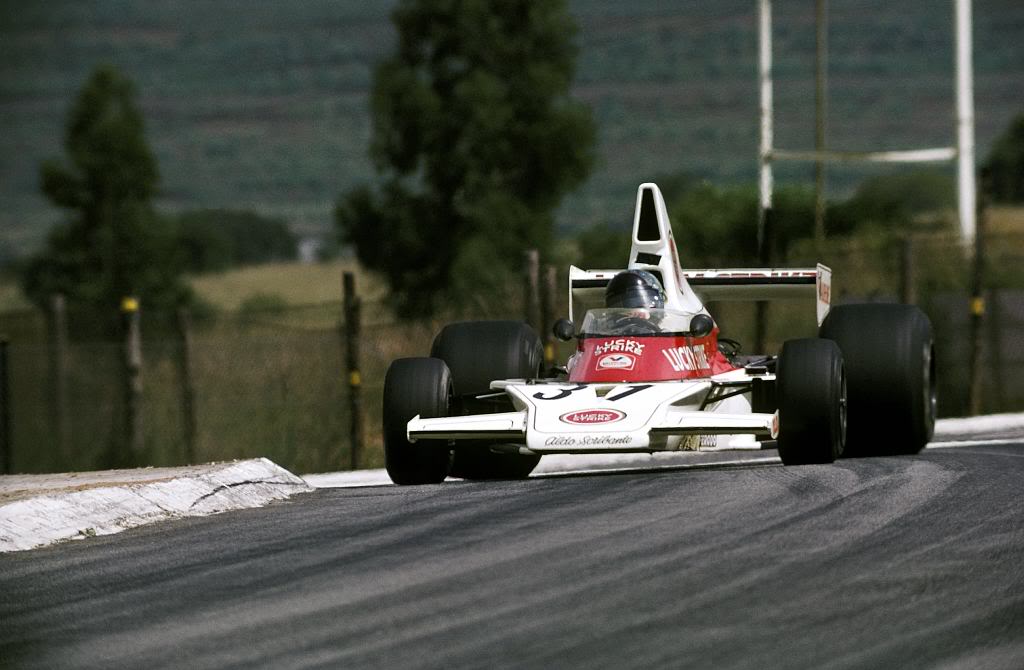 I started by working on the gross engine/transmission pair to make them a bit more scale. I "sliced and diced" the trans parts...I'll have some pix soon. Patrick |
|
|
|
Post by racerbrown on Nov 3, 2016 17:38:41 GMT -5
what a cool car!
more pix please!
duane
|
|
|
|
Post by Patrick on Nov 4, 2016 21:50:56 GMT -5
Here's the kit box of the M23... 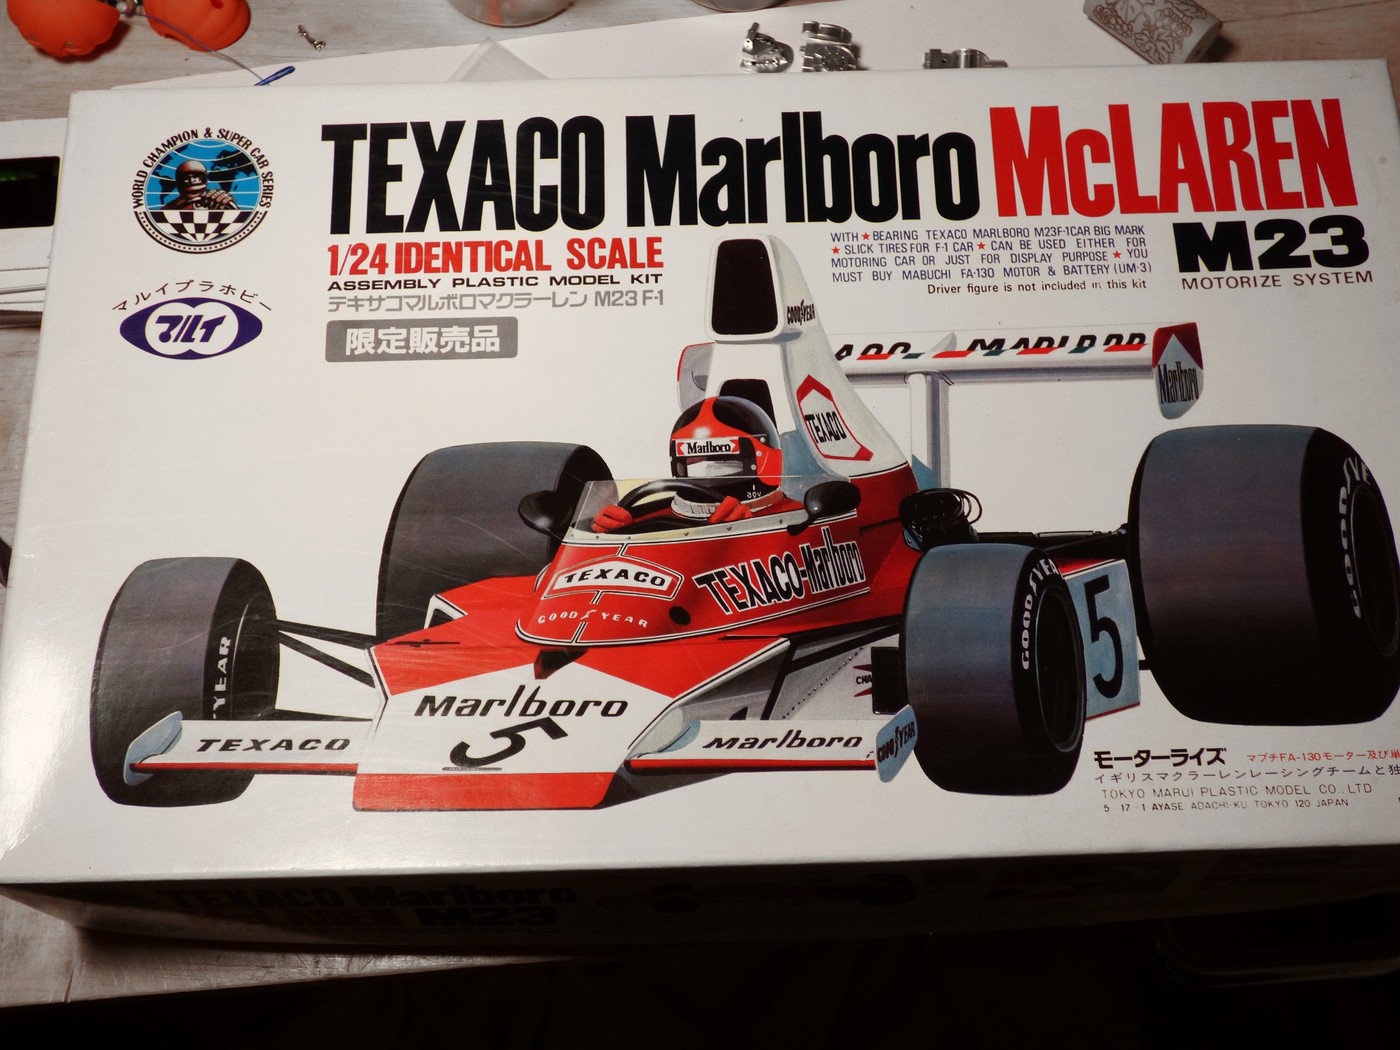 First I cut the trans off from the engine. Then, I cut the "Hewland" in half by taking one side of the interior pins off and gluing the halves together... 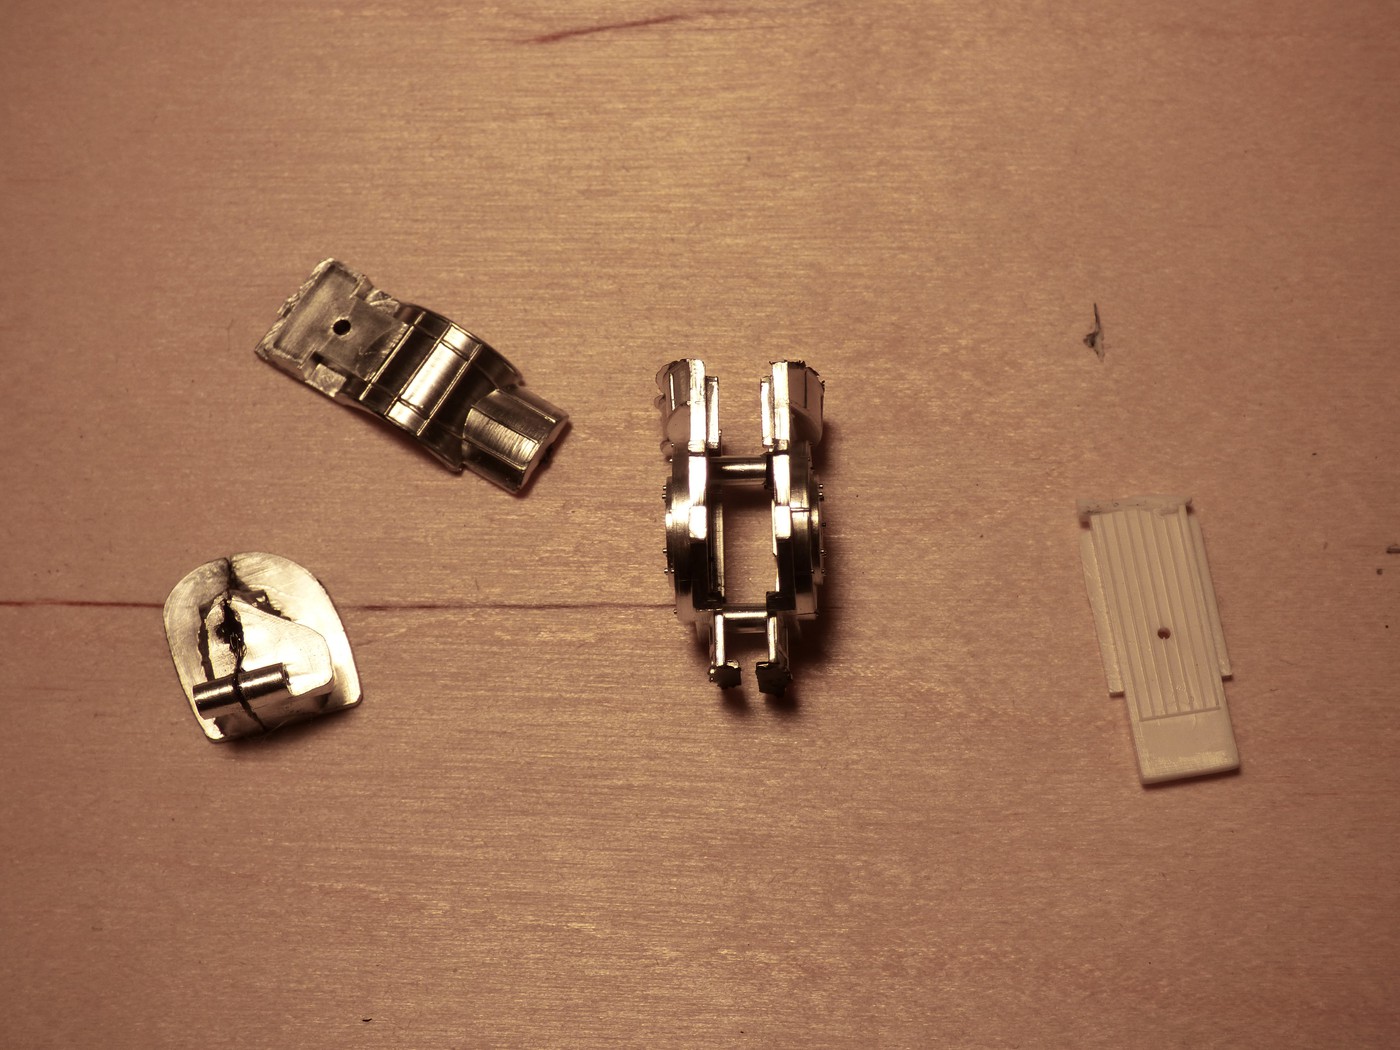 I want to still have the suspension glue together easily so the height of the trans stays the same... 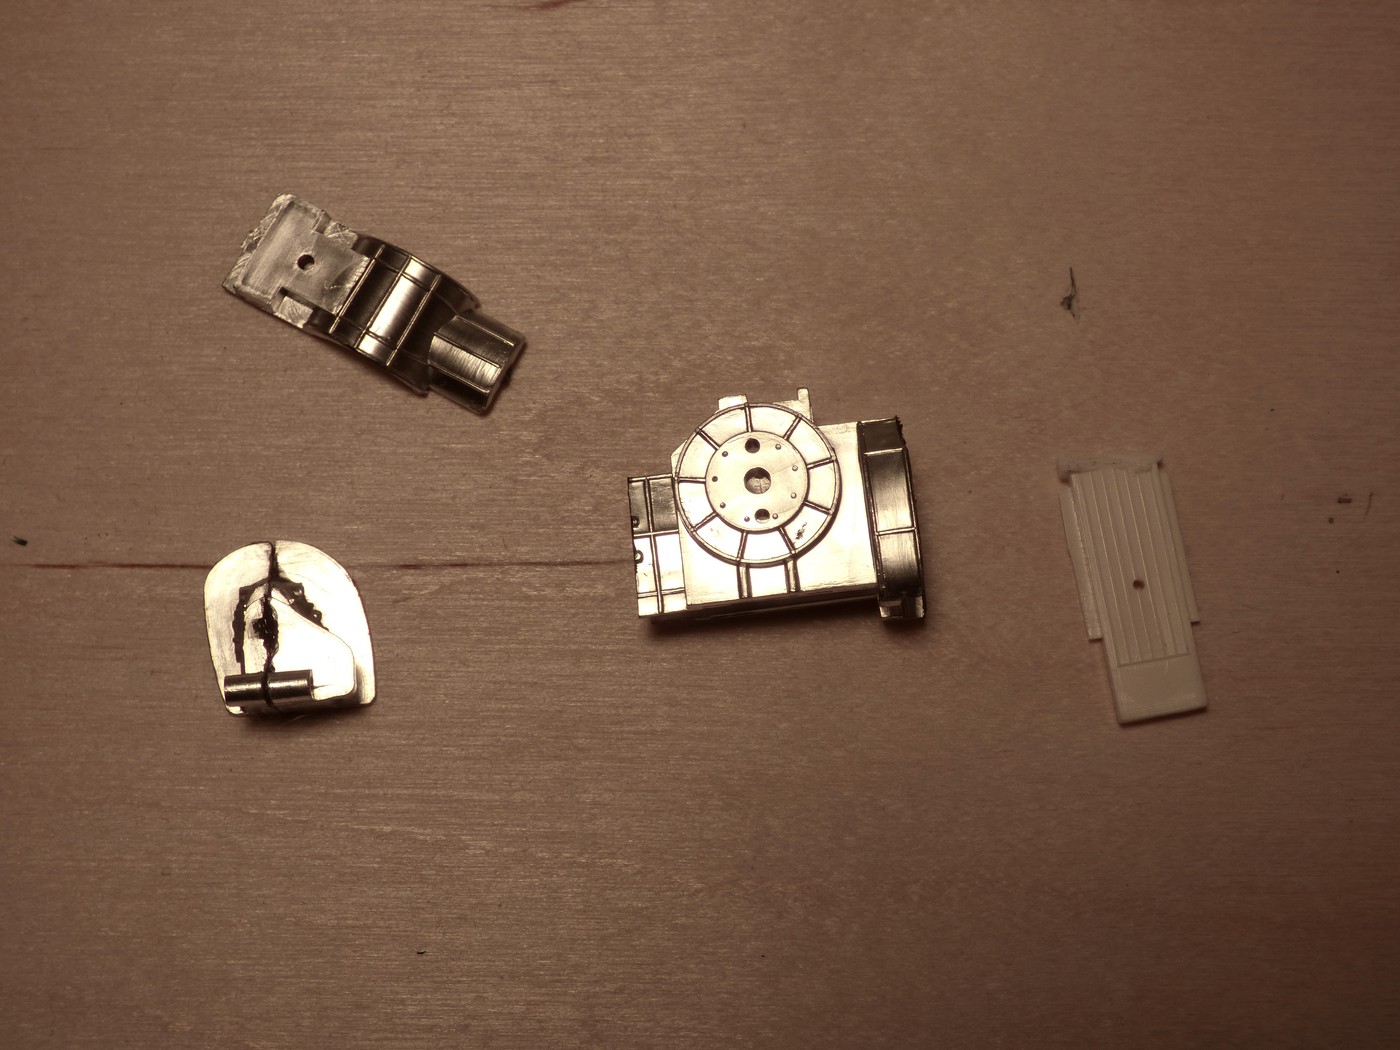 The paint is drying on the body and assembly of the chassis is next. Everything will be simple! Patrick |
|
|
|
Post by racerbrown on Nov 4, 2016 23:05:54 GMT -5
yeah patrick!
good to see you back at it again.
duane
|
|
|
|
Post by Calvin on Nov 5, 2016 2:06:58 GMT -5
Im glad you are doing the Lucky Strike Mclaren as I'd like to see that one built. Everything is right in the world when Patrick does a WIP! Its just like old times!  |
|
|
|
Post by Patrick on Nov 5, 2016 18:52:28 GMT -5
Well, I tried to do my magic on the engine/trans unit, but I wasn't satisfied with the transaxel and with that the engine wasn't going to work... 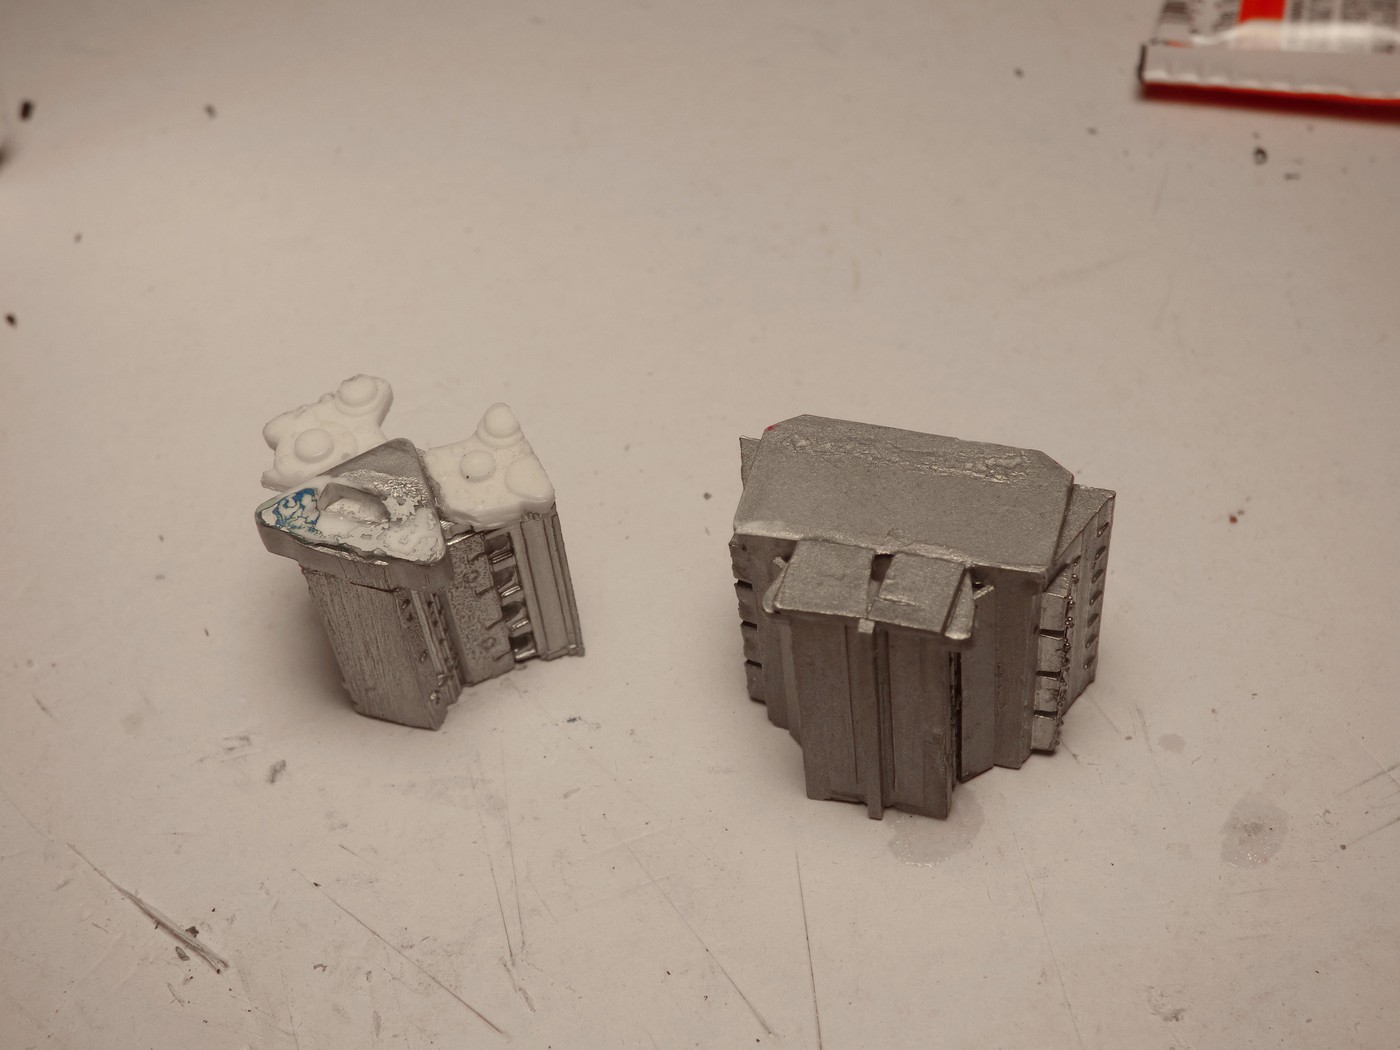 SO, I took a 1/25 Indy Cosworth and "increased" its size by adding some cut parts from an IMC Ford Indy 4-cam engine... 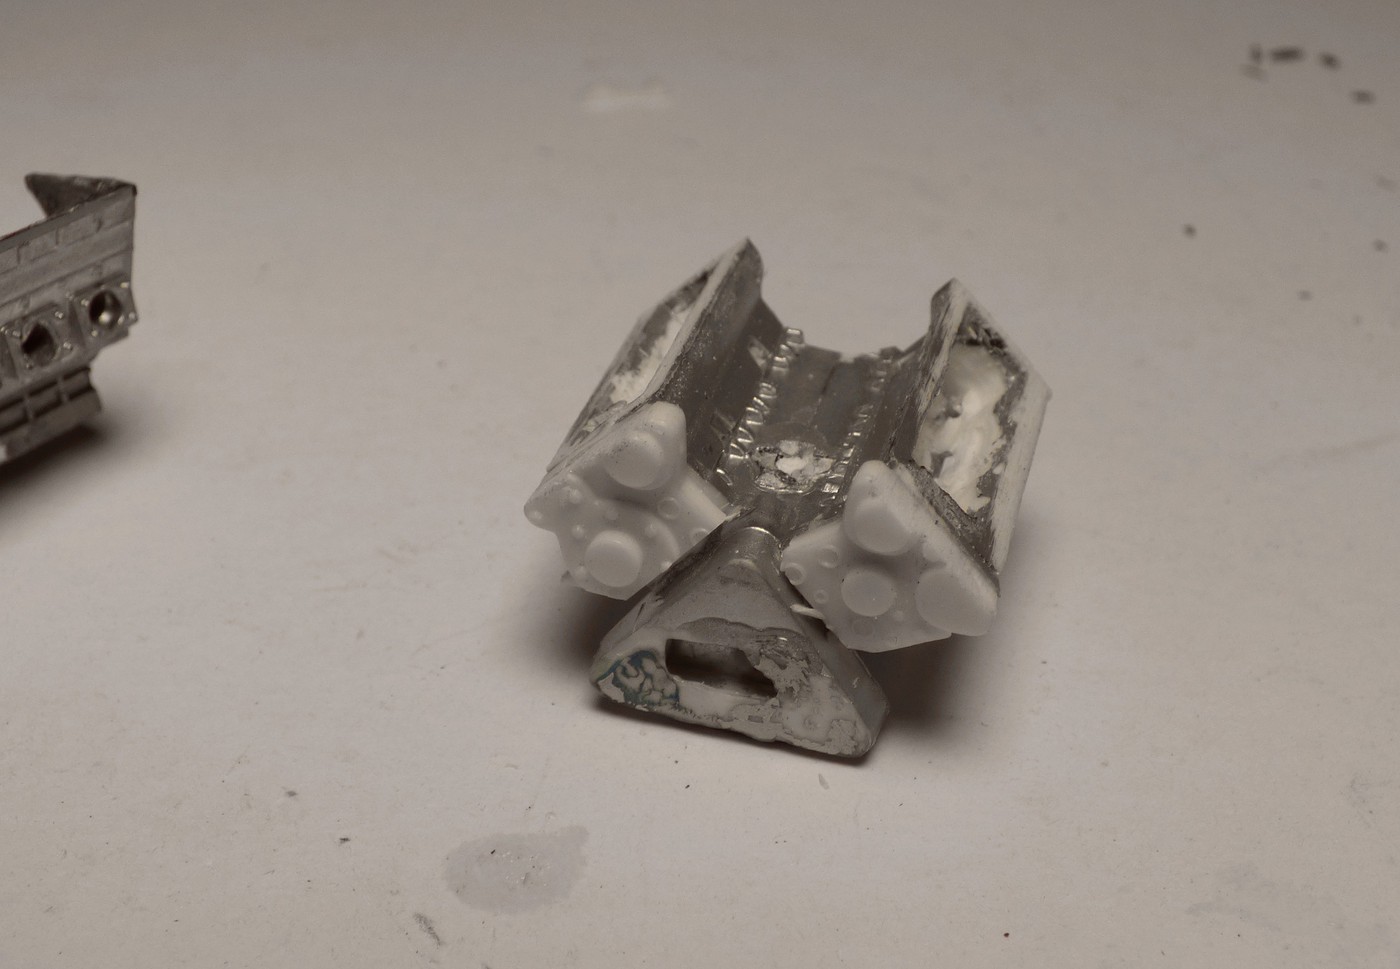 I re-used the Ford cam covers from the kit and the length matched up nicely...  I decided to use my last resin Hewland transaxel that was made by one of our OWRM members (compared to the diced and sliced version you can see why!)... 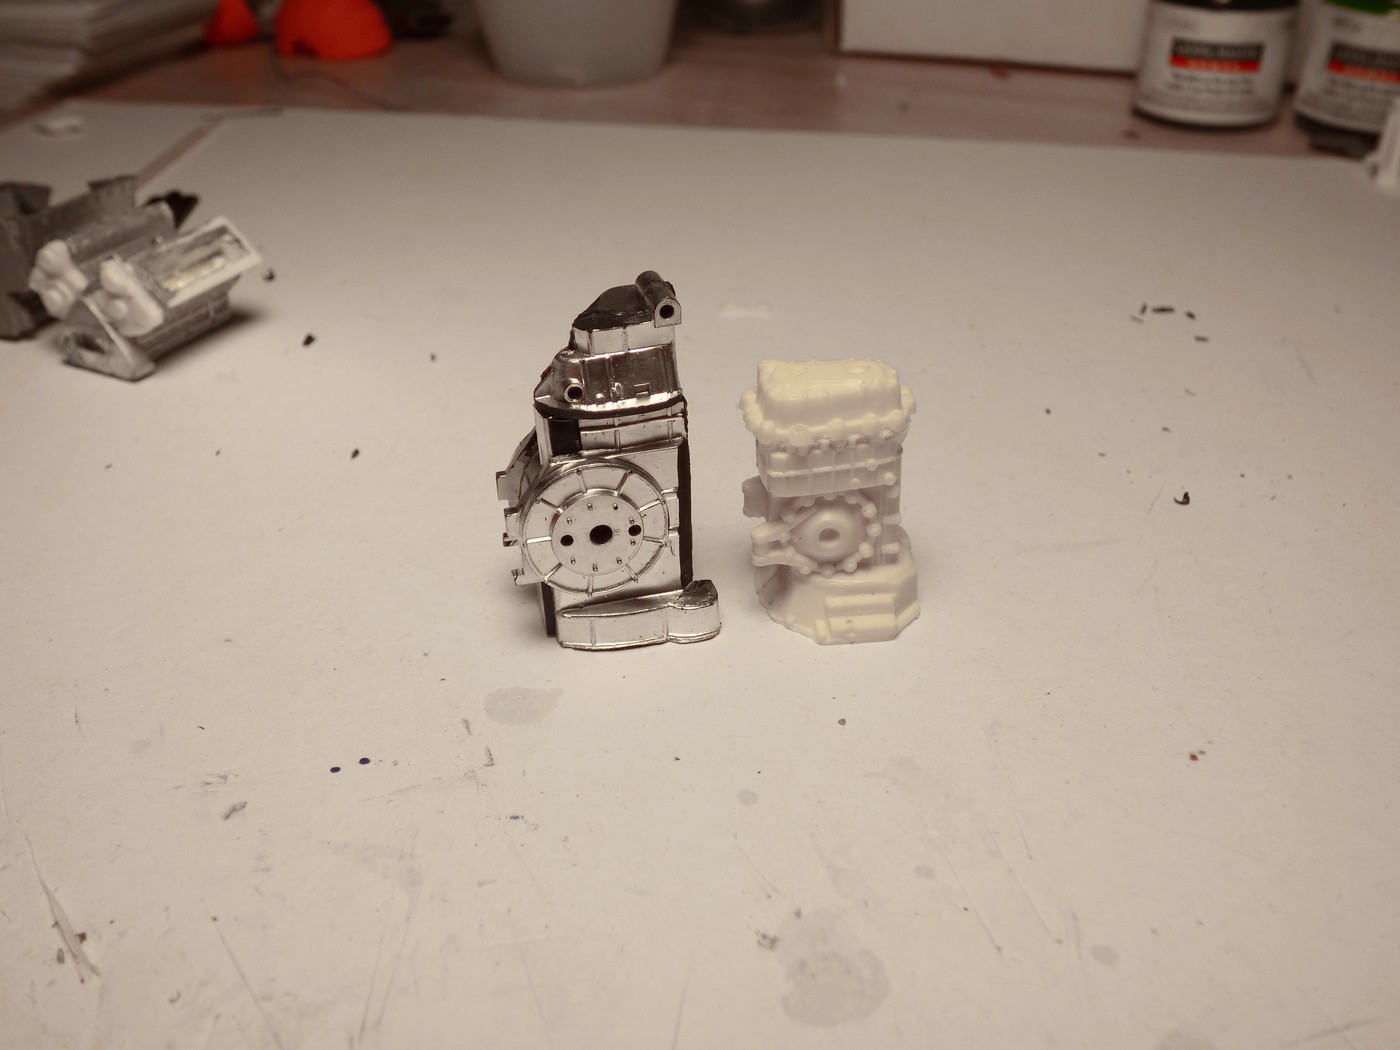 I received Michael's decal set in the mail today...beautiful! A bit more work tomorrow. Patrick |
|
|
|
Post by pje on Nov 5, 2016 19:33:46 GMT -5
Why not make a copy of the Cosworth out of the Heller Brabham? Maybe Calvin could help.
Paul Erlendson
|
|
|
|
Post by Patrick on Nov 11, 2016 20:56:31 GMT -5
Not my Heller Brabham!!! Anyway, I've picked up the Hong Kong toy M23 as I was building the Mauri kit and had to make some changes to the toy. I'll have some photos soon on both projects soon.
Patrick
|
|
|
|
Post by pje on Nov 11, 2016 21:53:51 GMT -5
Not my Heller Brabham!!! Anyway, I've picked up the Hong Kong toy M23 as I was building the Mauri kit and had to make some changes to the toy. I'll have some photos soon on both projects soon. Patrick I said make a copy, not use the original. I bet this won't be the last time you need a 1/24th scale Cosworth engine and gearbox. Set yourself up for future builds. Paul Erlendson |
|
|
|
Post by Patrick on Nov 12, 2016 12:24:28 GMT -5
LOL Paul!!! I did some more work on the Hewland and engine... 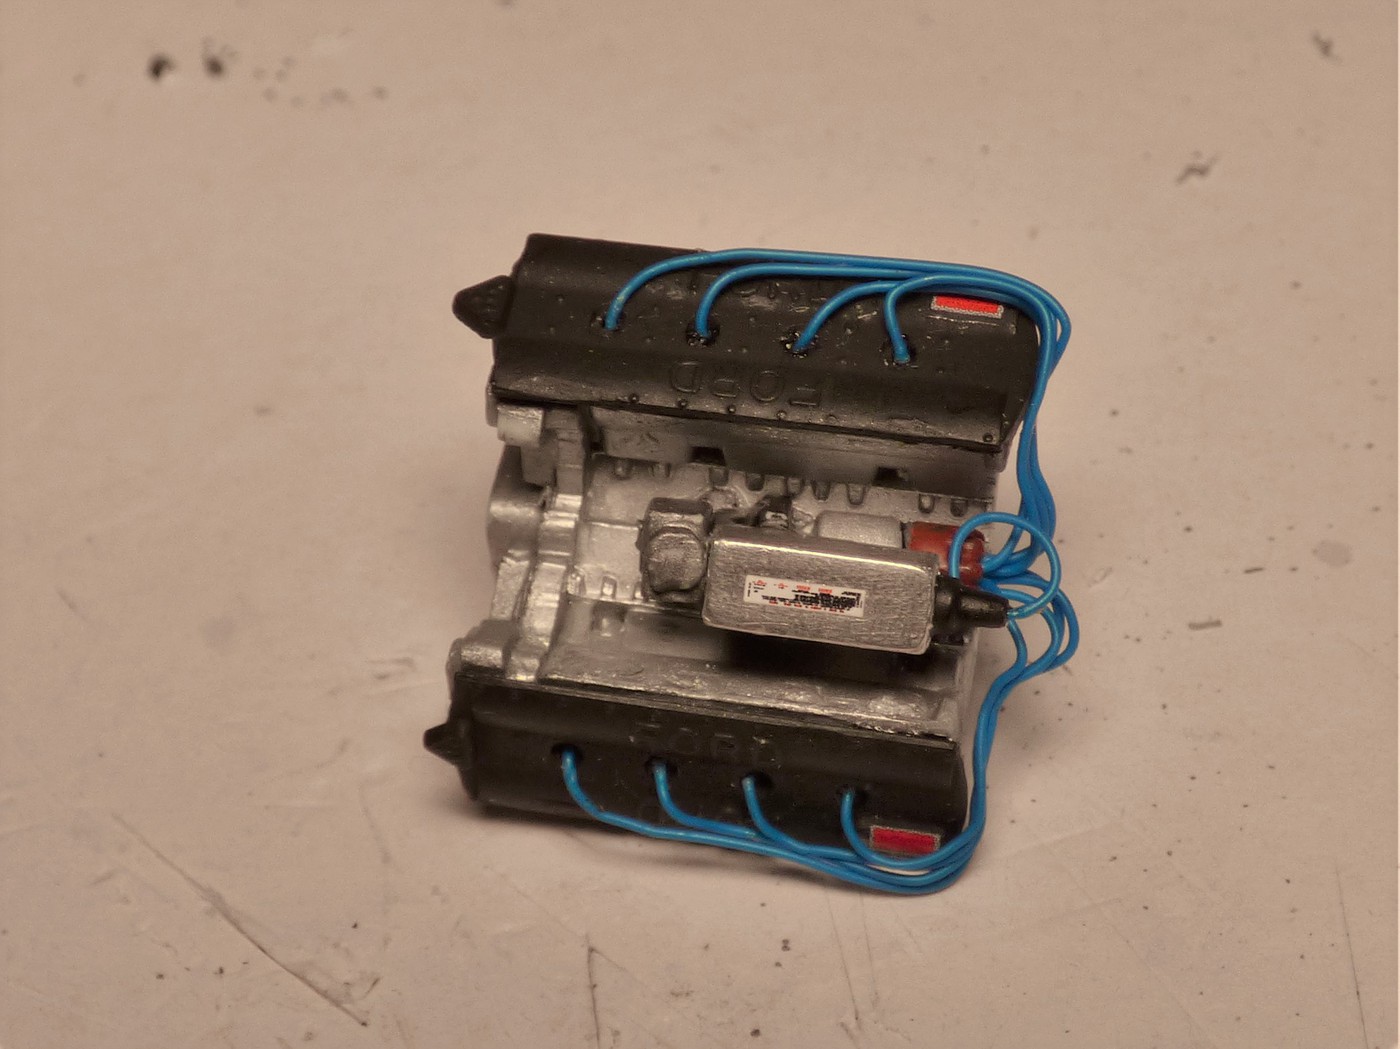  pre assembly check... 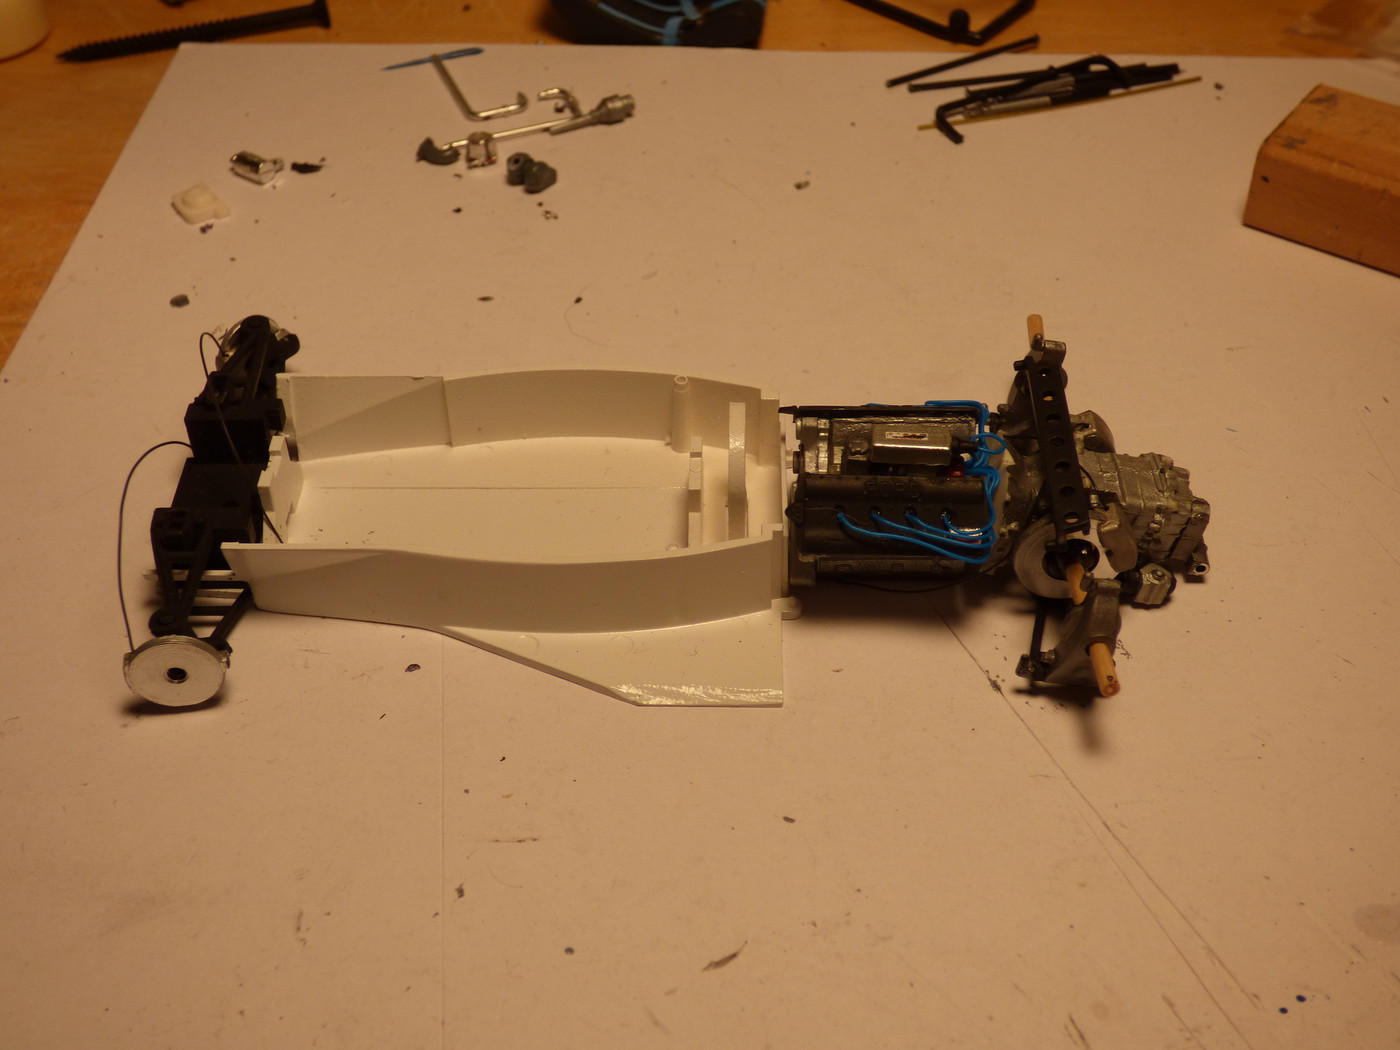 then there is the Revson M23 toy's check(that I started some time ago)... 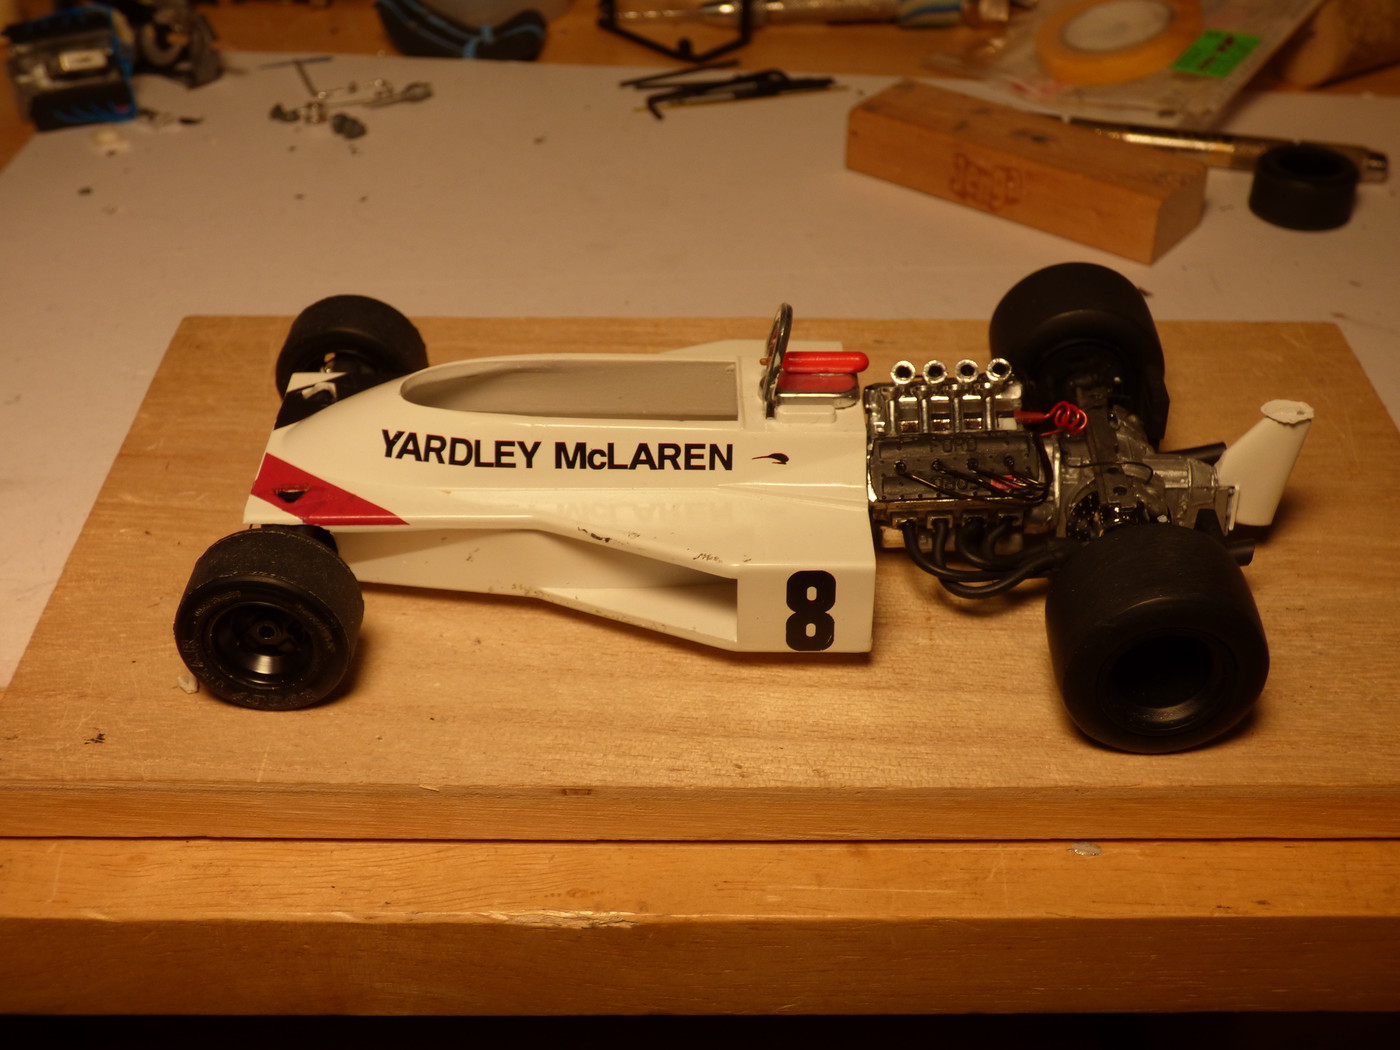 and more work on the trans... 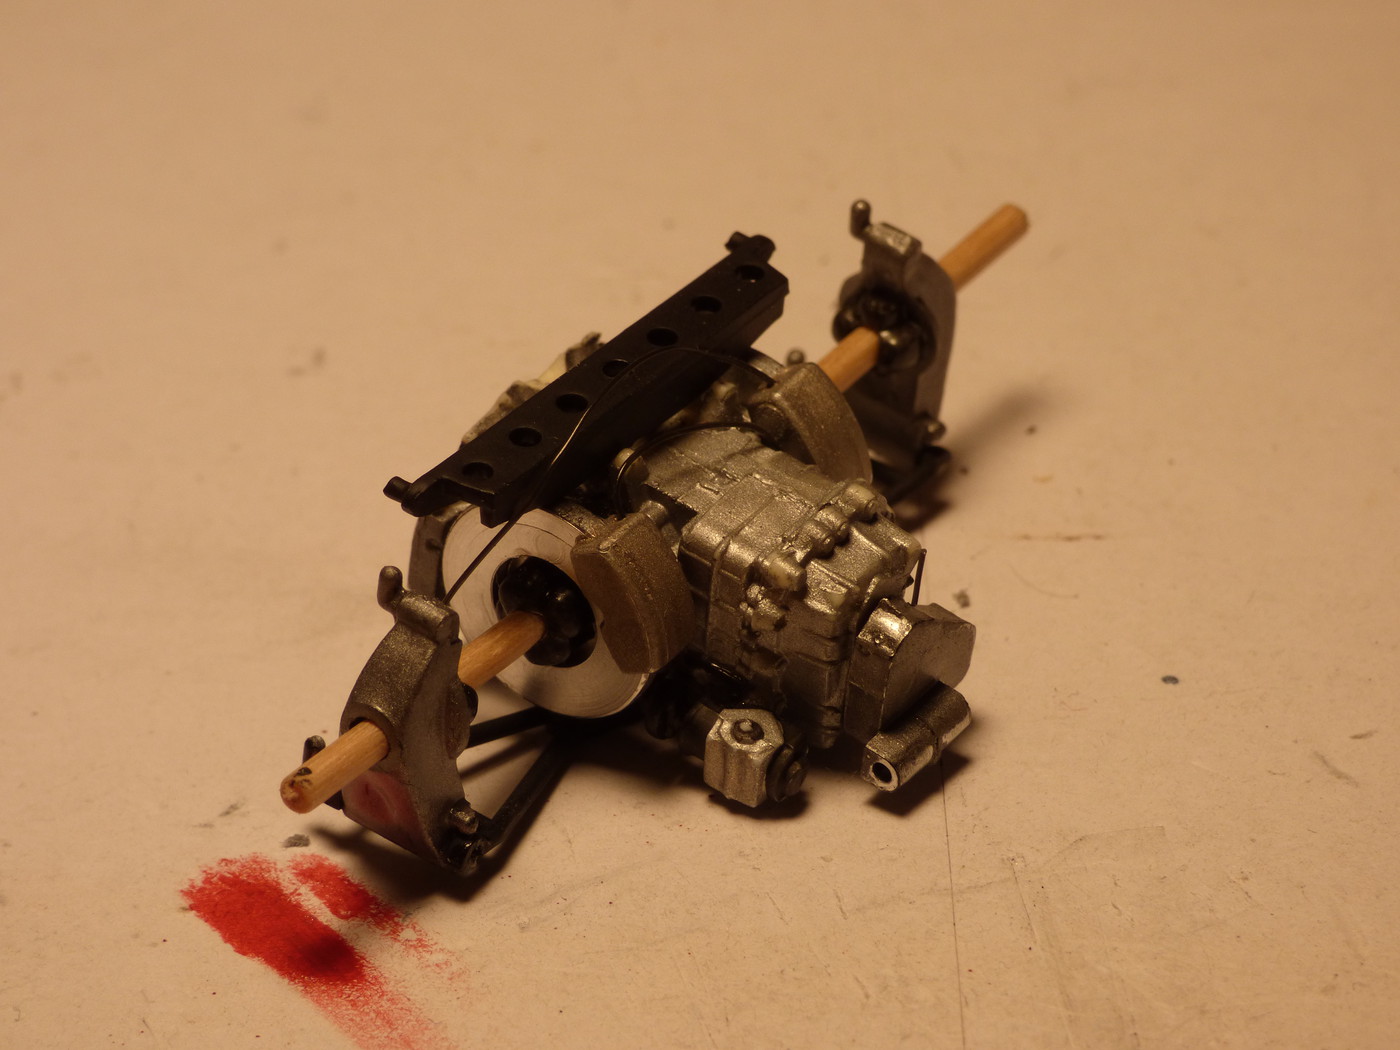 I used the front rims on the toy-model so I needed to have a pair of new fronts so I sliced a 4 spoke rear rim down to size by cutting the outside area first and then, after it dries, will slice the rear to fit properly...  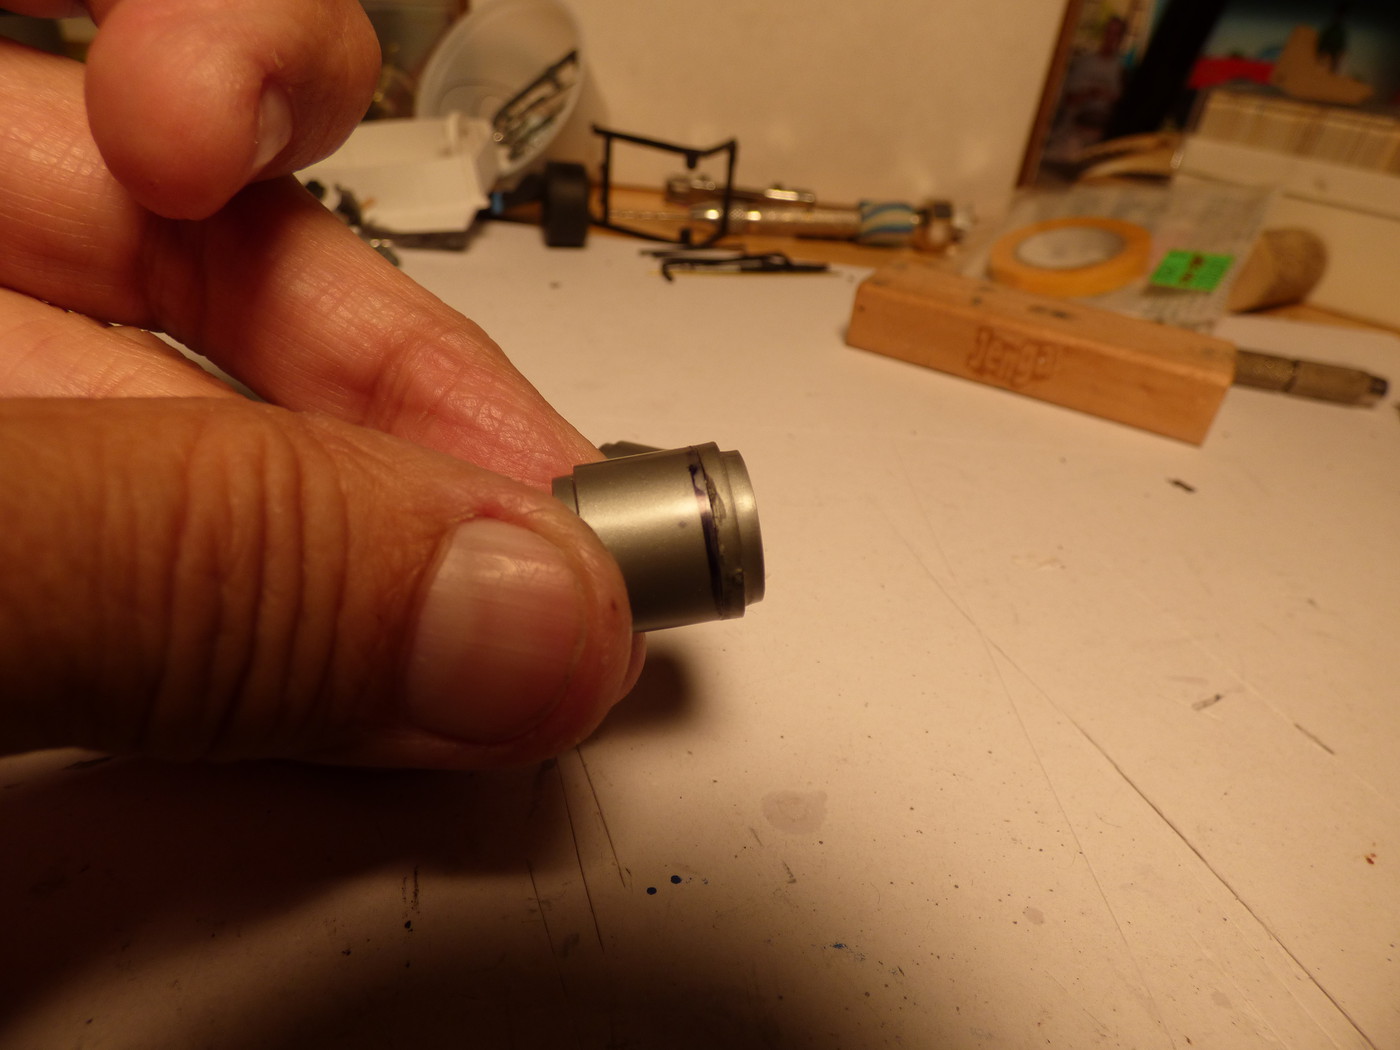 It's coming along slowly, but that's how it is. Patrick |
|
|
|
Post by indy on Nov 12, 2016 21:32:14 GMT -5
Great eye for detail, Patrick. I do love seeing your builds.
Jordan
|
|
|
|
Post by Patrick on Nov 18, 2016 14:54:02 GMT -5
I did more work on the Revson McLaren and found it was warped in the base plate so that the right side was off by 1/8"! GRRRR!! It's junk now and I have some spares for another project. On to Dave Carlton's car.
Patrick
|
|
Deleted
Deleted Member
Posts: 0
|
Post by Deleted on Nov 18, 2016 21:16:04 GMT -5
My 1/12 McLaren warped as well, it has zero ride height.
can't figure out how it happened as most of my other 1/12 stuff (make that all of them, like seven completed) did not do this.
|
|
|
|
Post by Patrick on Nov 19, 2016 2:42:06 GMT -5
Michael's decal set is superb as we have come to expect. Of course, fitting these decals to a 1/24 model that they were not designed for can be fun when it comes to lining up thin striping lines! 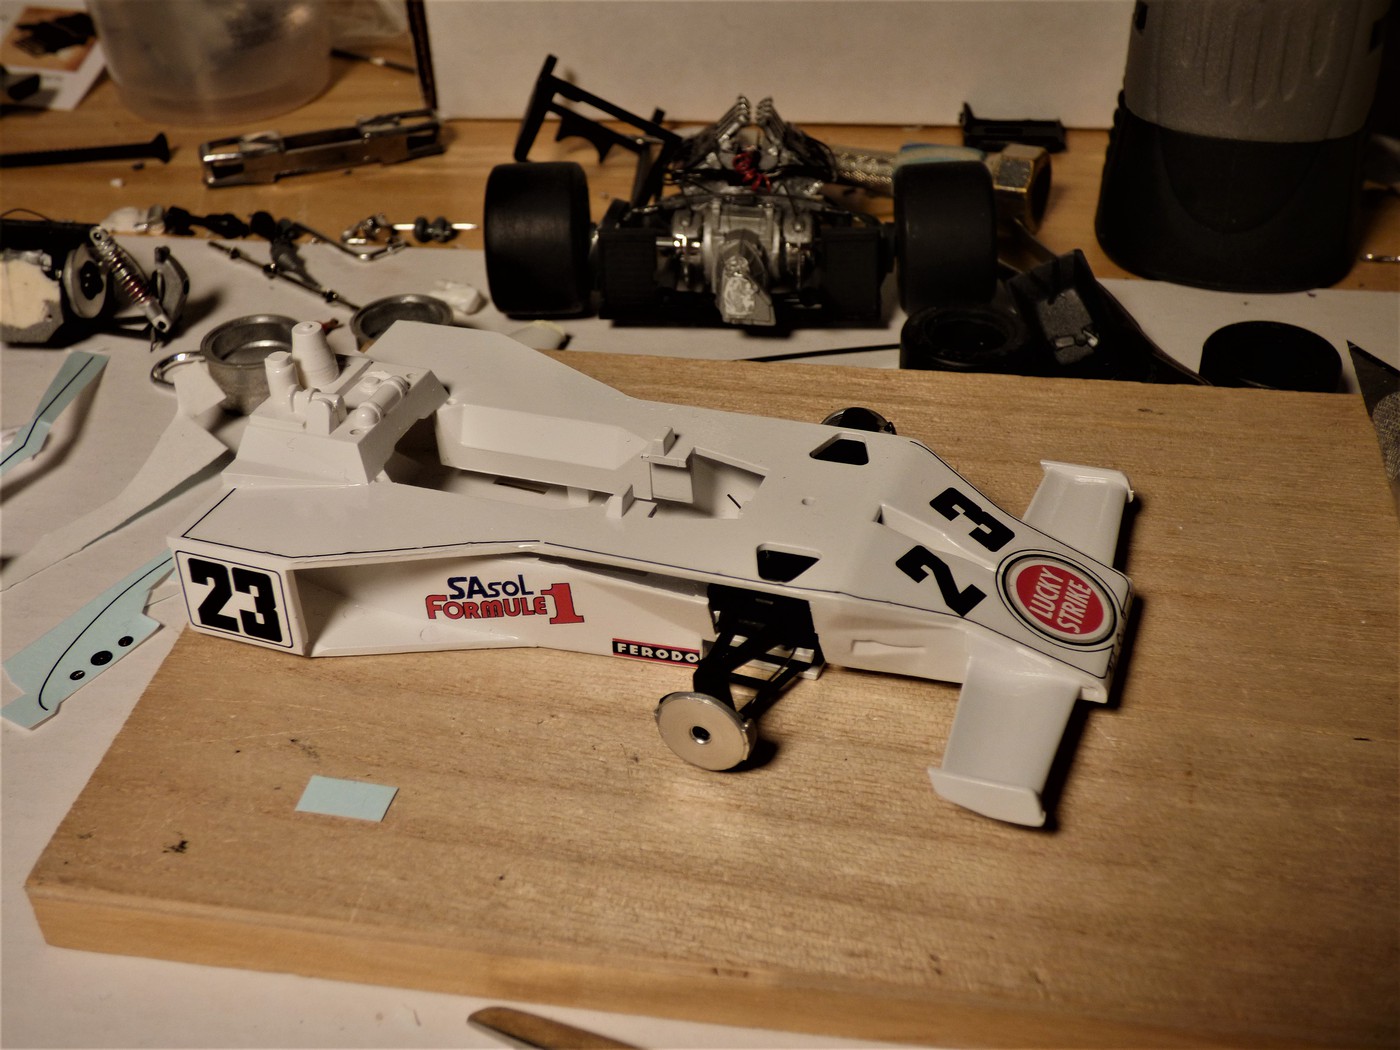 but all the rest of the sheet fits quite well... 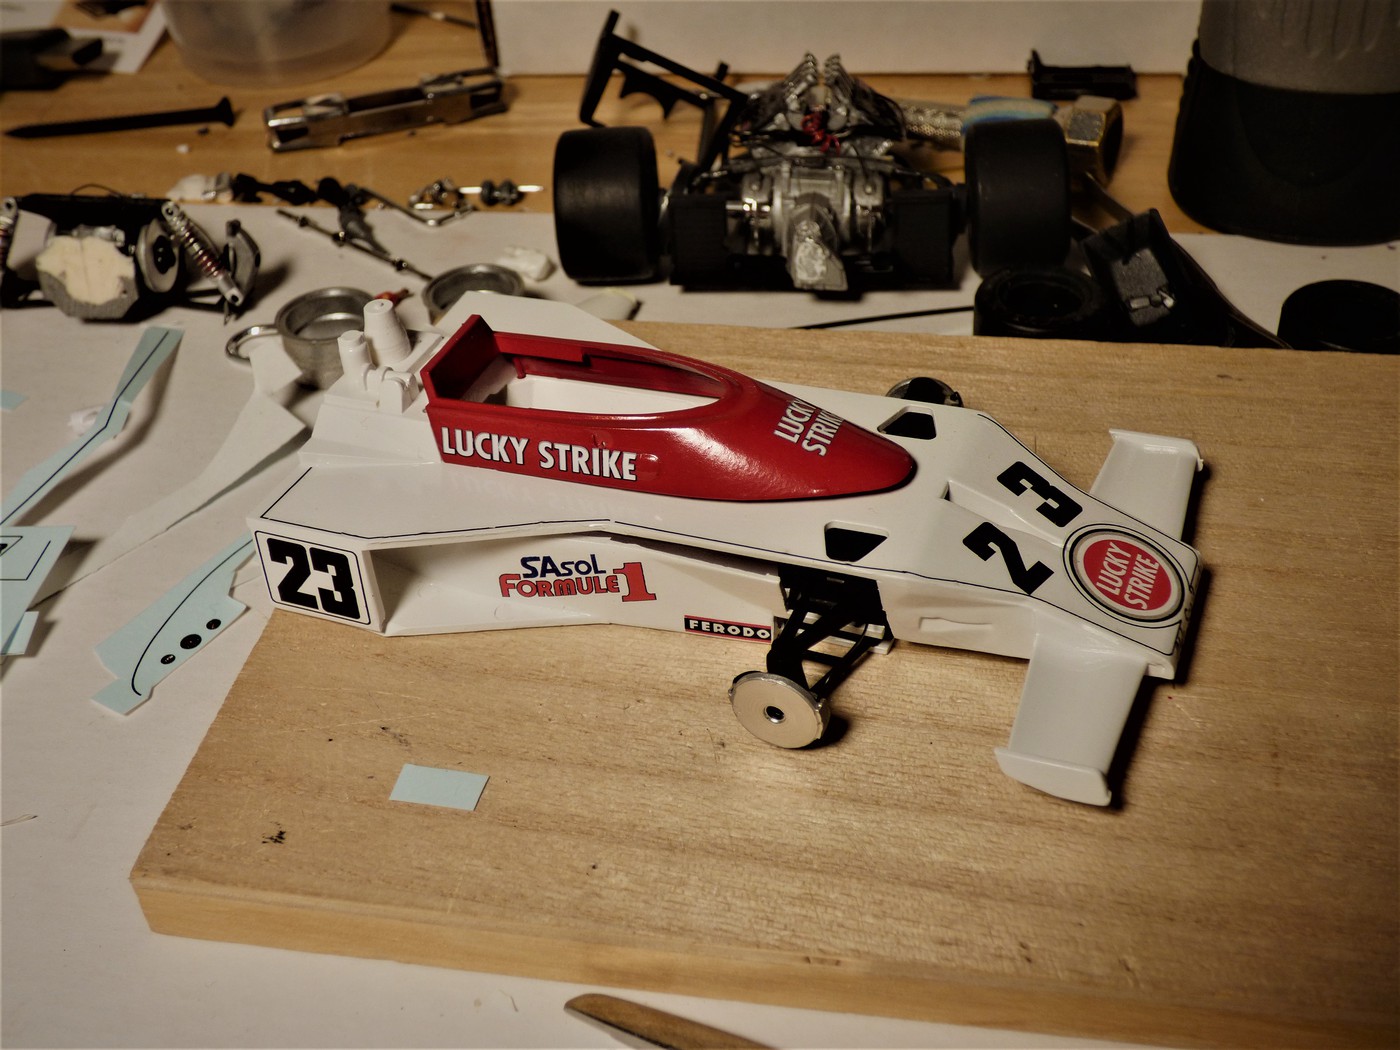 I love the decaling step and this will make an interesting addition to my collection... 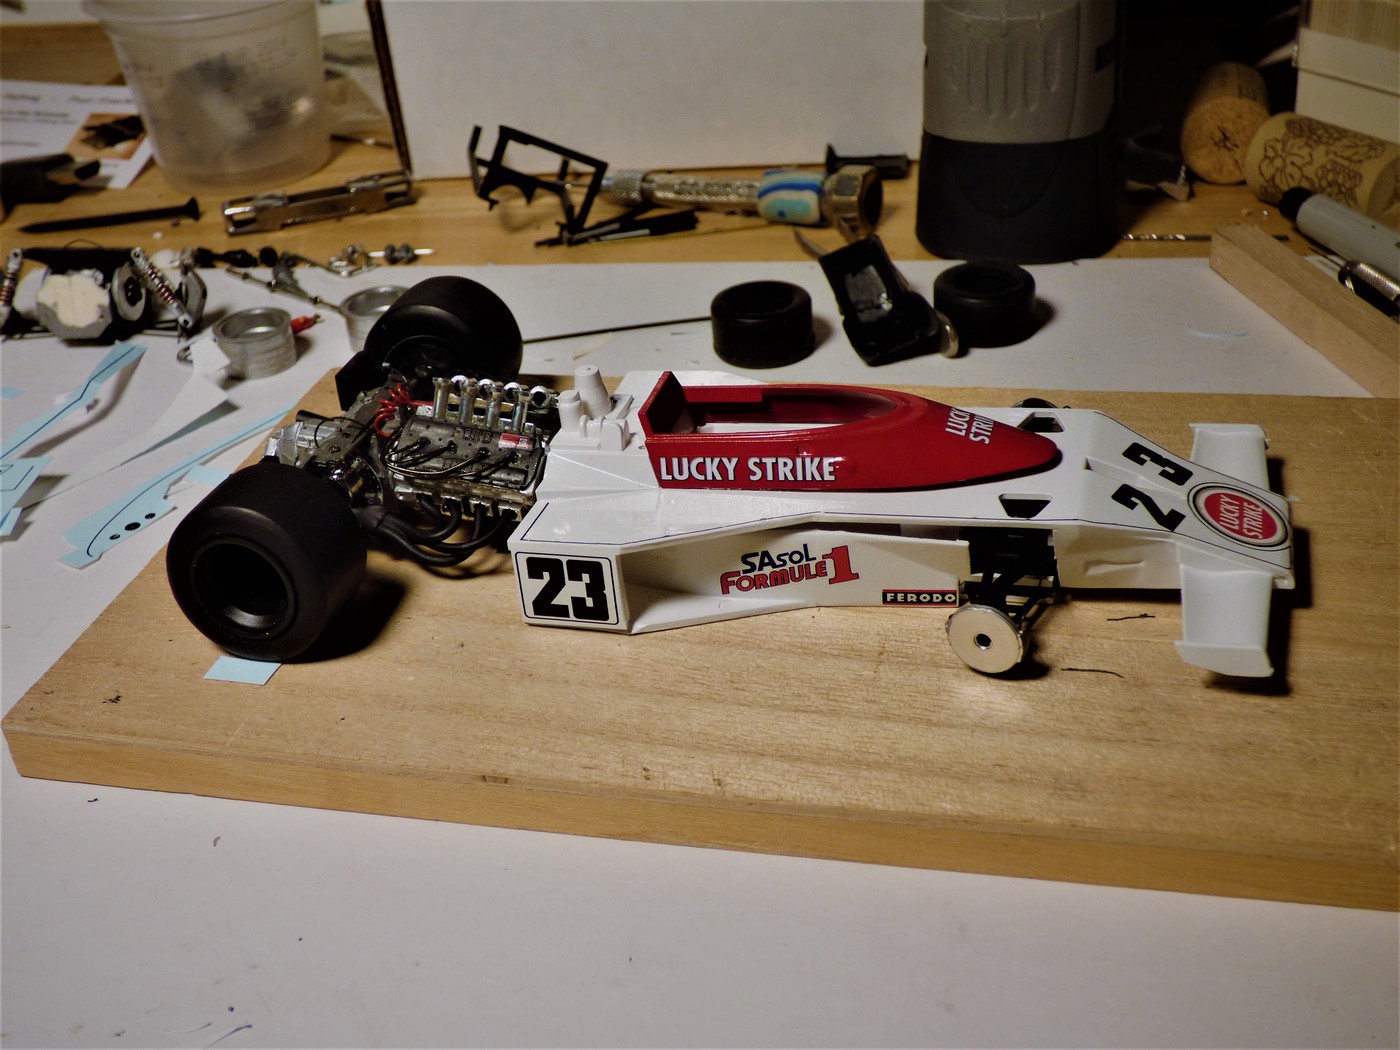 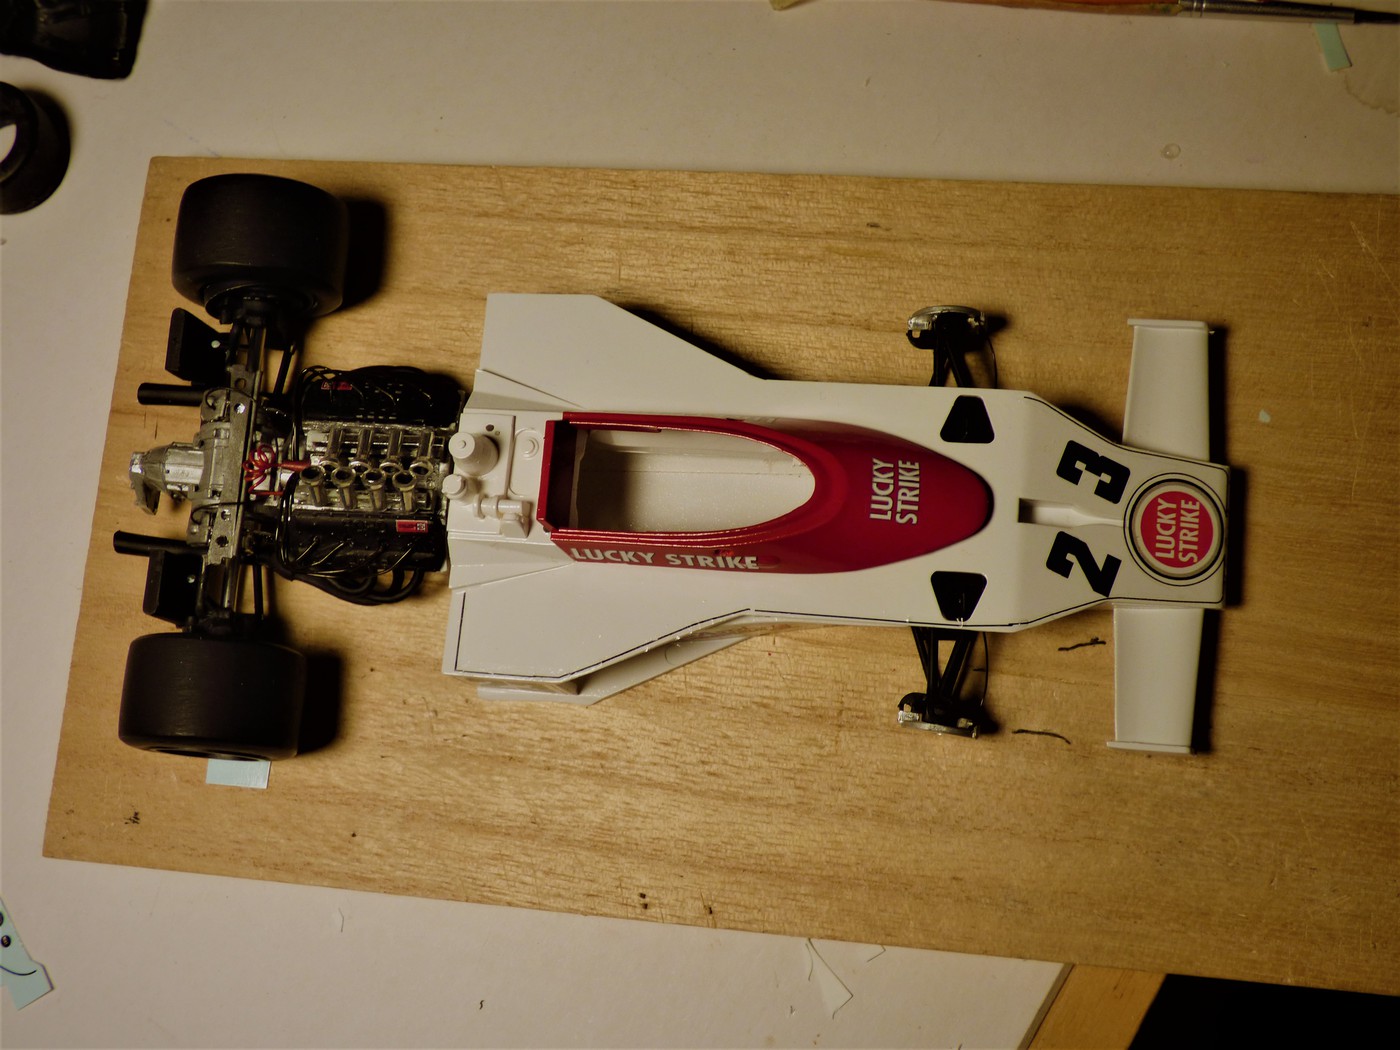 final fitting and assembly later... Patrick |
|
|
|
Post by clm1545 on Nov 19, 2016 9:13:01 GMT -5
Looking real good, Patrick.
|
|
robh
Race Winner
  
Posts: 526
|
Post by robh on Nov 20, 2016 18:12:16 GMT -5
Very clever re-engineering. The engine and gearbox look great.
|
|
|
|
Post by Patrick on Nov 26, 2016 19:22:17 GMT -5
Well the engine cover/air scoop unit is the earlier type. So, I used the engine cover from the Roxy toy car which is quite a good fit! 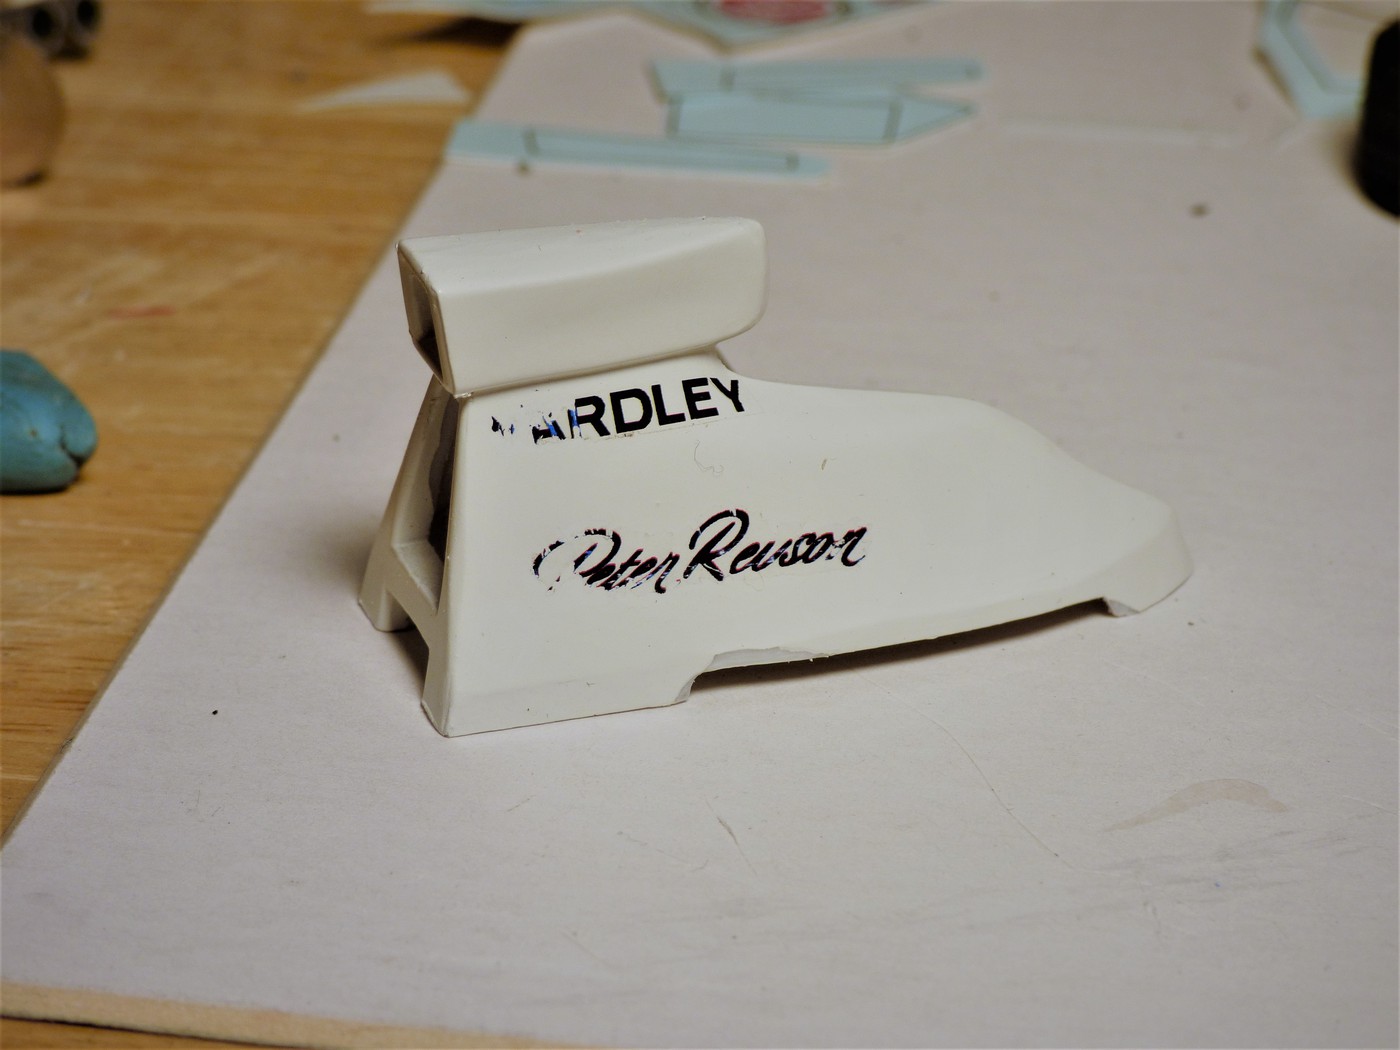 I'll re-paint it and then decal it. I also plumbed the fuel lines... 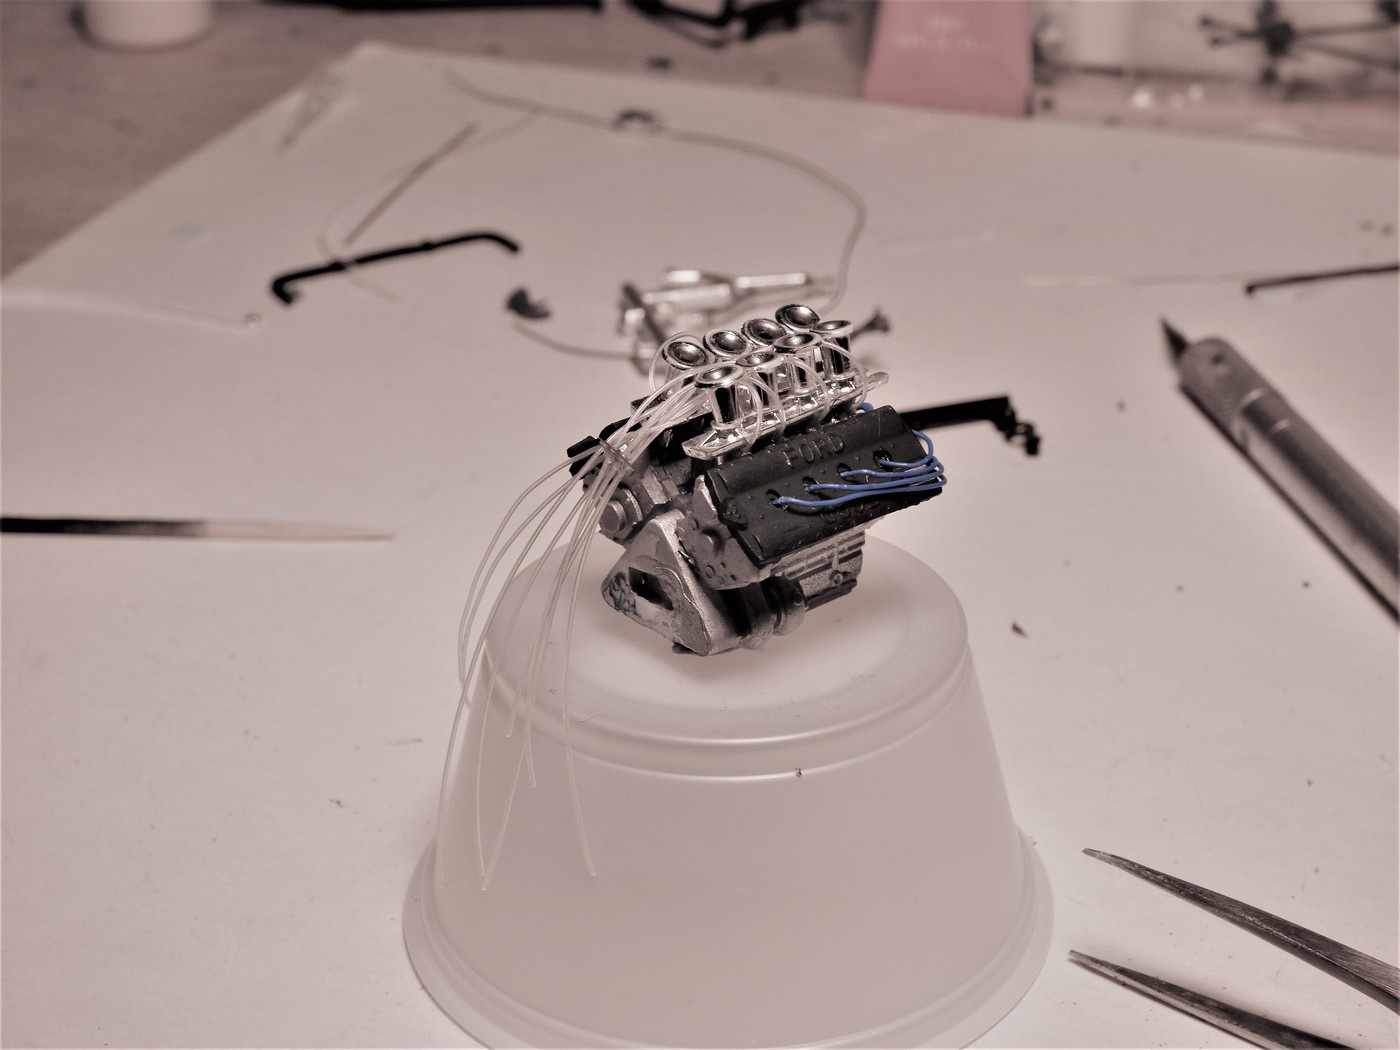 decaling the pin stripes sucks as they are thin and difficult to maneuver... 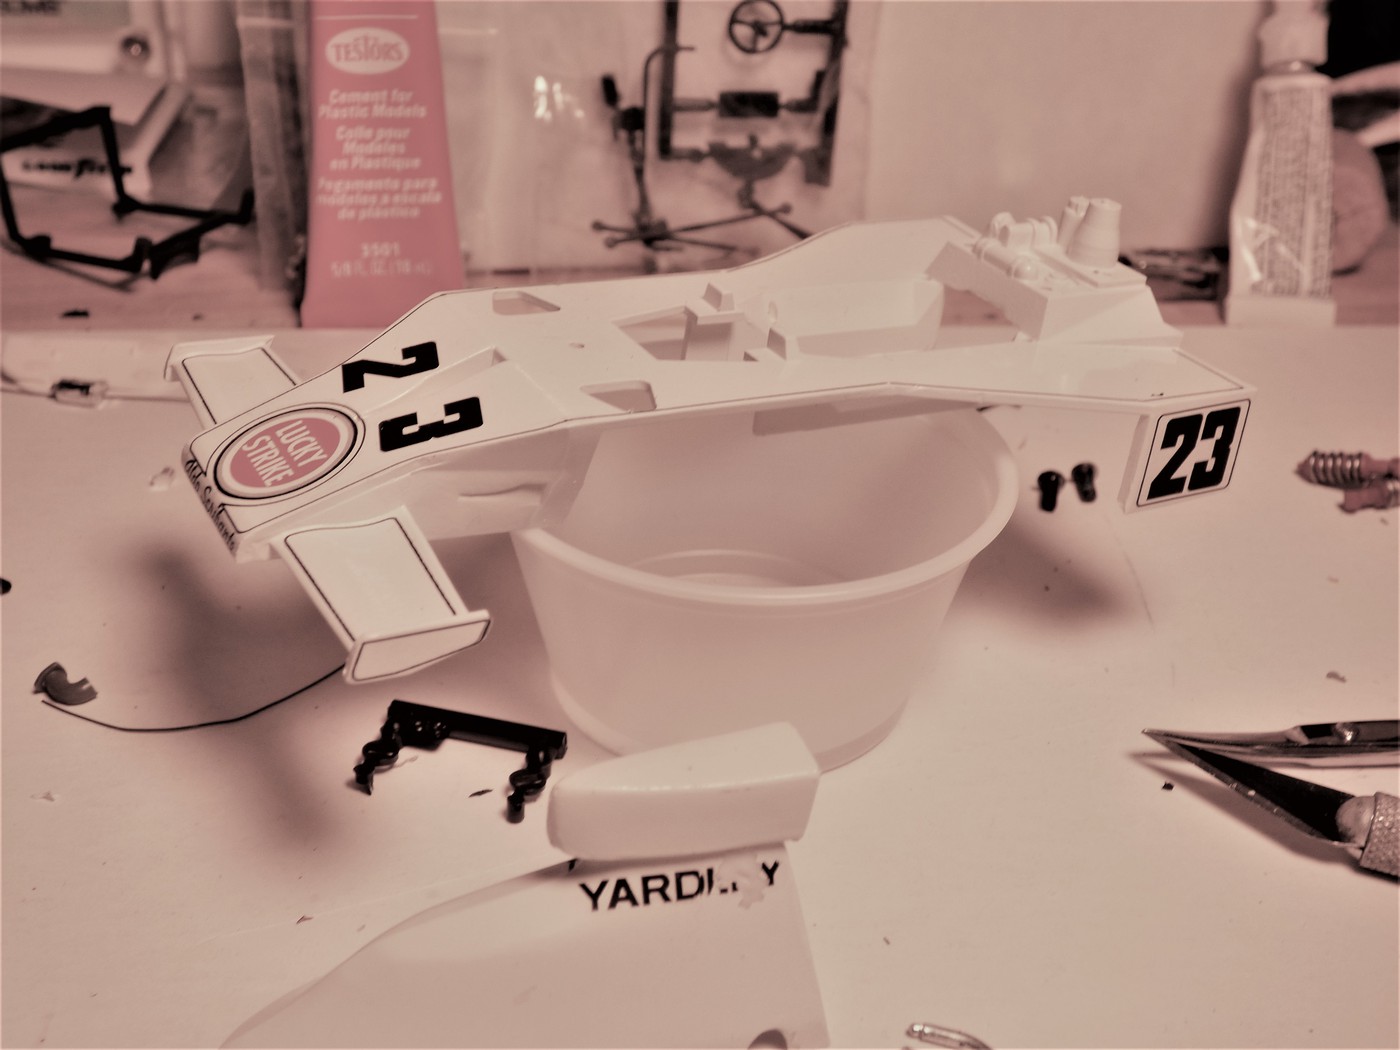 I also am looking for another pair of these 15" rims for a Honda F1 car I collecting parts for...  On rhe left is a front rim from the MPC Eagle to show how it is different...  Anyone recognize where these rims come from?? Anyone have a pair of them? More later... |
|
|
|
Post by Calvin on Nov 28, 2016 2:44:36 GMT -5
Im glad to see this one coming together as I get a kick out of the Lucky Strike scheme.
|
|
|
|
Post by Art Laski on Nov 28, 2016 19:06:17 GMT -5
Fun to watch you work your magic, Patrick. Thanks for sharing!
|
|
|
|
Post by Patrick on Nov 30, 2016 13:49:47 GMT -5
Well, the project is fraught with re-adjustments as I switched the engine and transaxel. So little adjustments are filling the time. The rear suspension has been all adjusted for the new equipment... 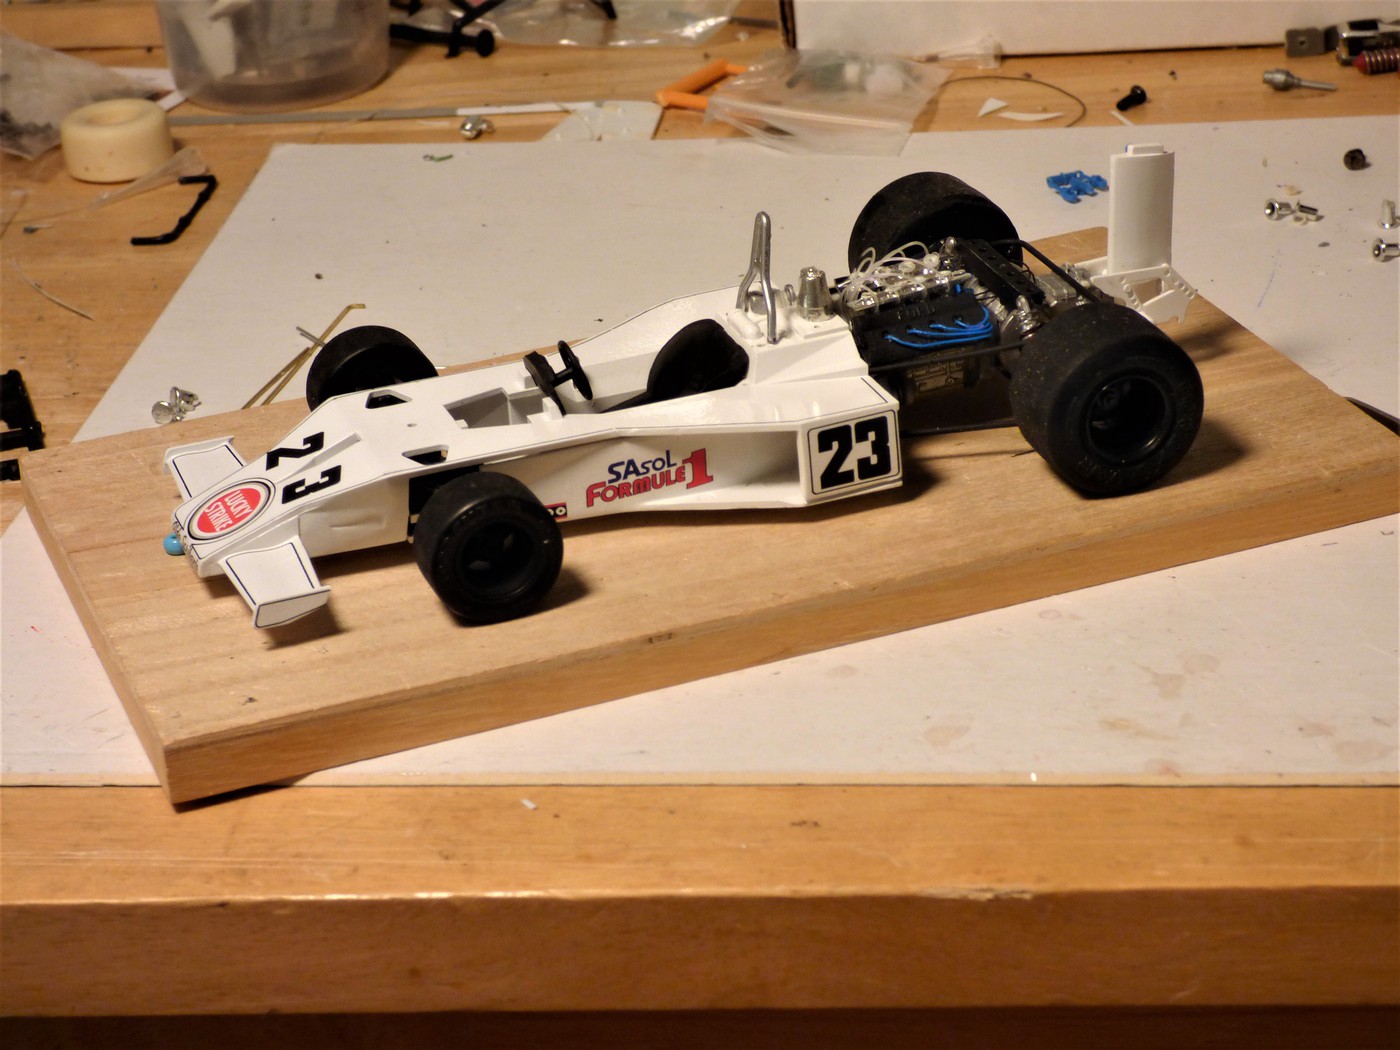 but once I get the Hong Kong toy's engine cover re painted it should look fine... 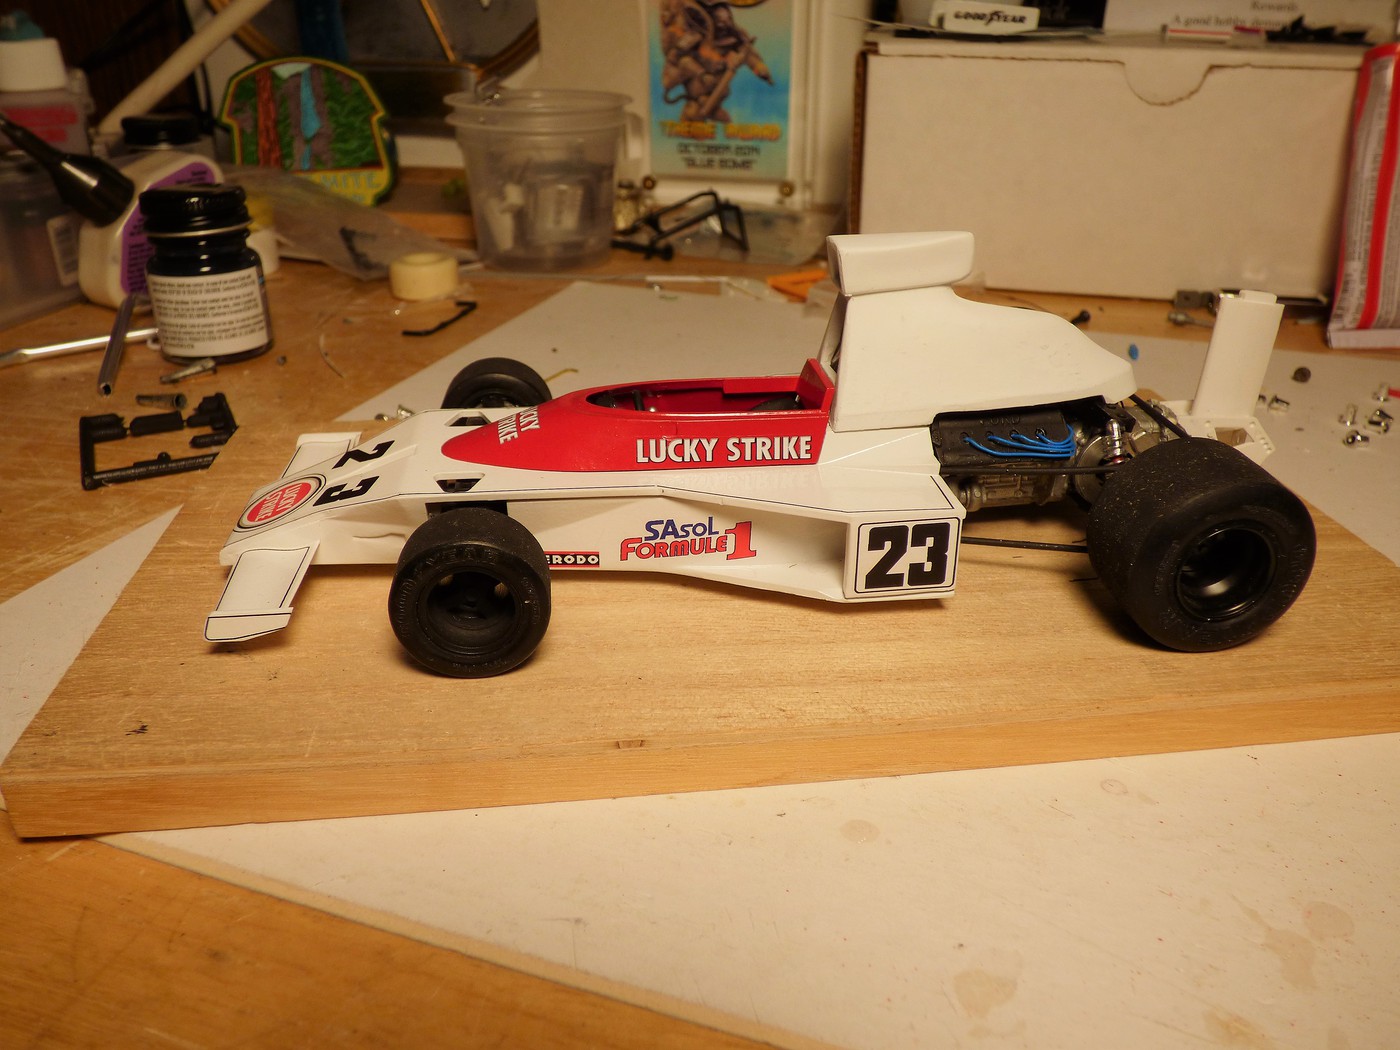 I am amazed that the engine cover fit so well! Not bad for a toy!! 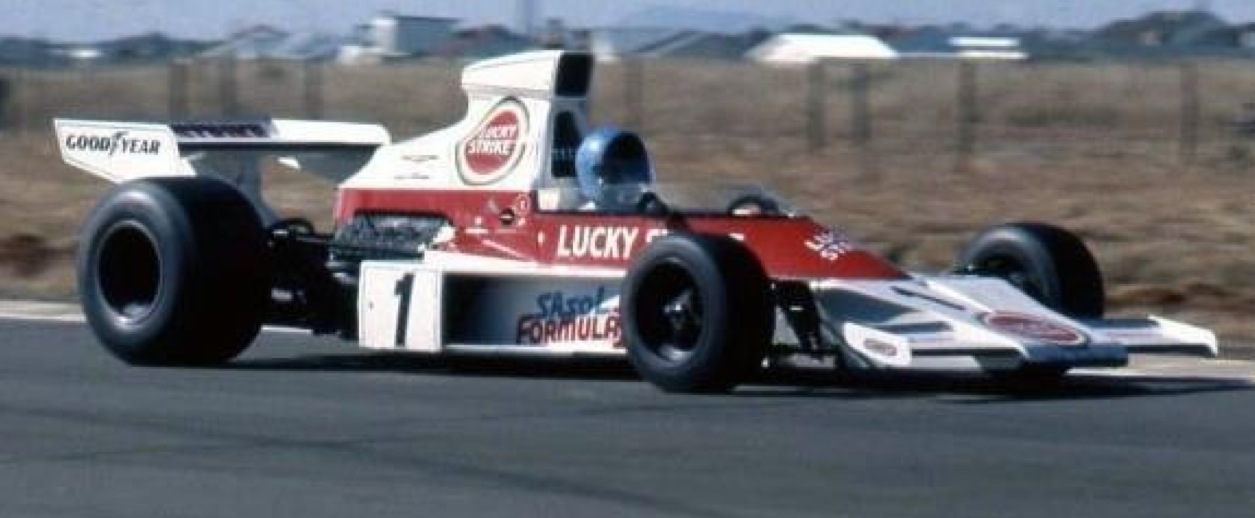  Patrick |
|
|
|
Post by indy on Nov 30, 2016 15:05:00 GMT -5
It is really looking the part now. Keep it up, Patrick!
Jordan
|
|
|
|
Post by kurzheck on Dec 1, 2016 15:16:45 GMT -5
Nice work as always Patrick.
|
|
|
|
Post by Patrick on Dec 15, 2016 22:17:29 GMT -5
It has been cold and not so much fun in the garage. Here's progress so far... 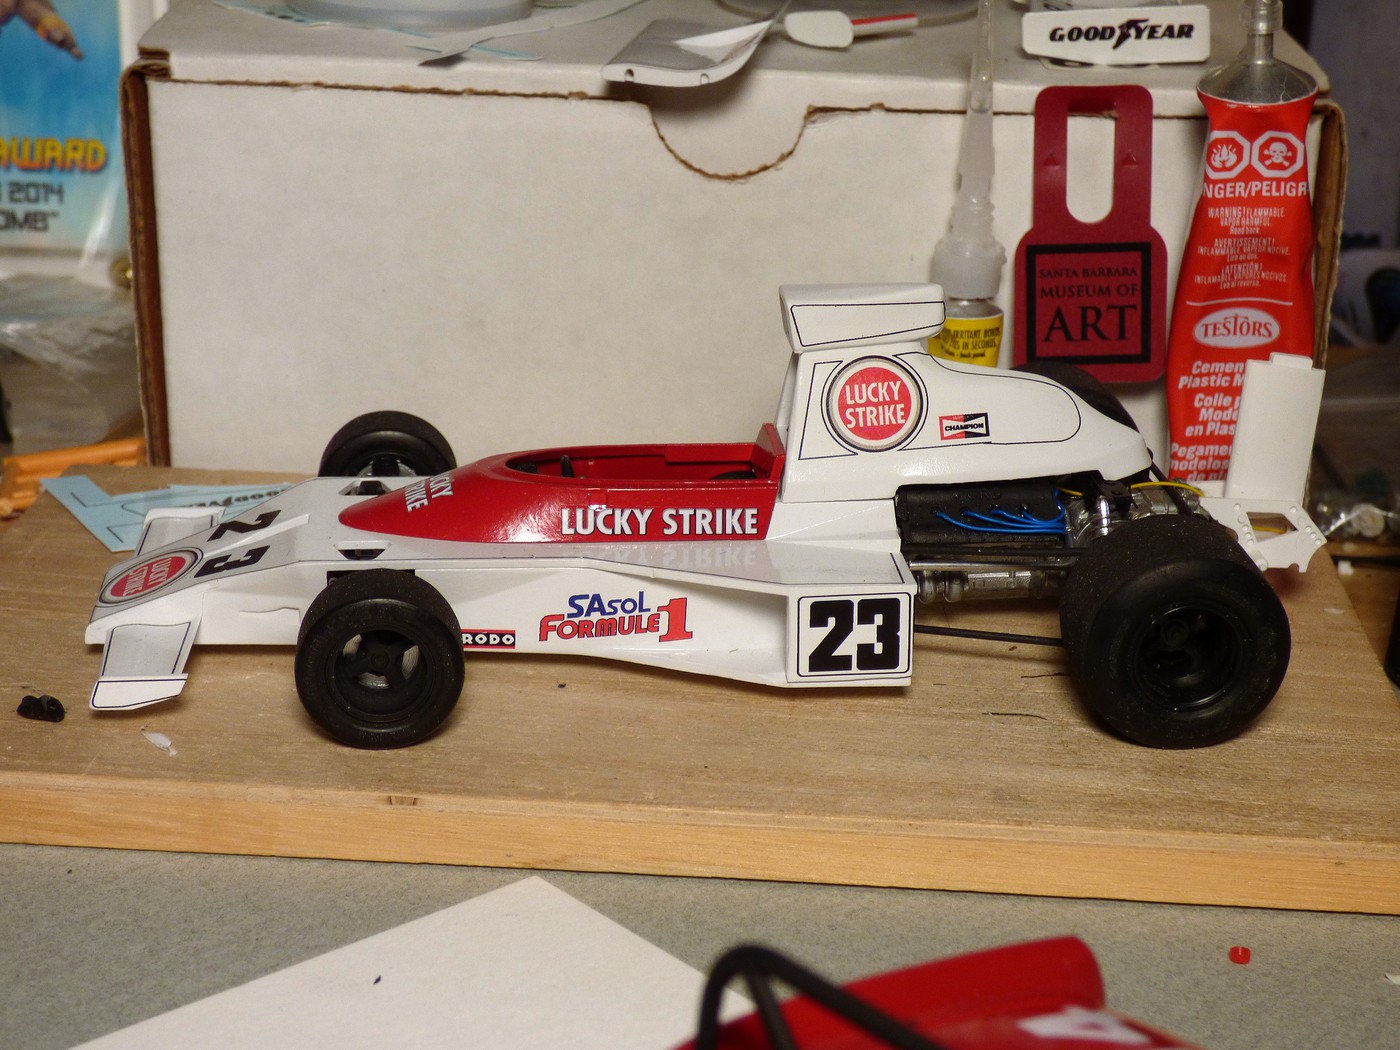 The decals were located strangely because I assume Michael sized his for a particular kit. The pin striping were difficult for me to locate. So, some are off. |
|
|
|
Post by Patrick on Jan 18, 2017 17:31:39 GMT -5
|
|
|
|
Post by indy on Jan 18, 2017 17:42:18 GMT -5
Still a really nice build, Patrick but it is kind of odd looking before the exhaust is install  Jordan |
|
|
|
Post by Calvin on Jan 19, 2017 3:15:16 GMT -5
I love this!
|
|
|
|
Post by 1961redlegs on Jan 19, 2017 16:51:13 GMT -5
I love your builds!
|
|