|
|
Post by pje on Apr 19, 2016 23:44:33 GMT -5
This one has been done a few times here before, but with Lance doing a limited rerelease, I thought this would be a great time to go over a few steps that I went through on this build that suits my anal ways. I must first apologize for the quality of these photos. Since I took these Michael Portaro has suggested different light bulbs that give a much whiter, more pleasing and overall better lighting for my work area. First up was the cockpit. I hate building cars like airplanes and go out of my way to avoid it. The problem for me was the mounting of the lower front A arm. I decided that final assembly would work better for me if I could keep the tub separate for as long as possible through painting and decaling. To facilitate this, I sawed out a piece that included the front mounting holes for the lower A arms. I glued that onto the tub and then adding in sheet plastic to make up for the width of my saw blade. I could then work on the cockpit and the rest of the car separately. 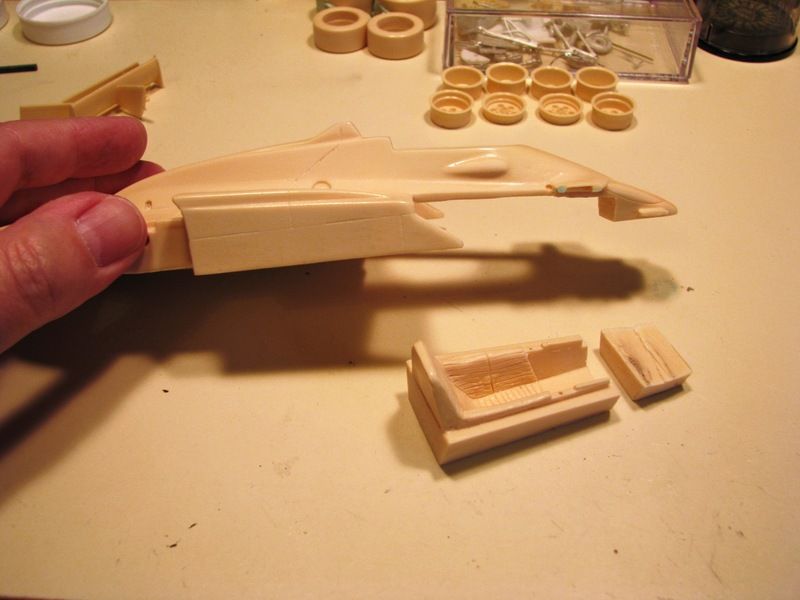 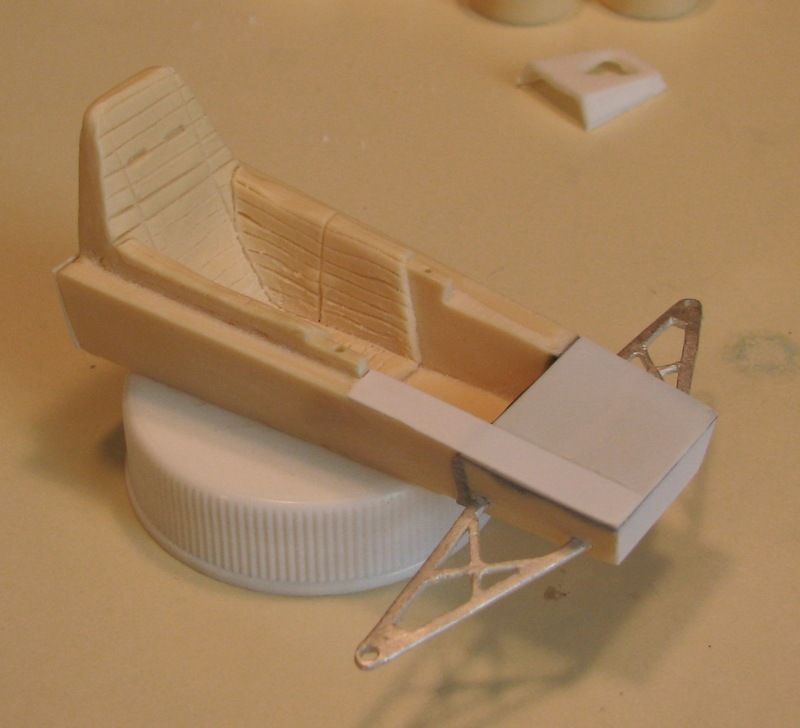 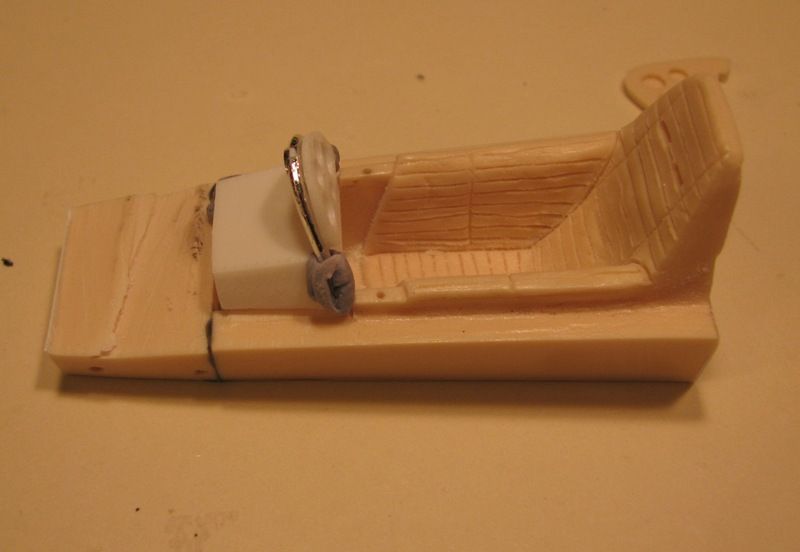 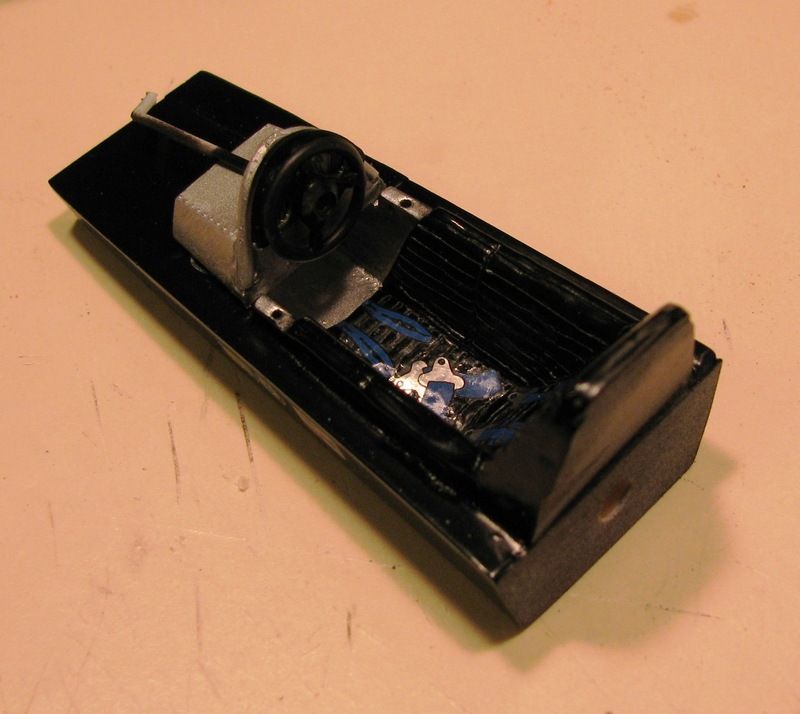 The kit instrument panel didn’t suit me as I had found a photo of the car with some of the body work removed, so I used a Penske PC6 instrument panel and its front roll bar along with part of the top of the tub. Modified the hoop to fit and attached it to the tub after painting. The harness is replicated using Michael’s harness decals. Paul Erlendson |
|
|
|
Post by elsapito on Apr 20, 2016 1:55:53 GMT -5
Good trick! And I like the improvements  |
|
|
|
Post by indy on Apr 20, 2016 7:52:50 GMT -5
Looks like a good start and I see a steering shaft now.... are you going to build steering into this one?
Jordan
|
|
|
|
Post by pje on Apr 20, 2016 9:28:58 GMT -5
Looks like a good start and I see a steering shaft now.... are you going to build steering into this one? Jordan No working steering. Just had it hanging there like that to see how I had to adjust the steering wheel. Shaft had to be shortened before the tub was glued to the body Paul Erlendson |
|
|
|
Post by pje on Apr 20, 2016 23:15:13 GMT -5
Next up were the front wings. Nothing new here as I drilled the wing mounts and nose for wire supports. The challenge is to get these glued in place level. By creating a way to hold the body in place, I could then stack brand new playing cards under the wings to support them while they dried. I like to use two part JB Weld. It’s very forgiving in its mixing and gives a very strong bond. 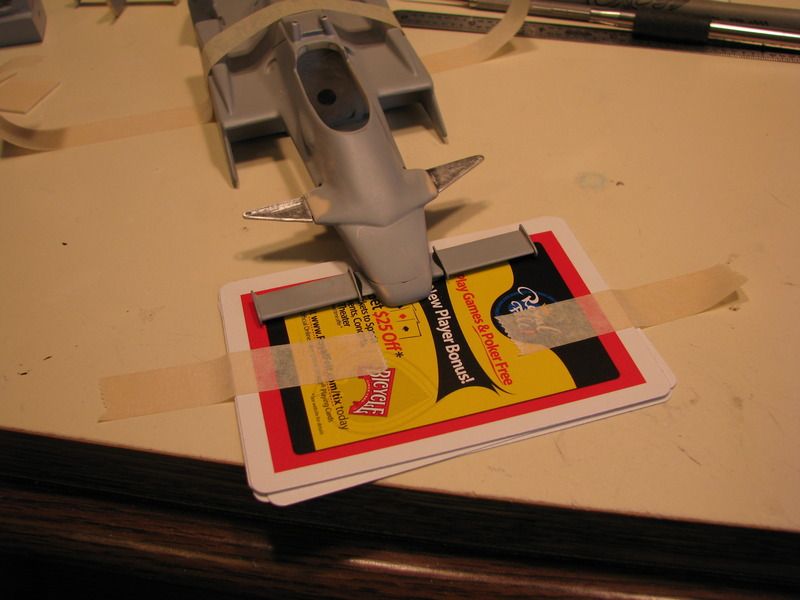 I used the same method of support to glue the upper front rocker arms and underbody ground effects strakes. 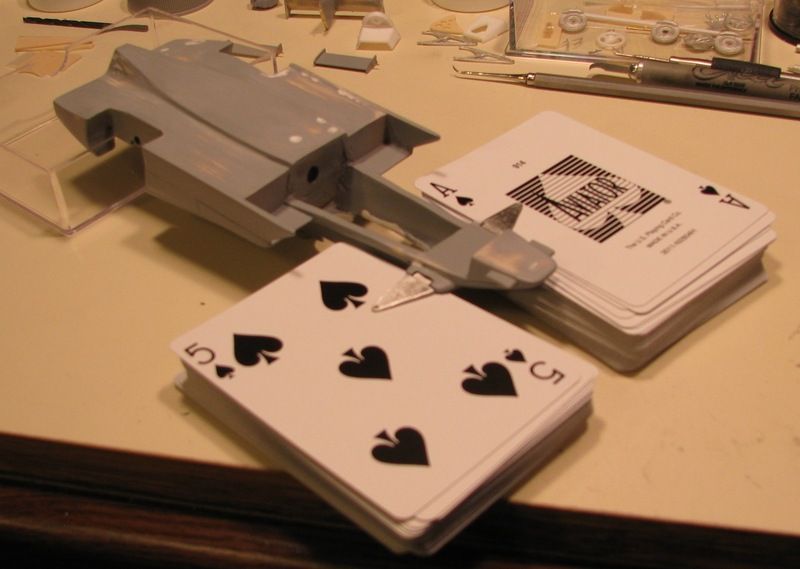 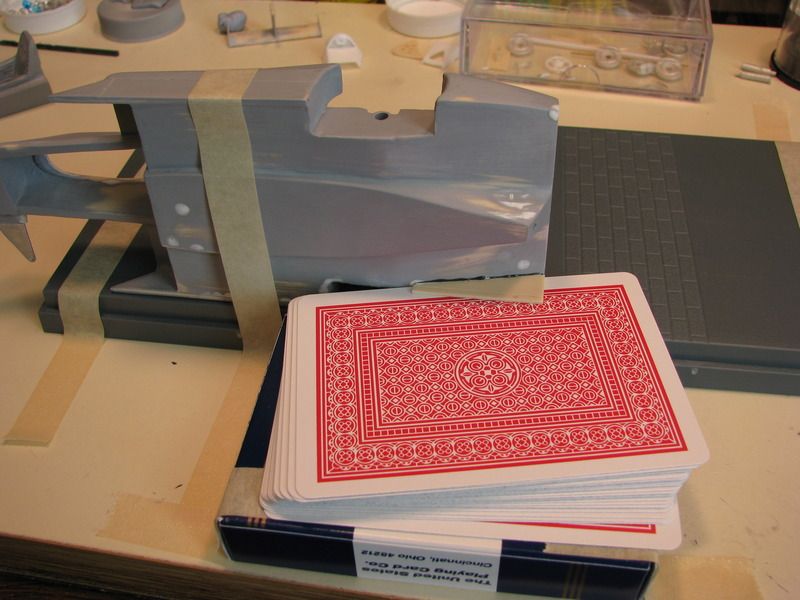 Paul Erlendson |
|
|
|
Post by alterrenner on Apr 21, 2016 4:52:38 GMT -5
Bummer: no way to play solitaire while waiting for the glue to dry!
--Frank
|
|
|
|
Post by racerbrown on Apr 21, 2016 6:40:42 GMT -5
an ace and a five. that has to mean something.  great tip paul, thanks for sharing it. duane |
|
|
|
Post by indy on Apr 21, 2016 14:33:00 GMT -5
Great progress. You going to put the build on the Brickyard display base?
Jordan
|
|
|
|
Post by pje on Apr 21, 2016 19:03:18 GMT -5
Great progress. You going to put the build on the Brickyard display base? Jordan It's always bothered me because it's one row of bricks short.  I've got a display base created for it Paul Erlendson |
|
|
|
Post by Calvin on Apr 22, 2016 17:40:58 GMT -5
LOL! My head is starting to spin, Paul.  BTW you missed a rivet on the tub!  |
|
|
|
Post by elsapito on Apr 25, 2016 11:15:01 GMT -5
Great progress. The card system is absolutely great.
I also use sometimes a glass, and plastiline blocks. These are great to adjust angle of a whisker wing...
Keep going!
|
|
|
|
Post by Art Laski on Apr 25, 2016 12:43:40 GMT -5
It's looking good, Paul! One of my personal favorites...
|
|
|
|
Post by IndyCarModels on Apr 25, 2016 18:36:10 GMT -5
Great progress. You going to put the build on the Brickyard display base? Jordan It's always bothered me because it's one row of bricks short.  I've got a display base created for it Paul Erlendson Some of my friends say I'm, a few bricks short. |
|
|
|
Post by clm1545 on Apr 25, 2016 19:17:32 GMT -5
The photos have disappeared, for me, good old Photobucket.
|
|
|
|
Post by indy on Apr 25, 2016 21:40:52 GMT -5
Photobucket says they are doing maintenance. It is does not look to be system wide because my PB stuff is all work fine.
Jordan
|
|
|
|
Post by pje on Apr 25, 2016 23:50:51 GMT -5
Seems to be all right from my end so I'll press on. Another Idea I came up with (ok, actually my wife came up with these very special tools) are these supports for painting resin tires. I left the cellophane wrapping on the candles so no wax would rub off onto the tires. I used Tamiya Black Rubber TS-82 on the tires. I really like the look. I got in a bit of a hurry on them and thought the finish was smooth enough for the decals. I should have first clear coated the sidewall before decaling. I wish that I could have gotten a more chrome finish on the wheels as you will see soon, but I find that a real challenge on resin cast wheels. Adding valve stems was my final touch. 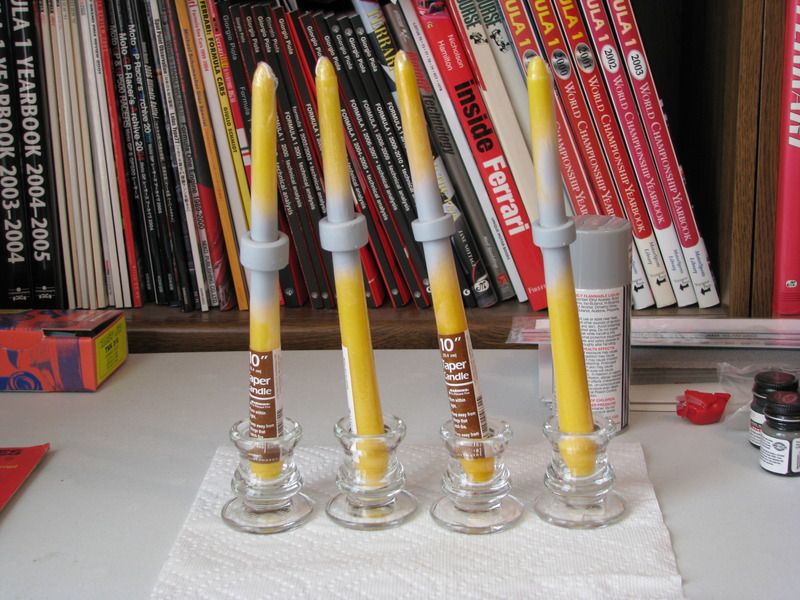 Also, I haven't seemed to finish much as of late so here's my latest. This is one of my dream cars where I've replicated something that I would like to have the full size version in my garage. I keep buying Powerball tickets but not luck so far. This is a Herpa 1/43rd scale Ferrari 348 TS. It's pretty much out of the box with some updated wheels, brakes and a little extra interior work. Plus, my own license plate one the back. 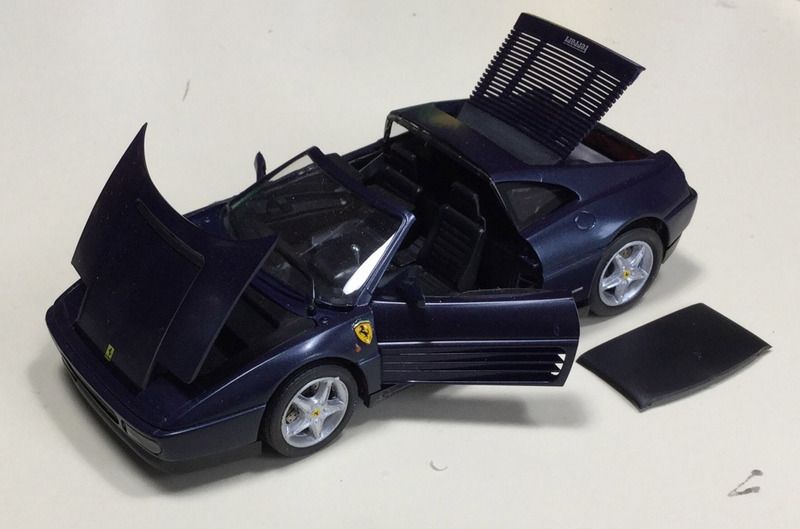 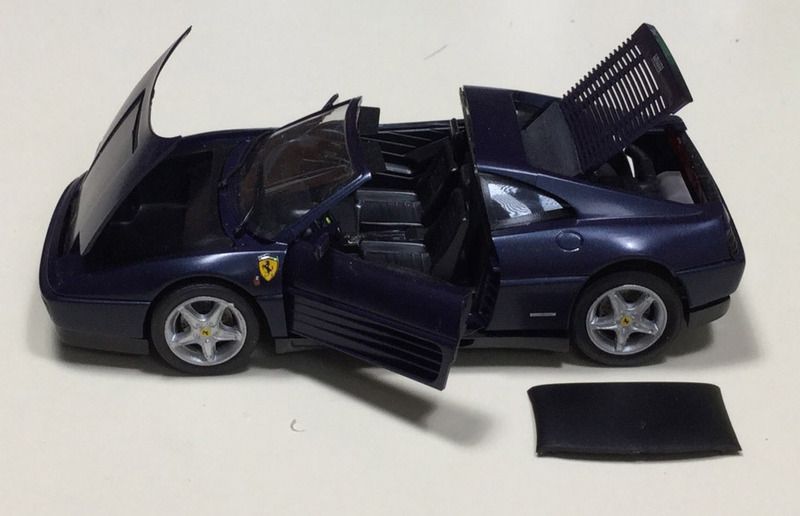 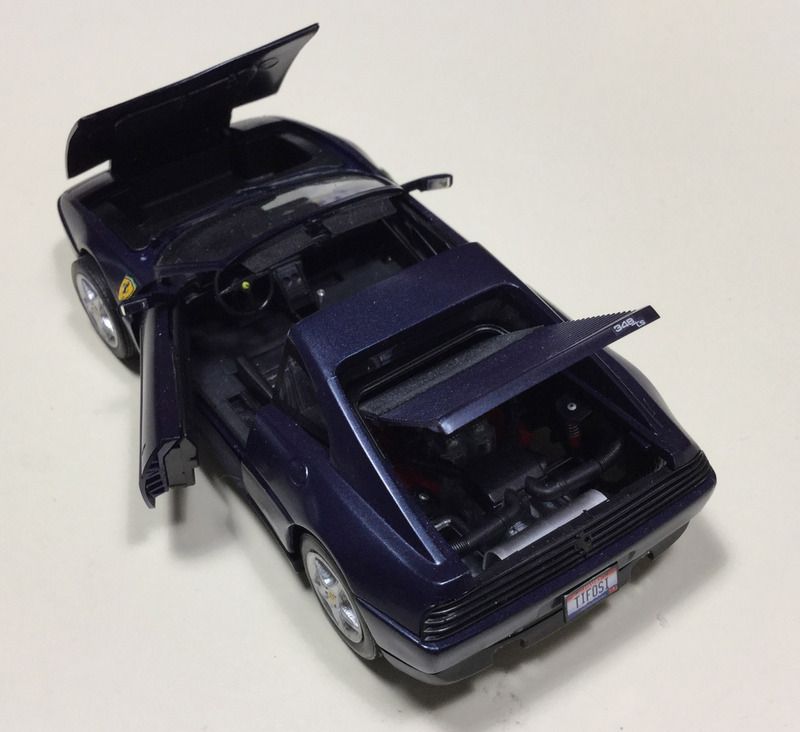 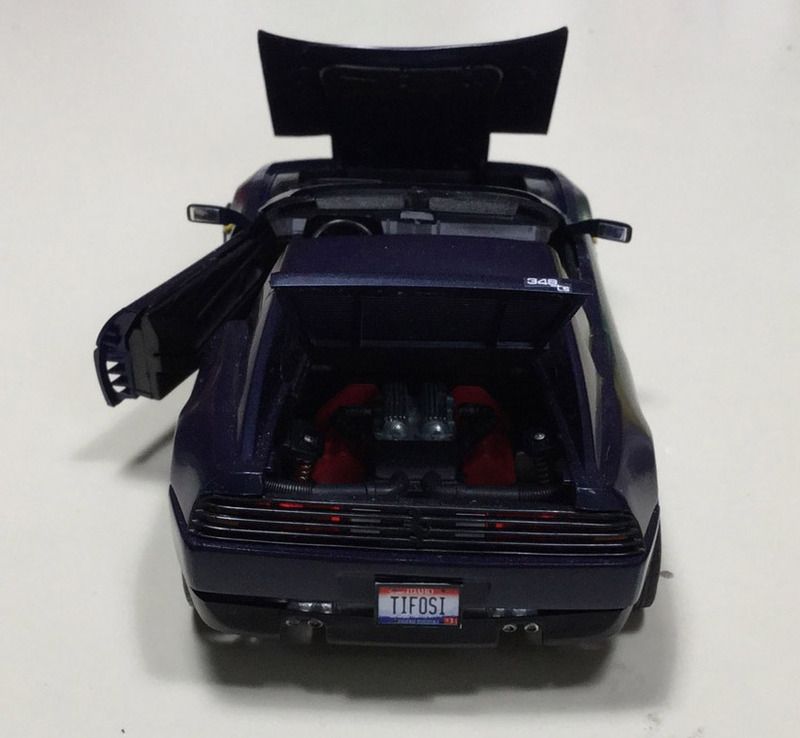 Paul Erlendson |
|
|
|
Post by indy on Apr 26, 2016 8:38:07 GMT -5
Great tire holding tool! You did so good on the Ferrari that I really thought it was 24/25 scale.
Jordan
|
|
|
|
Post by pje on Apr 27, 2016 0:09:42 GMT -5
All painted and decaled and ready for final assembly. 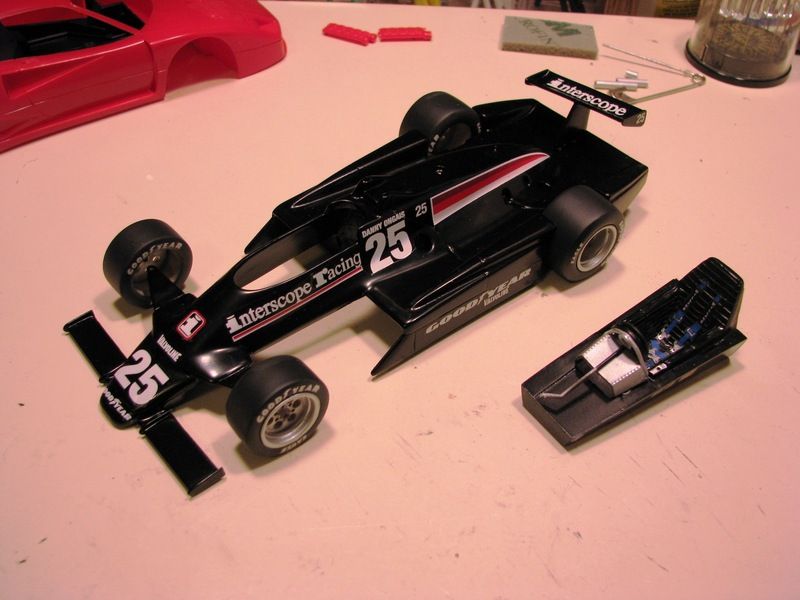 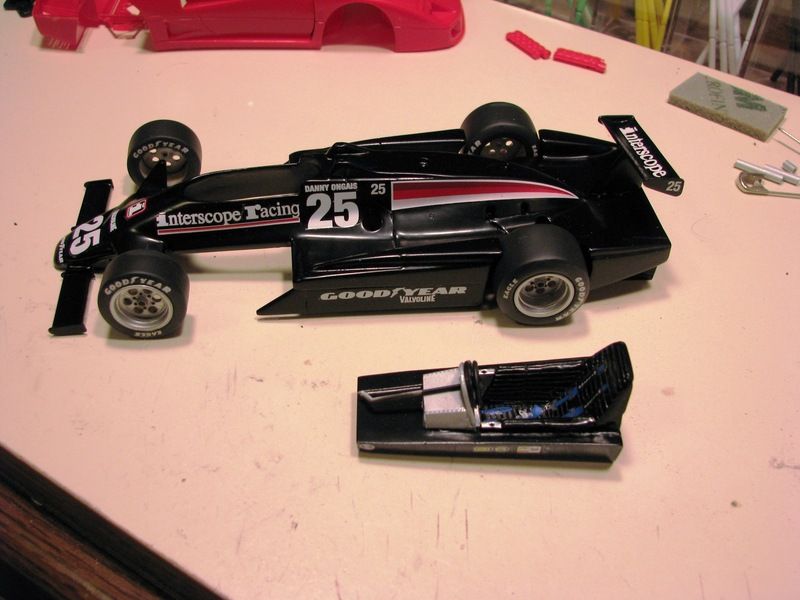 Paul Erlendson |
|
|
|
Post by Calvin on Apr 27, 2016 1:47:21 GMT -5
I just fell out of my seat, Paul!  |
|
|
|
Post by elsapito on Apr 27, 2016 4:50:33 GMT -5
Whoooaaa!!! Impressive. SAme thing about the 348. In fact I thought of one of those ultra-detailed 1/18s...
|
|
|
|
Post by indy on Apr 27, 2016 13:04:25 GMT -5
You are really whipping through it. I know Lance engineers his kits well but dang! Quality and speed, that's a good combination. It really looks good, keep it up!
Jordan
|
|
|
|
Post by schnauzer on Apr 27, 2016 13:35:30 GMT -5
All painted and decaled and ready for final assembly.  Paul Erlendson Question: Color of braces and arms is Flat Black? []´s |
|
|
|
Post by pje on Apr 27, 2016 17:13:25 GMT -5
Since the front upper "A" arms were glued to the body everything was painted at the same time with Tamiya black. The suspension pieces were then toned down with a coat of semi-gloss clear.
Paul Erlendson
|
|
|
|
Post by Art Laski on Apr 27, 2016 20:50:21 GMT -5
She sure looks purdy! Nice job, Paul!
|
|
|
|
Post by pje on Apr 28, 2016 23:45:08 GMT -5
I wanted a little more for the fuel filler so after determining what diameter I needed to work with I drilled a hole into the body where the molded in filler was. I then cut a section of aluminum tubing and a section of aluminum rod that fit inside. Makes for a nice clean fuel filler that I inserted at final assembly, although looking at it now I got in a bit of a hurry. I’d like the edges a little more polished. A lesson for the next time I do something like this. I screwed up my first attempt to trim the vacuform windscreen and Lance was great in sending out another, plus backup. Once I finally got it trimmed I cleaned it up and then dipped it in black tinted Future. It’s hard to get the right shade and mine’s a little on the light side because I was afraid of going too dark. Future is a snap to strip though if you’re unhappy with your work and want to start over. I glued it in place with Testors windshield cement. Had a lot of fun with this one. Lots of sanding and some putty work but pretty much standard for this type of kit. I think Lance did an incredible job capturing the look and overall shape of the car. I’ve had a bit of a problem with the axles not being long enough. Could be that somehow I shortened them in my cleanup process, but I’m having problems keeping the wheels on. Littles more JB Weld should fix the issue. 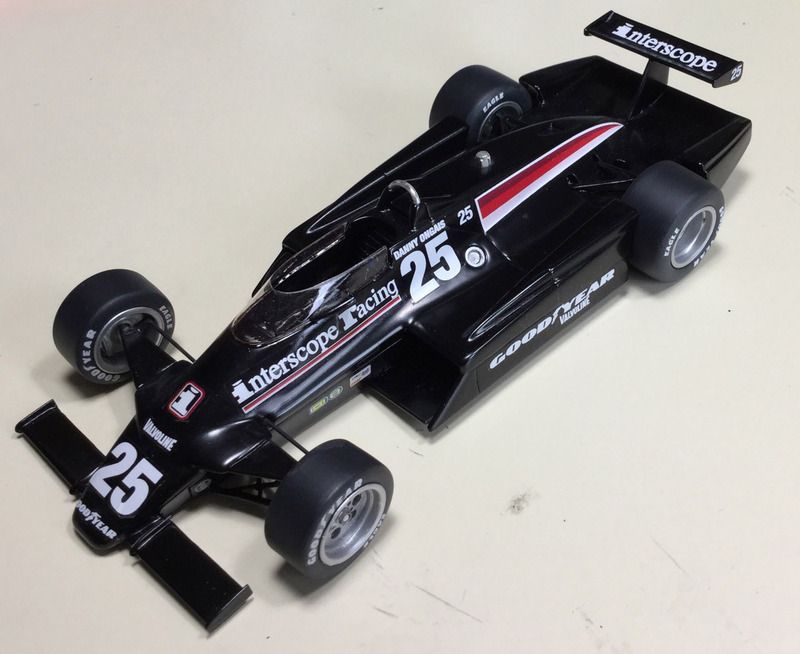 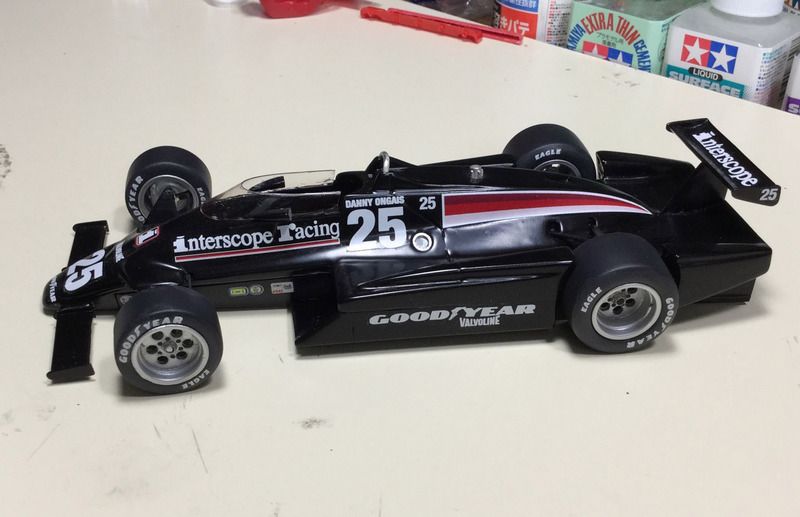 And there you have it. I'll try to get my photo booth out and try to get a couple proper shots with it sitting on my yard of bricks display in the next few days. Paul Erlendson |
|
|
|
Post by racerbrown on Apr 29, 2016 6:08:15 GMT -5
well done paul!
thanks for sharing.
duane
|
|
|
|
Post by indy on Apr 29, 2016 8:00:57 GMT -5
That's one to be proud of Paul. Really nice work on it! Thanks for sharing the WIP, too, it was insigthful to see your building tricks.
Jordan
|
|
|
|
Post by elsapito on Apr 29, 2016 10:04:32 GMT -5
Gotta love the speed and the flawless result, plus, yes, those improvement tricks  Thanks for sharing/teaching, Paul! |
|
|
|
Post by Calvin on Apr 29, 2016 13:08:06 GMT -5
I'm speechless! Paul! We all know you are a very skilled builder! .....but WOW! You got one done!!!!!!!!!!!!!!!!!!!!!!!!!!!!!!!!!! Too bad you didn't fill out the proper paperwork to qualify for a Lotus 34.  |
|
|
|
Post by pje on Apr 30, 2016 0:10:05 GMT -5
There might be a little confusion here and I want to clear up any misunderstanding. I didn’t title this thread as a W.I.P. because it wasn’t. I had taken the photos during my build process that I started quite a while ago. During the last month I decided to finish up the model so I could take it to the IPMS Seattle Spring Show. I was happy with the some of my building solutions and just wanted to share them in a logical manner like a W.I.P. I only wish I could build that fast!  Thanks for all the kind words, and yes Calvin I know I missed the paperwork deadline. I’ll do better next time.  Paul Erlendson |
|