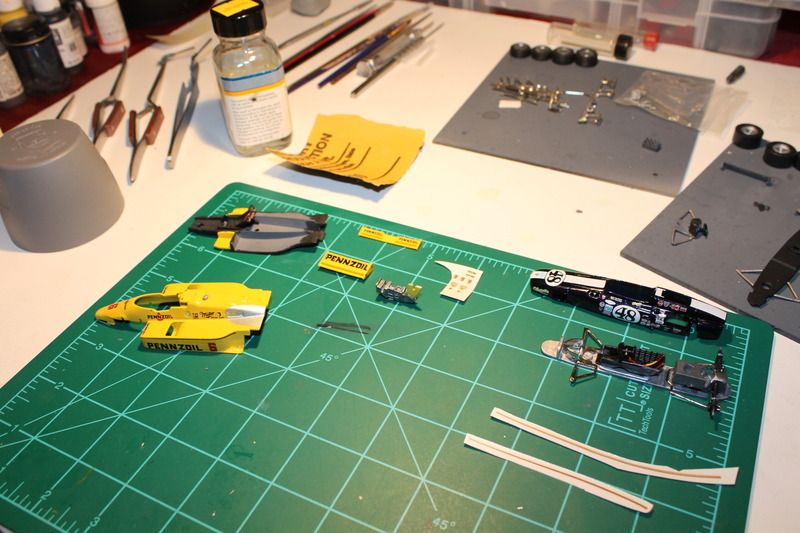
Building my 1/43rd scale 1968 Dan Gurney Eagle
Apr 16, 2016 13:41:24 GMT -5
IndyCarModels likes this
Post by Mr. Paxton on Apr 16, 2016 13:41:24 GMT -5
I am new to this forums but have been building 1/43rd scale Indy car metal kits for quite some time.
I got out of the hobby for about 10 years and have recently jumped back in. I have a stack of kits that I am starting to work through and thought I would post my builds along with my reviews of the kits, adhesives, decals, paints and primers.
I pretty much build SMTS, Ampersand, Tameo and Formula Models and will soon be picking up a few Dog Leg.
Last week, I started a SMTS 1968 Eagle driven by Dan Gurney (seen on the right side of the board).
The raw metal kit is fantastic. Good detail, minimal flash to clean and sand and parts that fit as they should. This particular kit has a lot of pieces (over 50) including some chrome plated and photo etched.
Needle files are the key to the clean up with my favorite being the half-round followed by the round file. With these two, you can clean the entire model. I follow this up with 600 grit sand paper.
I primed this model with Krylon grey primer. I love it! Very fine and dries in like a minute! Very light coat is all that is needed.
The Tamiya Deep Metallic Blue - TS53 is a great color to match the original Guardsman Blue of the Gurney cars. What I really appreciate is the relative scale of the metal flake... not too big! Fits the scale of the car to a tee! Thanks to guys on this forum for that suggestion!
After applying the decals and letting the model sit overnight, I sprayed it with a LIGHT coat of Testors One Coat Wet Look Clear (another suggestion from this forum), and WOW! This stuff is called "One Coat" for a reason... that is all it takes! DO NOT spray this heavy. It will pool up and create fine bubbles in the corners, etc. Also, too much will melt your decals. Just put on a light coat and you are gravy!!
That is all I have for this model at this point. The next step is attaching the lower chassis to the body and assembling the rest of the model.
I will post progress reports and notes about what I am learning along the way. I have 5 more kits waiting to find their spot on my table but two is enough for now!


