|
|
Post by alterrenner on Mar 17, 2016 4:55:03 GMT -5
The thought has occurred to me, that in the future, when someone restores the real car, they'll be able to use this work in progress as a reference! Saying it looks real just doesn't do this build justice!
--Frank
|
|
pg265
Front Runner
 
Posts: 231 
|
Post by pg265 on Mar 20, 2016 6:17:11 GMT -5
|
|
|
|
Post by racerbrown on Mar 20, 2016 6:51:22 GMT -5
yes, more please!  duane |
|
pg265
Front Runner
 
Posts: 231 
|
Post by pg265 on Mar 22, 2016 17:50:36 GMT -5
|
|
|
|
Post by racerbrown on Mar 22, 2016 19:01:29 GMT -5
beautiful!
are the aeroquip fittings supplied with the kit or did you add those?
duane
|
|
|
|
Post by alterrenner on Mar 23, 2016 5:01:25 GMT -5
Brake bleeders! Brake line brackets! Good Lord!!!
--Frank
|
|
|
|
Post by indy on Mar 24, 2016 11:13:56 GMT -5
Fascinating!
Jordan
|
|
pg265
Front Runner
 
Posts: 231 
|
Post by pg265 on Mar 24, 2016 17:11:10 GMT -5
Hi, Thanks so much for your kind comments Mates! Some A/N fittings made of White Metal are provided in the kit, but those used for the build are machined aluminium and anodized for some. These ones are not from MFH but from Robert Bentley (RB Motion). Work on the rhodoïd windshield of the M7A: - cut, - drilled, - Black gasket painted and a color test 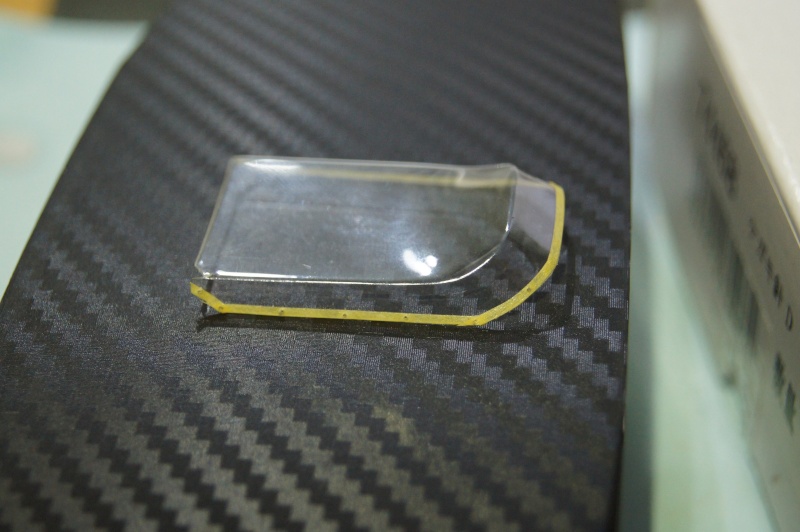 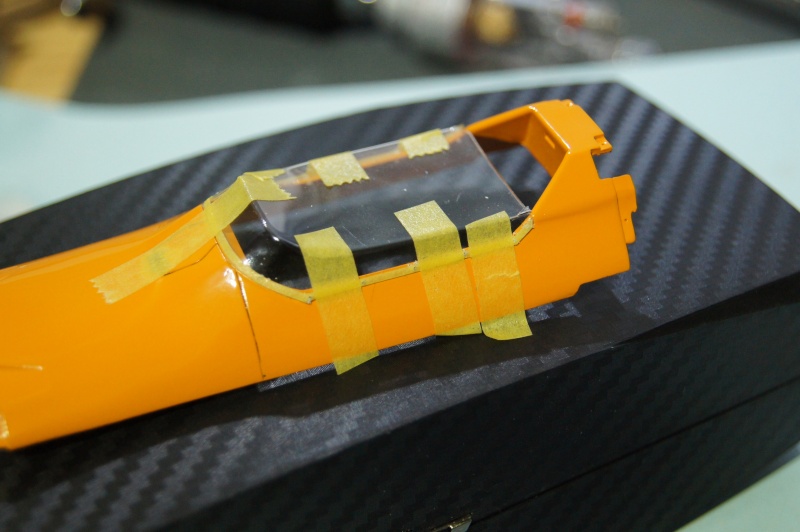 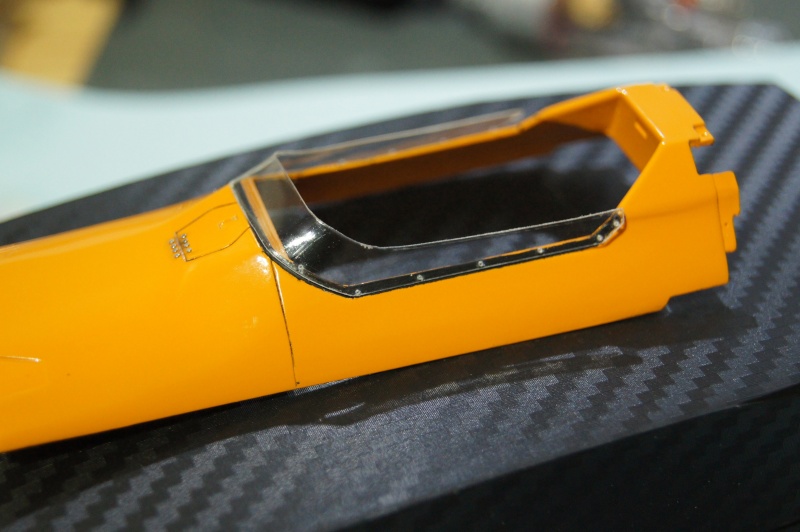 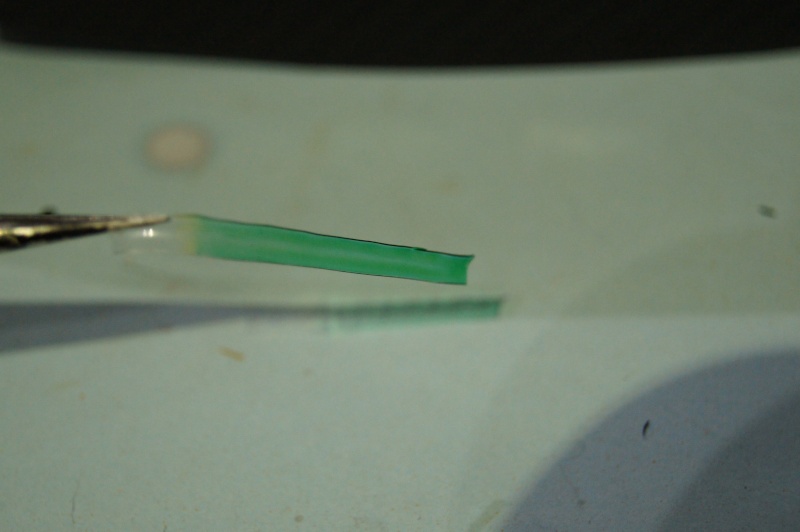 Voilà. Pascal |
|
|
|
pg265
Front Runner
 
Posts: 231 
|
Post by pg265 on Mar 27, 2016 14:40:40 GMT -5
Hi, Few progress on the M7A of the Boss. Prep, primer and ZP SG Black.   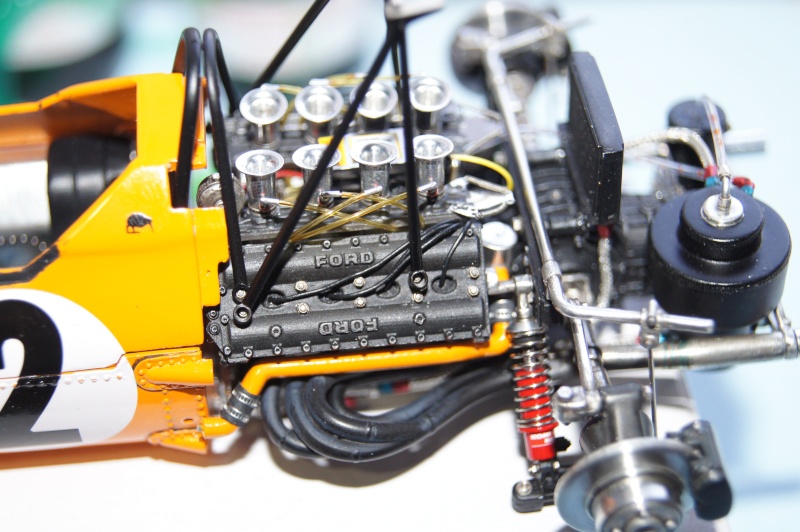 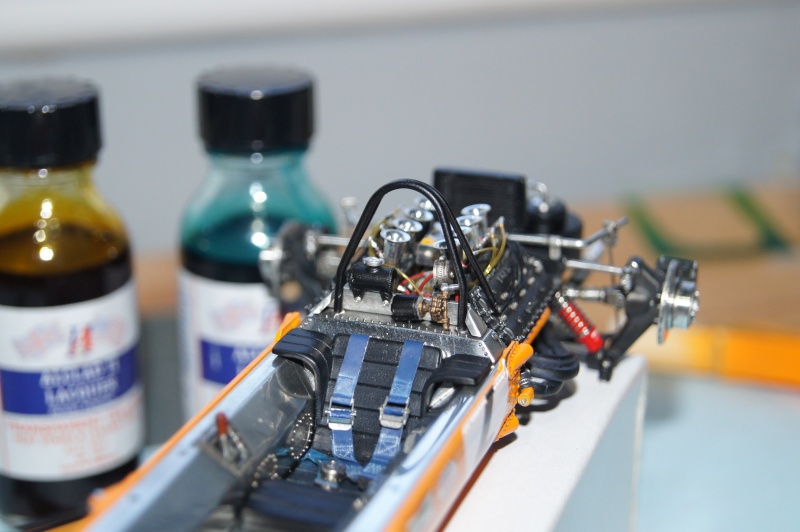 details added: 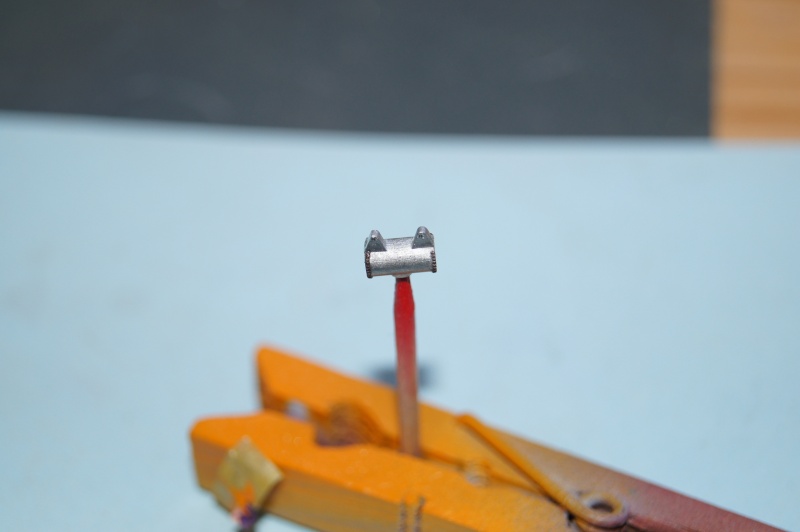 I forgot this part... so Orange is out. Need to clear coat... or not... 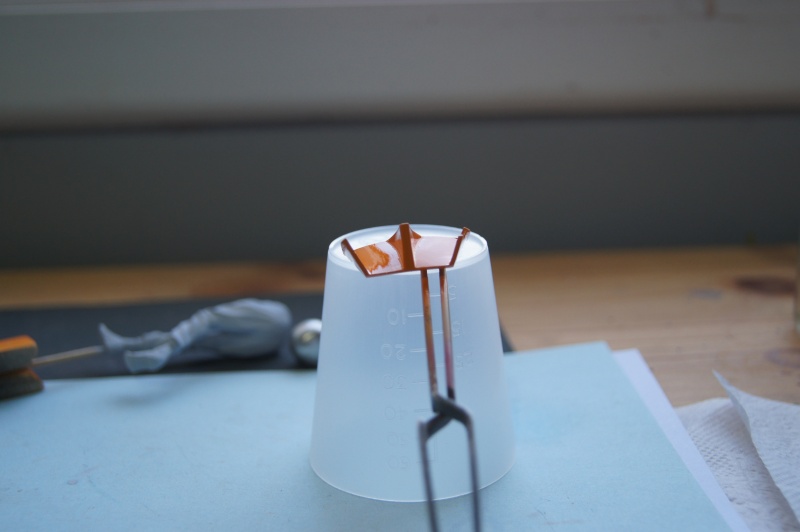 new color test... 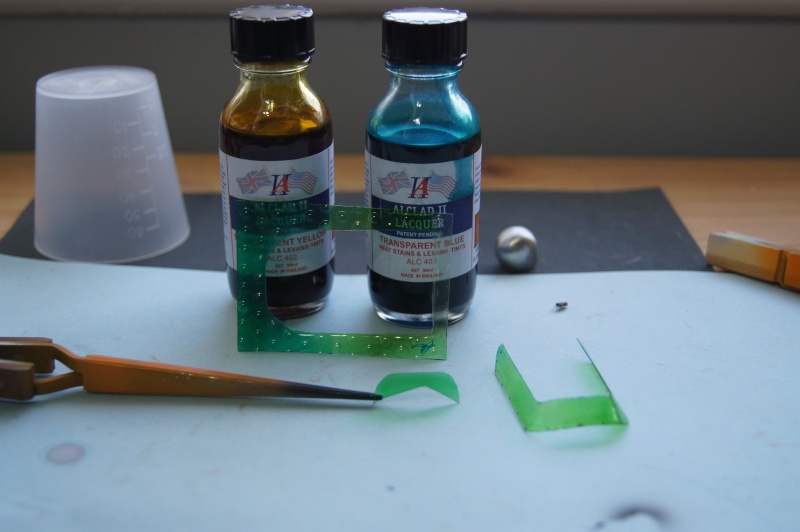 ...PGo for this one: 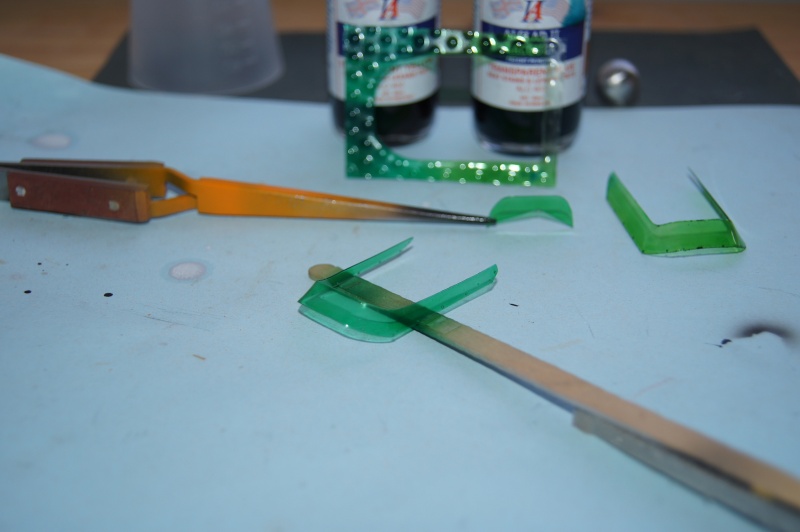 Details on the masts with the linkage bracket: 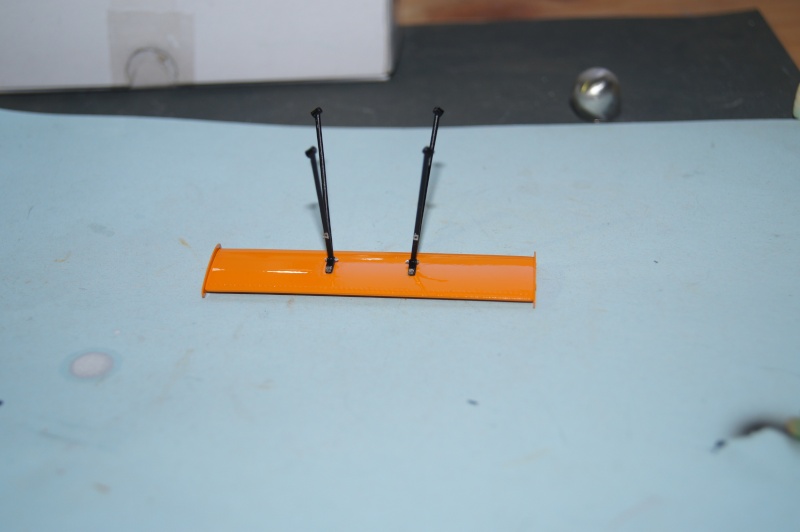 New parts made: 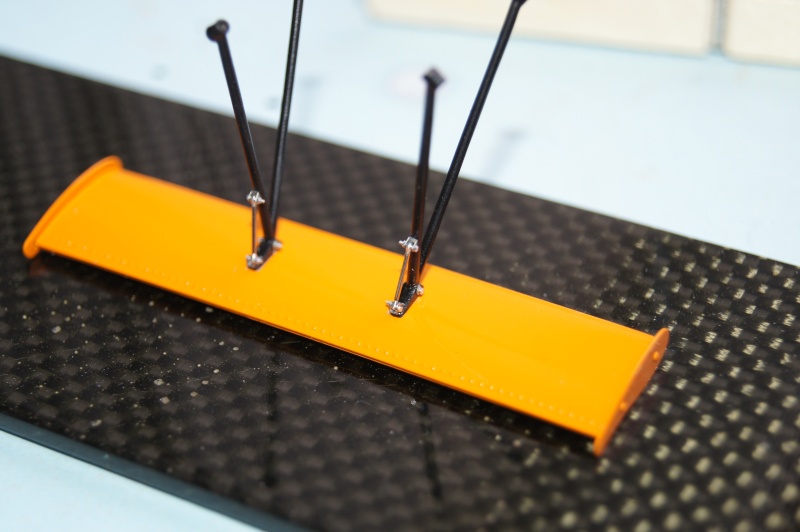 A bit disappointed due to the fact I din't have enough nuts to make a better detailing... test fitting: 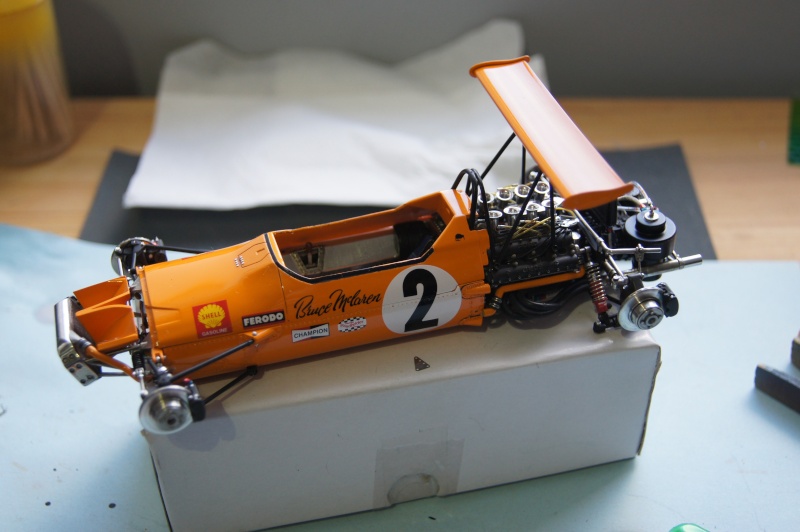 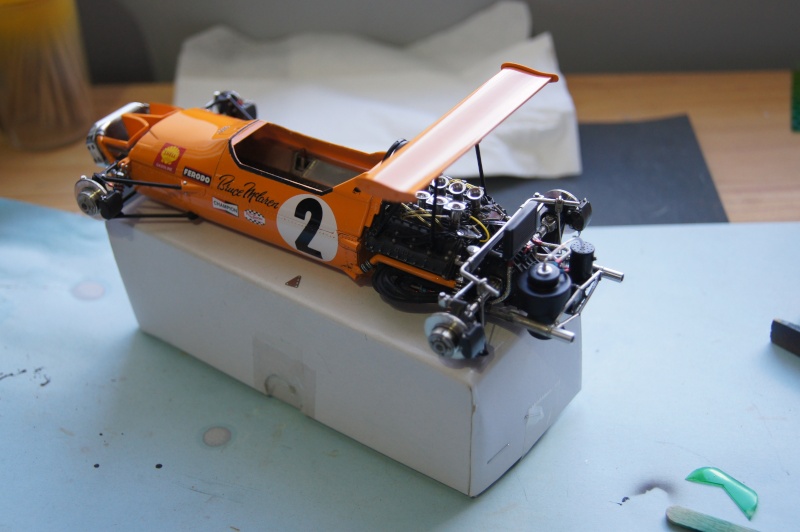 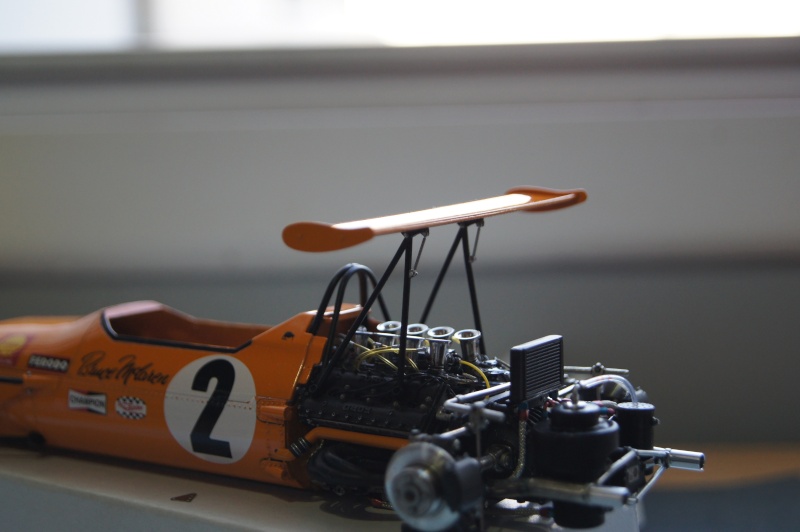 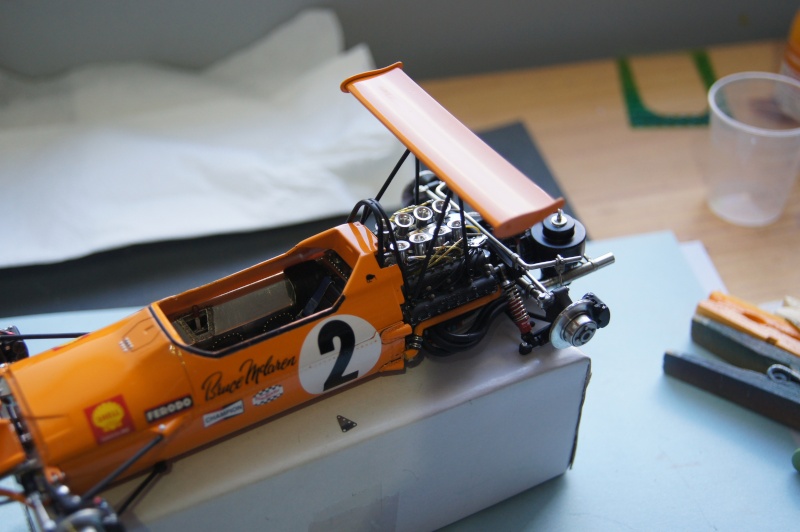 Cooling duct connected. 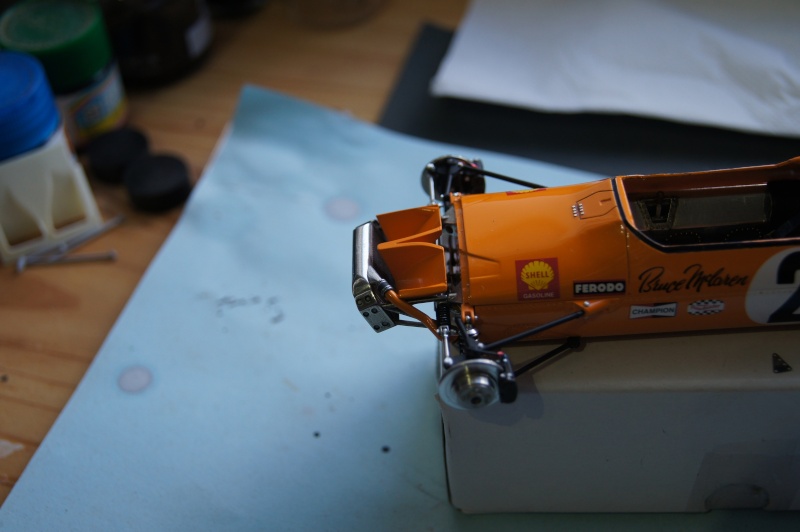 Alu tape having fun into a bath of MEK : 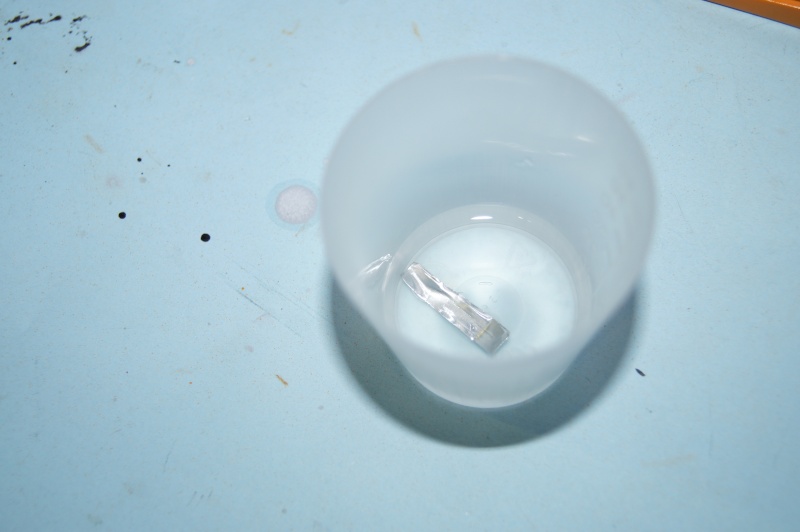 C'est tout. More soon. Pascal |
|
|
|
Post by Michael Chriss on Mar 27, 2016 15:19:18 GMT -5
Fantastic! You must be having fun with this.
|
|
|
|
Post by Calvin on Mar 28, 2016 0:59:44 GMT -5
Its very enjoyable to see a build constantly come along so nicely
|
|
|
|
Post by alwaysindy on Mar 28, 2016 9:42:09 GMT -5
I have commented before about "mad skills": Pascal, and others like him, are what I was talking about...this is unbelievable...the detail is off the charts...I would also draw attention o the most recent photos...the body appears to be orange, then the next closest photo makes it yellow....same car; same camera...THIS is why we have color debates....Michael has convinced me that photos will show different colors on the exact same car and this proves it...
Tim
|
|
|
|
Post by indy on Mar 28, 2016 12:31:13 GMT -5
Okay so you tinted the windscreen with Alcads? Did you have to do anything before or after to prep it? It turned out really nice!
And what does MEK do to aluminum tape?
Jordan
|
|
pg265
Front Runner
 
Posts: 231 
|
Post by pg265 on Mar 28, 2016 16:23:24 GMT -5
Hi, Thank you very much! Nothing to do before spraying the Alclad: a first mist coat, than a wet coat. The MEK is just used in order to dissolve the glue on the alu tape. Small progress on Bruce's M7. I spent a loooong time to find a solution and to succeed in modifying the rear tie rods: I didn't like that much the original ones. I also added the brake lines . As the build is on a good way, I took some pictures of the M7 next to the 312 and the body of a Lotus 49... 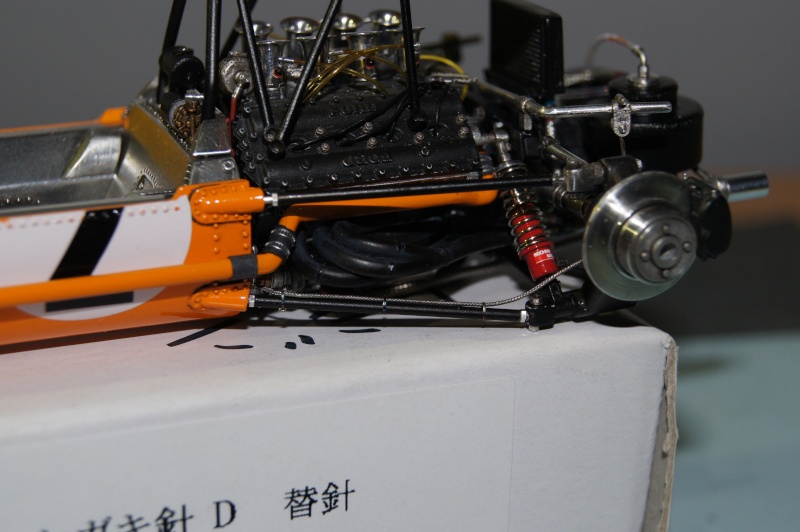 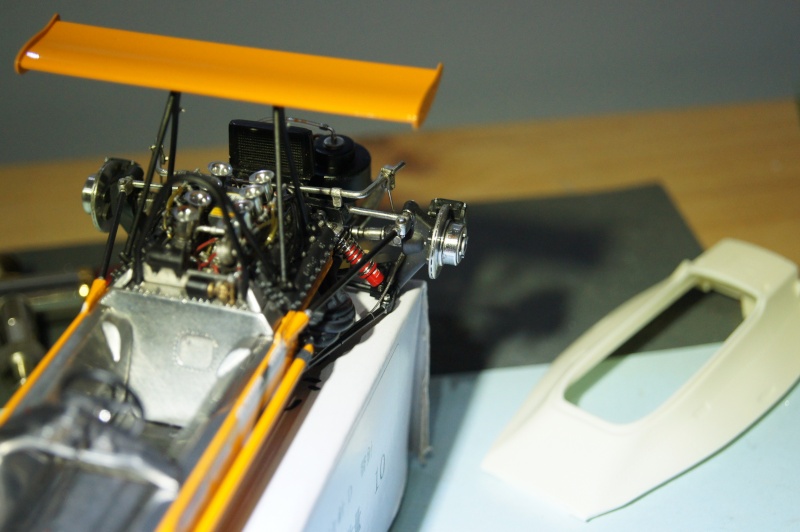 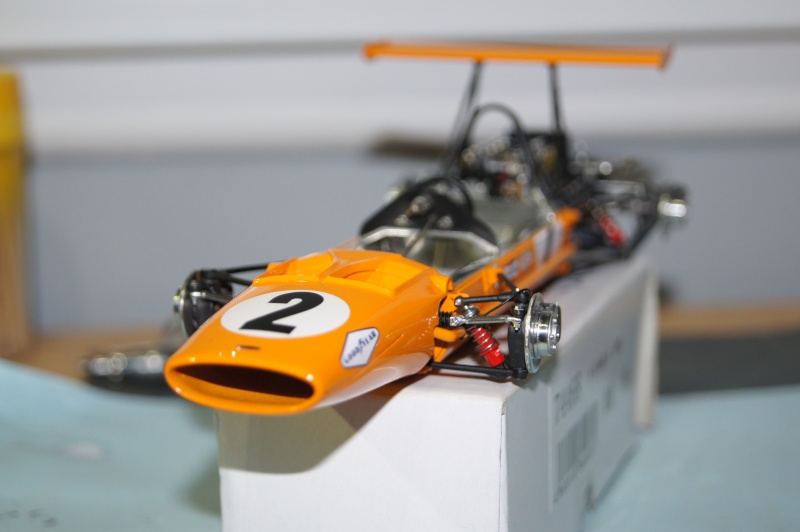 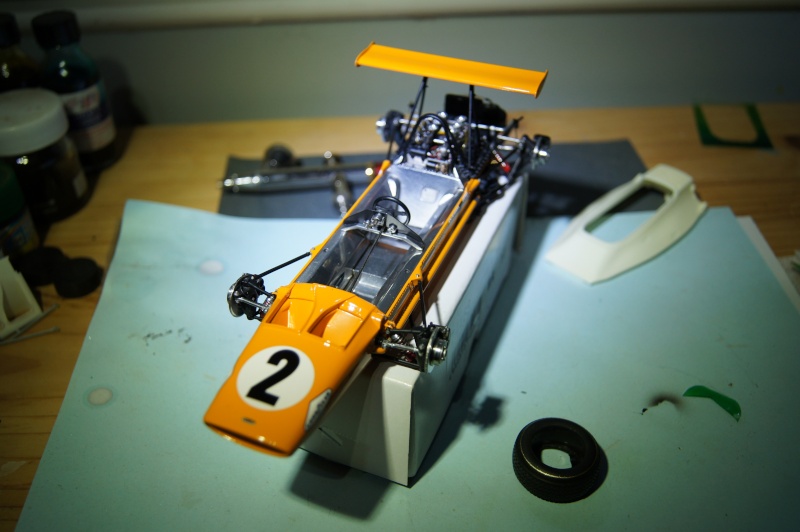 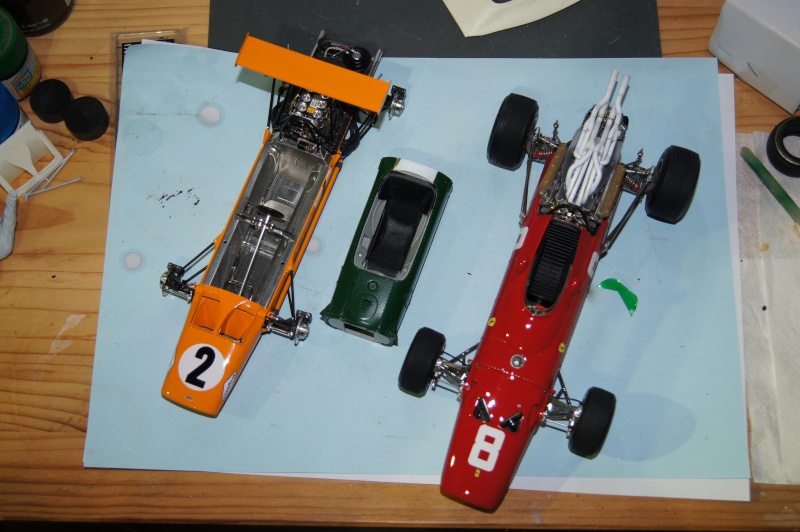 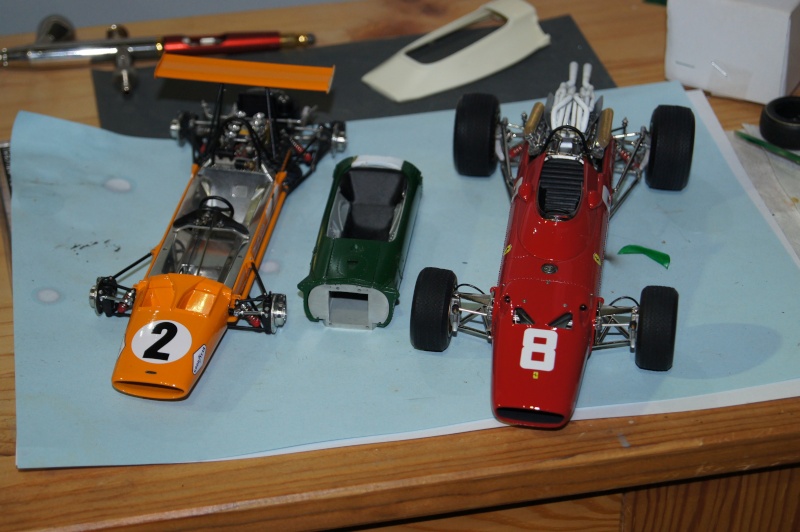 More soon! Pascal |
|
pg265
Front Runner
 
Posts: 231 
|
Post by pg265 on Sept 7, 2017 14:57:22 GMT -5
Hi, Sooooooo much time since the last post :oops: First, coolant pipe. The one which is running under the right side of the Body. Masked, primed, painted and quickly clear coated with brush and Klear. 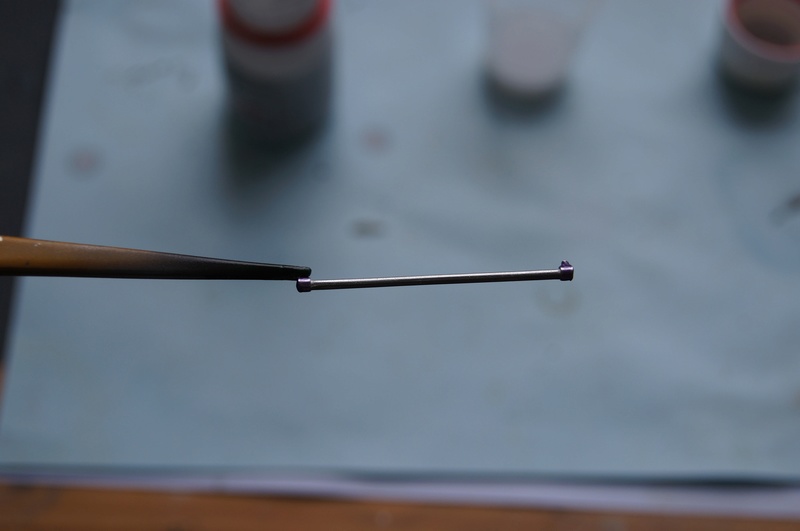 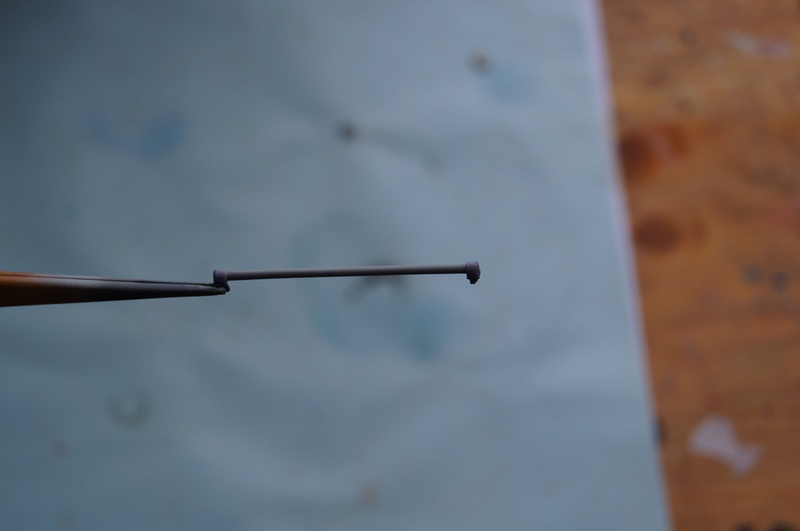 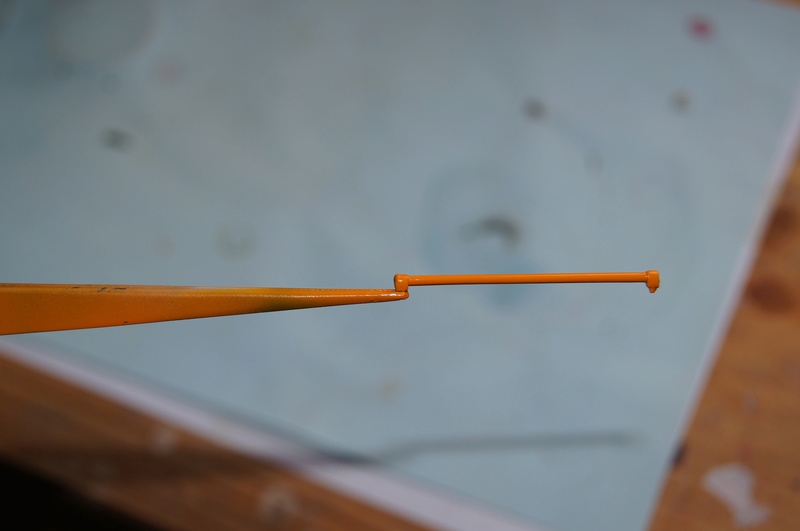 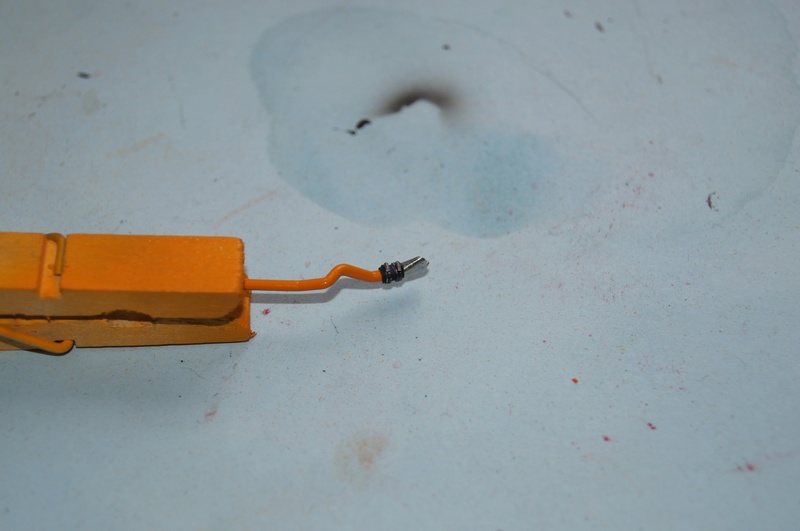 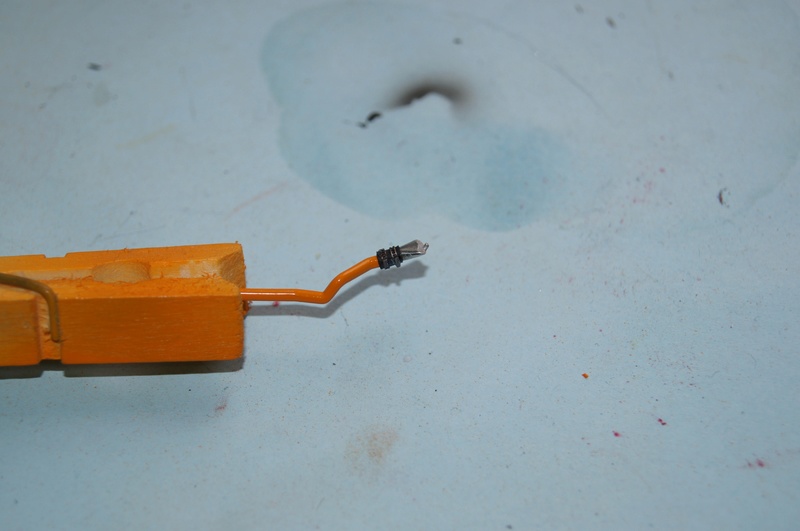 Installed and connected to the water pump on the engine side and to the radiator on the front end. Same thing on the left side. 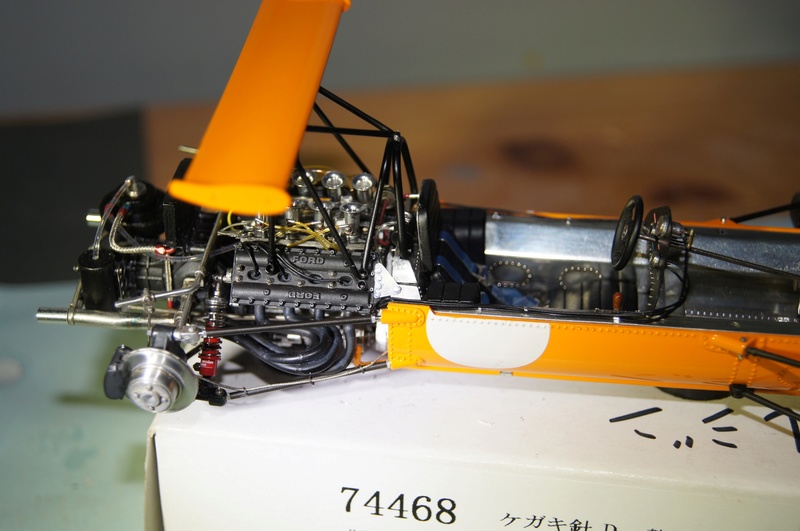 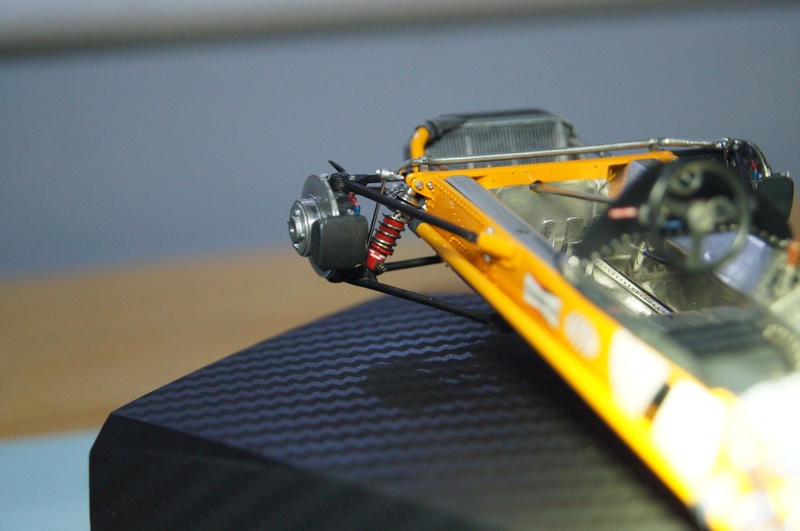 Stabilizing bar and rear view mirrors polished: 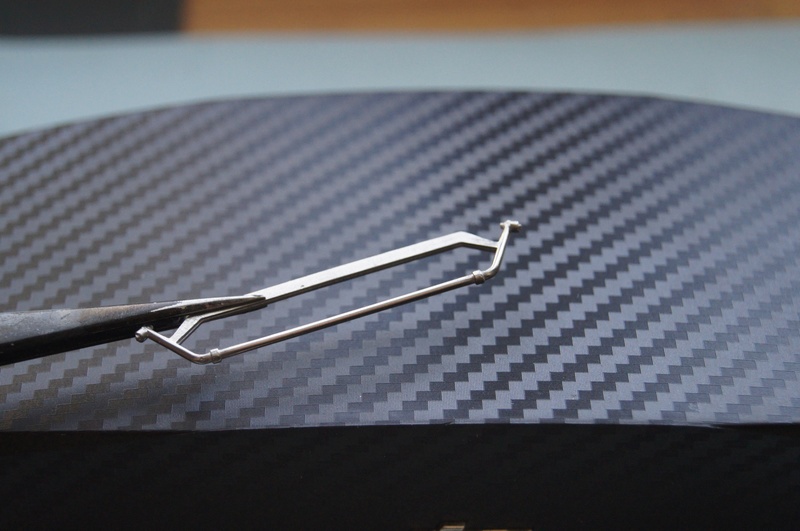 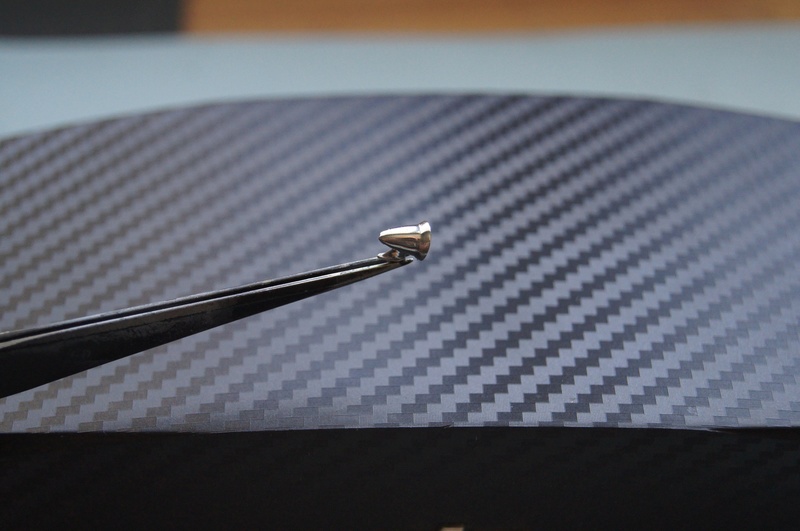 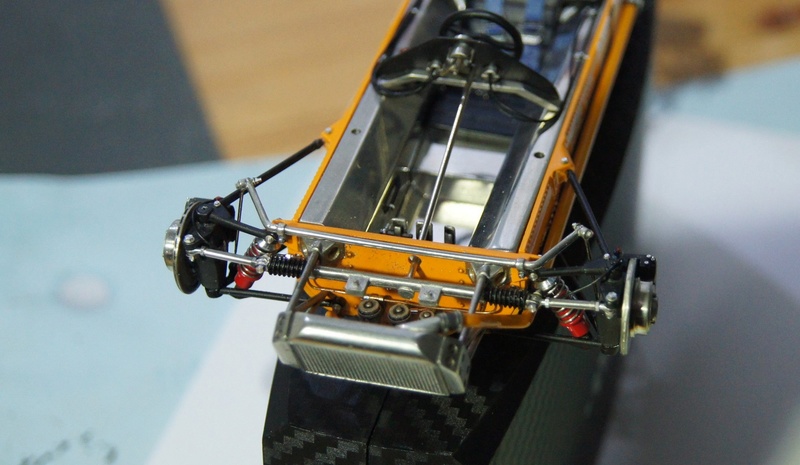 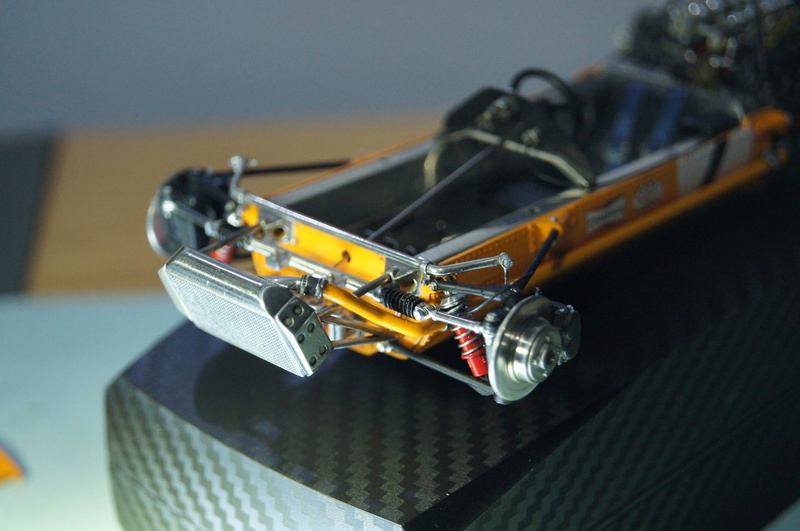 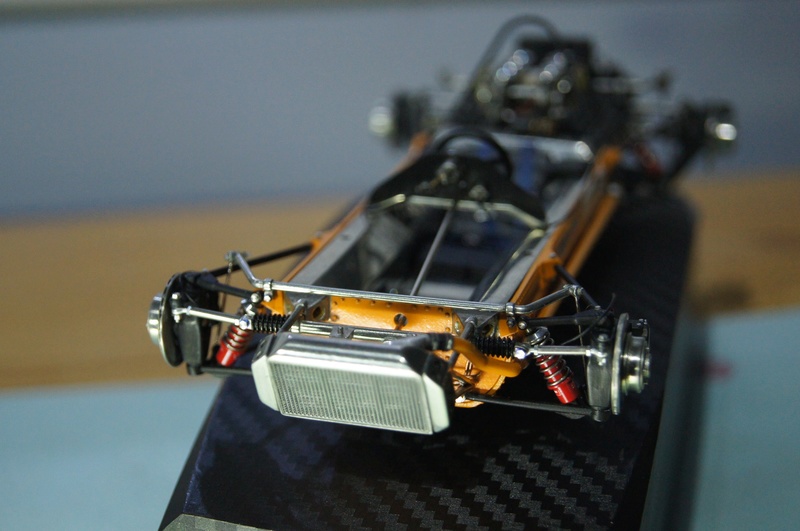 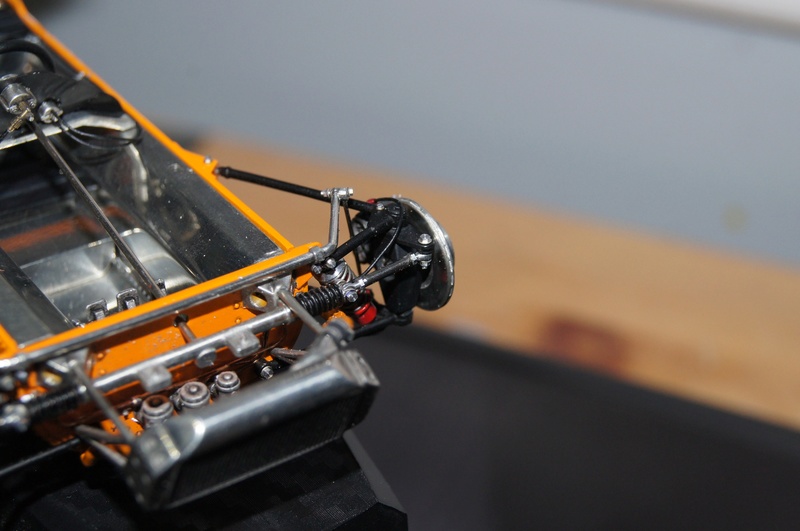 The intake trumpets are made of brass and need another color. As usual with that kind of part, I prefer a chemical traetment. So, the mesh is burnished with a blackening agent and slightly dry brushed with Metal Cote Polished Steel. Then a thin aluminum band is installed around the base of the mesh. An example on the MFH Lotus 49 DFV intakes, then on the AWESOME Widia velocity stacks of the McLaren. 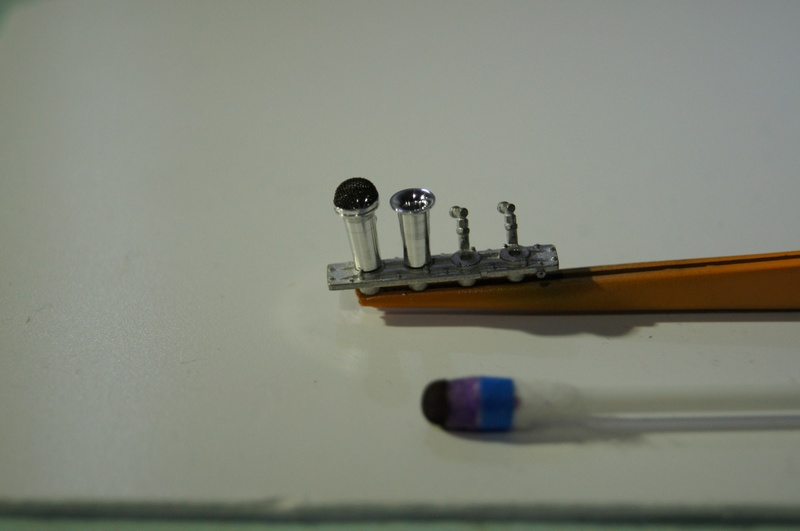 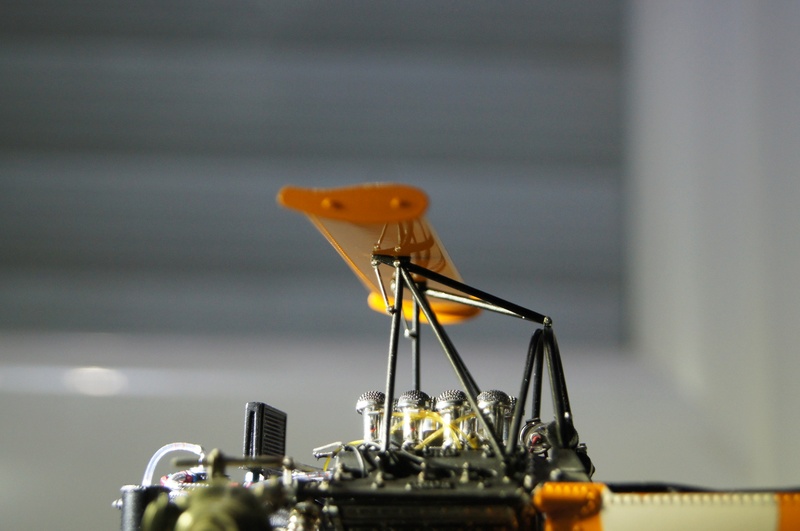 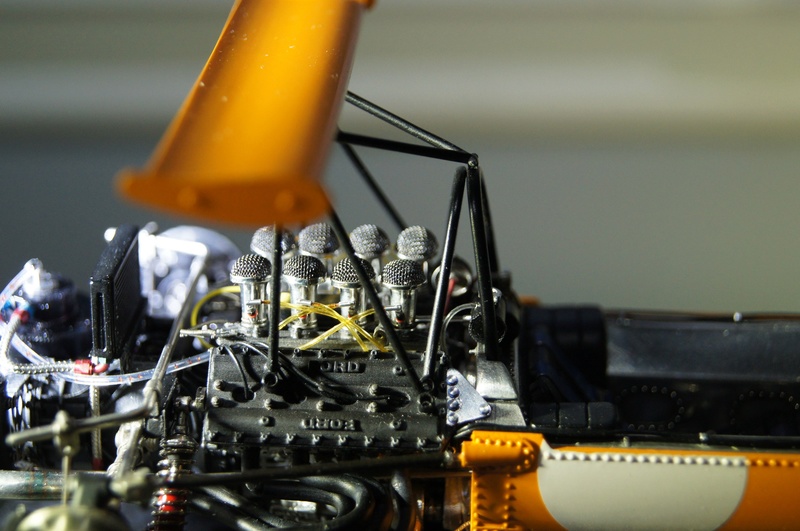 Fuel pump, expansion bowl (?...) and wing mounts installed. 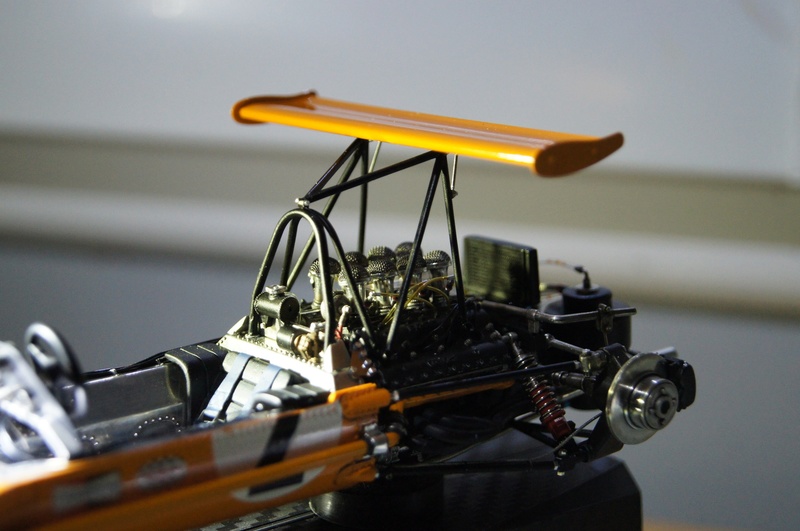 The engine mounting plates are rebuilt and installed with RBMotion hardware. Time for the Papaya to have wheels. Central seam line is sanded. 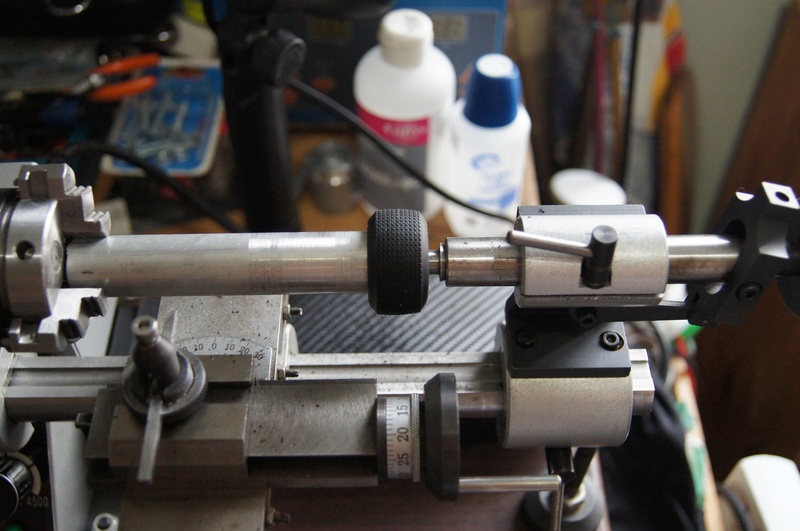 The blue ring is a mix of US Navy paints from Model Master Acryl. Tires are airbrushed thru the MFH tool. 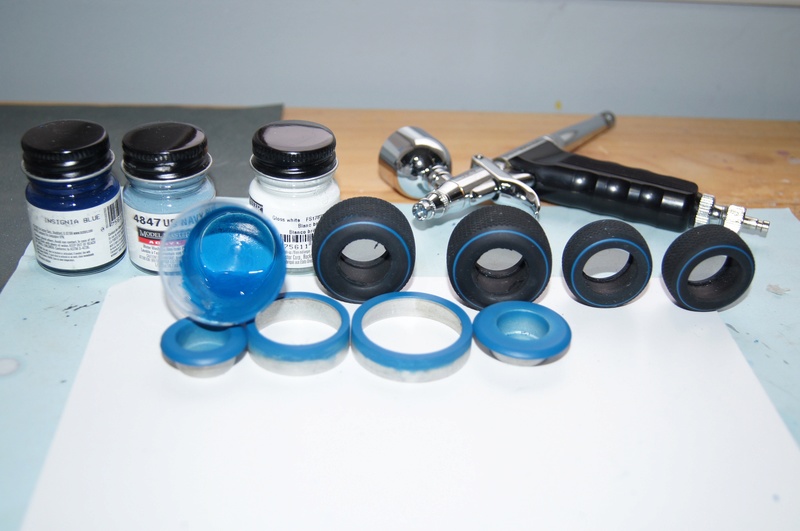 A last look on the caliper and its details... 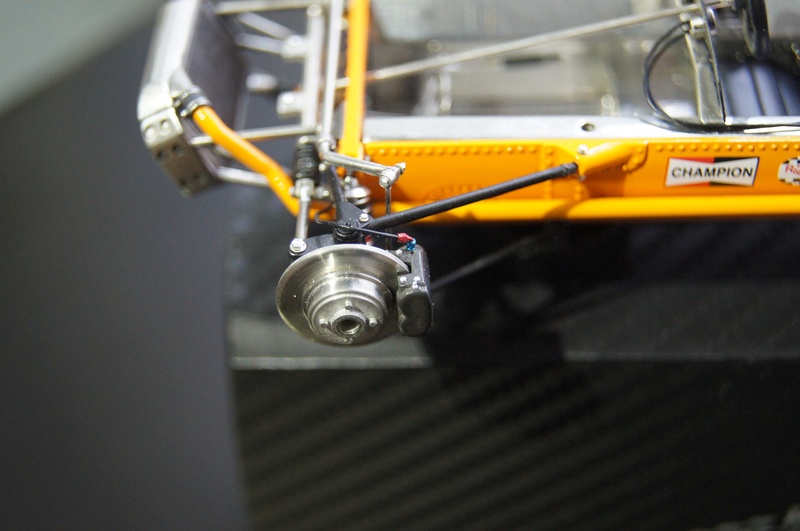 Shoes or socks on! 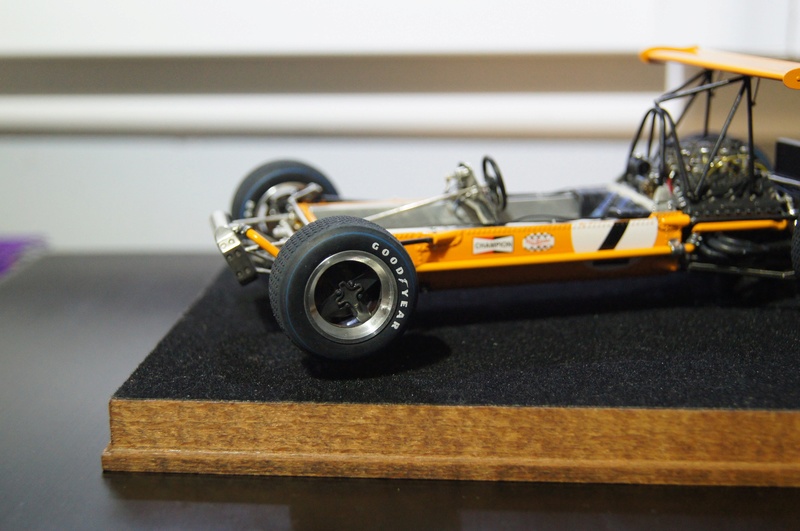 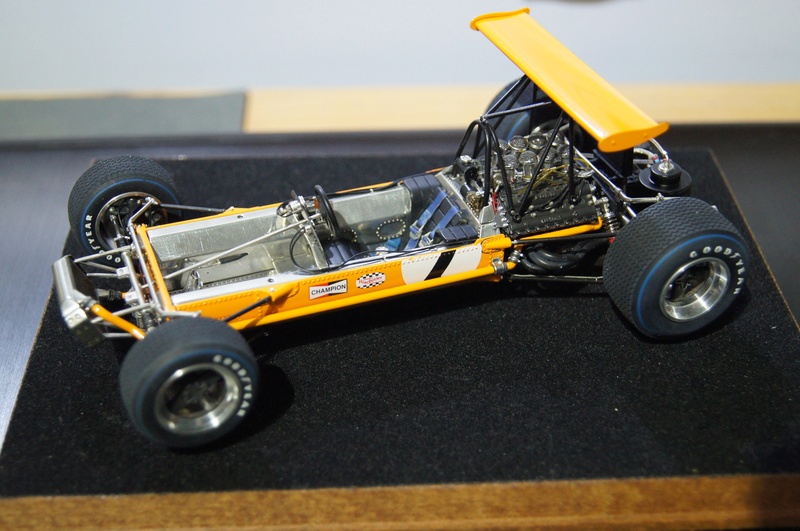 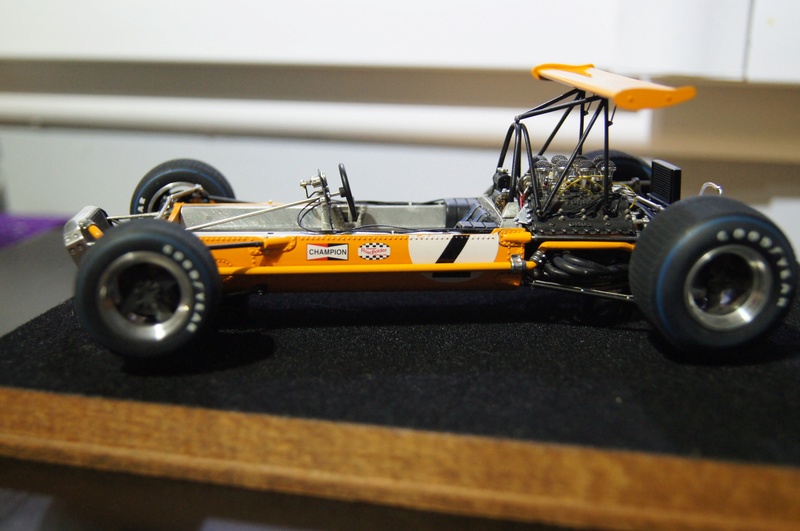 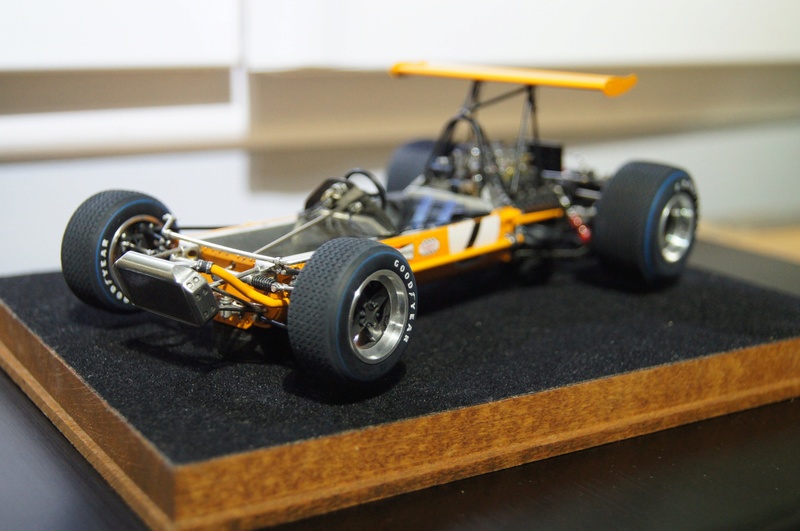 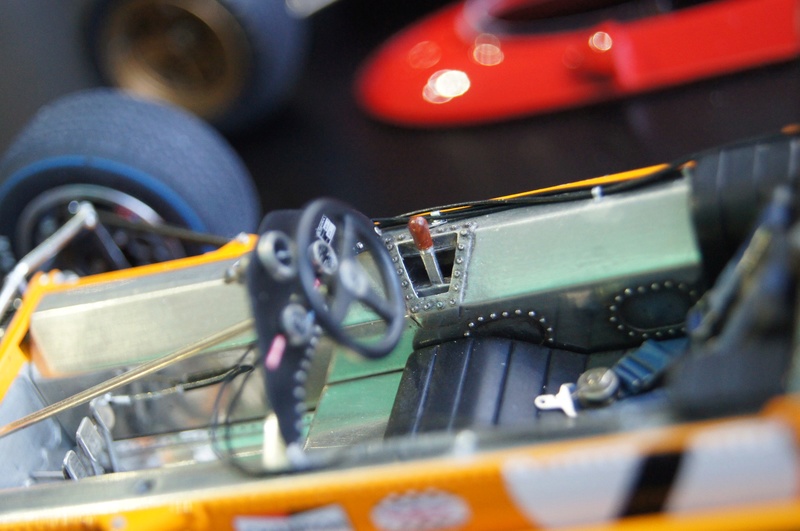 Nose on: 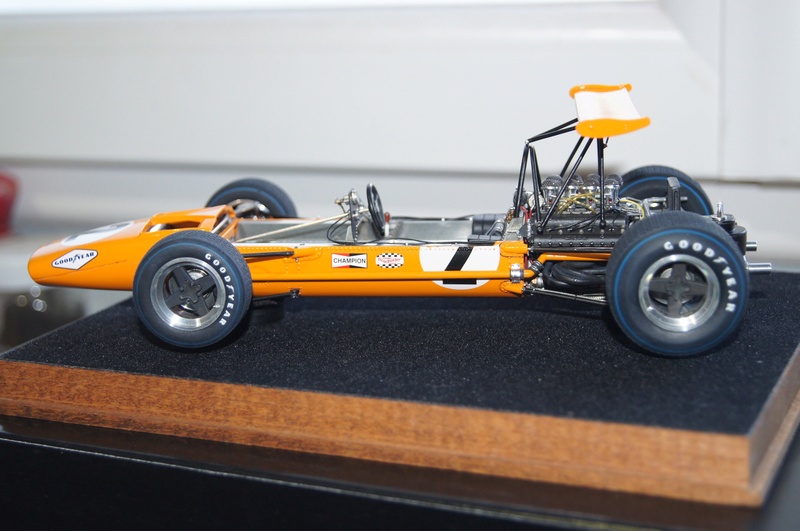 with her red friend: 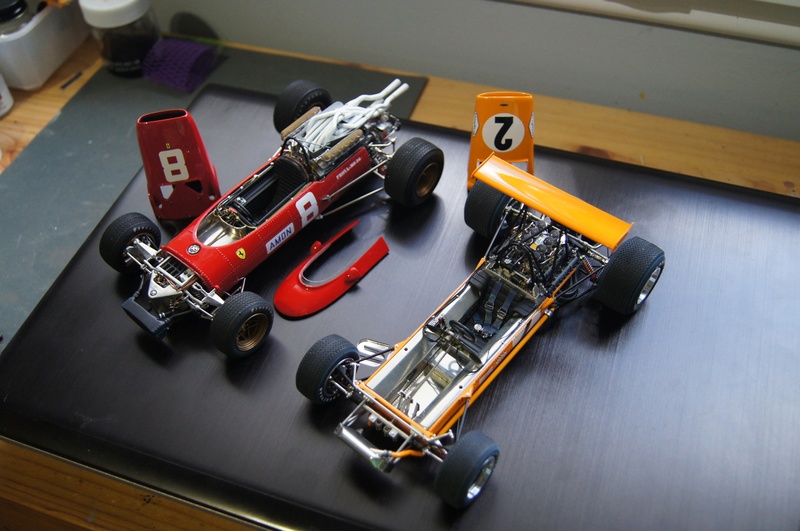 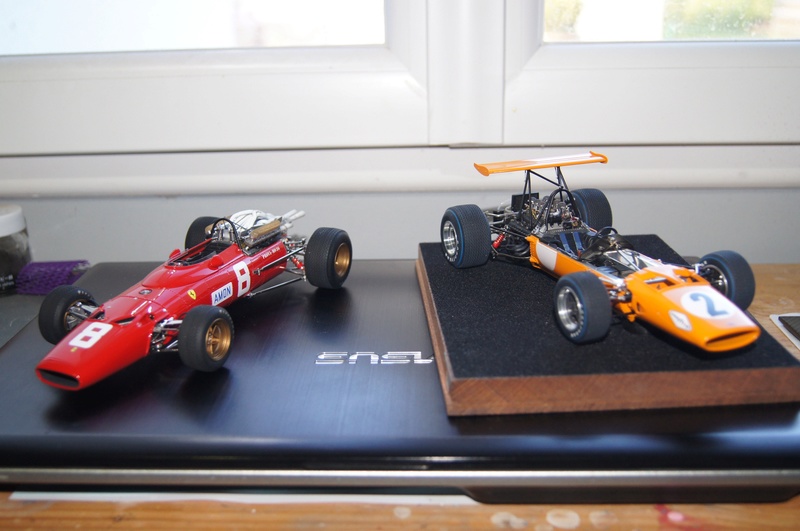 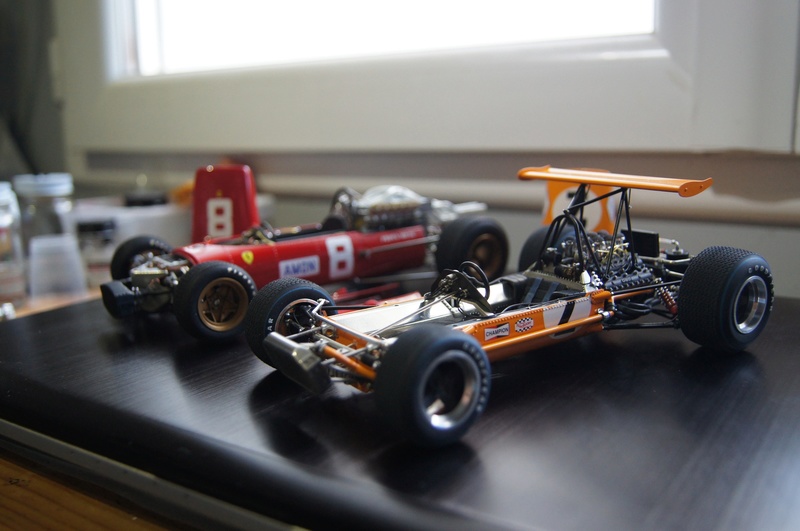 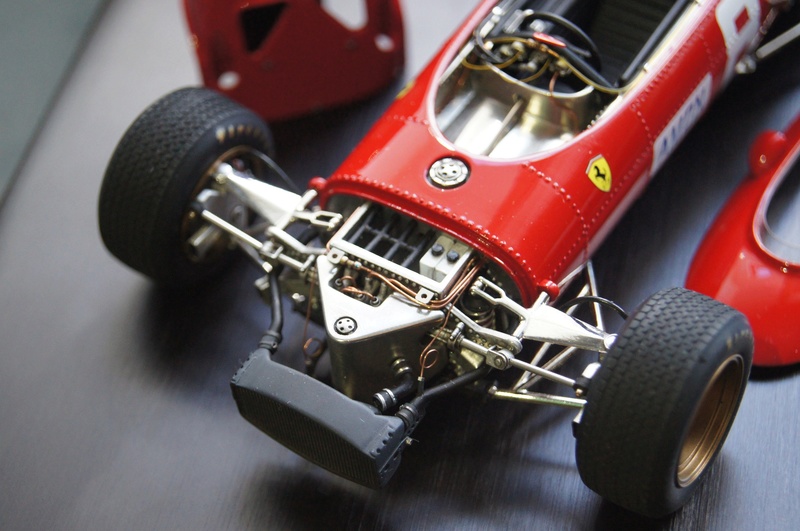 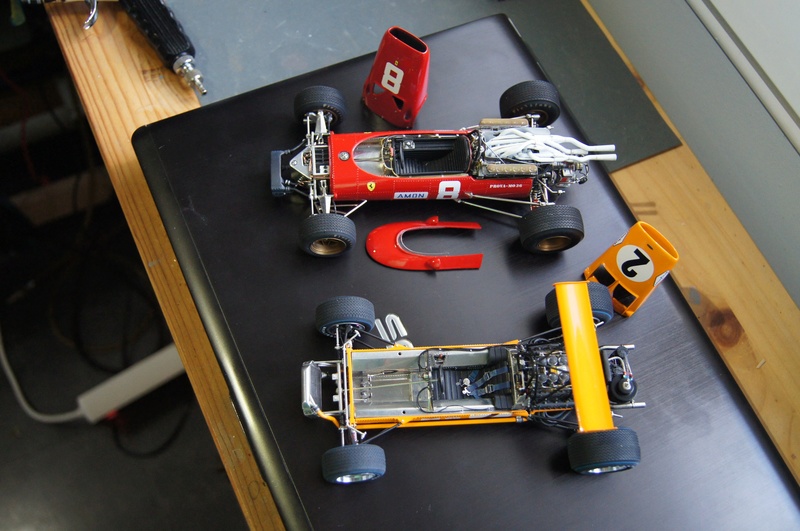 already thinking to the next one... 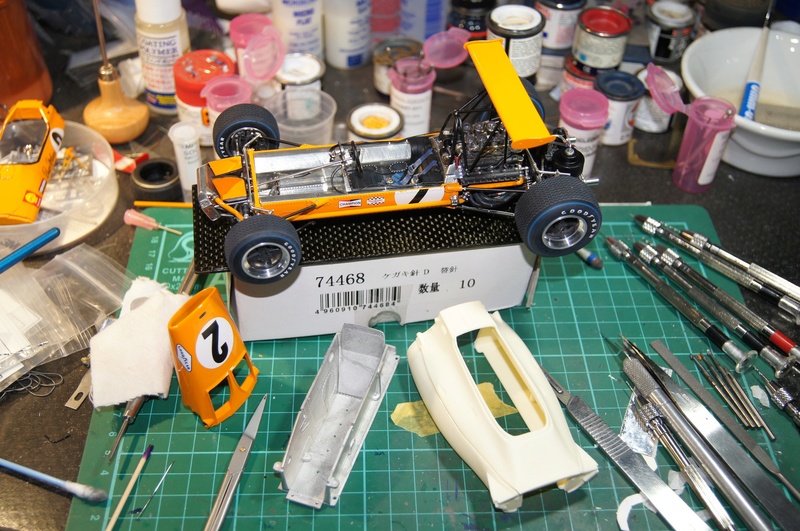 More soon. The end is not far. Sorry once again for being absent for so long... :oops: Pascal |
|
|
|
Post by 2lapsdown on Sept 7, 2017 15:58:45 GMT -5
I don't have adequate words to describe what I've seen, but thank you for sharing the process.
John
|
|
|
|
Post by Art Laski on Sept 7, 2017 16:27:24 GMT -5
Pascal,
I'm not sure how, but I missed this when you were originally posting, but it is really fantastic to see how you elevated an already nice kit into a masterpiece. Thanks for sharing. I certainly learned a few things!
-Art
|
|
Deleted
Deleted Member
Posts: 0
|
Post by Deleted on Sept 7, 2017 16:29:30 GMT -5
Incredible workmanship. Beautiful model of a beautiful car.
|
|
|
|
Post by Patrick on Sept 7, 2017 19:11:48 GMT -5
Wow! This will be the best reference to build the old Heller kit by. This is excellence!
Patrick
|
|
|
|
Post by racerbrown on Sept 8, 2017 7:00:19 GMT -5
glad to see you back at it again!
i'll never figure out how you did the blue rings on the tires (very steady hand?).
thanks for sharing.
duane
|
|
|
|
Post by indy on Sept 8, 2017 10:24:54 GMT -5
60s F1 is just such a great era. Love these clean 3 liter beasts from '66-'68. Your builds really capture the look and feel. Beautiful!!
So the blue rings, you put a piece in the middle of the tire and another piece over the outside where it leaves just the ring exposed to paint?
Jordan
|
|
pg265
Front Runner
 
Posts: 231 
|
Post by pg265 on Sept 18, 2017 15:34:18 GMT -5
Bonsoir, Thank you very much Mates :oops: @jordan: Yes. This is a MFH tool  Here we are! The Roaring Papaya is finished. Mat black after masking: 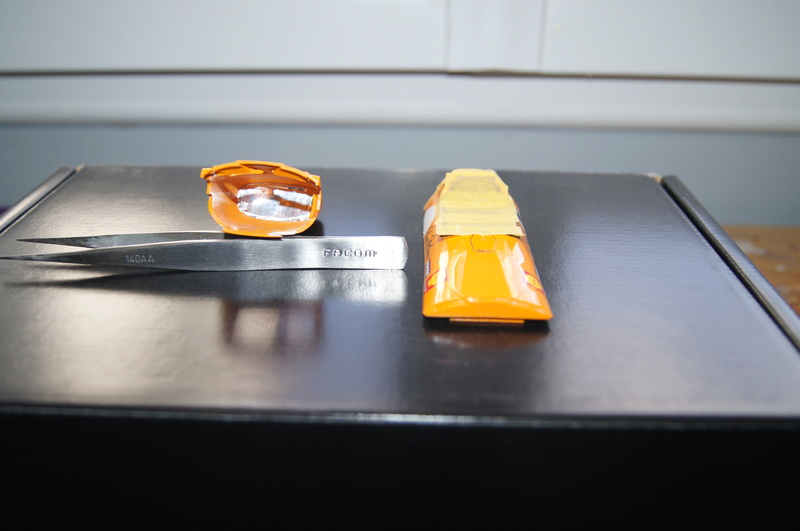 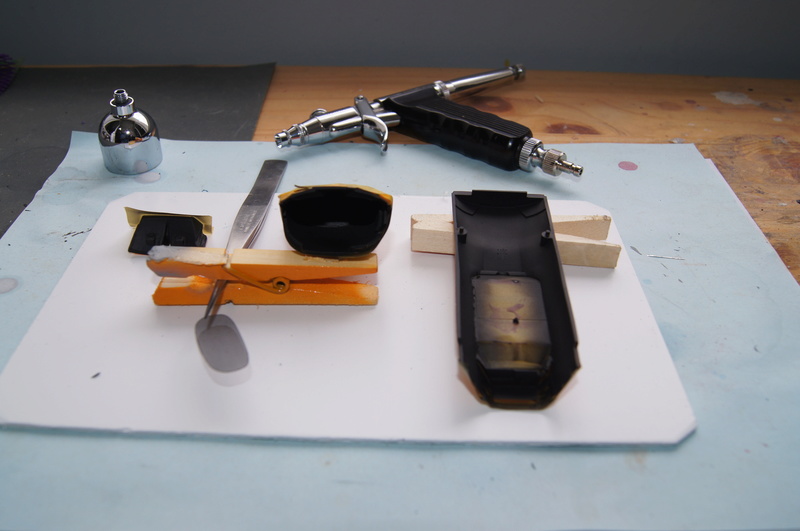 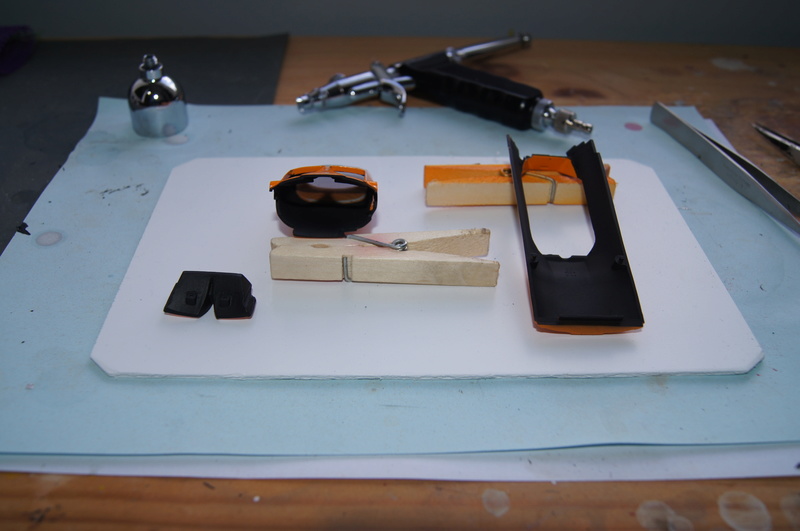 Windshield is installed with 0.7 resin rivets. Mirrors, Dzus and metal rivets of the front hatch are also now done. 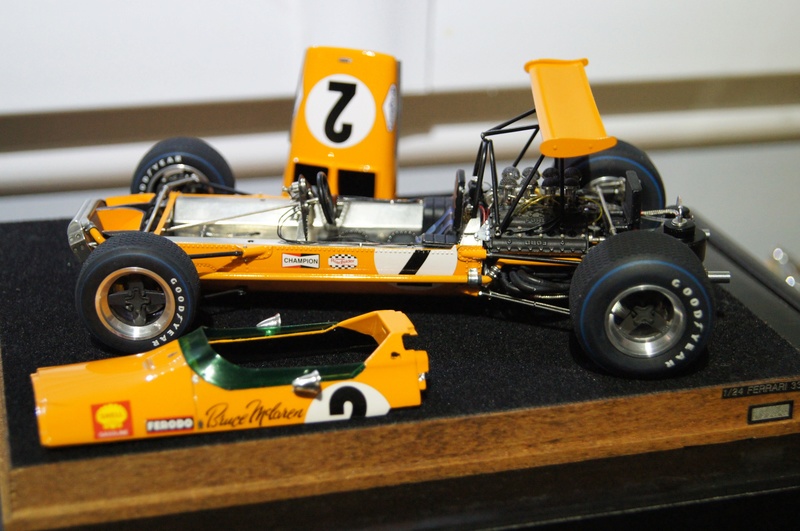 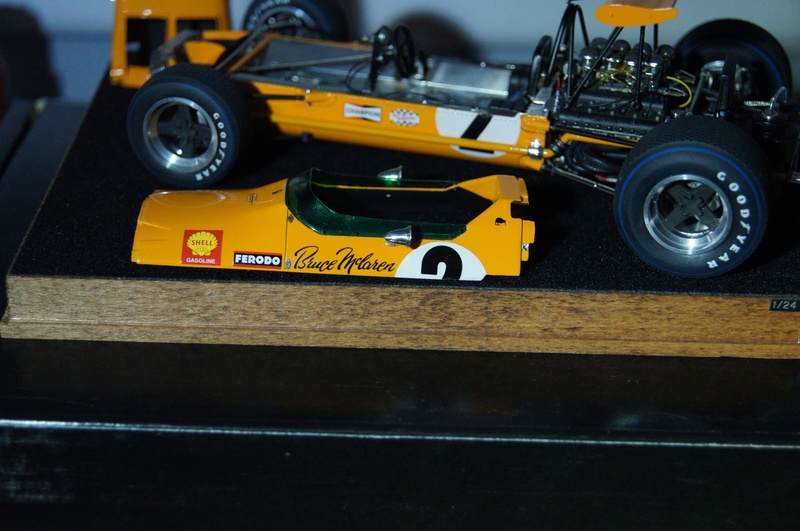 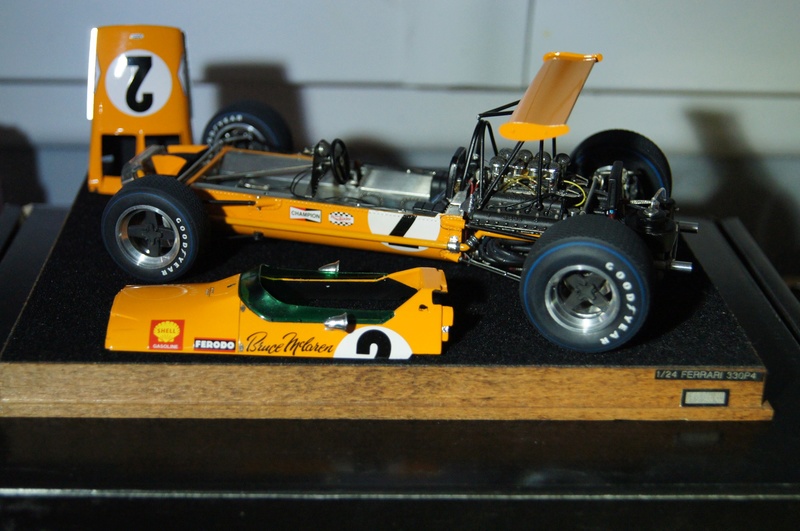 I'm trying to take better pics maybe a bit later... I hope this wip was plesant for you. As usual, comments and remarks are welcome. Pascal |
|
|
|
Post by Patrick on Sept 18, 2017 15:50:20 GMT -5
Love your Ferrari 312 Pascal!!!!! If only there was a 1/24 body!!!
Patrick
|
|
|
|
Post by racerbrown on Sept 18, 2017 20:45:14 GMT -5
there is just so much detail to take in here!
thanks for sharing this sir.
duane
|
|
pg265
Front Runner
 
Posts: 231 
|
Post by pg265 on Sept 19, 2017 16:06:05 GMT -5
|
|
|
|
Post by sandysixtysfan on Sept 20, 2017 20:05:53 GMT -5
Just simply amazing!
Sandy
|
|
robh
Race Winner
  
Posts: 526
|
Post by robh on Sept 20, 2017 21:26:26 GMT -5
You're in a league of your own. Thanks for sharing this spectacular build.
|
|
|
|
Post by billj on Sept 22, 2017 11:30:18 GMT -5
Wow, totally awesome building and details. I wish I had the skill to make a model like this! I have trouble with the cap on my toothpaste, so attaching small parts to other small parts is probably not for me  I have a Gulf GT40 in resin from Lemans Miniatures and it scares me every time I open the box. Just too many parts. I really enjoy seeing talented people put such beautiful models together. Lance, I am convinced you could build any model and build it well, better buy a MFH while they are available! |
|
|
|
Post by drums01 on Sept 25, 2017 11:48:34 GMT -5
I have followed this bill with great interest. Your skills and dedication to the build are off the charts, superb!!!
Thanks for sharing this ......
|
|