pg265
Front Runner
 
Posts: 231 
|
Post by pg265 on Feb 14, 2016 17:35:09 GMT -5
Hi, Thanks Duane. Few progress. As usual, radiator is filled. 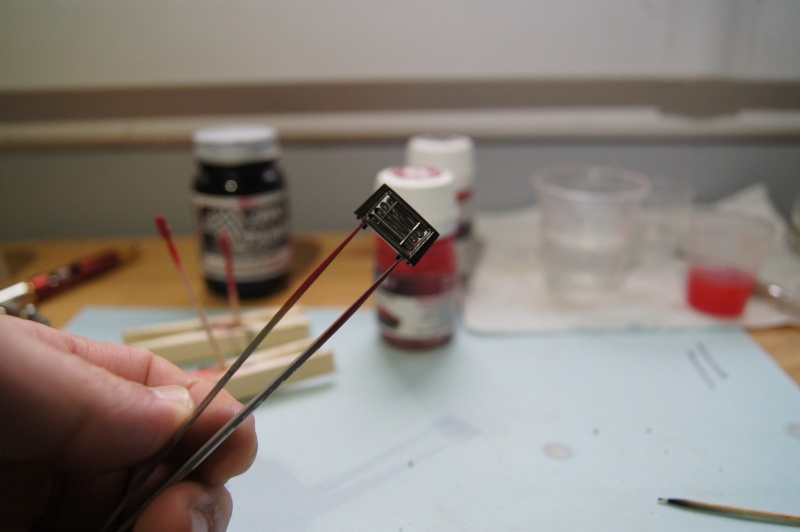 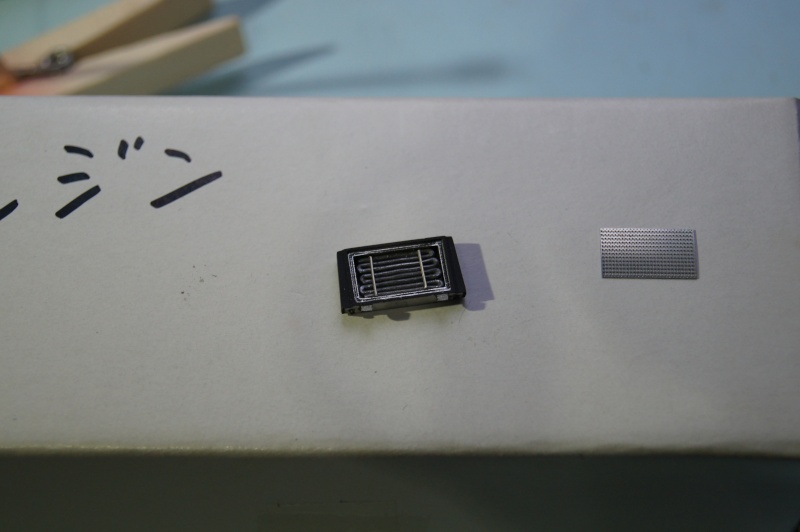 Better pics than those from yesterday: 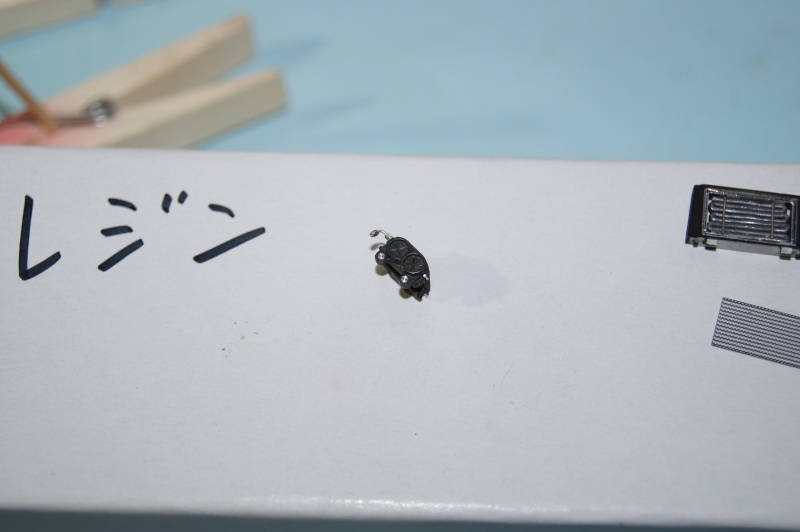 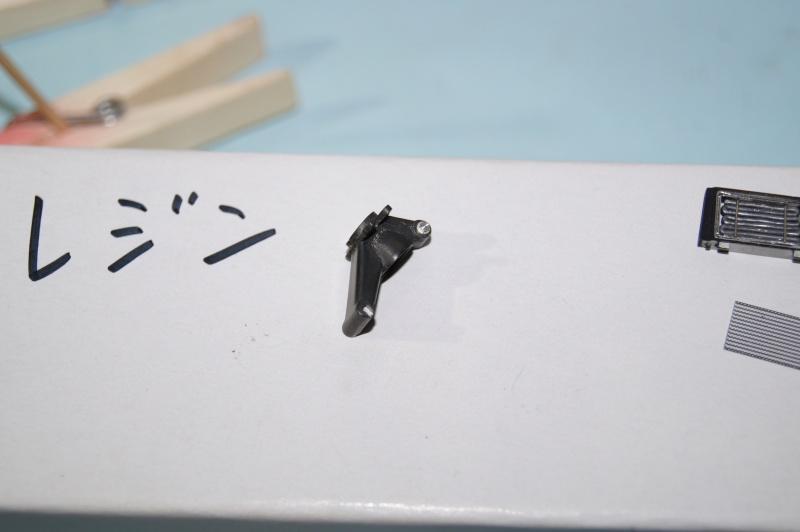 Weld lines added. It's a bit rude for now, but with primer and flat black it should be ok. If not... I'll undo it and will make the weld lines with the iron as it was tested initially. 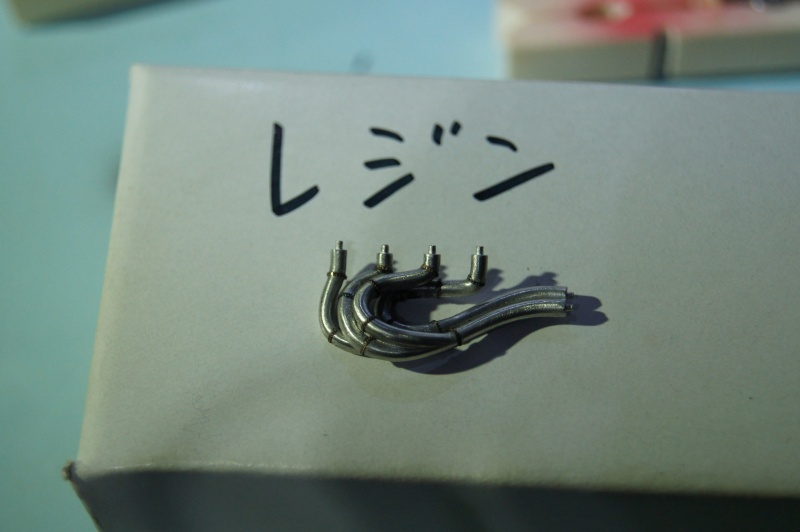 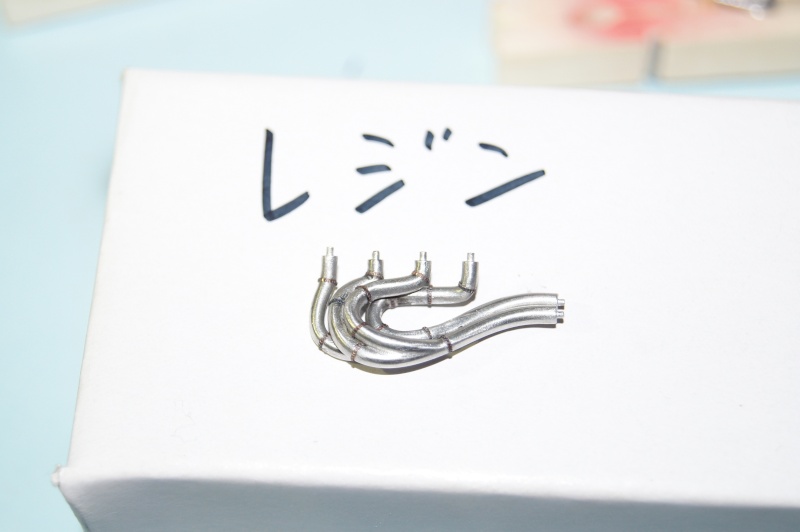 Dampers almost finished. A Koni stucker was added... Just now need a light oil wash. 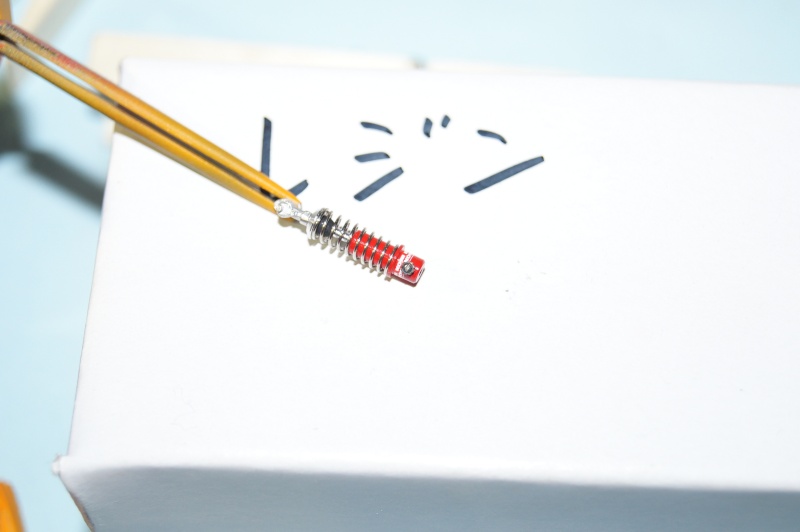 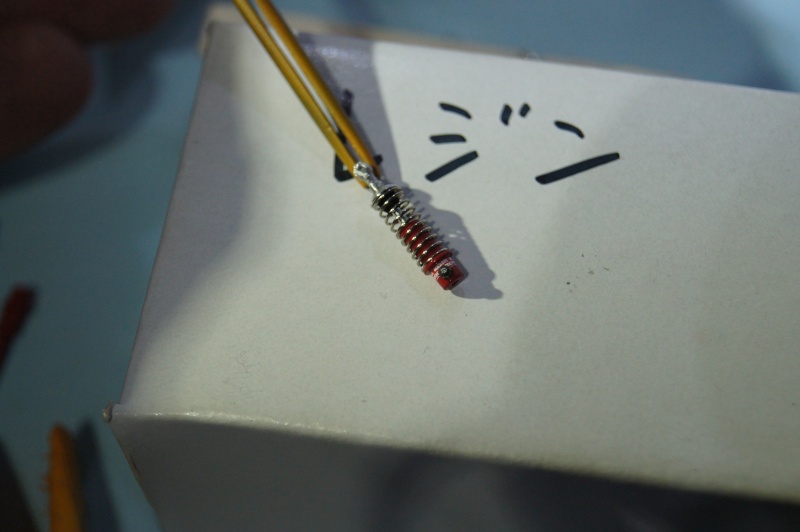 More soon. Pascal |
|
pg265
Front Runner
 
Posts: 231 
|
Post by pg265 on Feb 15, 2016 16:41:18 GMT -5
Hi, Primer and paint session . 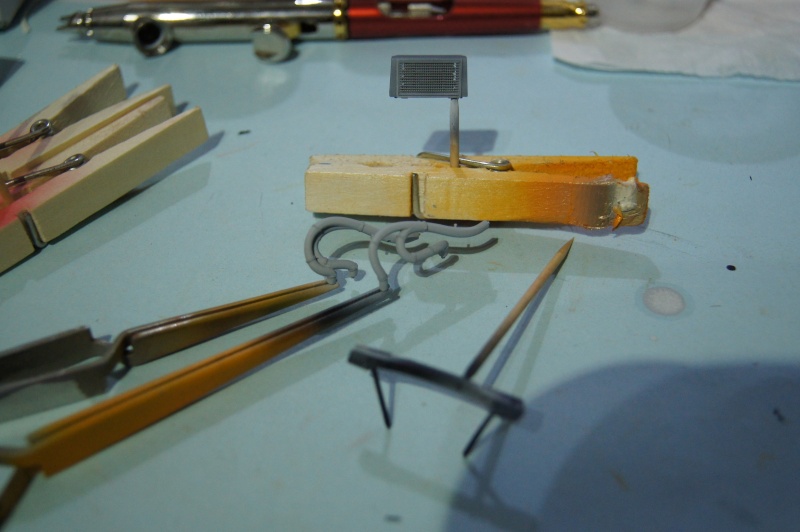 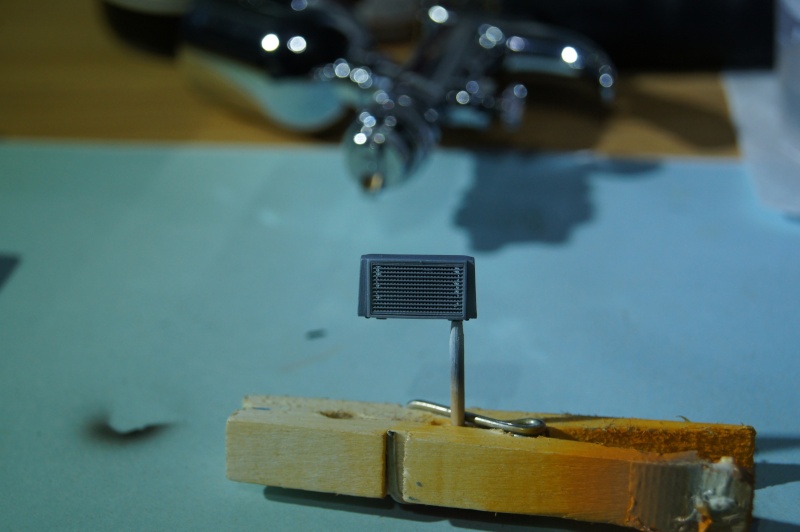 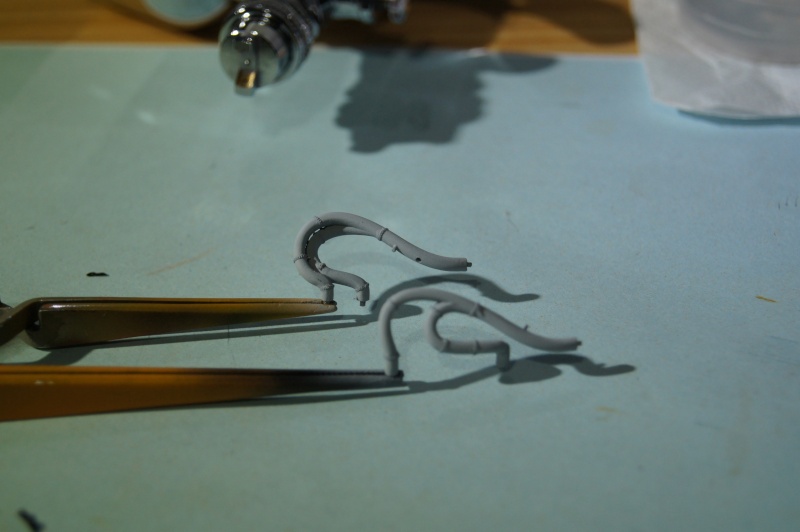 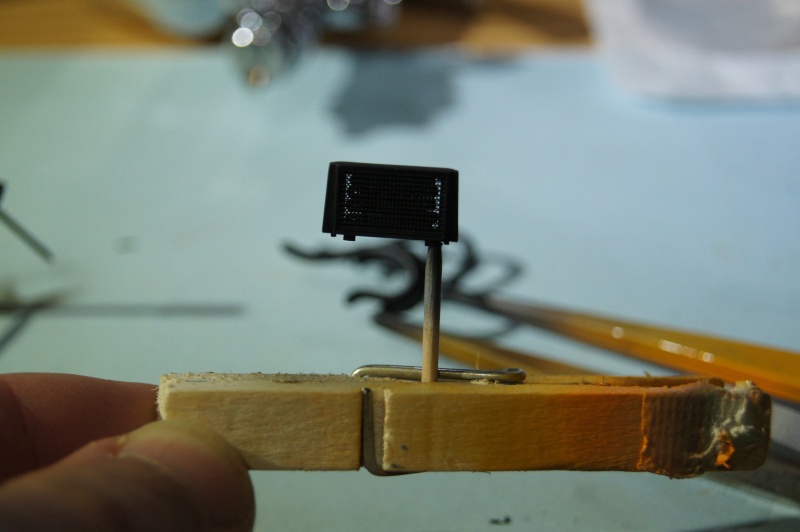 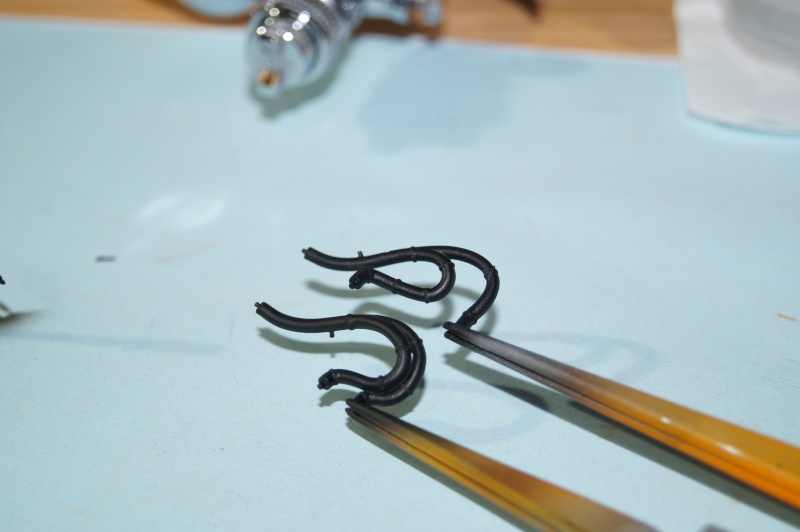 Front dampers clear coated: 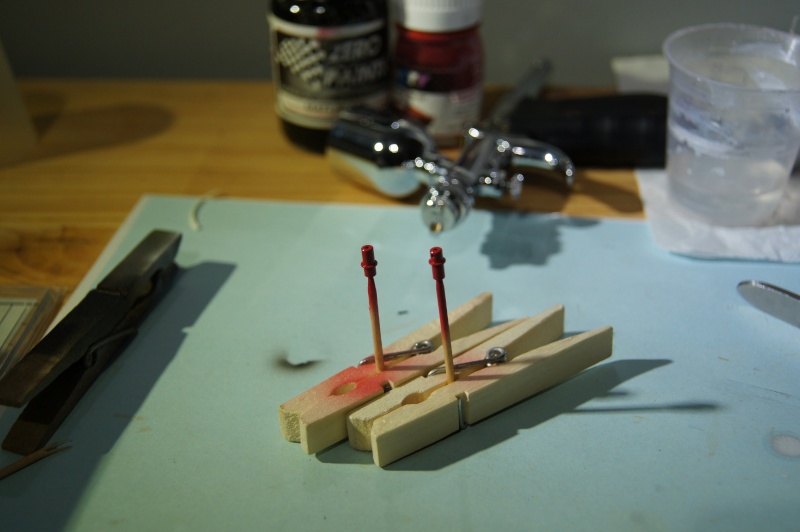 Not that happy with the weld lines I find pretty rude and out of scale... I will decide what to do after "weathering" job on this side exhaust. Pascal |
|
Deleted
Deleted Member
Posts: 0
|
Post by Deleted on Feb 15, 2016 17:32:51 GMT -5
Consider a putty or silicone. You could roll a strip like you are making noodles. Form it around the diameter. Clear coat it to seal it and then paint?
|
|
|
|
Post by clm1545 on Feb 15, 2016 20:09:02 GMT -5
Or, maybe, fine mono fishing line.
|
|
|
|
Deleted
Deleted Member
Posts: 0
|
Post by Deleted on Feb 16, 2016 18:24:40 GMT -5
Welds look more plausible. I'm glad your rethinking it.
What is going on with the "oil" painting process? Are you washing these parts down with something? It no doubt looks outstanding and every piece on it appears to be metal. The shading process? I would like to hear more about it.
Like how you do it ;-)
|
|
pg265
Front Runner
 
Posts: 231 
|
Post by pg265 on Feb 18, 2016 18:11:32 GMT -5
Hi, Thanks  This is the other solution regarding the exhaust weld lines. I made a real flat weld line with low temp solder. It was then masked with liquid mask and treated with burnishing product. 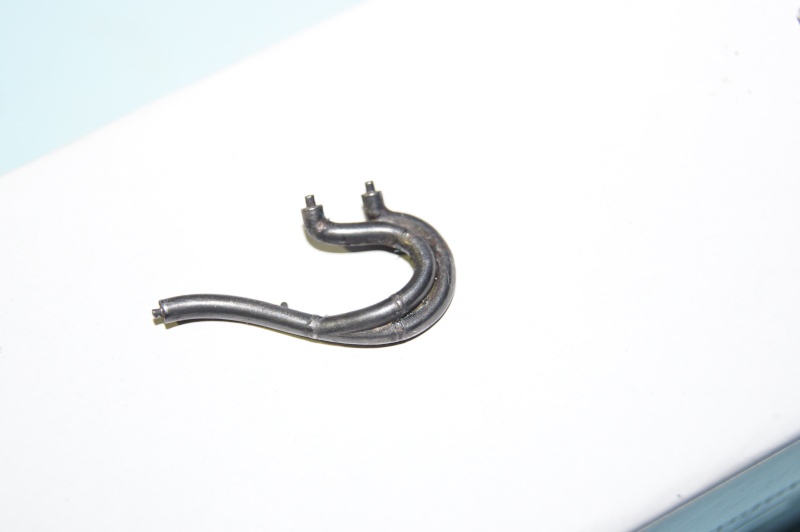 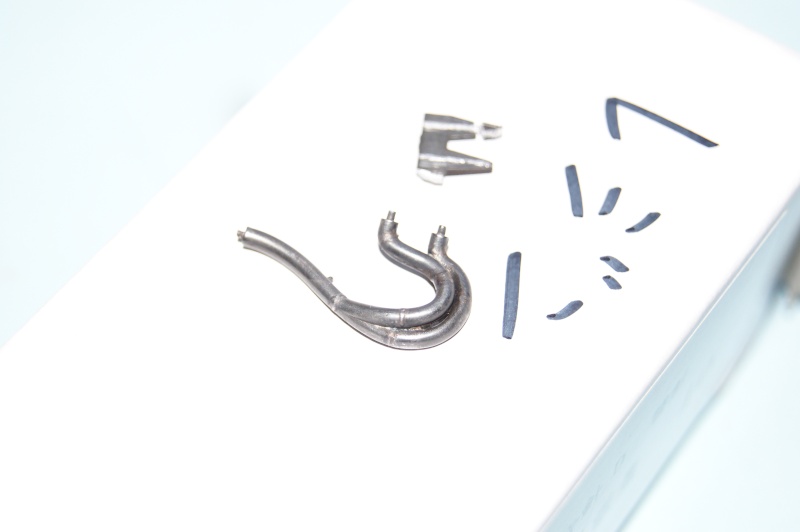 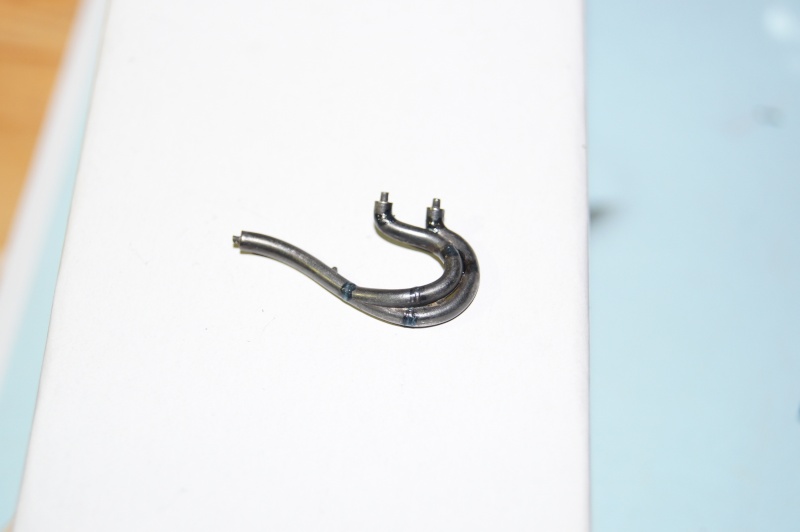 A mask a bit larger was then done before shooting primer and mat black 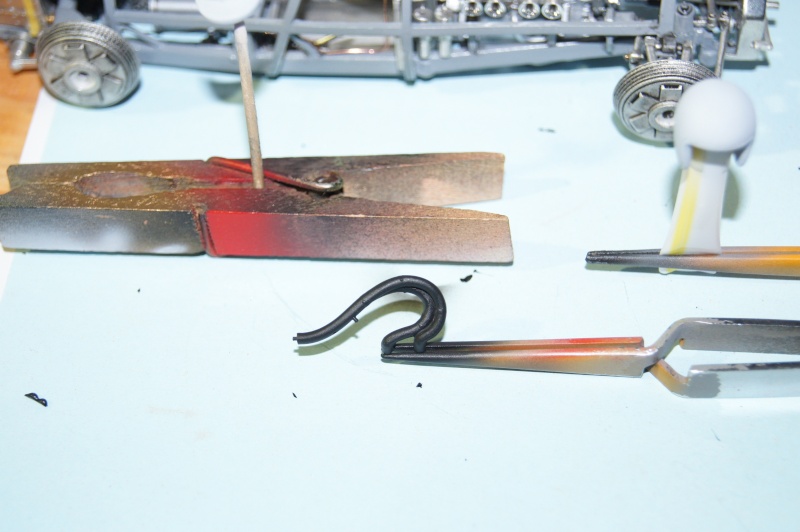 I think I will add few accessories: 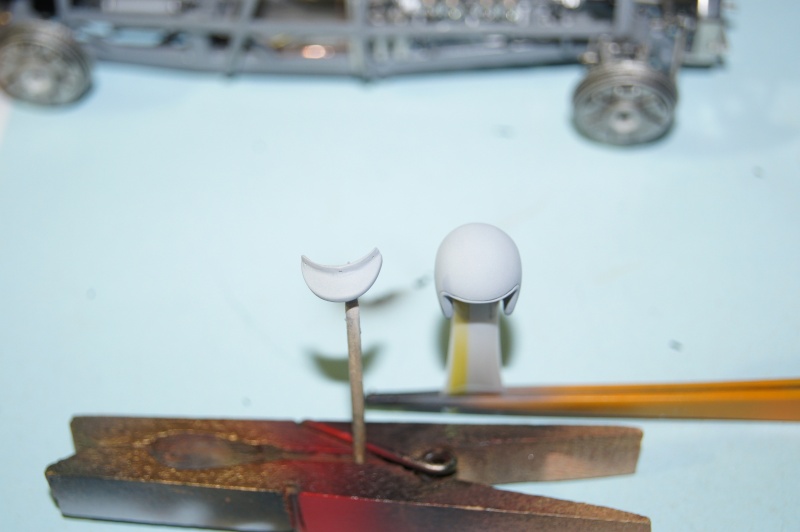 Pascal 8) |
|
|
|
Post by indy on Feb 19, 2016 9:39:12 GMT -5
Another great update, Pascal. I like the two part helmet. I have never seen one like that before but that is a great way to do it for the modeler to paint.
Jordan
|
|
|
|
Post by lance on Feb 20, 2016 11:29:26 GMT -5
You make this look to easy.
|
|
|
|
Post by Patrick on Feb 20, 2016 12:29:39 GMT -5
Very nice WIP. Thanks.
Patrick
|
|
pg265
Front Runner
 
Posts: 231 
|
Post by pg265 on Feb 20, 2016 17:47:11 GMT -5
Hi, Thanks a lot guys, much appreciated! Not that happy with the former result: Plouf! gone to swim in the cellulose thinner. New black layer sprayed 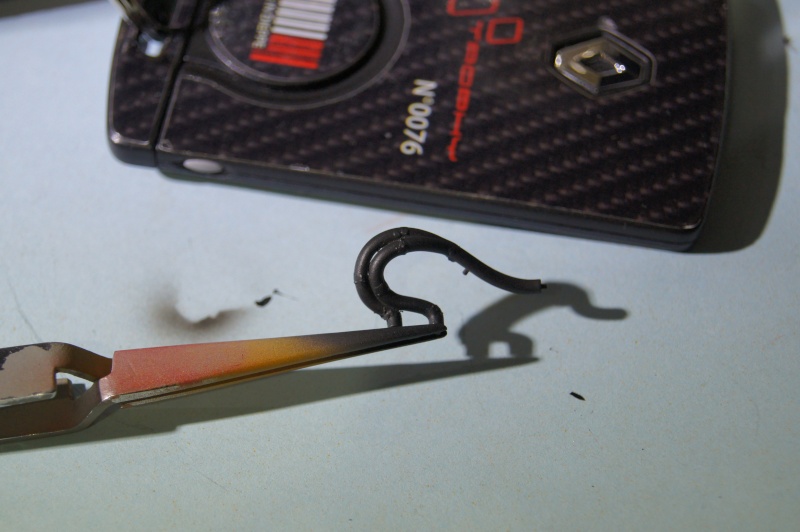 ZP Black on the gloves too: 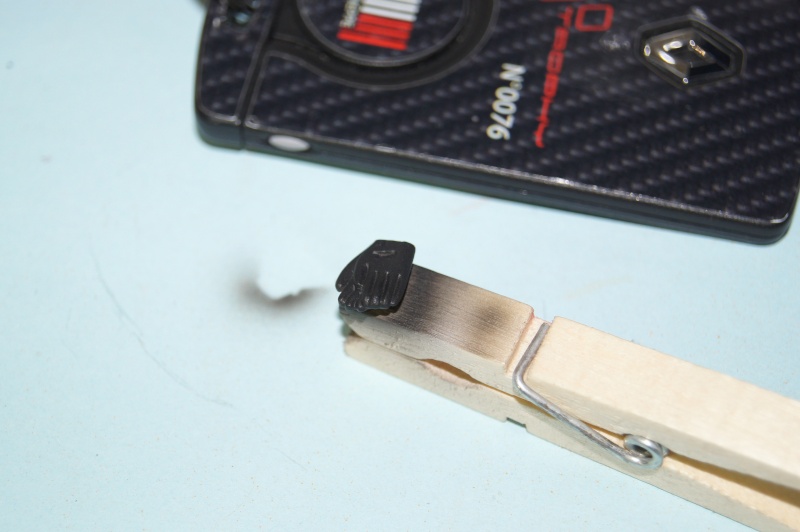 ... and Pure White on the helmet: 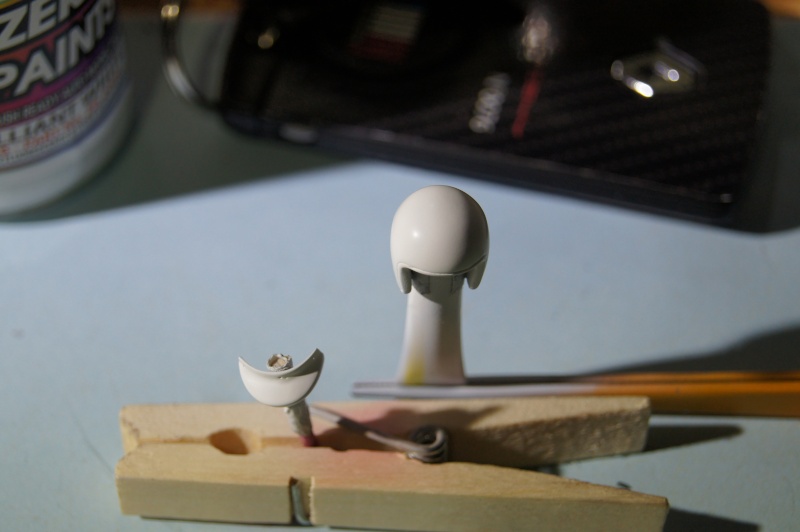 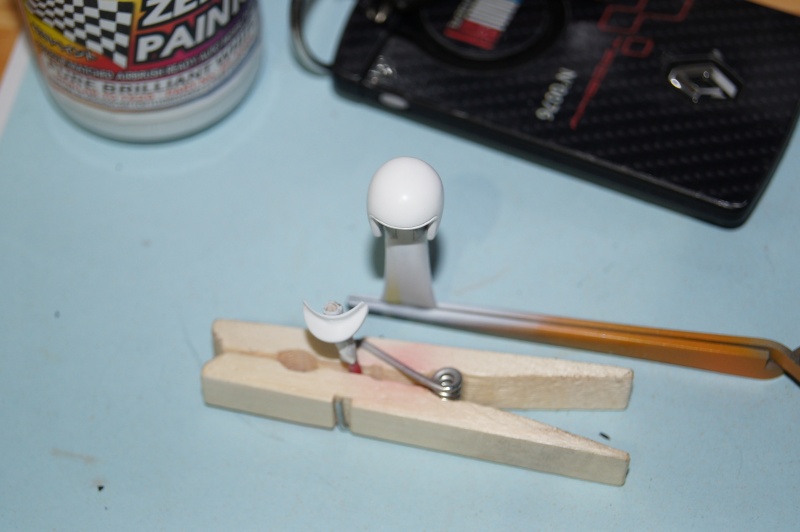 Maskol off, ZP Translucent blue and W&N Ivory black wash down on the weld lines area: 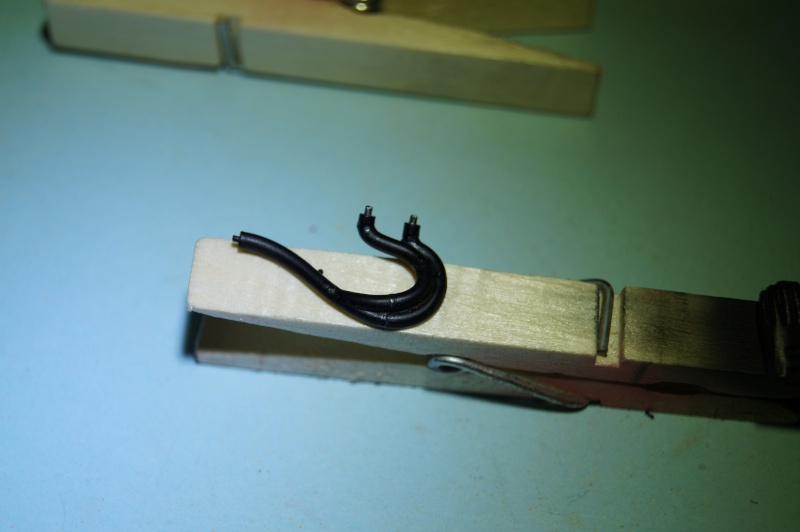 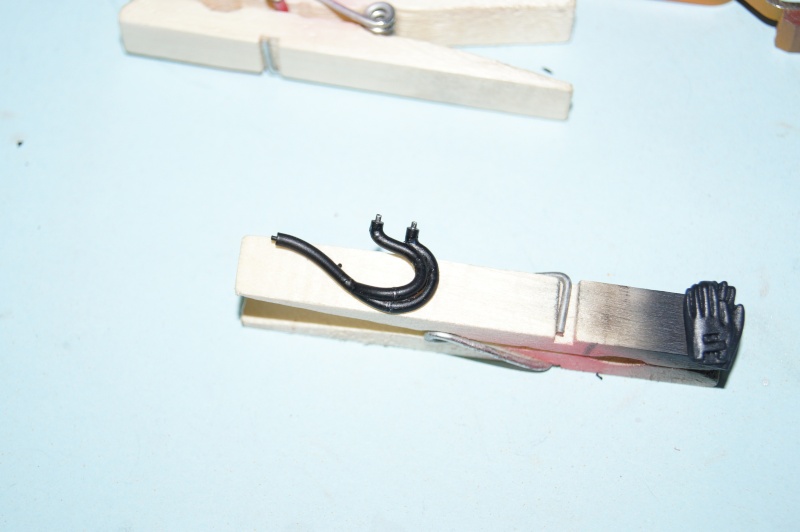 Not decided yet... Couldn't resist to compare the DFV with the 500 F2 engine! Should have done the same with the Tipo 218 V12 of the312F1... 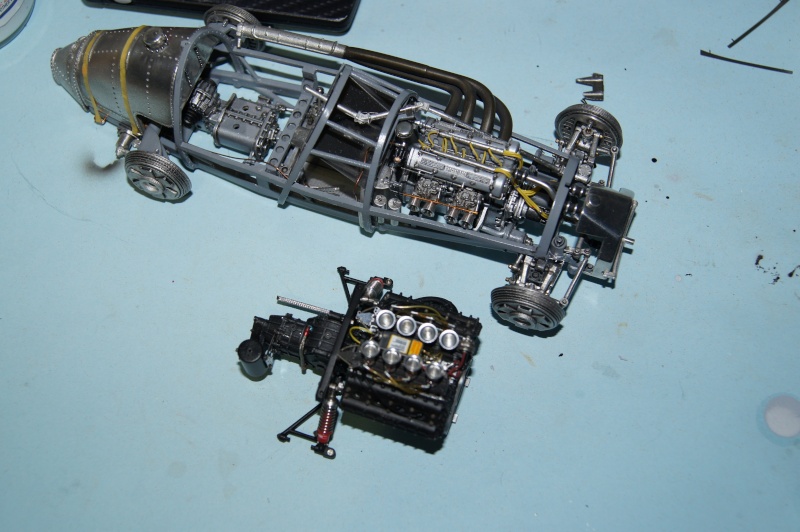 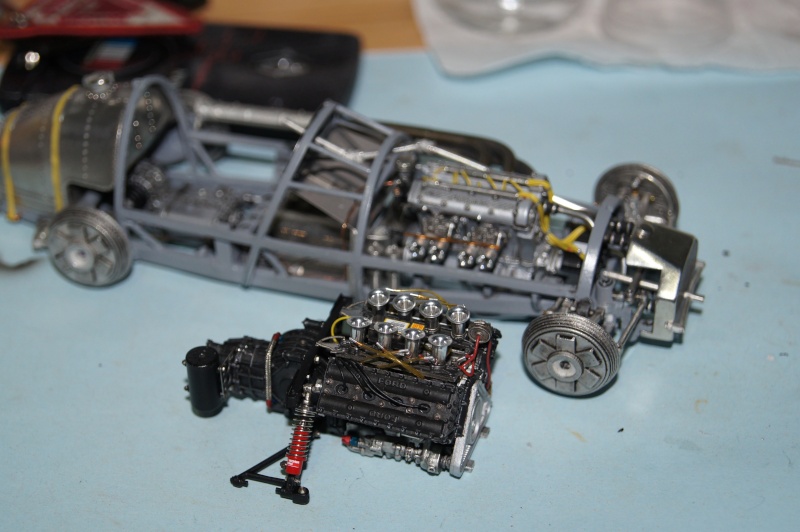 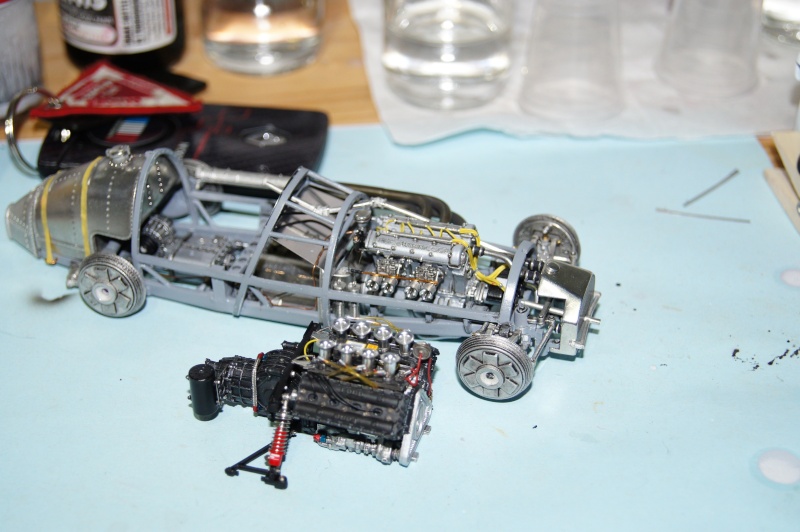 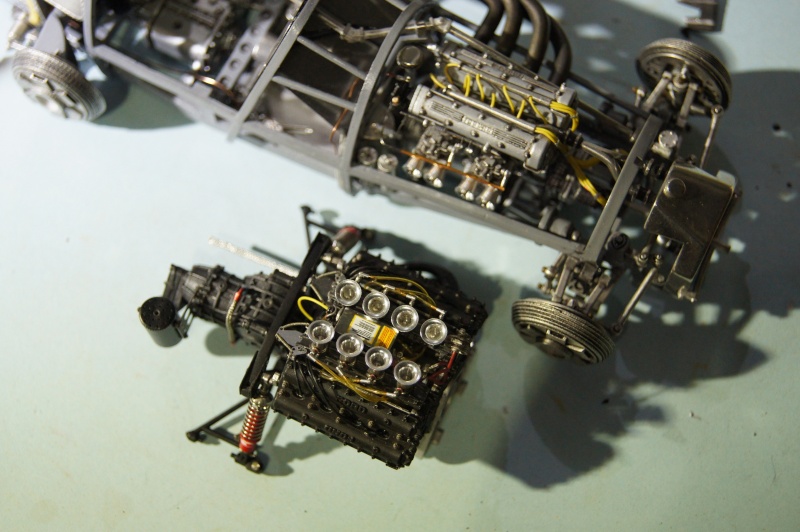 Pascal |
|
|
|
Post by clm1545 on Feb 20, 2016 20:53:20 GMT -5
I have no words to describe your work, so from now on, I will just look.
|
|
|
|
pg265
Front Runner
 
Posts: 231 
|
Post by pg265 on Feb 23, 2016 0:27:32 GMT -5
Hi, Oil coooooler; A/N fittings & braided line! 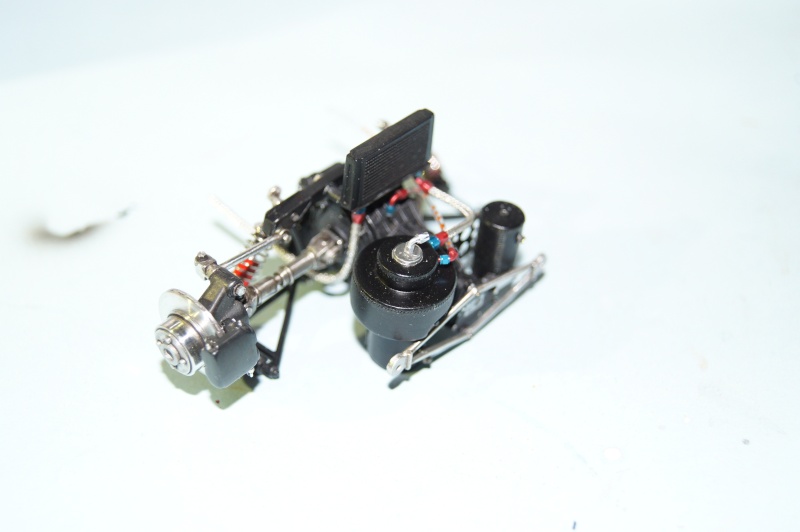 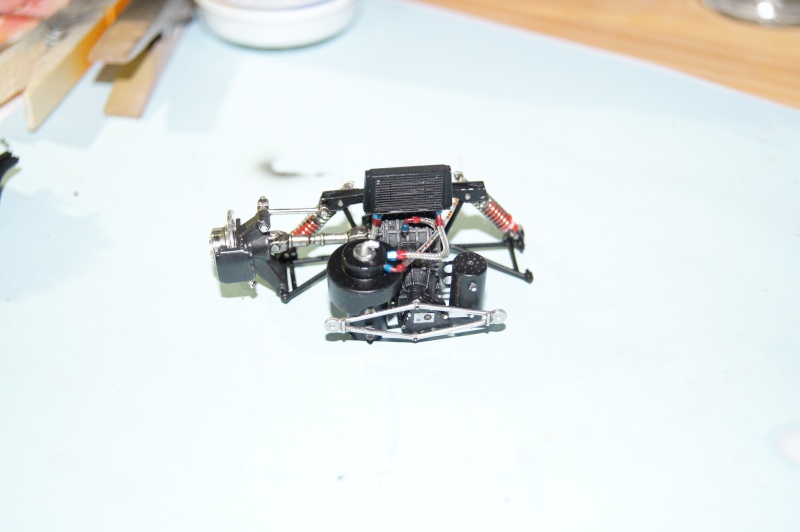 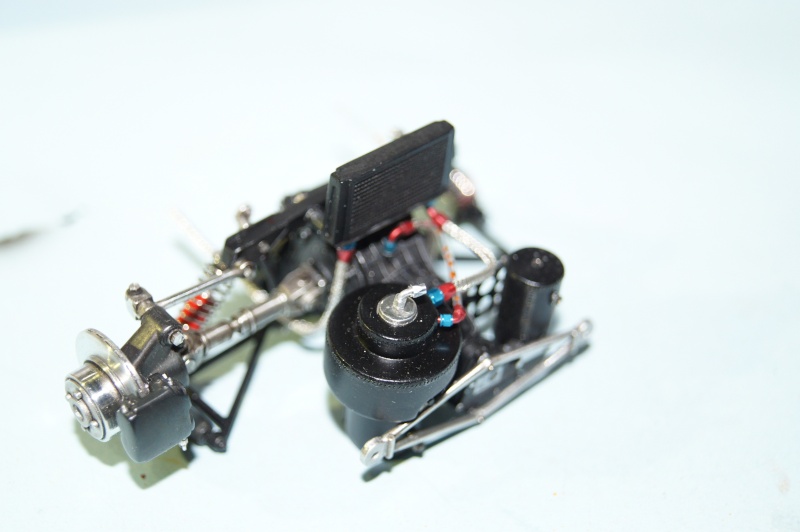 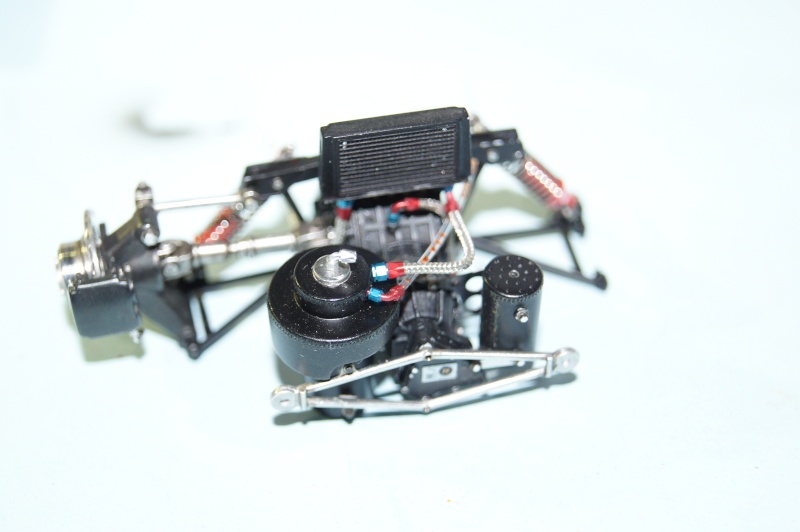 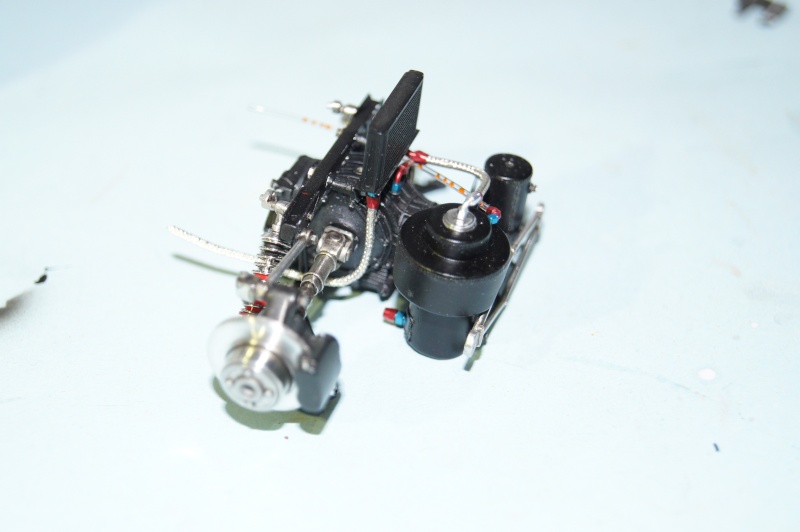 More soon. Pascal |
|
|
|
Post by racerbrown on Feb 23, 2016 7:52:02 GMT -5
enjoying the heck out of this!
duane
|
|
|
|
Post by indy on Feb 23, 2016 8:53:54 GMT -5
enjoying the heck out of this! duane +1 The heavy use of metal along with your detailing makes for an awesome looking build. Jordan |
|
pg265
Front Runner
 
Posts: 231 
|
Post by pg265 on Feb 24, 2016 17:32:09 GMT -5
Hi, Thanks Mates  Transmission is now almost done. Once the exhaust finished, engine and gearbox can be assembled, then fasten to the rear bulkhead. 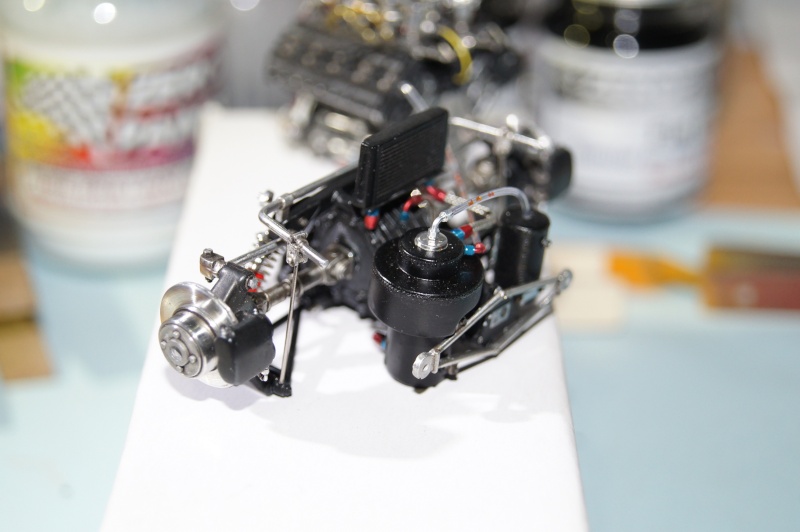 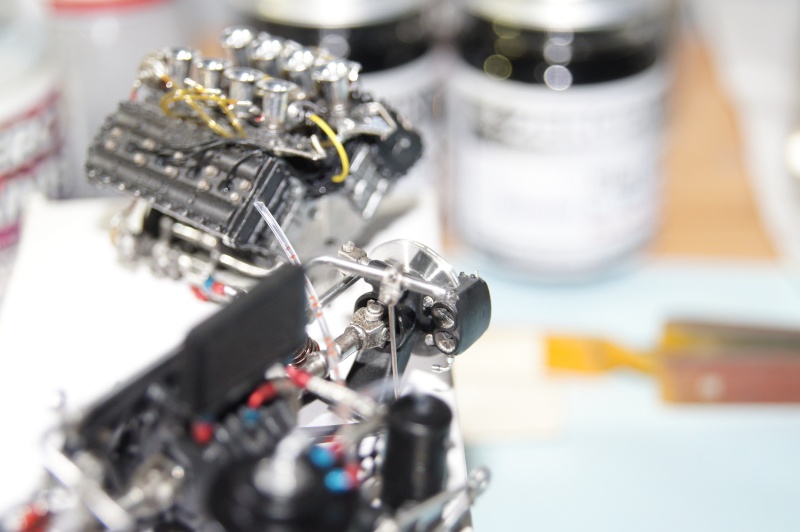 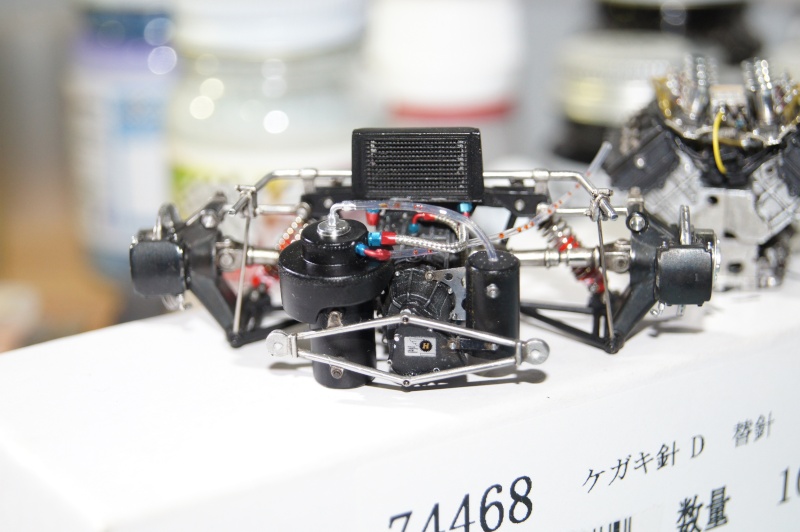 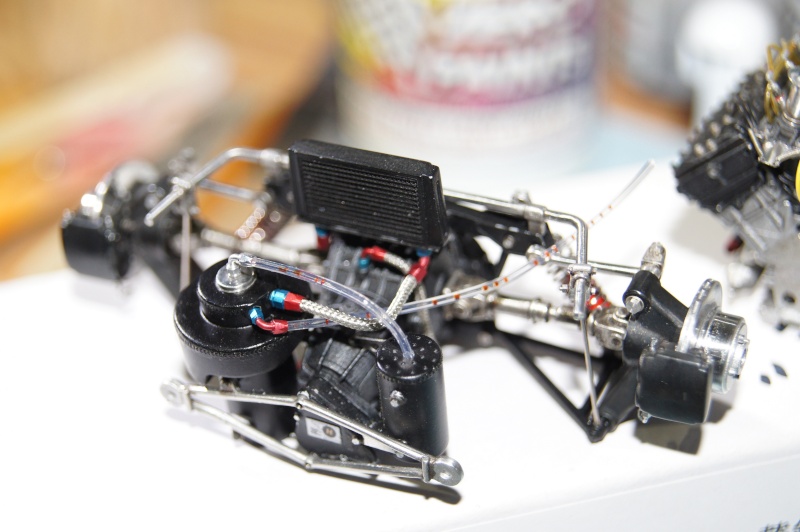 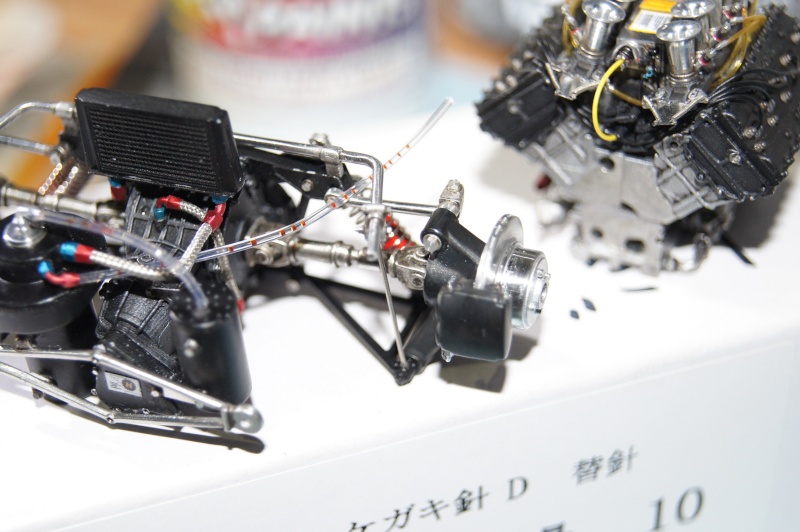 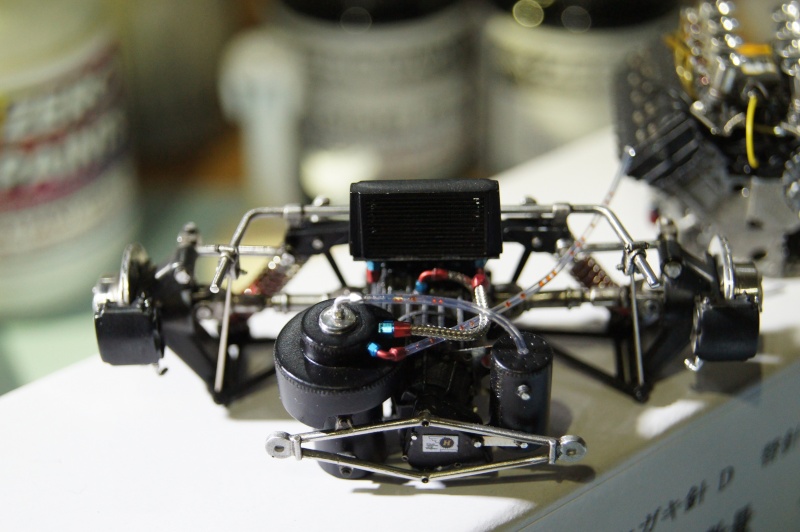 More soon! Pascal |
|
pg265
Front Runner
 
Posts: 231 
|
Post by pg265 on Feb 26, 2016 18:16:07 GMT -5
|
|
|
|
Post by racerbrown on Feb 29, 2016 22:45:04 GMT -5
amazing work sir!
please keep it coming.
duane
|
|
pg265
Front Runner
 
Posts: 231 
|
Post by pg265 on Mar 4, 2016 17:24:41 GMT -5
Hi, Thanks  Started to work on the instrument panel and tachometer/tacho connection. Angle gear is made of 2 parts of brass connectors, filed down and soldered. Not the best, but not too bad due to the fact that the part diameter is 0.7. The genuine hole in the tachometer is drilled with 0.5 bit, then filled with 0.5 lead wire. 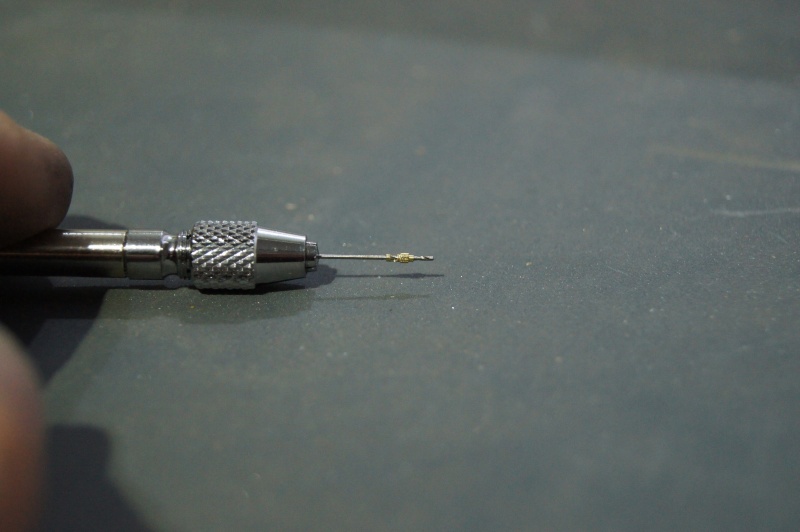 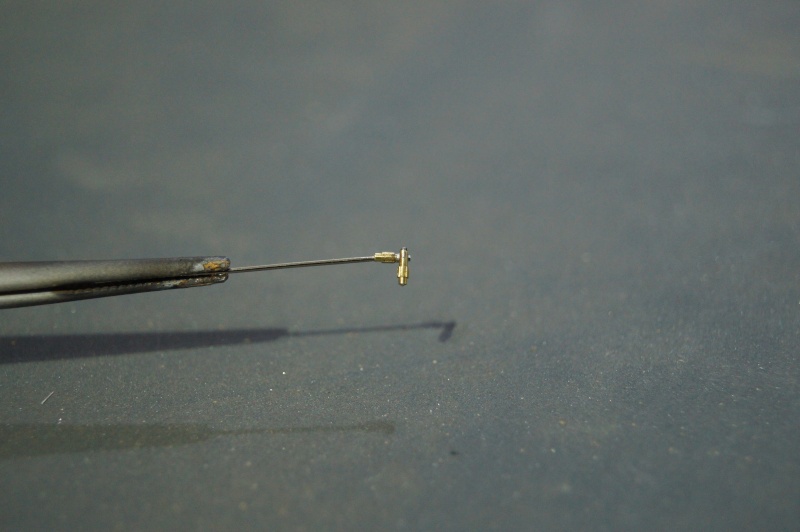 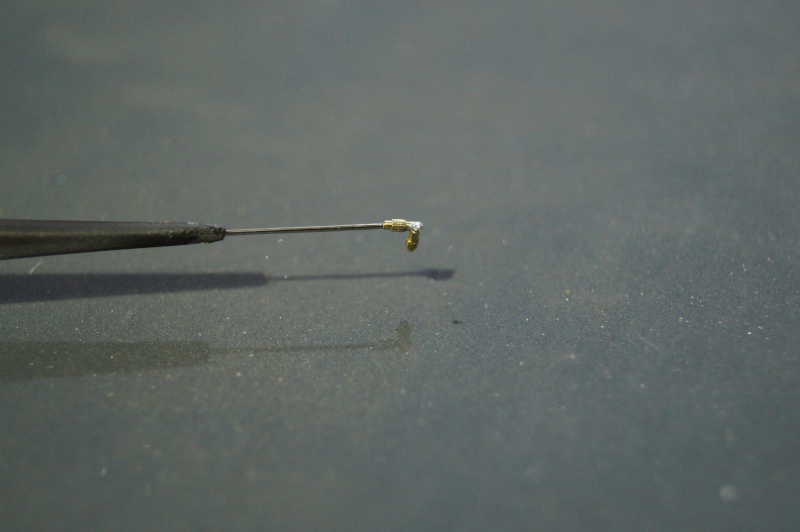 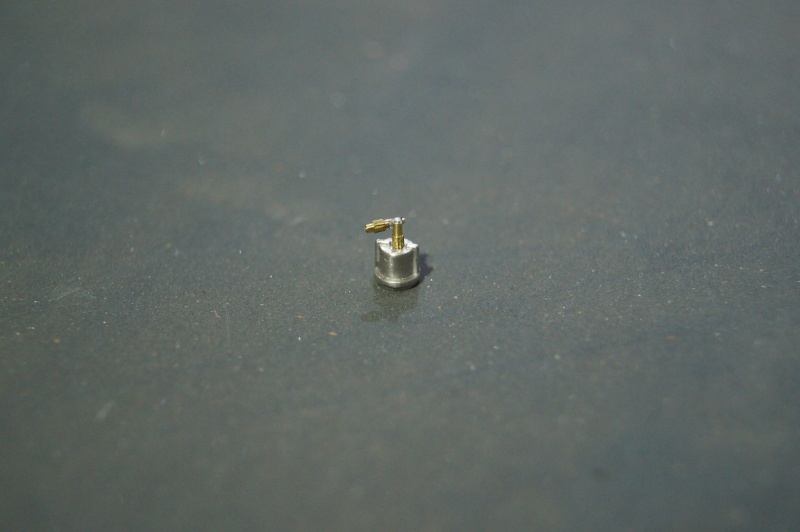 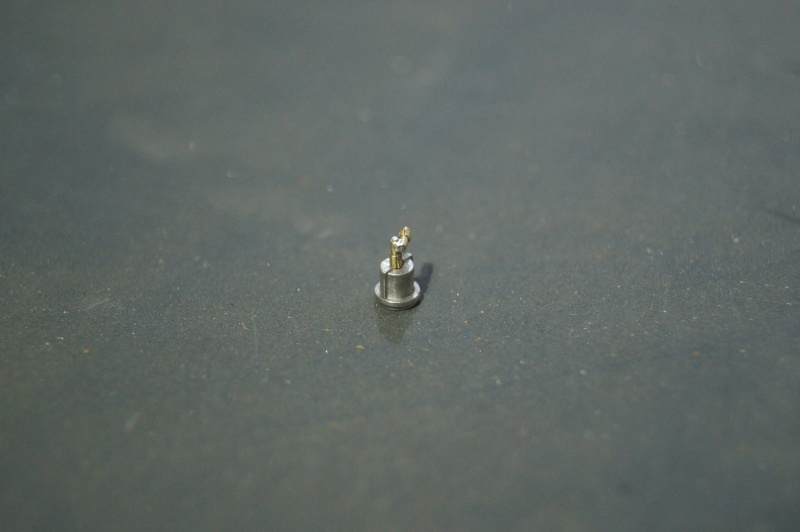 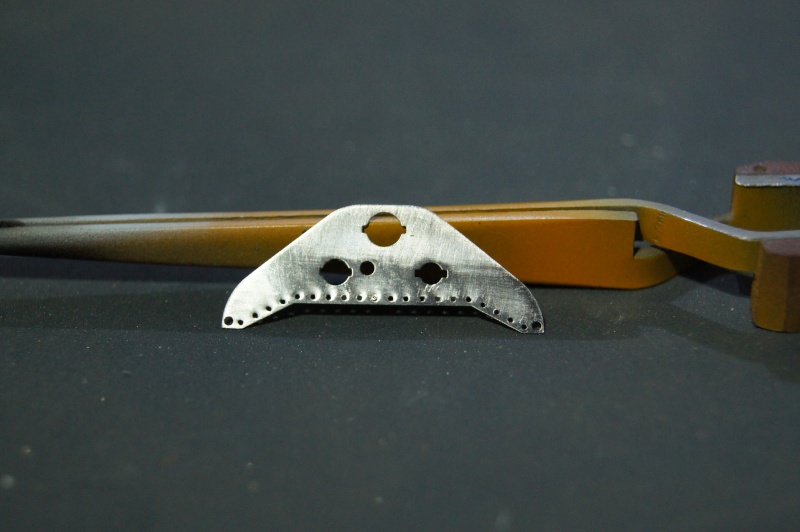 Pascal |
|
Deleted
Deleted Member
Posts: 0
|
Post by Deleted on Mar 4, 2016 18:01:07 GMT -5
You got paint on your tweezers! ;-)
|
|
pg265
Front Runner
 
Posts: 231 
|
Post by pg265 on Mar 5, 2016 18:29:39 GMT -5
Hi, Oops sorry  Dash board painted with Flat Black ZP: 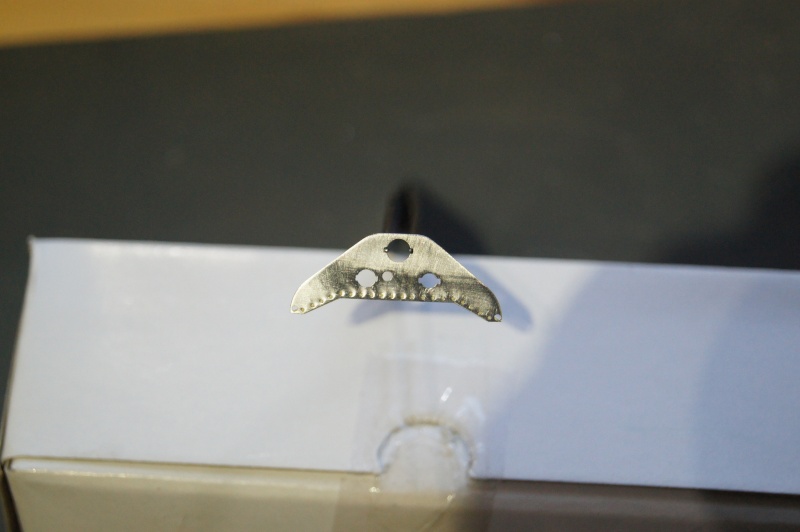 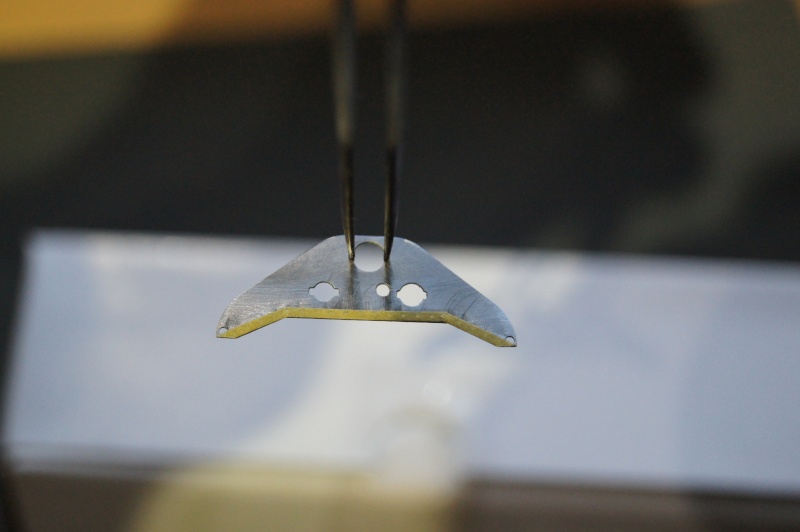 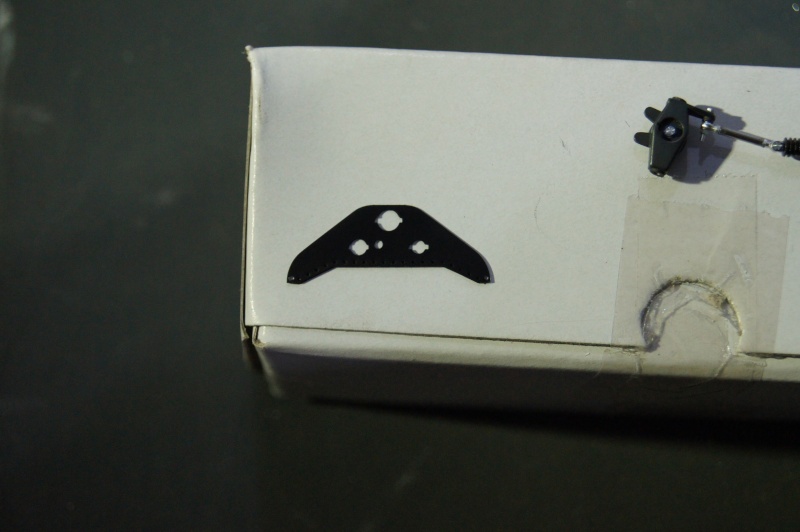 Front dampers done: 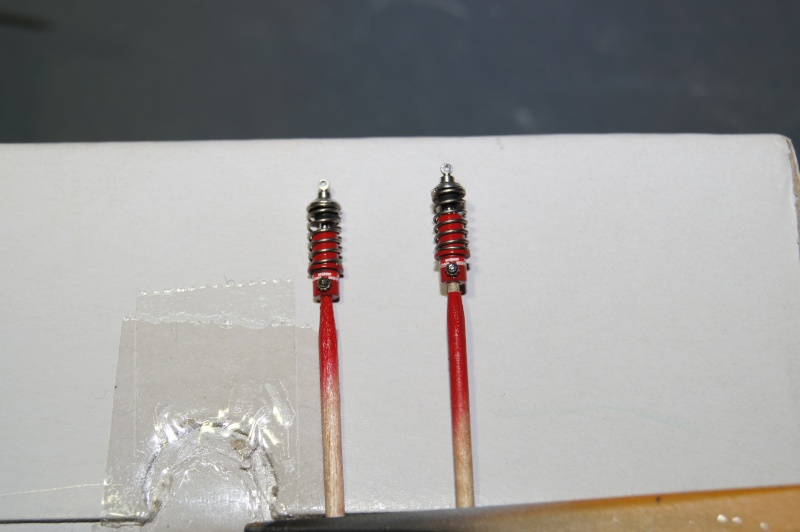 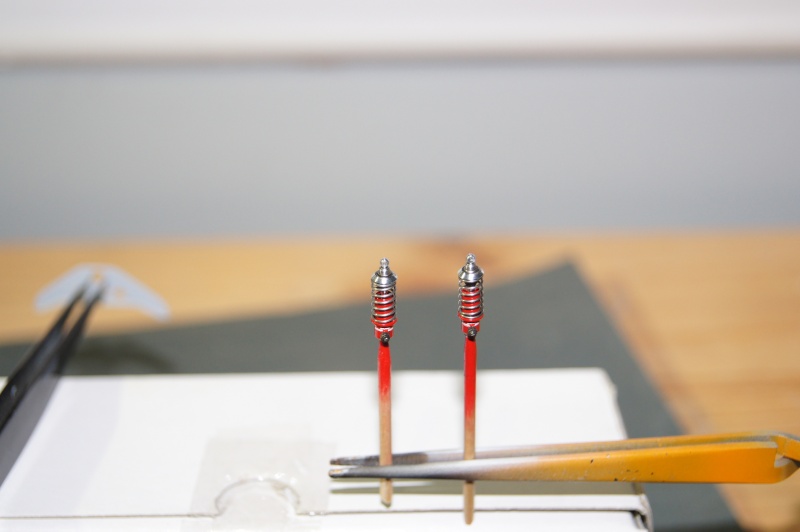 Stub axle modified: 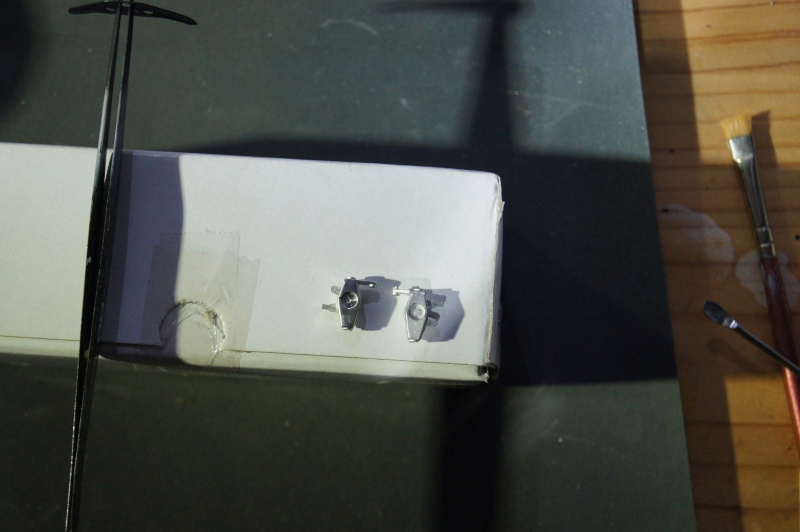 ... then burnished: 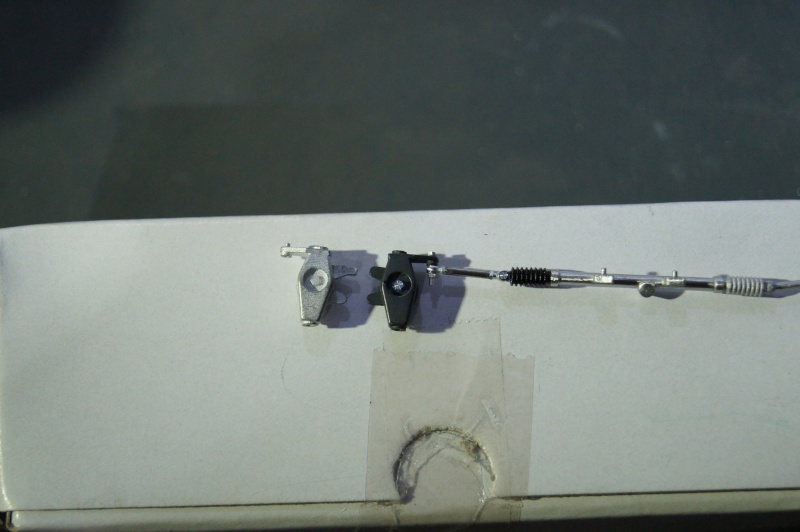 Same for the center of the wheels: 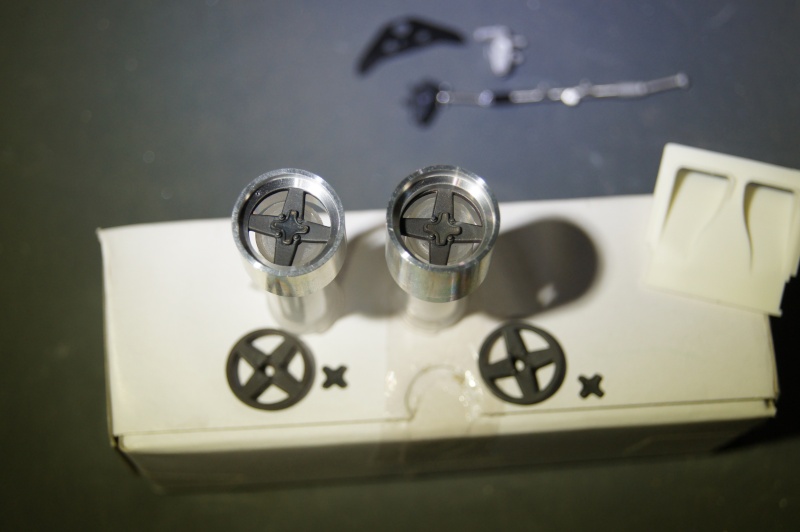 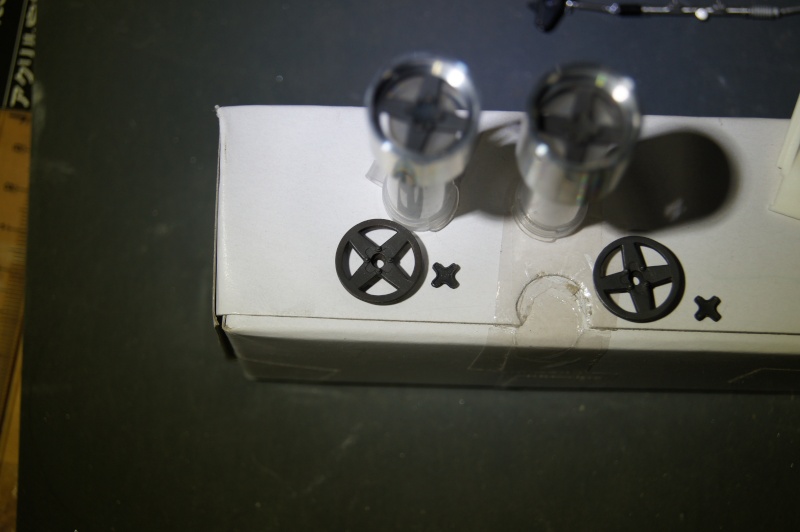 Pascal |
|
pg265
Front Runner
 
Posts: 231 
|
Post by pg265 on Mar 6, 2016 17:02:48 GMT -5
Hi, Small progress on the dash board. Stainless steel pop rivets cut and installed. 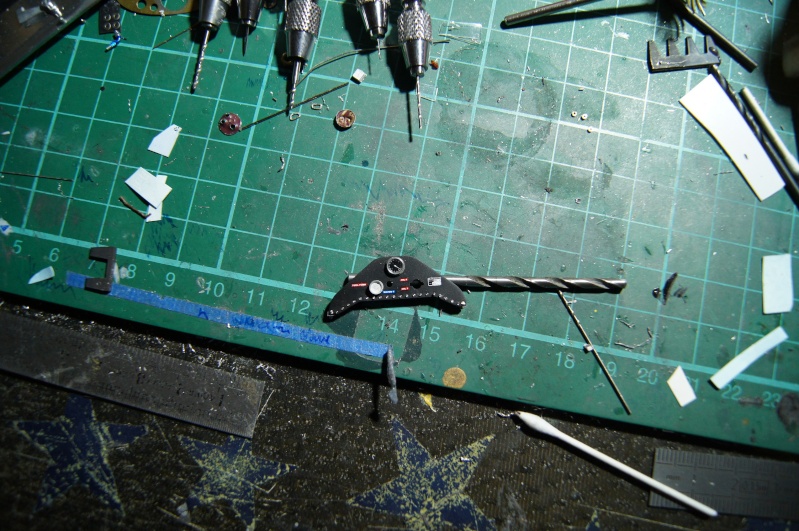 A little square bracket is fastened to the right side in order to hold the accelerator cable. 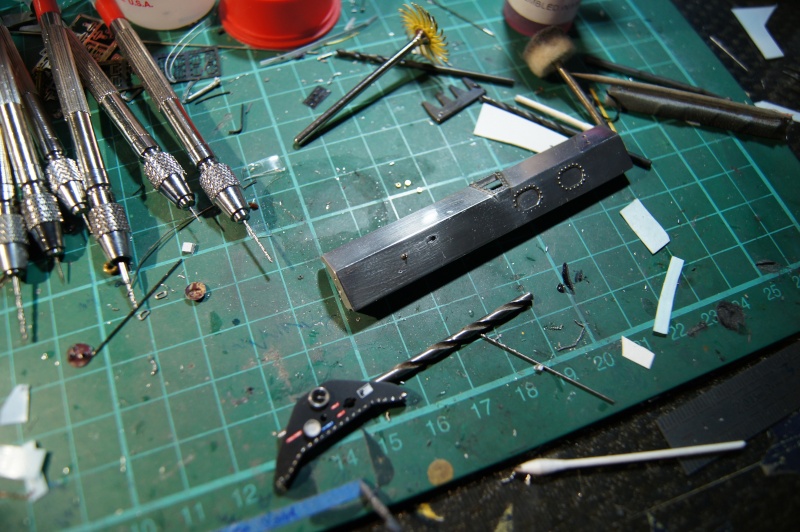 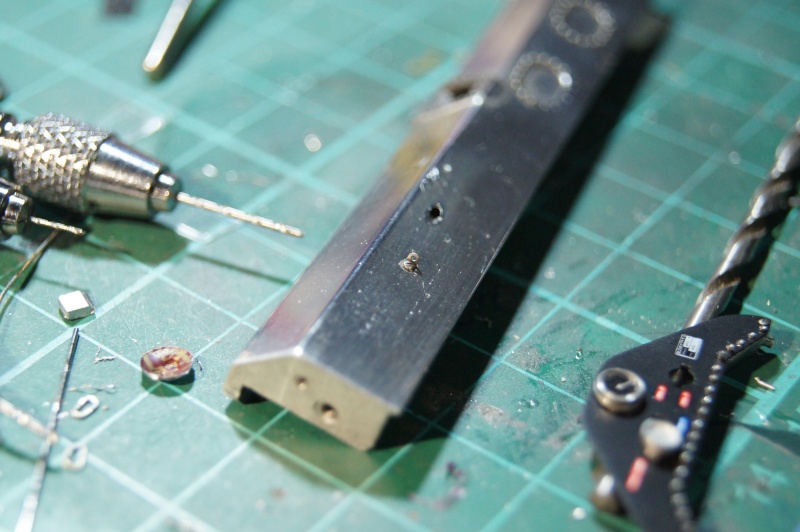 C'est tout. Pascal |
|
|
|
Post by 2lapsdown on Mar 6, 2016 19:21:19 GMT -5
Your work defies description
John
|
|
|
|
Post by racerbrown on Mar 7, 2016 7:17:50 GMT -5
Your work defies description John x2 duane |
|
pg265
Front Runner
 
Posts: 231 
|
Post by pg265 on Mar 7, 2016 18:37:25 GMT -5
Hi, Thank you very much Mates! Still progressing on the Roooaaaarrring Papaya. Dashboard is finished and instruments are installed: 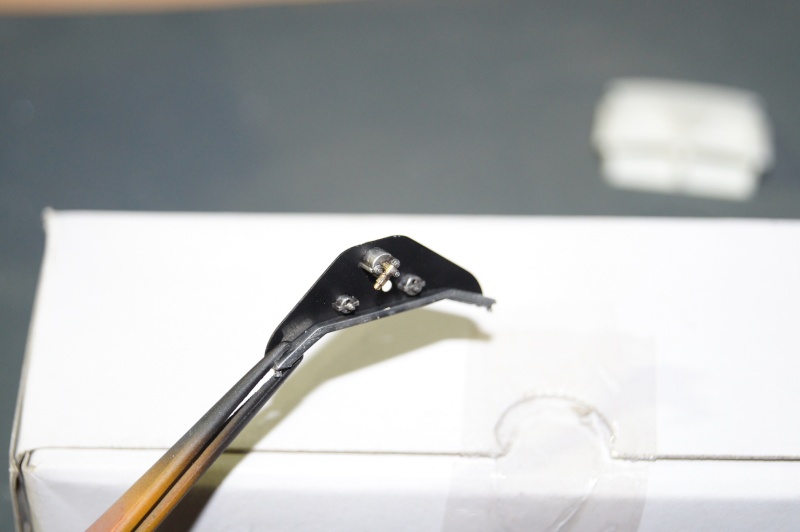 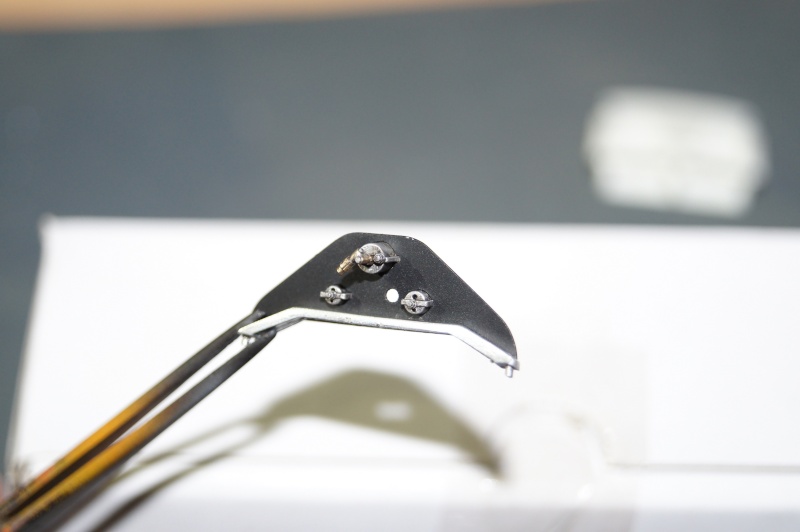 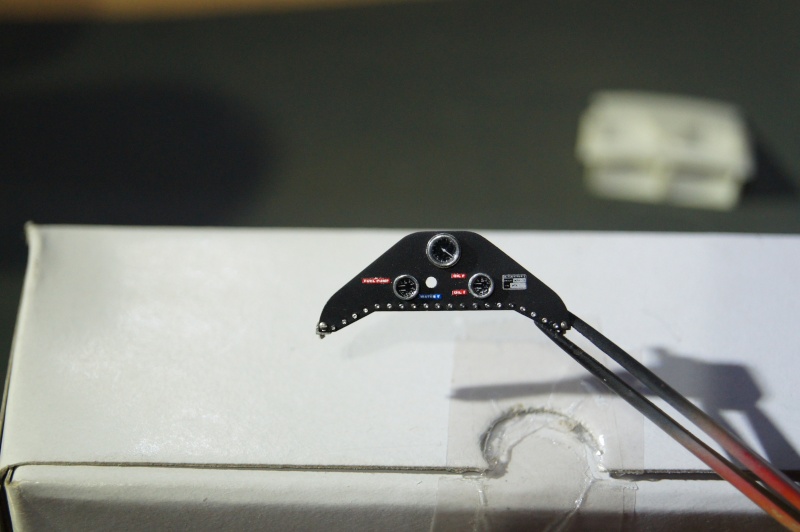 Accelerator OK: 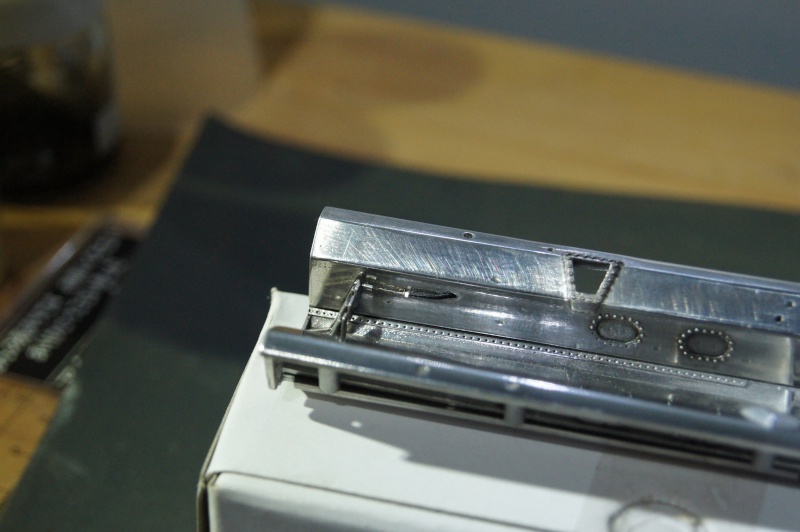 I've tried to do the stitching by myself instead of applying decals: 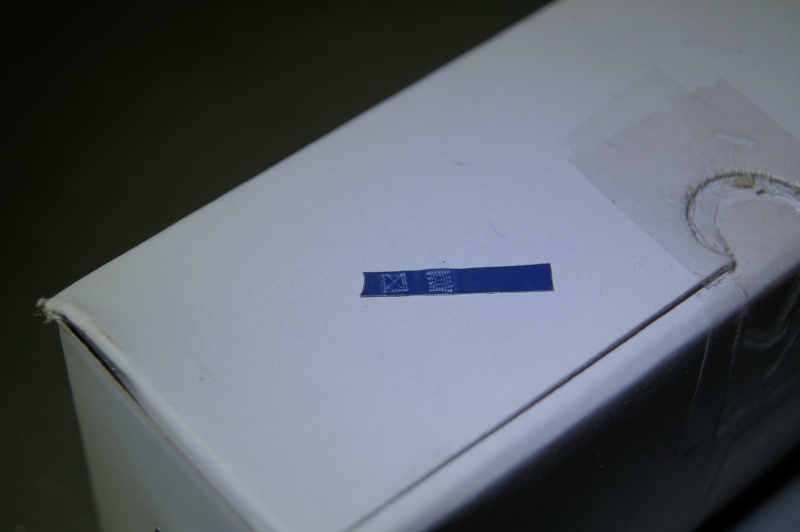 In the cockpit. A light weathering is started on the seat: 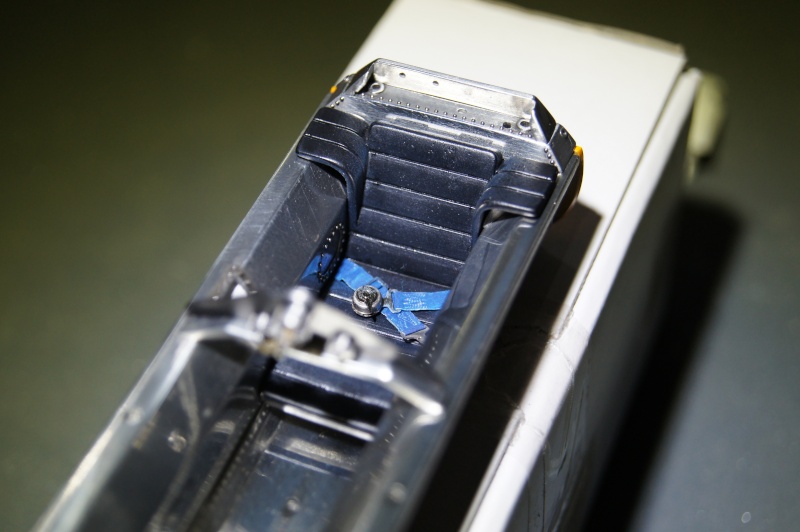 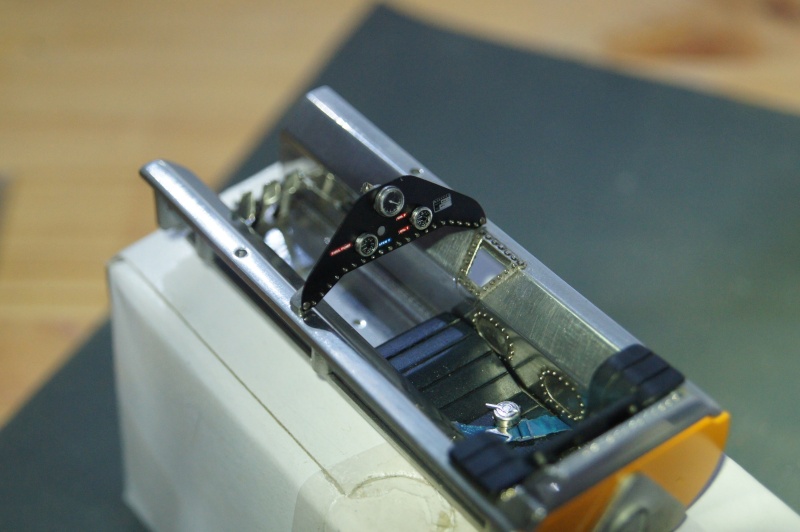 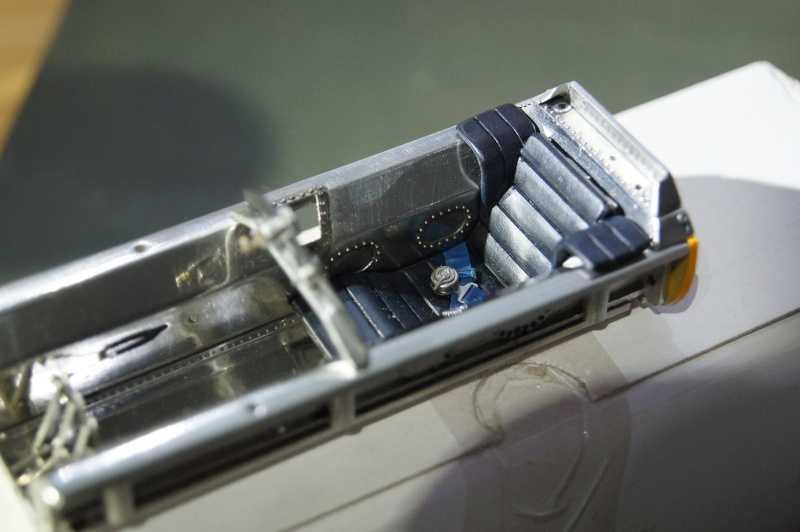 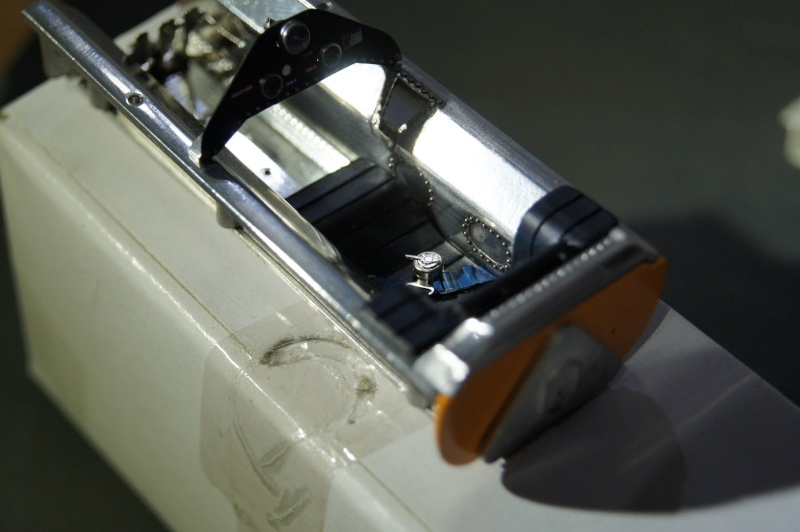 Dry fitting: 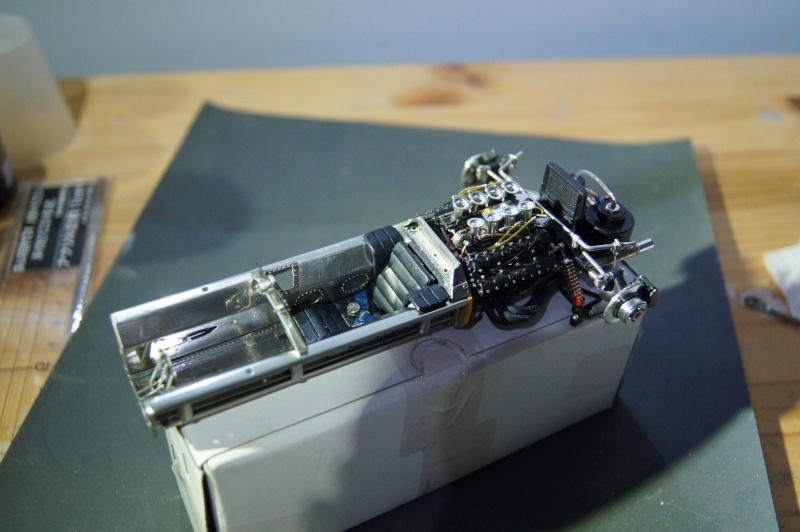 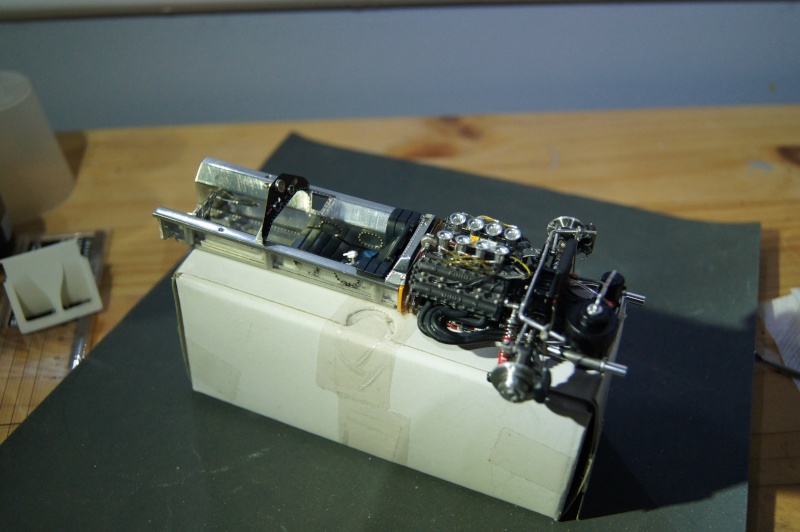 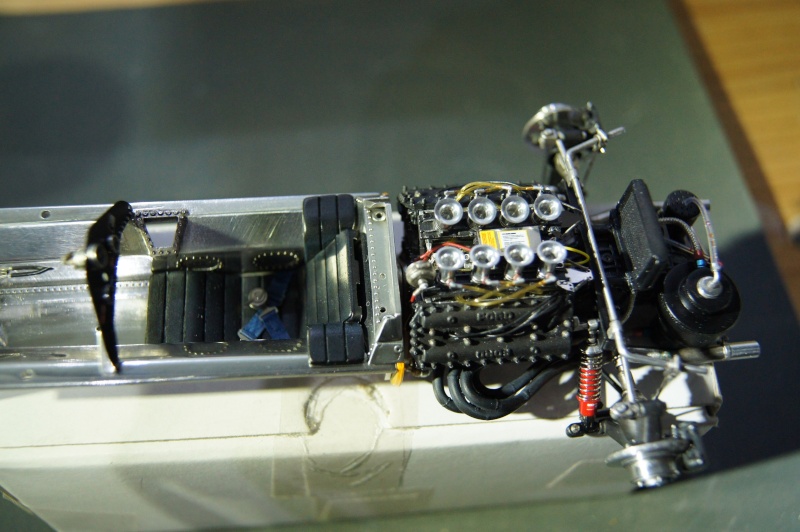 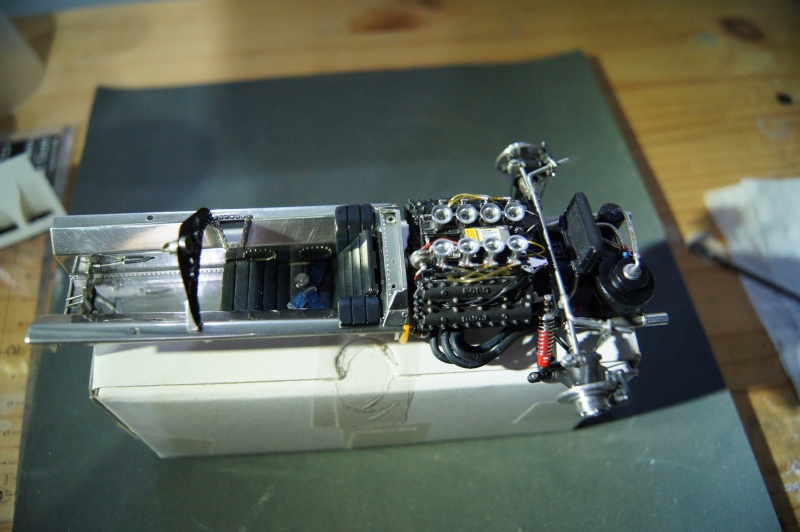 Voilà. Pascal |
|
|
|
Post by clm1545 on Mar 7, 2016 23:30:57 GMT -5
We see some really "over the top" builds here, but this thing is in orbit.
|
|
pg265
Front Runner
 
Posts: 231 
|
Post by pg265 on Mar 12, 2016 18:03:45 GMT -5
Hi, Thanks a lot clm1545! Time for the clear coat: 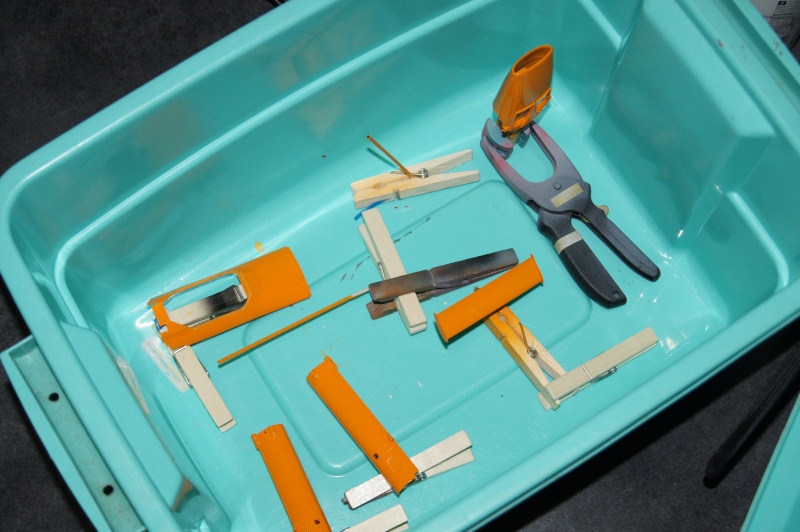 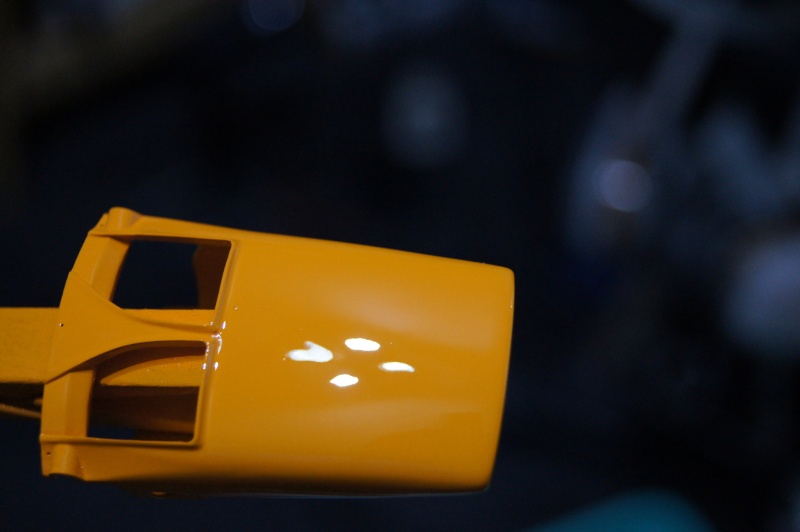 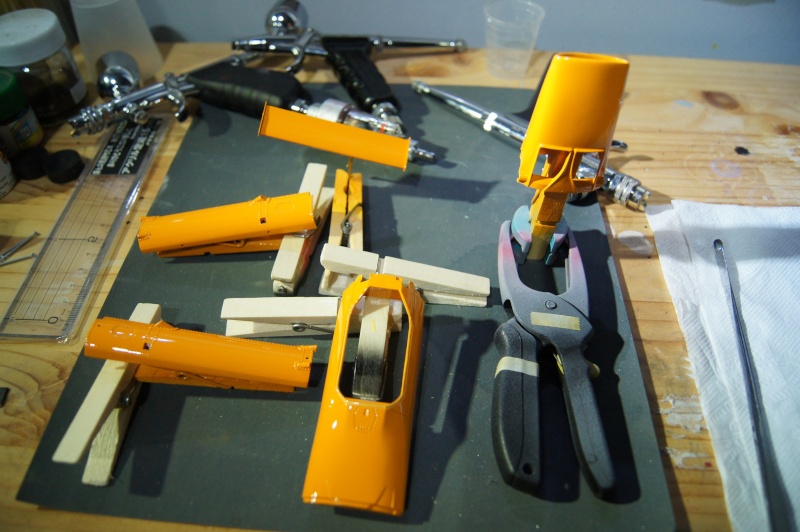 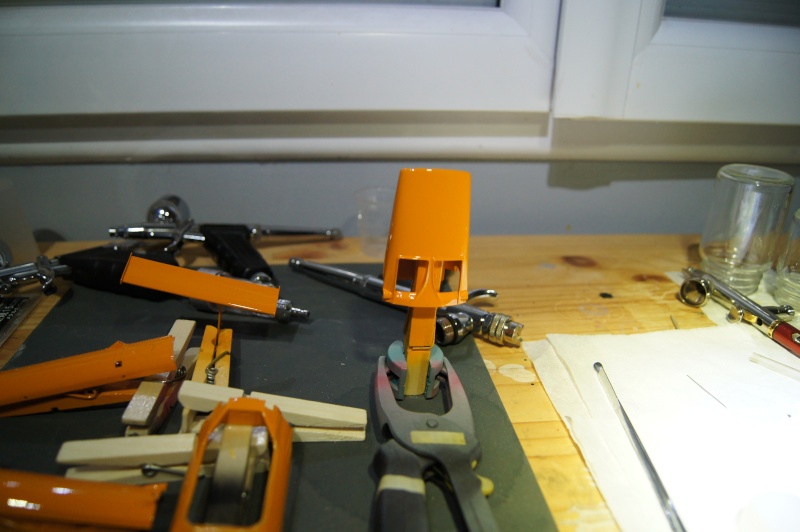 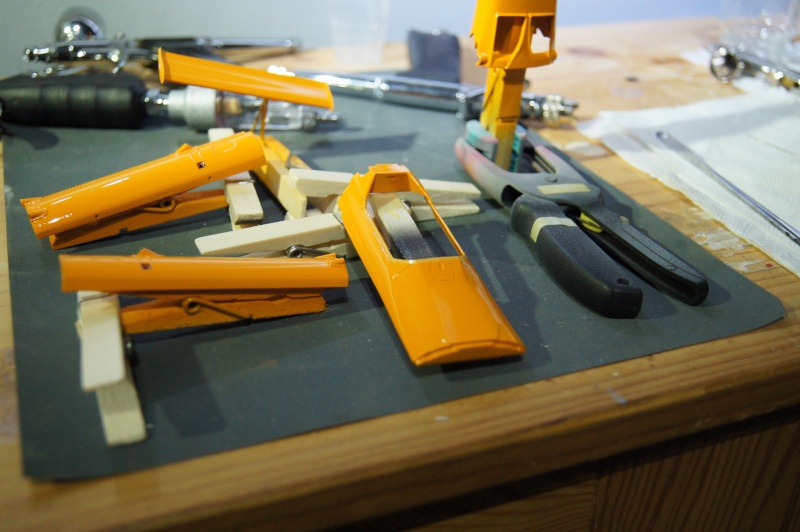 Modification for the wing support: 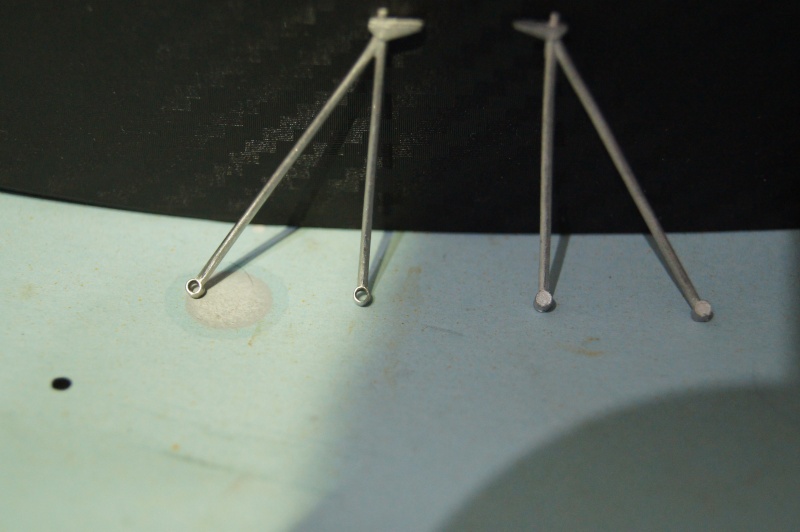 Shoulder straps done too: 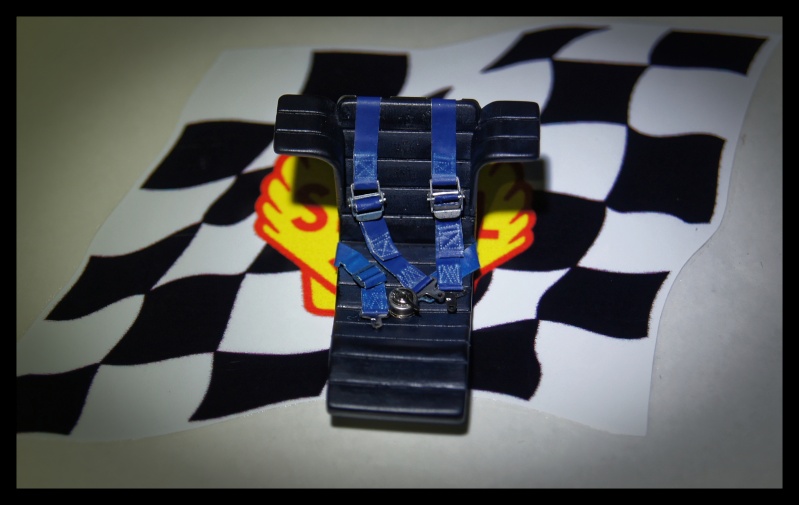 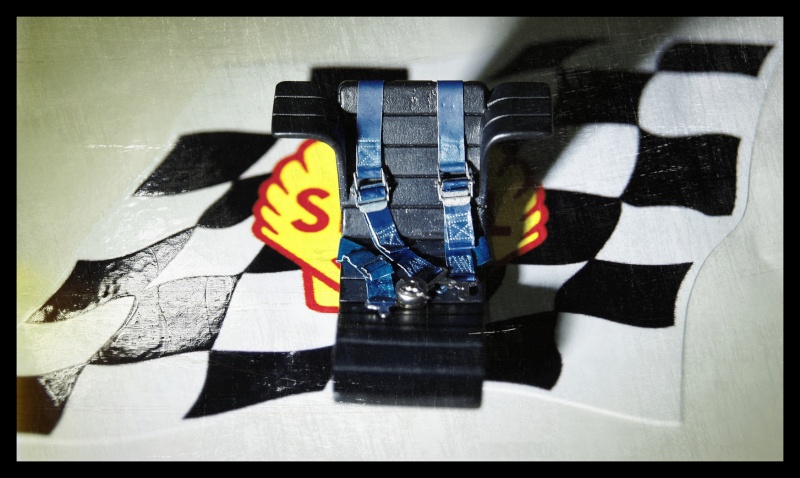 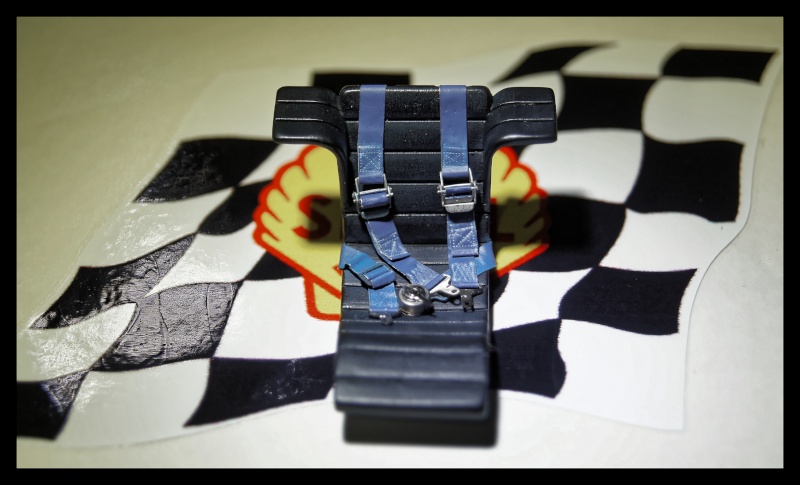 More soon. Pascal |
|
|
|
Post by racerbrown on Mar 12, 2016 19:52:53 GMT -5
looking good pascal!
what did you do to weather the seat and how did you "stitch" the seat belts?
duane
|
|
|
|
Post by indy on Mar 13, 2016 14:01:06 GMT -5
Seat and paint are top notch. I even like you Shell/checkered flag background  Jordan |
|