|
|
Post by harveythedog2 on Apr 29, 2015 7:35:59 GMT -5
Okay... Bad pun and play on words...
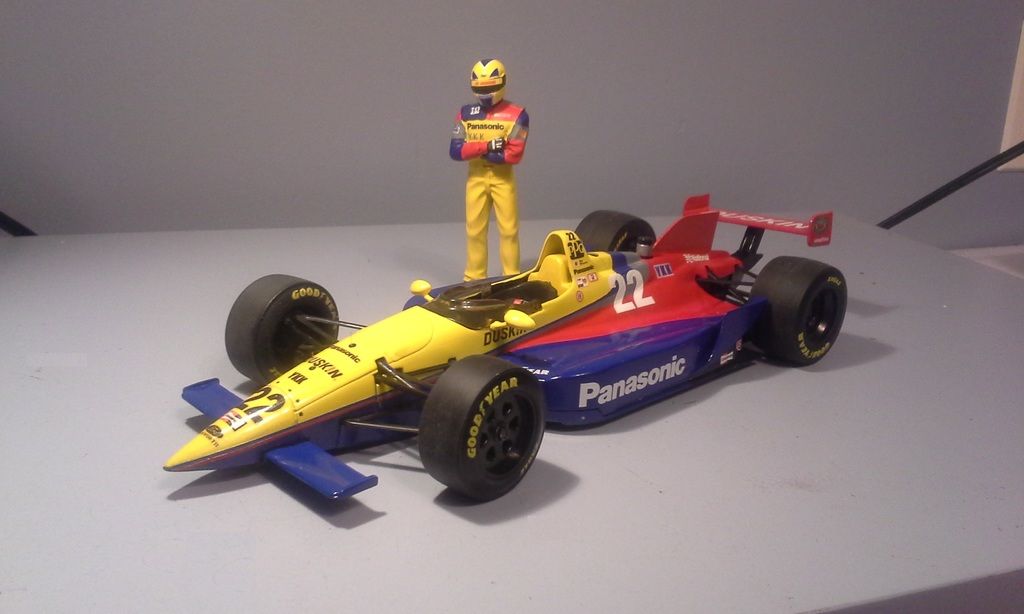
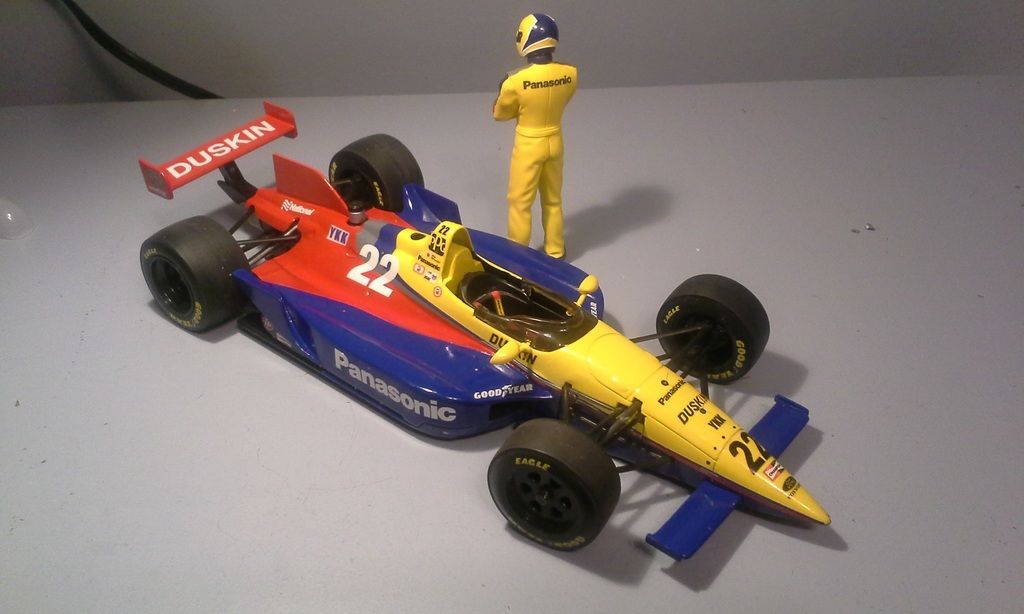
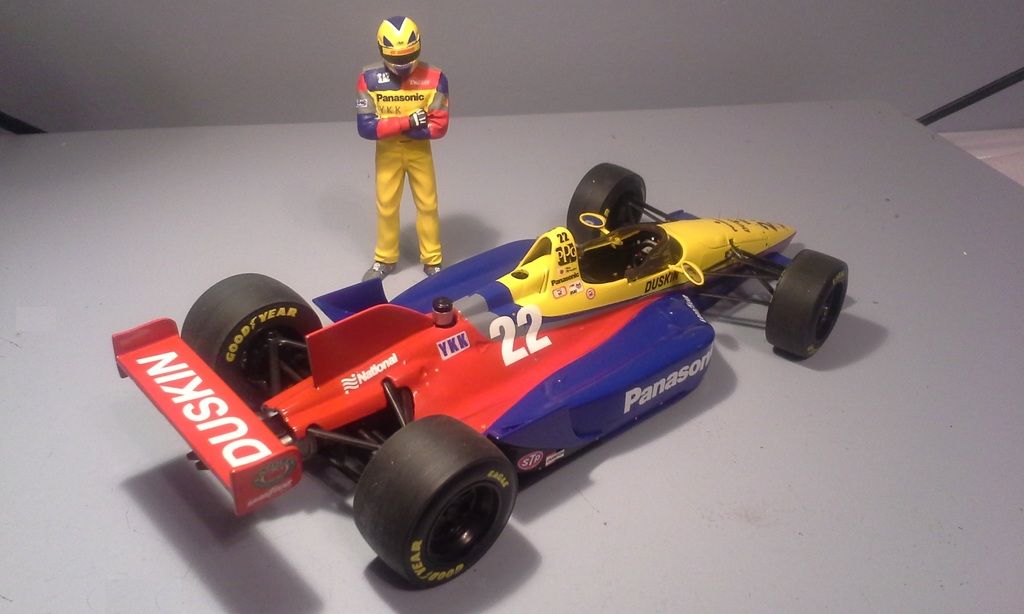
Built this car for a team member on the Dick Simon team in 1994. Actually, this was one of the harder cars to paint since it has four colors. Painted the gray, masked and painted the yellow, masked and painted the red, masked and painted the blue. The total process with paint curing took a over three weeks. Plenty of time to do a standing driver figure in between coats! LOL
Thanks to Michael for doing the white decal graphics for me. All other decals and figure decals were made on my inkjet.
Stu
|
|
|
|
Post by IndyCarModels on Apr 29, 2015 7:46:56 GMT -5
Nice work
|
|
|
|
Post by chromehorn08 on Apr 29, 2015 8:22:12 GMT -5
Very nice! So did you just paint the spots you needed or did you spray the entire car and then layer each color on top?
|
|
|
|
Post by indy on Apr 29, 2015 8:44:52 GMT -5
Impressive paintwork Stu. Great detail work, too, on the cockpit, mirrors, gearbox, etc. The figure looks great and make Hiro look quite imposing!
Jordan
|
|
|
|
Post by senn65 on Apr 29, 2015 9:42:12 GMT -5
Very nice Stu. I can see it was a time consuming difficult paint scheme. Any car can be painted, well not so much the ones today, if given the patience. You nailed this one. Love the figure.
|
|
|
|
Post by harveythedog2 on Apr 29, 2015 9:59:17 GMT -5
Thanks Guys. I goofed when I put the nose bolts on last night. They should be down on the nose itself! DOH!
Serves me right for doing them after midnight. Going to move those in the right position tonight.
Juan. I painted the whole car grey. Then I masked off each section lightest color to darkest.
|
|
|
|
Post by 11rowsof3 on Apr 29, 2015 10:33:44 GMT -5
THAT is awesome work and a very cool car. I always liked 'king Hiro's cars... they just weren't quite driven as well as they could have been at times.  |
|
|
|
Post by Calvin on Apr 29, 2015 10:35:07 GMT -5
Stu! You're my Hero! For doing that paint job! Wow! But I know Emmo is still pissed off at him and still saying "King Hiro"......and not pressing his radio button soon enough. 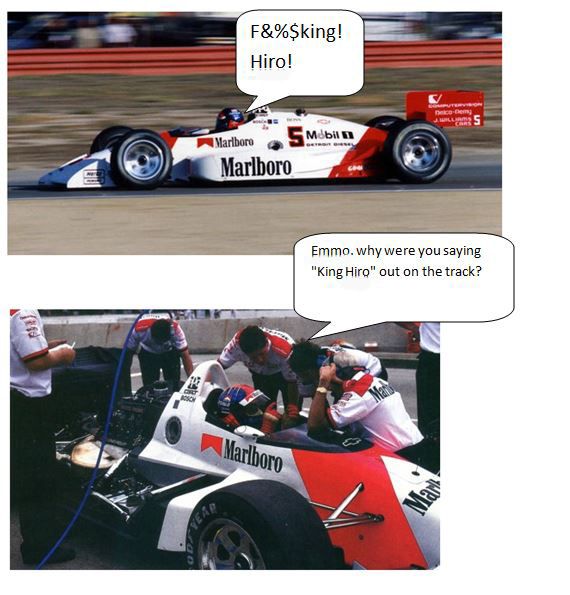 |
|
|
|
Post by 11rowsof3 on Apr 29, 2015 10:59:48 GMT -5
I know all of us are Indy diehards but some are older and some are younger. Just in case someone wasn't around in 1994 and might be thinking that Stu got overly excited with the shark fin... nope - he pretty much nailed it.  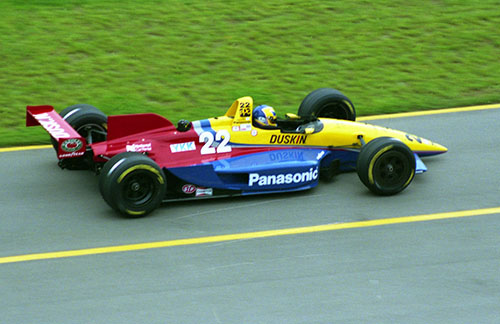 |
|
|
|
Post by pje on Apr 29, 2015 12:14:12 GMT -5
Shark Week! Outstanding paint job, Stu. What masking tape did you use?
Paul Erlendson
|
|
|
|
Post by harveythedog2 on Apr 29, 2015 13:51:24 GMT -5
Always use Tamiya Paul. Always!
|
|
|
|
Post by harveythedog2 on Apr 30, 2015 6:19:54 GMT -5
Bolt's on the nose in the right spot! 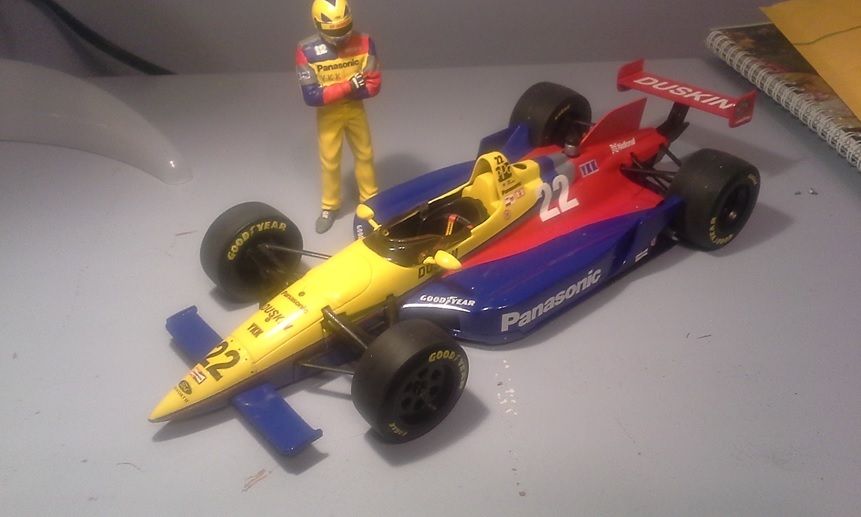 |
|
Deleted
Deleted Member
Posts: 0
|
Post by Deleted on Apr 30, 2015 10:36:13 GMT -5
Another beautiful result.
I notice that you had to move the nose decals towards the front of the car to make room for the bolts.
That brings up a couple of questions:
Were you able to reuse them, or did you have to use new ones?
I assume that you hadn't sealed them in with a coat of clear, having made the correction so quickly.
Since the model is completed, am I correct that you don't generally apply a coat of clear?
Is this to make the models more accurate?
Most of the decals I use have a "flat" finish - is that the case with the actual sponsor markings too?
|
|
|
|
Post by harveythedog2 on Apr 30, 2015 14:50:18 GMT -5
I always clear coat my cars and it had already been cleared prior to correcting the nose bolts.
How I did it was to sand very lightly with 2000 grit wet sand paper. After a doing this and double checking every so often, I finally reached the decals without disturbing the paint. The sanding actually made the old decals roll on the edges so I could peel them off. Once all of them were off, I wet sanded the whole area and applied new decals. Tonight I will mask off the car above the nose and clear it again. The bolts themselves were merely dots of black paint applied with a toothpick so they wet sanded off easily.
Thanks!
|
|