|
|
Post by raceparke on Apr 26, 2015 16:12:37 GMT -5
Starting Kevin's kit- we're getting into outdoor chores season so this might not go too fast but anyway. . . I carved away some material in front of the dash so the cowl wouldn't be bumped up 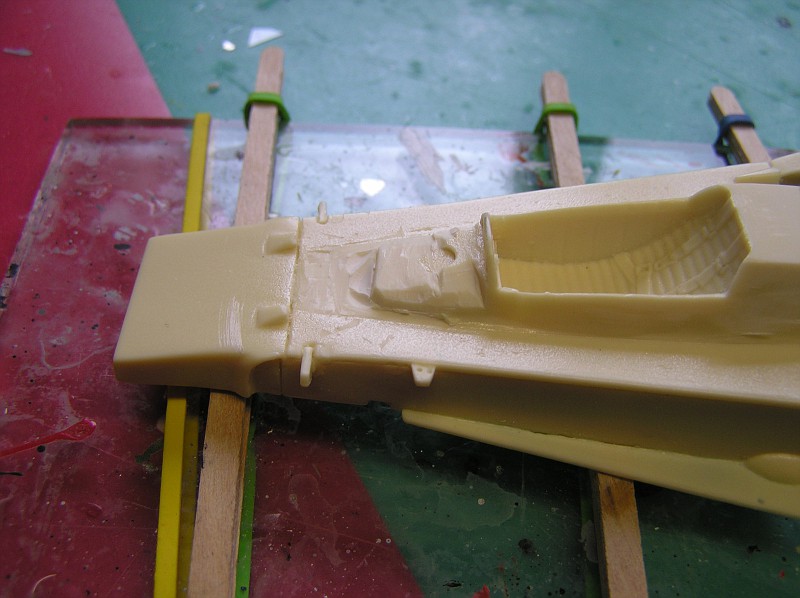 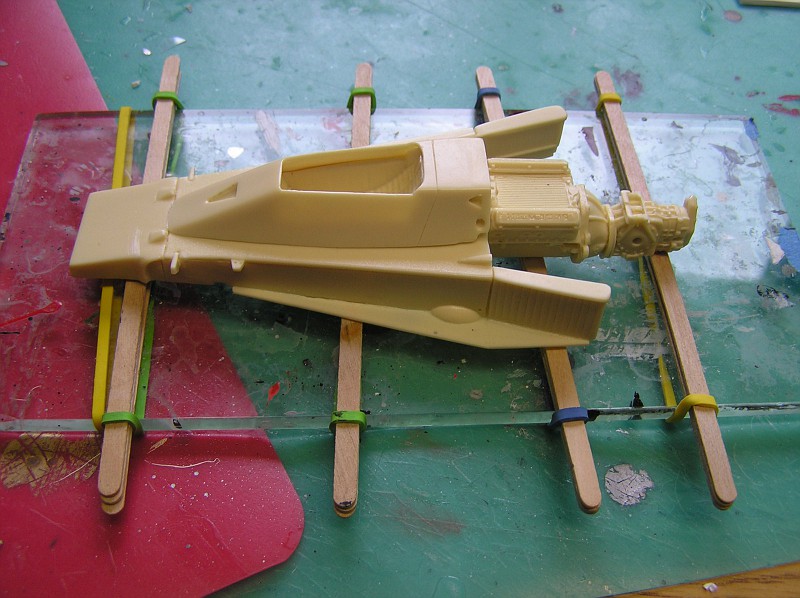 The side strakes seemed vulnerable so I butressed them from below with thin plastic 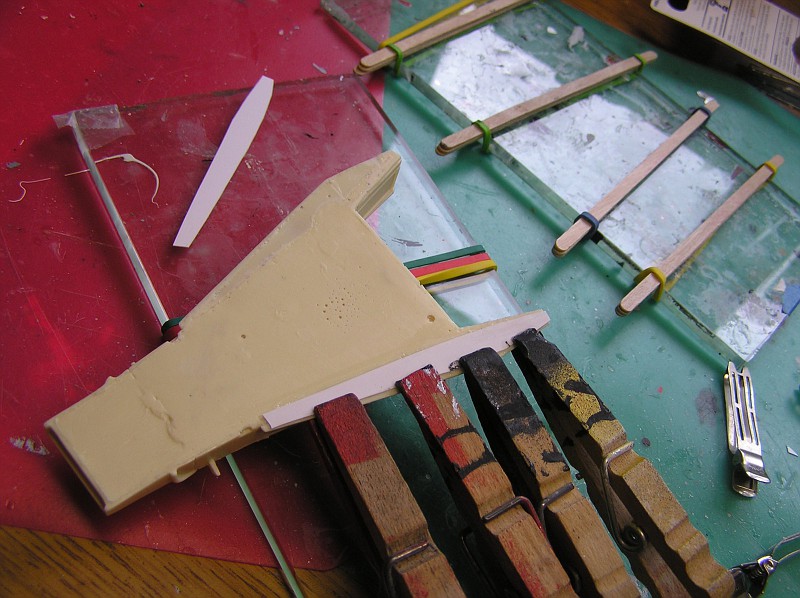 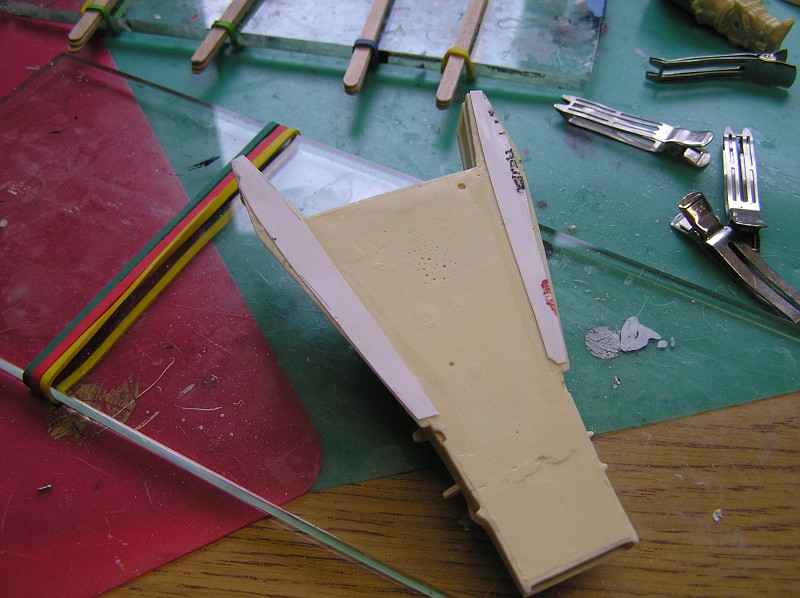 More soon |
|
|
|
Post by 2lapsdown on Apr 26, 2015 19:30:36 GMT -5
I'm looking forward to this
John
|
|
|
|
Post by Patrick on Apr 27, 2015 18:13:10 GMT -5
I agree with John. I should get going on my '75 car. Now I have some ideas to work with.
Patrick
|
|
|
|
Post by raceparke on Apr 28, 2015 16:59:59 GMT -5
For the front wheels, I drilled a small hole through the center and placed a thin wire in it 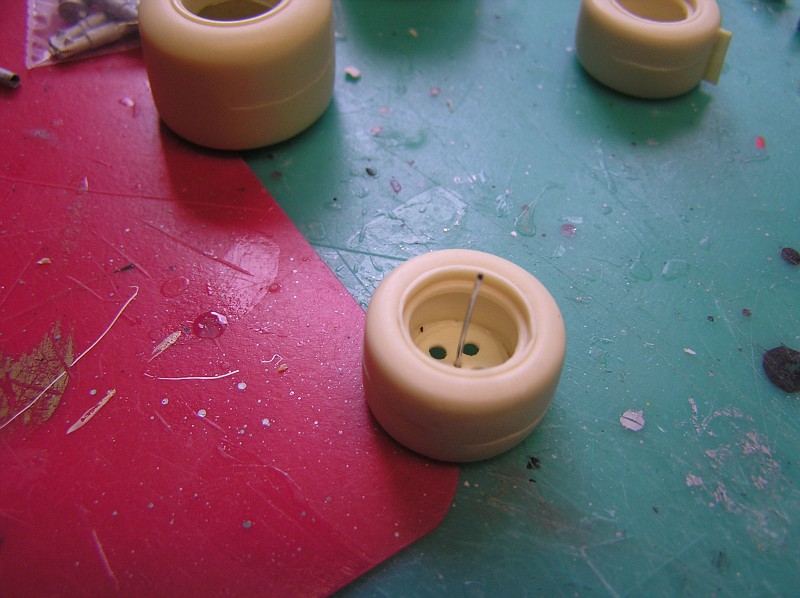 Then a small alu tube over the wire. I'm using discs and uprights from a Lotus turbine 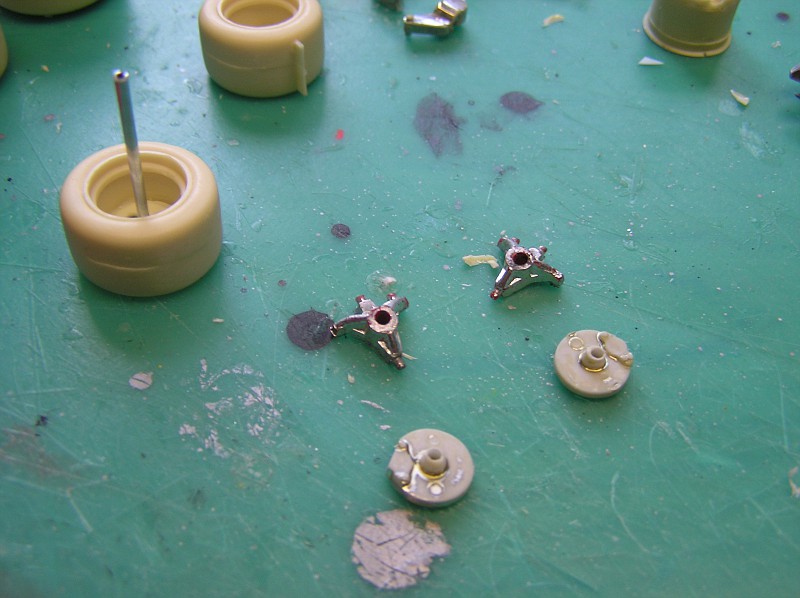 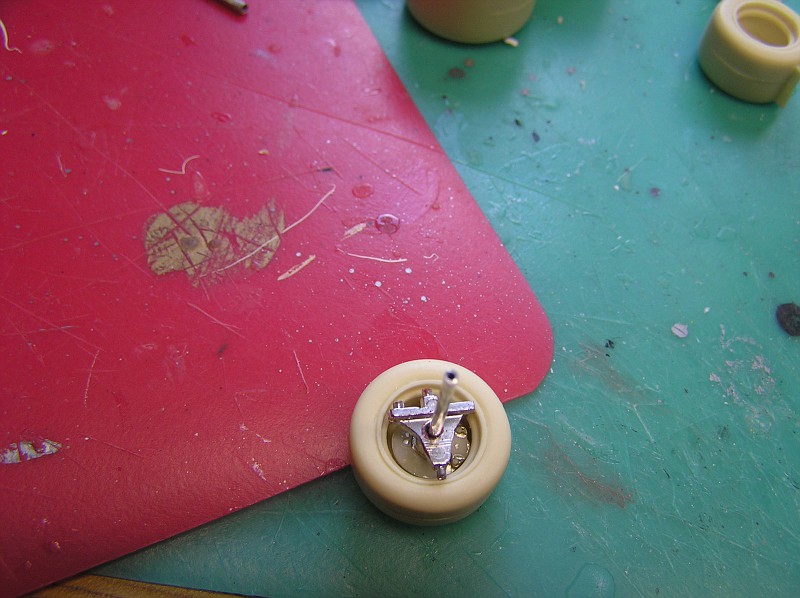 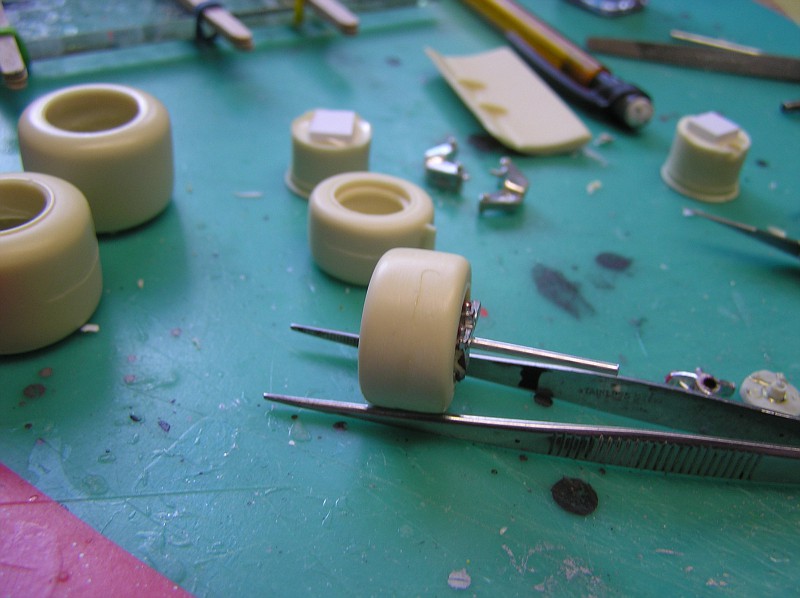 After painting, I'll put it all together and have something to attach the suspension arms to. |
|
|
|
Post by raceparke on Apr 28, 2015 17:08:37 GMT -5
added a front splitter and pins to secure the front wings. They're temporarily placed now will glue later. 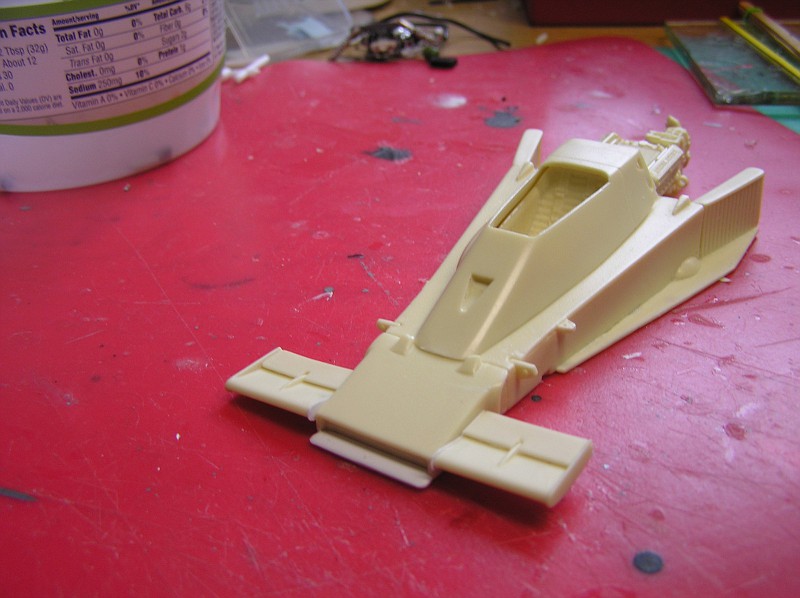 Added a thick front plate to the engine to attach to the chassis. 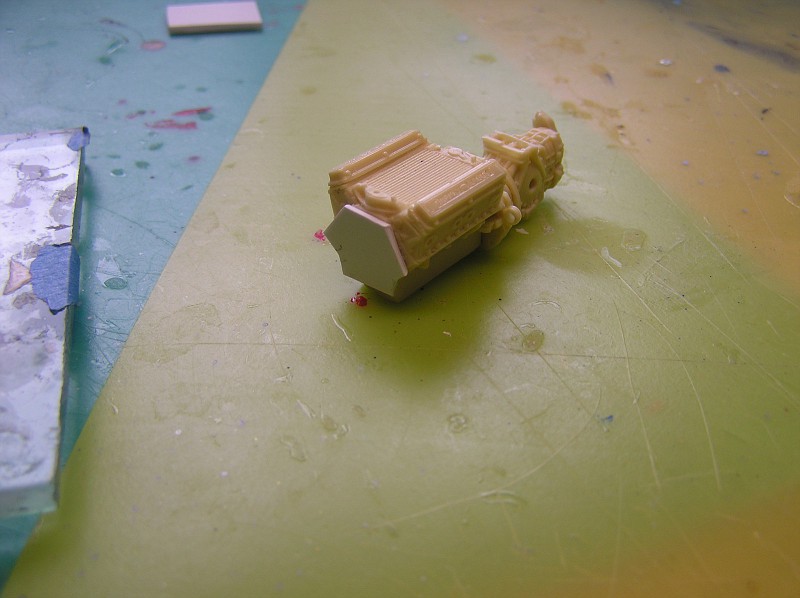 Later. . . |
|
|
|
Post by Calvin on Apr 29, 2015 2:05:17 GMT -5
Fantastic Stuff! You always have a great building method...its called "go in and ATTACK!" I like it......you get in there and get it done! Some builders need all these damn creature comforts to get anything done but NOT you!!! You get in there any build, build, BUILD!
I also like how you use other alternative detail parts and tools to build your kits. Because its helps out some of us that don't have the opulence to buy a $1000 worth of detail parts and tools to do a kit. This hobby can make you impecuniousness and go into wretchedness and perturbation! Then you have bad dreams and micturate the bed!
|
|
|
|
Post by alterrenner on Apr 29, 2015 5:26:14 GMT -5
Wasn't it just yesterday that I was asked to use impecuniousness, perturbation, and micturate in a sentence?
--Frank
|
|
|
|
Post by raceparke on Apr 29, 2015 7:38:44 GMT -5
Such unanticipated consequences of overindulgence in our career as miniaturists I never envisioned.
|
|
|
|
Post by raceparke on Apr 29, 2015 16:37:12 GMT -5
Not knowing any dimensions of the Iggle, I traced out the WBs and Tracks of the Lola 332 on paper. I then laid out the parts to see what happens. 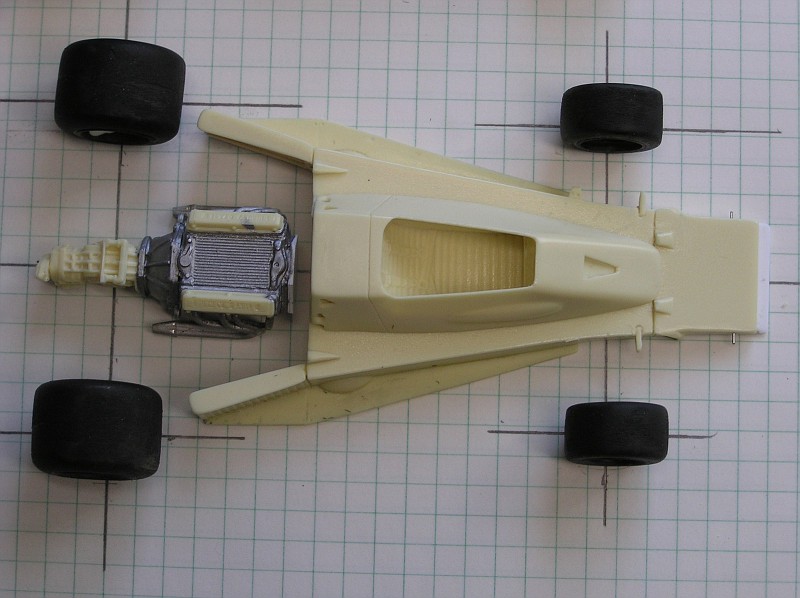 A big gap engine to chassis that doesn't seem to be reflected in photos of the car. So I move the chassis rearward until the tires almost hit the radiators- while keeping the axle line from the tranny centered. This leaves a gap but not as big. 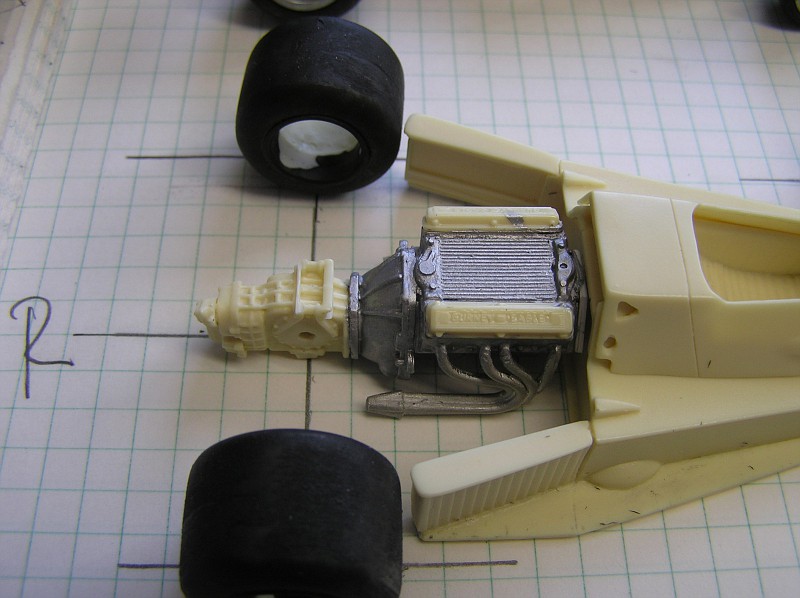 I could close the gap by moving the engine/tranny forward and angling the driveshaft to the rear slightly. 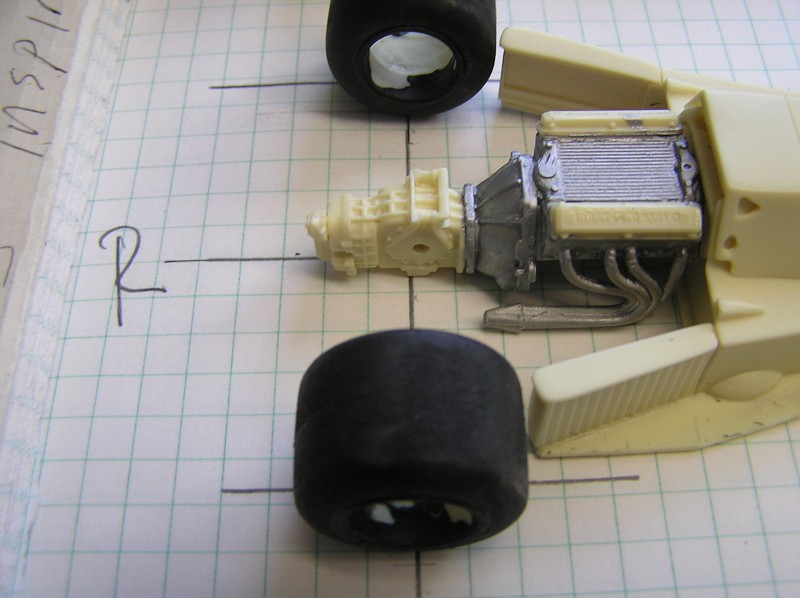 I think the rearward angularity would be a tad more than is shown in this pic, but not too much. It's merely that it's better to know ahead of time than to be unable to mount the wheels. It also implies that the front wheels come rearward with the chassis to keep A-arm configuration appropriate, thus Eagle WB shorter than 332. Lotso speculation, few facts, but I'm OK with that. |
|
|
|
Post by oldphotos on Apr 29, 2015 23:05:48 GMT -5
the wheelbase for the Eagle is 101.5 inches F/T is 60 inches and R/T is 62 inches
Overall length is 175 inches
This should help you with your build
Oldphotos
Walt
|
|
|
|
Post by raceparke on Apr 30, 2015 5:26:23 GMT -5
Thank you
|
|
|
|
Post by Patrick on May 1, 2015 23:43:22 GMT -5
Just thought you might need another photo!  Patrick |
|
|
|
Post by raceparke on May 2, 2015 8:42:33 GMT -5
Heck yes! What's an F5000 build without photos from Patrick??
|
|
|
|
Post by Gary Davis on Aug 23, 2015 16:59:01 GMT -5
This is really looking good RP. Do you have an update to share??
|
|
|
|
Post by raceparke on Aug 24, 2015 11:35:14 GMT -5
I'm still here! This has been slow, delayed and on hiatus. A few small steps every once in a while. I did come up with a rear frame and axle arrangement that will work. Maybe. 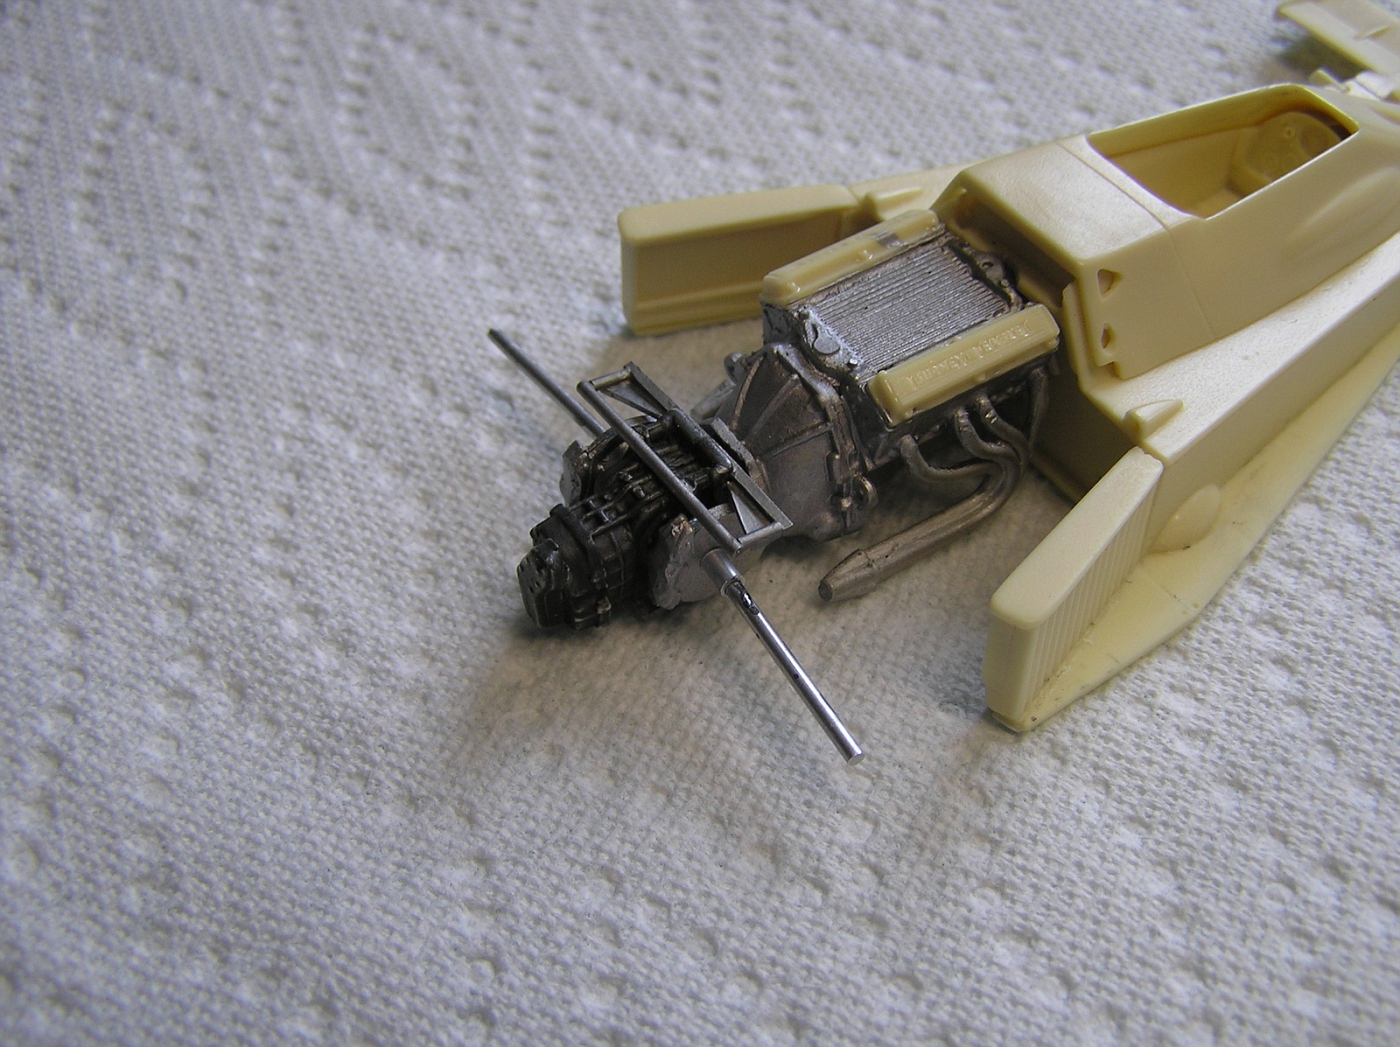 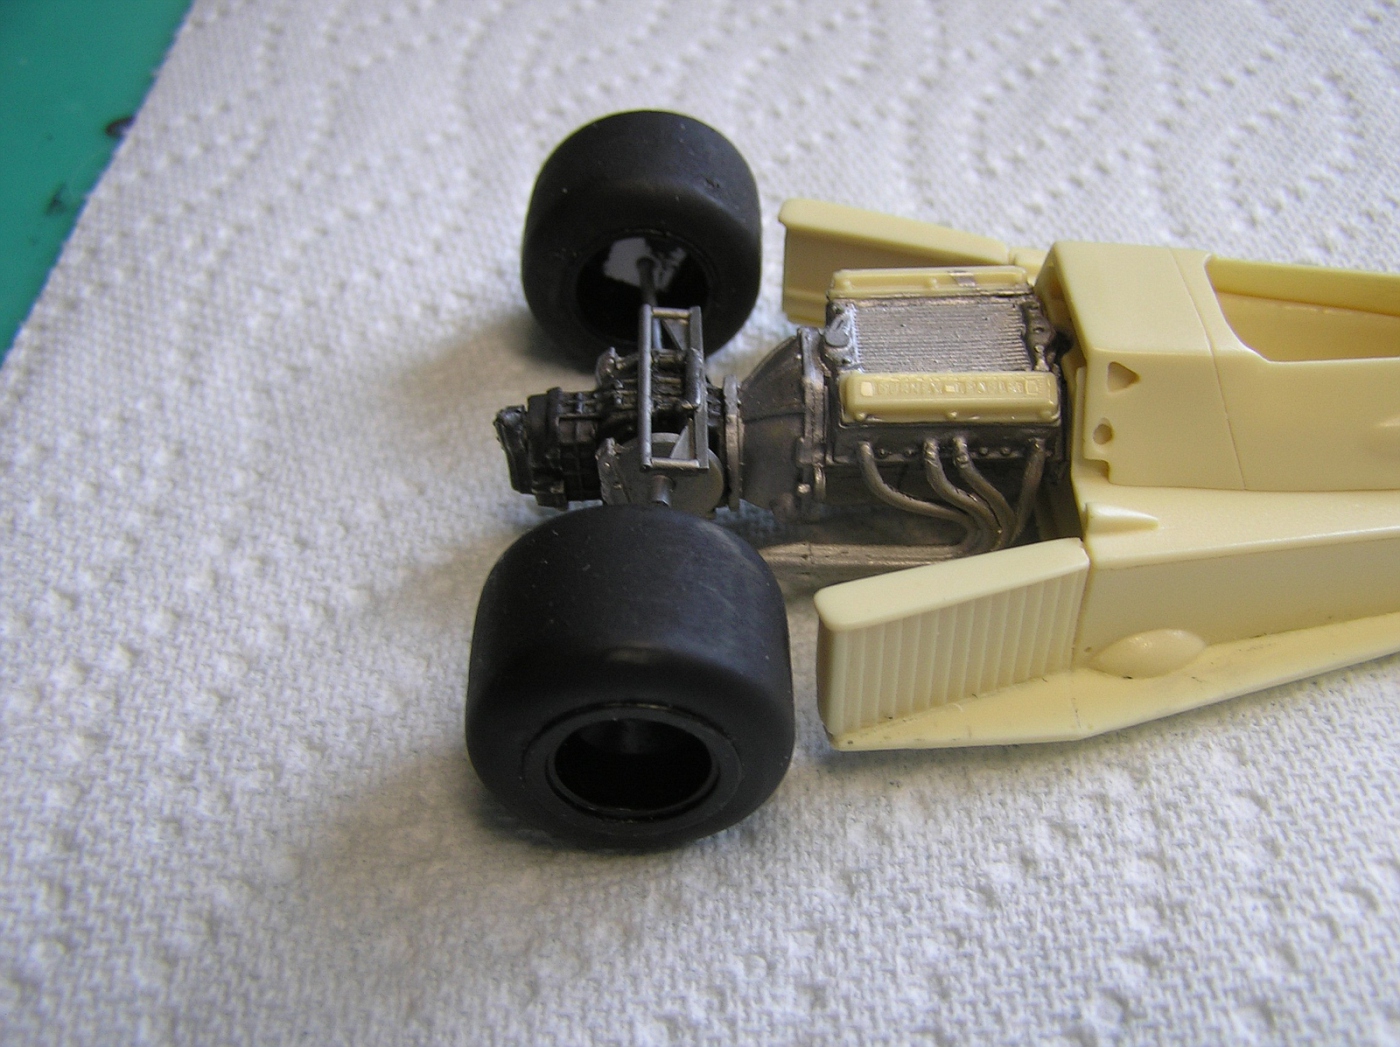 The axles are slightly angled rearward. 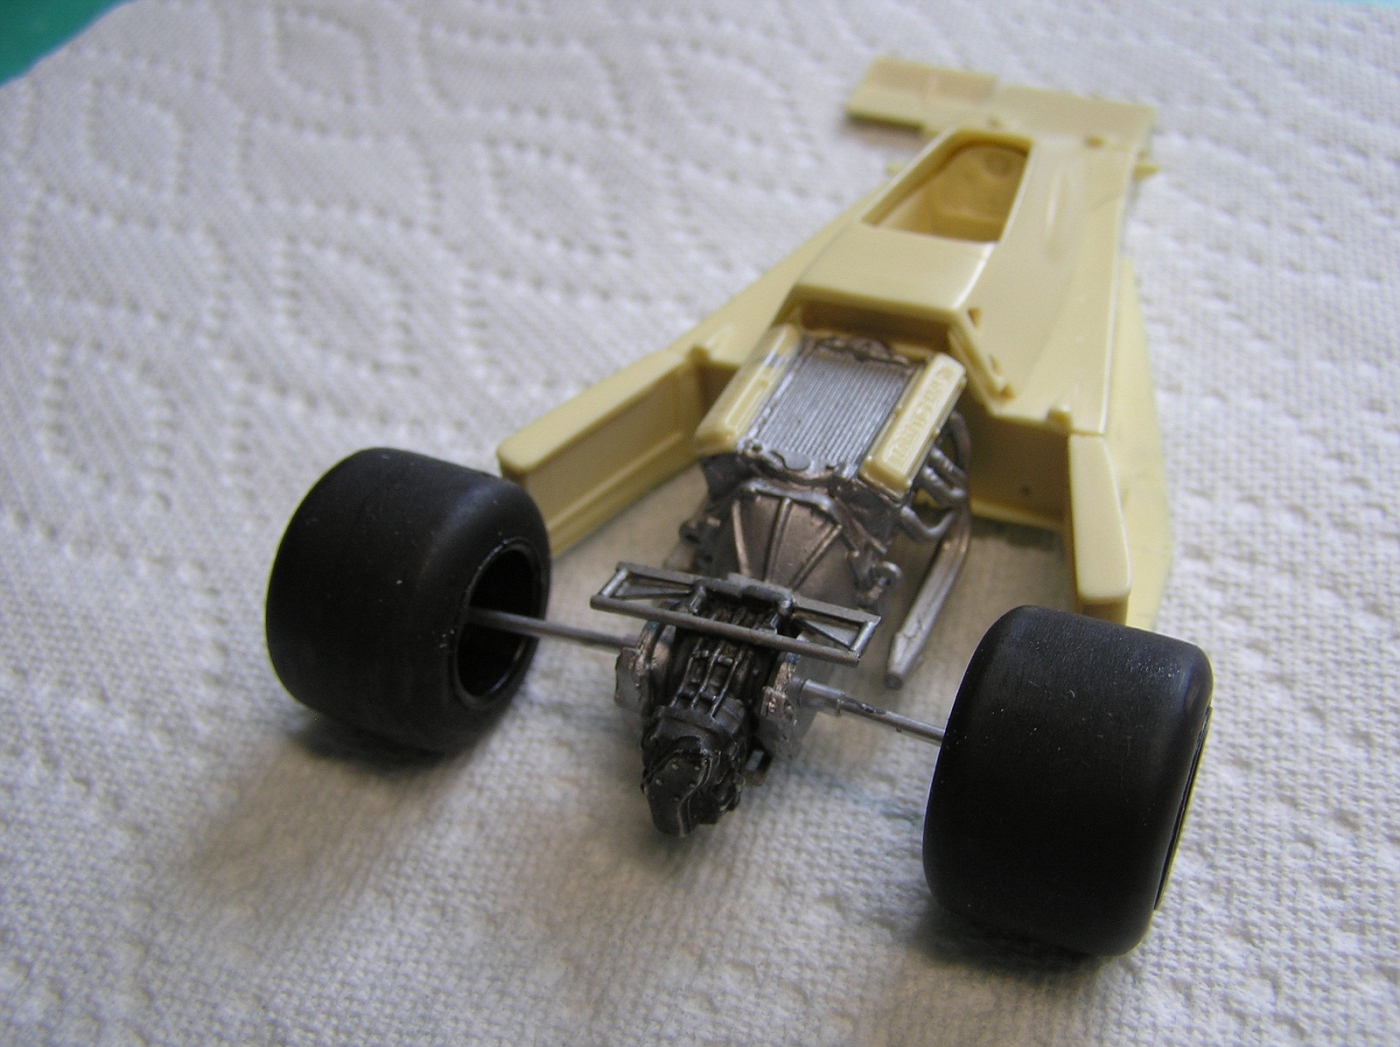 I've done some work on the front end. Need to photo and post that stuff. |
|
|
|
Post by Calvin on Aug 24, 2015 13:24:53 GMT -5
Yeah! Thank goodness you're still around! We were starting to wonder.
|
|
|
|
Post by raceparke on Sept 6, 2015 13:50:12 GMT -5
Finally getting some things out of the way- I am devising a front suspension that may look OK. 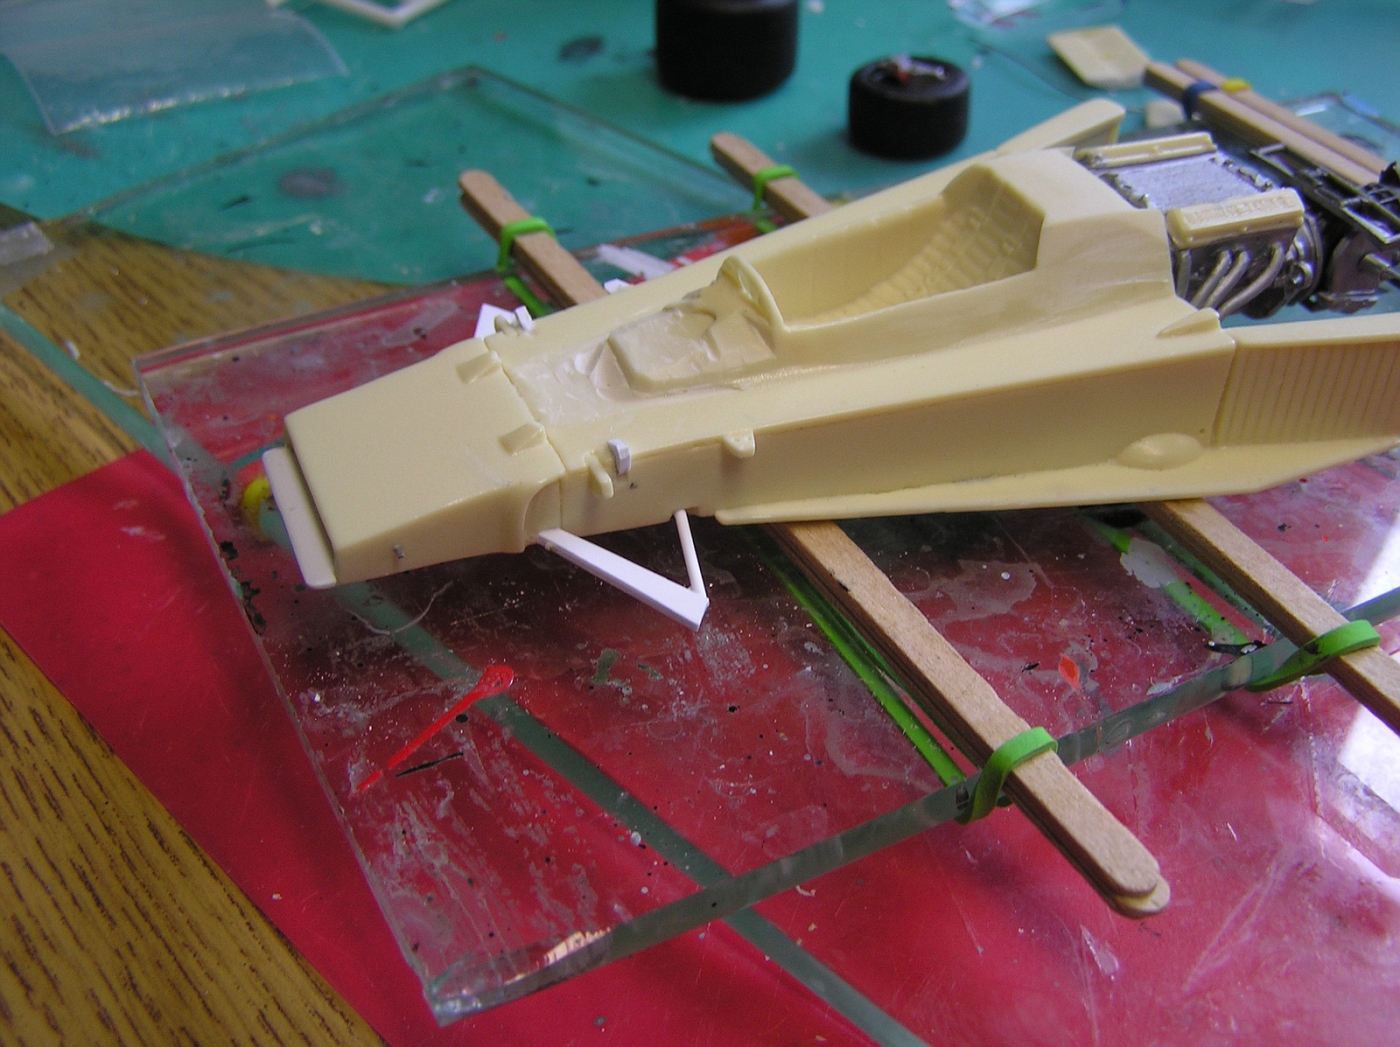 At the rear, I'm using hub carriers from the Spares Box (MPC Ford GT Mk 4), drilling them out then sleeving them with Alu tubing. 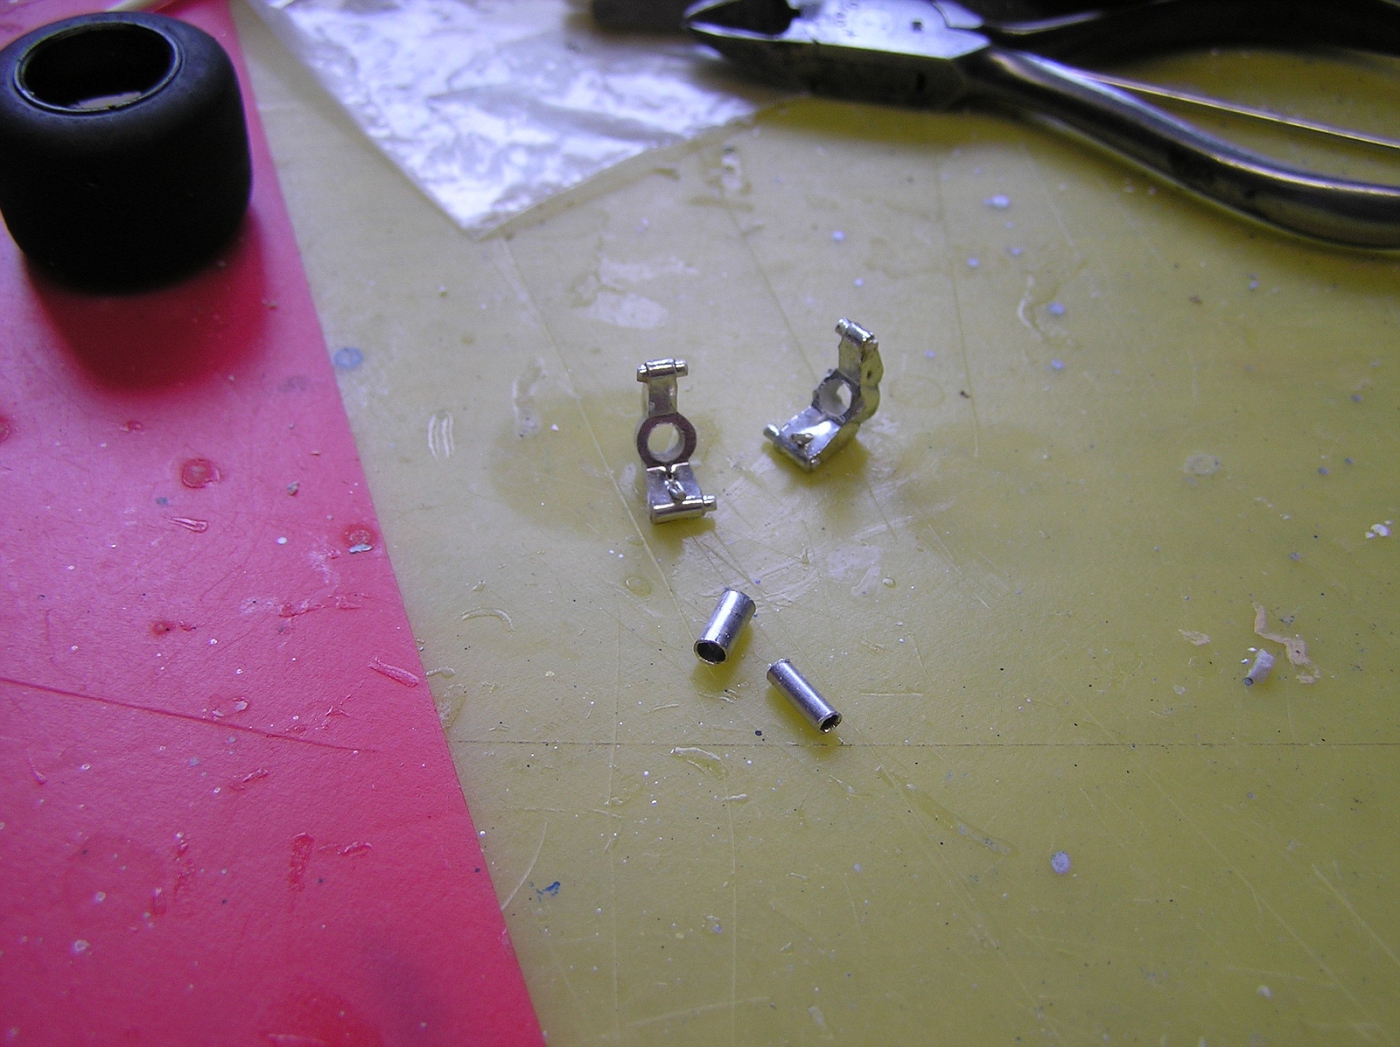 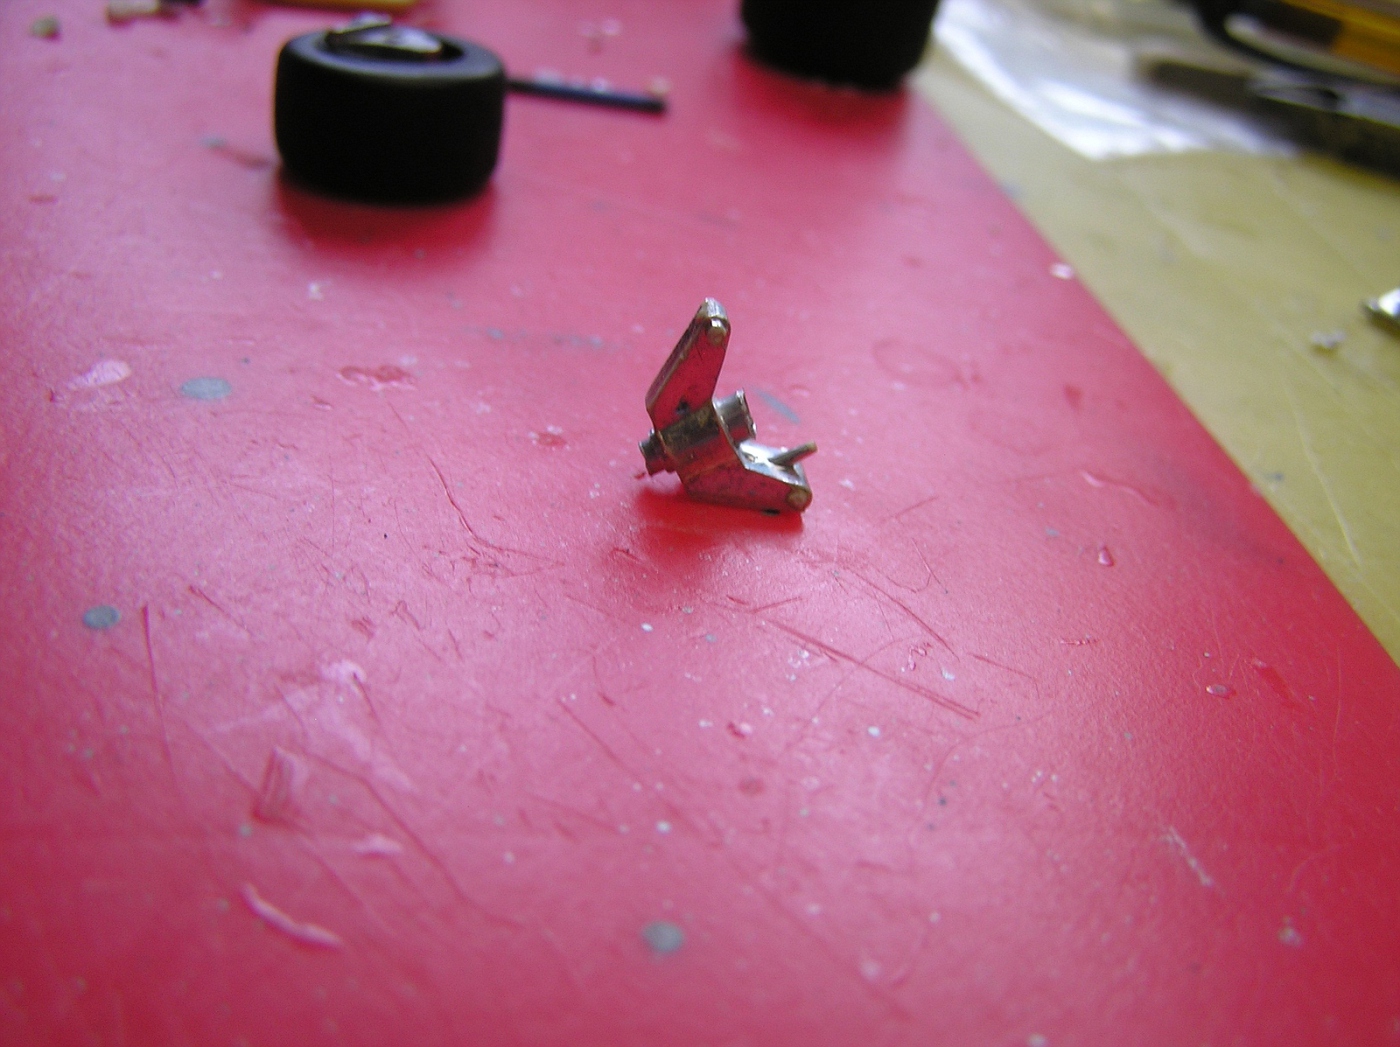 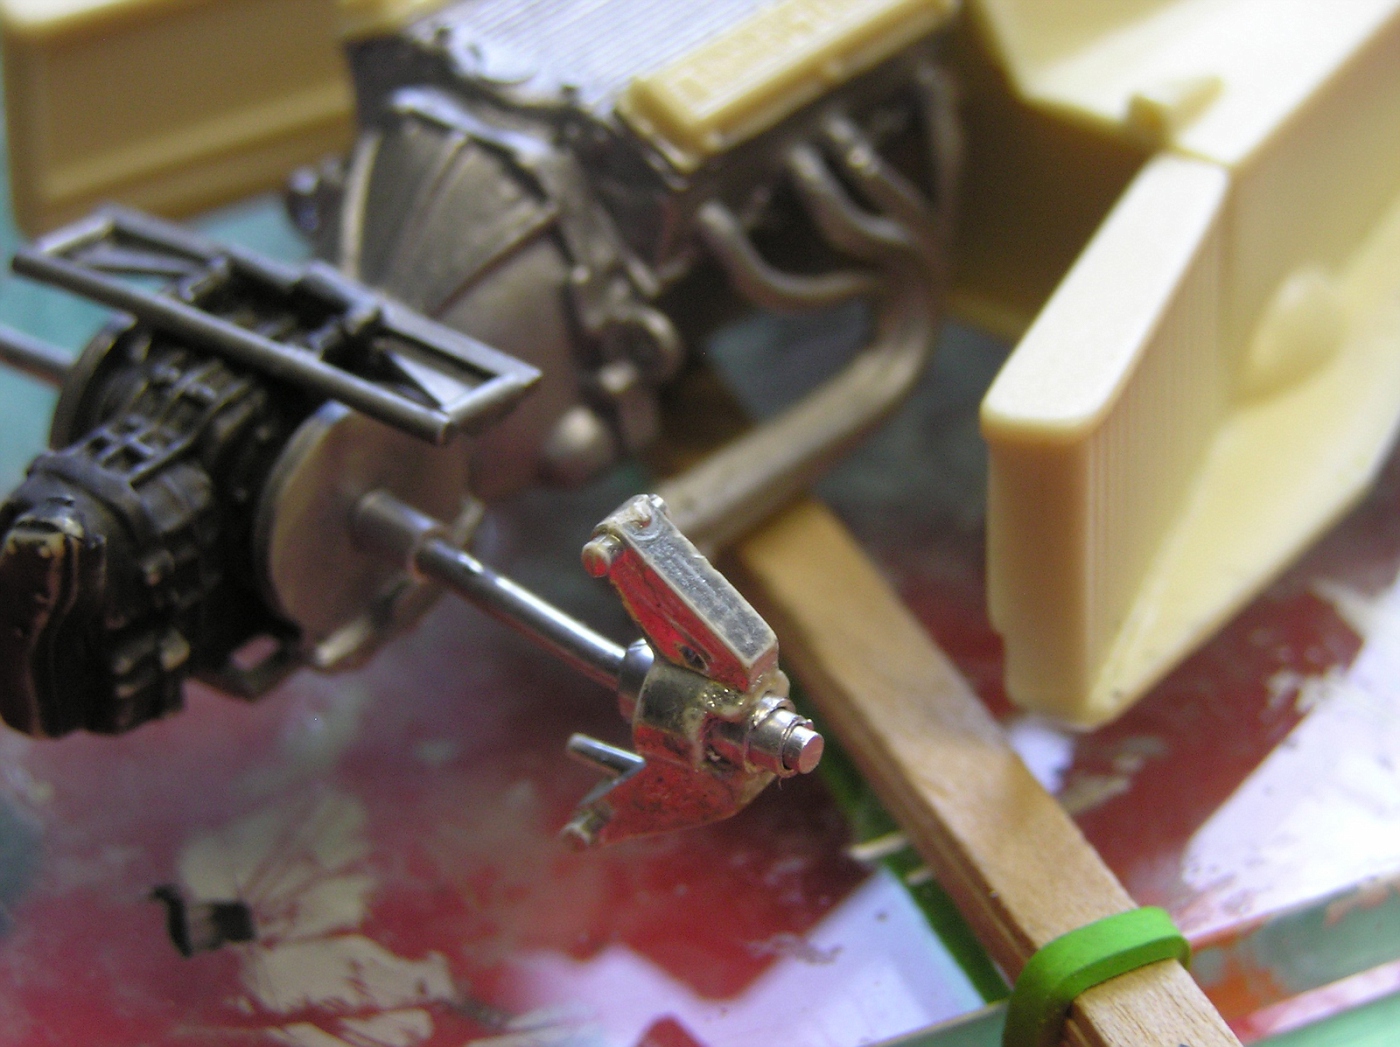 [img 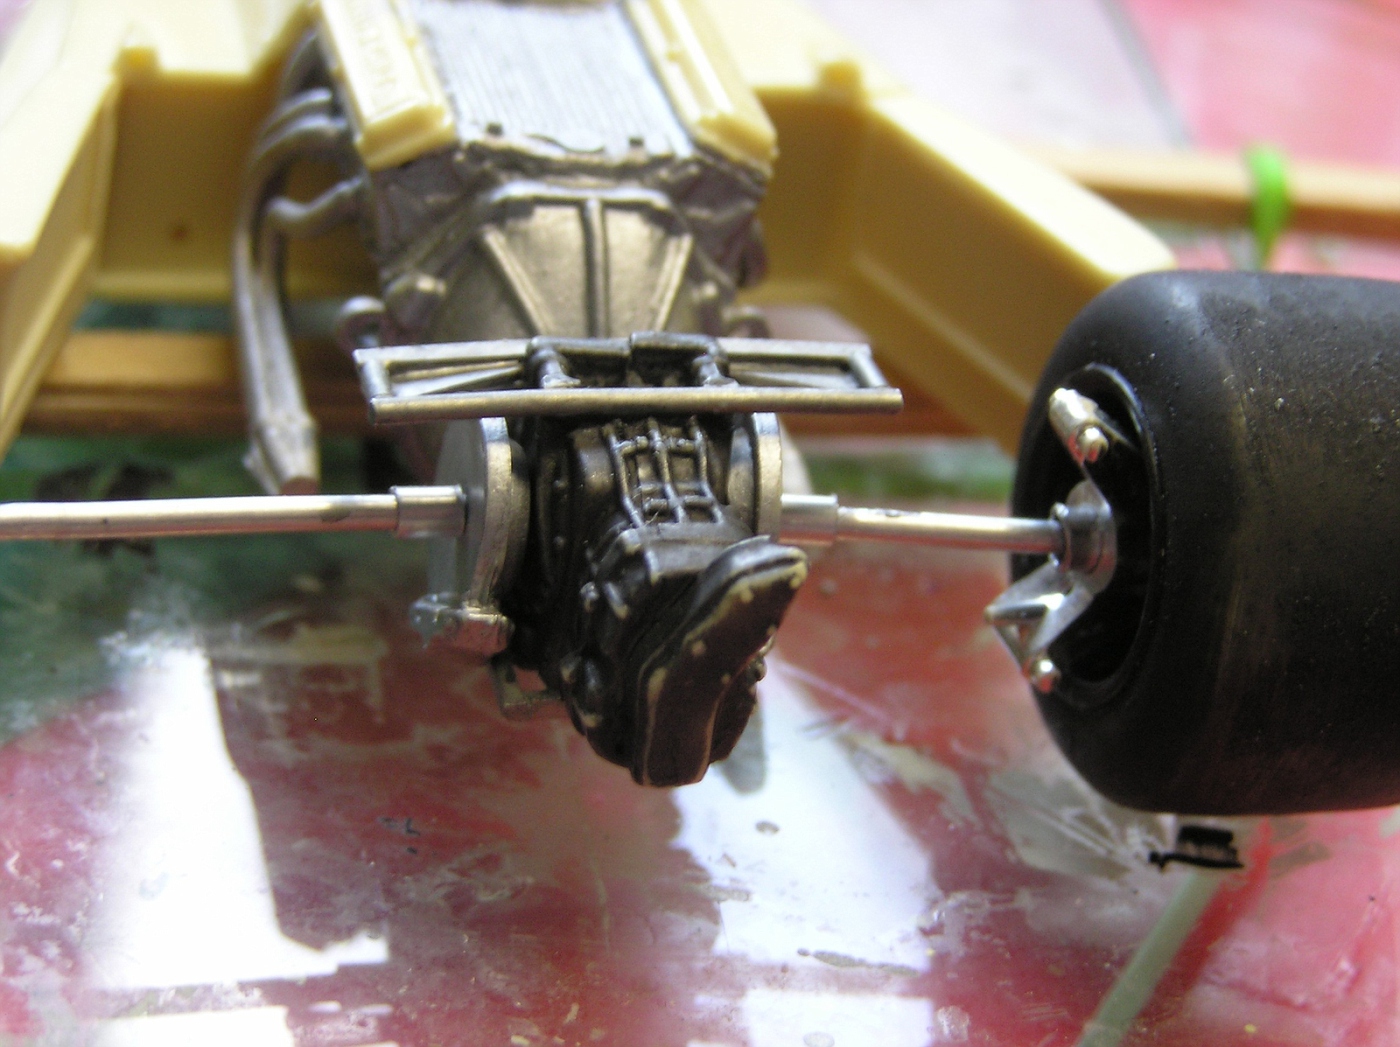 |
|
|
|
Post by raceparke on Sept 9, 2015 16:18:13 GMT -5
More stuff. The front suspension upright started as a Lotus turbine bit but has now been hacked to this 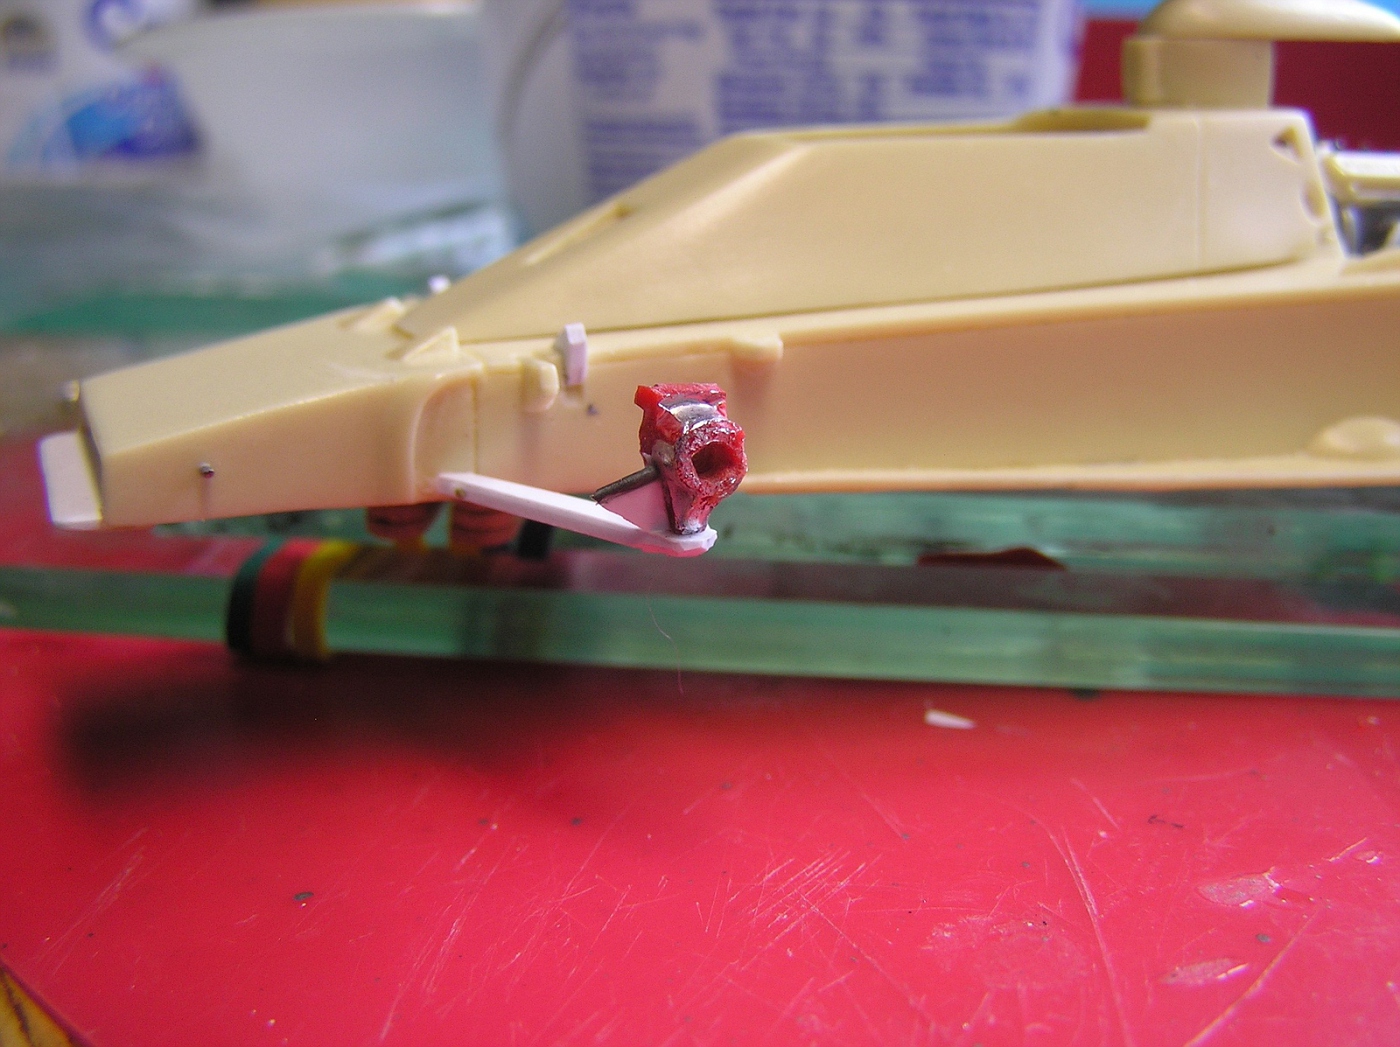 Shorter and narrower with a steering arm added 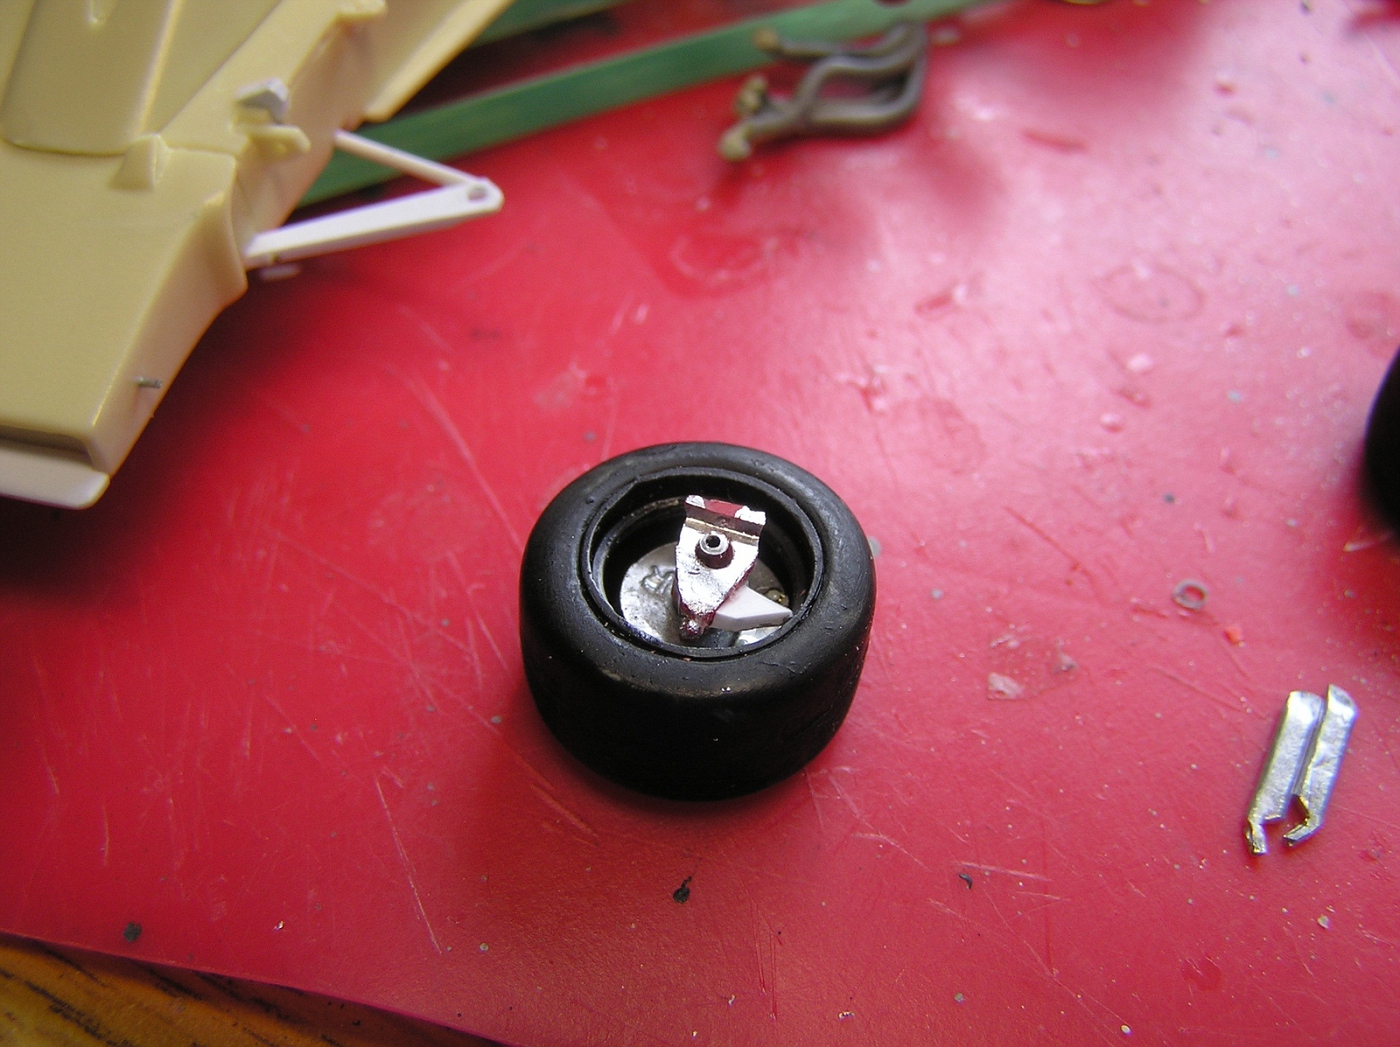 For top links I flattened some small alu tubing, cut and filed to get a shape 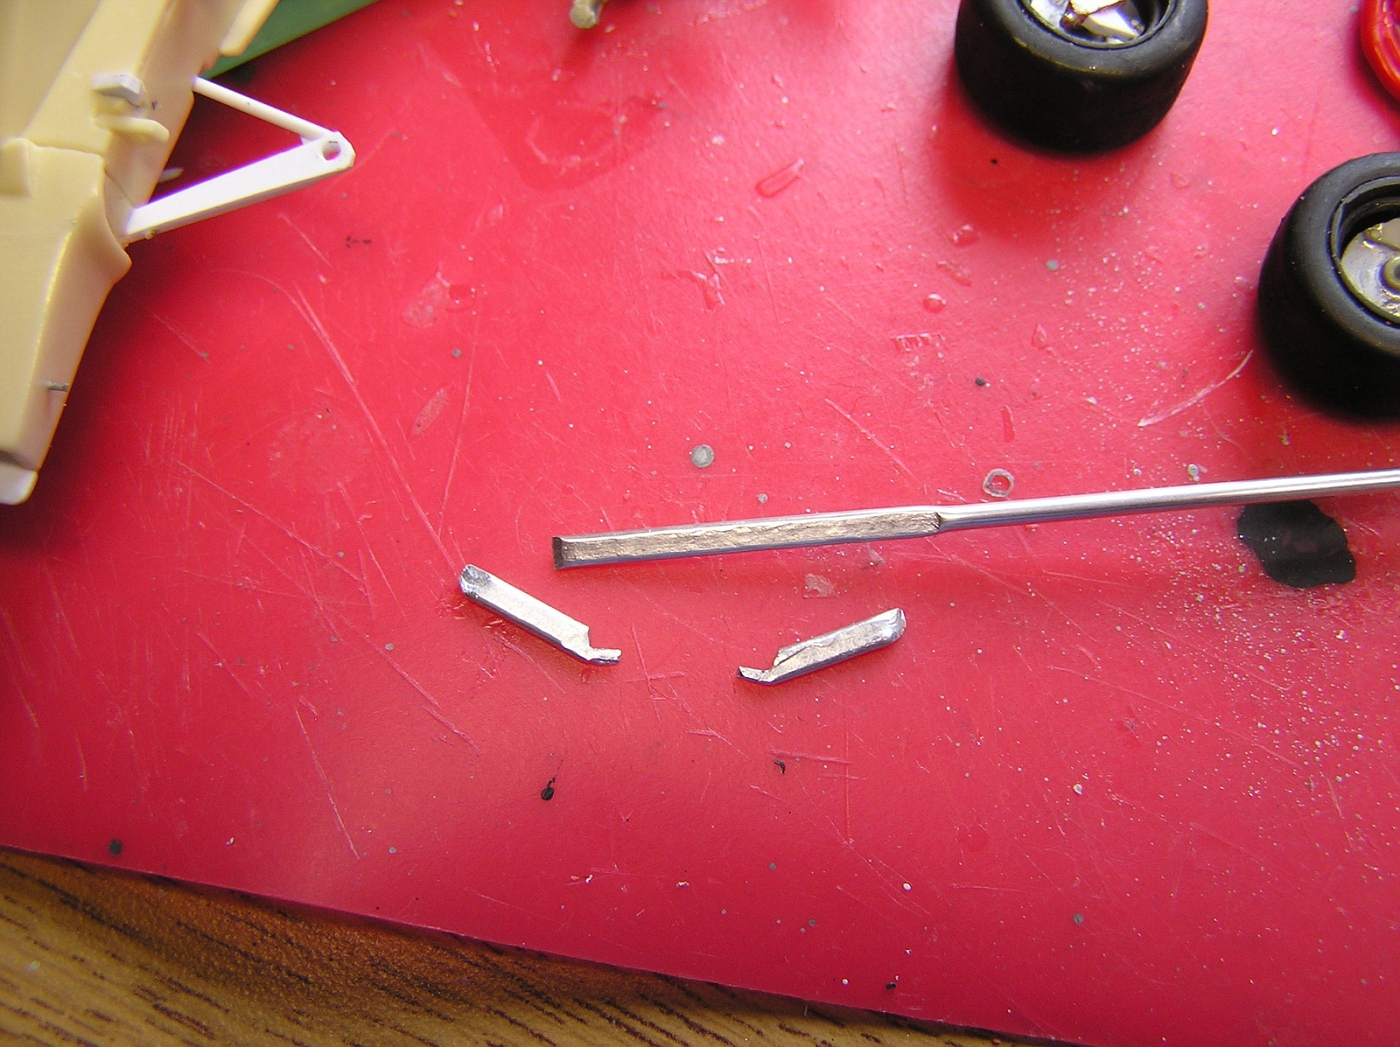 |
|
|
|
Post by raceparke on Sept 9, 2015 16:27:24 GMT -5
Progress at the other end too Front springs from the Revell/Fujimi Ford GT and lotso plastic rod 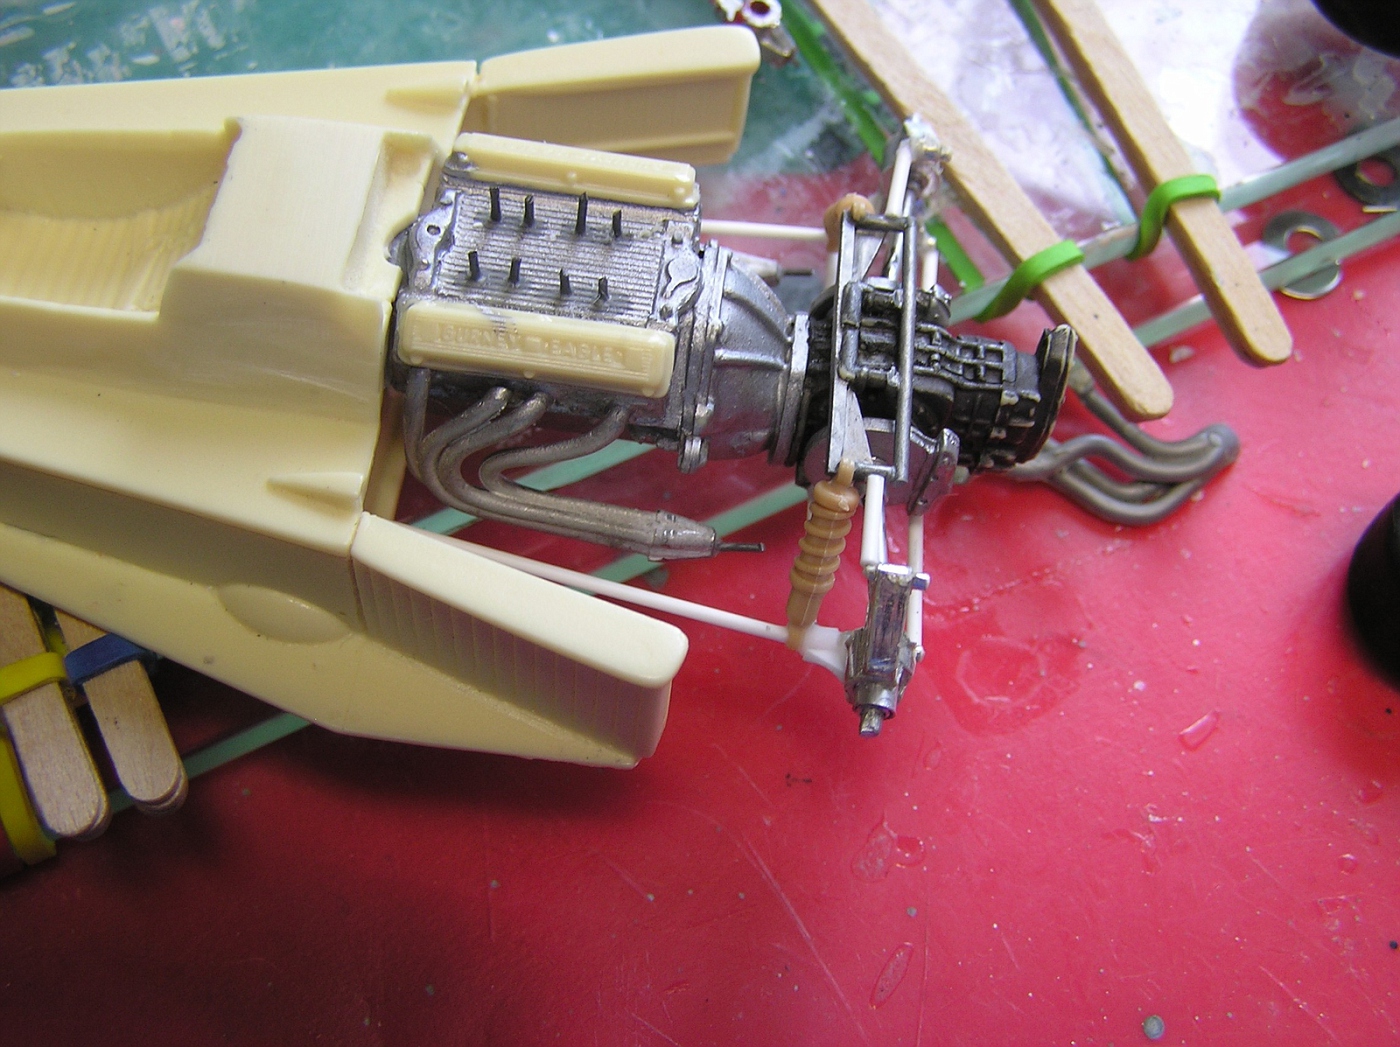 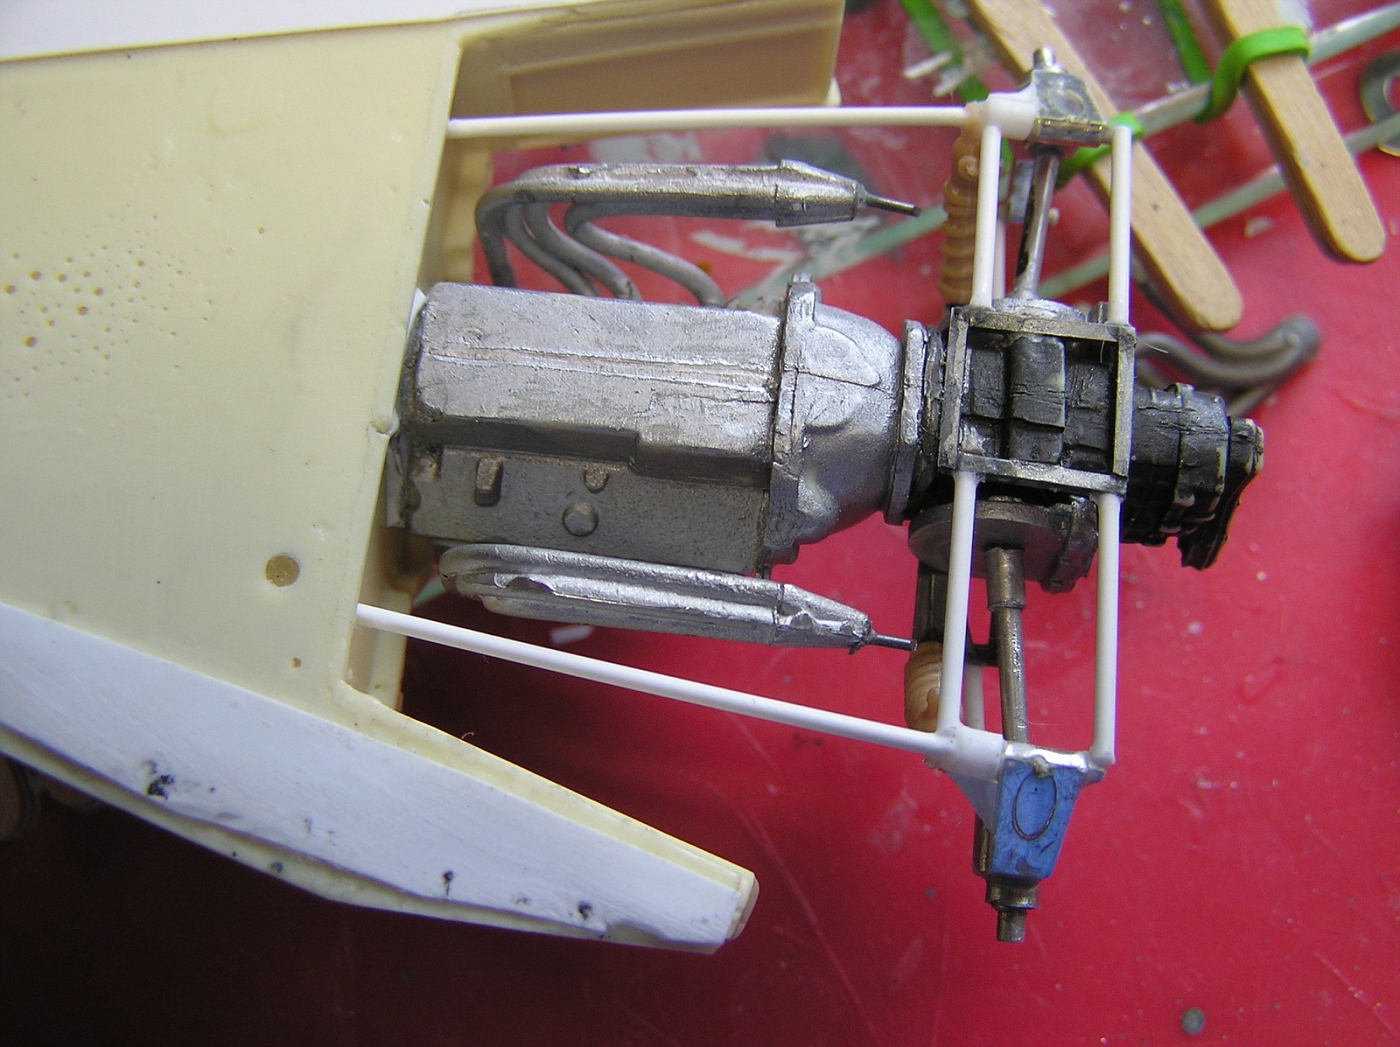 I will add the top radius rod later, not sure what plumbing will be done 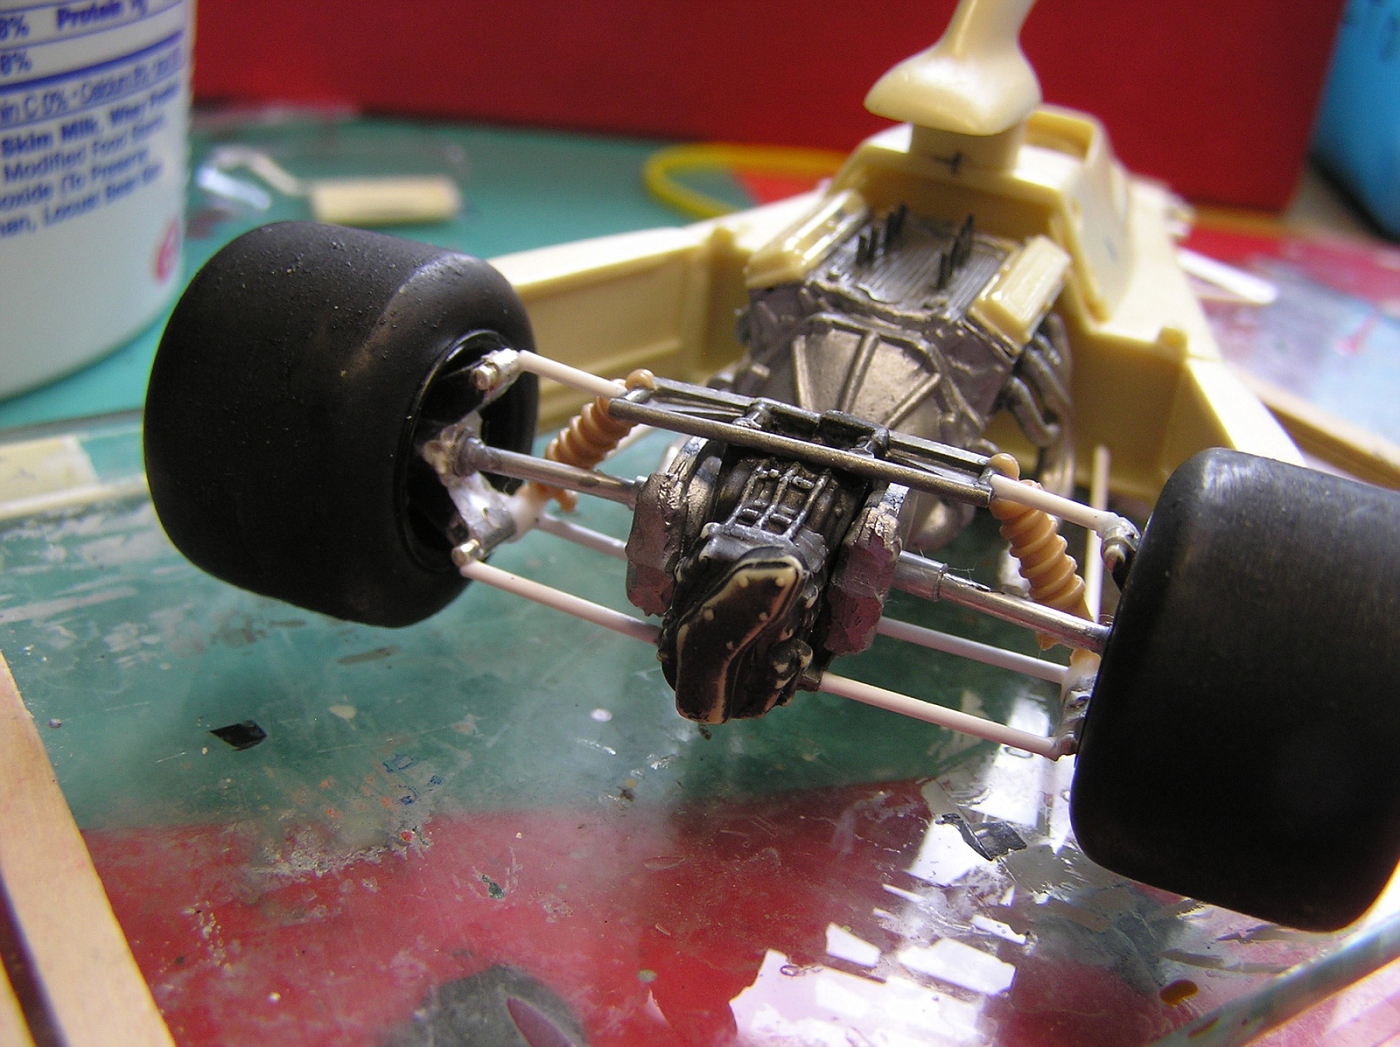 |
|
|
|
Post by harveythedog2 on Sept 10, 2015 7:10:48 GMT -5
Great to see this going again! Good Stuff!
|
|
|
|
Post by raceparke on Nov 2, 2015 15:31:16 GMT -5
Well, the b'day greetings reminded me I haven't finished this. I finished the Eagle with my own interpretation of some aspects.  The front suspension is sorta like some pix I've seen but is not spot on. I know- no anti roll bar. I couldn't decide how to do it, so I decided Not to do it.  Same at the rear 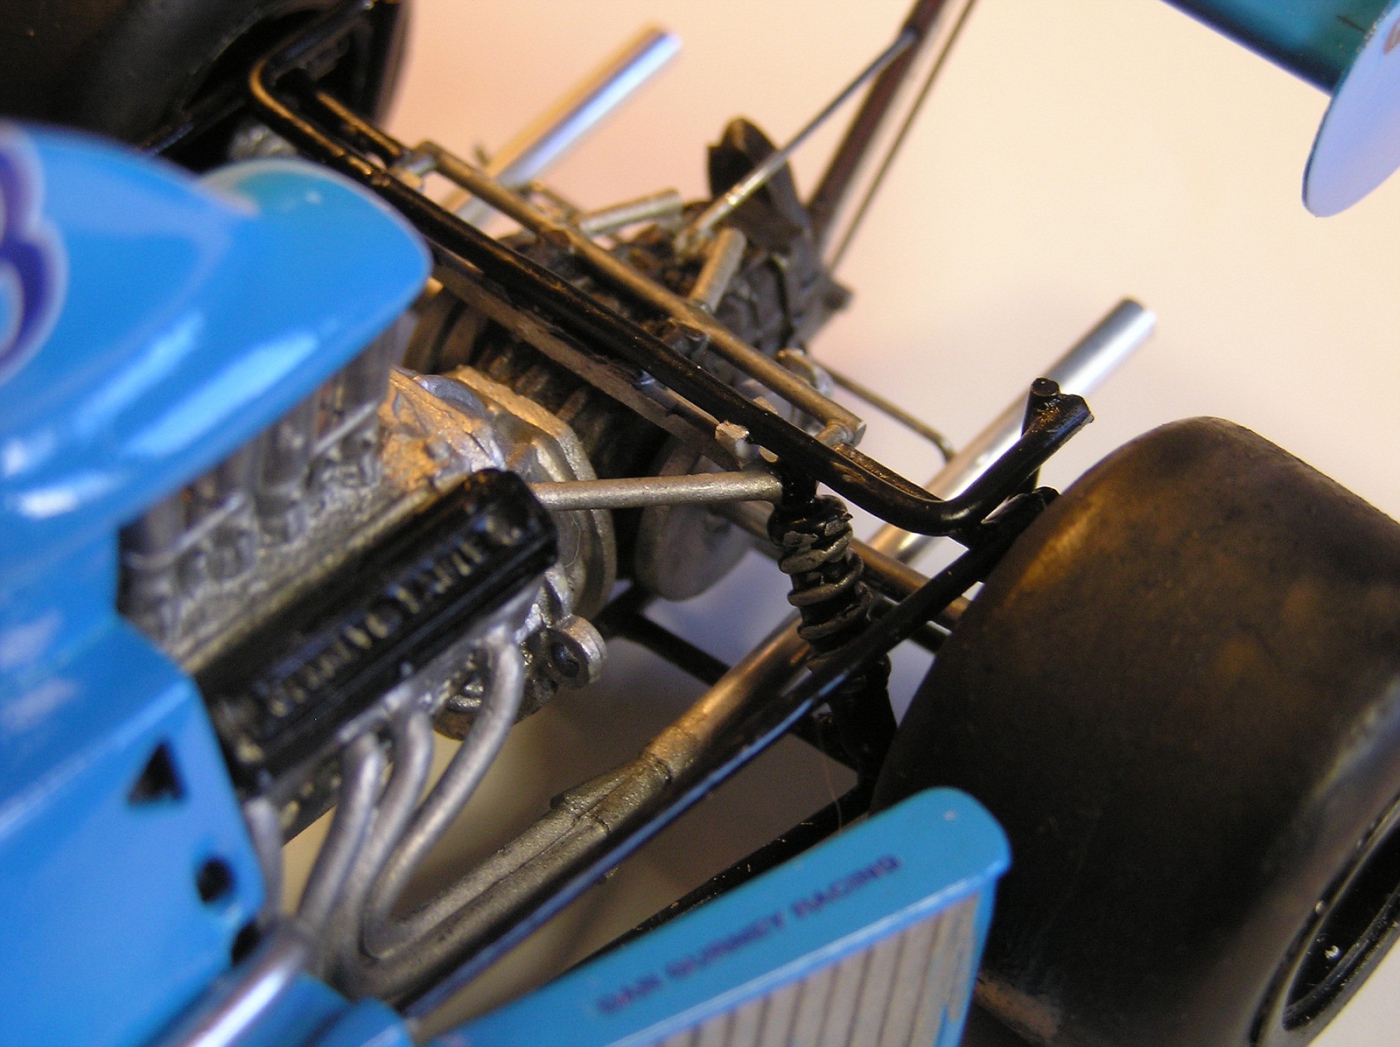 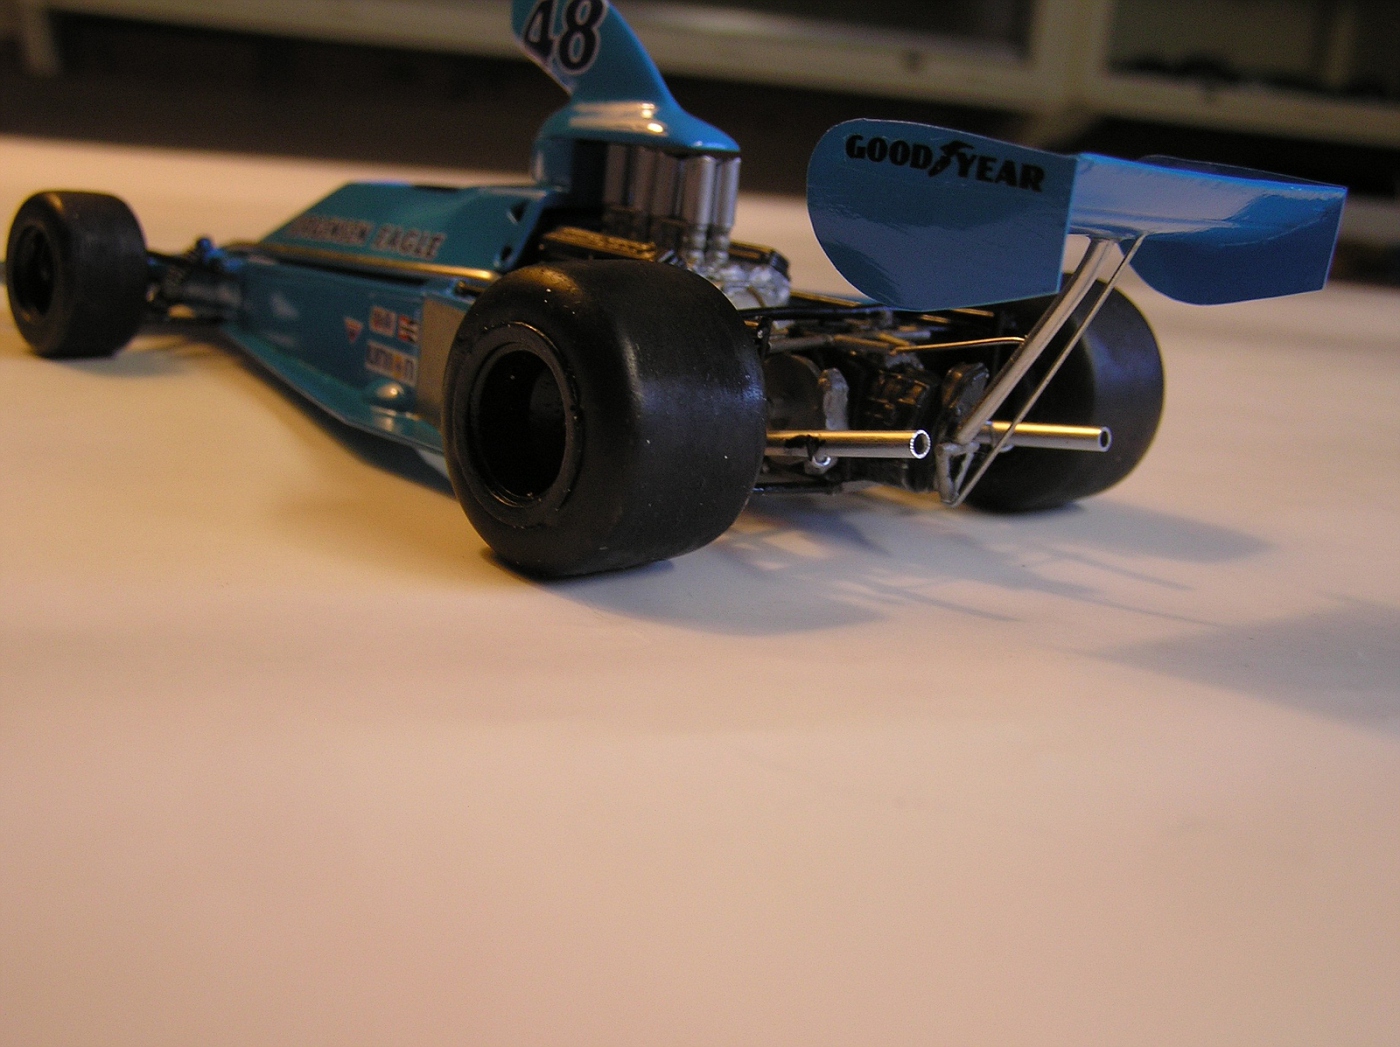 But it does add to the grid. 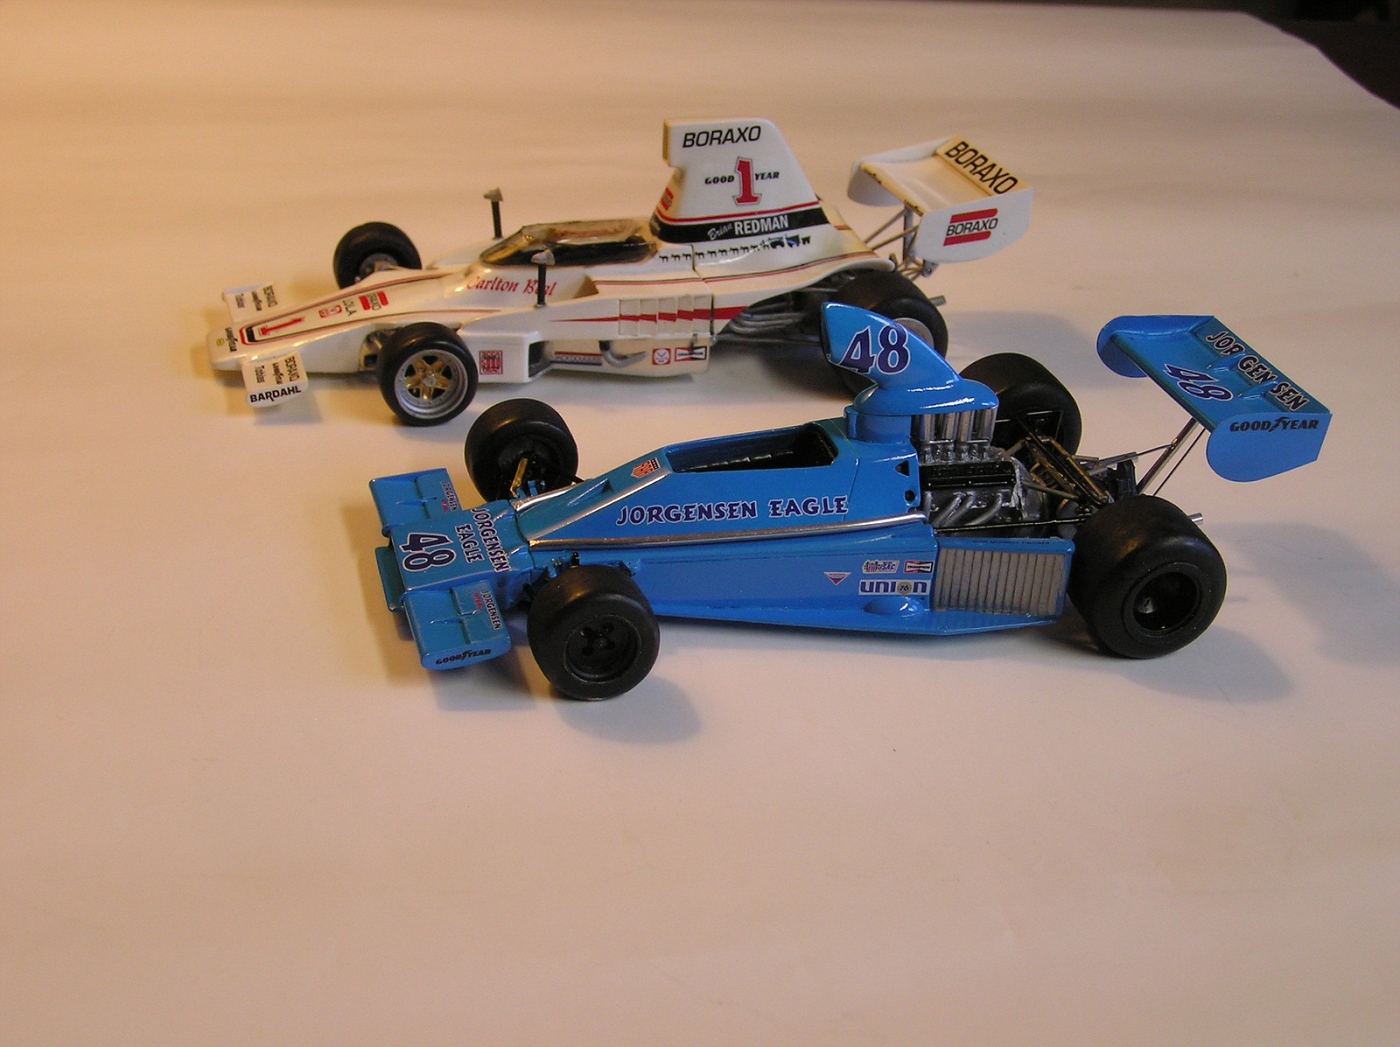 |
|
|
|
Post by kuzlynn on Nov 2, 2015 18:54:58 GMT -5
Hi Dan
Nice to see folks building my kits. I never you complete both of the F5000 cars. They both look excellent. Thanks Kevin K.
|
|
|
|
Post by clm1545 on Nov 2, 2015 20:41:51 GMT -5
Very nice work, on both of them.
|
|
|
|
Post by racerbrown on Nov 2, 2015 21:16:59 GMT -5
they just don't get any better than this!
thanks for sharing your skills with us.
duane
|
|