|
|
Post by 1961redlegs on Dec 29, 2014 22:20:32 GMT -5
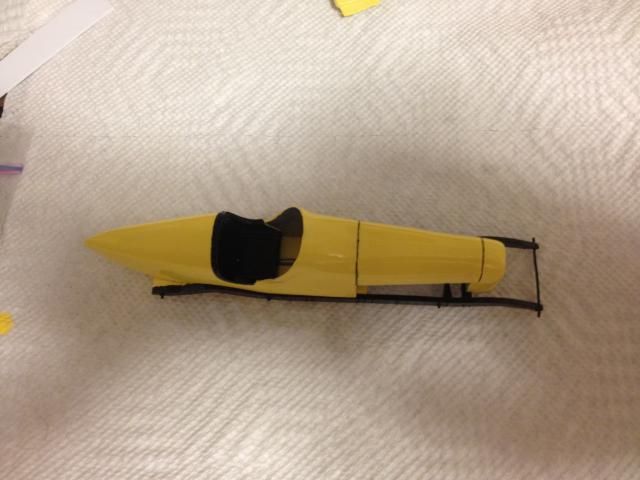
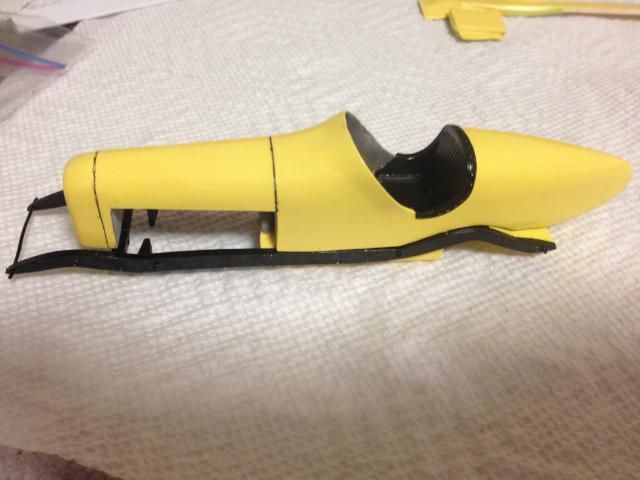
My latest project is the Etzel's Speed Classics Duesenberg I picked up over the summer from American Racing Miniatures. I became a big fan of DePaolo after reading "Wallsmacker" and listening to him on vintage Indianapolis 500 broadcasts. He always came across as well-spoken and an enthusiast for the Speedway and racing. When this kit was re-released it was a no-brainer for me to build one as DePaolo's winner. I've gotten the car painted, it's Rustoleum Summer Squash with a black frame and seat. I added a black wash to the hood to give it some depth. Tell me what you think!    |
|
|
|
Post by racerbrown on Dec 29, 2014 22:42:05 GMT -5
for the panel lines i like to use the decals from indycals.
everything else looks great. thanks for sharing.
duane
ps you're right, "wall smacker" is a great book to read.
|
|
|
|
Post by Calvin on Dec 30, 2014 5:03:20 GMT -5
I agree the panel lines from Indycals is the way to go.....IMO its really hard to get panel lines to look good by painting them in....sometimes you have to paint them when it comes to how some of these scribed lines look and other factors but if I do paint them in its always after I clear coat my paint job and I take a beloved dull x-acto knife and dip it into flat black wash and dab it into the groove and let it run down the line and if any gets outlet it dry and when you buff you paint job it will get rid of any black wash spillage as well.
(Hopefully that makes sense?)
|
|
Deleted
Deleted Member
Posts: 0
|
Post by Deleted on Dec 30, 2014 13:13:00 GMT -5
I was recently working on a Monogram DC-3 for a friend. This old kit has RAISED panel lines. Being a masochist I decided that would never do. I started sanding each raised 'seam' separating panels and getting ready to scribe one for a start/test. Before starting, I felt I should see just how big a groove to make. Now, this was an airplane, so the panels are pretty much butted up against each other. I figured that 1/48th scale a panel gap of 1/4th of an inch (Outrageous for an airplane!) would be a little over .005 on the model. It would barely show. Now let's see 1/25th scale stuff. In 1/25th scale, a 1/4" gap would be .010". Not much. If the line were more like an eighth of an inch, the 1/25th scale gap line would be half that, or .005". Lines that fine can't even be molded into our models. I usually sand any body that has this problem to get rid of some of this effect where it is practical. But overall, I think we may obsess about this subject a tad too much. I usually don't try to bleed any paint into the grooves. It often comes out uneven and detracts from the model's overall appearance, in my opinion. Sometimes it is indeed necessary; especially when the line is on a large area with no other 'punctuation.'
I know this flies in the face of what many of us are used to trying to attain, but I've been building/making models from 7 years old, and did so professionally for about a dozen years (NO money in it. Don't go there!) I've found that a properly done gap or seam speaks for itself, and that 'bleeding' paint into them ALMOST always gives the finished piece an overdone look. If you do decide to use paint in your lines, consider a medium dark grey. This emphasizes the line without being overpowering. Just my experience. I hope this all helped, and that a conversation about this subject can go on.
|
|
|
|
Post by kip on Dec 30, 2014 13:57:51 GMT -5
I'm going to enjoy this build. Don't see too many older cars on the forum. I've got the Etzel Miller and Dusie to build and a bunch of Gary's kits so I am hoping to learn something from watching this. How did you like the Rustoleum paint? Did it go on well? I have used Krylon and like it a lot, but I haven't tried Rustoleum. If the Rustoleum works well that would open up some new shades.
kip
|
|
|
|
Post by 1961redlegs on Dec 30, 2014 20:05:47 GMT -5
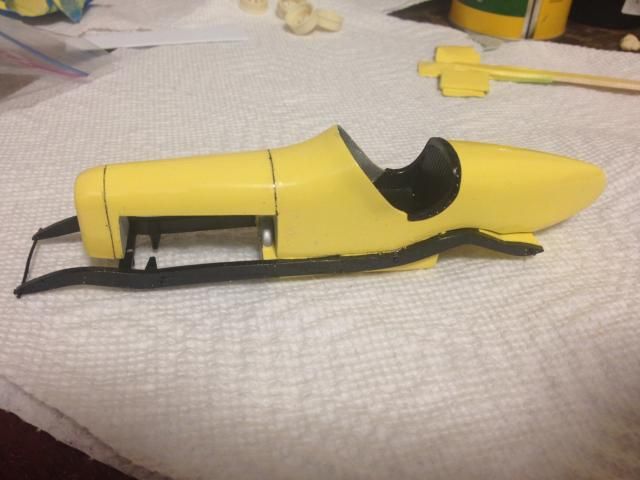
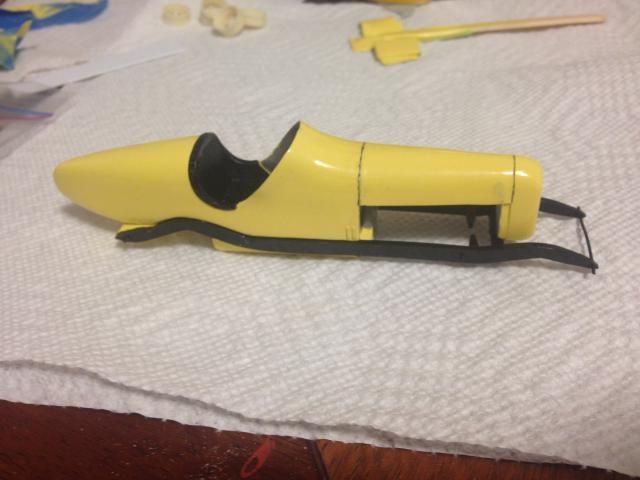
The Rustoleum went on very smoothly, it didn't run or drip and has good coverage. It dried quickly but I still waited overnight to clear as it's a satin paint. I used testors clear coat and it shined up nicely. I love the cars that ran before the Second World War so I'll be building more over the next year. Thank you for the tips on the black wash, I thinned it out and here's what I came up with. It's noticeably thinner and less dramatically dark. I still need to buff it out but I think I'm back on track.   |
|
|
|
Post by kip on Dec 30, 2014 20:56:32 GMT -5
Looking really good. Are you going to use the Finecast wheels and tires?
kip
|
|
|
|
Post by clm1545 on Dec 30, 2014 21:28:16 GMT -5
I'm not a fan of painting the panel lines, because, to me, they look too big. Enlarged 25 times it seems like too big a gap. BUT, that's just me, this hobby, and this board is all about having fun, and enjoying each others work. With, or without the lines, your car is looking good, Jerry, Remember what Ricky Nelson said "you can't please everybody, so you've got to to please yourself".
|
|
|
|
Post by alterrenner on Dec 31, 2014 6:05:10 GMT -5
Man! I love it when people quote Ricky Nelson! What an under rated artist, lost too soon...
|
|
Deleted
Deleted Member
Posts: 0
|
Post by Deleted on Dec 31, 2014 11:58:42 GMT -5
alterrenner,
Amen to that!
I didn't mean to lecture anyone on how to enjoy or pursue the hobby. I guess it looked that way in my post. I also enjoy models with or without panel lines. Sorry if I gave the wrong impression. I do that sometimes in my rush to contribute. If I may, however, I'd like to share another technique I use. Most molded in panel lines curve into the groove. This is an unfortunate and virtually unavoidable consequence of any form of manufacture. Sometimes, I mix a bit of black with a bit of the body color, and of course, make it soupy with thinner. Then I let it flow down the groove in a thin line. I especially like this technique with bright or strong colors; dk. blue, red, dk. green, etc. Geez, I love this site. I'm learning by the day.
Motorbill
|
|
|
|
Post by 1961redlegs on Dec 31, 2014 12:13:19 GMT -5
I appreciate very much the advice Motorbill, Craig and everybody. It's all about being a better modeler each build and that means seeking advice and learning!
With the help here I've become much better at building. I was worried about the panel lines and with the advice I received I improved the look of the panel lines and took away lessons for next time!
I got the springs on last night, I didn't get a photo of them but I wanted to ensure they sat evenly and straight as the suspension will ride on them. Locating where they go is a cinch with this kit!
|
|
|
|
Post by kip on Dec 31, 2014 13:18:44 GMT -5
I think all the ETZEL/ ARM make the suspension alignments really easy. (I've built the Kuzma dirt car and am building the Watson). Those kits are amazing. Chris was truly a wizard. I am really enjoying this WIP and look forward to the next post.
kip
|
|
Deleted
Deleted Member
Posts: 0
|
Post by Deleted on Jan 5, 2015 12:45:22 GMT -5
By the way, Redlegs, I meant to post that your improved panel lines are sharp as a tack. Good Going. Rework is always such a risk on a finished body, but you came through with flying colors.
motorbill
|
|