|
|
Post by jaw12287 on Oct 30, 2014 23:09:05 GMT -5
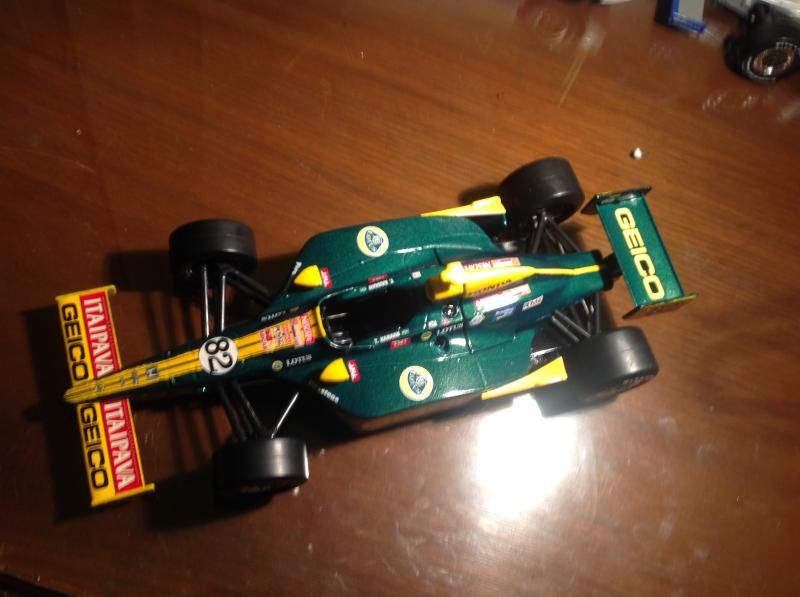
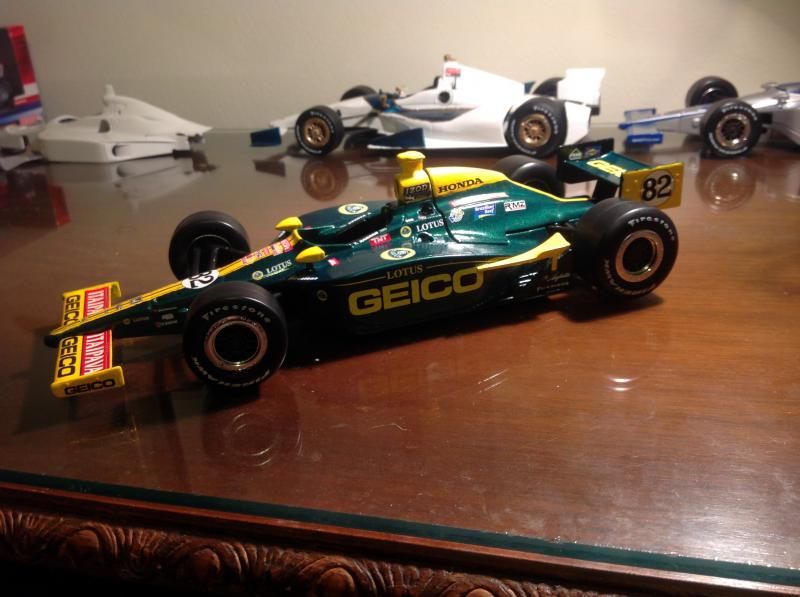
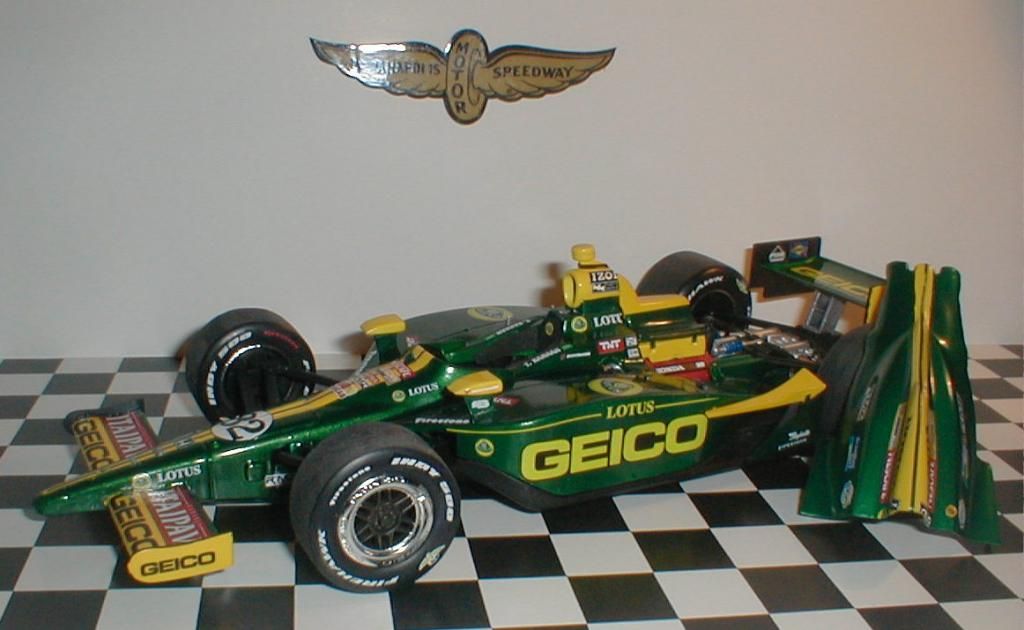
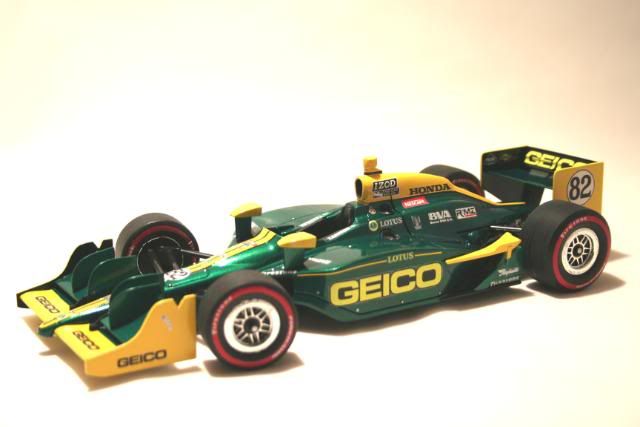
This is the second car I ever attempted to do. I always loved the way this car looked in person so I tried my best to bring it to life. Overall, I am content with the final product. I'm not totally pleased with the way the stripes on the nose came out, but it wasn't too bad for my first crack at masking off areas and painting. This one looks really cool in person when the light hits the metallic green and the gold in the decals. Thanks again to Michael at Indycals for the great decals!


|
|
|
|
Post by indy on Oct 31, 2014 10:28:25 GMT -5
Looks good, you need to photograph this one outside on a bright and sunny day!
Jordan
|
|
|
|
Post by jaw12287 on Oct 31, 2014 15:40:38 GMT -5
Thanks! I plan to do that the next time I get a sunny day, which in western Ohio means April  |
|
|
|
Post by senn65 on Oct 31, 2014 16:57:48 GMT -5
Again nice work.
|
|
|
|
Post by INDY22IAM on Oct 31, 2014 17:55:54 GMT -5
Nice job, I did that one as well. It would not be an easy first one to do. You did an awesome job on it. I always liked how they made it look like the old 65 Lotus. Looks like the qualifying line at the Indy 500 on Pole day in the background.
|
|
|
|
Post by jaw12287 on Oct 31, 2014 18:49:09 GMT -5
Thanks! It was definitely a challenge to figure out how to do the striping areas. I ended up cutting the decal out and then tracing the edges on a section of tape, then laying that across the nose and cutting the "V" shape out and finally painted the open area. It worked pretty well other than the bottom part of the V where the shape of the nose made it a bit of a challenge to keep the tape straight.
|
|
|
|
Post by INDY22IAM on Oct 31, 2014 21:51:53 GMT -5
On mine I cut the decal out for the nose as close to the stripe as I dare and than I had some backing paper that I saved from some contact shelf paper and laid scotch tape down on the backing paper than traced it out onto the masking tape. I than cut on the inside of my traced line. I also did the correct mirrors out of styrene and balsa wood. I did the in car camera with some buttons that I glue together that I got from Hobby Lobby. I also took the front wings and moved them back from a turitoil from Stu. I also did the front end plates out of styrene. It is one of my favorite custom cars that I have done. I love the green and yellow together. What green did you use? I used a Testors emerald green and decanted it to get more control from my airbrush. I did the same thing with the yellow which was Rust Olem sun yellow. I did the conversion from a Sato Lotus to get the green and yellow engine. Here is a picture of mine and the engine from Sato's car.  |
|
|
|
Post by harveythedog2 on Nov 1, 2014 6:39:47 GMT -5
Anyone is welcome to my tutorials on how to make the necessary mods for these old Dallara's. Fairly easy stuff to do and just a little more work but your cars will look much more accurate. That said, I think you did a great job and all your cars look super!
Stu
|
|
|
|
Post by jaw12287 on Nov 1, 2014 7:14:11 GMT -5
Yours looks outstanding Indy! That engine and the subtle changes you made really bring it all together! For mine, I believe I used either Testors Emerald green or Testors Custom Green Metal Flake (I can't remember which now). For the yellow, I used the regular bottle of Testors yellow and hand painted it, then polished it down with extra fine grit sand paper.
Thanks for the compliment Stu, coming from you that means a lot!
|
|
|
|
Post by chromehorn08 on Nov 2, 2014 9:47:15 GMT -5
Nice build on all 3 of these cars! Always liked this TK car. What's that DW12 in the background? Hinch?
|
|
|
|
Post by senn65 on Nov 2, 2014 11:53:20 GMT -5
I used Testors Emerald mixed with Testors Mystic Emerald.  |
|
|
|
Post by jaw12287 on Nov 2, 2014 22:01:14 GMT -5
Chromehorn, the DW12 in the background is supposed to be a custom car for my father. I'm not super happy with how it looks so it's probably going to take a bath in some Super Clean and start all over again
|
|