|
|
Post by Calvin on Dec 14, 2011 1:02:23 GMT -5
OK! I cant stand it anymore! Its time to build another Roadster! I'm in the mood, so why not? I got this kit from Rick who gave me good service and a nice product. I'll be doing a full detailed WIP on this kit along with some extra added detail that will make this car look outstanding! 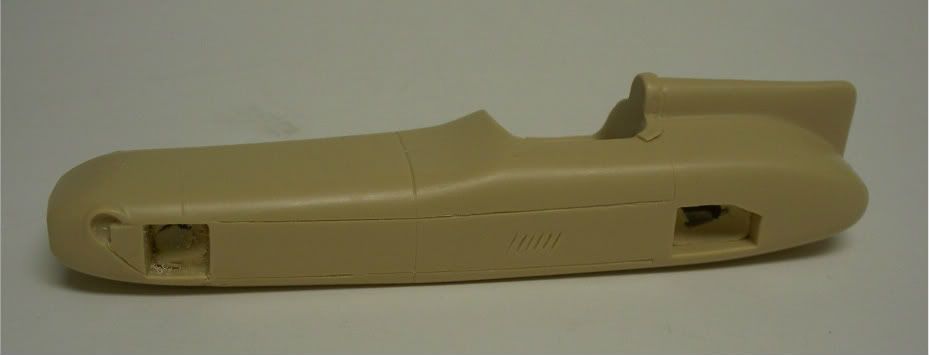    More to come soon! |
|
|
|
Post by kurzheck on Dec 14, 2011 10:21:30 GMT -5
Soon? It's been 8 hours and I'm getting impatient  |
|
|
|
Post by Calvin on Dec 14, 2011 14:15:18 GMT -5
Okay, I'll get myself into gear, I just didn't have time last night.  Well the first thing I did was to take a look at the cockpit 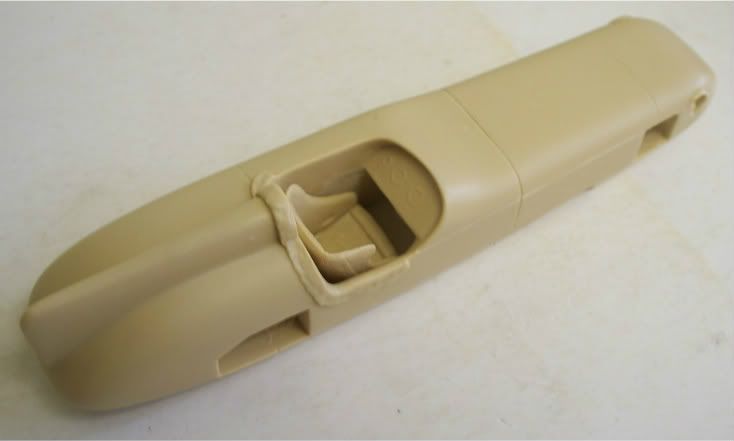  I want to add the drive line with the transmission. I have to modify the seat and do a little bit of grinding in the cockpit. 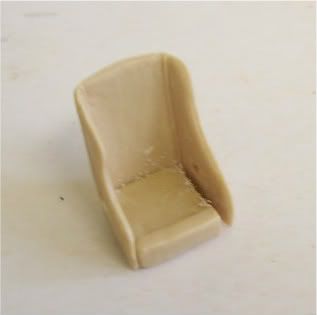 I did some sawing on the seat to make it a little more smaller. 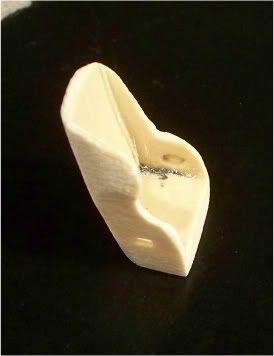 I also sanded down the front. 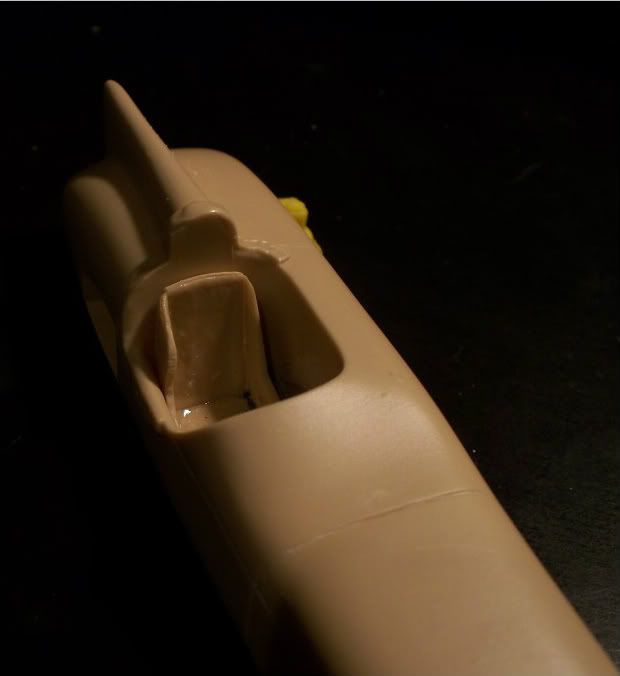 I can now fit the drive shaft down the left side of the cockpit. |
|
|
|
Post by Calvin on Dec 14, 2011 14:32:56 GMT -5
Before I start doing anything else I need to make sure were all my suspension parts go before I paint.  I figured out the ride height with a steel ruler with machining spacers on top to get the proper height, kinda like a jig if you will. 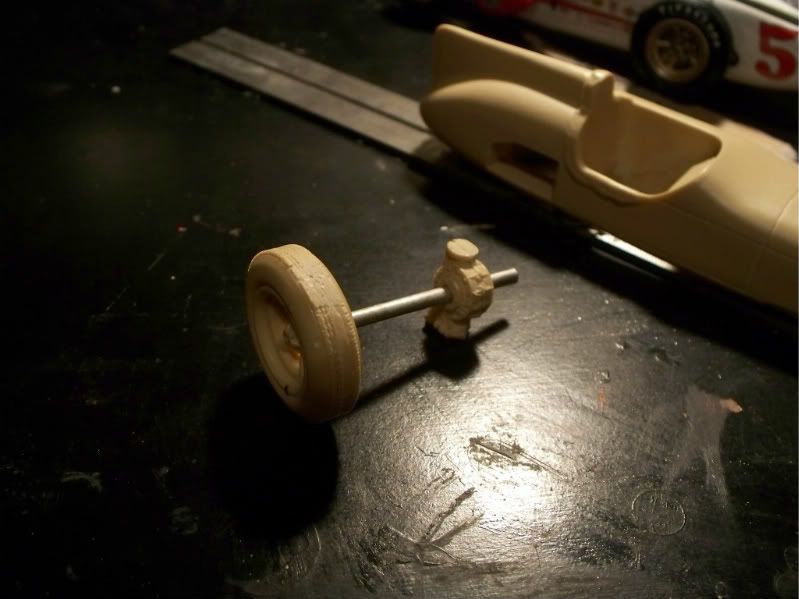 A good thing to do is just to lay out your parts and think before you take action - come up with a game plan, plan out every step you are going to do.  After I figured out a game plan, I started to take action by creating a location for the rear end to sit and stay - I ground down a section on the far left side of the cars rear end and notched it downward, to fit that highest part of the rear end, upside down. (if that makes any sense?) 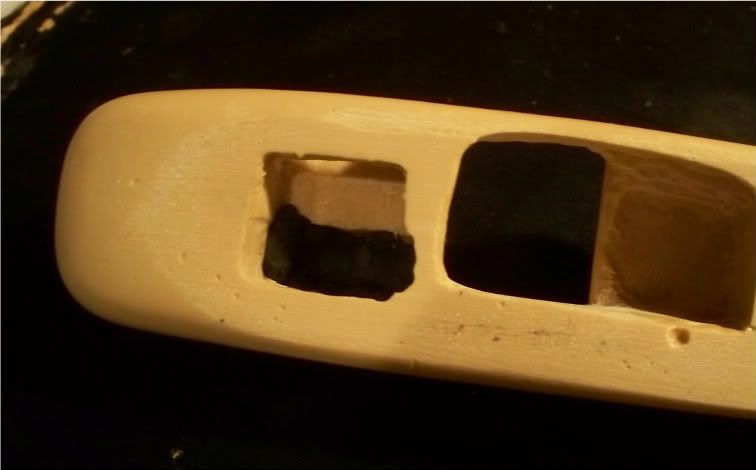 I mixed up some Miliput putty - then i pressed it into my carved out location. This Miliput will give me an excellent way of mocking up the rear end assembly. The fresh Milliput will act as a temporary soft cradle for the rear end. as seen in the pic below.  After I find my proper location after pushing the rear axel through the currently "hanging on" rear end - stick on the rear wheels on the axel and see if the touch the ground, if they dont touch, move your rear end around in the the milliput until you do. Reminder we have the body on our jig when testing out the suspension layout. |
|
|
|
Post by indy on Dec 14, 2011 22:38:38 GMT -5
Art and engineering!! Engaging both sides of the brain with this one! Great to see this one getting built.
Jordan
|
|
|
|
Post by Calvin on Dec 14, 2011 23:00:58 GMT -5
Next is to find the front axle location. Its pretty simple just take the front wheels as the body sits on top of the jig, and simply super glue the axle in place which is right with the body line were the nose and hood meet up. After the super glue drys I'm going to add some Miliput inside to help keep the axle in is place........in other words, "strengthen it up." 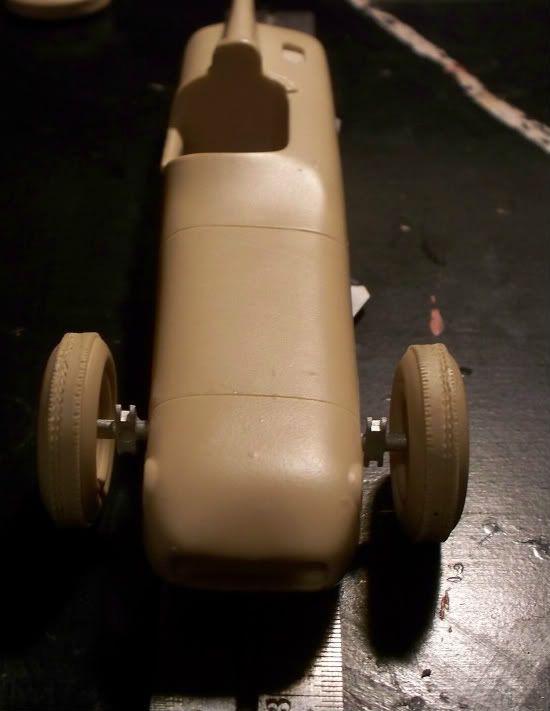 |
|
|
|
Post by Calvin on Dec 15, 2011 3:13:15 GMT -5
One minor thing that needs to be done is to slot out the tail end of the fin. 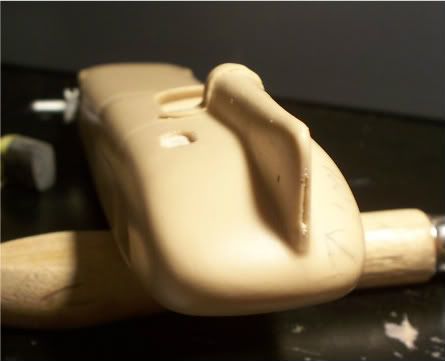 |
|
|
|
Post by Calvin on Dec 15, 2011 3:20:51 GMT -5
Next I'm going to match up the front gill to the body.   Make a mark of the location of the grill.  I mixed up some milliput and added some to the sides of the grill opening on the body and add some bellow the grill opening. Tomorrow I'll Dremel out the opening to match the resin grill part. |
|
|
|
Post by Calvin on Dec 15, 2011 3:25:58 GMT -5
In the meantime, lets make a transmission!  I dont have very much roadster parts laying around but I do have a Transmission from the 1955 Kurtis monogram kit that I did earlier - so I'll just use that and make it work.   I just started to sand it down square.  Added on some Milliput - let it dry over night - then sand down to fit in the cockpit.   |
|
|
|
Post by Calvin on Dec 16, 2011 2:01:49 GMT -5
Next I cut out some styrene and super glued them in.  |
|
|
|
Post by Calvin on Dec 18, 2011 1:04:01 GMT -5
|
|
|
|
Post by clm1545 on Dec 21, 2011 21:42:45 GMT -5
Calvin, did that grill come in the kit?
|
|
|
|
Post by Calvin on Dec 22, 2011 0:40:43 GMT -5
Yep.
|
|
|
|
Post by Calvin on Dec 21, 2013 19:13:19 GMT -5
After 1 year, 12 months, and 5 hours (see date of last post) of nothing happing to this one I finally got the yellow paint on!  There is no denying the fact that the 1957 Winner was a light yellow. I used Model Masters Daytona Yellow lacquer on this. So Craig doesn't have to worry about reading a head spinning color debate on this thread!  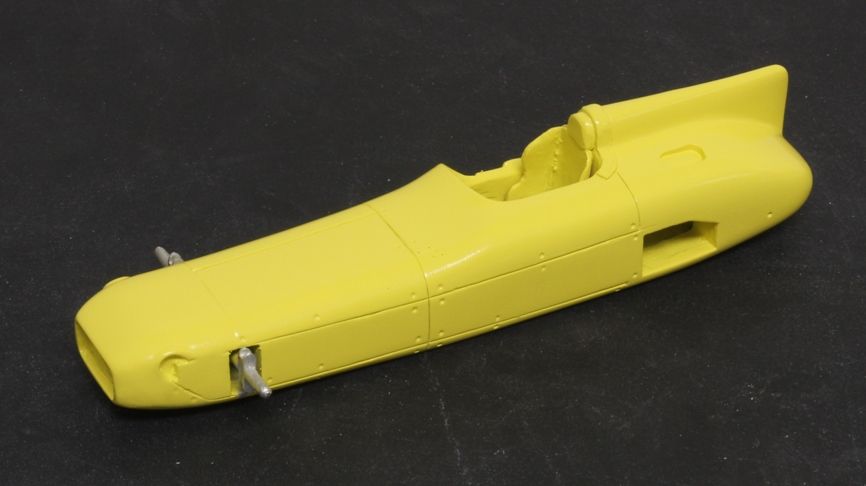 |
|
|
|
Post by IndyCarModels on Dec 21, 2013 21:11:05 GMT -5
great work so far. Almost makes me wants toget into some of my 1/25th kits.
|
|
|
|
Post by cobra276 on Dec 22, 2013 9:19:42 GMT -5
Nice job. Can you see the rear end inside the body after closing in the bottom?
Dave
|
|
|
|
Post by Calvin on Dec 22, 2013 12:06:15 GMT -5
Nice job. Can you see the rear end inside the body after closing in the bottom? Dave Yep, its in there.....and its even off set to the right. |
|
|
|
Post by Calvin on Dec 27, 2013 14:52:44 GMT -5
Its decaled up! 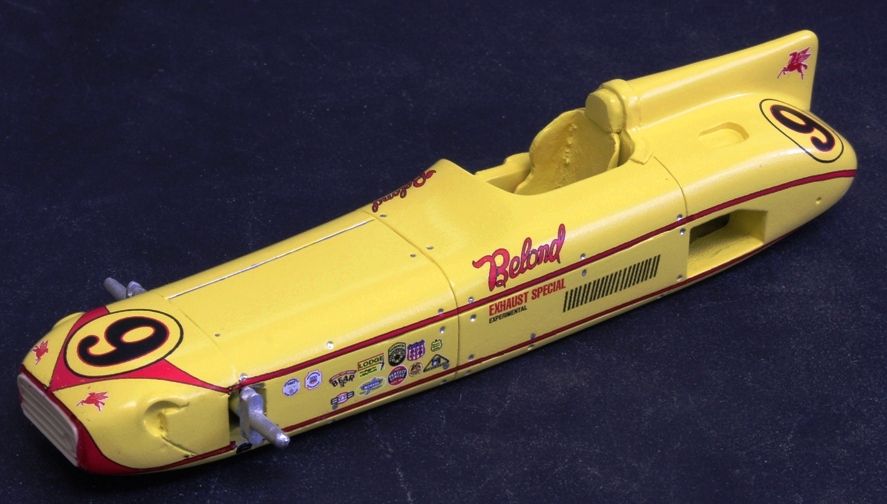 |
|
|
|
Post by indycals on Dec 27, 2013 20:53:45 GMT -5
Next is to find the front axle location. Its pretty simple just take the front wheels as the body sits on top of the jig, and simply super glue the axle in place which is right with the body line were the nose and hood meet up. After the super glue drys I'm going to add some Miliput inside to help keep the axle in is place........in other words, "strengthen it up."  You do know that left front is on backwards, right? |
|
|
|
Post by kurzheck on Dec 27, 2013 21:07:01 GMT -5
I've never understood why the 2 treads were to the outside. It seems to make more sense to run the slick part of the tire on the outside. Obviously Firestone knew what they were doing, just seems odd to me.
|
|
|
|
Post by Calvin on Dec 27, 2013 21:17:31 GMT -5
I know, I just was grabbing tires to get the ride height correct.
|
|
|
|
Post by sandysixtysfan on Dec 28, 2013 6:31:13 GMT -5
Hey Machine,
Awesome work on your on-going builds- the Eagle, that modern thing and especially the Belond Spl which is just stunning.
Sandy
|
|
|
|
Post by Calvin on Mar 12, 2014 23:44:32 GMT -5
So, now that you are only doing one at a time, what comes next? You need to keep "your advisor" up to date. I'm going to check off the 1957 Winner next.....you know what, it feels pretty good to get these done one at a time - I was starting to go crazy and making lots of mistakes working on everything all at once, there is no enjoyment in that....feels more like a job. Models come out looking better when you focus 100% of the attention on one at a time! 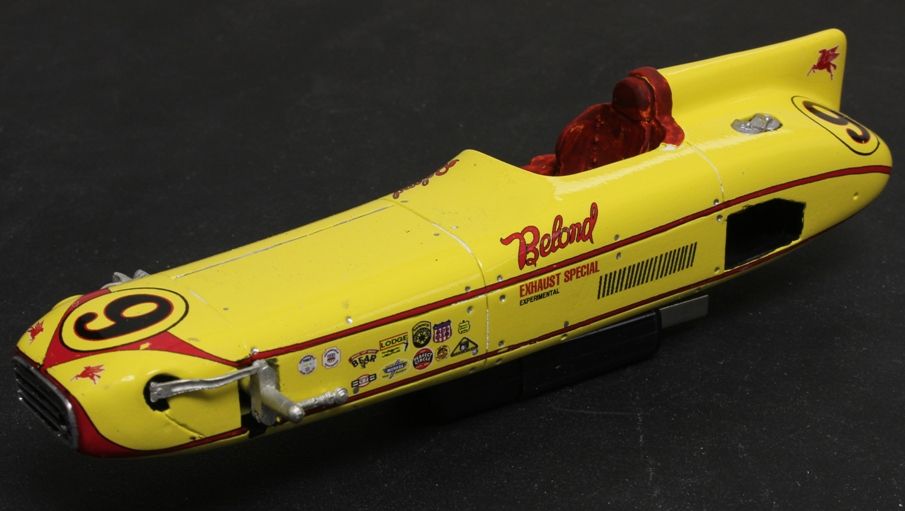 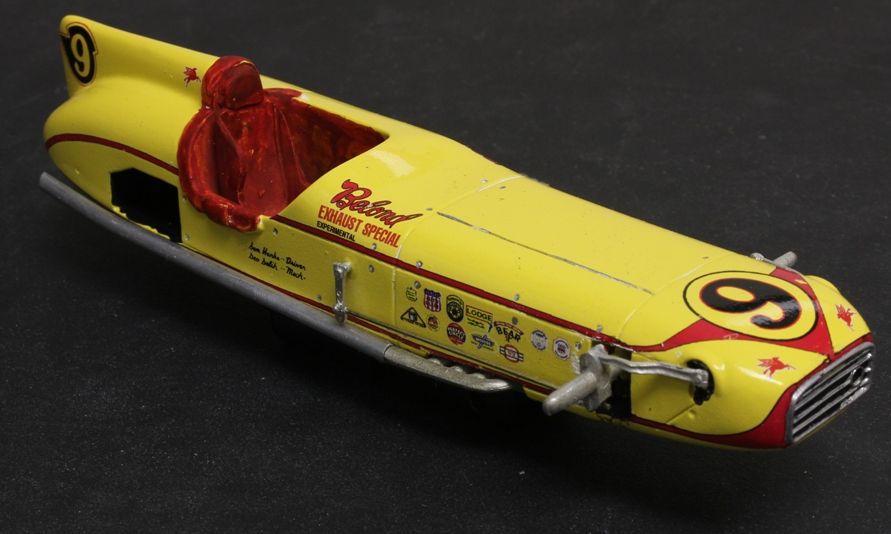 |
|
rick
Hot Shoe
 
Posts: 142
|
Post by rick on Mar 13, 2014 20:42:23 GMT -5
Nice.
|
|
|
|
Post by Calvin on Mar 14, 2014 22:00:48 GMT -5
|
|
|
|
Post by pntmachine on Mar 14, 2014 22:03:05 GMT -5
Very Nice!!!
Kevin
|
|
|
|
Post by indy on Mar 15, 2014 6:12:58 GMT -5
Another good looking Indy winner! The early prep work paid off well in the end result.
How many 500 winners is that now?
Jordan
|
|
|
|
Post by racerbrown on Mar 15, 2014 7:34:27 GMT -5
well done mr. sallee!
keep 'em coming.
duane
|
|
|
|
Post by Michael Chriss on Mar 15, 2014 7:49:04 GMT -5
Wow Calvin, looks great!
|
|
|
|
Post by Calvin on Mar 15, 2014 12:08:15 GMT -5
How many 500 winners is that now? 21 all together 2nd one done this year.  |
|