|
|
Post by Calvin on Oct 1, 2011 16:39:45 GMT -5
This is not the instruction sheet. This is more of the normal WIP threads I do but I'll be using more tips and tricks that the basic instructions will not have. (just like any model car kit.) The instructions is the "bare bones minimum." This thread is the "hard core" stuff. This is my helpful hits or my detailing tricks that you can add to your own kit. First off to make things easier through this thread the Tan colored Body will be the Skoal Bandit and the white body will be the Texaco Star. There is some important difference between the two cars that I will go over as this thread goes on. 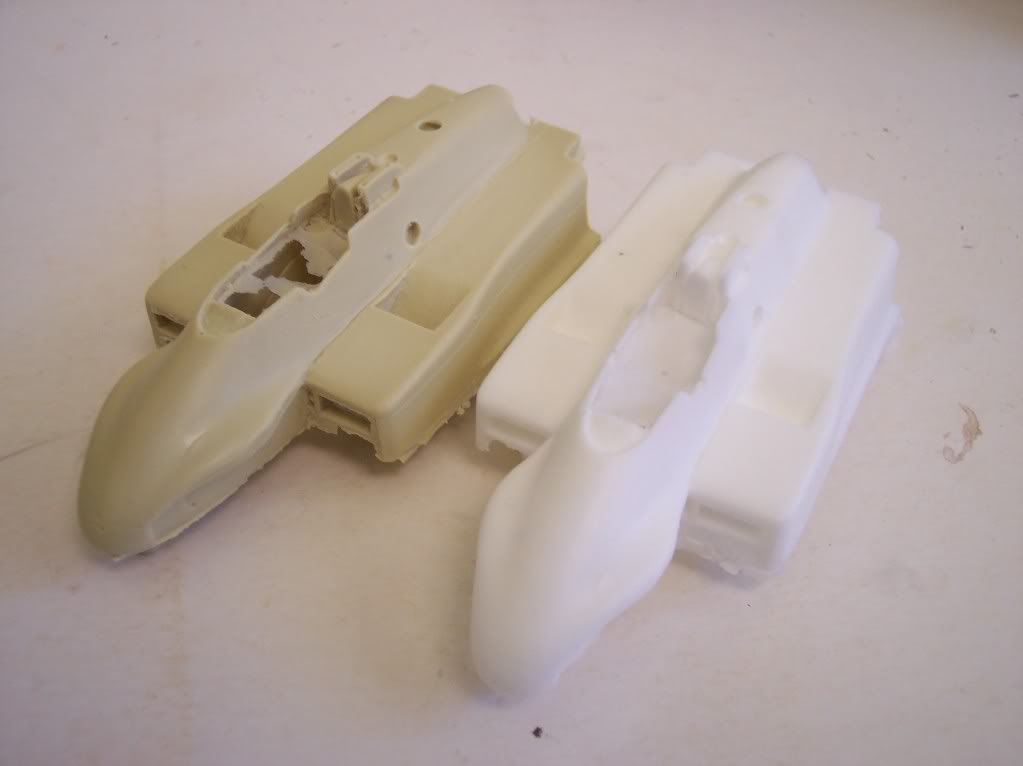 |
|
|
|
Post by Calvin on Oct 8, 2011 17:18:14 GMT -5
The first thing that needs to happen is to clean, clean, clean. and sand, sand, sand, then scuff, scuff, scuff. Got that?  When you think you have everything all cleaned up go ahead and wash it with soap and water, and dry. I use Tamiya Primer and give it some light coats just to give you an idea were all the problem areas are. (mainly pin holes) So after the primer is somewhat dry, go over the car with some Glazing & Spot putty - cover over all the problem areas, and in this case the car that has the most problem areas is the Fabit car, why? Prolly becuase I didn't clean it as much at the Sneva car, I was being lazy.  See what happens when you try to skip through prep work, it comes back to haunt you!  But its all good, I'll just have to do more work, but I'll be fine, that's what primer is for, to help you clean your body. IMPORTANT! Take a look at the rear engine cover. If you are doing a Sneva car, you'll have to cut that tail end off straight down, but if you are doing a Fabi car, leave it alone.  |
|
|
|
Post by Michael Chriss on Oct 9, 2011 1:12:41 GMT -5
While I am waiting on the Wildcat to dry, I got my new March out and started to futz around with it. I want to say that Calvin has really done a super job on this March. The casting is really sharp, and it looks very accurate to me. Right on Calvin!
|
|
|
|
Post by Calvin on Oct 13, 2011 1:23:50 GMT -5
I just thought I would give an update: Nothing really to exciting right now, just sanding, primer, and filling. But the most exciting thing of all is the NEW AJ Foyt sheet available! One more coat of Primer and we should be set to start painting! 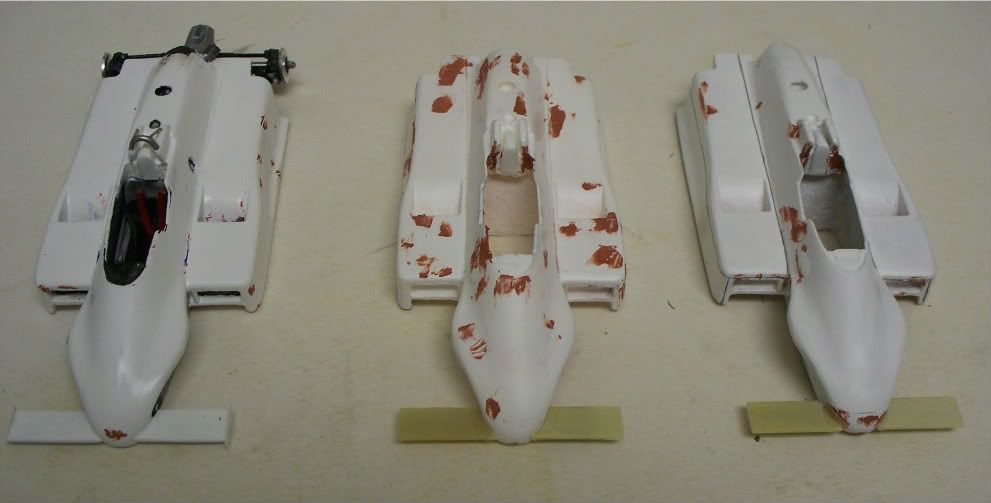 One tip that I've learned is the trick of adding depth to a model. I'm the kind of person that likes to do my building in a......................................... careful, conservative way.  Thats why I like to add my flat wash into the body seams before I spray the color on. The good thing about Tamiya is since its thin and transparent these dark lines will come out looking good in the end. No need for paint brushes, just use an A-xacto Knife to dip the flat black wash down the seams of the body. ;D 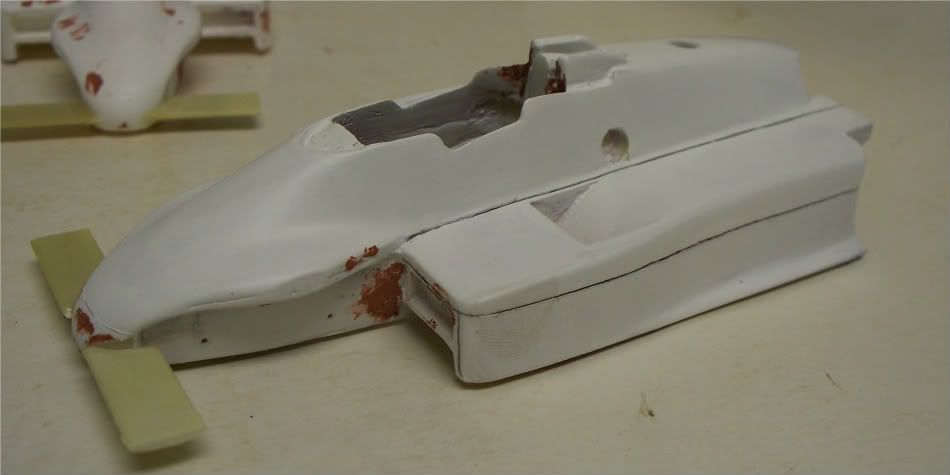 |
|
|
|
Post by Michael Chriss on Oct 17, 2011 17:59:51 GMT -5
I think we can get a ten point match on that thumb print on the side pod.
|
|
|
|
Post by macsparty on Oct 25, 2011 13:30:31 GMT -5
Thats why I like to add my flat wash into the body seams before I spray the color on. The good thing about Tamiya is since its thin and transparent these dark lines will come out looking good in the end. No need for paint brushes, just use an A-xacto Knife to dip the flat black wash down the seams of the body. ;D Calvin, you might also try a technical pen. You can get them fairly cheap at places like Michael's. I tried a similar technique on some small scale model airplanes, and it worked out pretty well. I also a technical pen around the door, etc on my 94 Mustang pace car. mb2501.proboards.com/index.cgi?board=indypc&action=display&thread=3100I don't like going back over finishes with a wash - too risky for me and it can impact the finish, plus I think the effect often looks overdone. I like this subtle approach better. |
|
|
|
Post by Calvin on Jan 5, 2012 1:32:32 GMT -5
I super glued in the AMT cockpit and Milliput the bottom. Nothing pretty looking but primer hides everything.  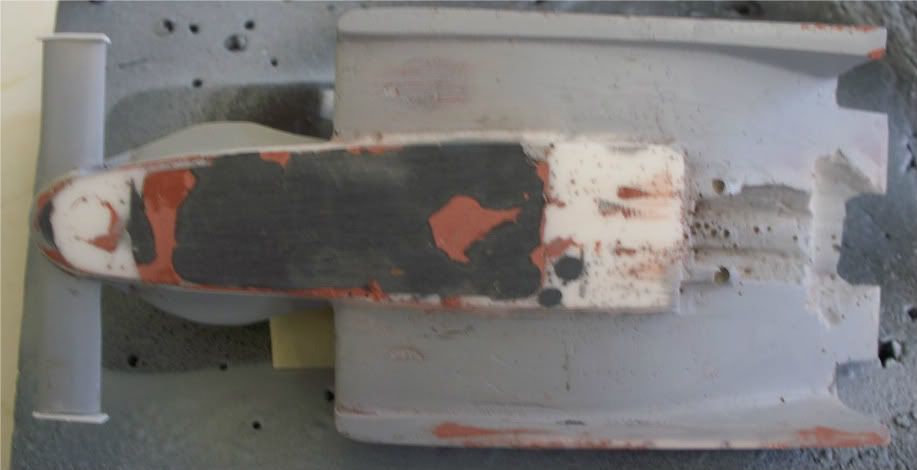 |
|
|
|
Post by shunter on Jan 5, 2012 3:26:26 GMT -5
Yep paint is a wonderful thing. Looking forward to seeing them come together.
|
|
|
|
Post by Calvin on Jan 6, 2012 21:27:01 GMT -5
Using the smaller rear wing for of course the Sneva ride. Glue the rear wing support and cut out some thin Brass or styrene for the end plates. 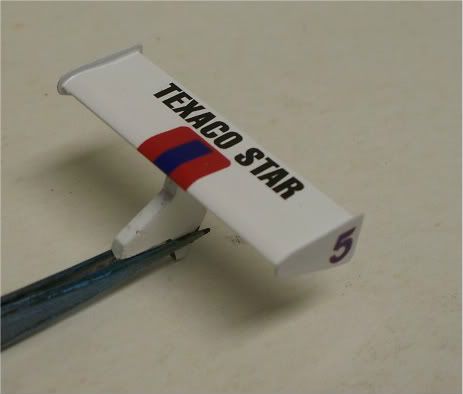 |
|
|
|
Post by Calvin on Jan 6, 2012 23:07:43 GMT -5
Since I have no Tamiya Pure white (let alone anyone else) I used my can of Tamiya Flat white (2 coats) and 1 coat of Tamiya Clear. 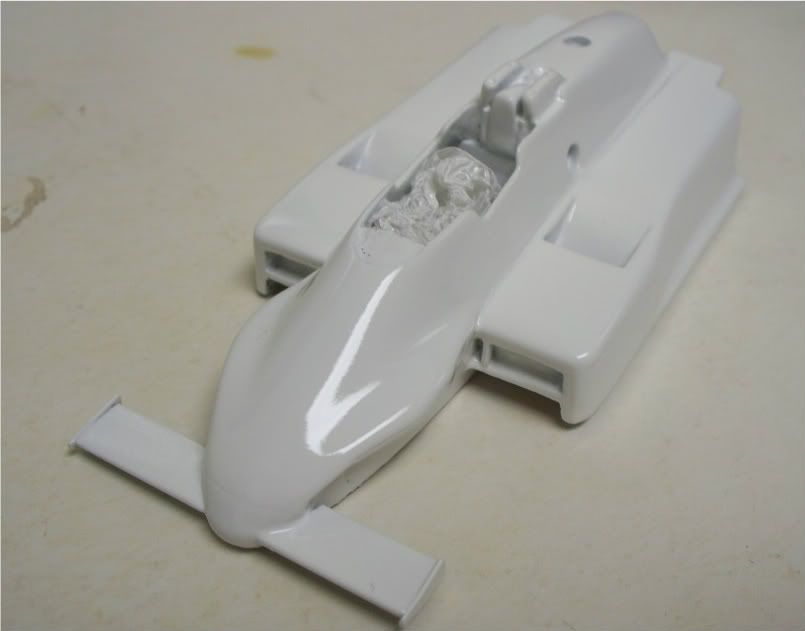 |
|
|
|
Post by Calvin on Jan 6, 2012 23:10:02 GMT -5
BTW I'm going to finish the Sneva Car first before I start back on the Fabi car, mainly because of the Tamiya Paint shortage.
|
|
|
|
Post by shunter on Jan 7, 2012 1:00:26 GMT -5
Looks great and i do like the idea of the flat white with a gloss finish, i feel you get more control with the flat.
Still have to say a shame these bodies are not able to go OS as of yet....
|
|
|
|
Post by Calvin on Jan 7, 2012 1:29:17 GMT -5
What is OS? 
|
|
|
|
Post by Calvin on Jan 7, 2012 1:31:21 GMT -5
I recommend applying the front stripes first and at the same time. 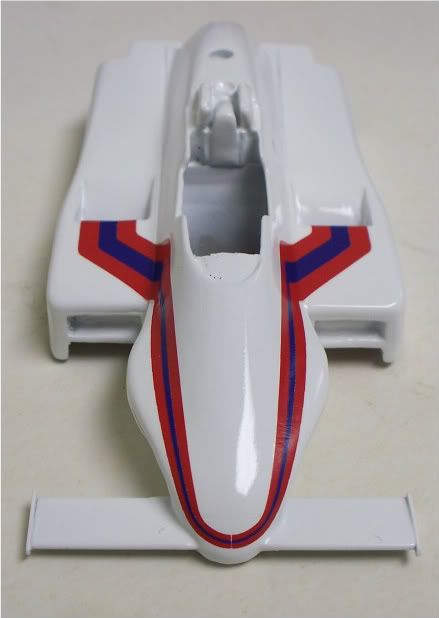 |
|
|
|
Post by Calvin on Jan 7, 2012 1:33:33 GMT -5
|
|
|
|
Post by shunter on Jan 7, 2012 1:56:48 GMT -5
What is OS?  Overseas.... This is looking great now with the decals going on....well done. |
|
|
|
Post by Calvin on Jan 7, 2012 2:01:54 GMT -5
What is OS?  Overseas.... This is looking great now with the decals going on....well done. Oh, I normally dont limit my models to the USA but I didn't want to sending my last few junker bodies overseas. To date I've sold 70 + bodies and many were overseas. |
|
|
|
Post by 11rowsof3 on Jan 7, 2012 7:25:30 GMT -5
Wow, that is looking like the real thing chaparral2k!!!
|
|
|
|
Post by gavkiwi on Jan 7, 2012 10:40:03 GMT -5
Cal, it looks soo good, the decals really set it off. Fantastic !
|
|
|
|
Post by kurzheck on Jan 7, 2012 12:29:35 GMT -5
What he said, the decals make it come alive! Nice work from master on through.
|
|
|
|
Post by illeagle10 on Jan 7, 2012 16:44:27 GMT -5
Looks like another winner Calvin!
Jim
|
|
|
|
Post by Calvin on Jan 8, 2012 3:01:28 GMT -5
|
|
Deleted
Deleted Member
Posts: 0
|
Post by Deleted on Jan 8, 2012 3:40:15 GMT -5
Looks great and i do like the idea of the flat white with a gloss finish, i feel you get more control with the flat. Still have to say a shame these bodies are not able to go OS as of yet.... Some of these bodies were actually available to us southern folk via eBay, in fact I received one last month and it's sitting here on my desk in Newcastle while I try and work out whose car it'll be. I presume they sold pretty quickly though. BTW thanks again for the quick service, Calvin! Cheers, Mungo. |
|
|
|
Post by indycals on Jan 8, 2012 4:31:11 GMT -5
Looking great Calvin!!!
|
|
|
|
Post by harveythedog2 on Jan 8, 2012 7:46:55 GMT -5
Awesome Calvin. Looks fantastic!
Stu
|
|
|
|
Post by gavkiwi on Jan 8, 2012 12:49:31 GMT -5
Calvin, you make 'plug n play' look easy  |
|
|
|
Post by Patrick on Jan 8, 2012 13:17:34 GMT -5
The Texaco scheme looks really nice. The Teo car will look even better, but IMO I don't like the product.  Patrick |
|
|
|
Post by Calvin on Jan 8, 2012 13:27:17 GMT -5
Calvin, you make 'plug n play' look easy  The hardest part is squeezing the super glue out. |
|
|
|
Post by Calvin on Jan 8, 2012 13:28:04 GMT -5
but IMO I don't like the product.  But a pinch is all it takes!  |
|
|
|
Post by Calvin on Jan 8, 2012 18:24:34 GMT -5
|
|