Post by Deleted on Sept 17, 2011 15:52:24 GMT -5
So not so much a WIP anymore, but as i was building, i did take a lot of photos. They show the progress of the build from start to finish. Thought i would put them up and share with you. I wish i had figured out all these techniques out before building my Ferrari and McLaren because it would make things much easier, neater, and i could have ended up with a better result (i think)..
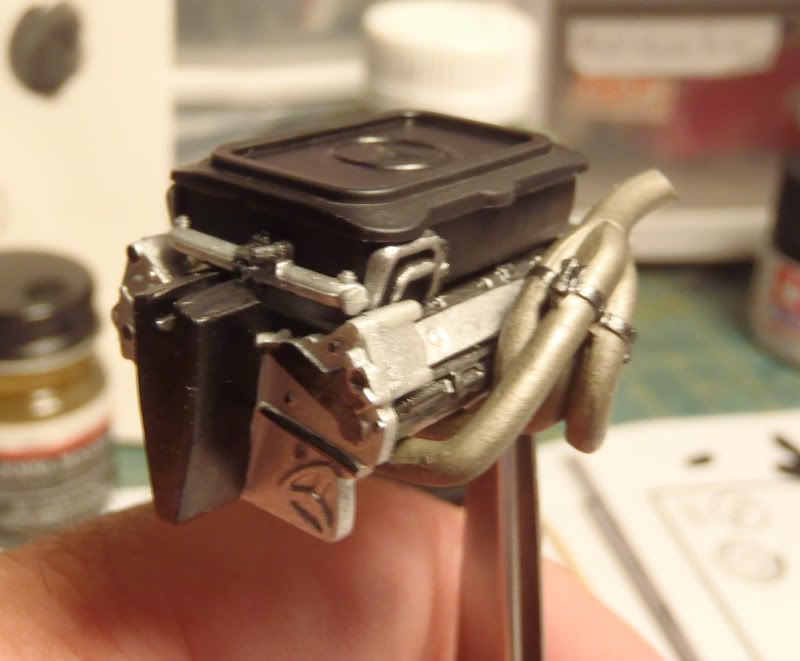
Now the first step in the build was to assemble the motor. No real challenge there, and its not really super detailed either. But with some small detail painting, and care you can get it to look good.
Here is the motor without the top half installed. Here its already been painted aluminum and flat black.
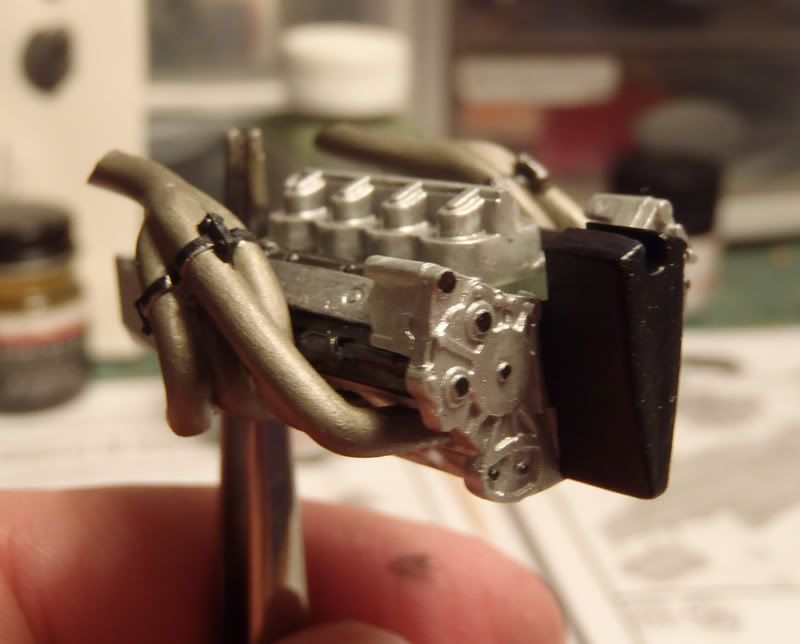
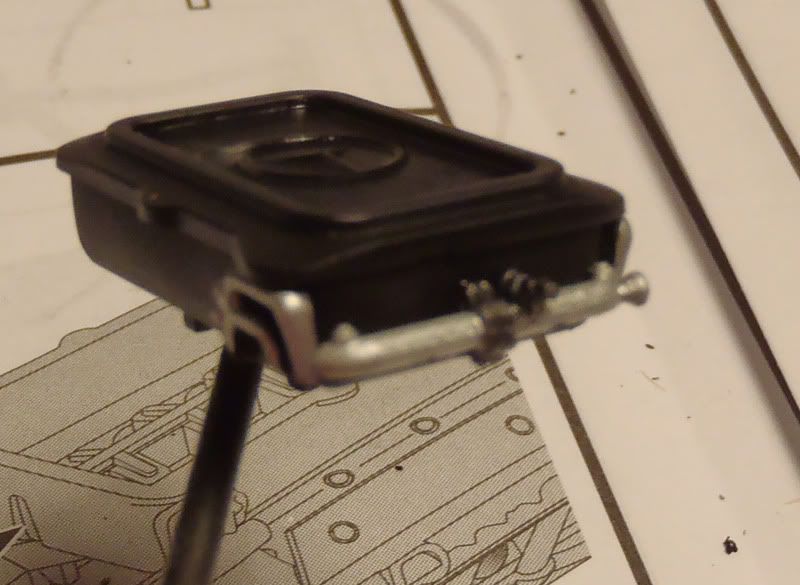
This is the top part of the motor and the injector lines along the side. Its flat black and aluminum. The pipes are done with jet exhaust.
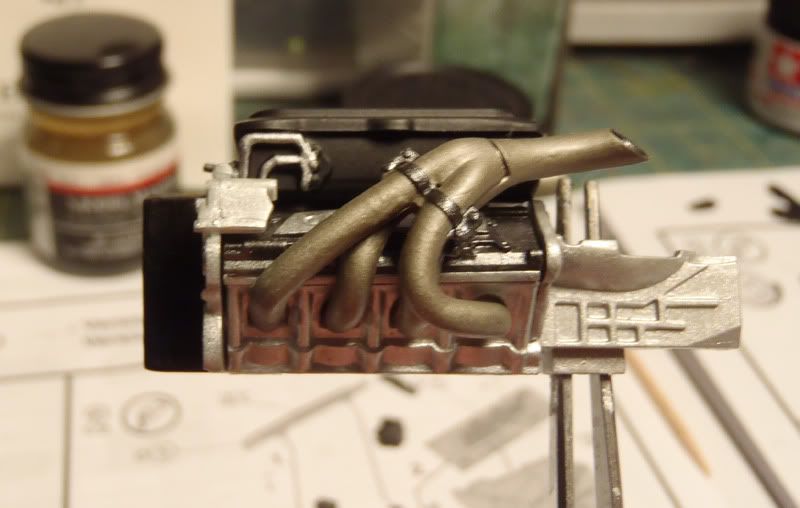
Heres the whole thing together.. which i thought came out pretty good.. sadly the only thing you see of it (and will ever see of it again) is the tops/tips of the exhaust ports... oh well.
Now i like to do things in sub assembles, so there are as little seams as possible, and theres less touch up to do. So i went through the directions, and pre sorted the parts that could be assembled and did so (there were some things to add to the floor pan). Things that were to be painted black, were left on the parts tree and shot with flat black. This was a good majority of the remaining parts.

While the black was drying, i began to assemble the body, and air intakes. Here it is all taped up and drying before sanding and filling.

I learned long ago from someone that if you are careful enough you wont need to use much if any filler... taking that in mind, i made sure my parts were lined up and snug.. after just a quick sanding and polishing, this is the seam in the sidepod (the other is the same)

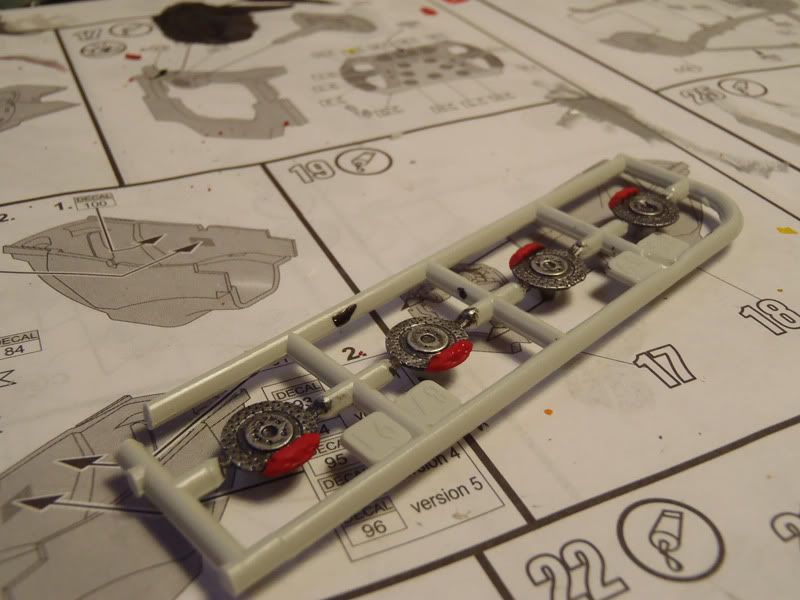
The brakes are painted up metallic gray, drybrushed with flat aluminum and the calipers are done in red. not sure the red is prototypical but it stands out (tho again, you wont see them).
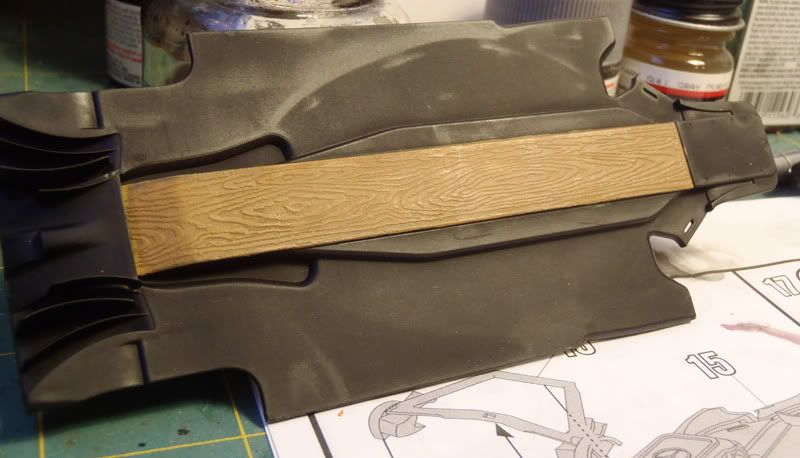
Heres the floor pan with the simulated wood skidplate on it. It was painted in deck tan, and then after drying, washed with a black acrylic wash. The wash helps the grain stand out, even if you cant really see it in the pic.
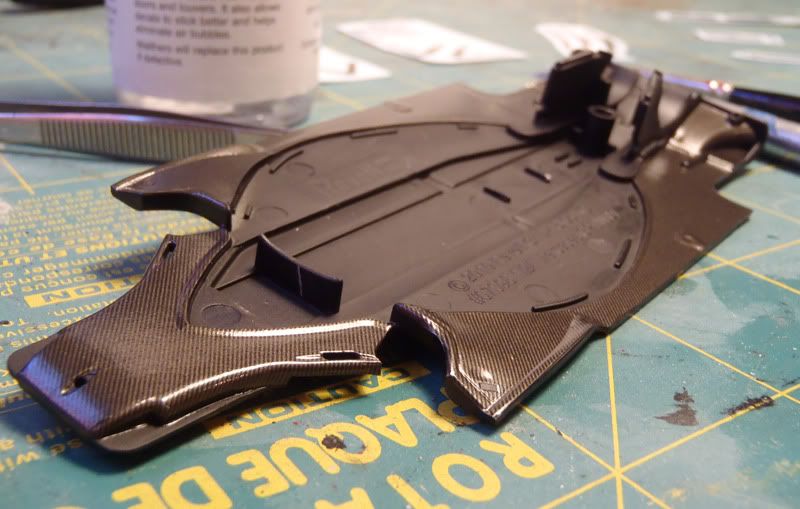
Now a lot of the work of these F1 kits is the carbon fiber decals that go on basically everything thats been painted black. I start with the suspension parts and while the solvaset is doing its thing, i work on the floor pan. It takes a lot of time, care and PATIENCE to get this part of the build to come out right - and if you rush it, you ruin the decals. If done correctly the look is fantastic. Here is the front of the floor pan- the only part not covered by decal is the center section.
At this point i can install the rear suspension and the engine so i can take it out and dullcoat it.
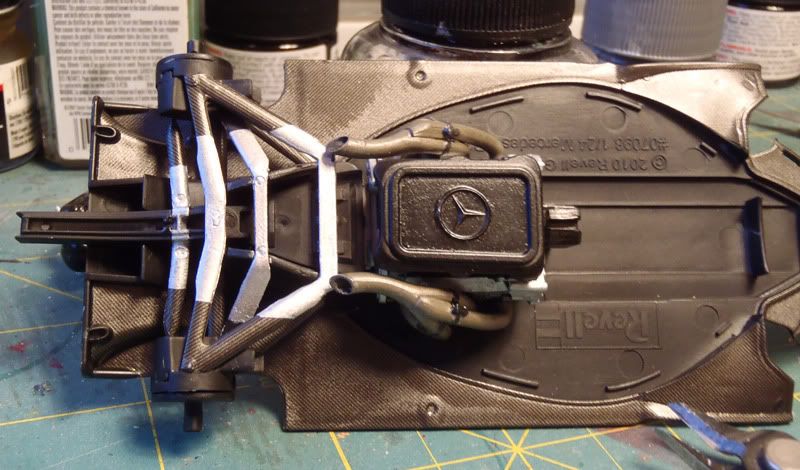
While the dullcoat is drying, i worked on the interior. The wheel is time consuming, with the colored knobs and dials, but worth it. Heres the interior before the belts had the buckles painted.

Once the chassis is assembled and dried and is off to the side, i painted up the body with aluminum out of a rattle can (i dont have my airbrush with me right now). After the paint dries, i can begin to put the rest of the decals on. This car has silver graphics on top of the aluminum paint, that barely show up in some light but pop in others... here is the body and front wing with just the silver decals on
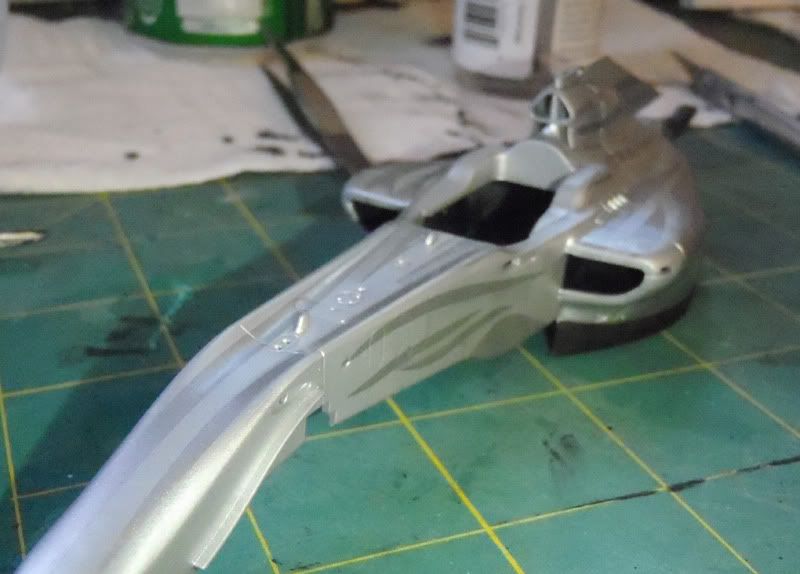
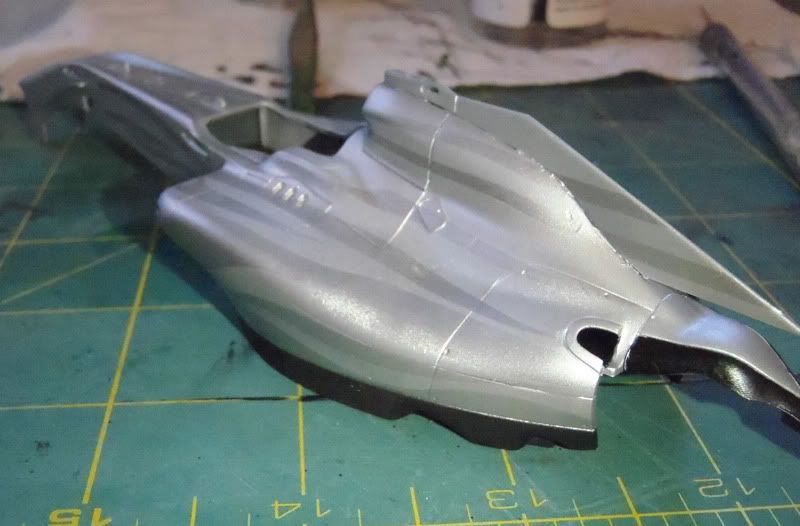

While the body decals are drying and setting up, i work on the rear wing - inside and outside decals, and putting the sponsor logos on it. Then i clear it with future (when dry) and attach it to the suspension.
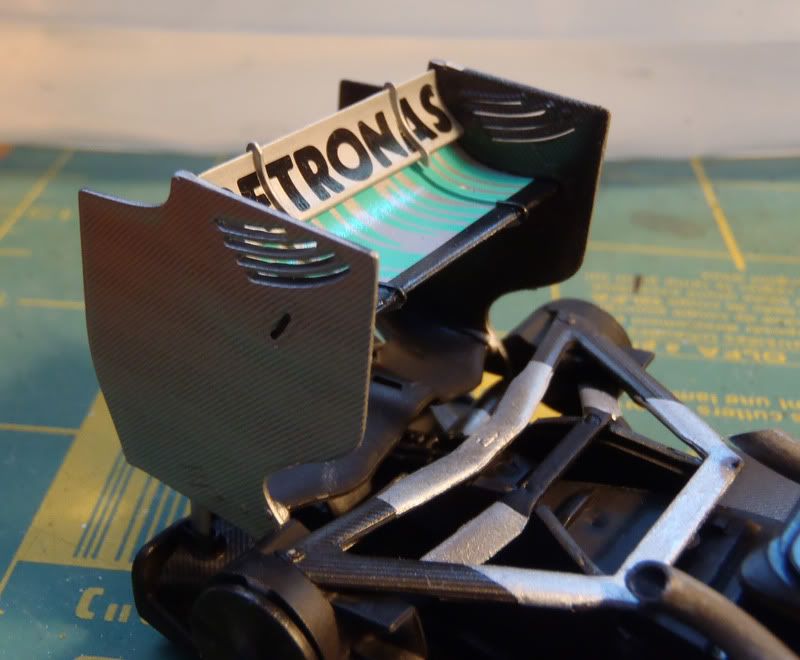
After the body had its under layer of decals on, i work on the remaining sponsor and number decals.. before futureing the body. The small barge boards, mirrors, antenna and turning vanes are all added after being decaled and cleared seperately. Here is the final product.

Now the first step in the build was to assemble the motor. No real challenge there, and its not really super detailed either. But with some small detail painting, and care you can get it to look good.
Here is the motor without the top half installed. Here its already been painted aluminum and flat black.

This is the top part of the motor and the injector lines along the side. Its flat black and aluminum. The pipes are done with jet exhaust.

Heres the whole thing together.. which i thought came out pretty good.. sadly the only thing you see of it (and will ever see of it again) is the tops/tips of the exhaust ports... oh well.


Now i like to do things in sub assembles, so there are as little seams as possible, and theres less touch up to do. So i went through the directions, and pre sorted the parts that could be assembled and did so (there were some things to add to the floor pan). Things that were to be painted black, were left on the parts tree and shot with flat black. This was a good majority of the remaining parts.

While the black was drying, i began to assemble the body, and air intakes. Here it is all taped up and drying before sanding and filling.

I learned long ago from someone that if you are careful enough you wont need to use much if any filler... taking that in mind, i made sure my parts were lined up and snug.. after just a quick sanding and polishing, this is the seam in the sidepod (the other is the same)

The brakes are painted up metallic gray, drybrushed with flat aluminum and the calipers are done in red. not sure the red is prototypical but it stands out (tho again, you wont see them).

Heres the floor pan with the simulated wood skidplate on it. It was painted in deck tan, and then after drying, washed with a black acrylic wash. The wash helps the grain stand out, even if you cant really see it in the pic.

Now a lot of the work of these F1 kits is the carbon fiber decals that go on basically everything thats been painted black. I start with the suspension parts and while the solvaset is doing its thing, i work on the floor pan. It takes a lot of time, care and PATIENCE to get this part of the build to come out right - and if you rush it, you ruin the decals. If done correctly the look is fantastic. Here is the front of the floor pan- the only part not covered by decal is the center section.

At this point i can install the rear suspension and the engine so i can take it out and dullcoat it.

While the dullcoat is drying, i worked on the interior. The wheel is time consuming, with the colored knobs and dials, but worth it. Heres the interior before the belts had the buckles painted.

Once the chassis is assembled and dried and is off to the side, i painted up the body with aluminum out of a rattle can (i dont have my airbrush with me right now). After the paint dries, i can begin to put the rest of the decals on. This car has silver graphics on top of the aluminum paint, that barely show up in some light but pop in others... here is the body and front wing with just the silver decals on


While the body decals are drying and setting up, i work on the rear wing - inside and outside decals, and putting the sponsor logos on it. Then i clear it with future (when dry) and attach it to the suspension.

After the body had its under layer of decals on, i work on the remaining sponsor and number decals.. before futureing the body. The small barge boards, mirrors, antenna and turning vanes are all added after being decaled and cleared seperately. Here is the final product.


