Deleted
Deleted Member
Posts: 0
|
Post by Deleted on Dec 29, 2009 15:27:34 GMT -5
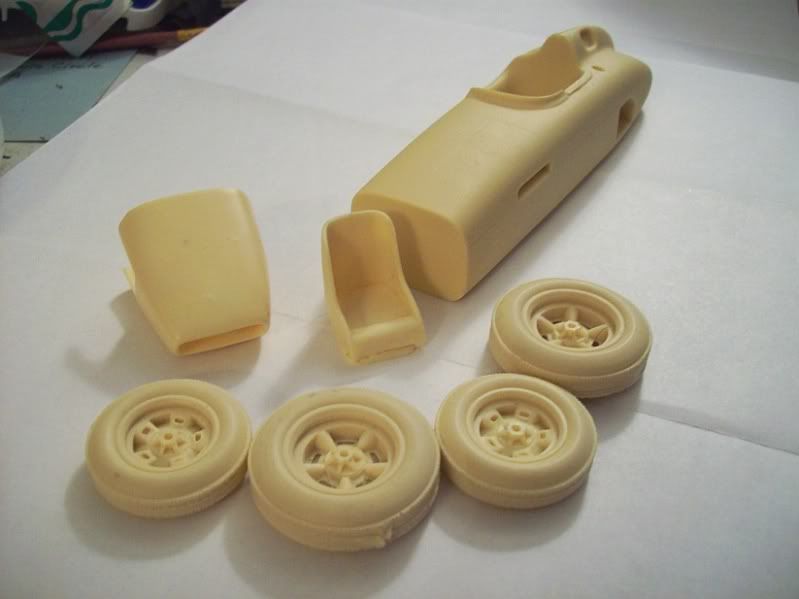
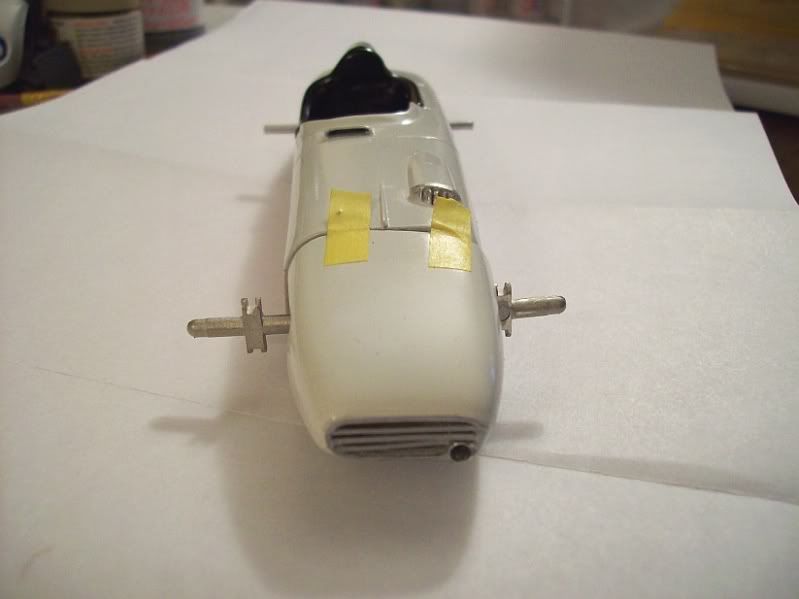
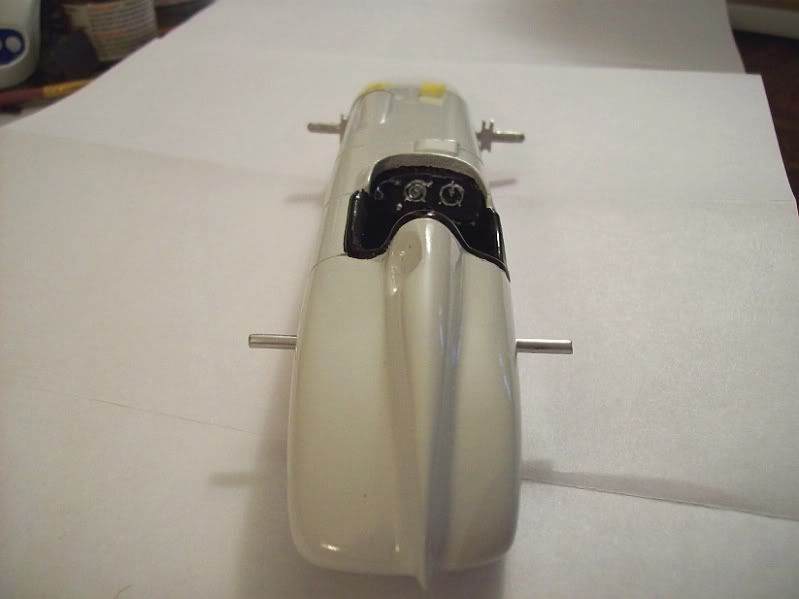
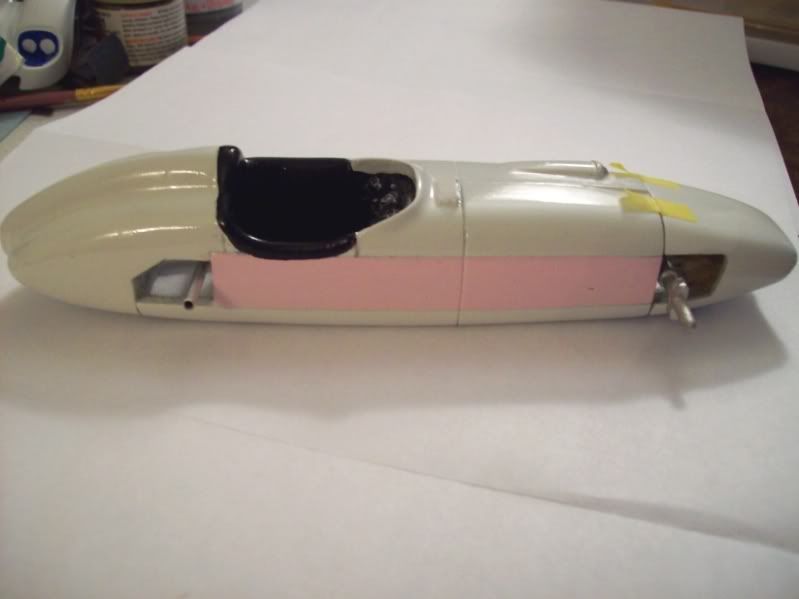
Watson's first *Roadster*: Pole and race winner. From Bill J's kit and using Michael's Indycals. I matched the pink to the decals as best I can using Tamiya Acrylic bottle paints. Mongo What you get (minus the metal parts) from Bill J.:  Grill work added:  This body had the dash molded in:    |
|
Deleted
Deleted Member
Posts: 0
|
Post by Deleted on Dec 29, 2009 15:29:33 GMT -5
I noticed from these pictures that the lower grill bar has come lose on one end! ;D Gotta fix that.
Mongo
|
|
|
|
Post by indy on Dec 29, 2009 17:09:29 GMT -5
Pretty in Pink!!
Jordan
|
|
|
|
Post by racerbrown on Dec 29, 2009 18:45:50 GMT -5
go man go!
duane ;D
|
|
|
|
Post by herk56 on Dec 29, 2009 19:22:00 GMT -5
Another "winner"!
|
|
|
|
Post by pylonguy2003 on Dec 29, 2009 22:48:51 GMT -5
Very nice job! Any chance for a photo to detail how you have attached the front and rear axles. I have this kit as well and have hesitated to start this until I can figure out how to mount the axles. Thanks!
Tim
;D
|
|
|
|
Post by Calvin on Dec 30, 2009 2:30:46 GMT -5
c   l |
|
|
|
Post by illeagle10 on Dec 30, 2009 8:24:28 GMT -5
I see this ones coming together too. Looks geat! I just don't know about Pink cars...well it's not all pink....Keep us posted. Can't wait to see it finished!
Jim
|
|
Deleted
Deleted Member
Posts: 0
|
Post by Deleted on Jan 1, 2010 20:40:51 GMT -5
Very nice job! Any chance for a photo to detail how you have attached the front and rear axles. I have this kit as well and have hesitated to start this until I can figure out how to mount the axles. Thanks! Tim ;D Hi Tim, I drilled a hole in the front of the body, as noted on Bob C.'s drawings (reduced to 1/25th scale). The axle, itself, is off set, so just drill in the center. I need to measure how far up I drilled. I used a 1/8th spacer between the axle and front, and epoxied a pin into the hole, through the axle mounting.. At the rear, I put a piece of 1/8th Evergreen on the top front and front edge of the rear opening. This centers it according to Bob C.'s drawings, also. Bob's drawings are 1/24th scale, but I converted the measurements to 1/25th. This gave the proper spacing and W.B. This works for both era Jorgensen Watsons, since they are basically the same body tub. I scribe my panel lines with the back of the X-Acto #11 blade tip and a steel ruler, then cut them a *little* deeper with a Crazy Modeler hand held PE saw blade. Mongo |
|
|
|
Post by pylonguy2003 on Jan 9, 2010 19:42:35 GMT -5
Hey Mongo! Thanks a million for the tips. I have two 59-62 Watsons and one '56. Maybe this will give me enough courage to actually try and build one! That is if I can ever get some turbo blowers to run at work so I have time! Thanks again and have a great day! Tim  |
|