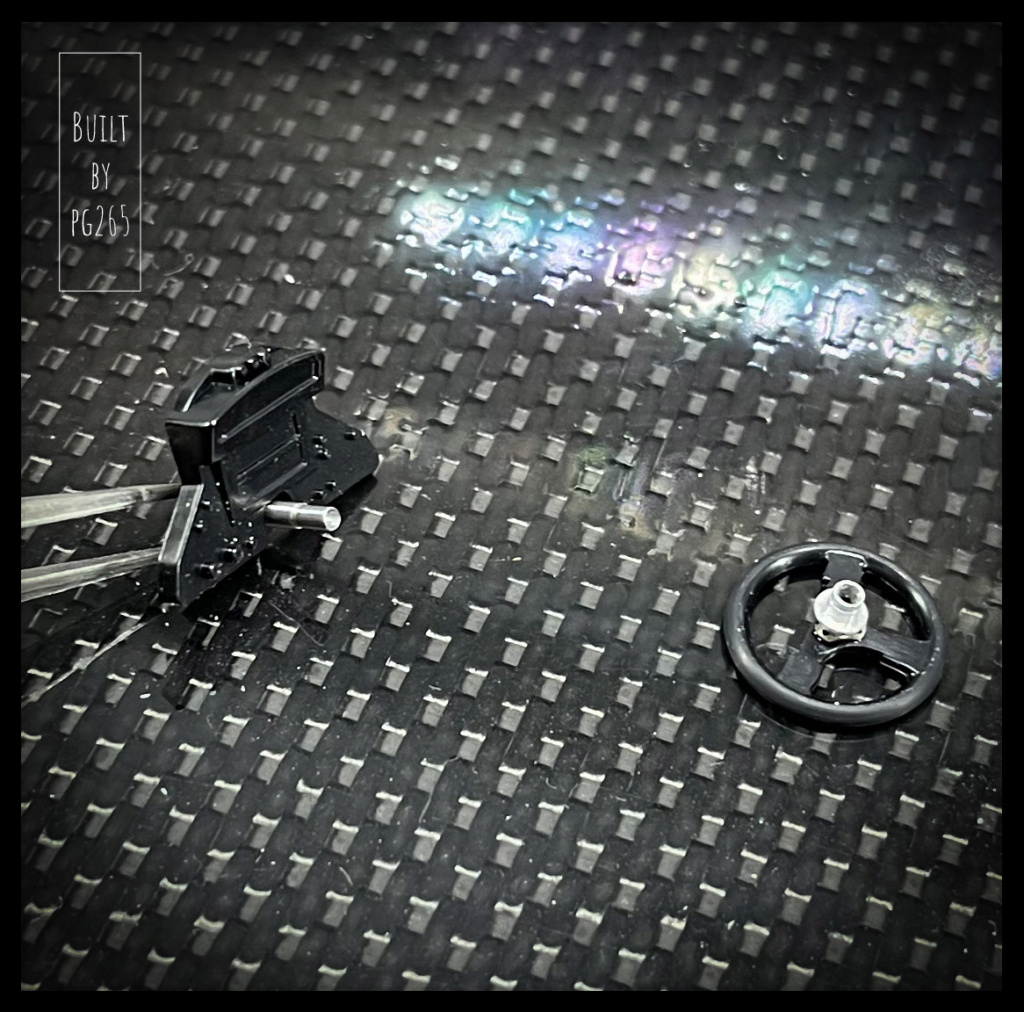
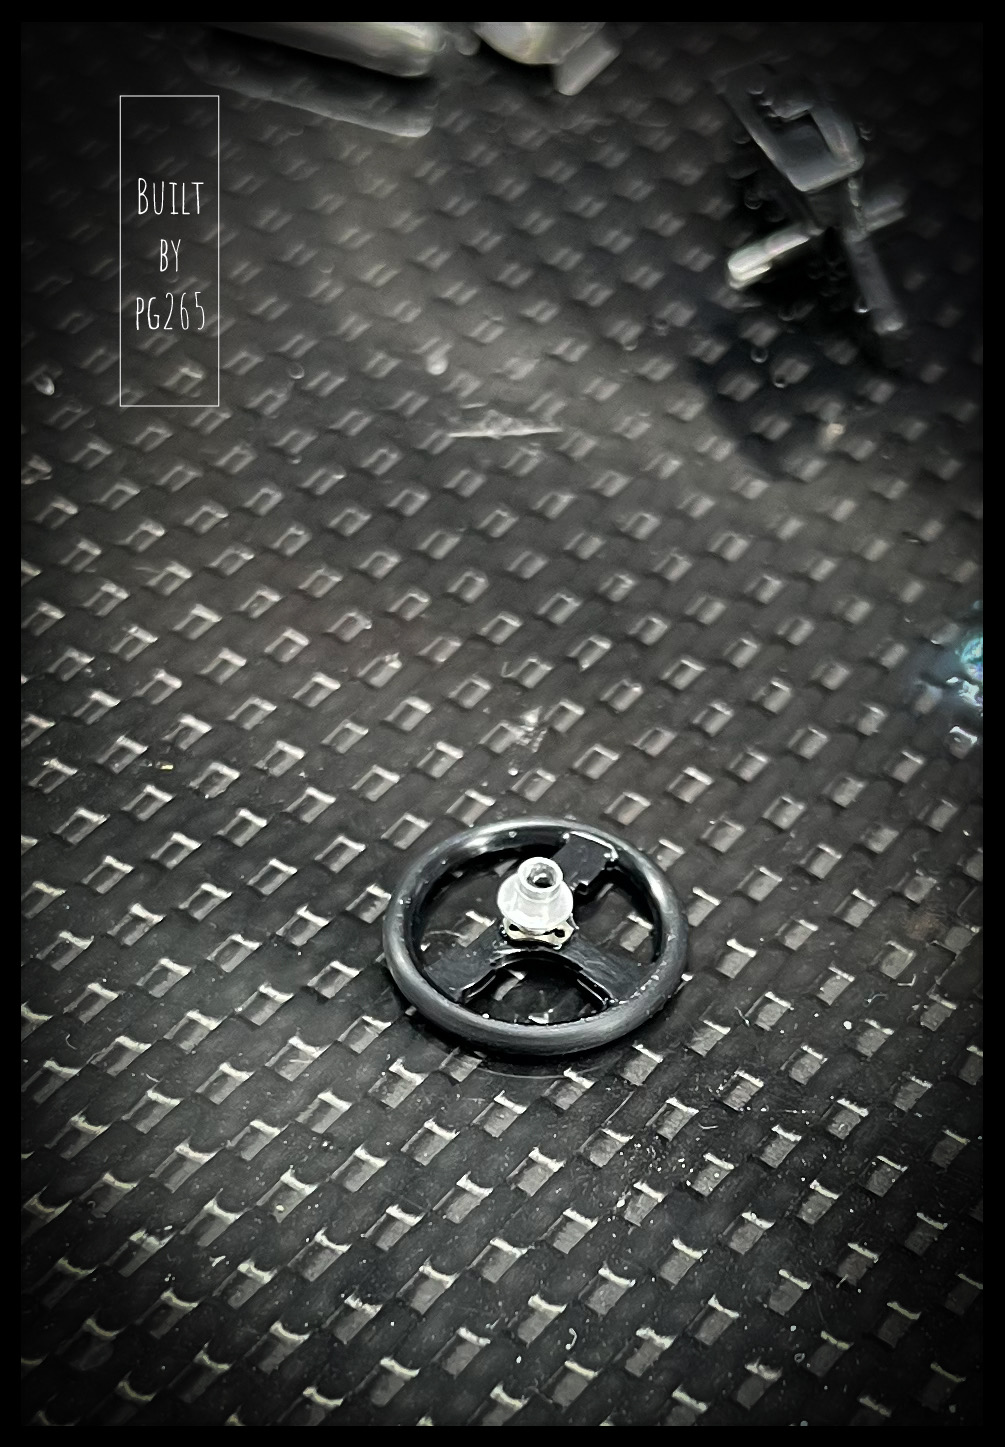
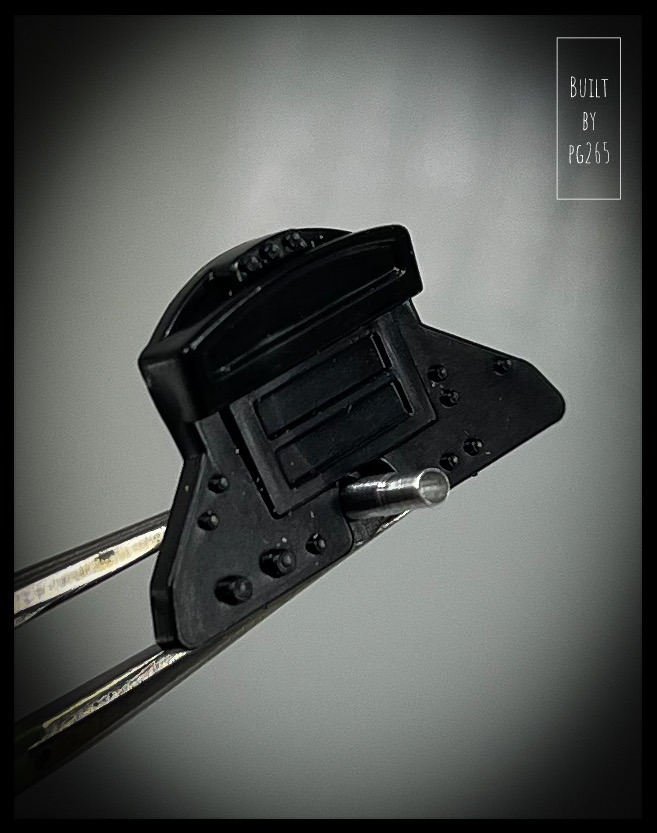
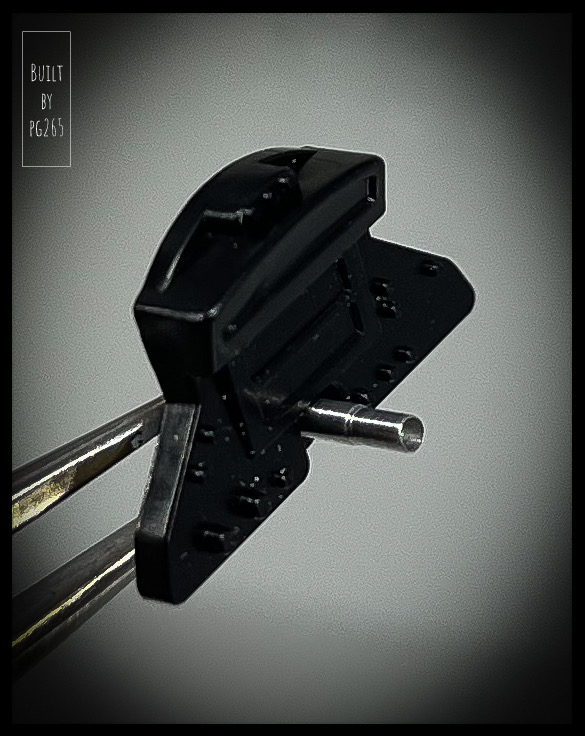
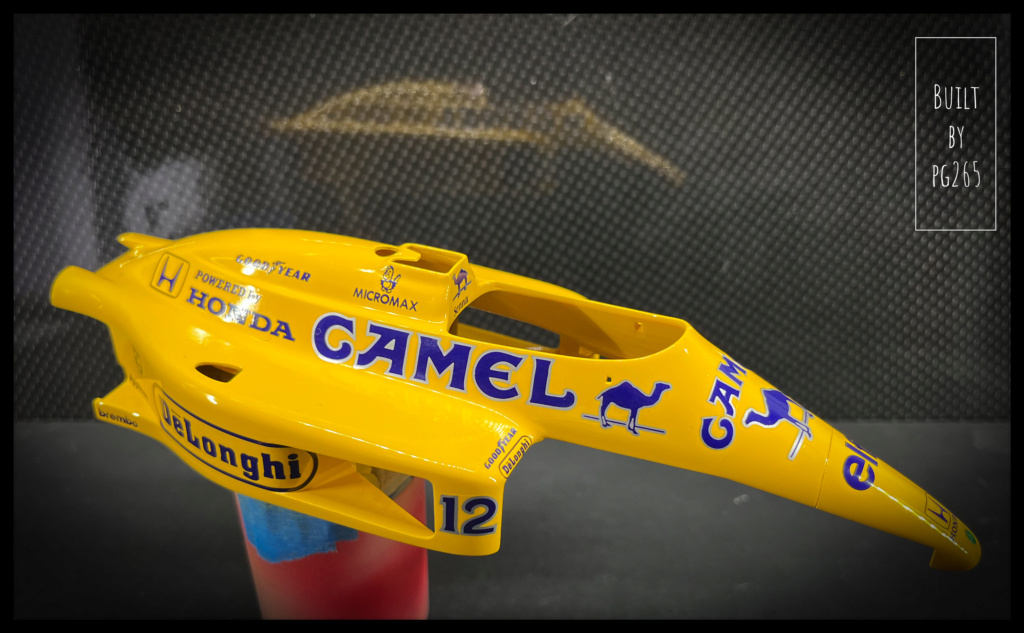
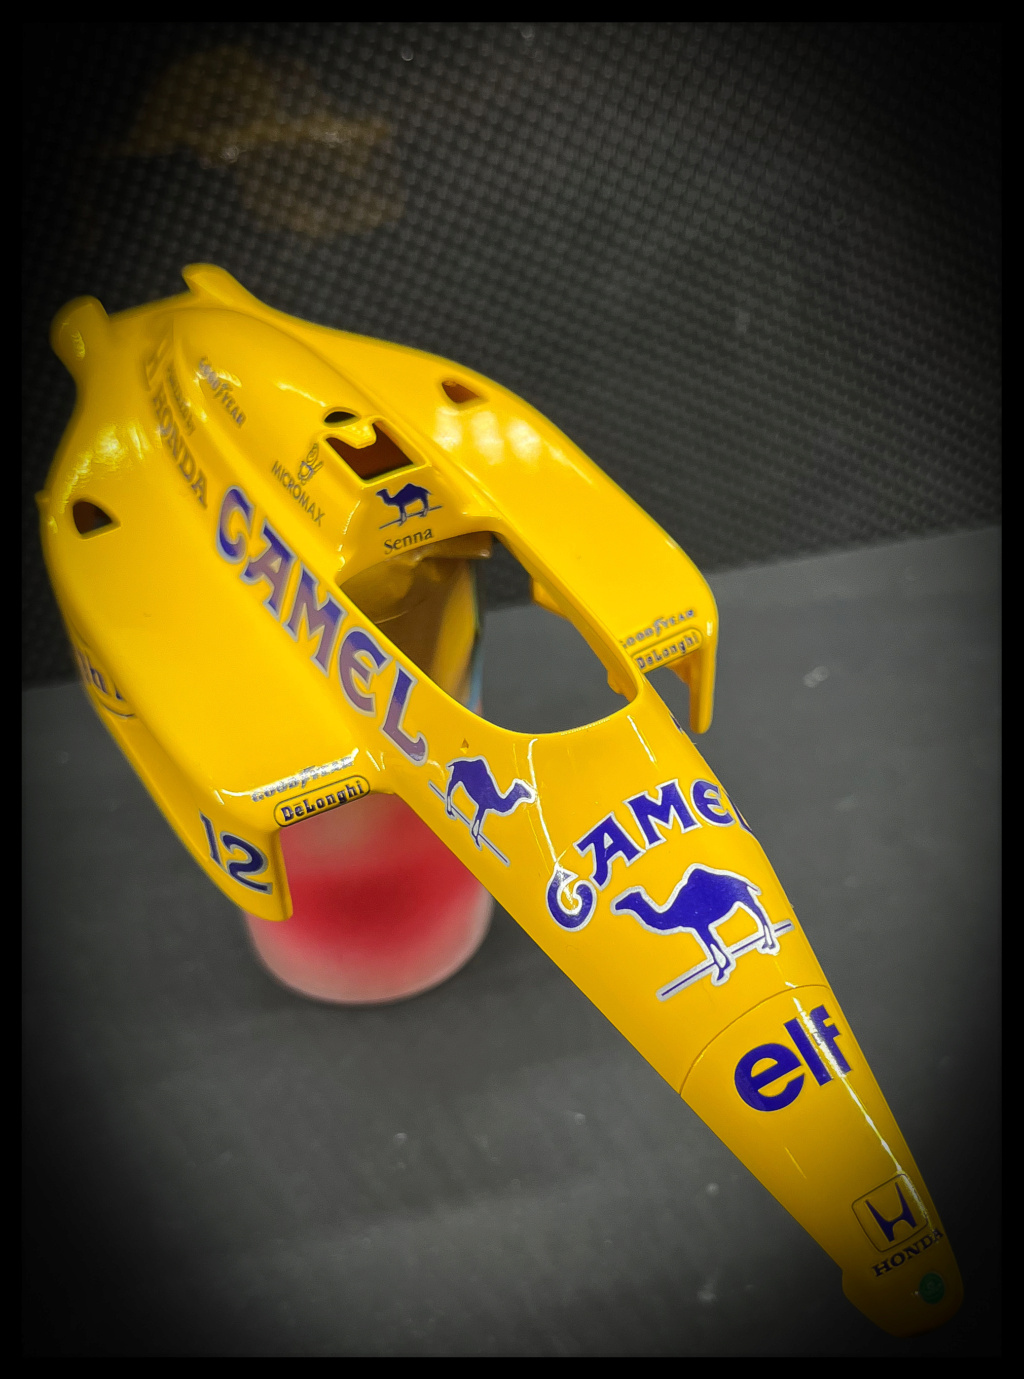
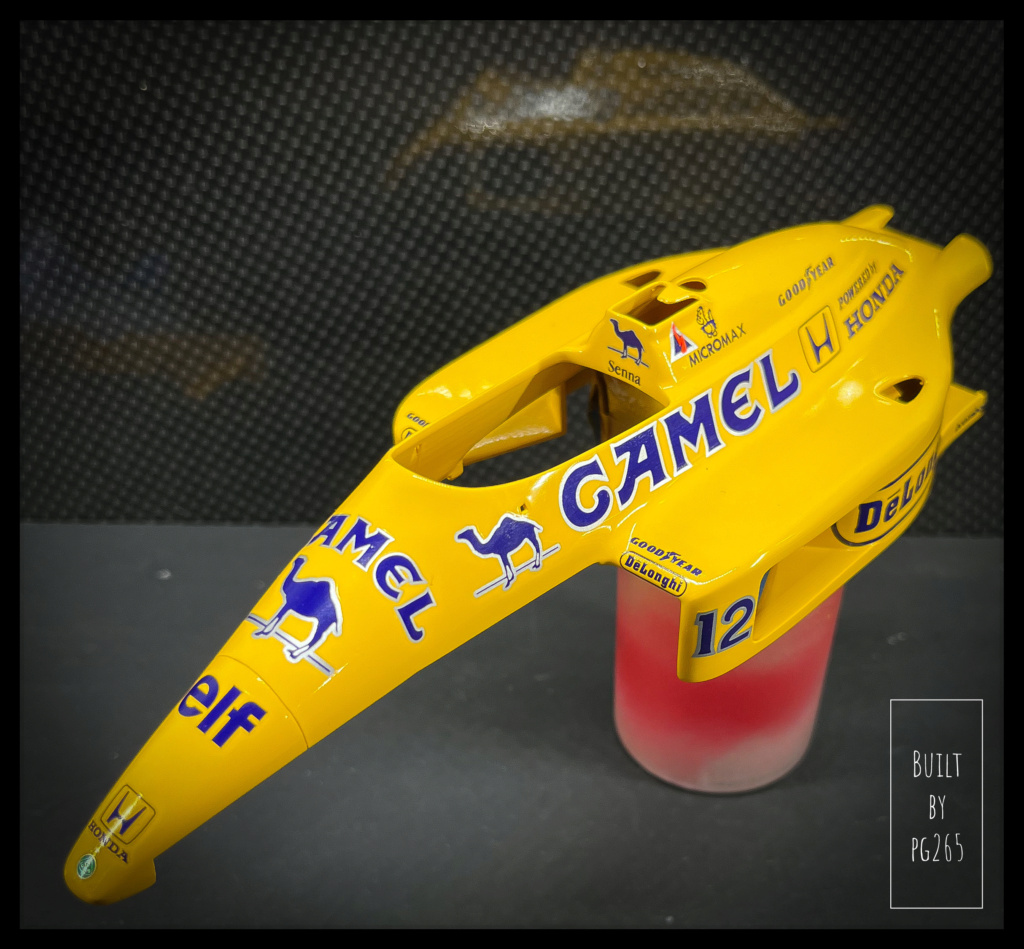
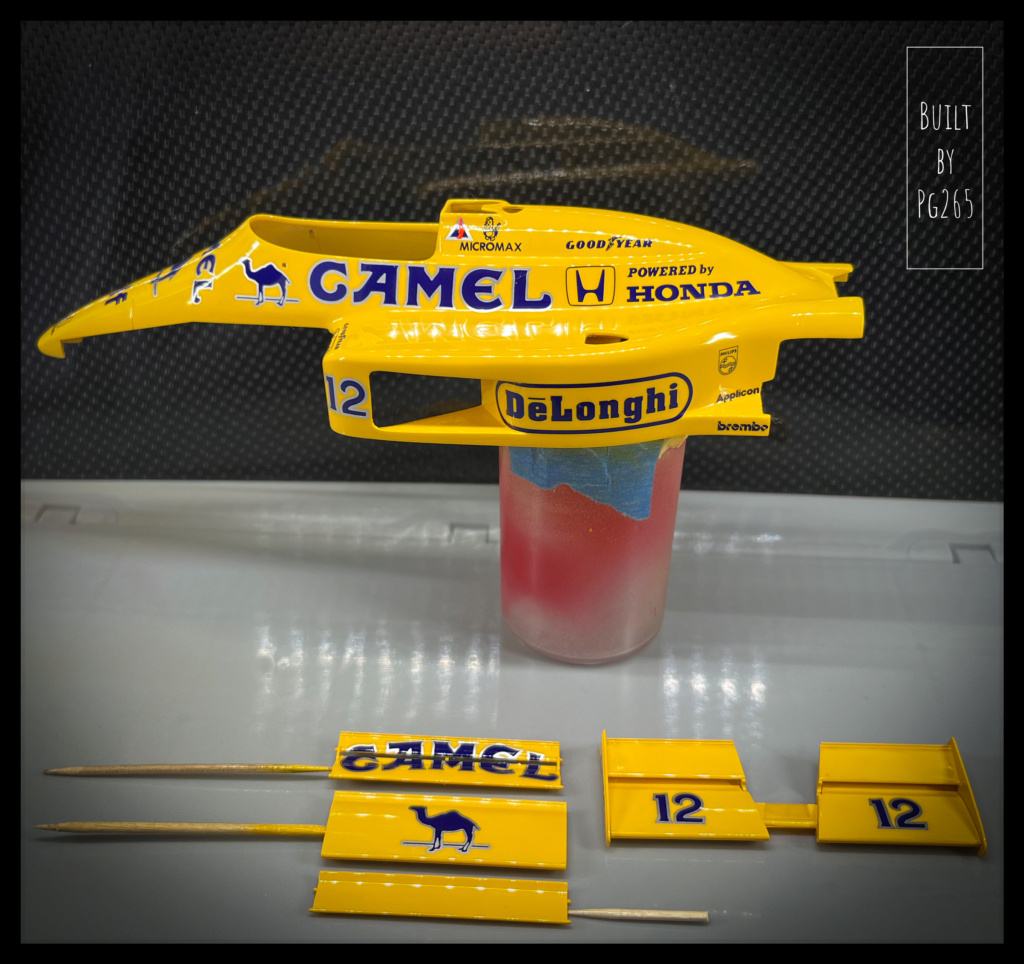
1987 LOTUS 99T, Tamiya 1/20 + few details.
Oct 15, 2024 5:20:56 GMT -5
via mobile
racerbrown, pje, and 1 more like this
Post by pg265 on Oct 15, 2024 5:20:56 GMT -5
Good evening everyone,
The immobilization of my wrist and the forced rest gave me time to browse, take a look at the boxes... at the accessories... And Paf!
Here is this beautiful model, the reproduction of the beautiful and monstrous Honda-powered Lotus that is the 99T from 1987 by Tamiya, in the 20th century.
It is a very pretty model to which I will add some accessories and for which I do not refrain from adding personal details for a little more realism.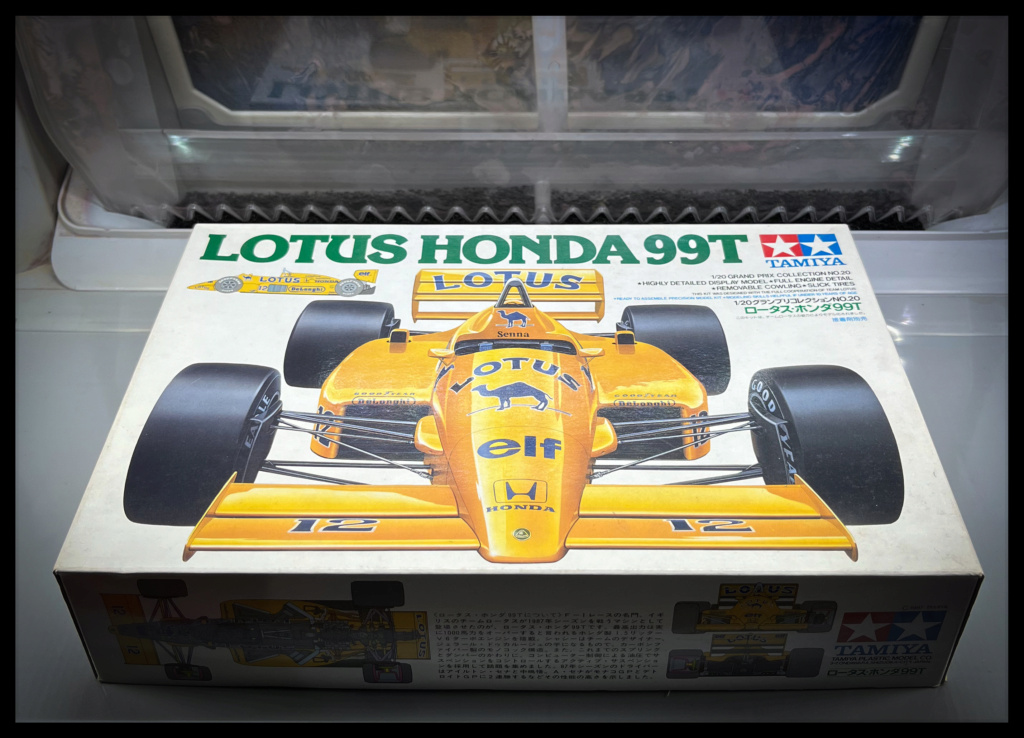
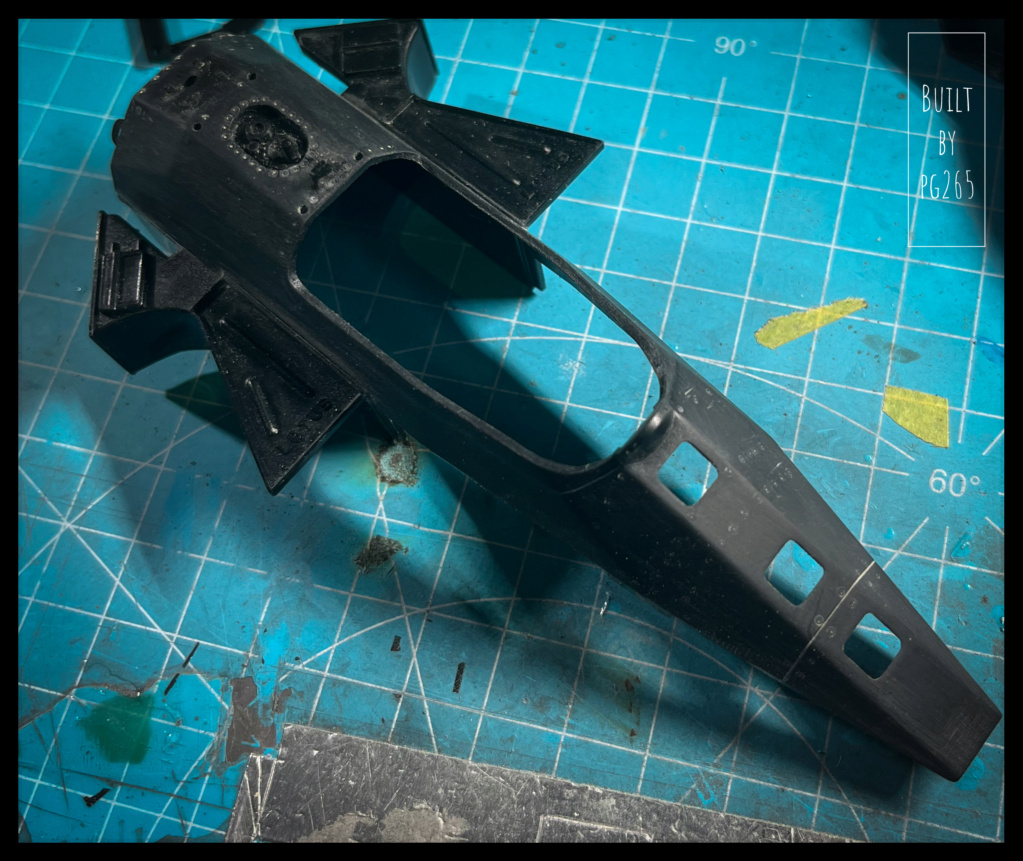
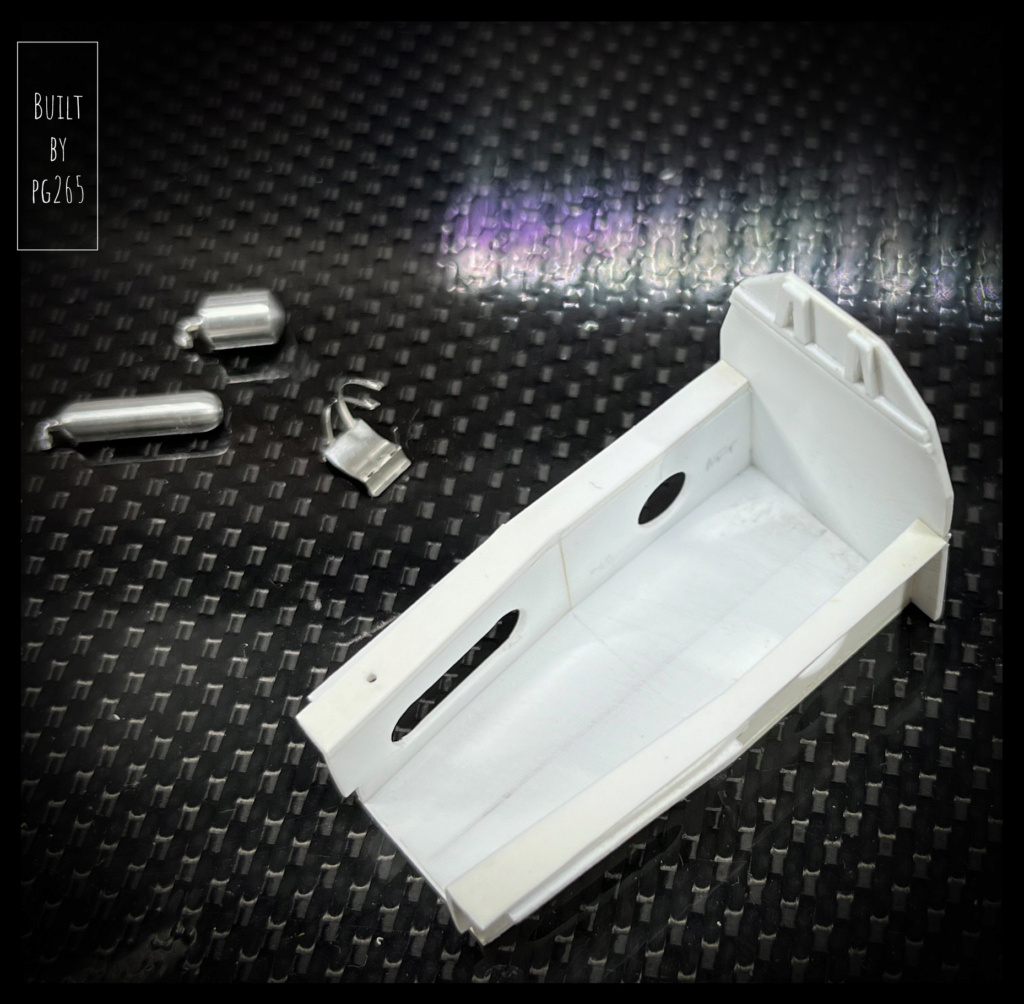
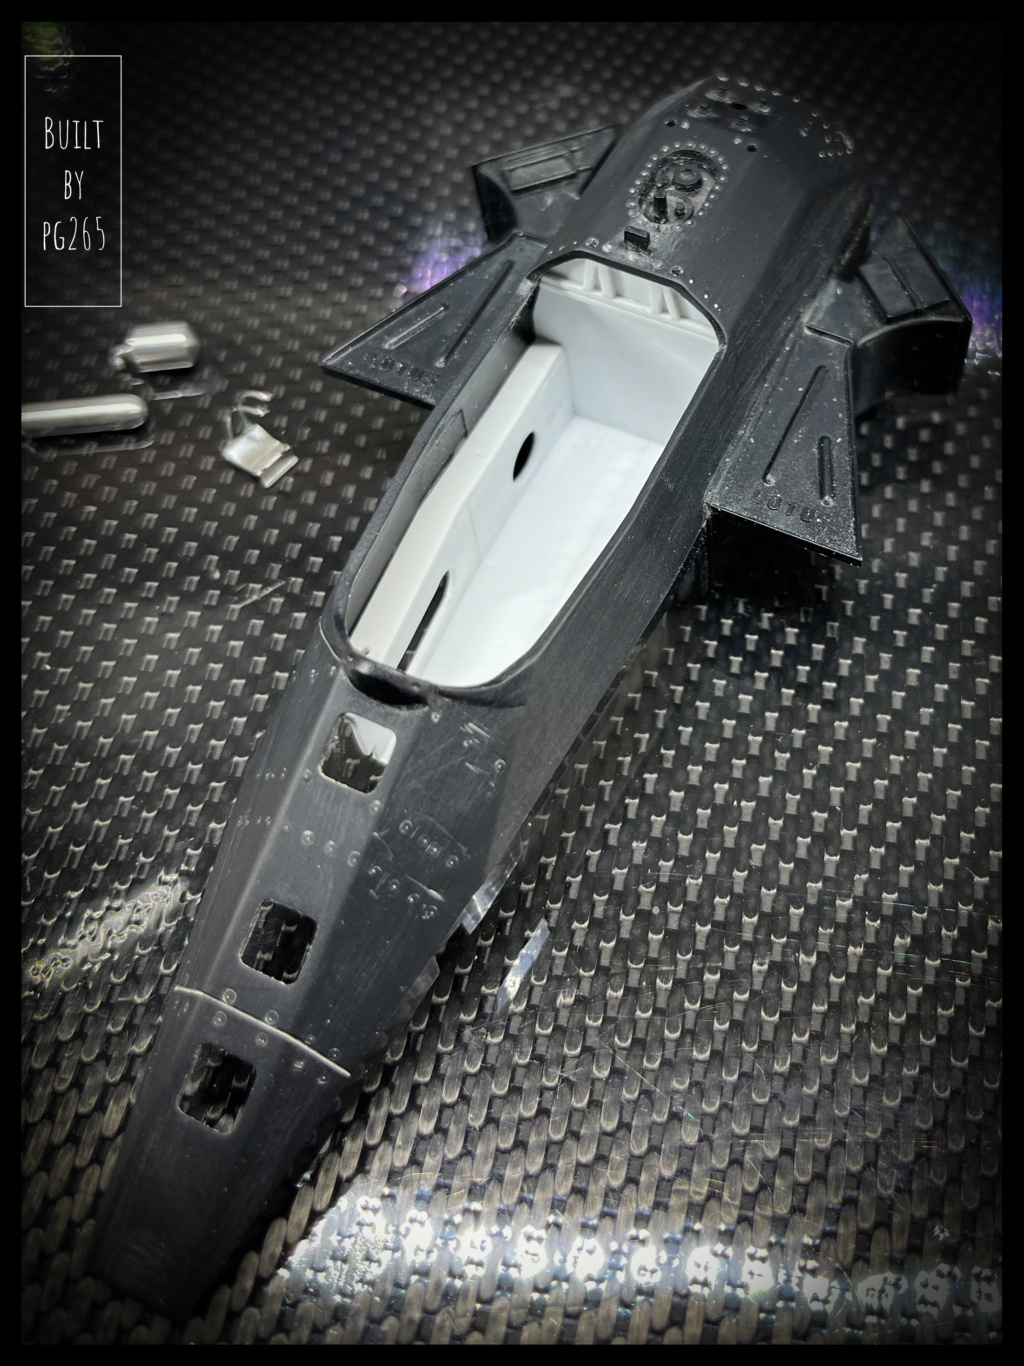
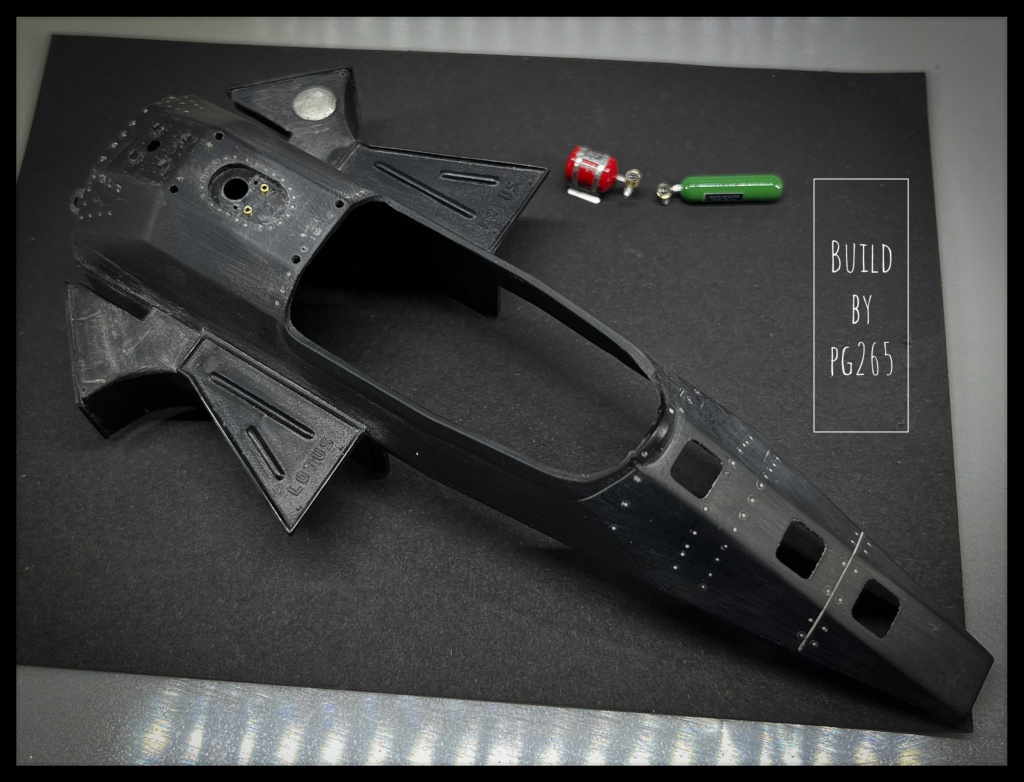
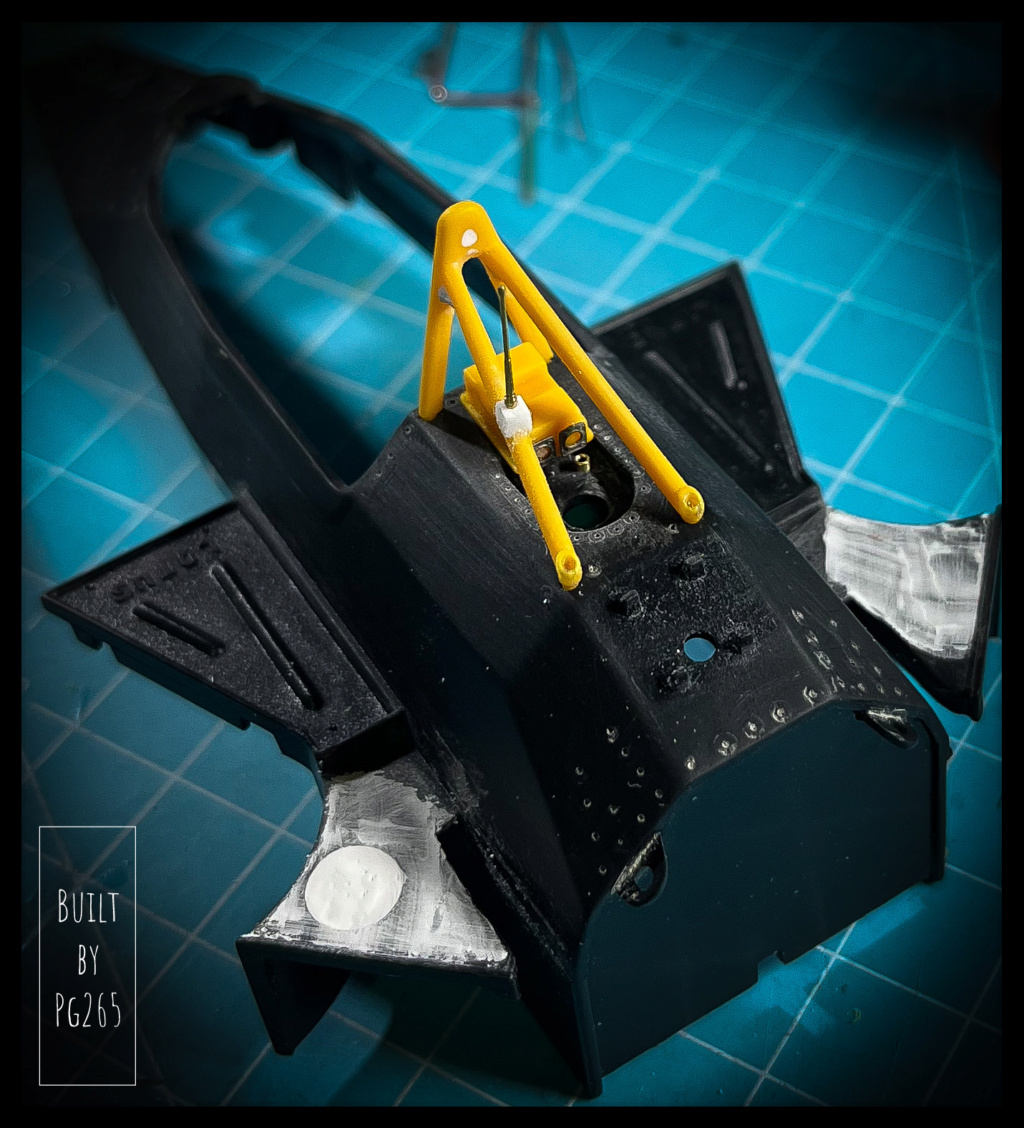
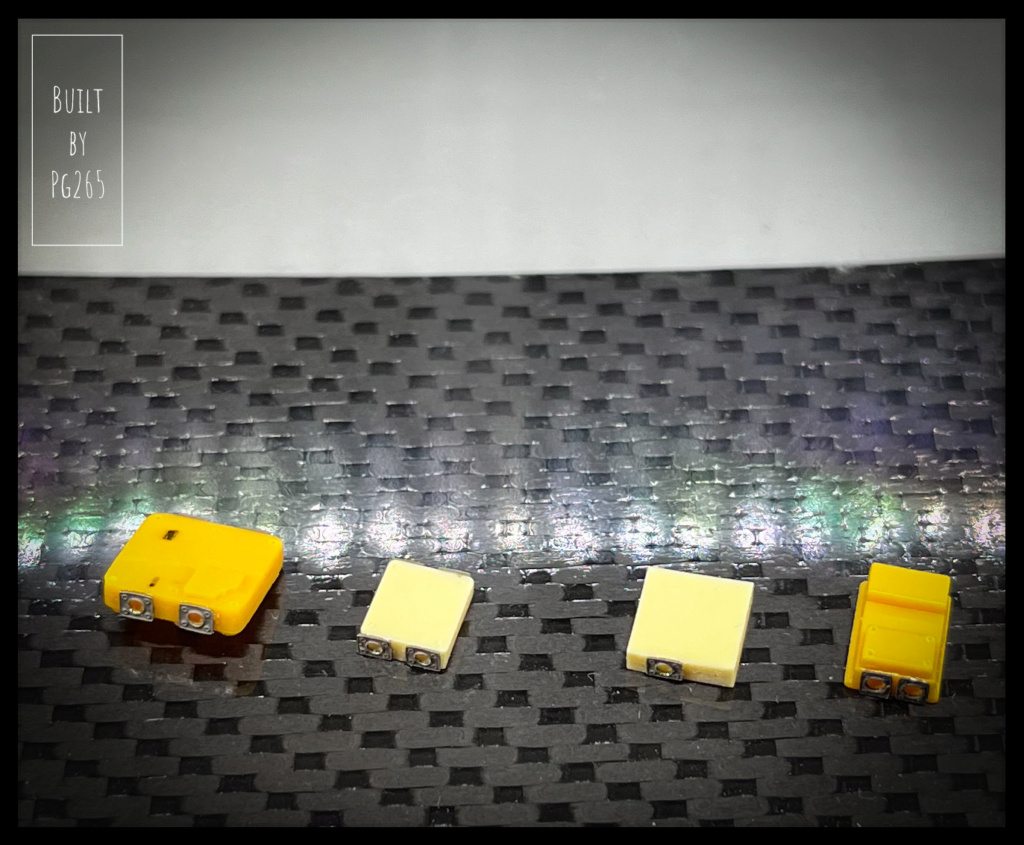
The radiator extractors are mounted on the hull, puttyed and clamped.
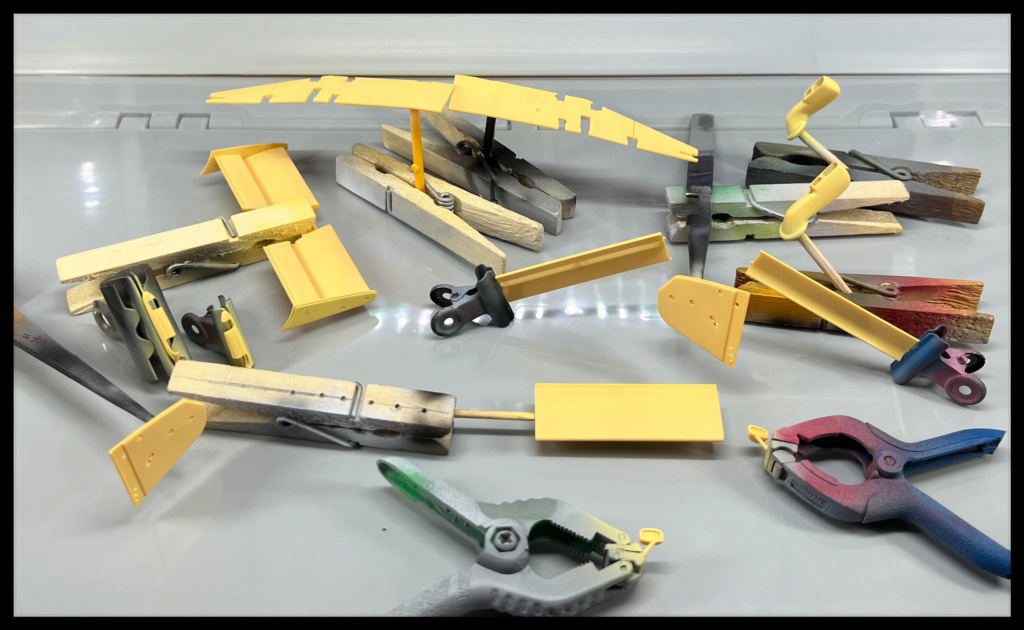
It was then prepared and primed before receiving a coat of Camel Yellow.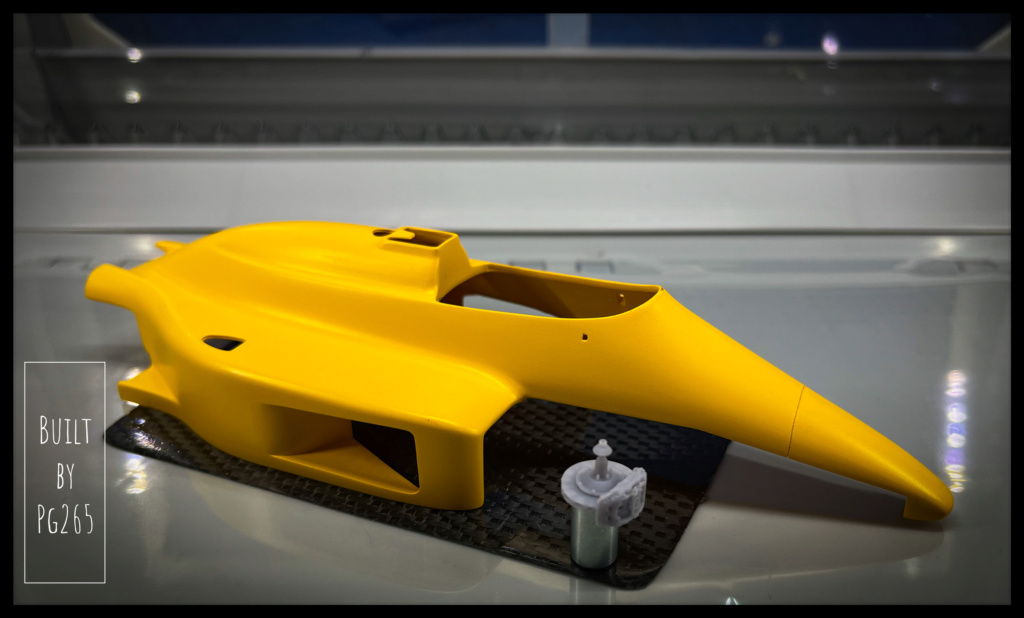
![]() i.servimg.com/u/f12/12/38/43/52/2ca01910.jpg[/img]
i.servimg.com/u/f12/12/38/43/52/2ca01910.jpg[/img]
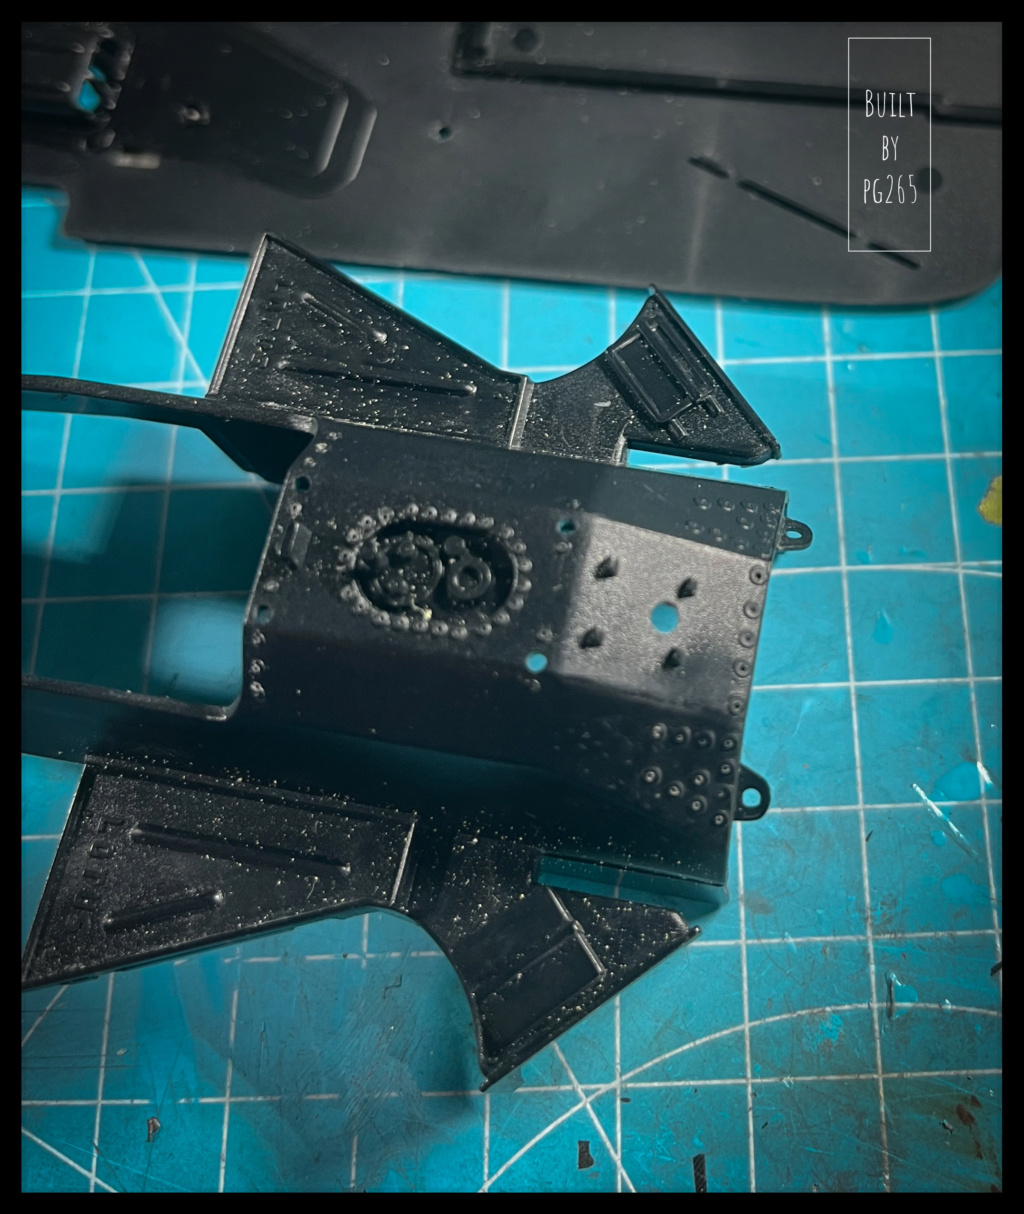
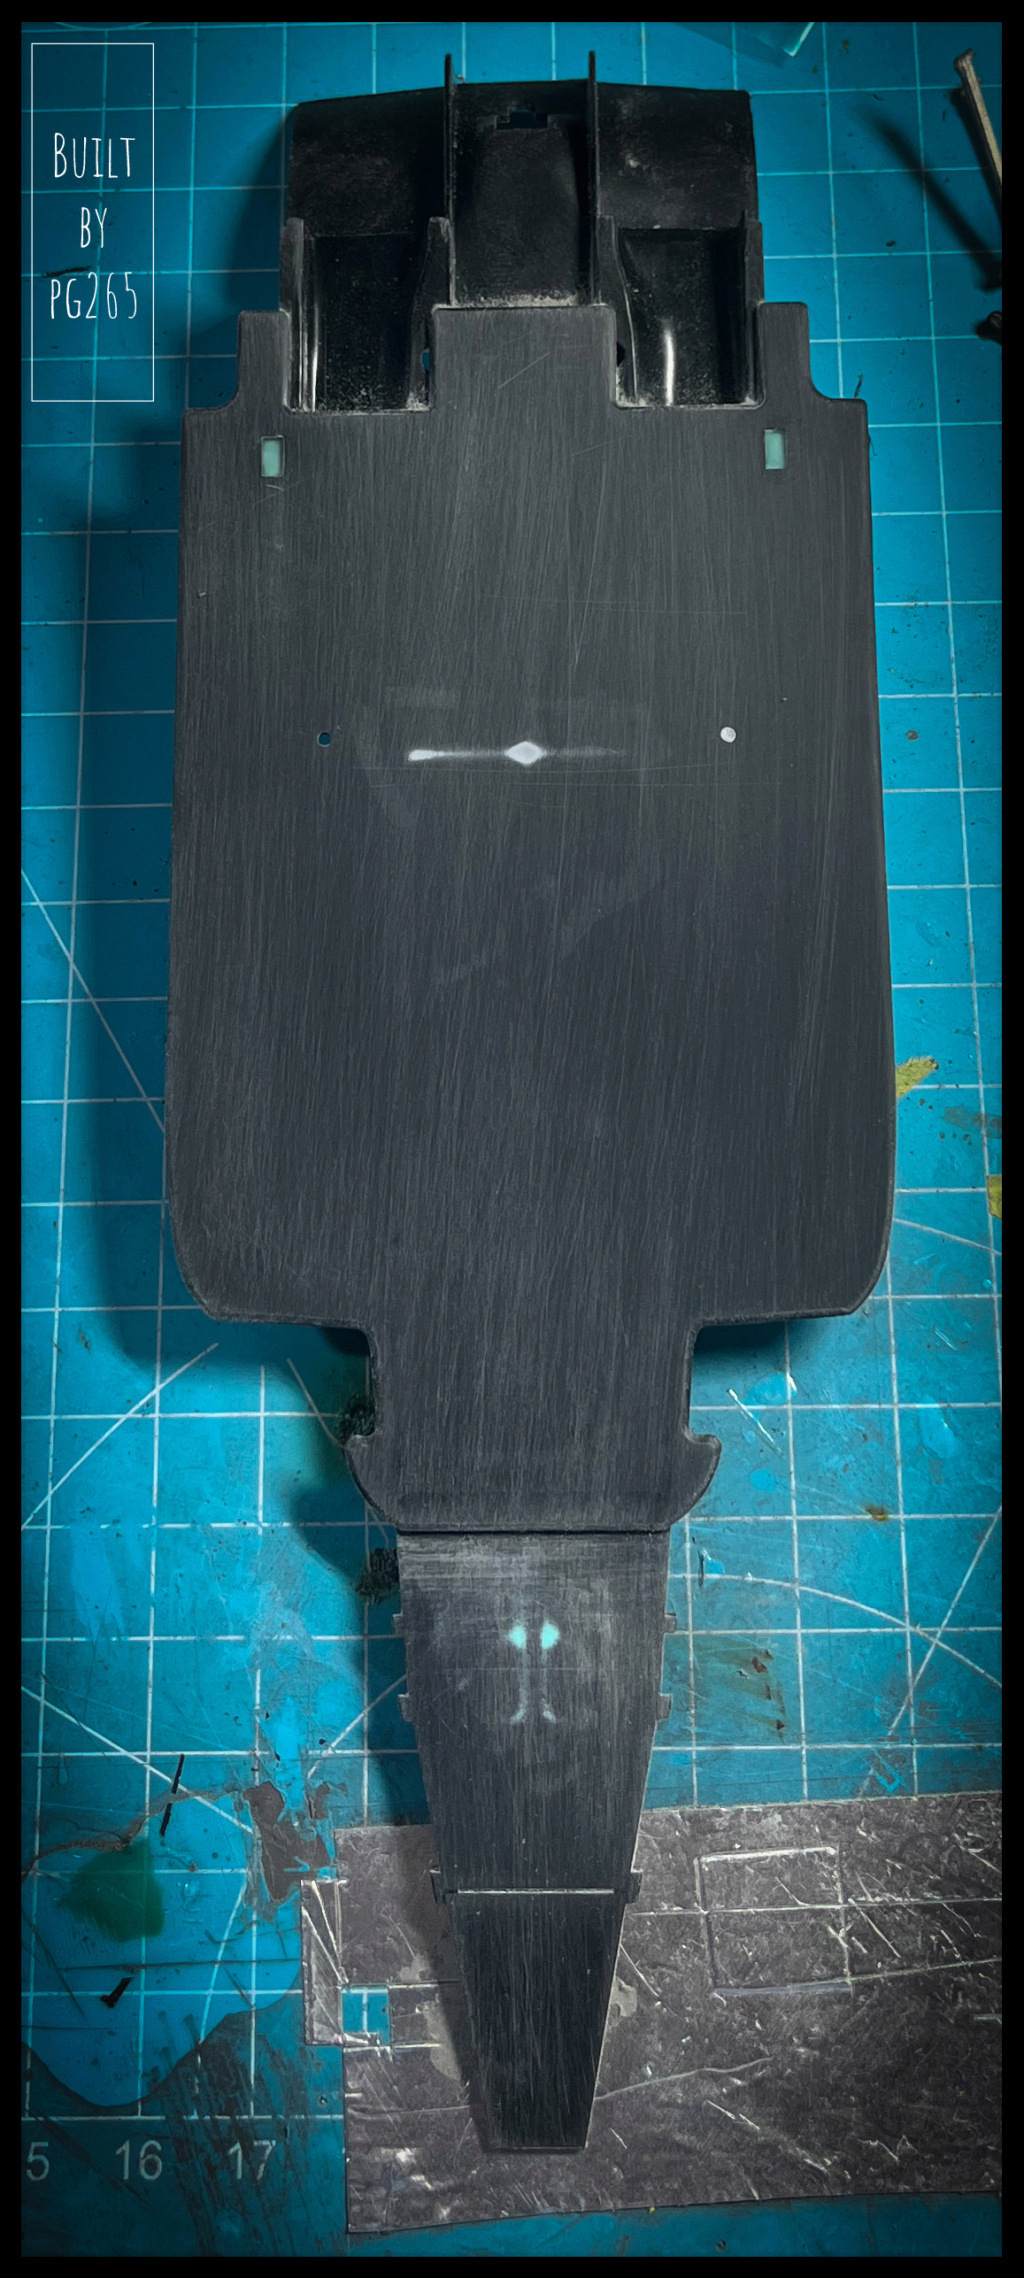
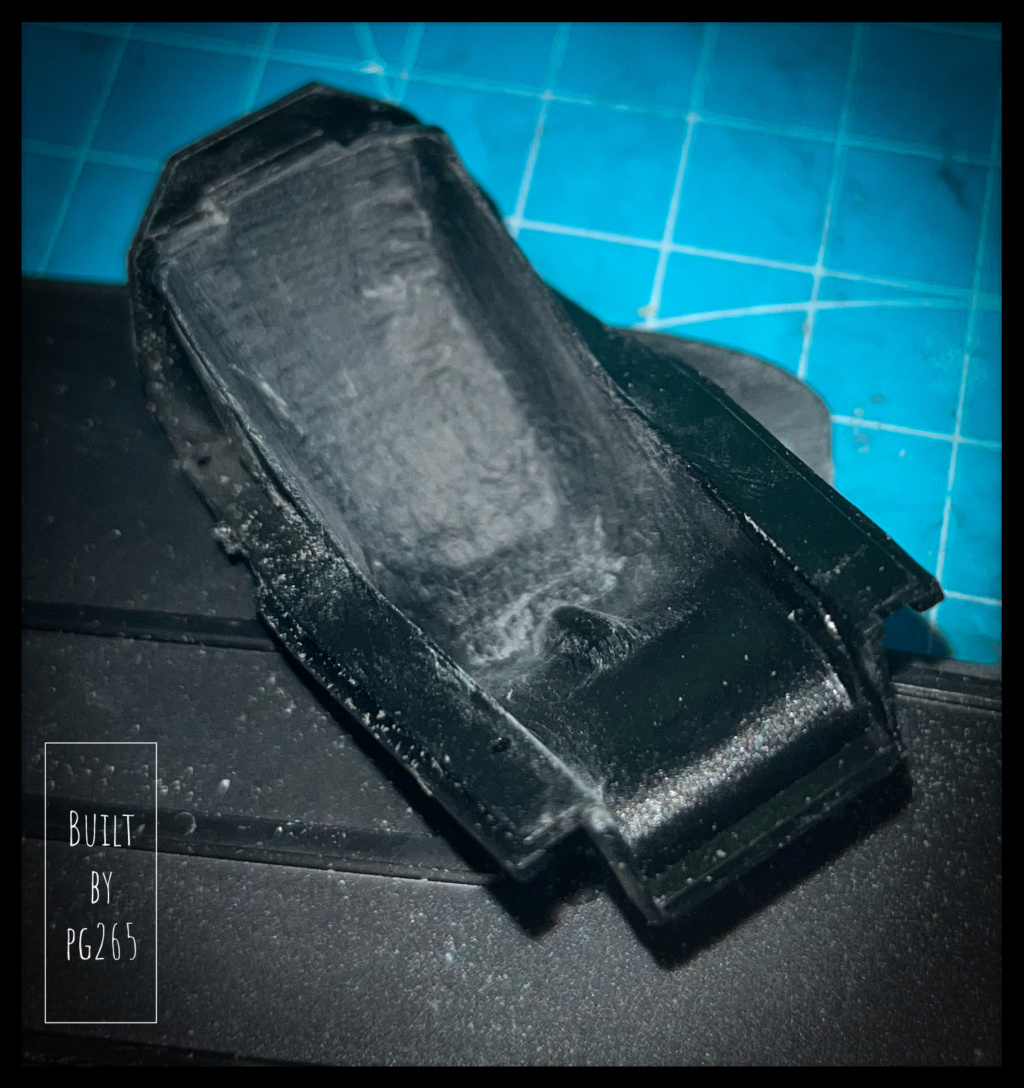
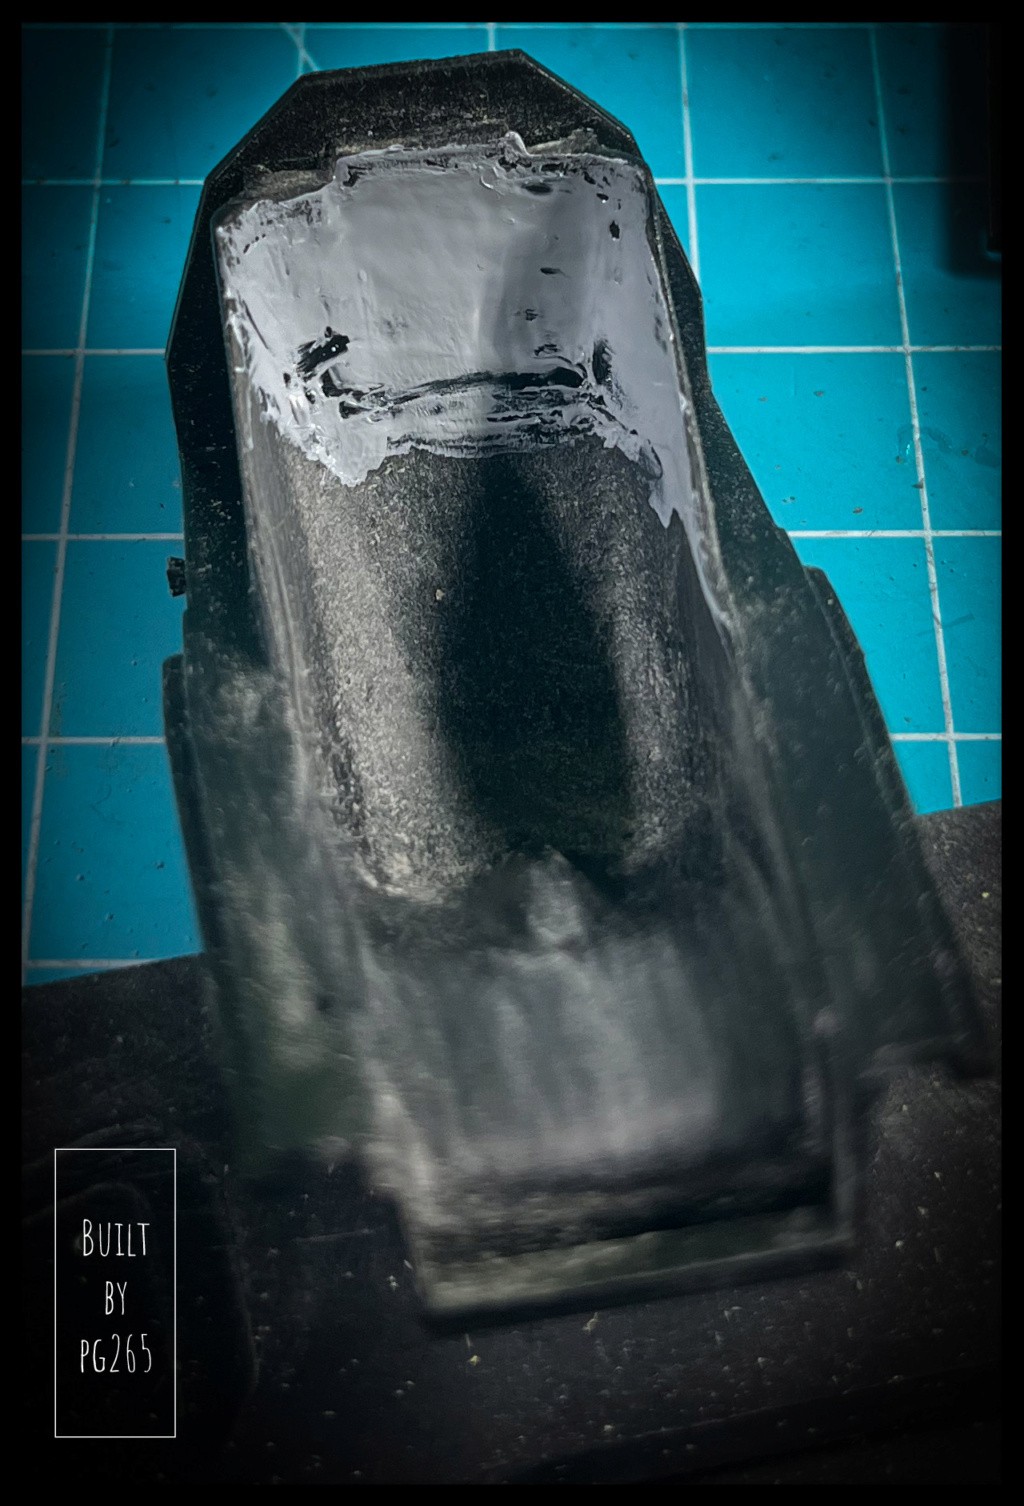
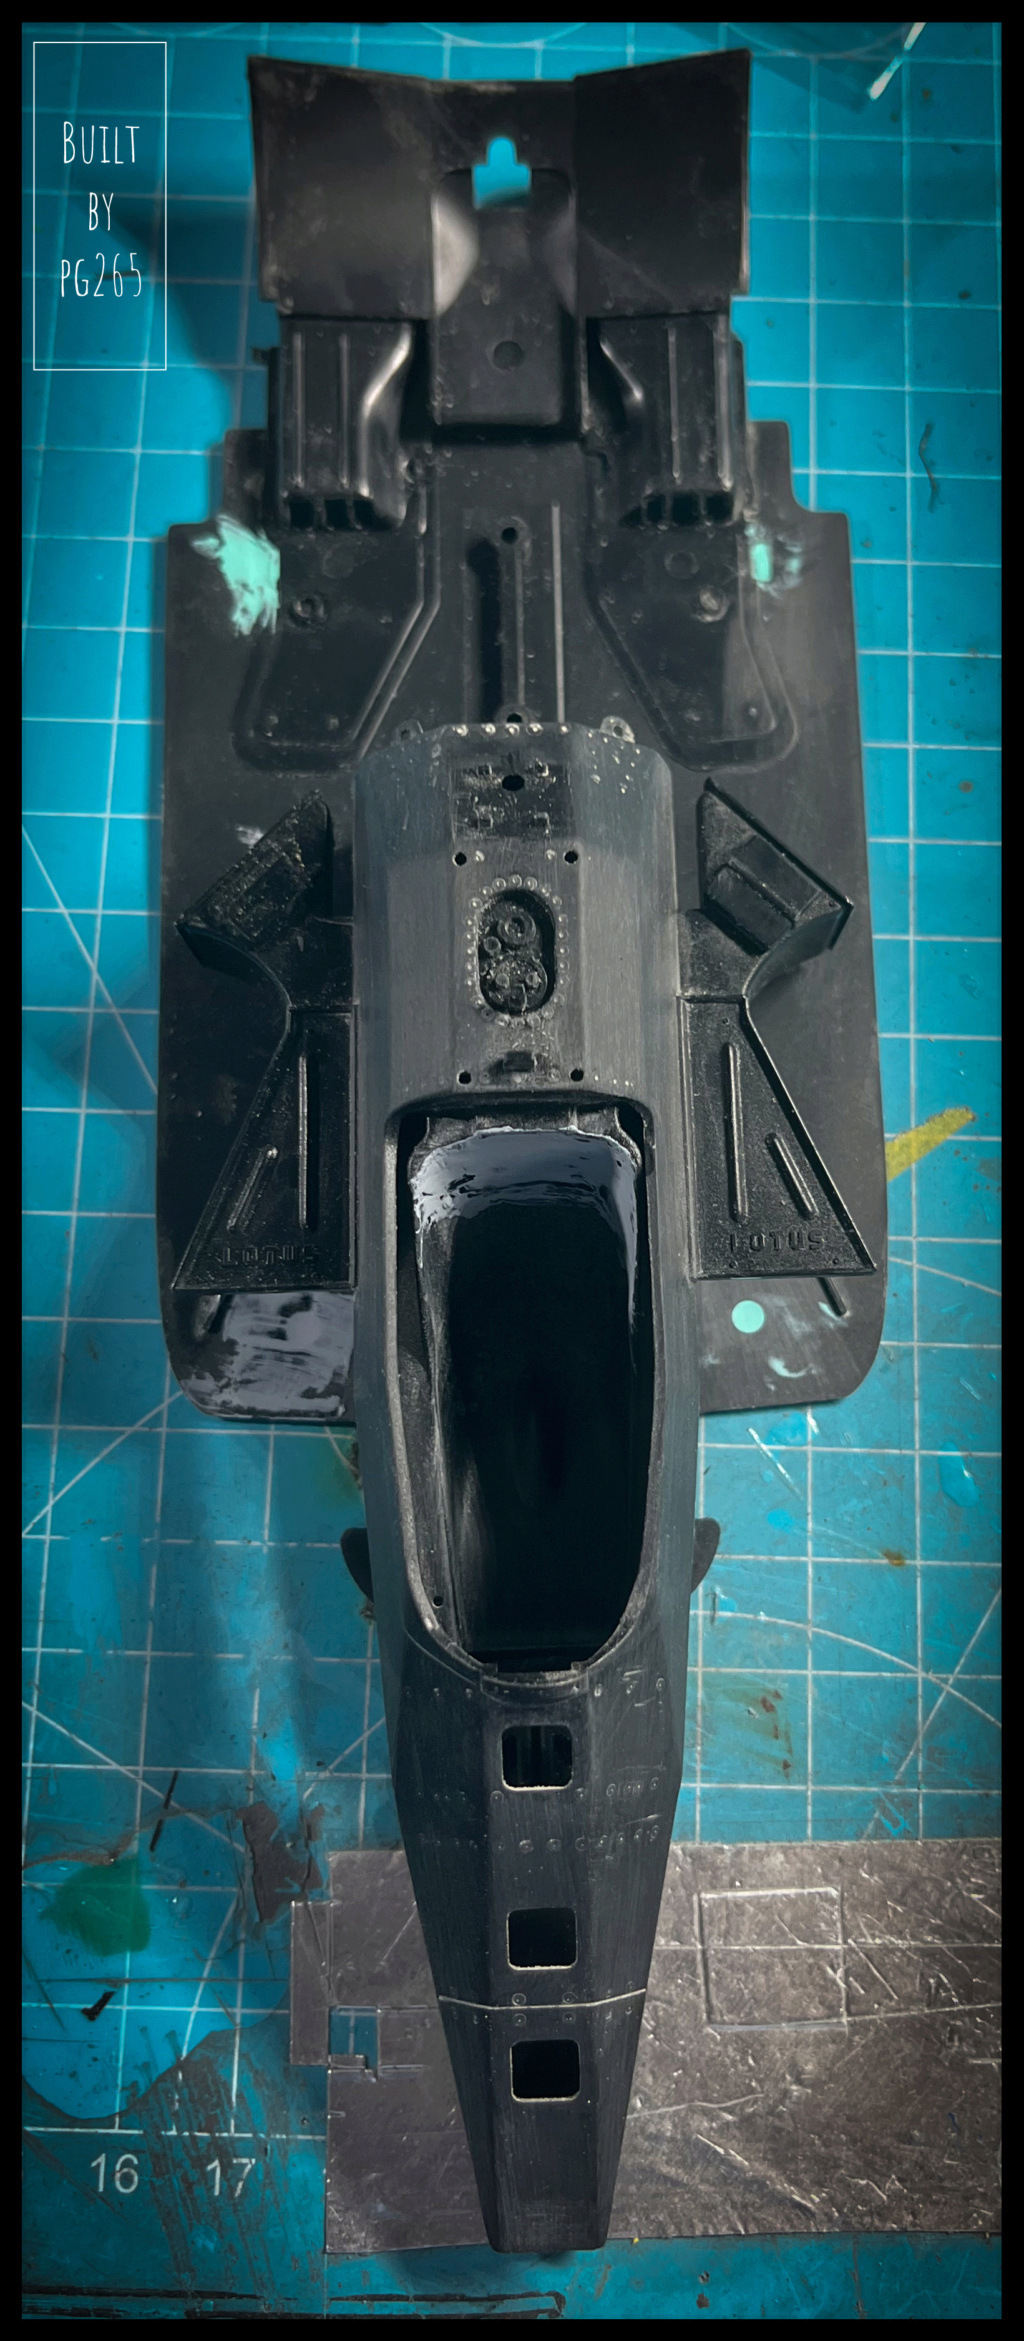
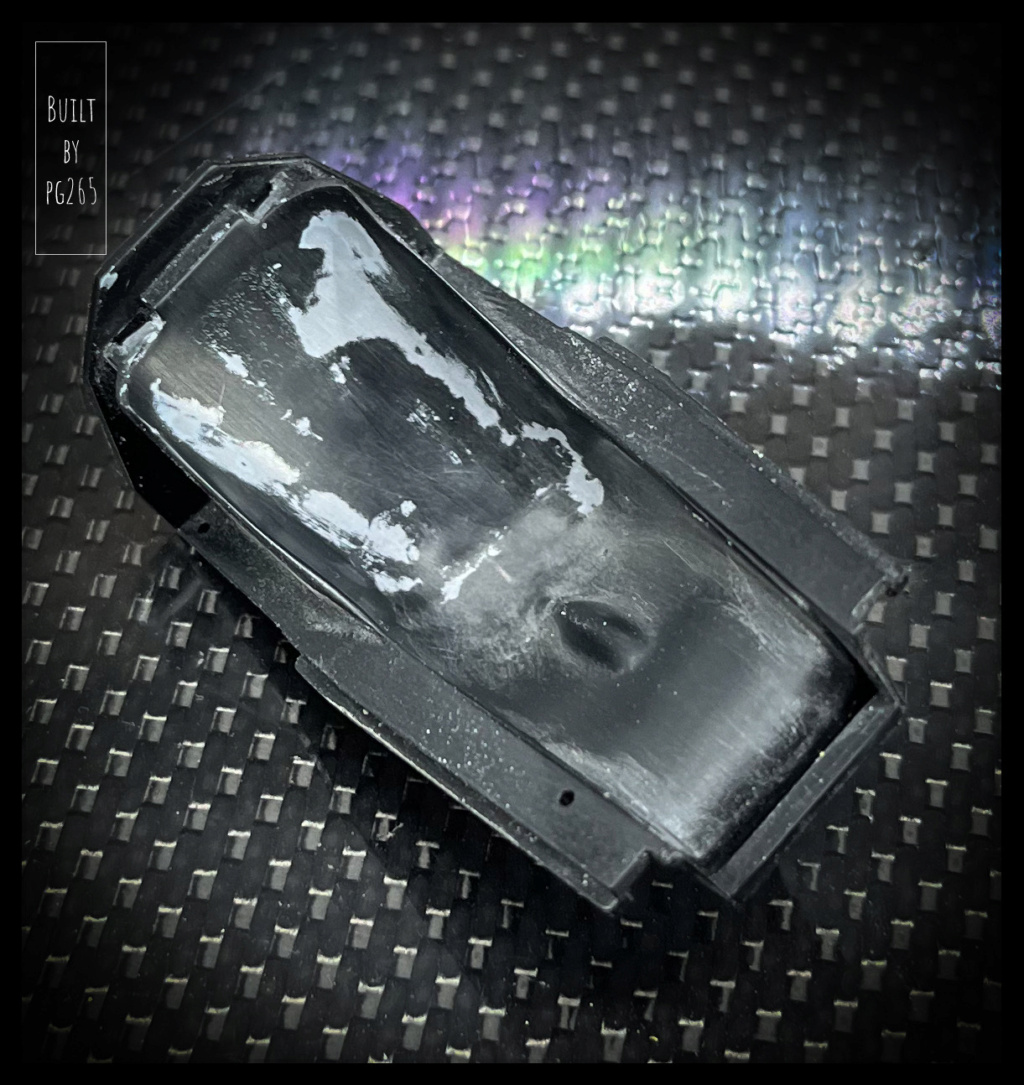
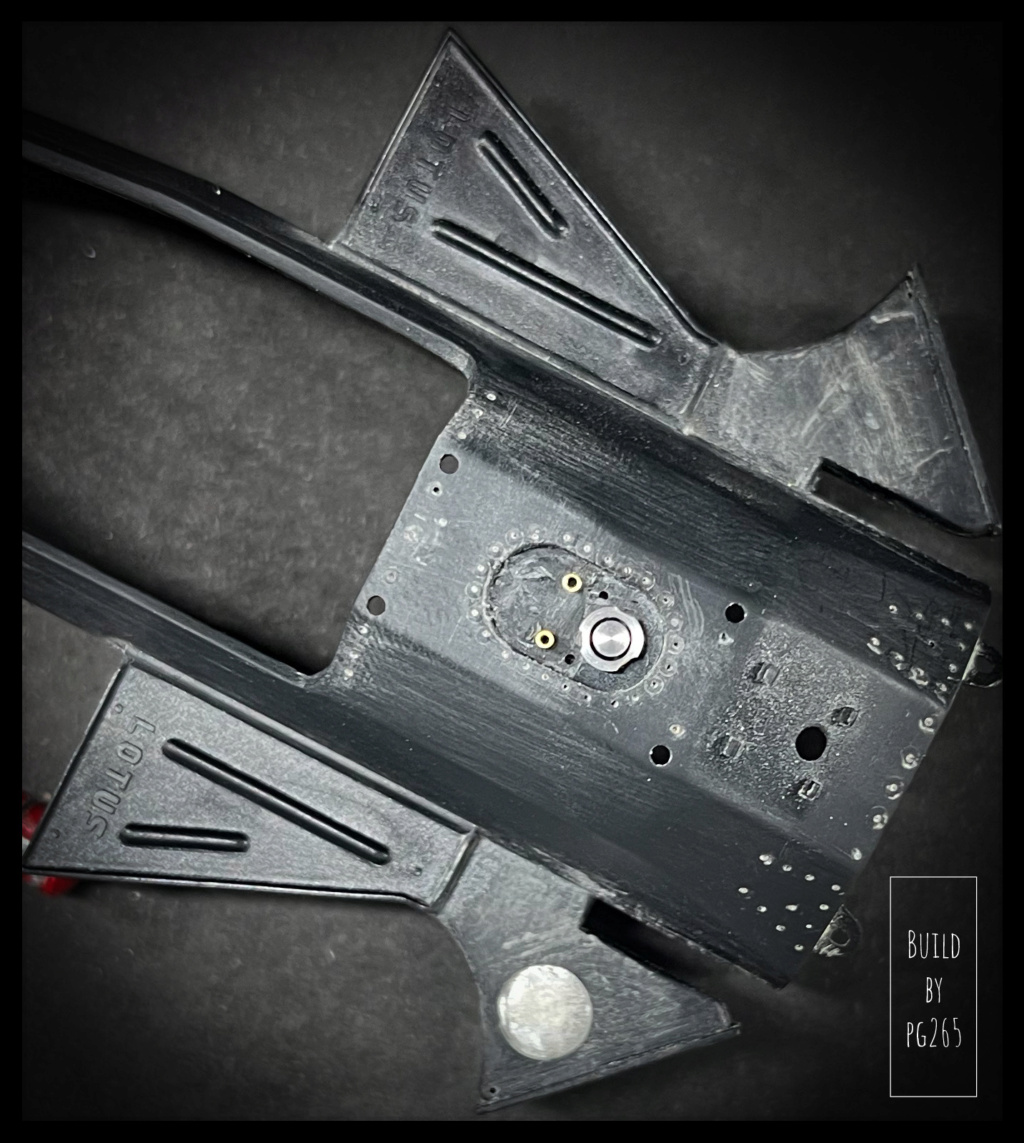
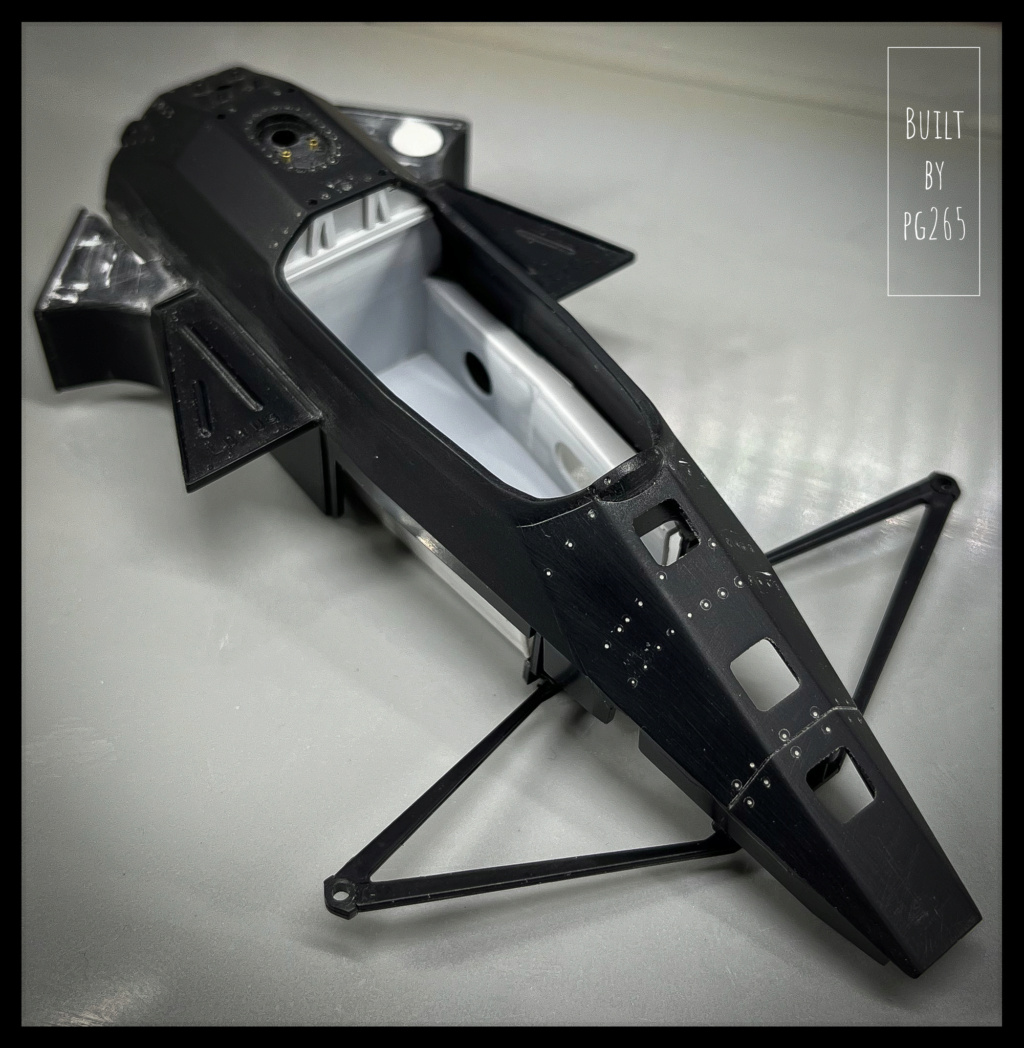
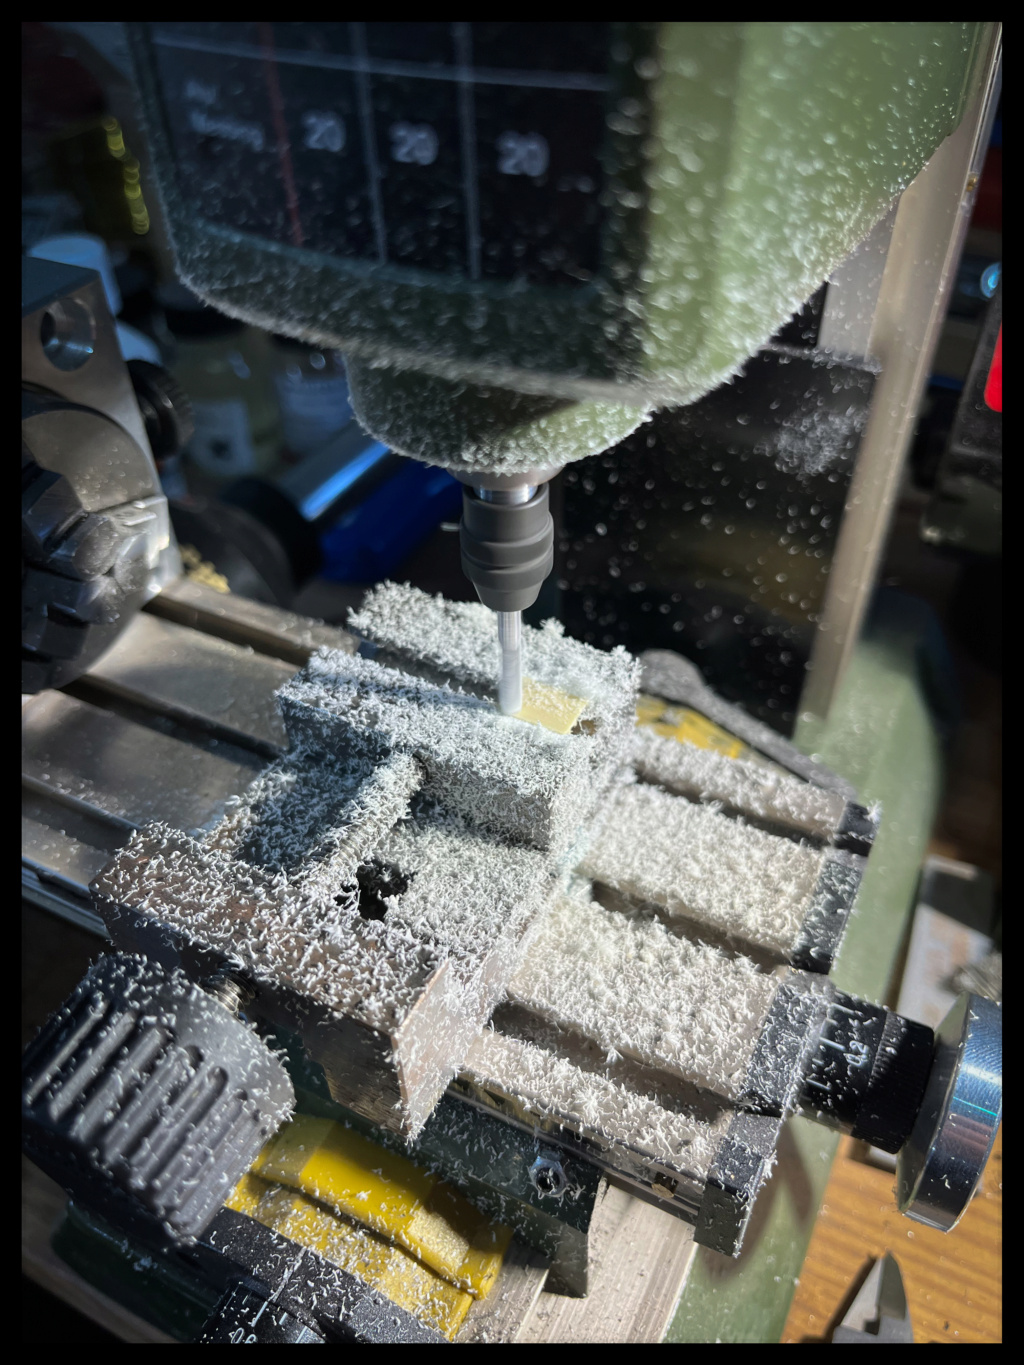
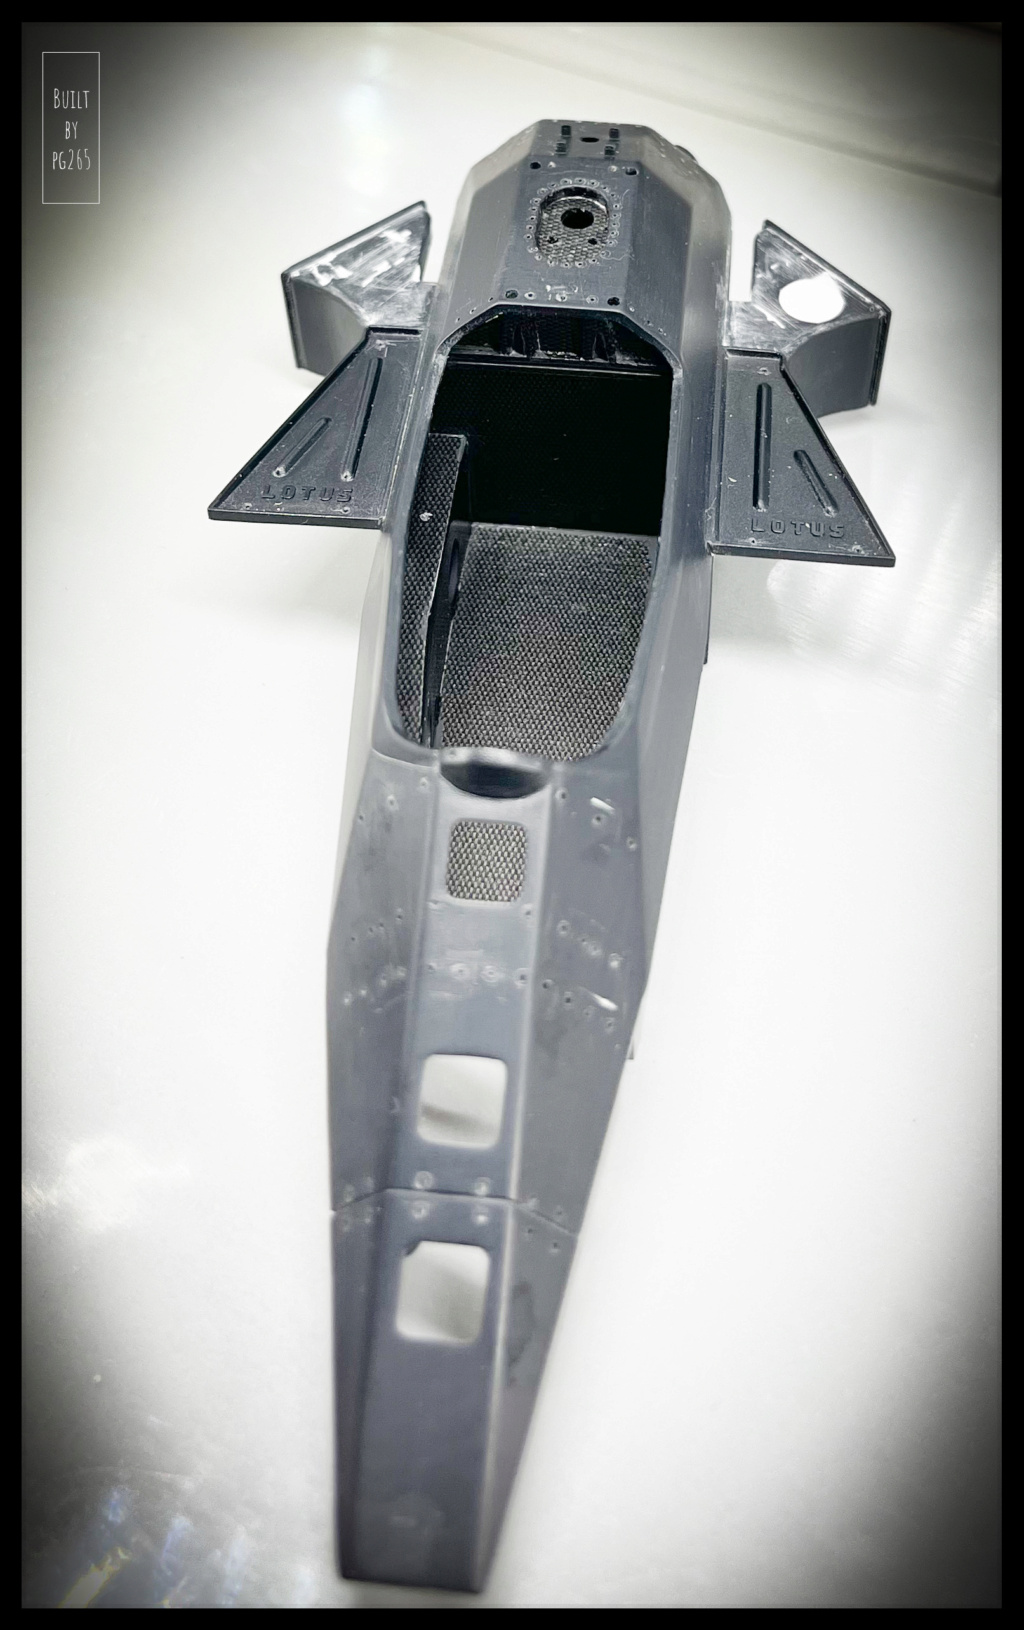
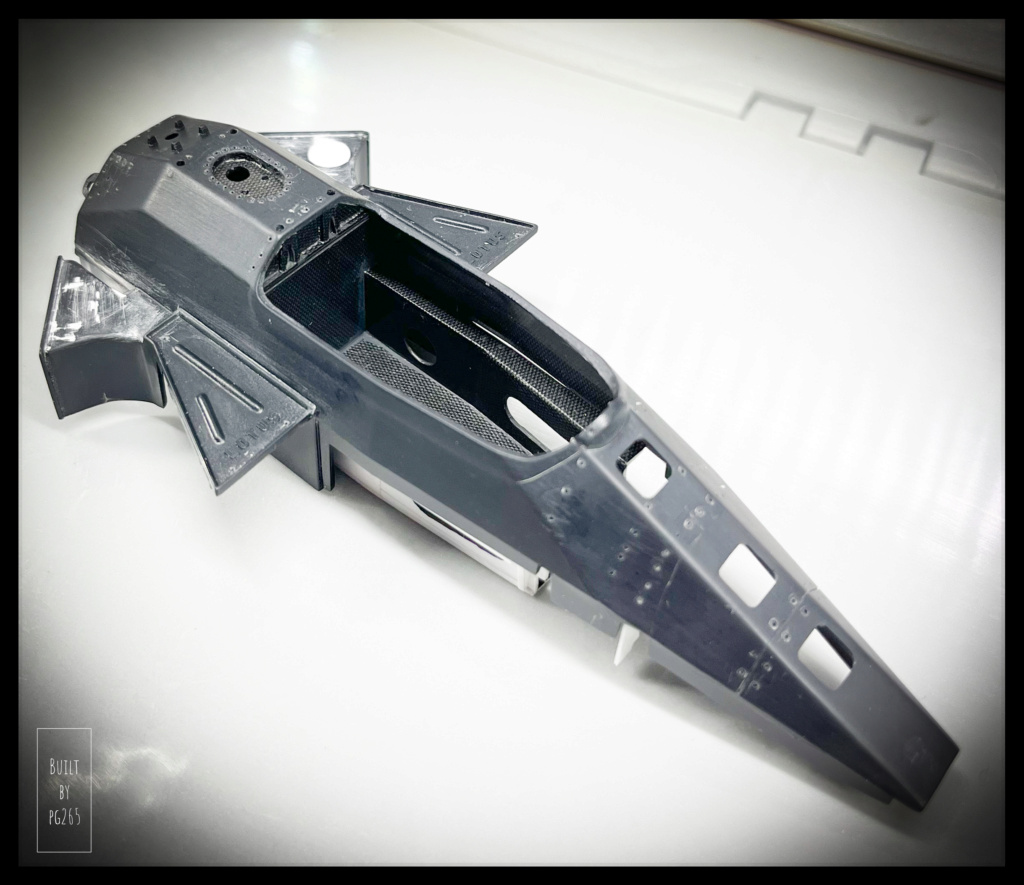
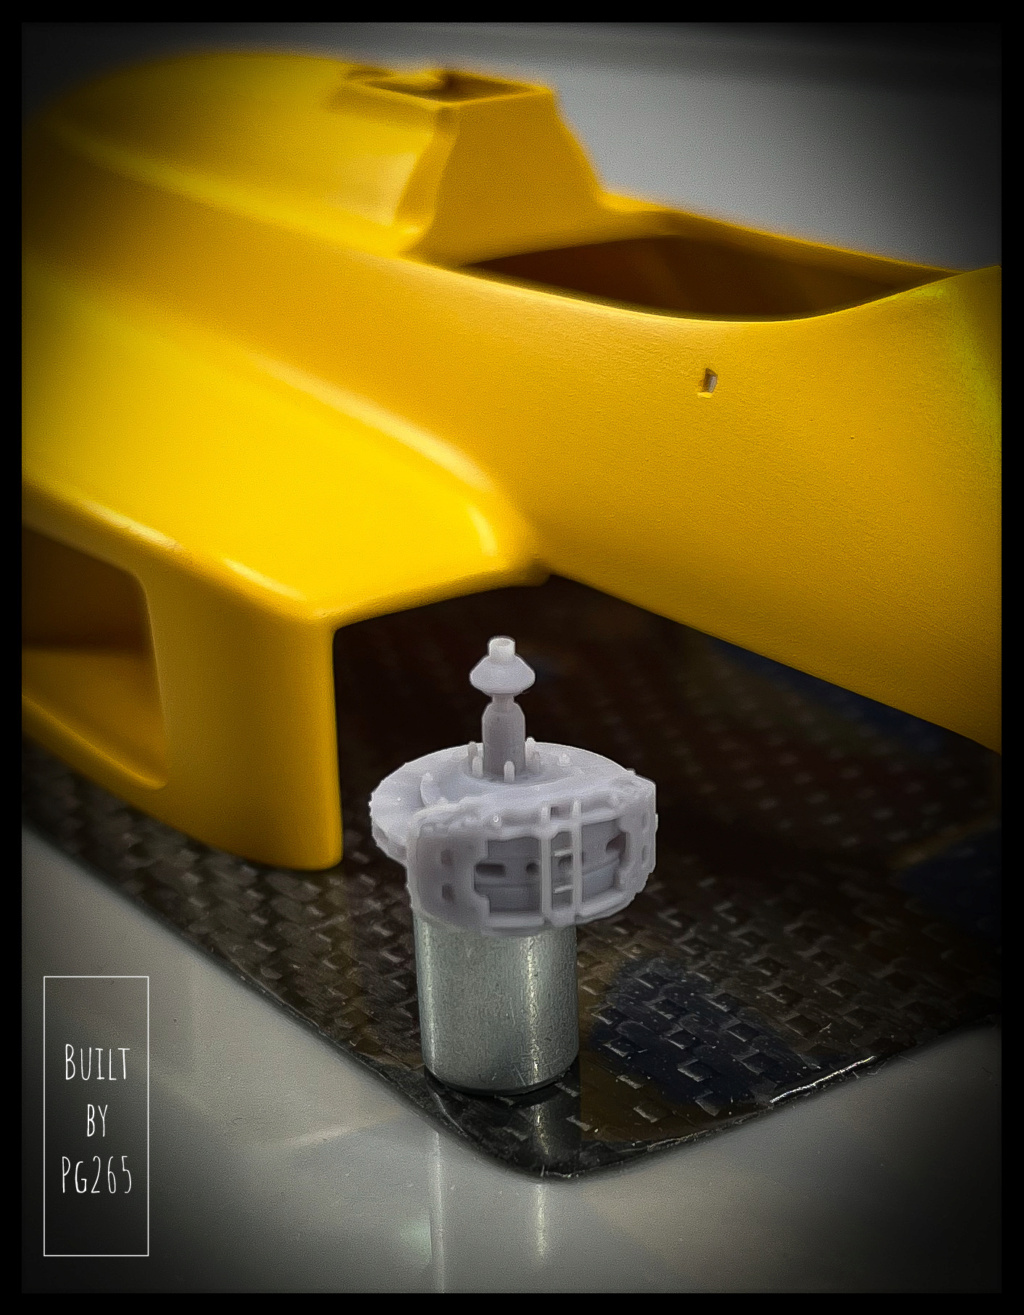 A thankless task if ever there was one, but necessary: filling in holes, prints and other traces in places where they are not wanted...
For greater speed, this is done with resin and photo-sensitive putty.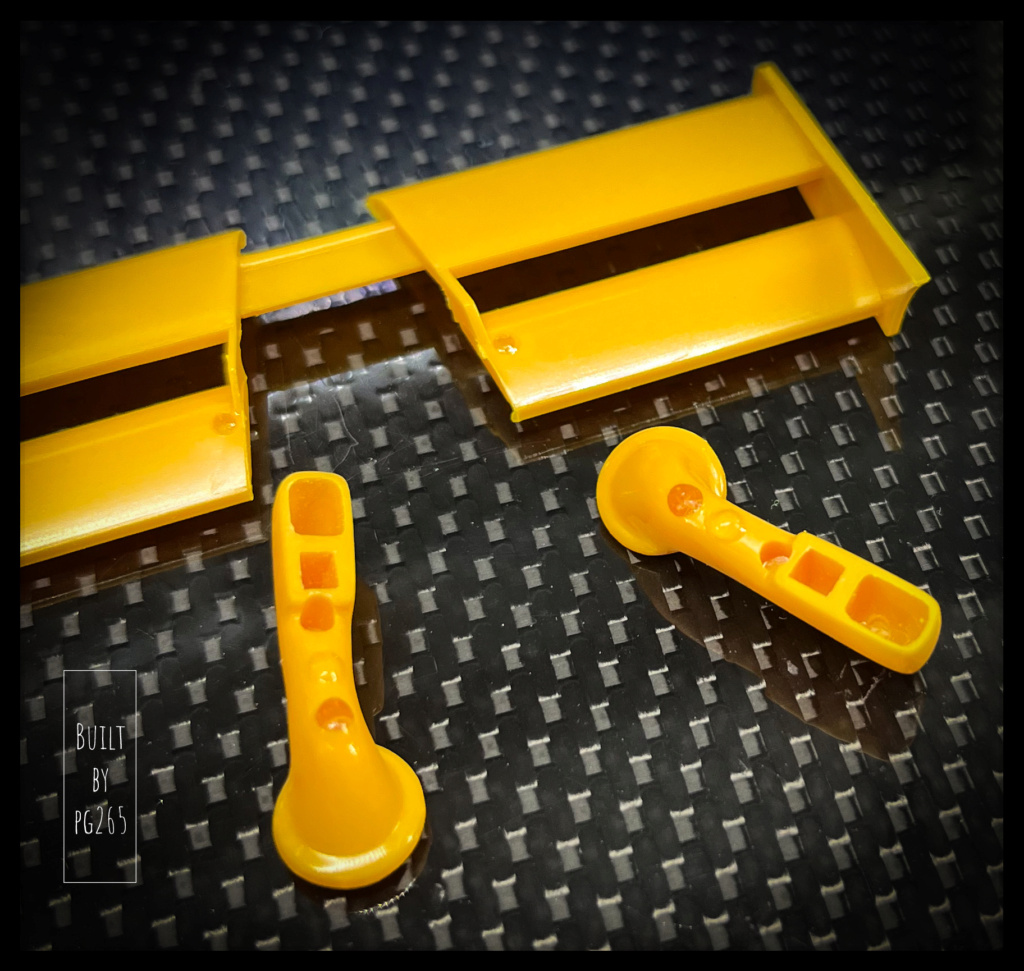
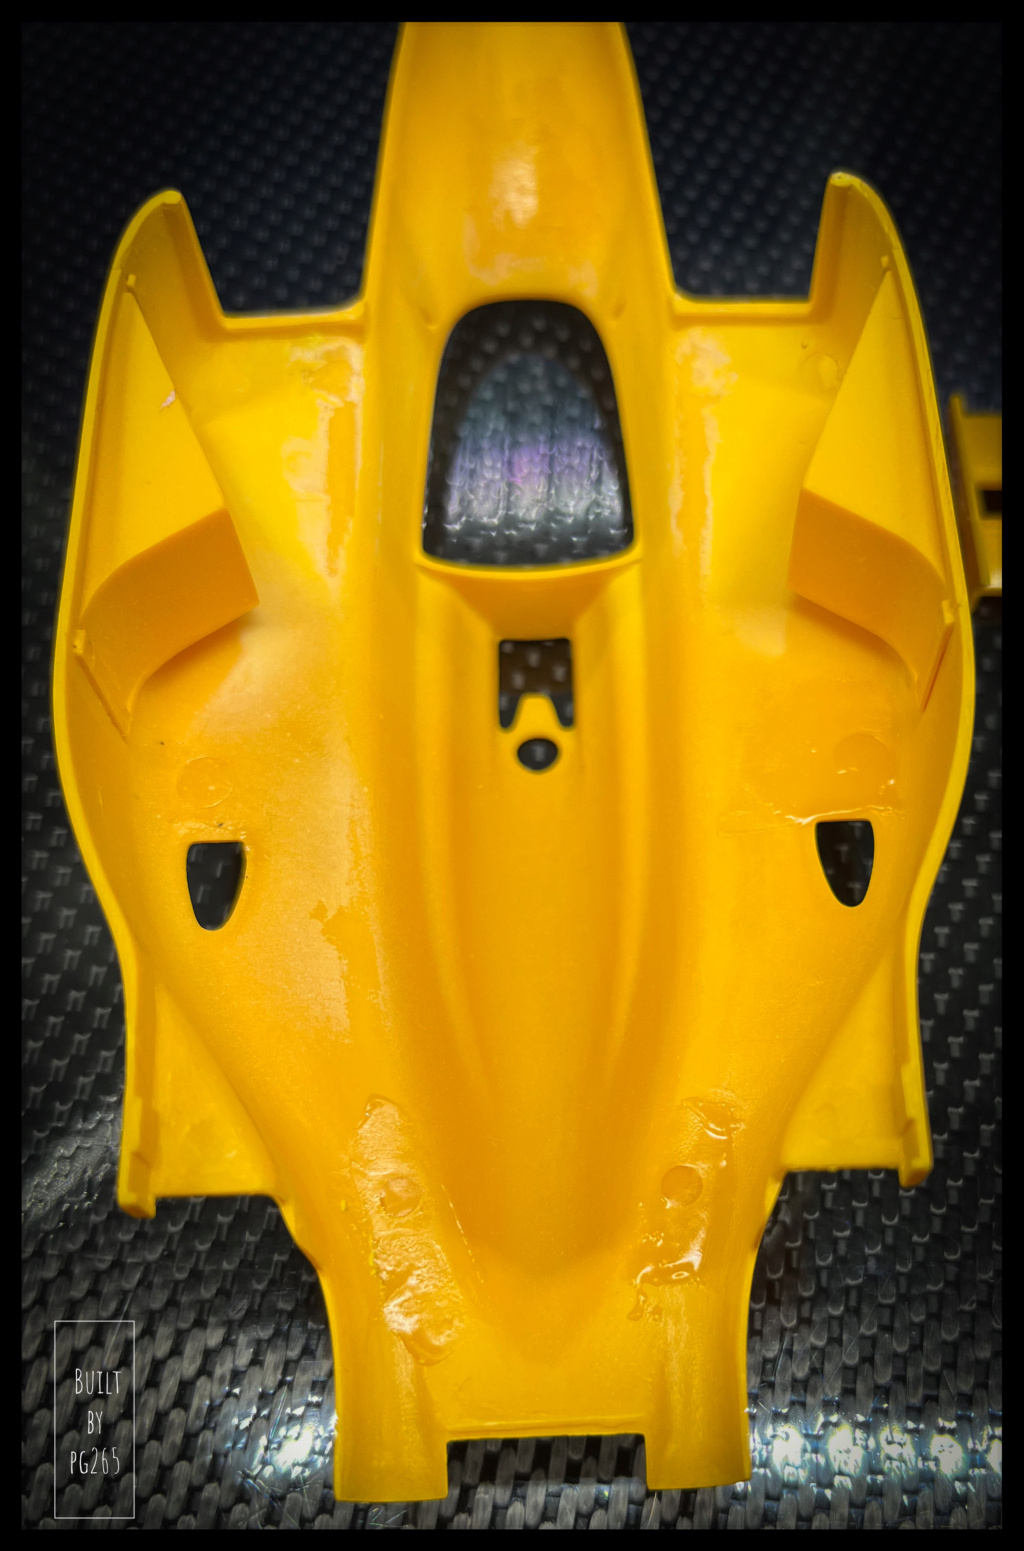 The pellets and other things blocked yesterday with resin are sanded.
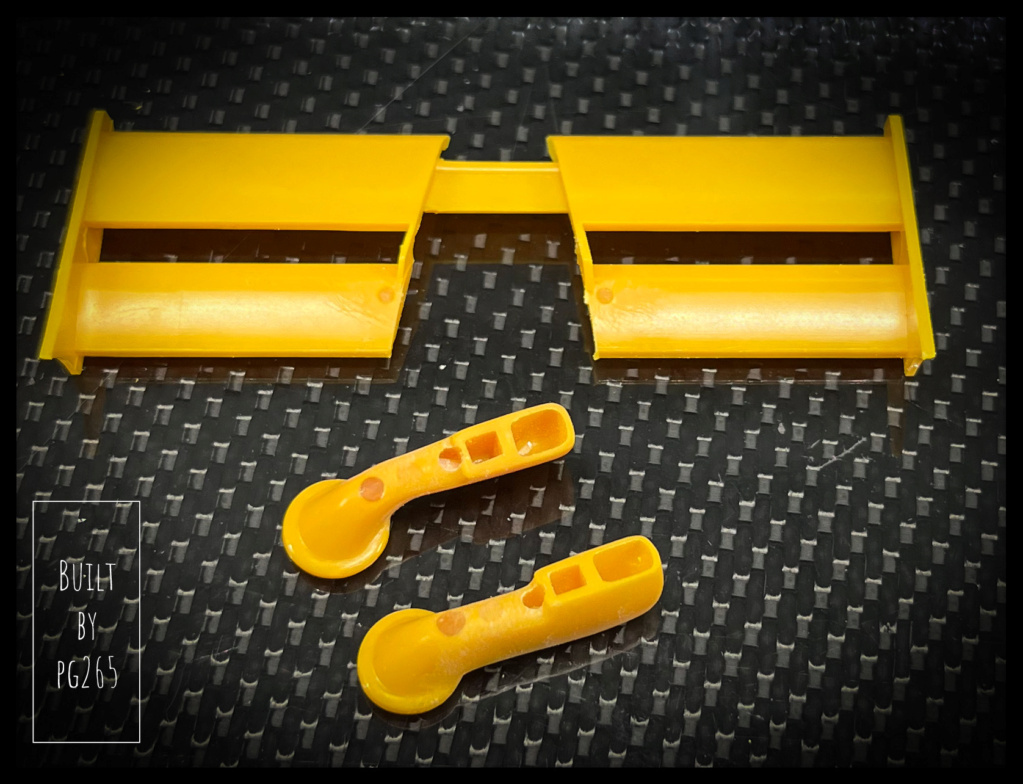
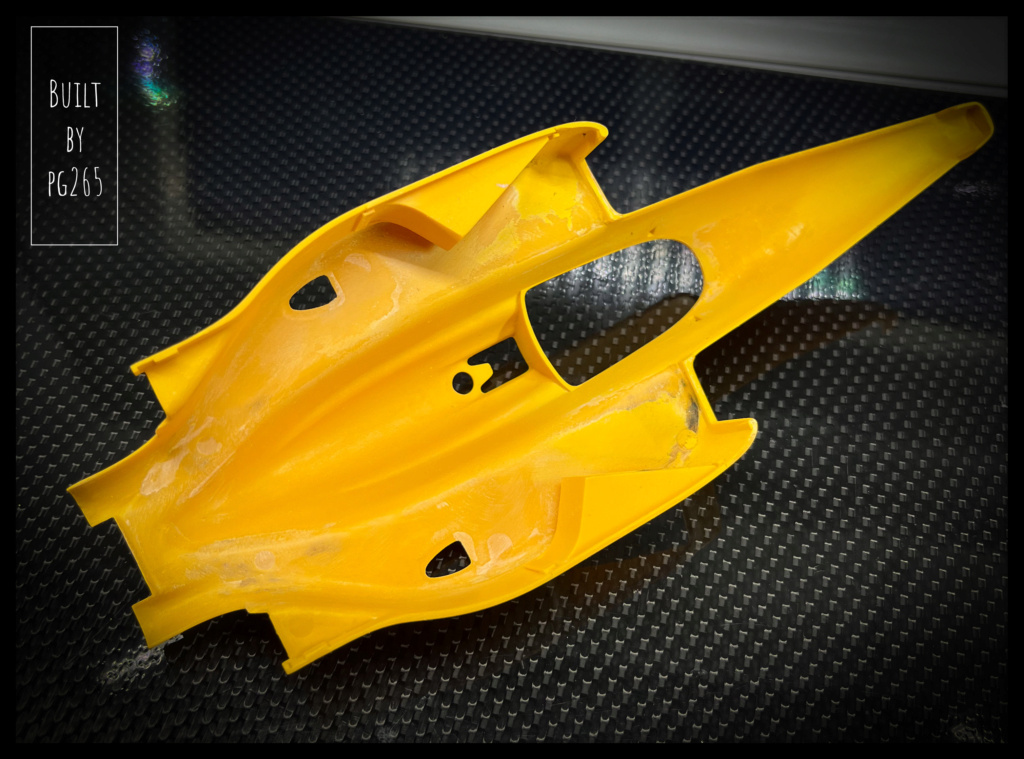
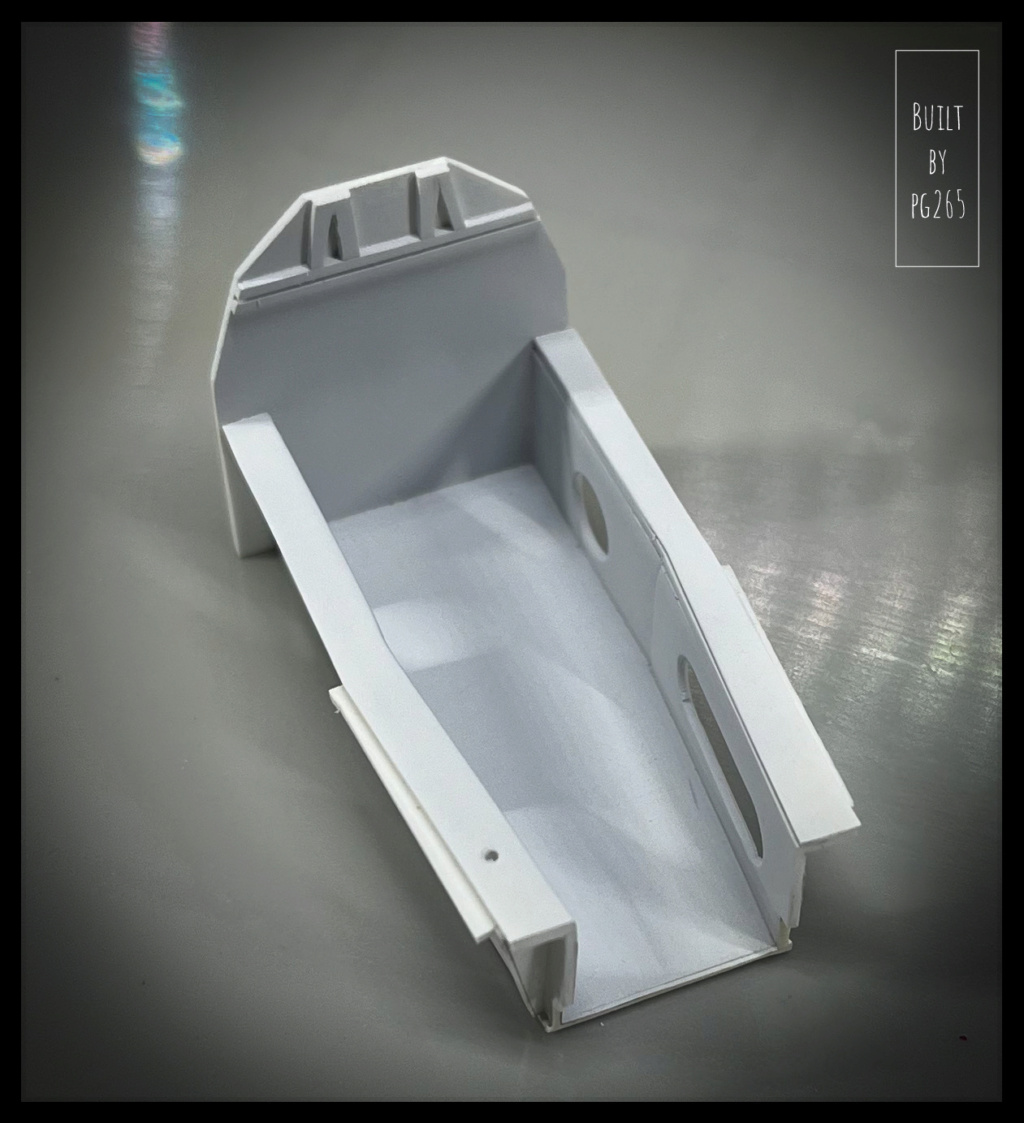
There's still a lot of preparation work to be done on the parts to be painted Camel Yellow.
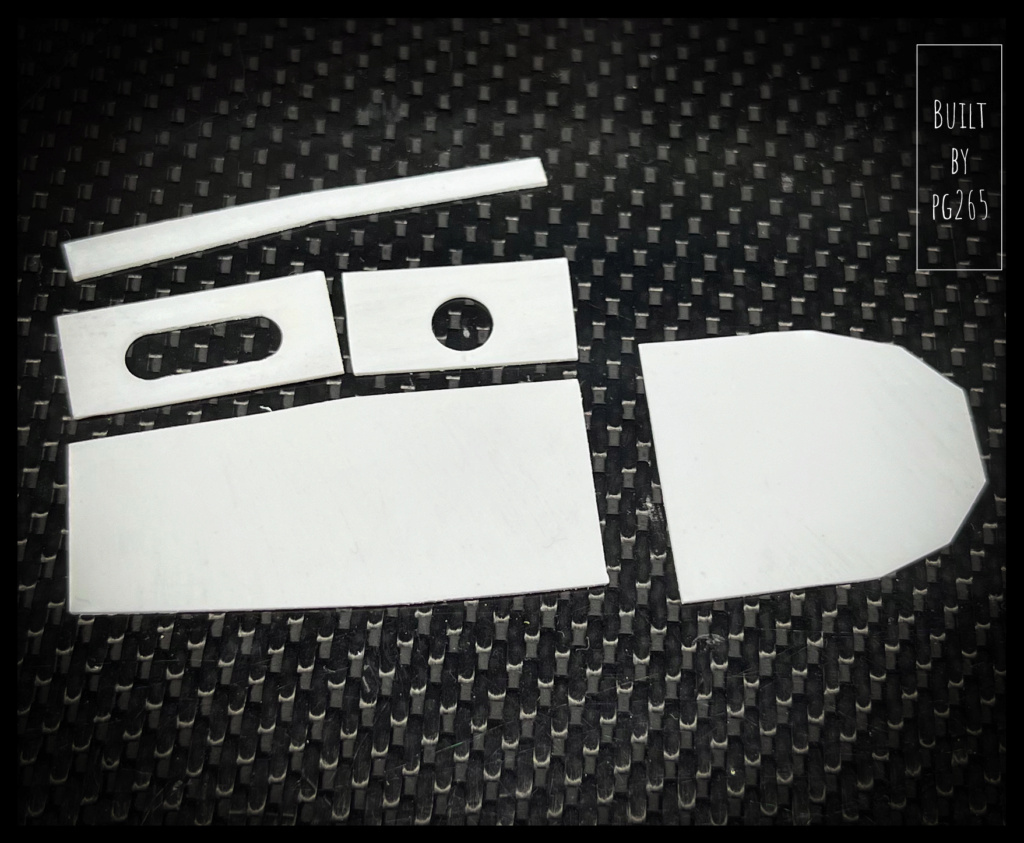
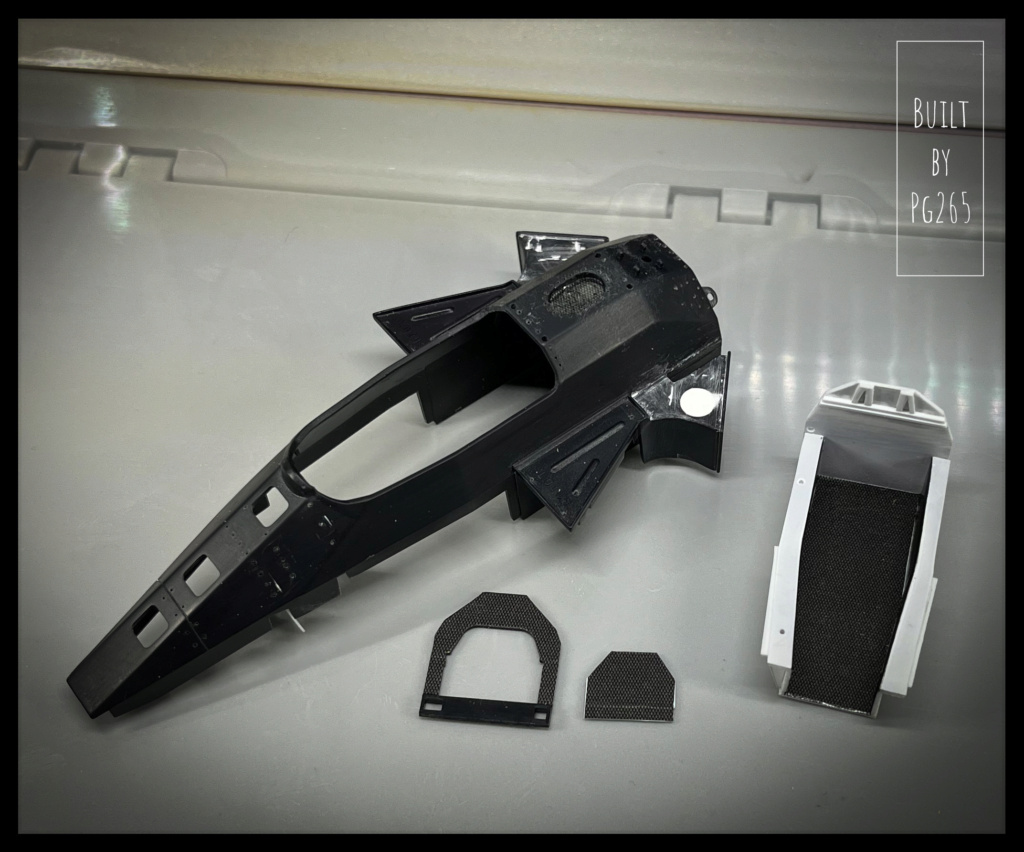
Modifications such as the front spoiler fins or the rear spoiler mounting system need a little thought...
The body has been sanded and re-primed.
The next coat of Camel Yellow will be the final one.
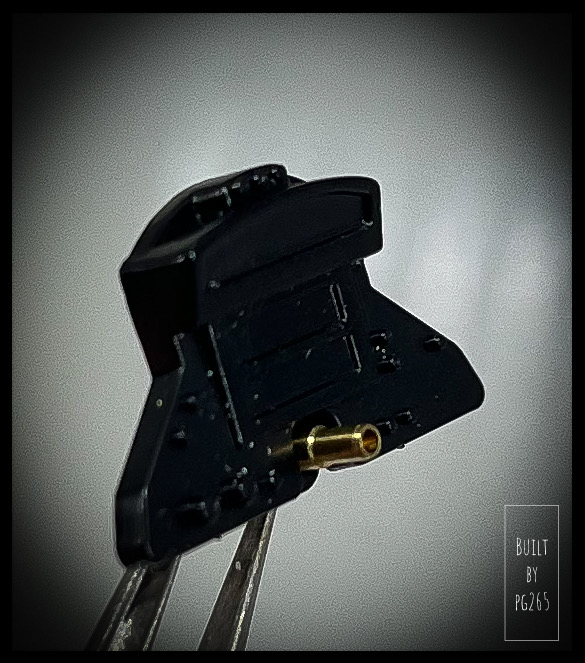
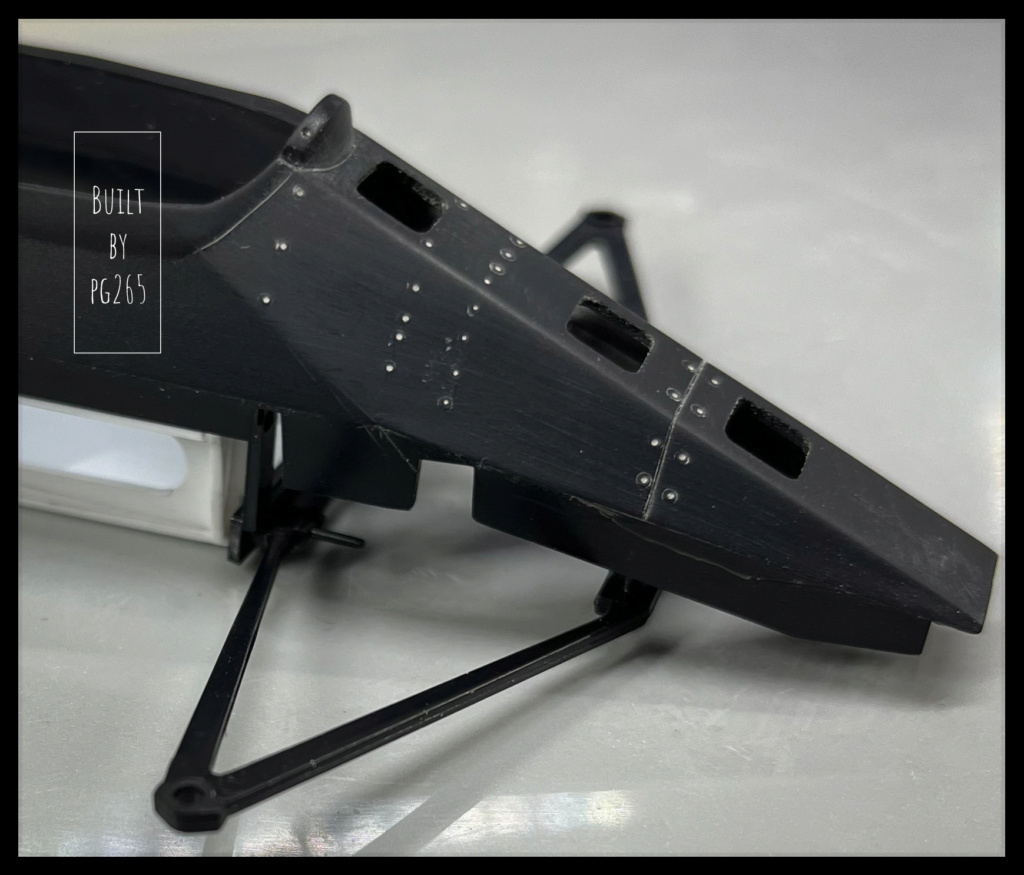
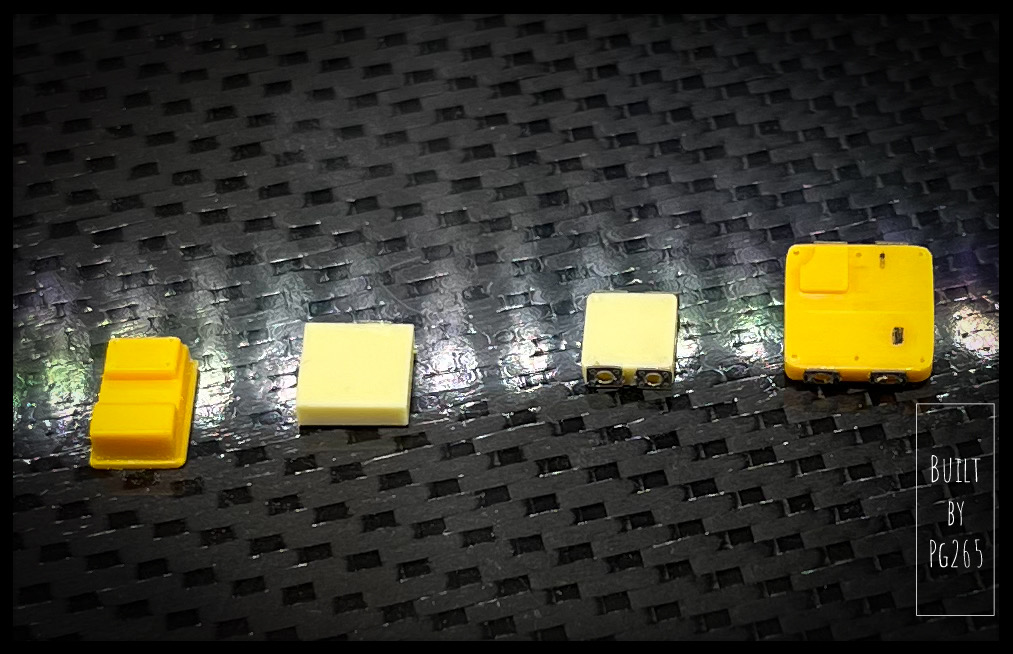
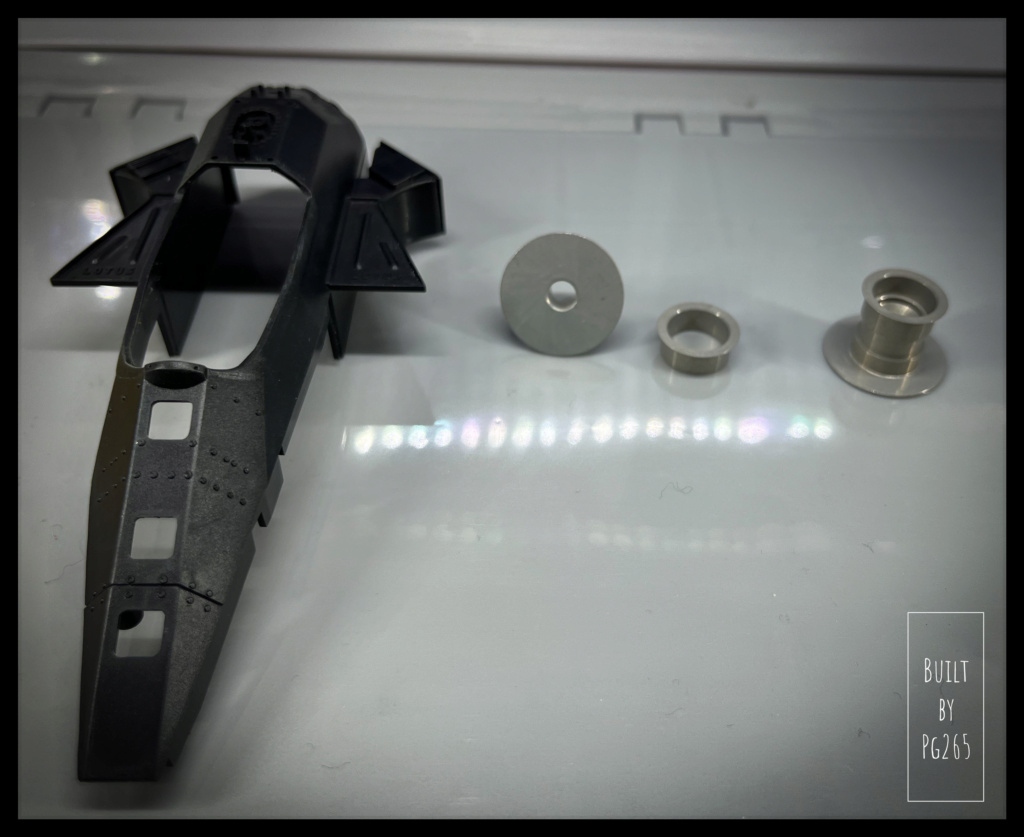
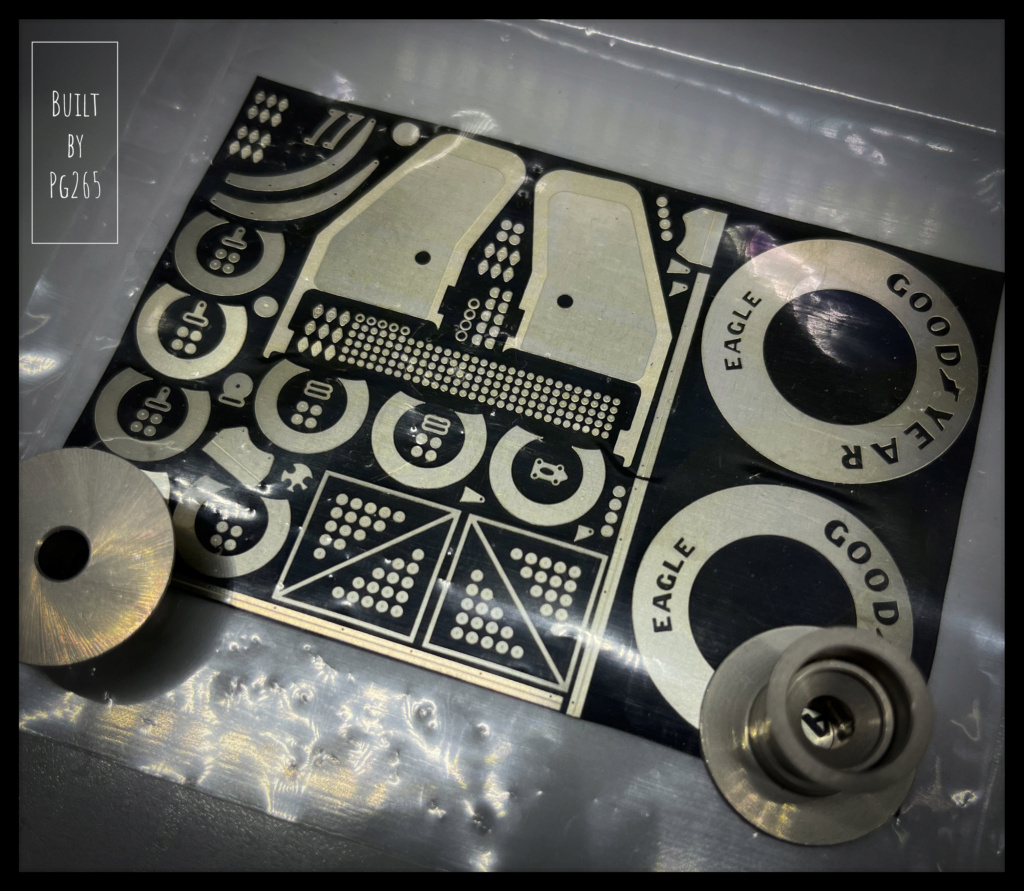
The metal "washers" molded onto the chassis, or supplied photo-cut, are in fact inserts.
These are "flush" with the composite panels.
I'm thinking of removing all those embossed by Tamiya.
Here's an example.
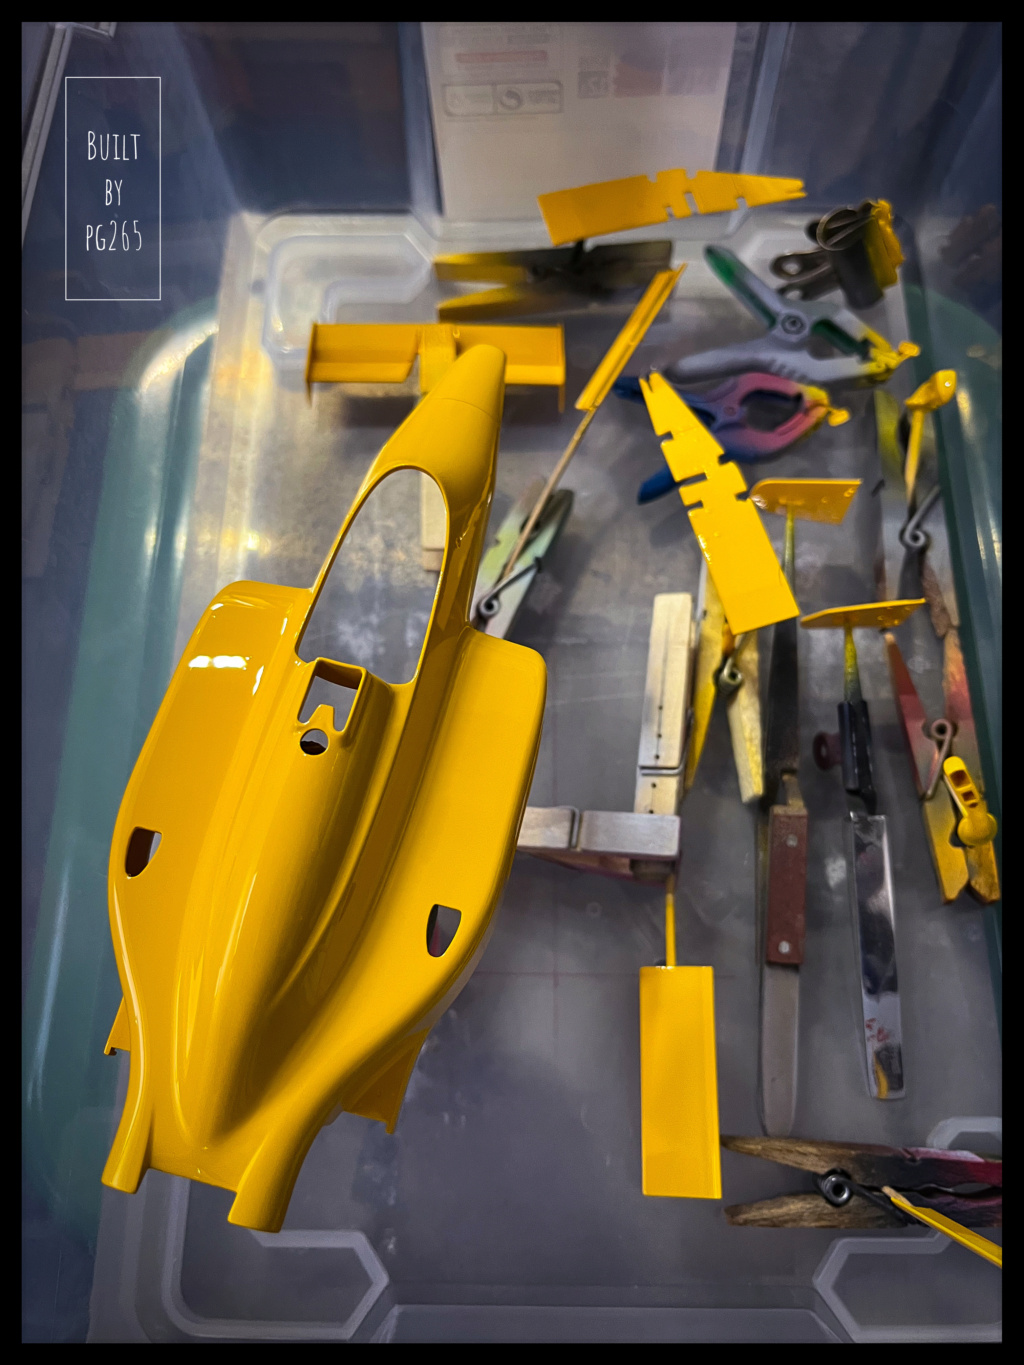
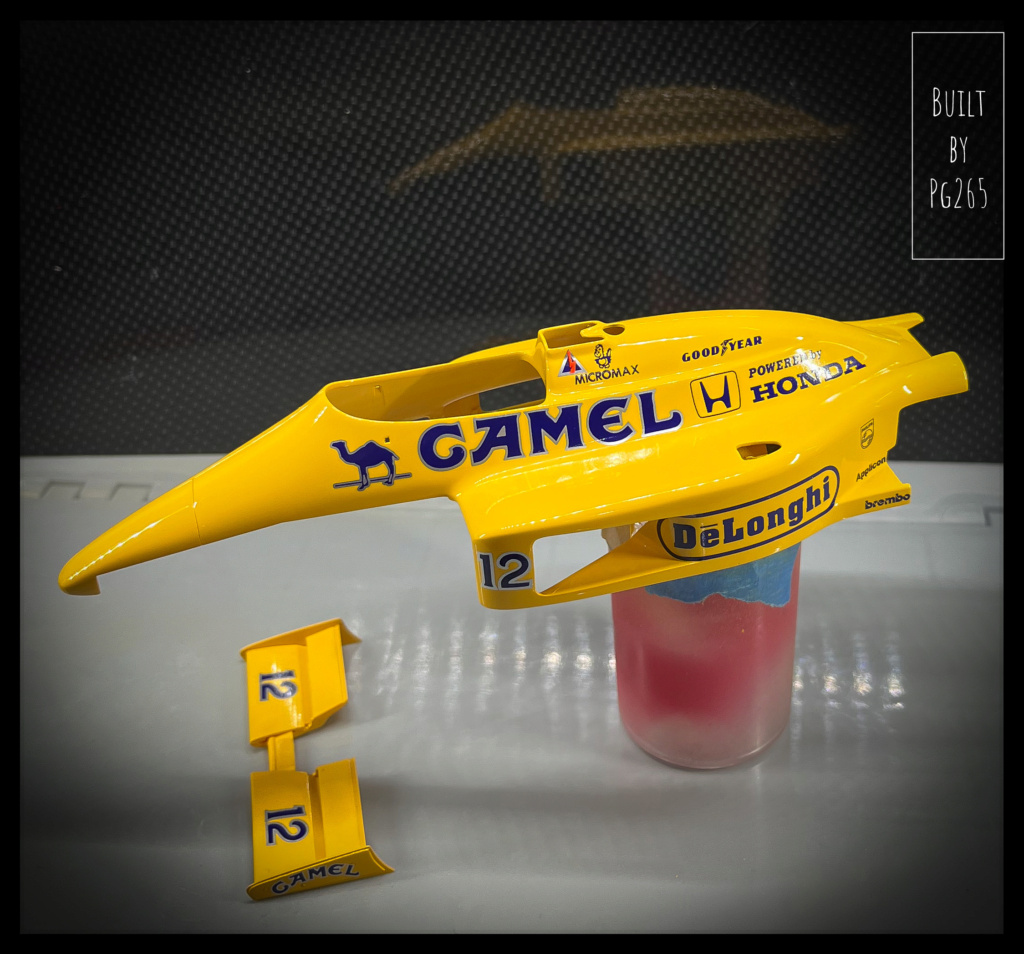
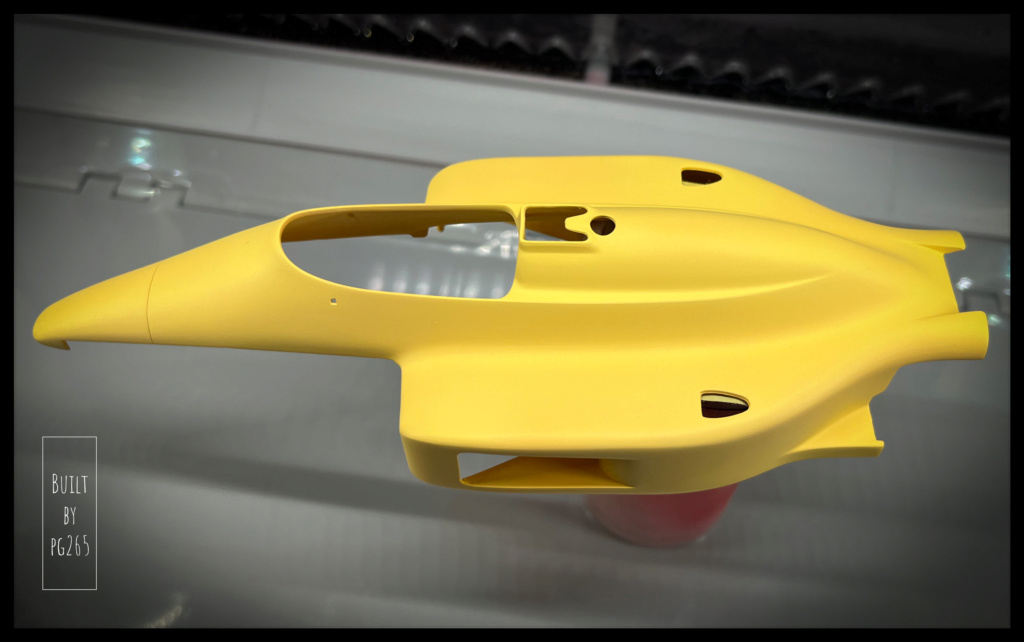
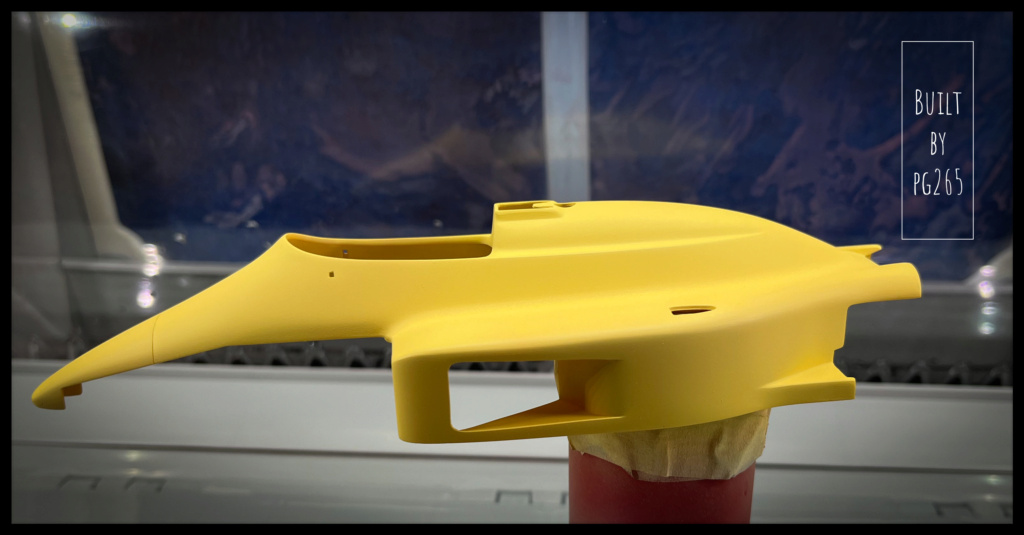
Yellow is out!
First I made a pass in the hollows, the less accessible areas...
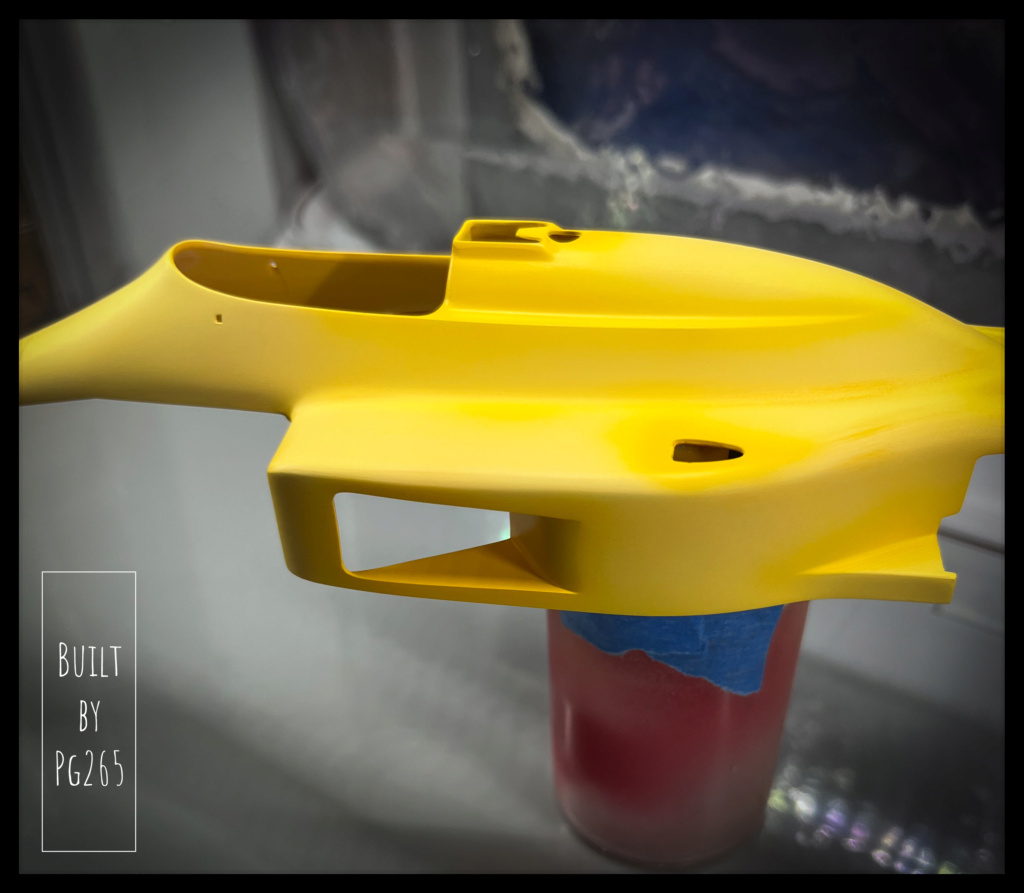
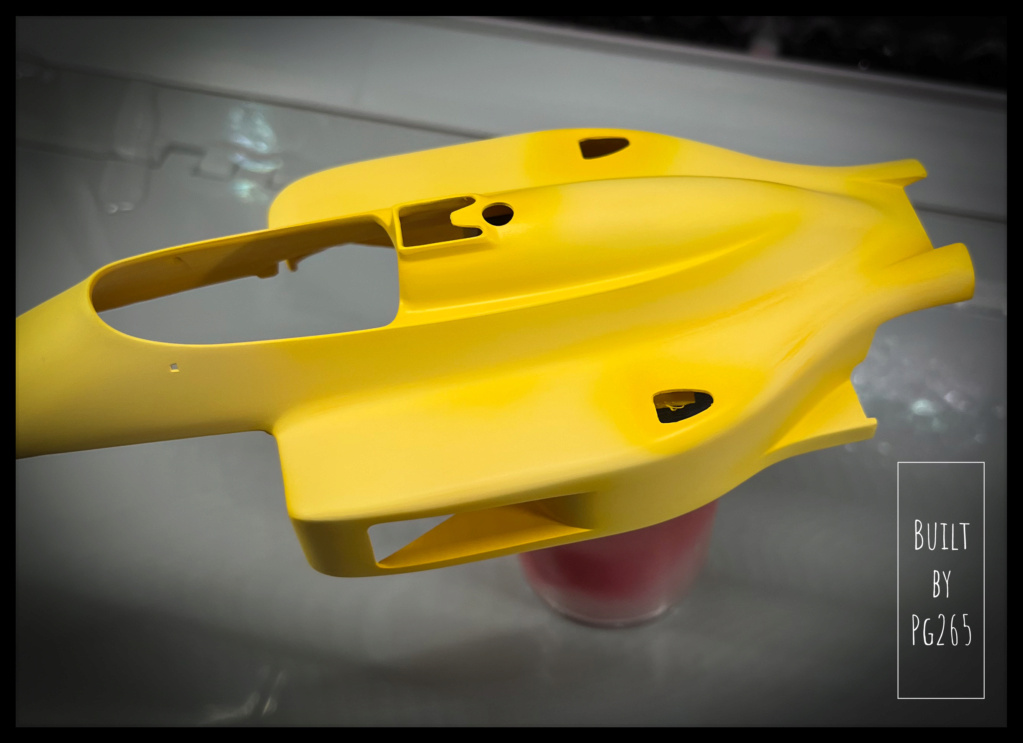
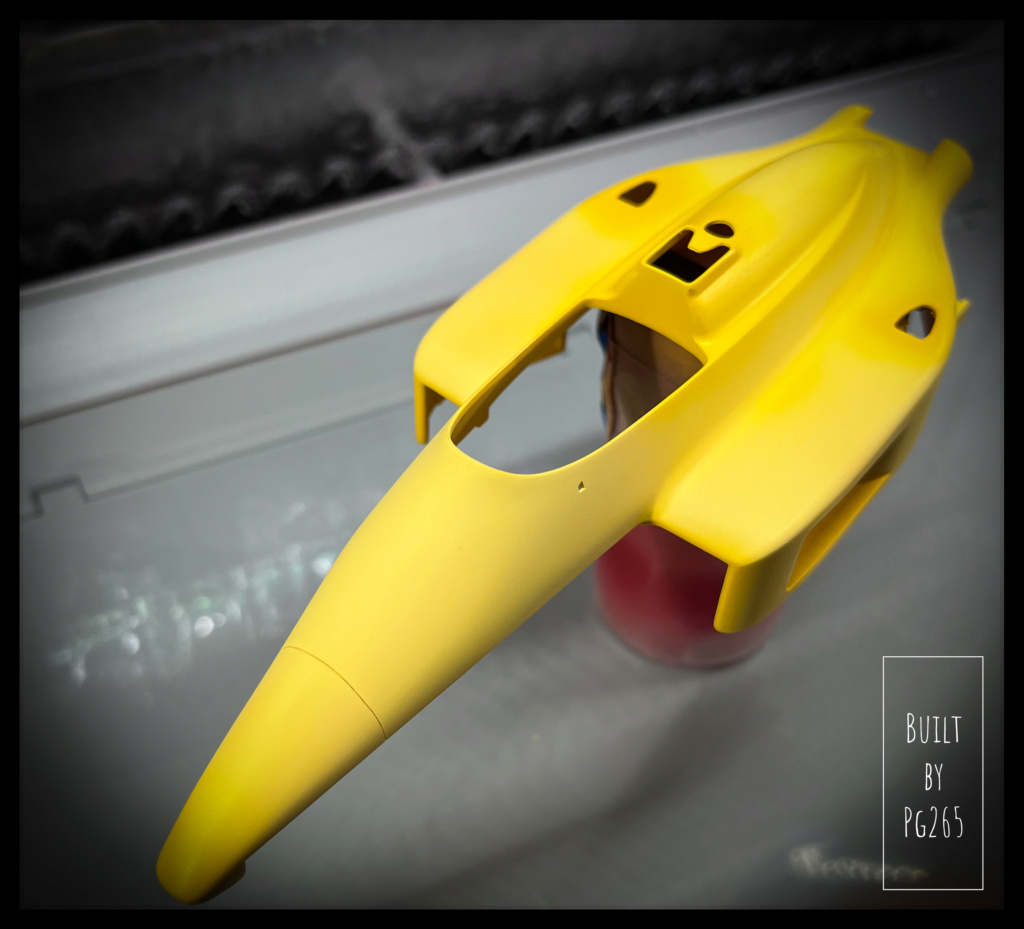
Once the color is almost saturated on these areas, the body can be treated as a whole.
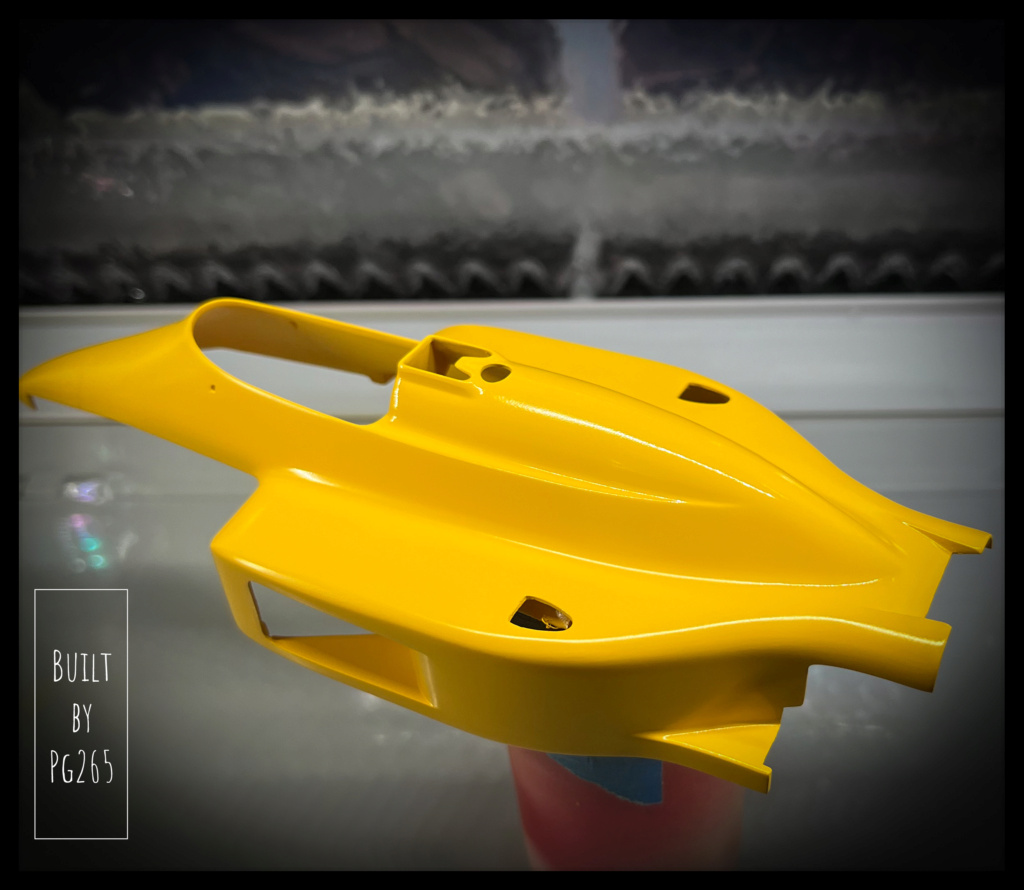

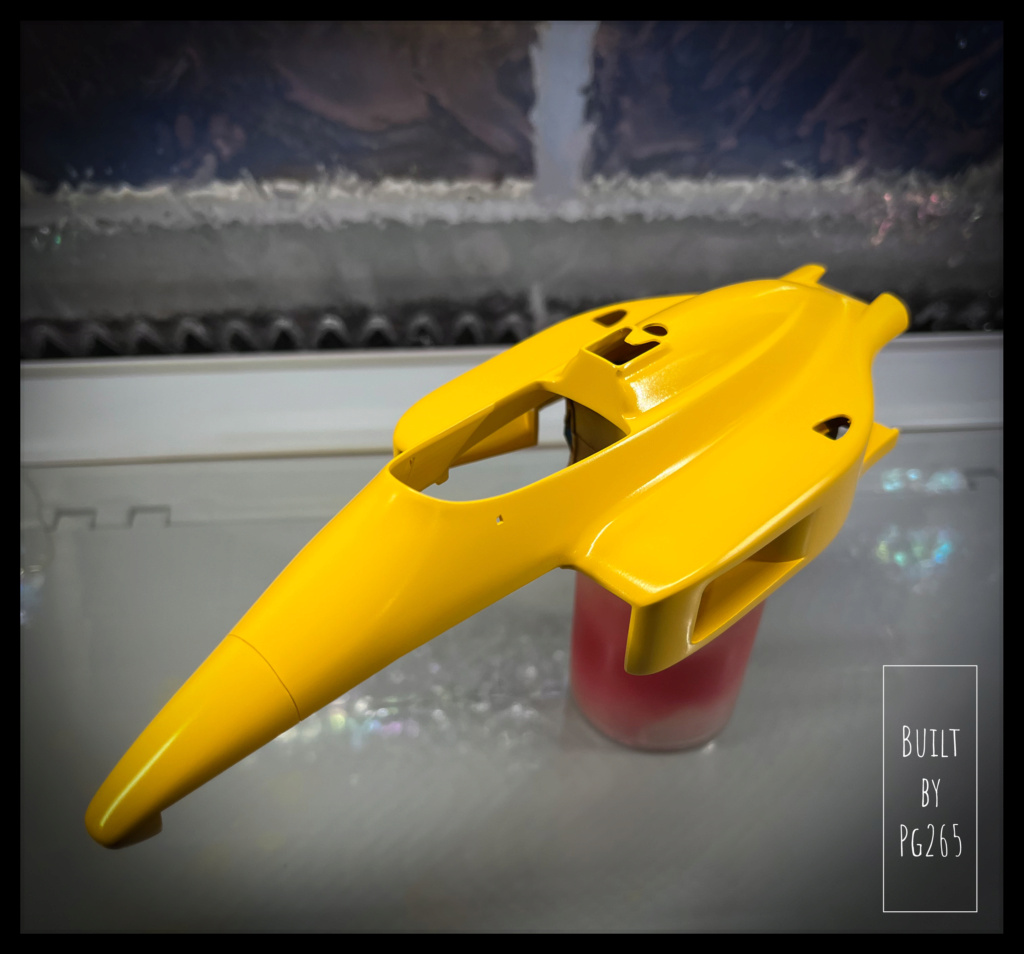
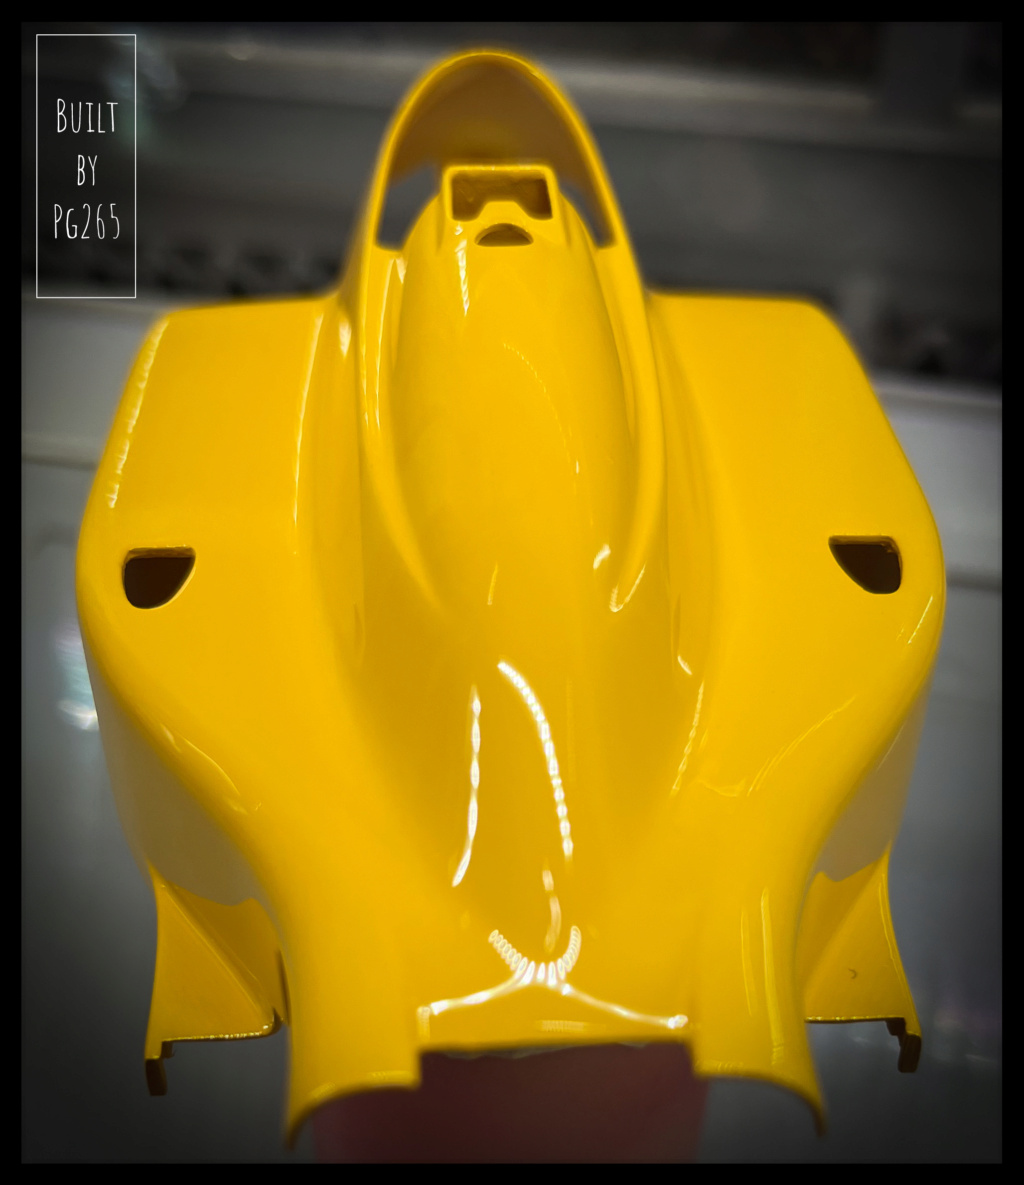
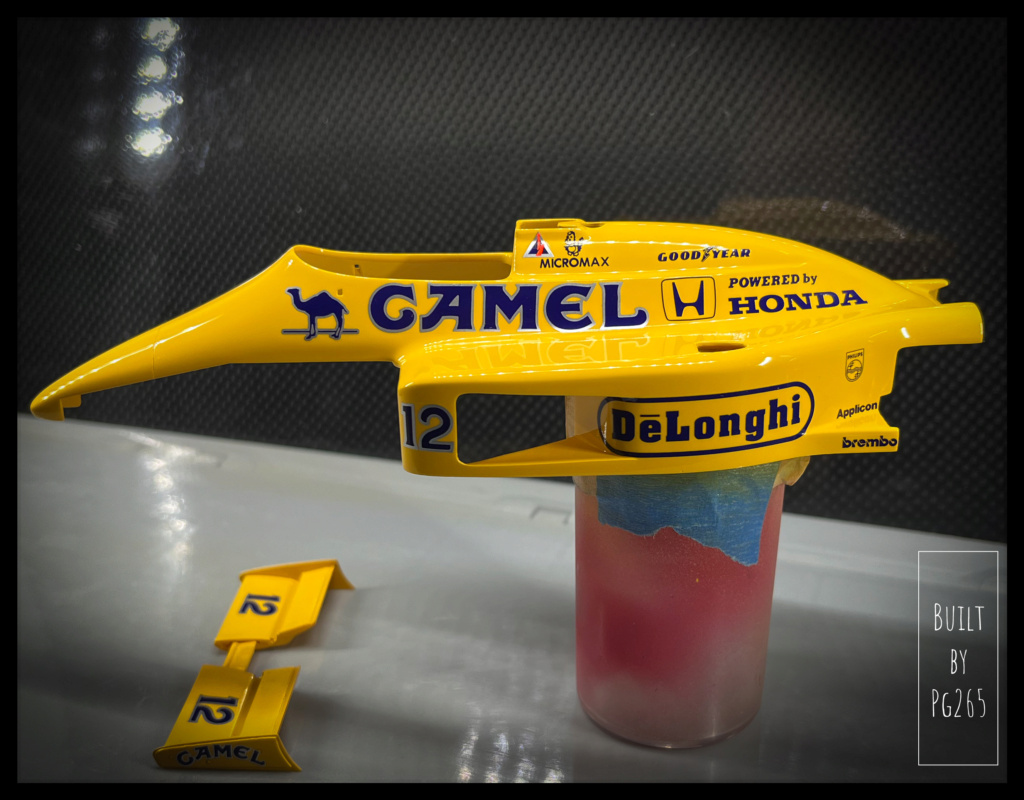
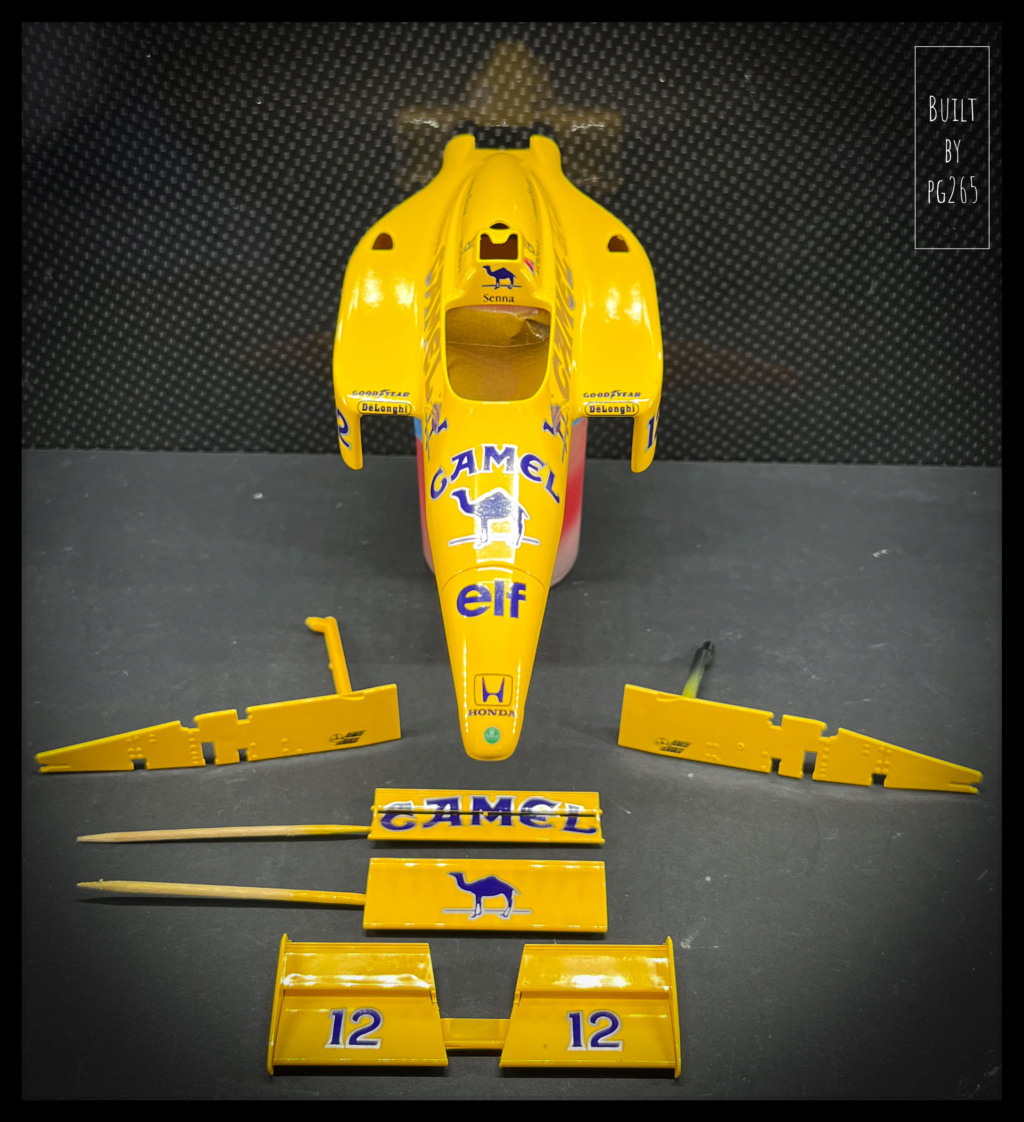
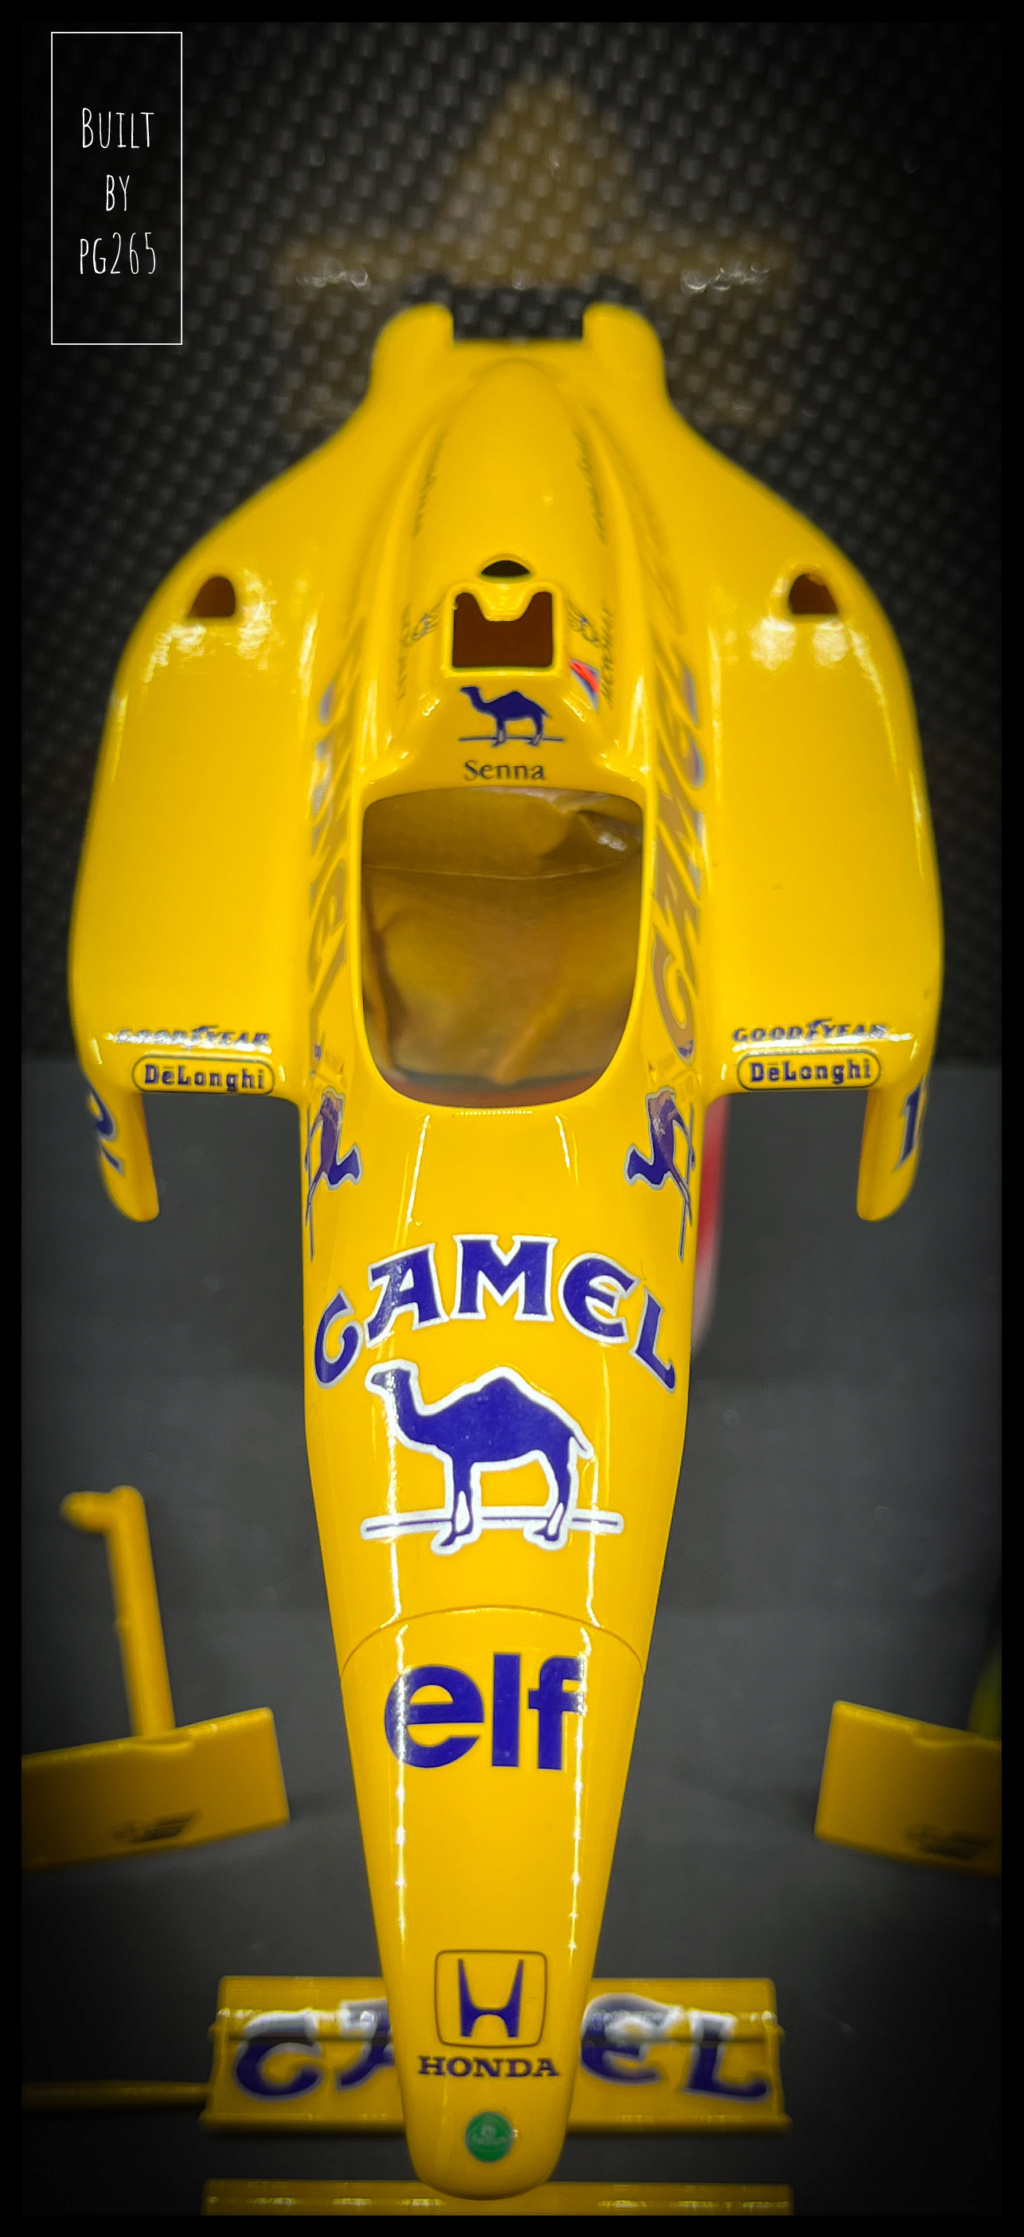
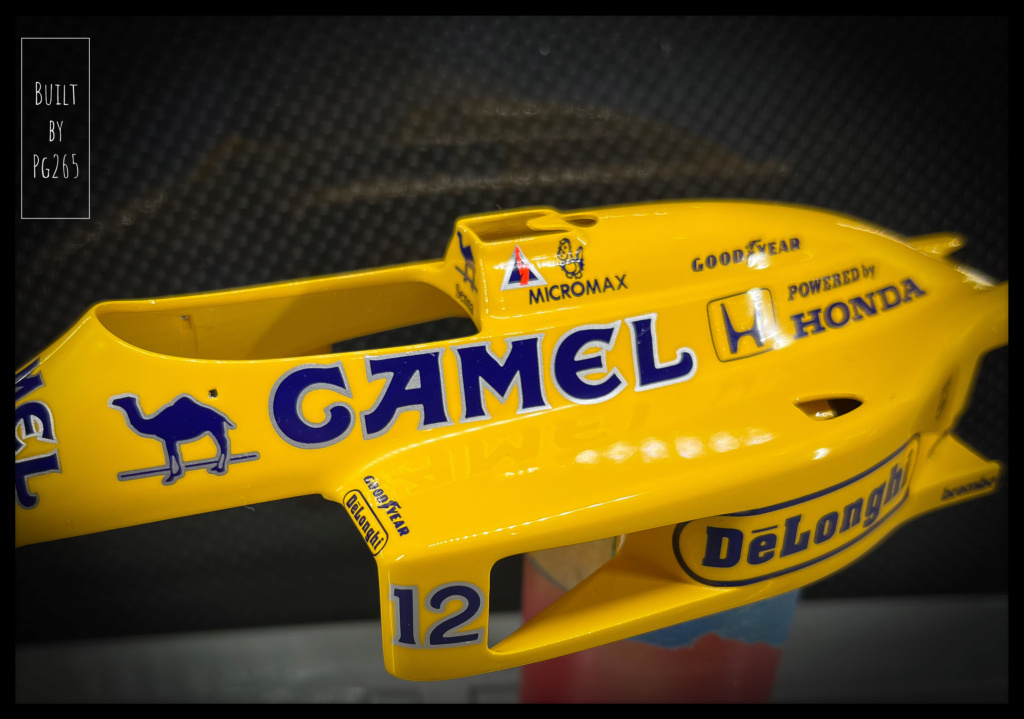
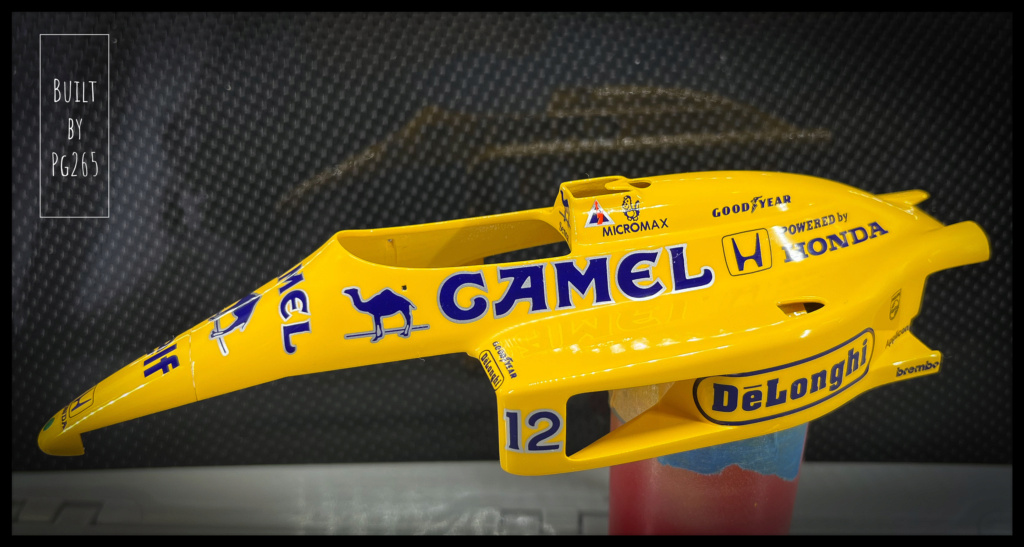
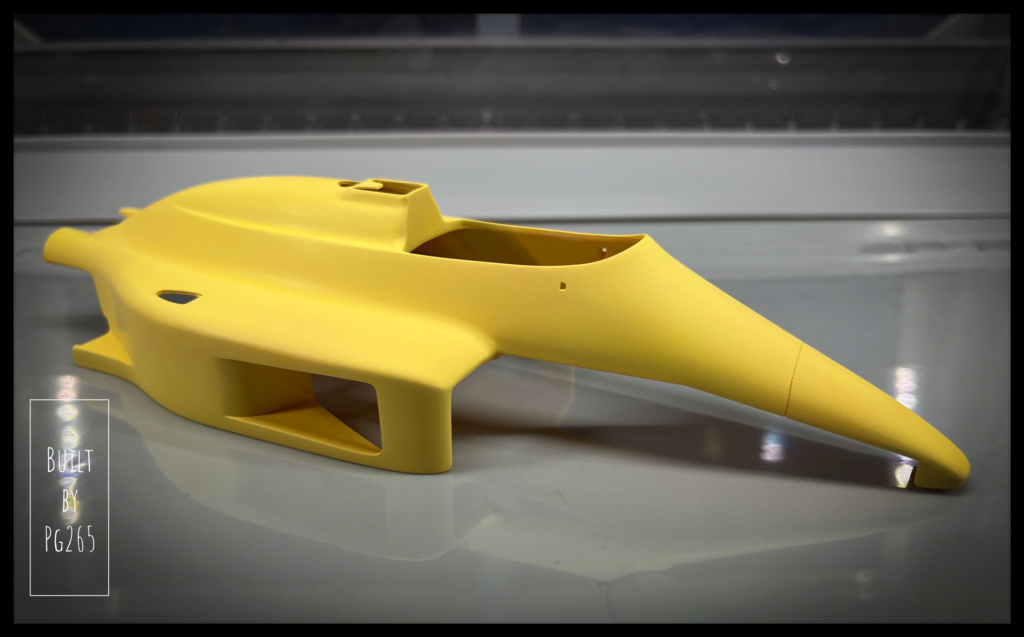
A pretty Camel yellow:
Decoration and varnish to follow.
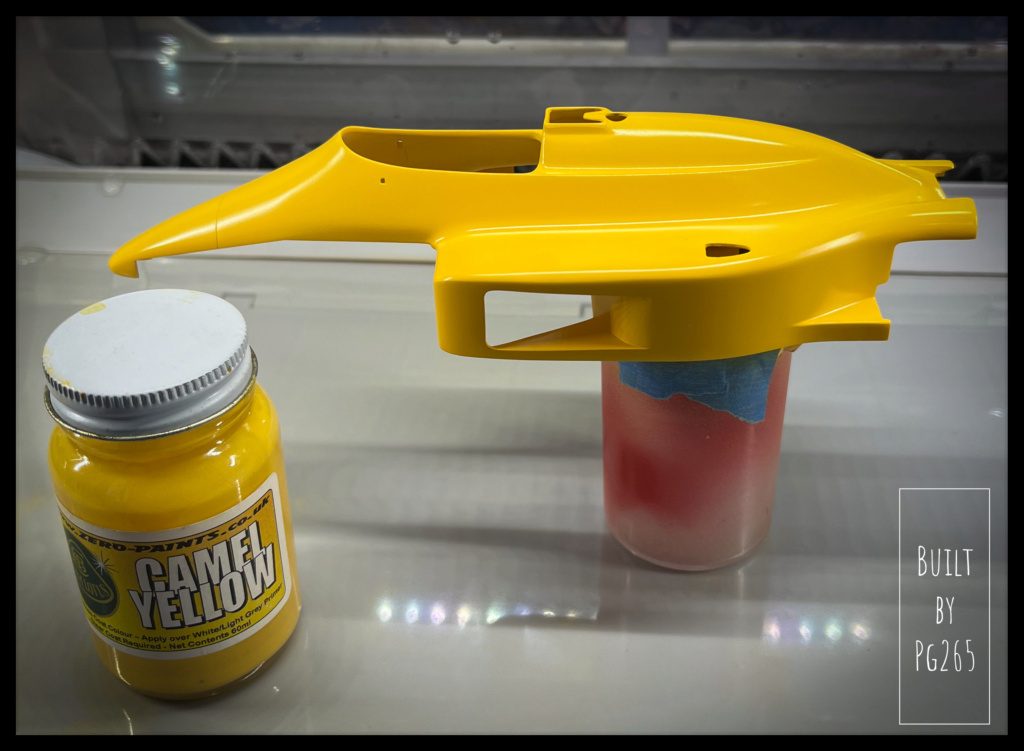
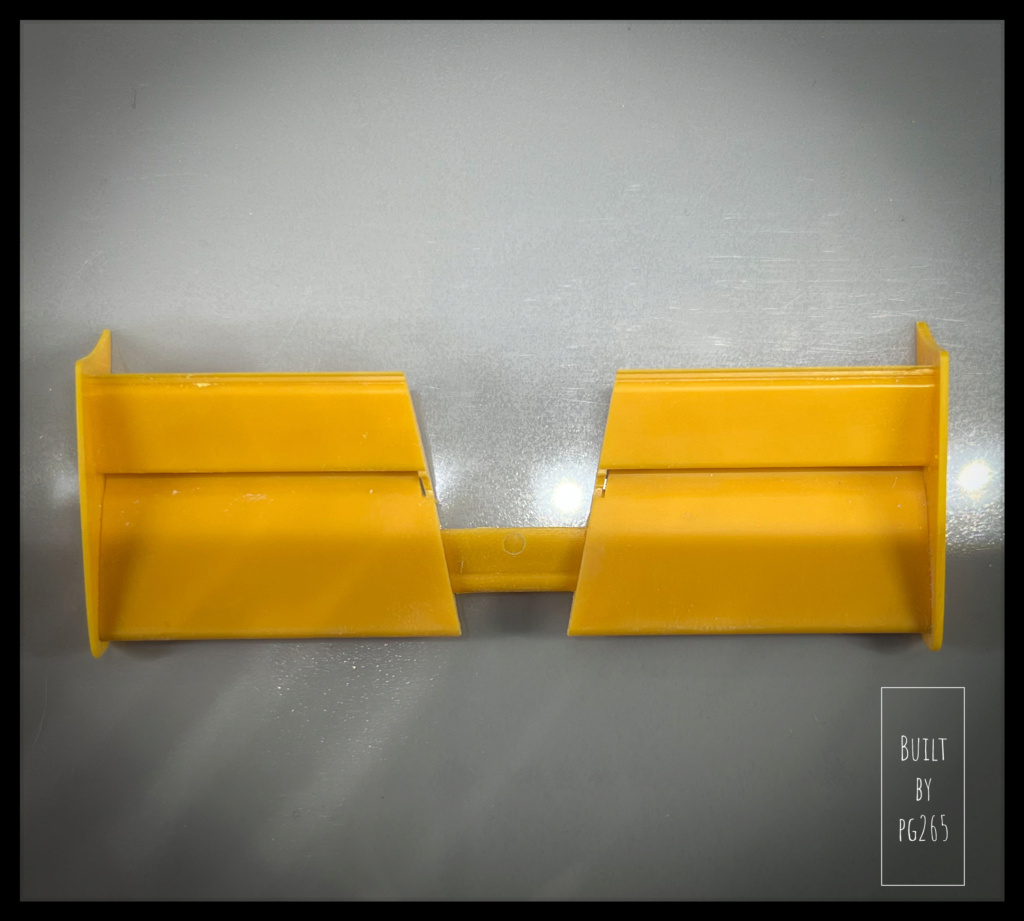
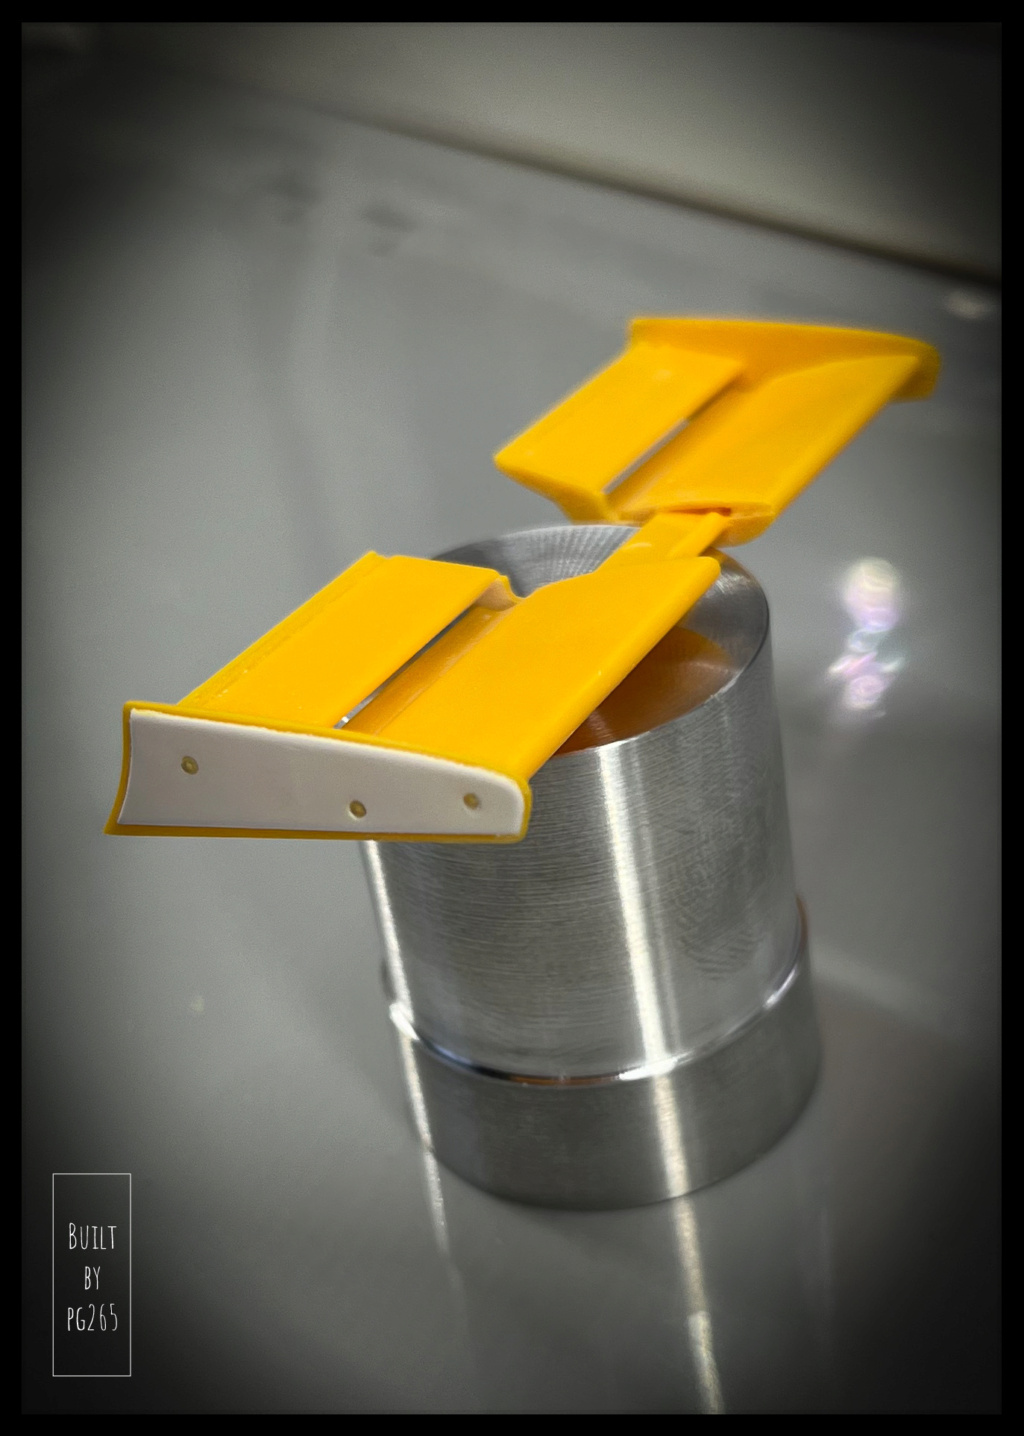
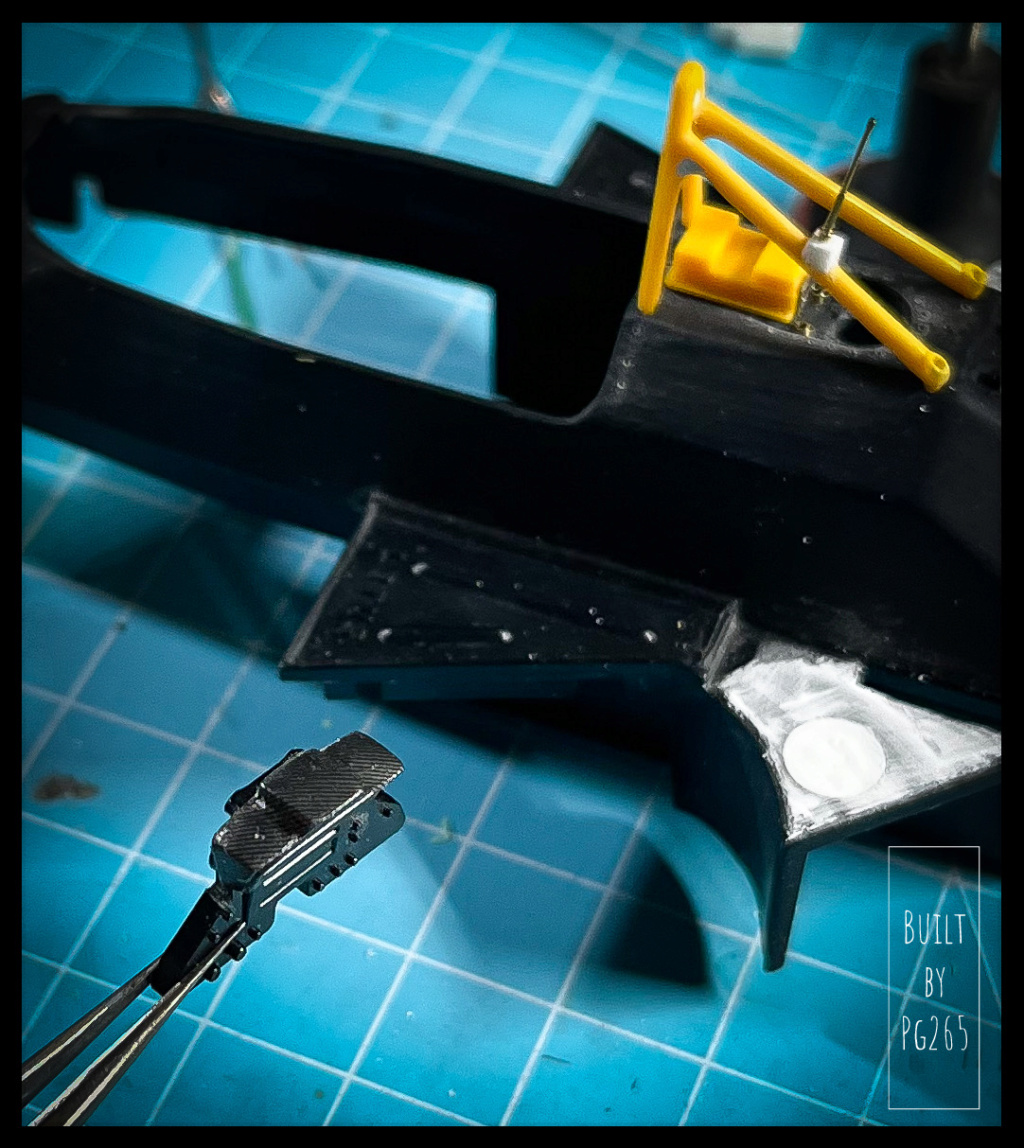
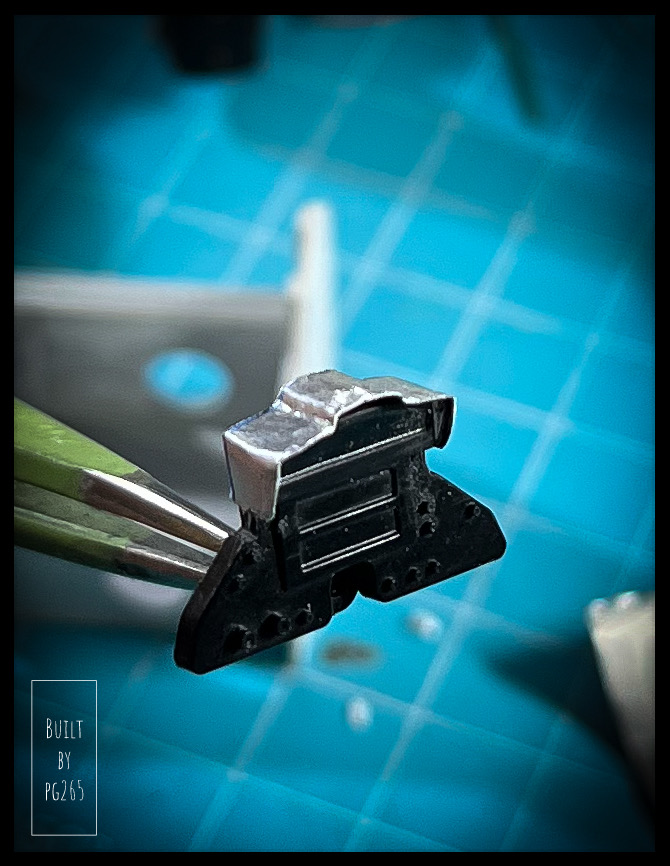
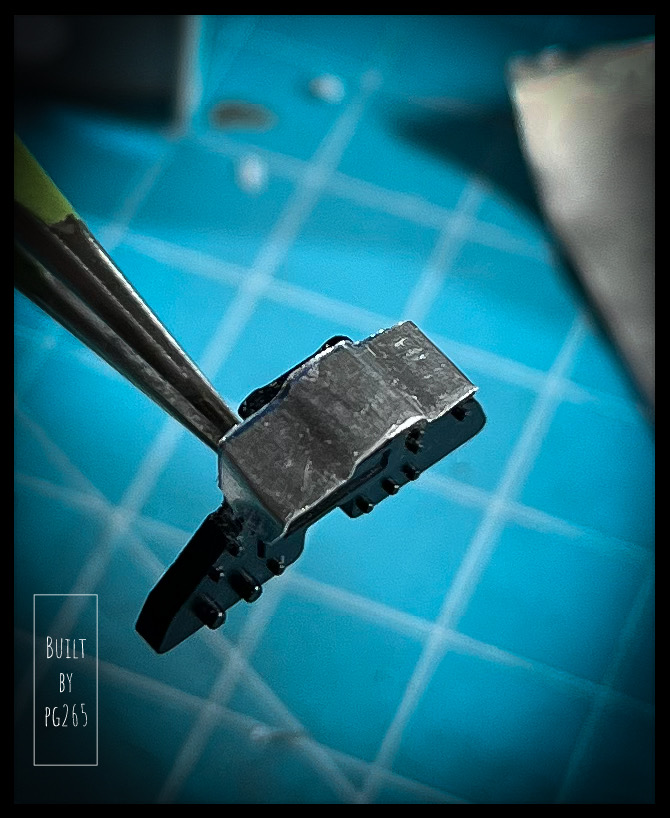
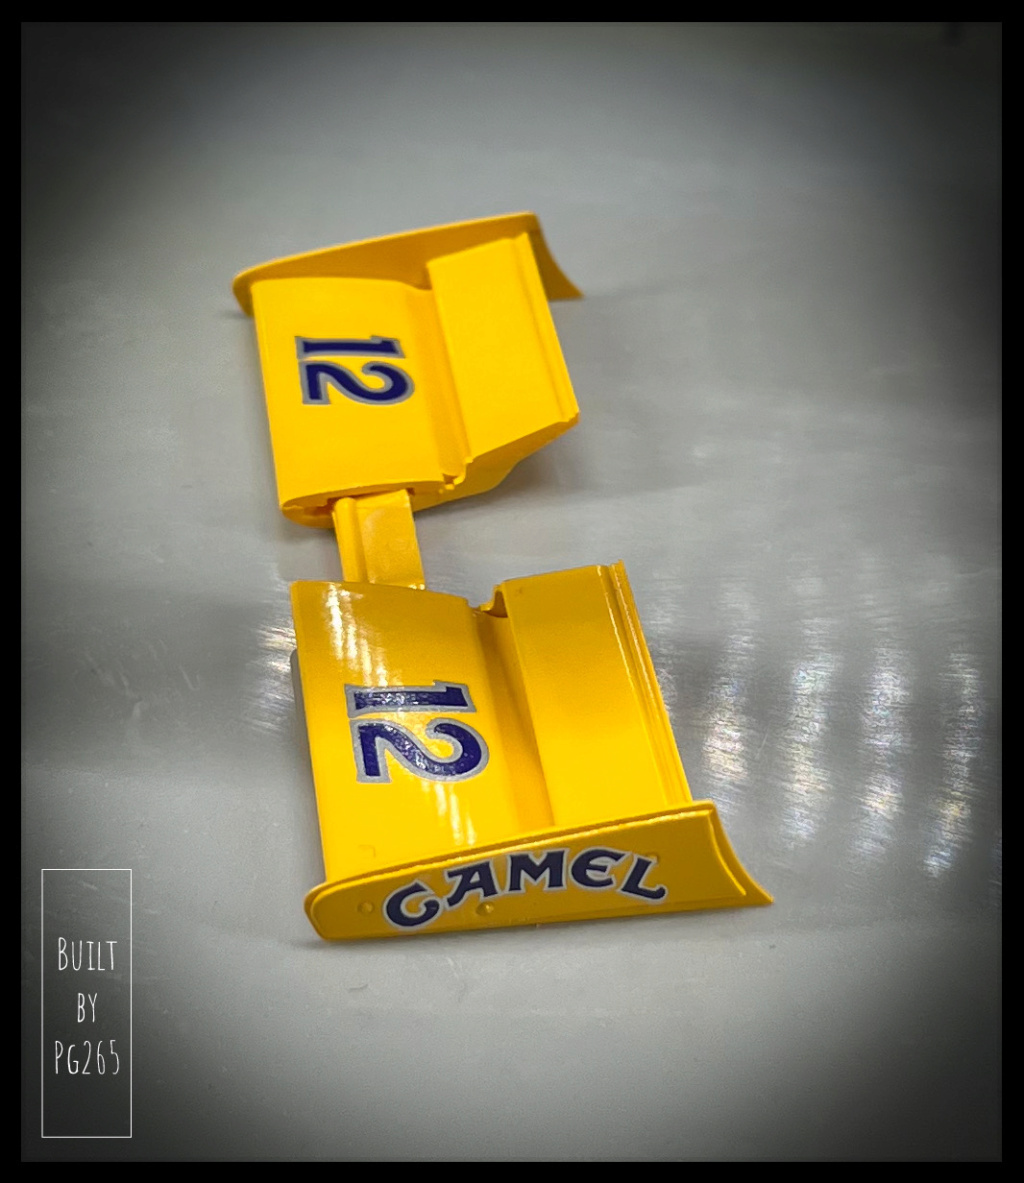
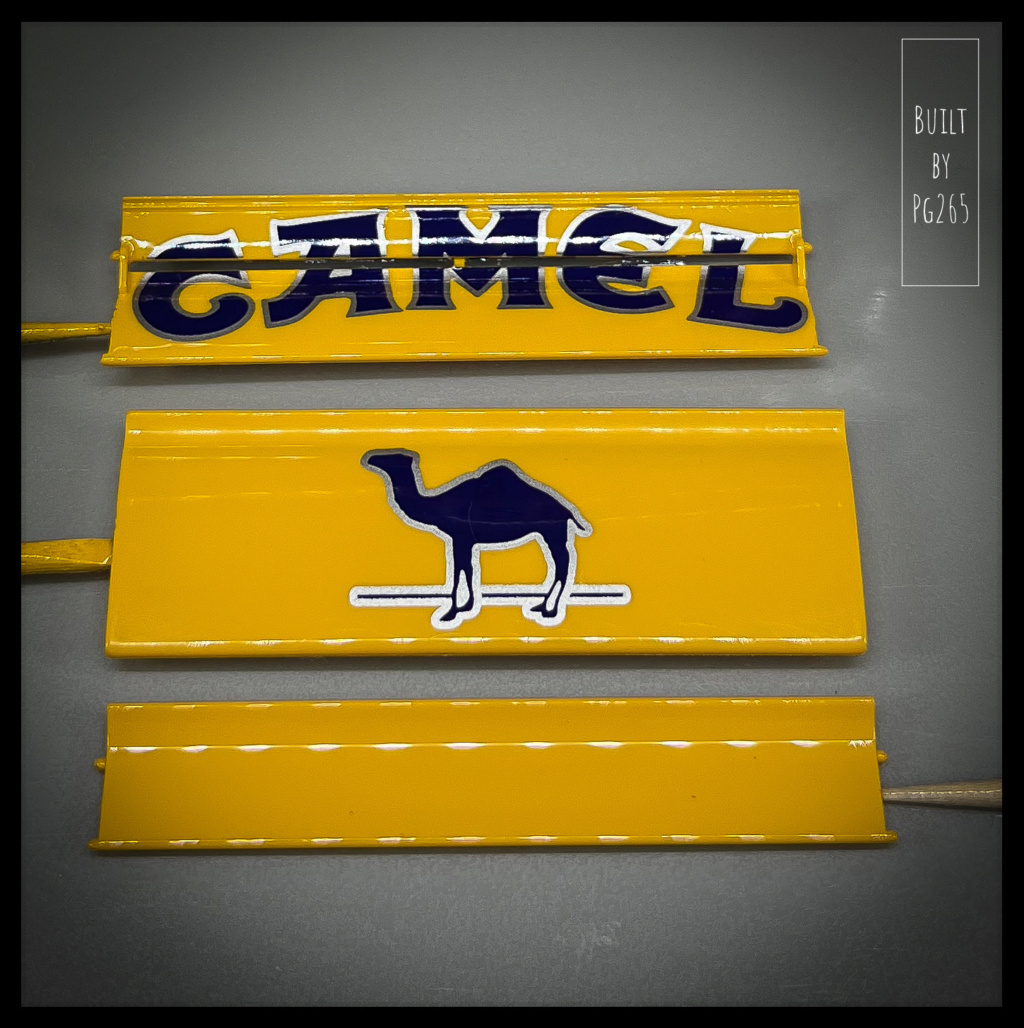
The aerodynamic elements require a little preparation before painting and assembly.
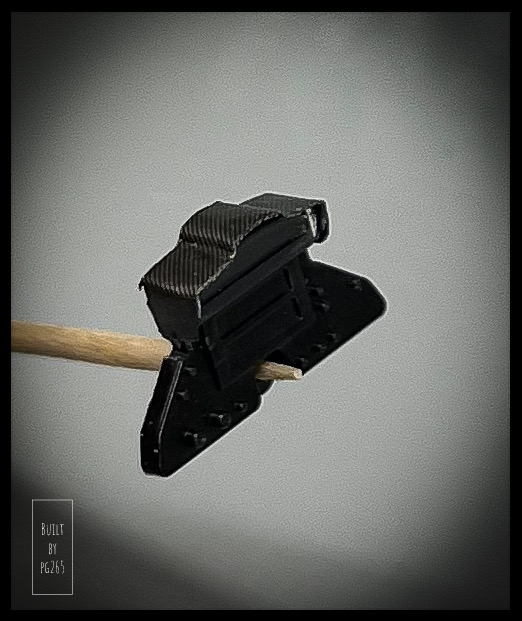
The special feature of this model is the way the rear spoiler is mounted on its mast:
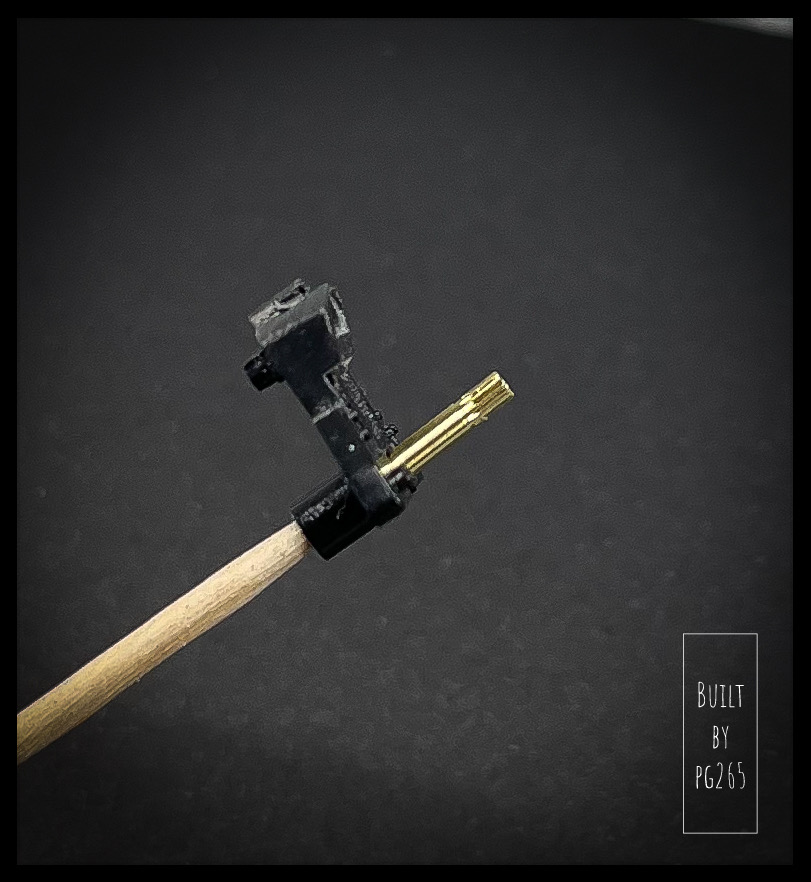
- The lower part is fitted with the double-post mast, which itself requires assembly of the two halves of the engine block.
- Then the top surface is attached to the top, sandwiching the engine mast square.
Basically, we end up with the main plane of the rear wing attached to its mast and the engine for the preparation and painting stages...
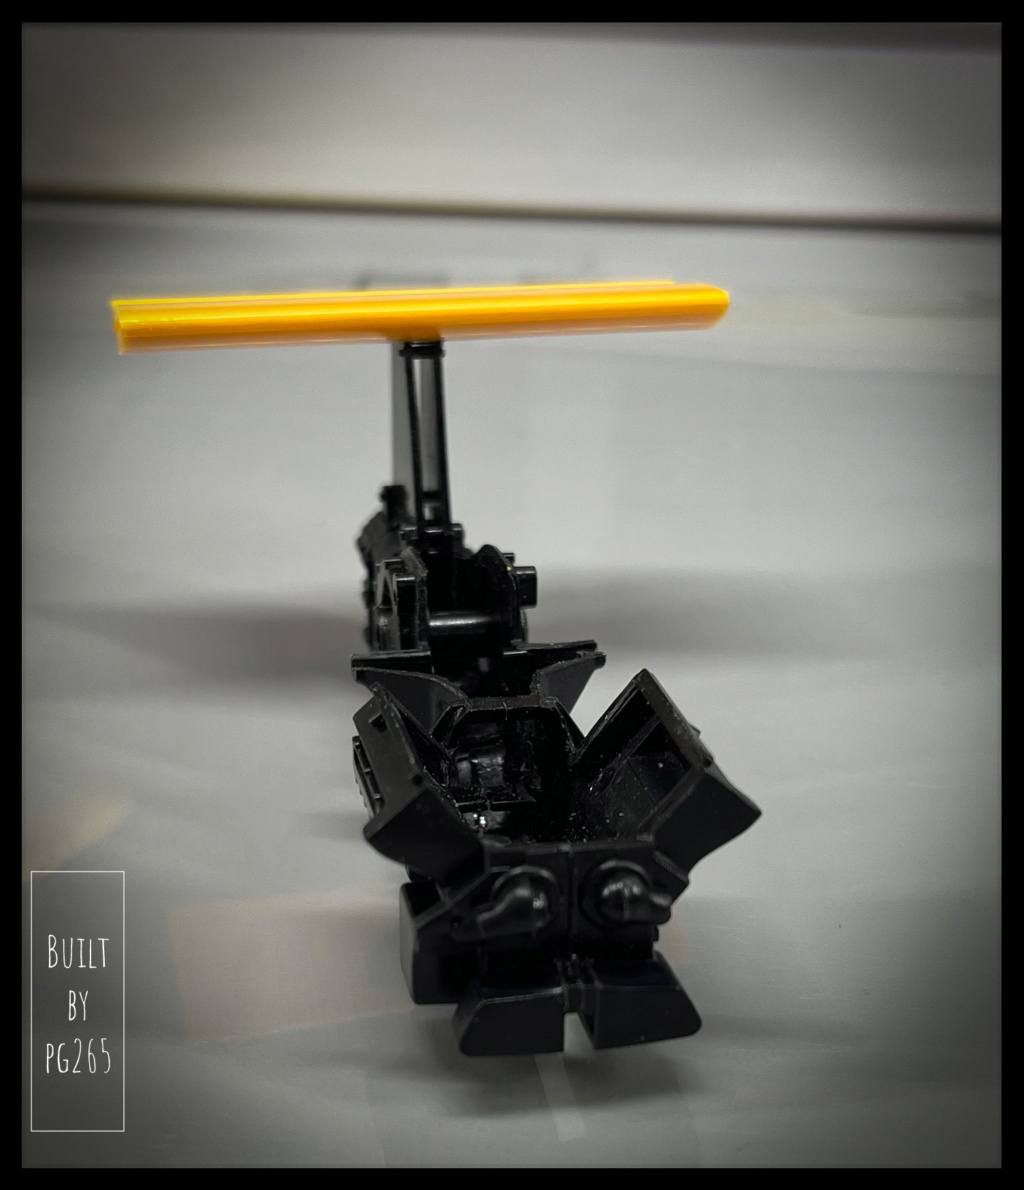
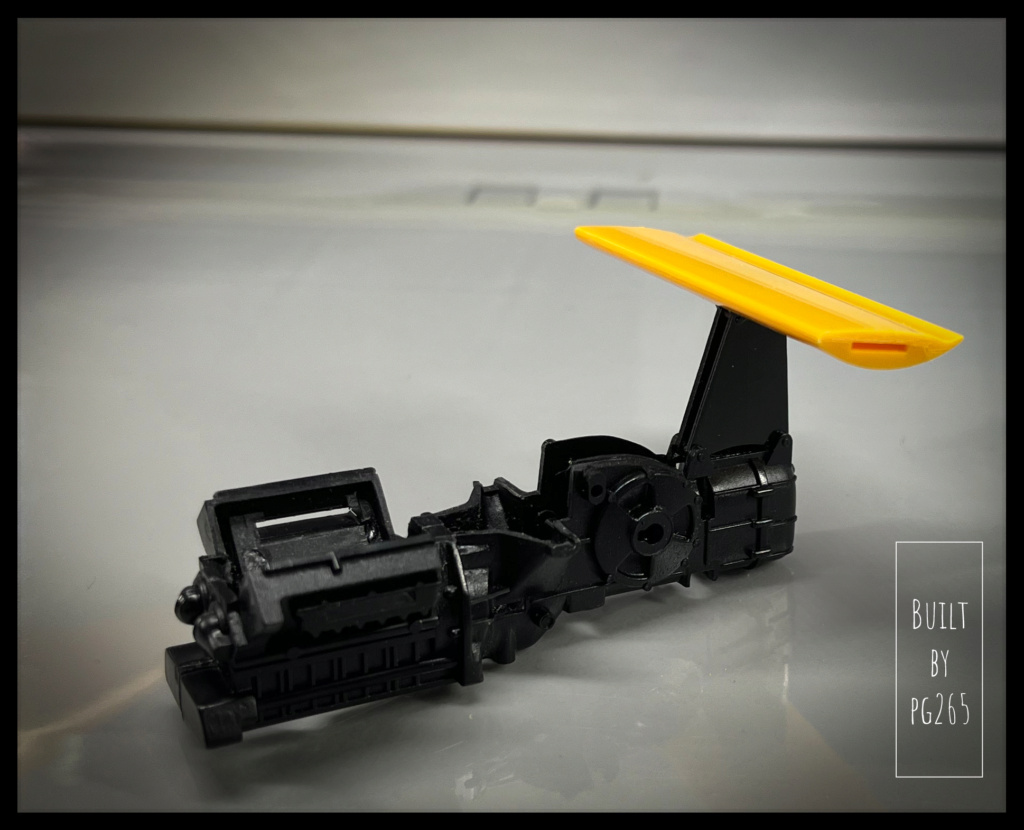
That's only half right!
So I've carefully split this group into two subsets.
This will allow:
- treat these elements separately,
- to be able to install the complete fin on the mast while maintaining the right height and squareness.
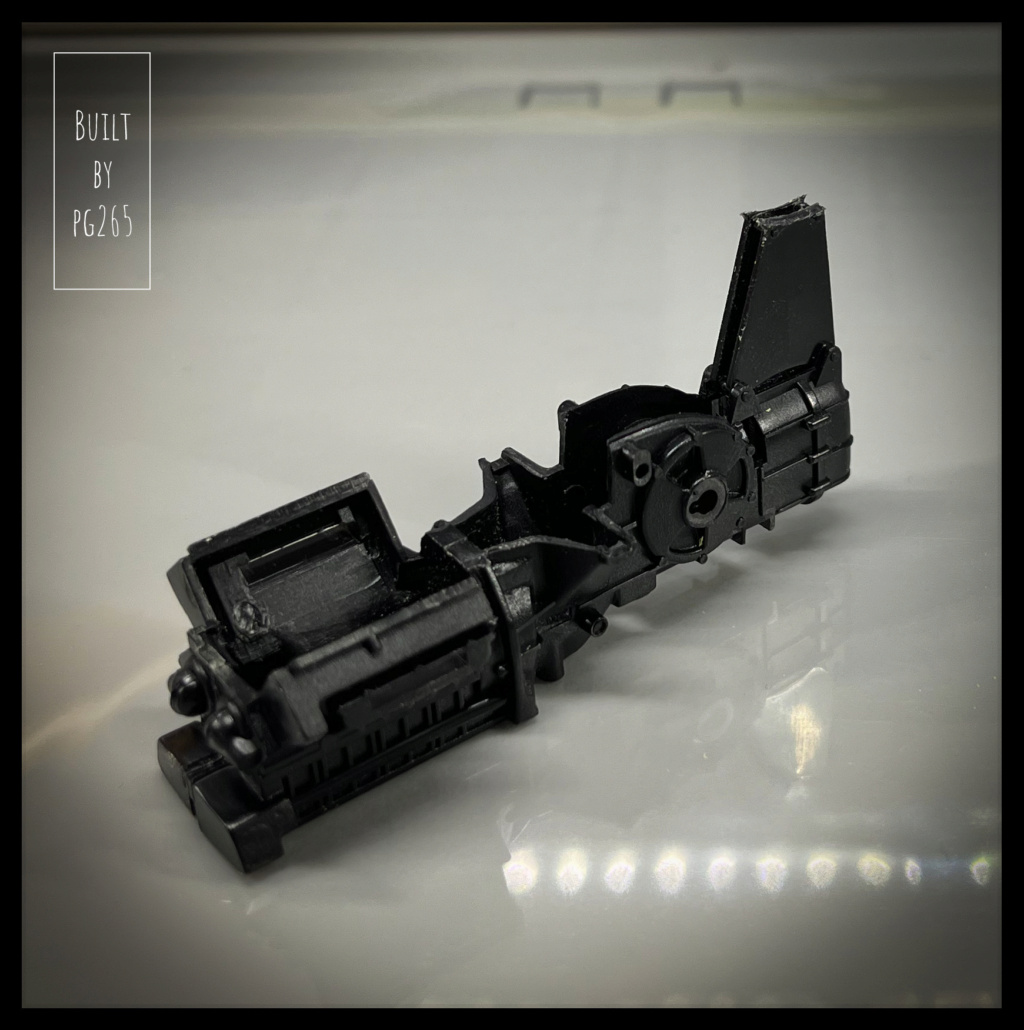
Although retained during cutting, the representation of the system for maintaining the horizontal plane on the mast will be replaced by photo-cut parts.
The rest of the rear wing elements are ready. They are sanded, puttied and await the primer.
Pascal
The immobilization of my wrist and the forced rest gave me time to browse, take a look at the boxes... at the accessories... And Paf!
Here is this beautiful model, the reproduction of the beautiful and monstrous Honda-powered Lotus that is the 99T from 1987 by Tamiya, in the 20th century.
It is a very pretty model to which I will add some accessories and for which I do not refrain from adding personal details for a little more realism.

The radiator extractors are mounted on the hull, puttyed and clamped.
It was then prepared and primed before receiving a coat of Camel Yellow.

 A thankless task if ever there was one, but necessary: filling in holes, prints and other traces in places where they are not wanted...
For greater speed, this is done with resin and photo-sensitive putty.

 The pellets and other things blocked yesterday with resin are sanded.

There's still a lot of preparation work to be done on the parts to be painted Camel Yellow.
Modifications such as the front spoiler fins or the rear spoiler mounting system need a little thought...
The body has been sanded and re-primed.
The next coat of Camel Yellow will be the final one.


The metal "washers" molded onto the chassis, or supplied photo-cut, are in fact inserts.
These are "flush" with the composite panels.
I'm thinking of removing all those embossed by Tamiya.
Here's an example.


Yellow is out!
First I made a pass in the hollows, the less accessible areas...


Once the color is almost saturated on these areas, the body can be treated as a whole.


A pretty Camel yellow:
Decoration and varnish to follow.

The aerodynamic elements require a little preparation before painting and assembly.
The special feature of this model is the way the rear spoiler is mounted on its mast:
- The lower part is fitted with the double-post mast, which itself requires assembly of the two halves of the engine block.
- Then the top surface is attached to the top, sandwiching the engine mast square.
Basically, we end up with the main plane of the rear wing attached to its mast and the engine for the preparation and painting stages...


That's only half right!
So I've carefully split this group into two subsets.
This will allow:
- treat these elements separately,
- to be able to install the complete fin on the mast while maintaining the right height and squareness.

Although retained during cutting, the representation of the system for maintaining the horizontal plane on the mast will be replaced by photo-cut parts.
The rest of the rear wing elements are ready. They are sanded, puttied and await the primer.
Pascal


