|
|
Post by racerbrown on Oct 12, 2022 21:04:04 GMT -5
WOW! JUST WOW!
Duane
|
|
pg265
Front Runner
 
Posts: 231 
|
Post by pg265 on Oct 13, 2022 13:50:38 GMT -5
Good evening, Thanks a lot!  I decided to modify the headrest/backrest fixing system. I first fixed the steel plate with adhesive film behind the « leather » part without integrating the rivets. 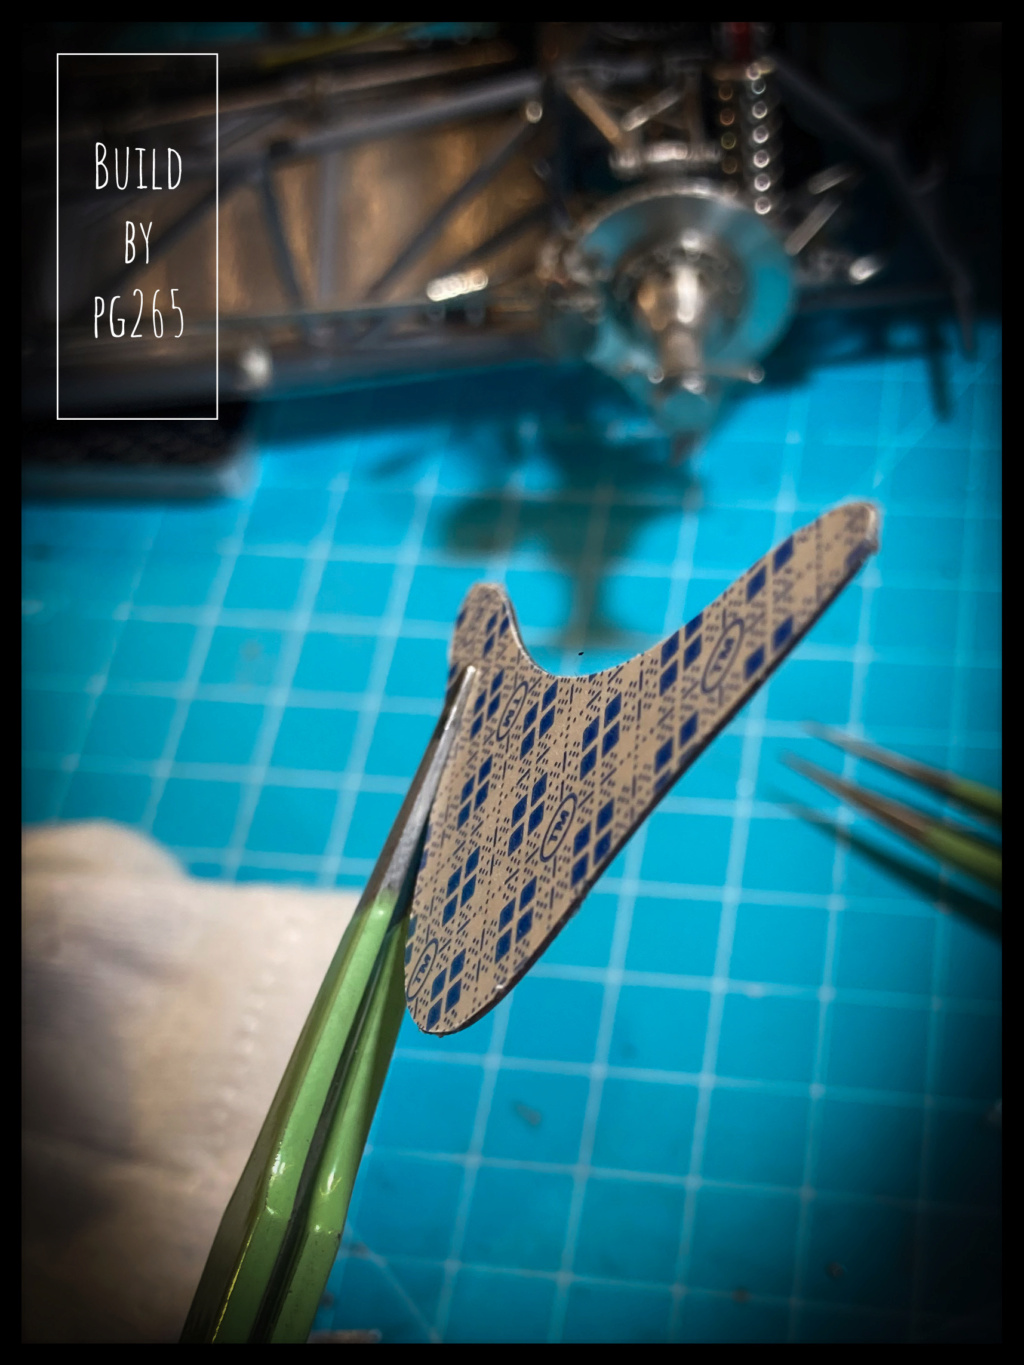 I then installed flush magnets in the pre-drilled rear tip. 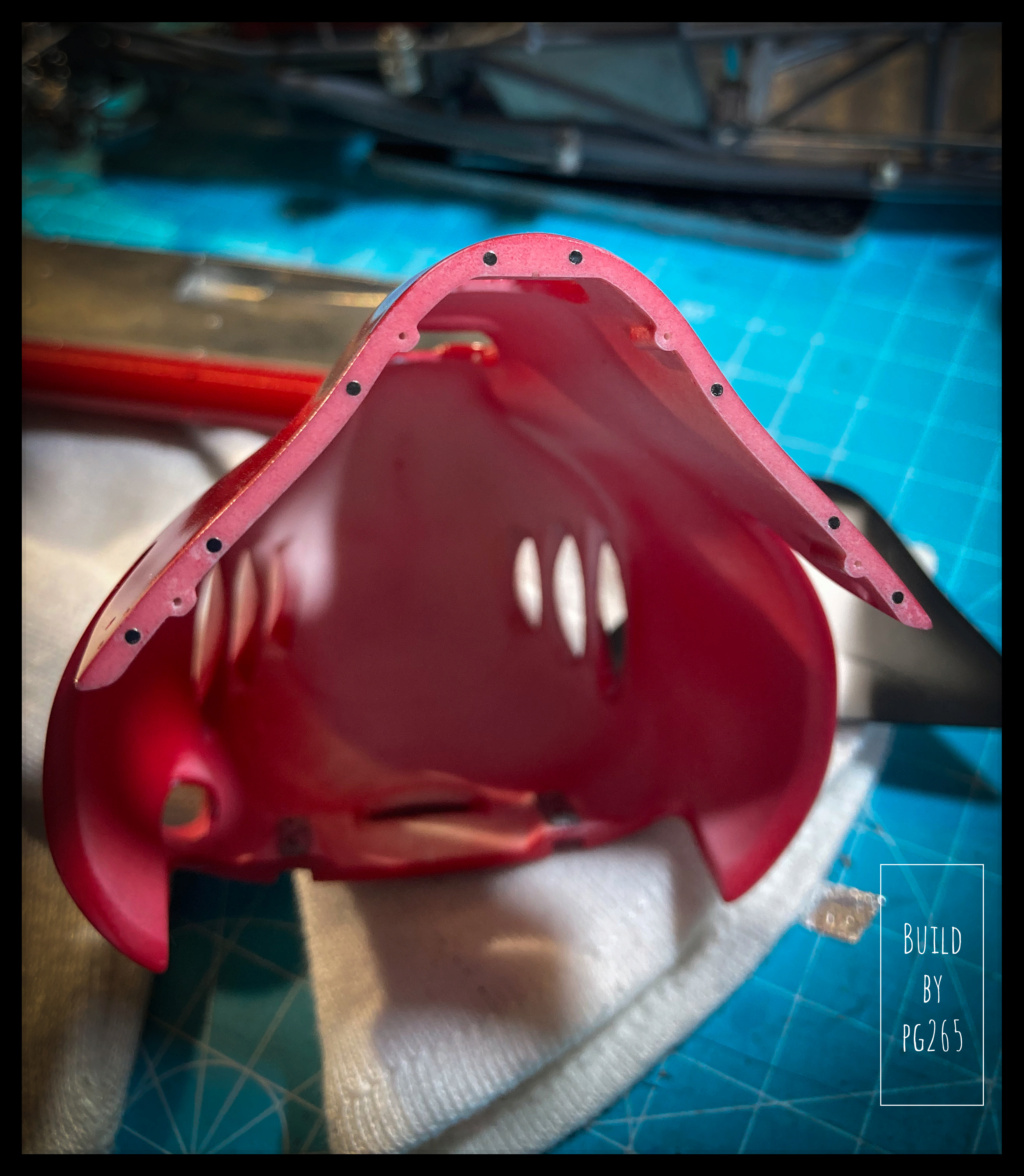 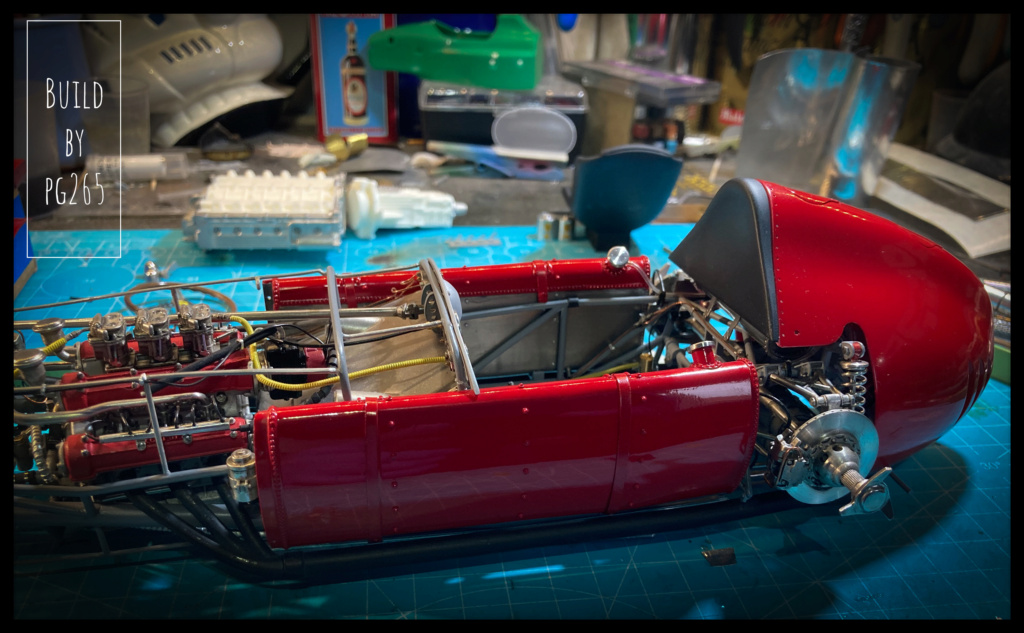 This makes it very easy to remove the part to see what is happening under the hull. Side tanks are riveted, fitted with filler caps and modified to install vents. They are then mounted and strapped to the chassis, connected to the fuel circuit. 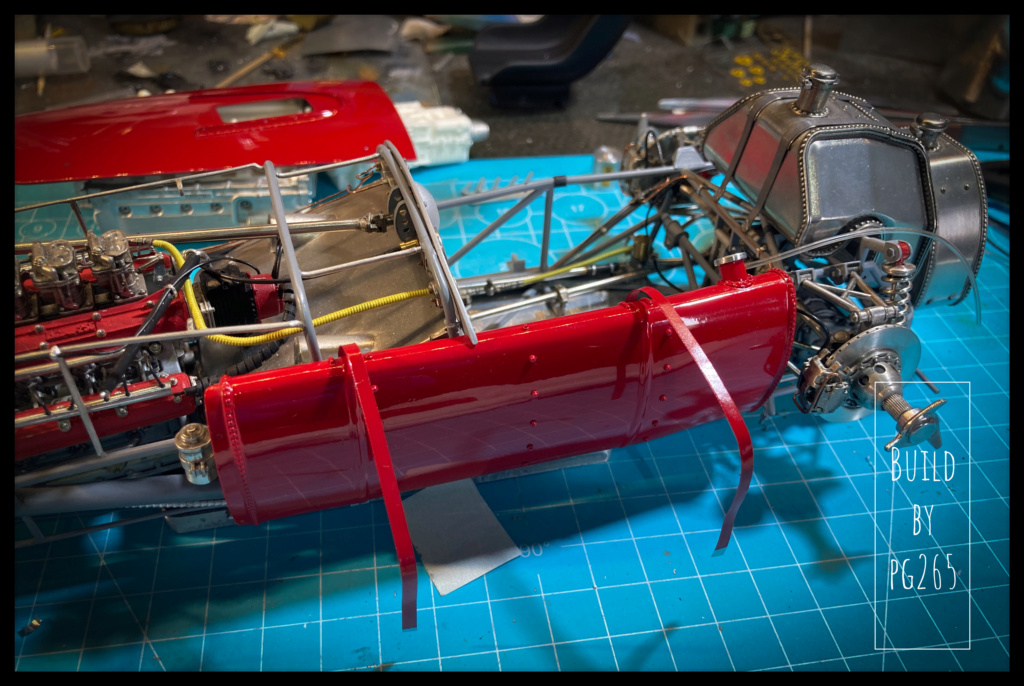 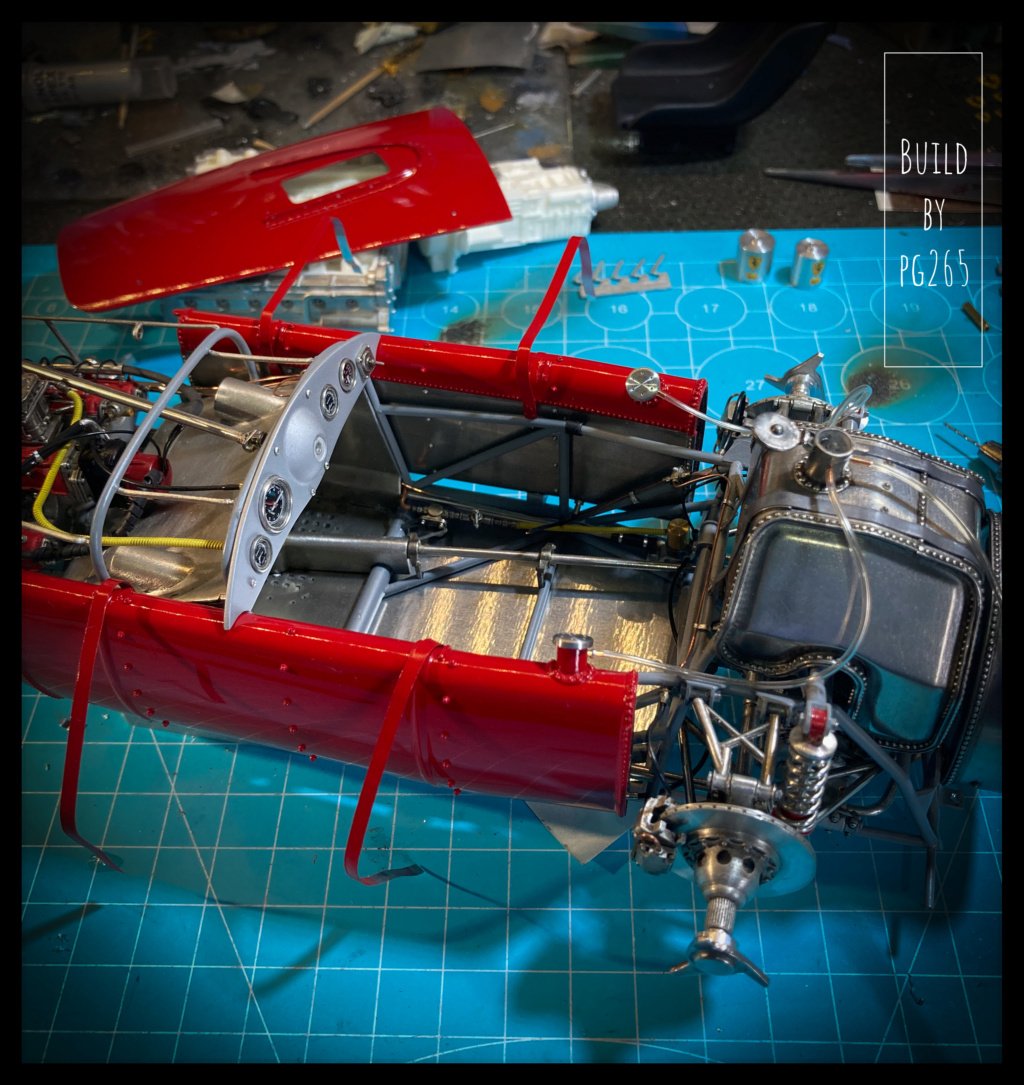 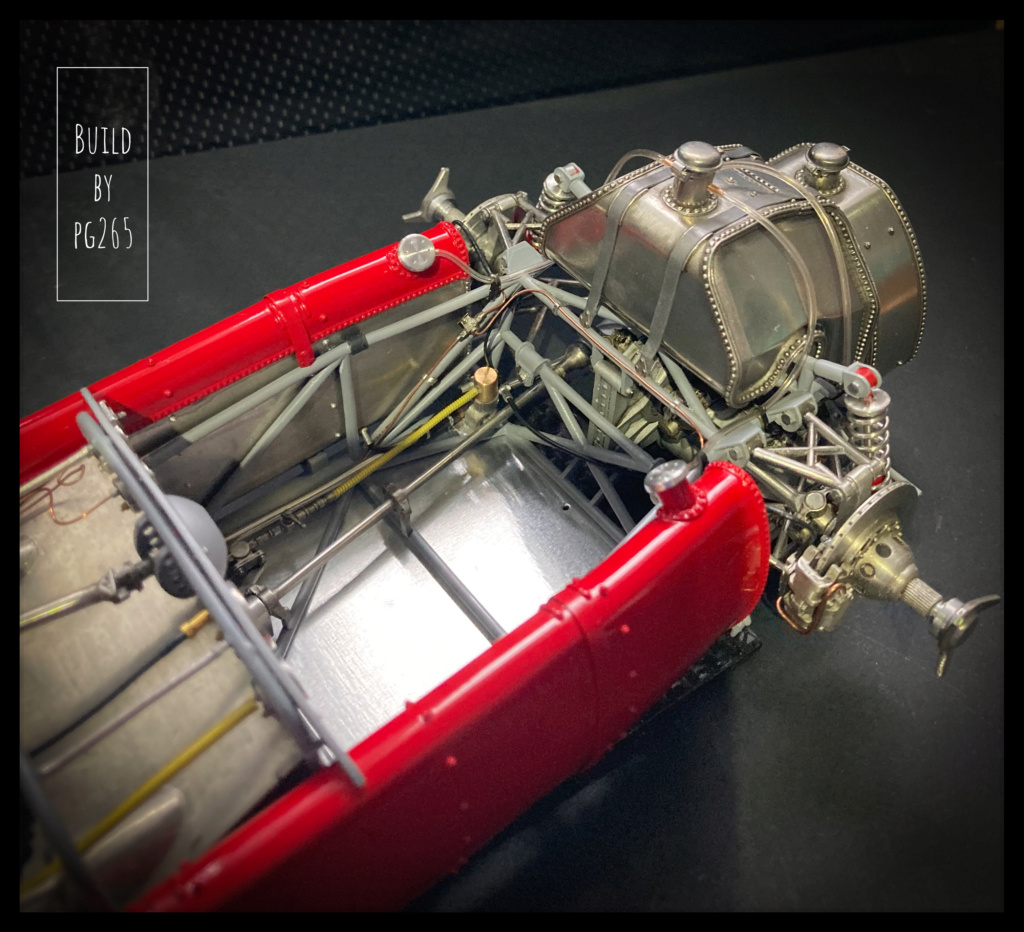 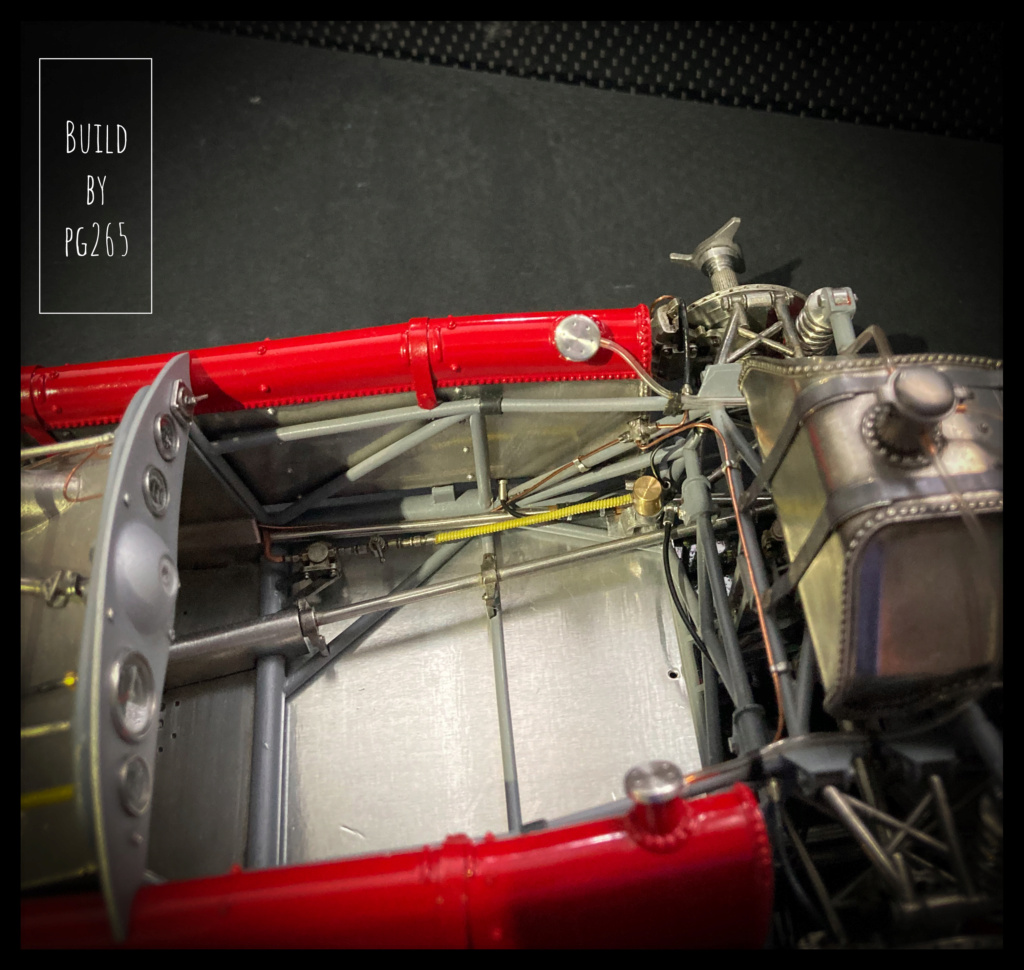 The vents are attached to the frame tubes and connected to the rear center tank filler neck. 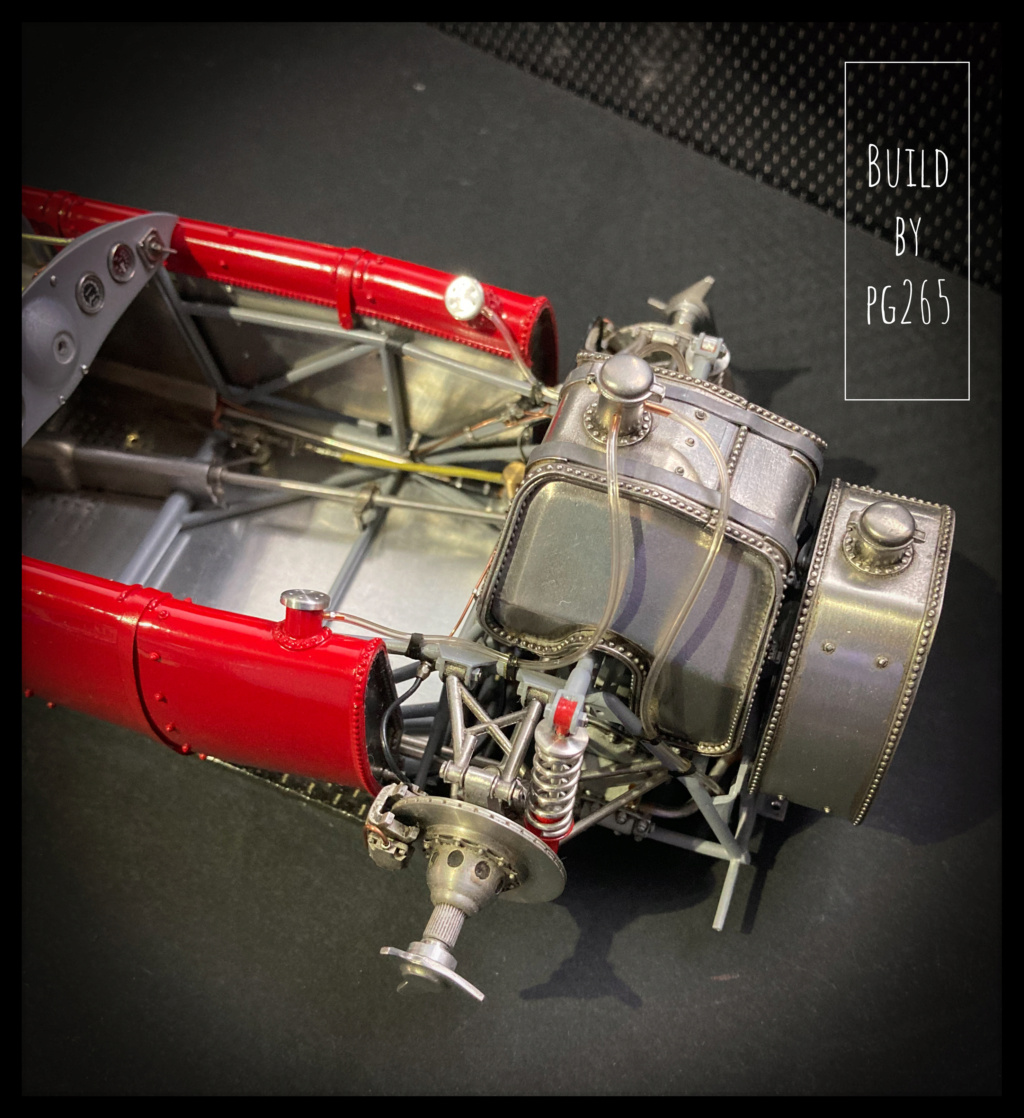 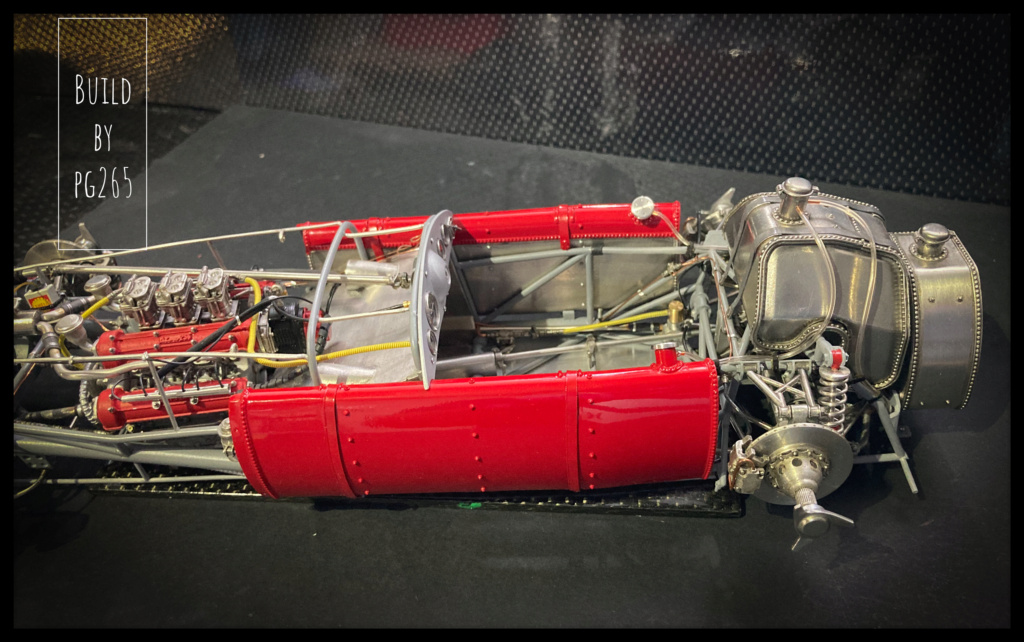 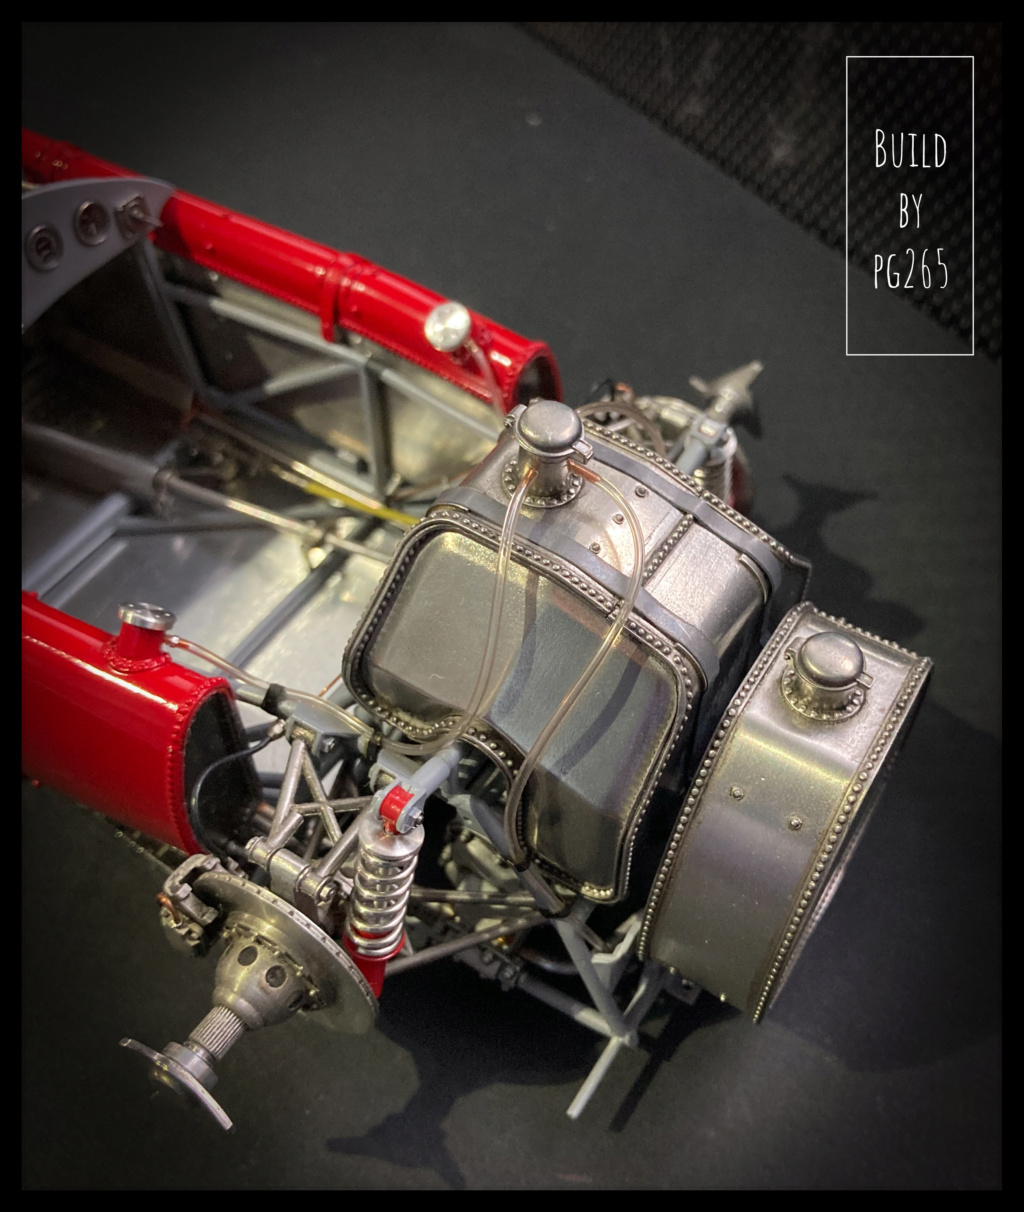 The exhausts are definitively fixed and the bodywork parts fitted for a small test. 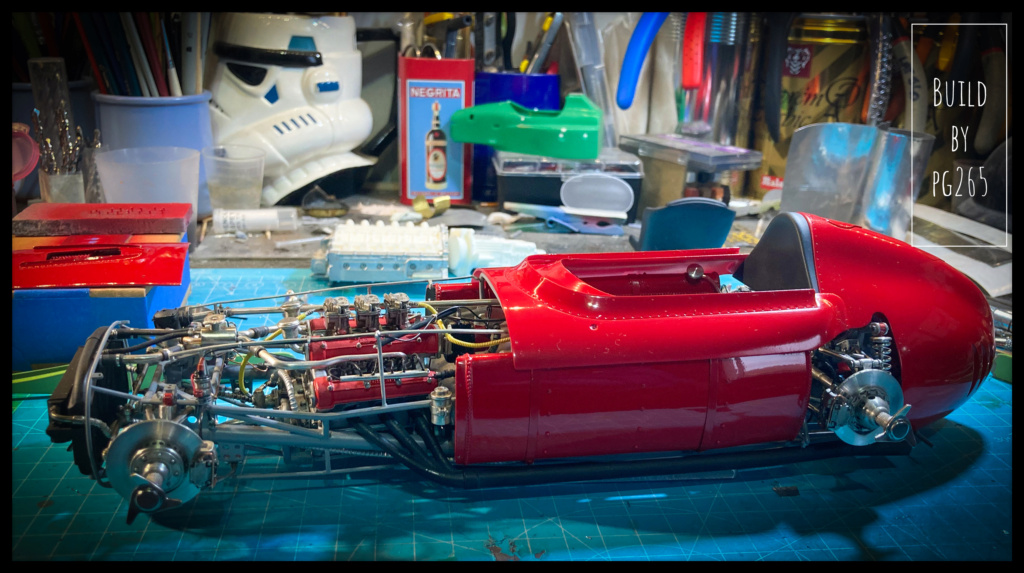 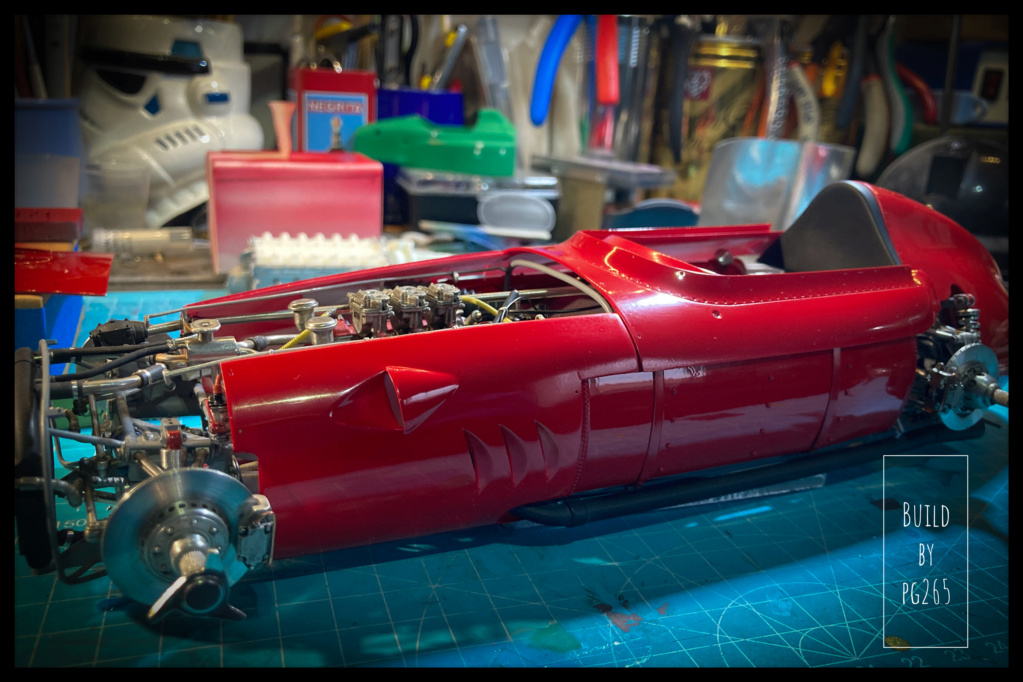 The mobile oil and fuel hatches are in place. 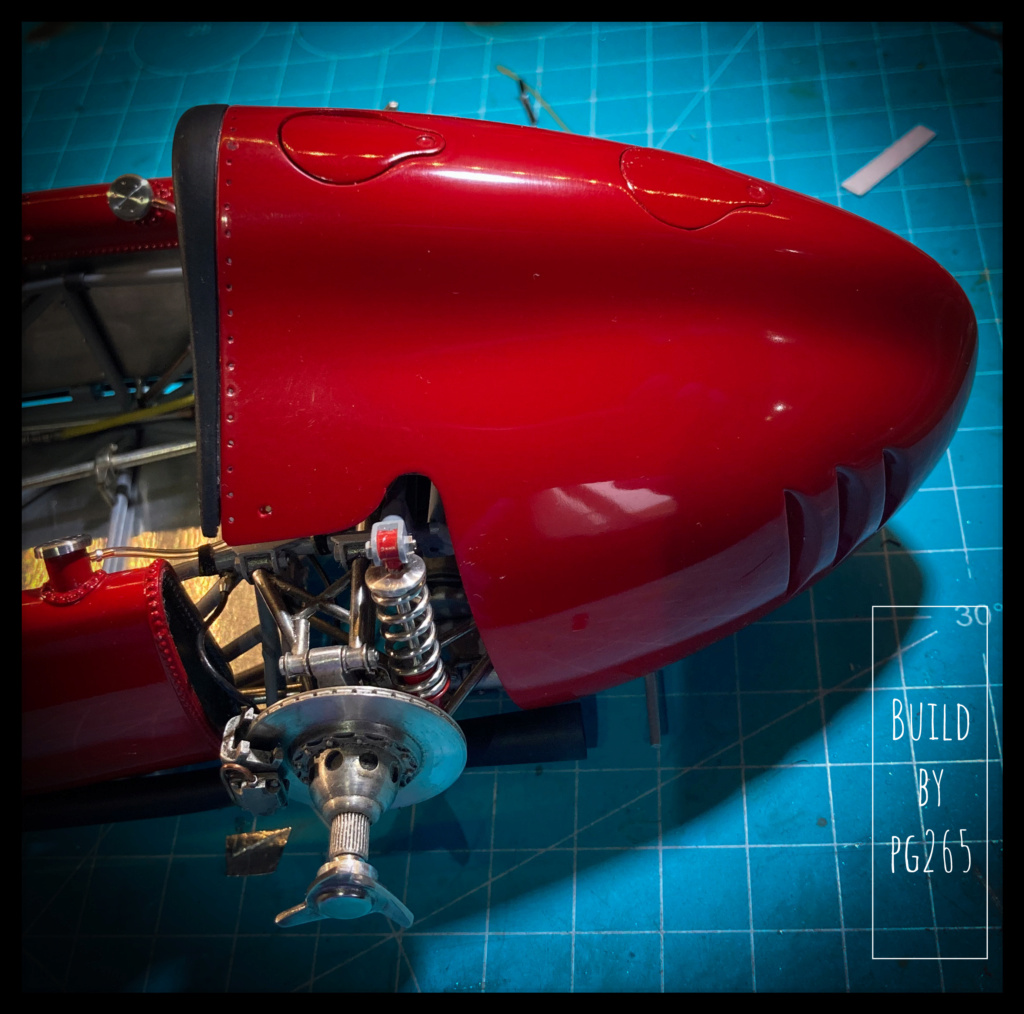 Pascal |
|
|
|
Post by kyledehart5 on Oct 13, 2022 15:13:14 GMT -5
Just gorgeous.
|
|
pg265
Front Runner
 
Posts: 231 
|
Post by pg265 on Oct 15, 2022 14:28:10 GMT -5
Good evening, Thank you! A bit of gasoline and oil. 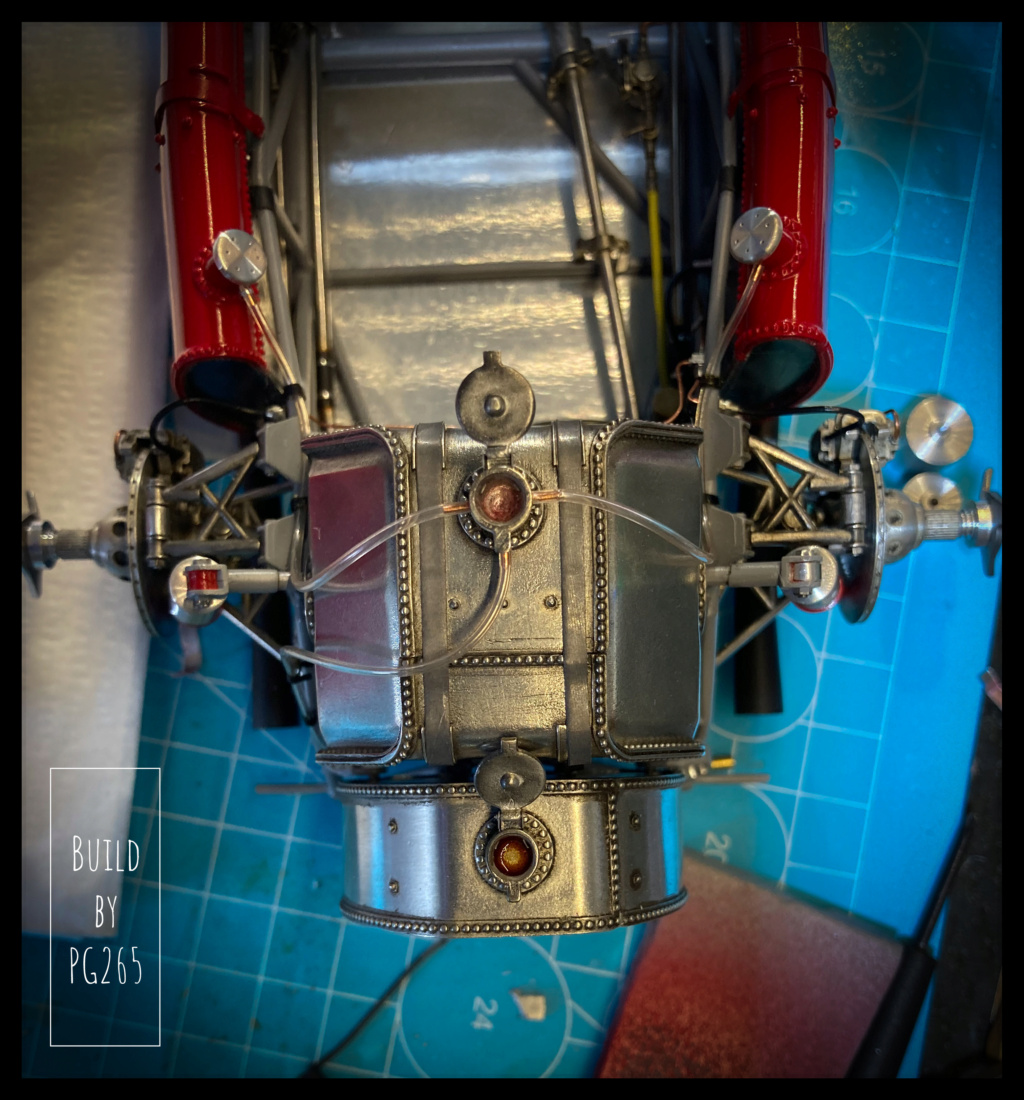 It's time to apply the decals. The numbers are in one piece and therefore there is backing film… which I hate. It must therefore be removed, which makes the numbers very flexible and requires installation templates. 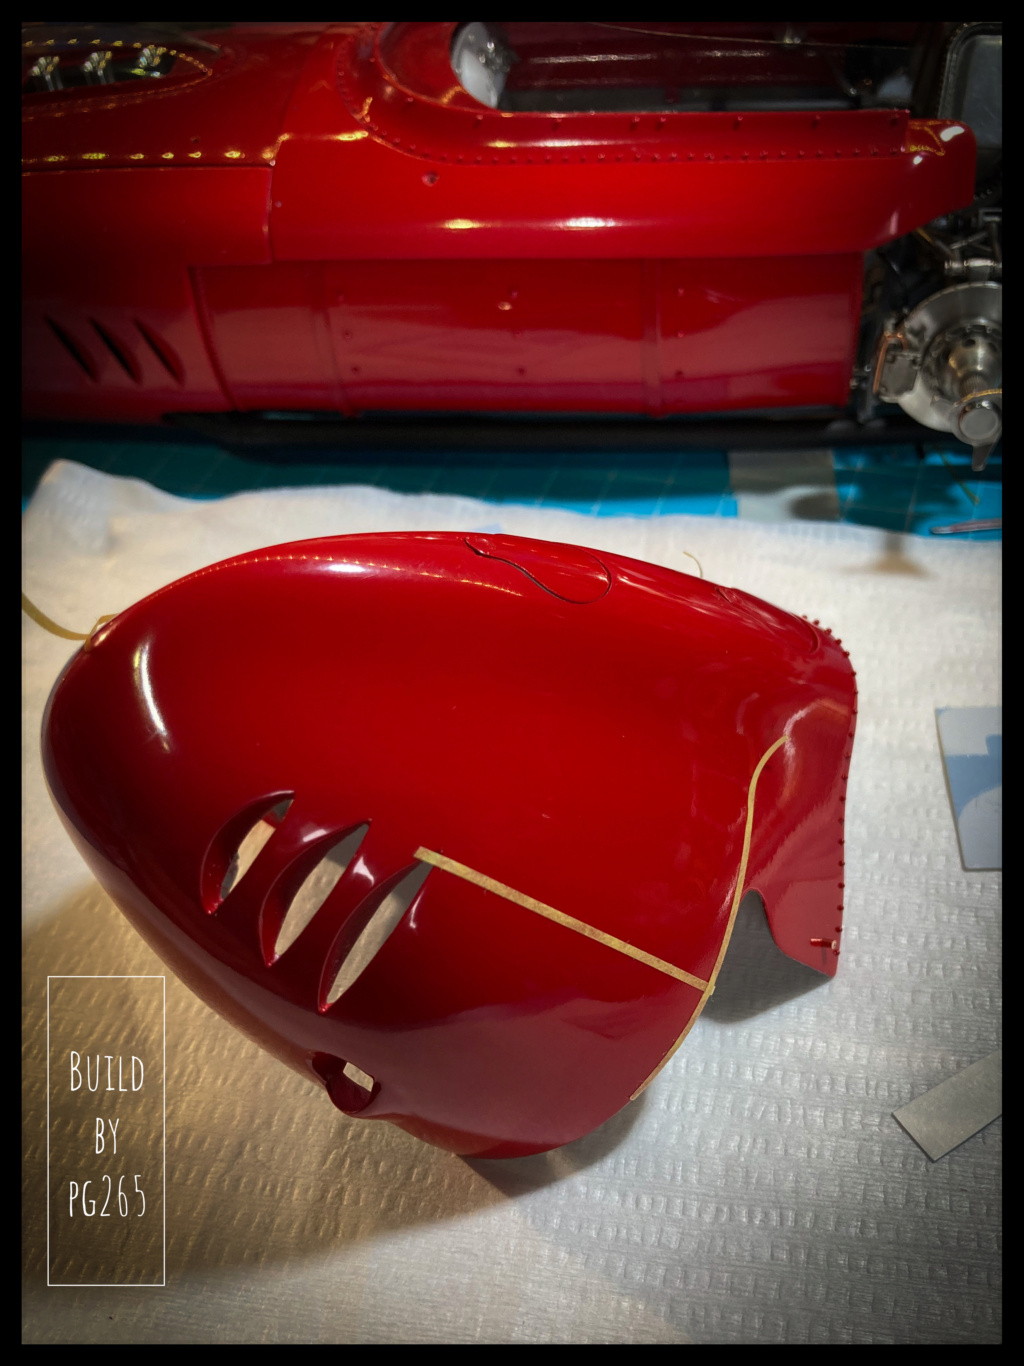 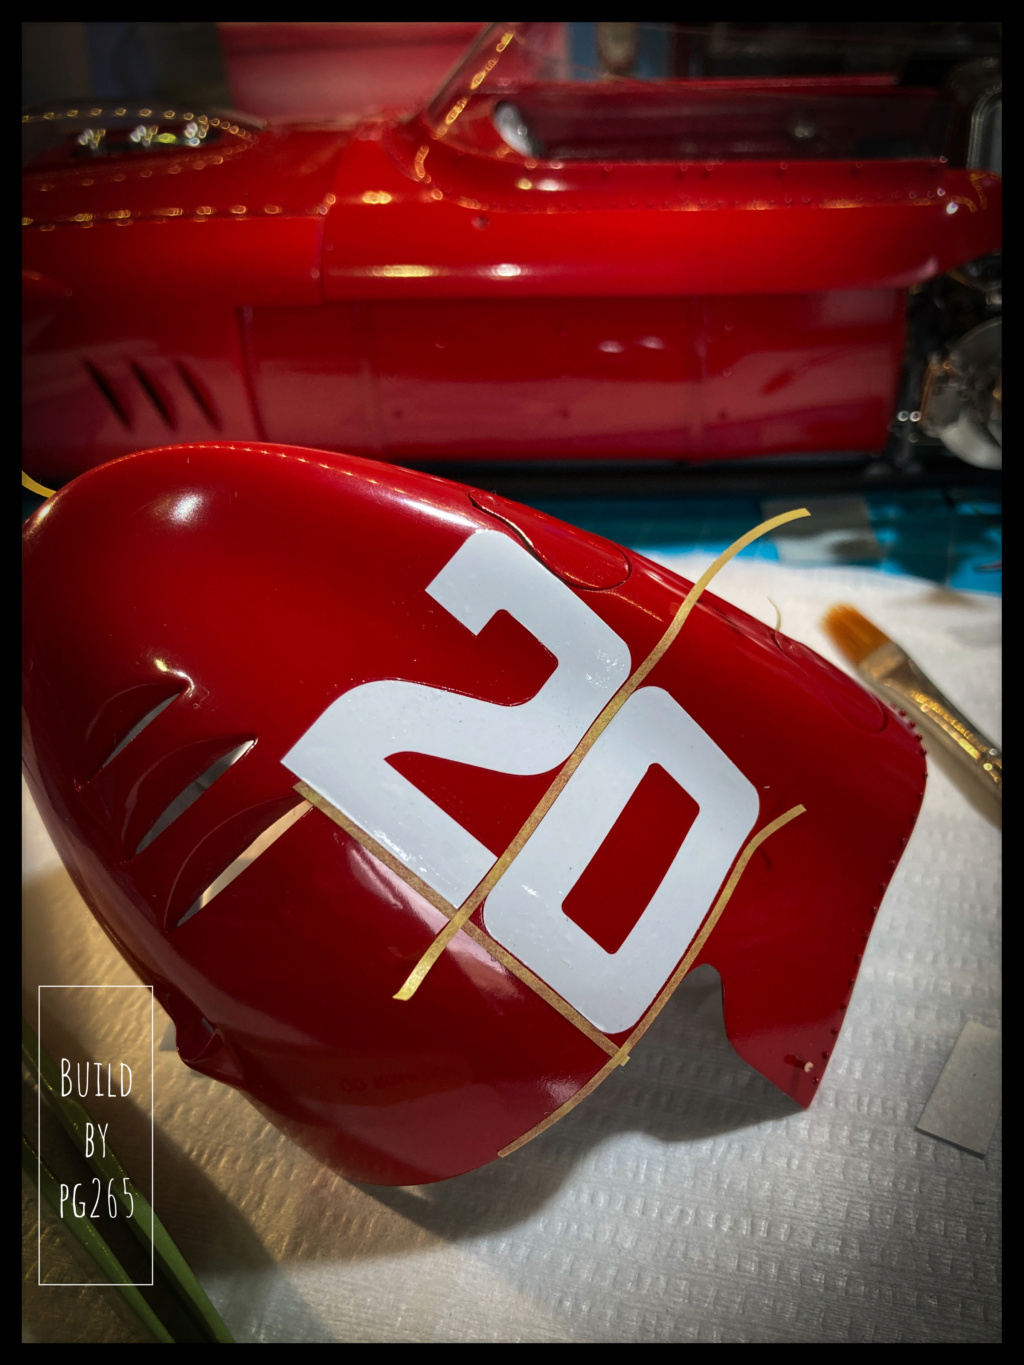 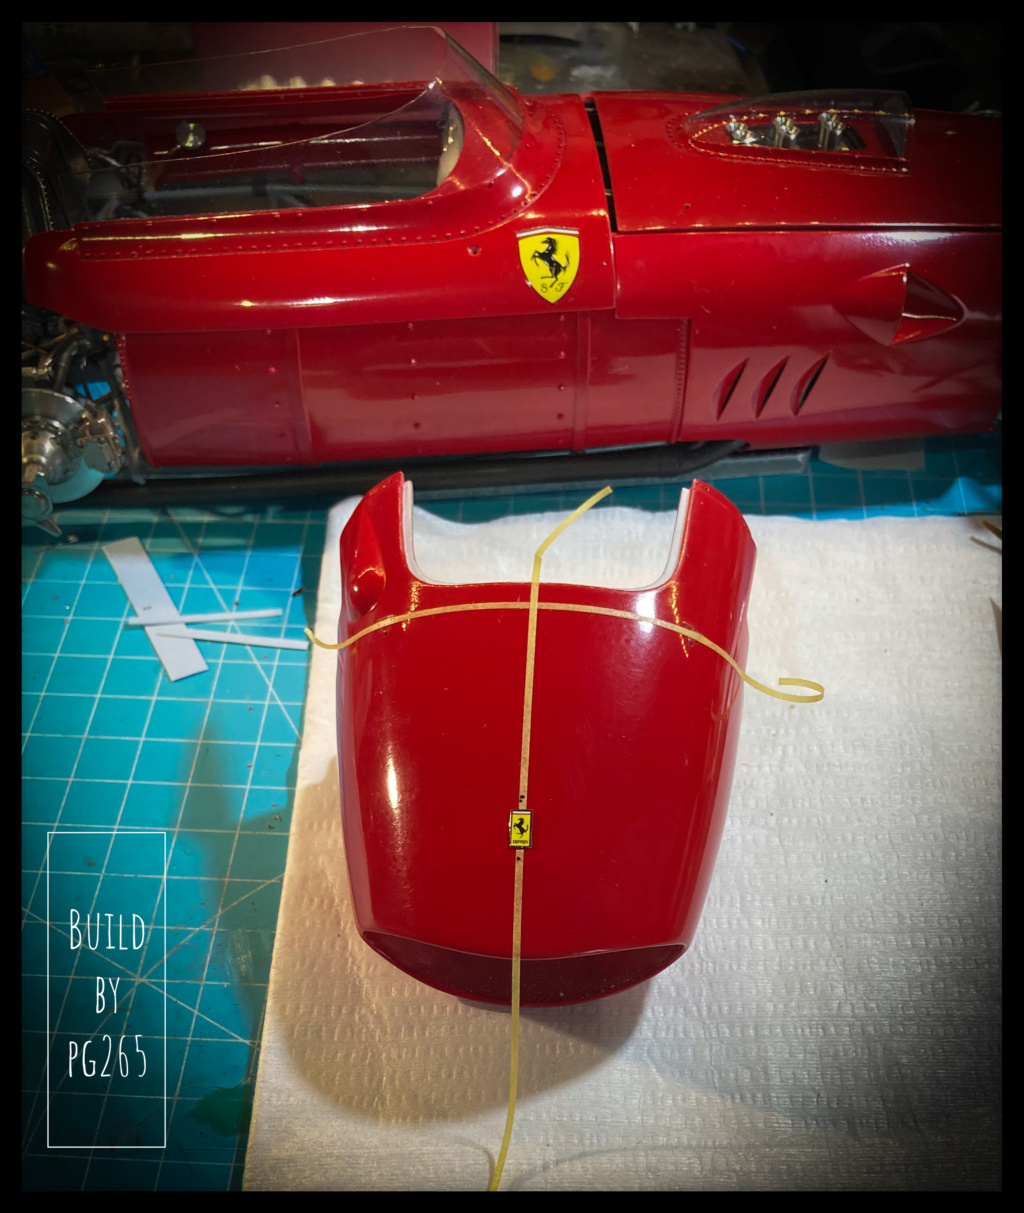 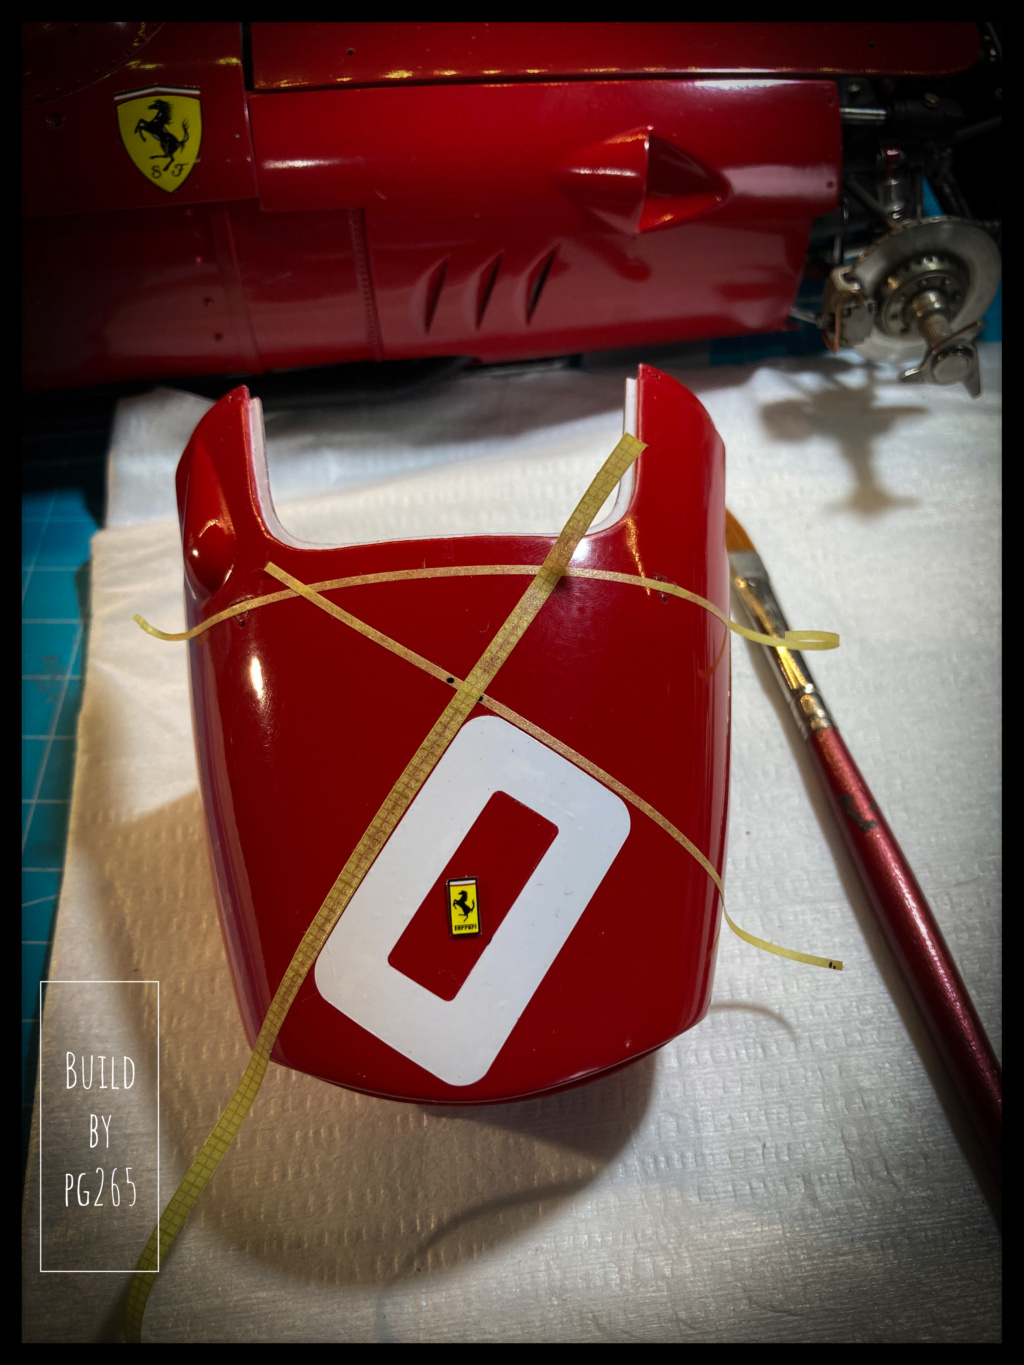 A busy day: Rivets of the rear, installation of stacks/tubes, adjustment of the bodywork, shaping/installation of the gear lever, seat, steering wheel… fitting of the logo on the nose… In short, it smells like the stable ! 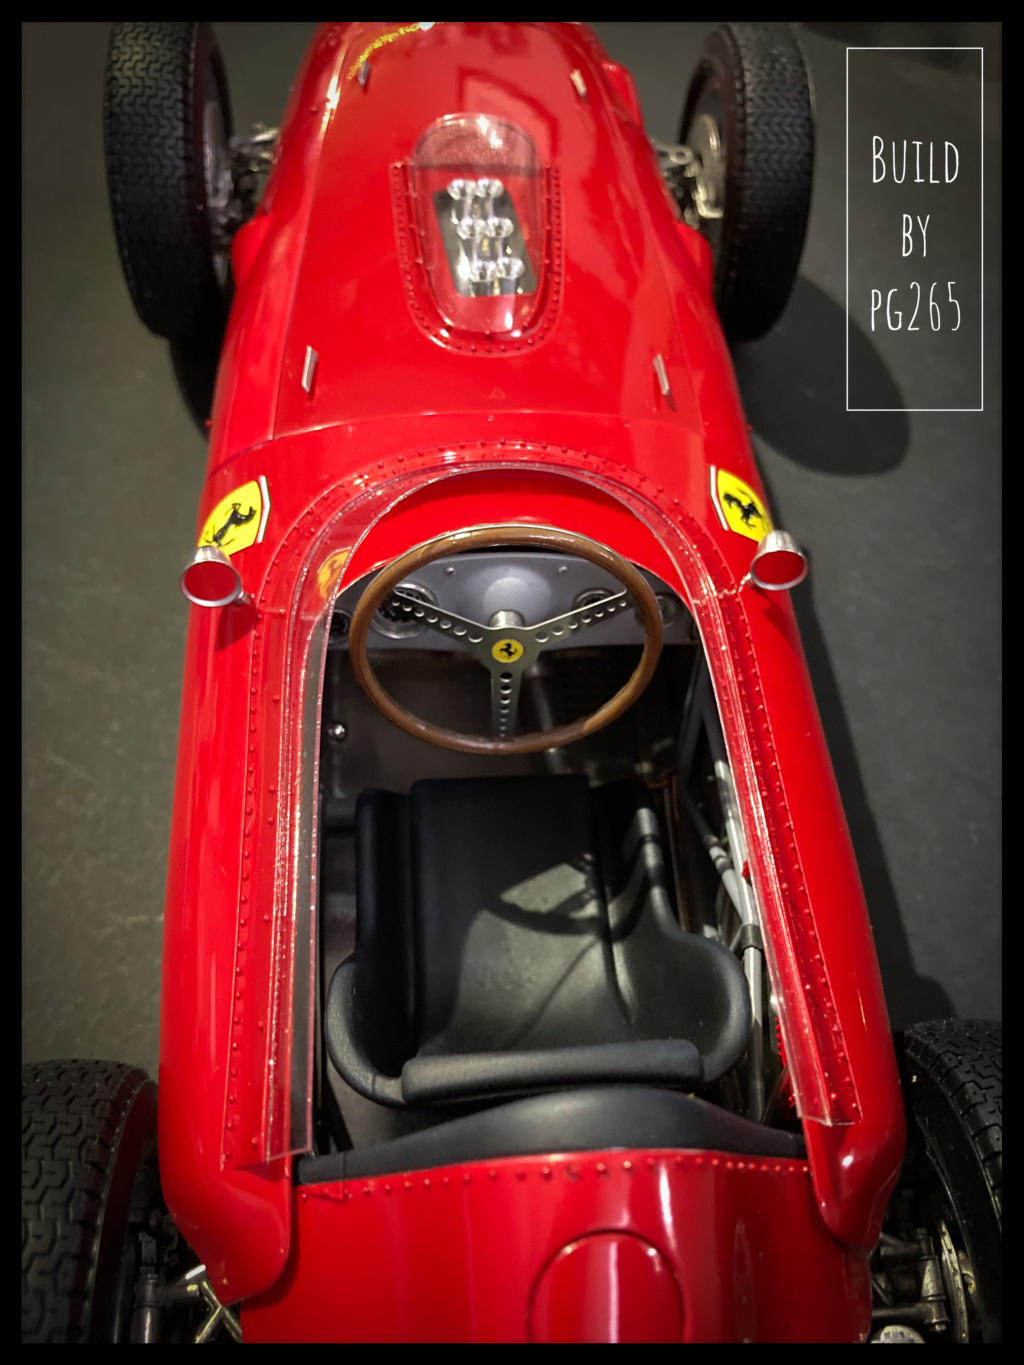 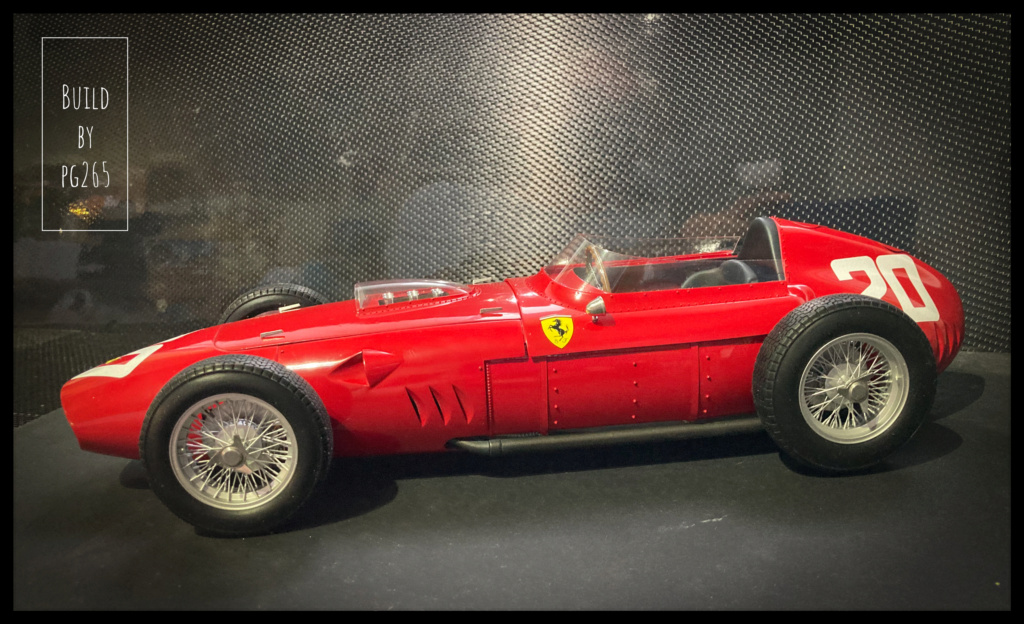 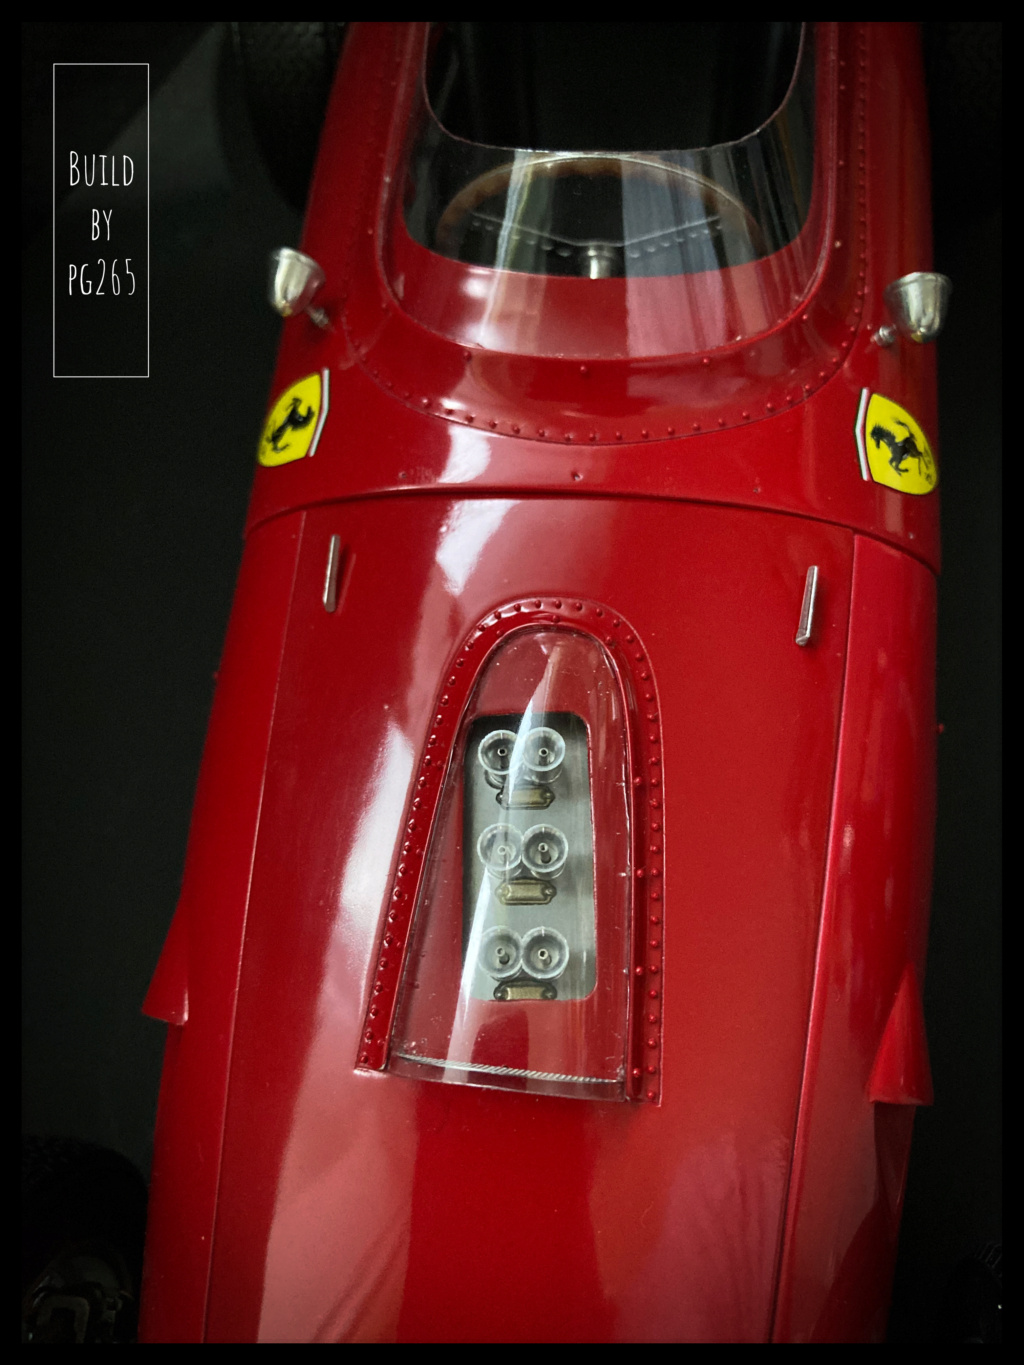 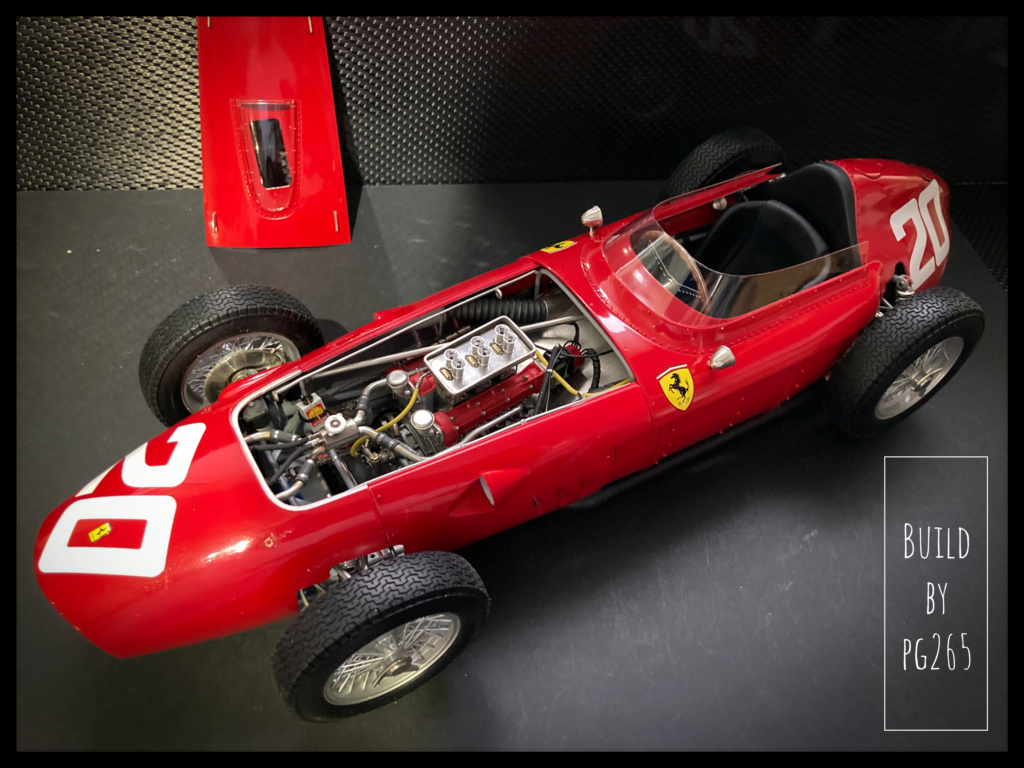 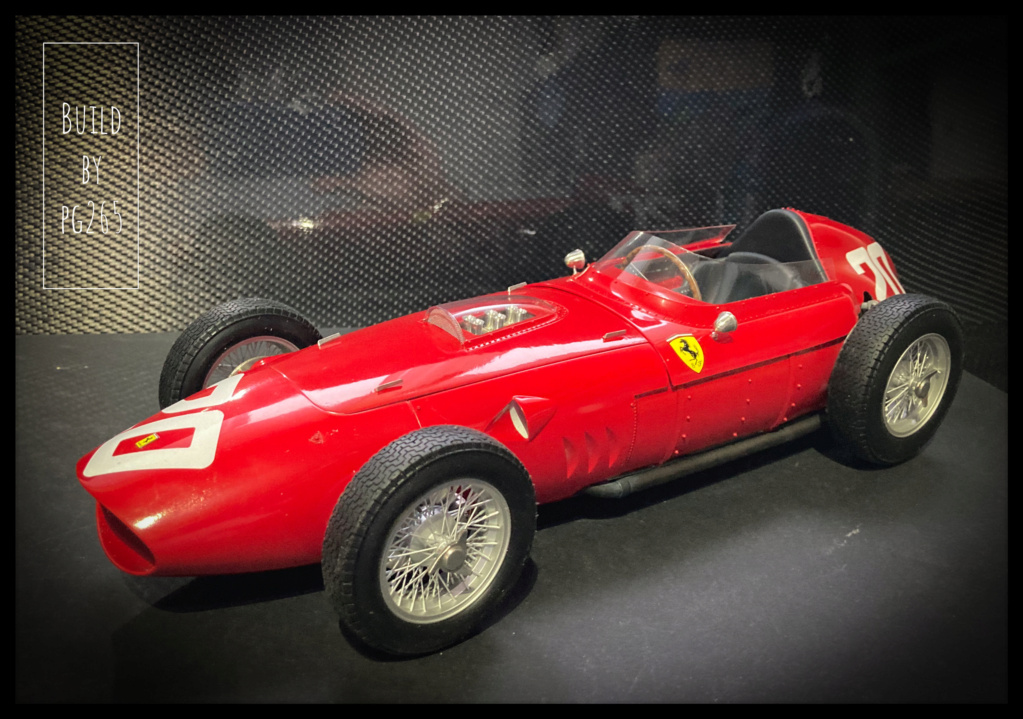 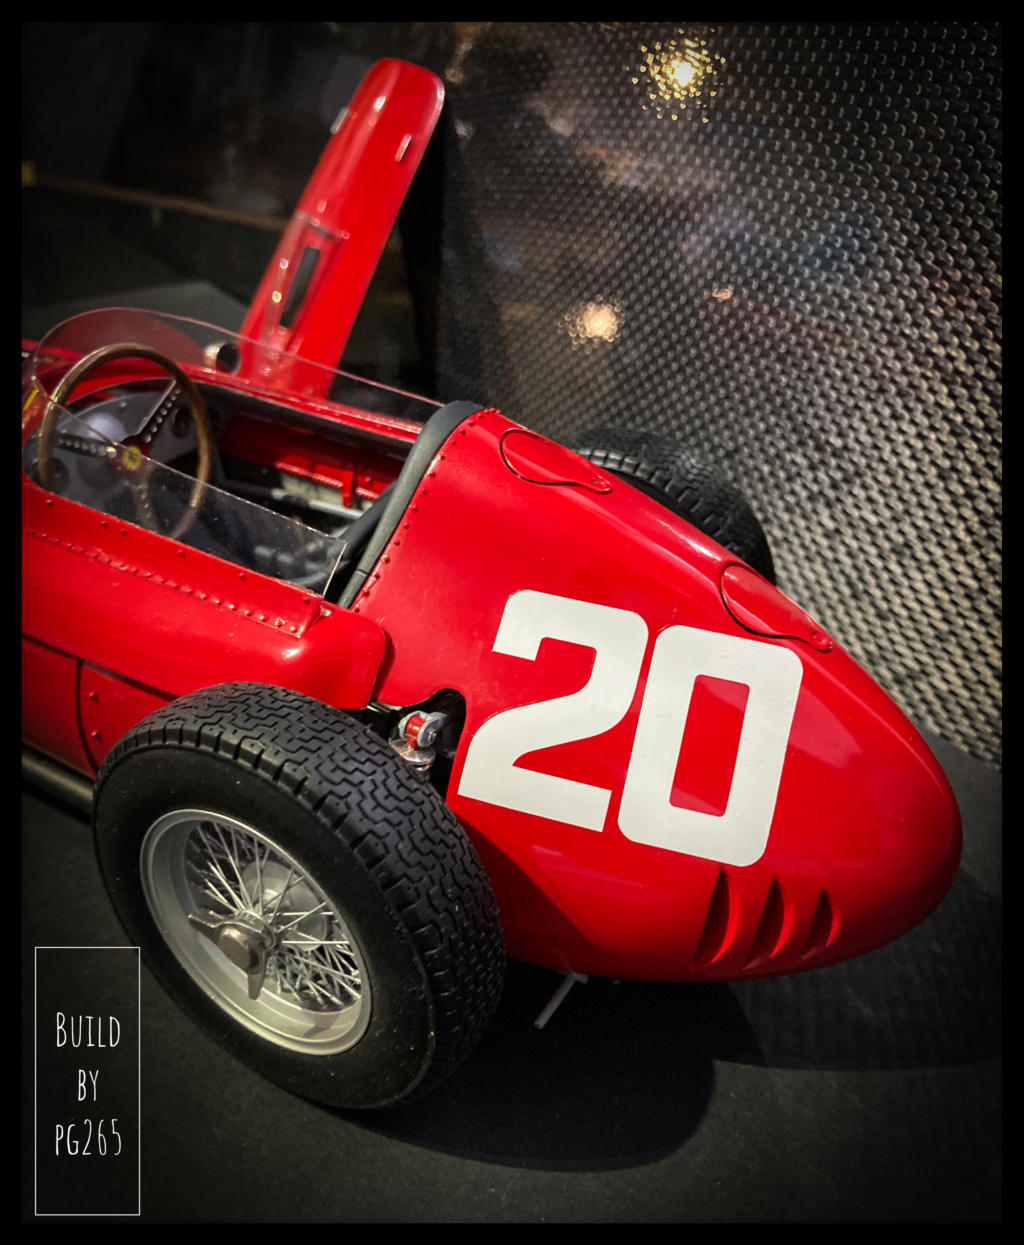 The model is very dirty, I will clean it tomorrow, to… get it a little dirty again. Maybe I would have time to make a small accessory, but the priority is to create its storage/transport box. Next soon. Pascal |
|
|
|
Post by kyledehart5 on Oct 15, 2022 22:15:47 GMT -5
I just continue to be blown away. This post right here illustrates why I shall always remain mediocre in this hobby. 😂 The car looks stunning and (like many other things on this build) I know for a fact I couldn’t successfully apply decals that way. Beautiful work all the way through.
|
|
|
|
Post by indy on Oct 15, 2022 23:17:42 GMT -5
Pascal, sometimes I think you might be Santa Claus and you have way too many elves working on these MFH kits!
Kidding, of course. I do love your builds and the WIPs are always a masterclass. Thank you for sharing.
Great job on the decals. It was risky but you did an amazing job!
Jordan
|
|
|
|
Post by Gary Davis on Oct 16, 2022 12:58:15 GMT -5
Man oh MAN, PASCAL.....This build is a PIECE OF AUTOMOTIVE ART!!! I really enjoy watching you do you magic with these kits. Your fab work is top notch also. Your paint and weathering is outstanding. Thank you for taking the time to shoot pics of the progress and posting them here on the forum.
|
|
pg265
Front Runner
 
Posts: 231 
|
Post by pg265 on Oct 16, 2022 14:31:24 GMT -5
Good evening, Thank you all for your feedback and patience with this WIP. As I didn't know what to do (…) and I didn't find the hood fitted well enough, I took it back, with care(!), but that's it, it's good. The last rivets are placed, the traces of exhaust made… I hesitate to dirty it a little. Here are some pictures, I will definitely do more. 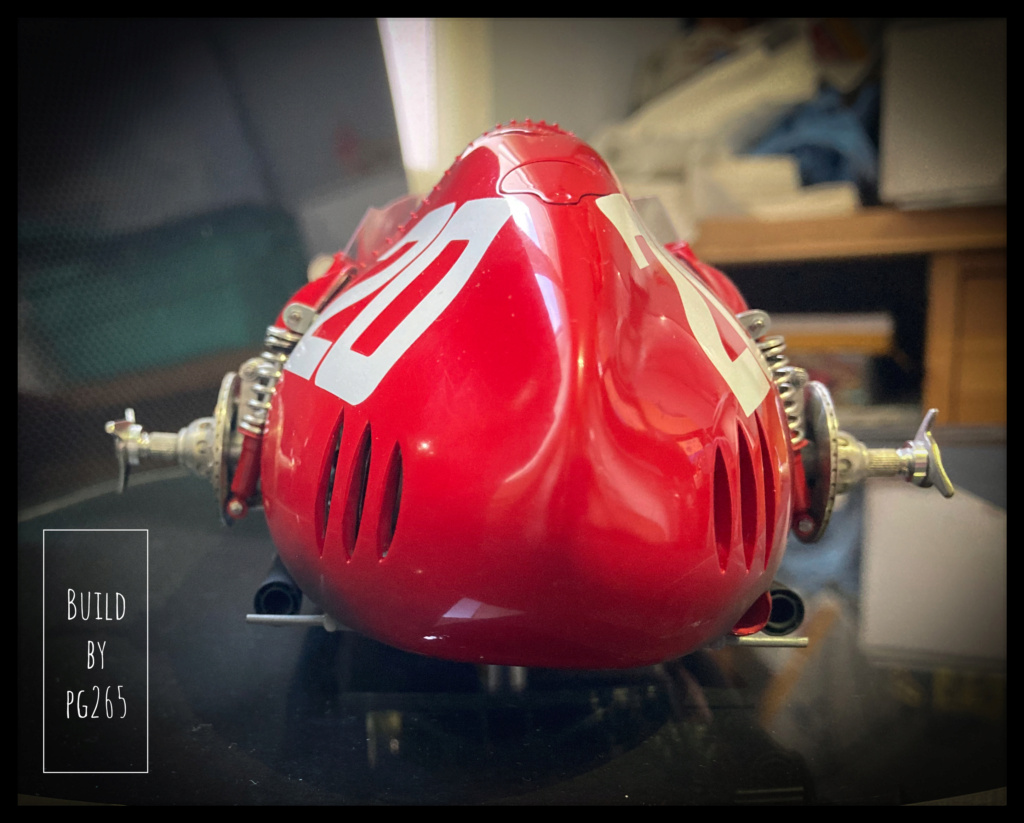 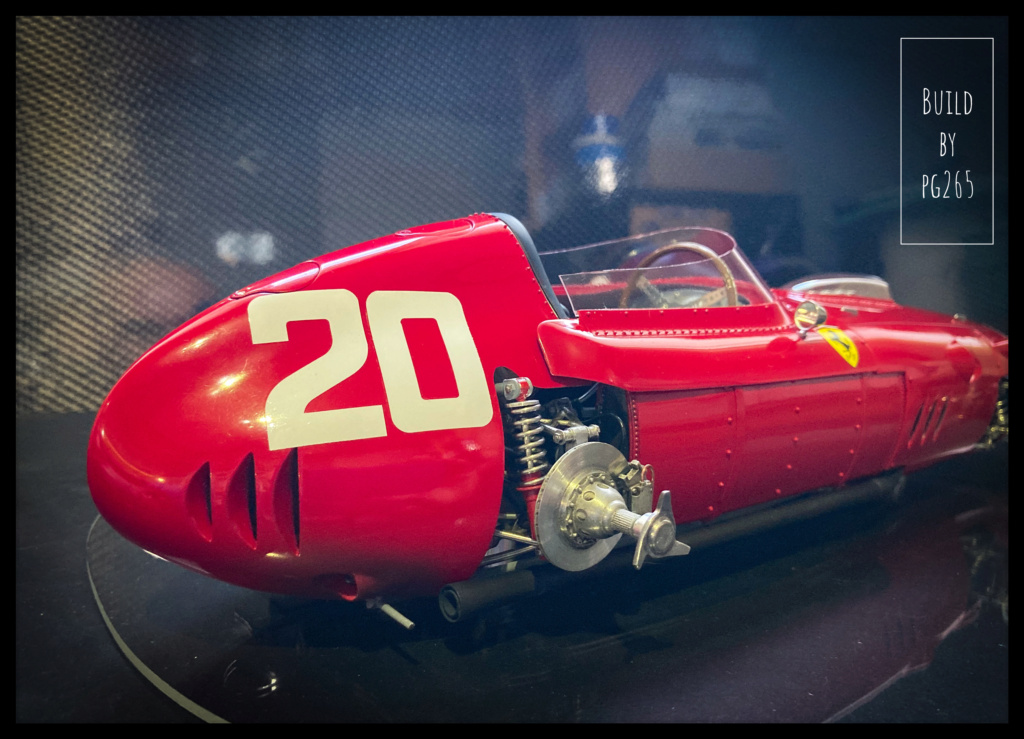 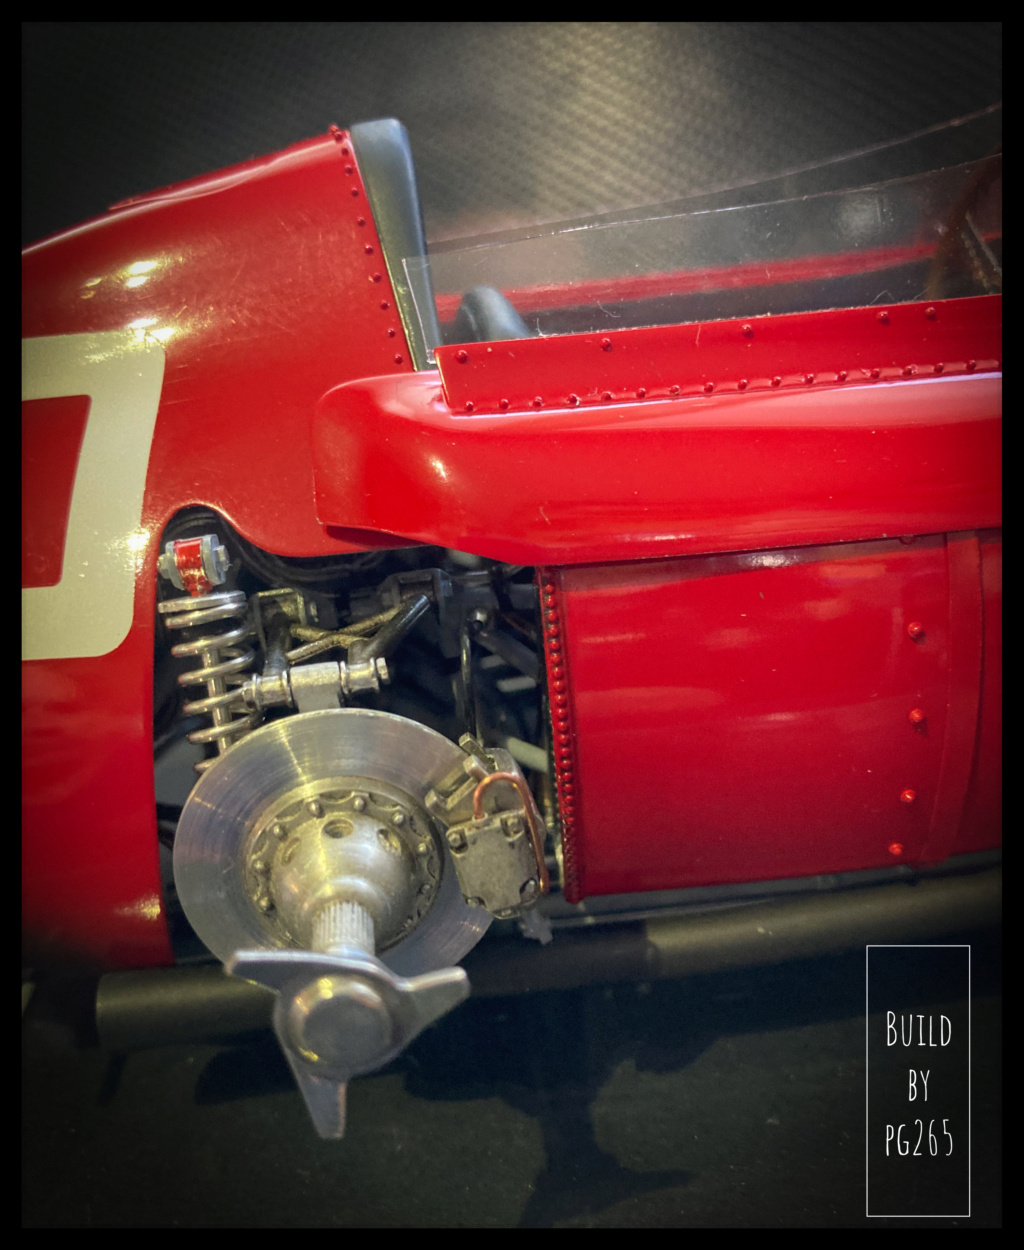 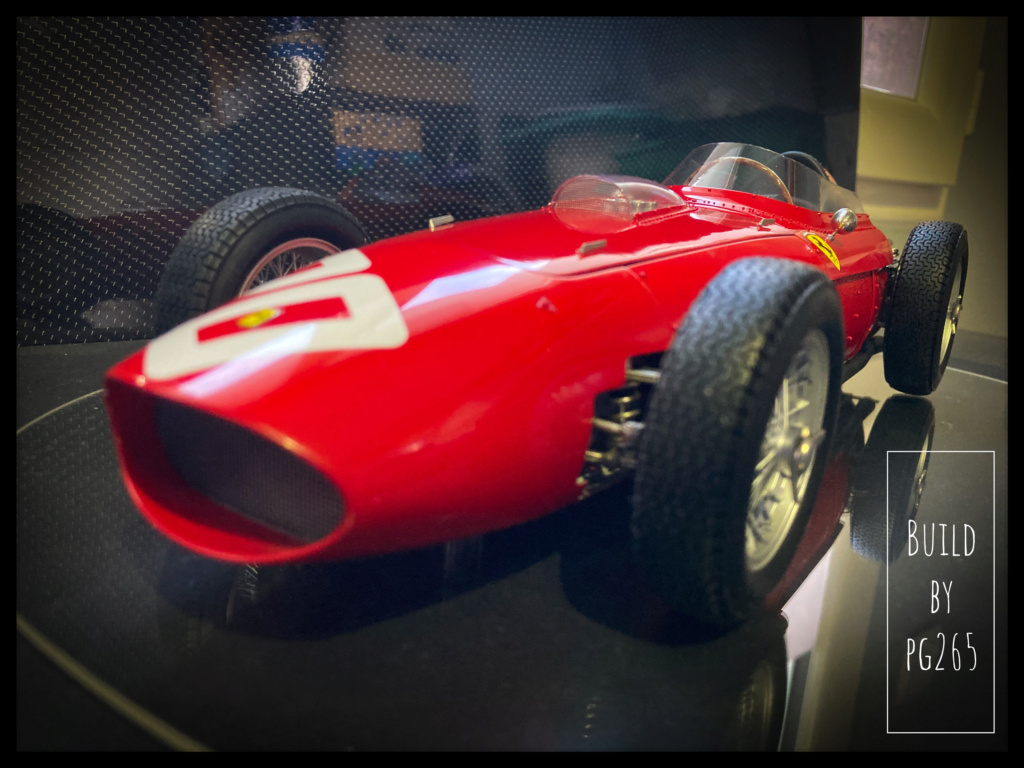 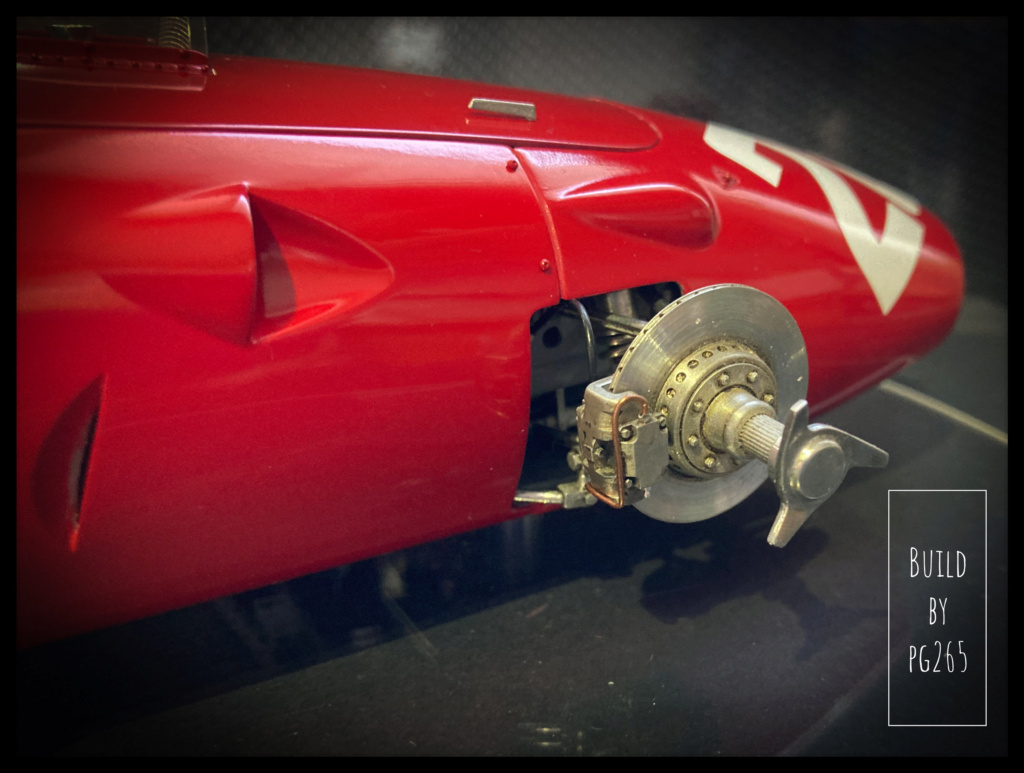 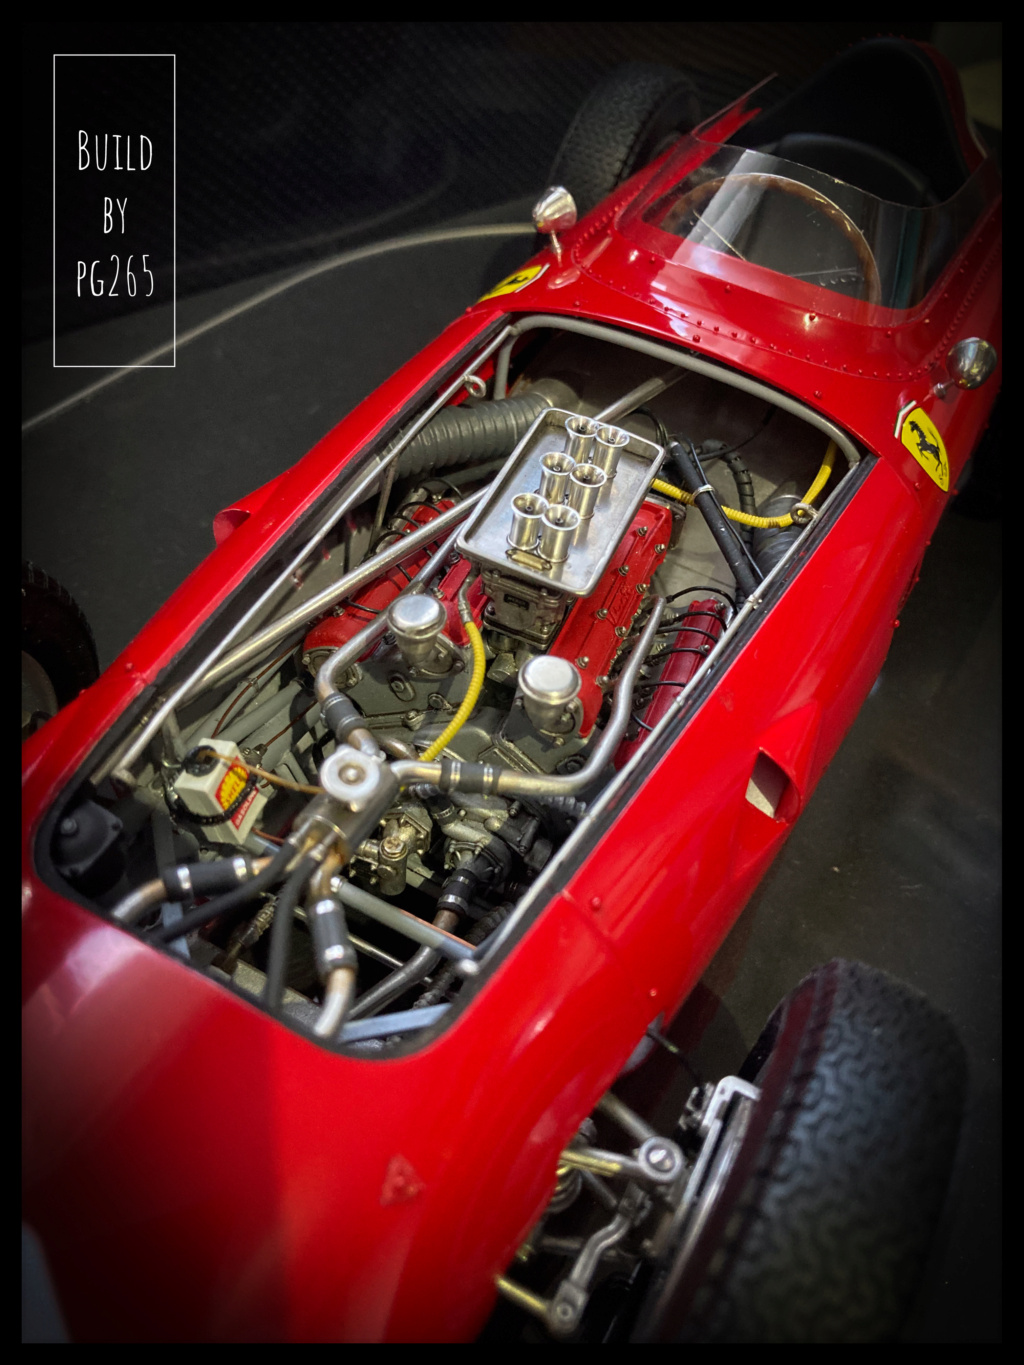 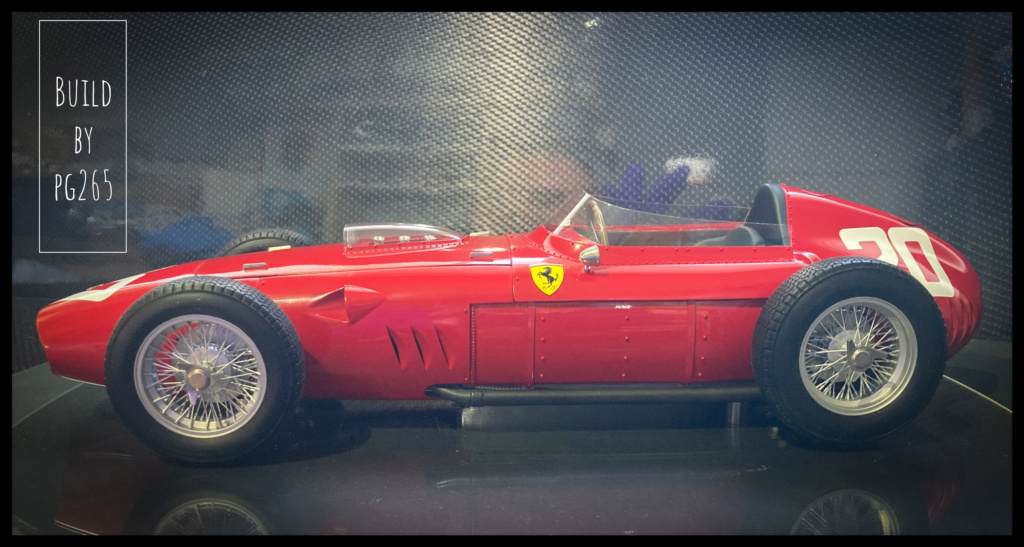 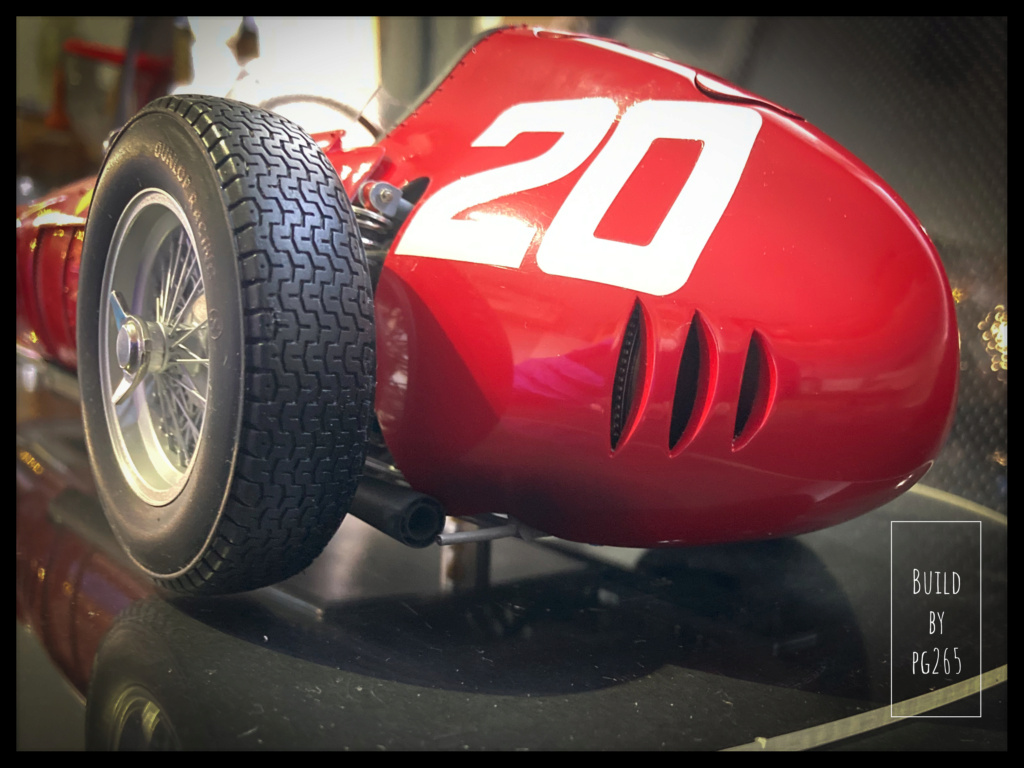 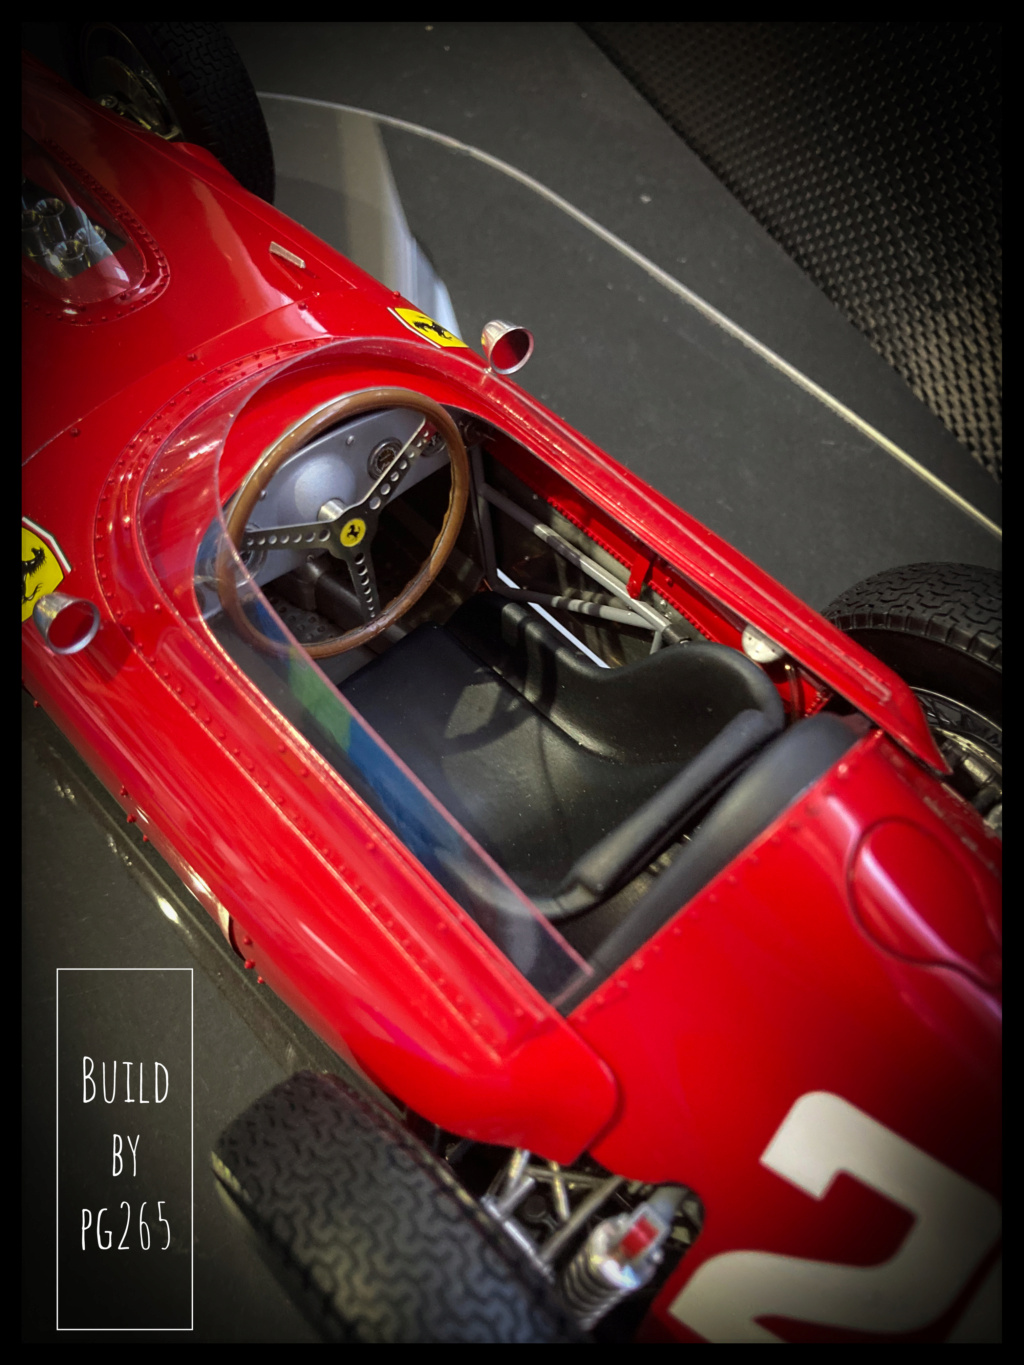 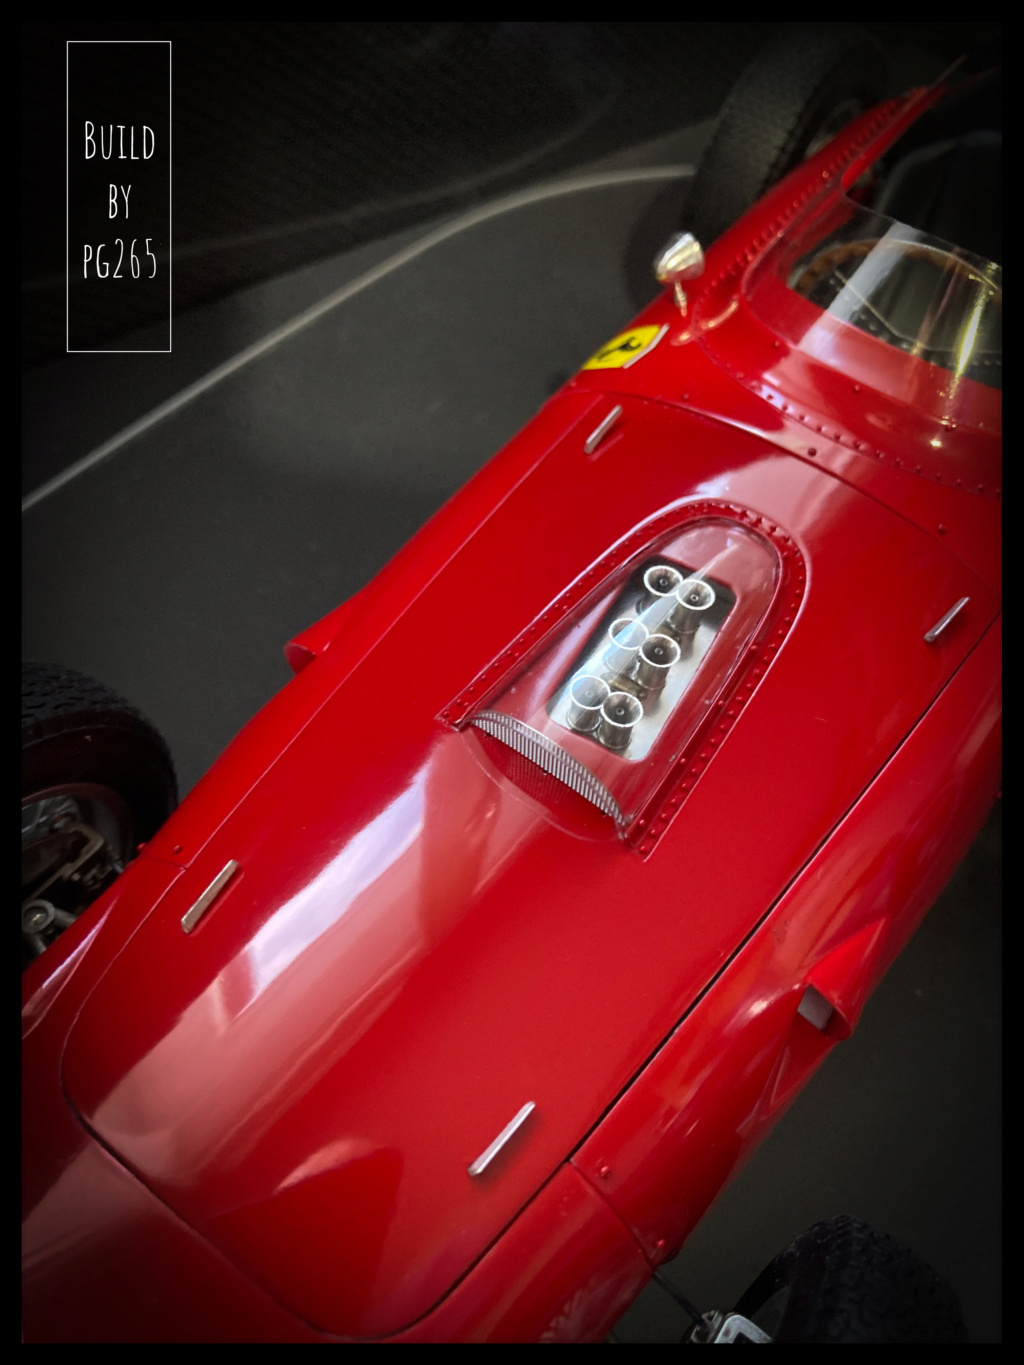 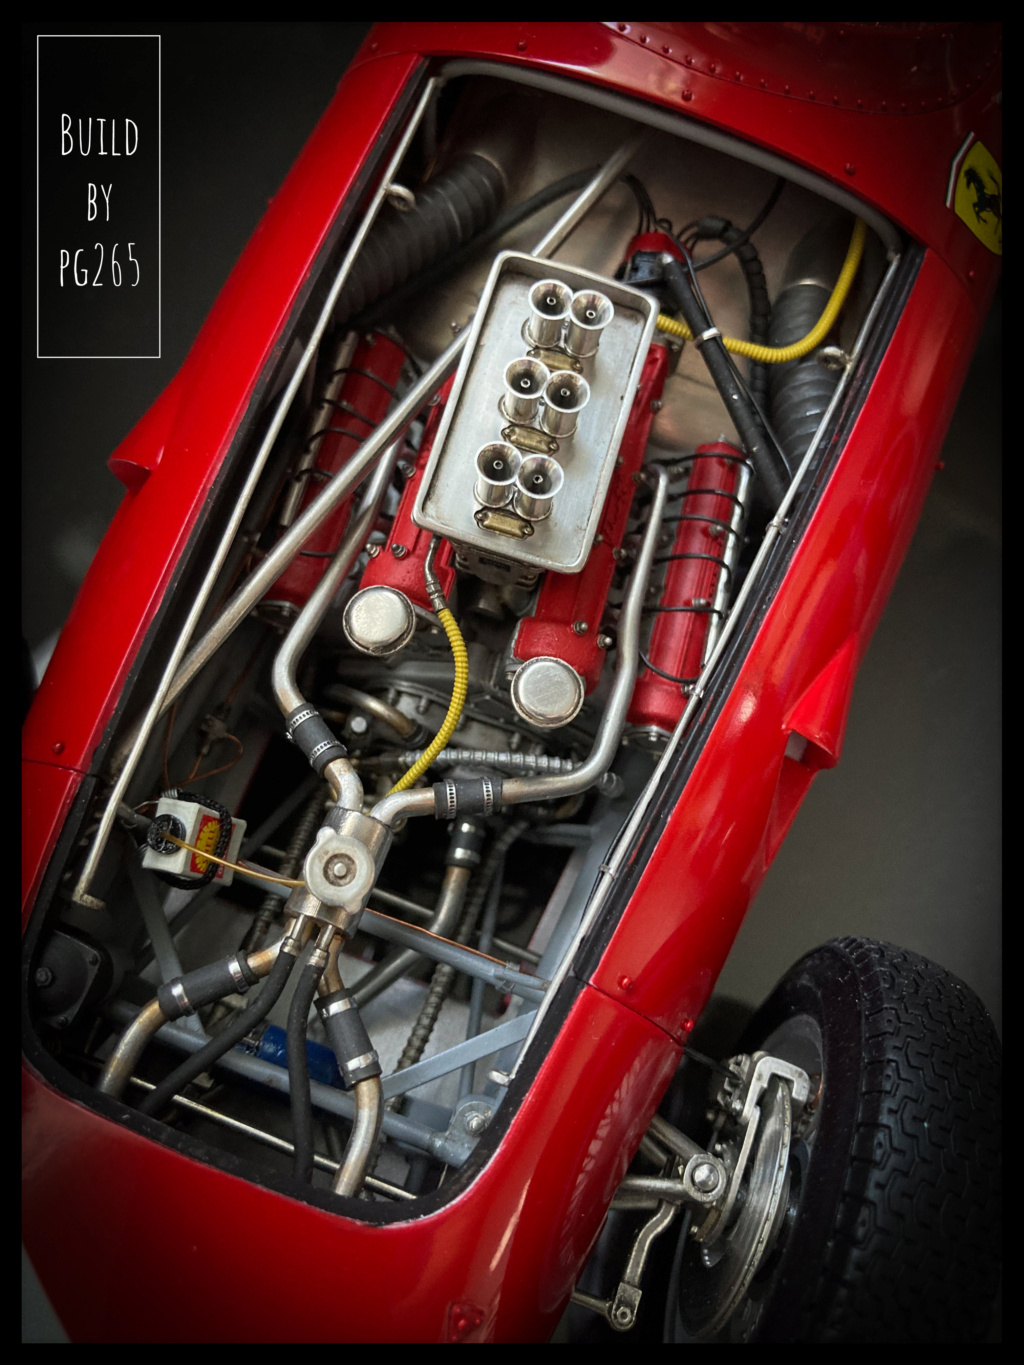 His future home and, incidentally, transport box is complete. 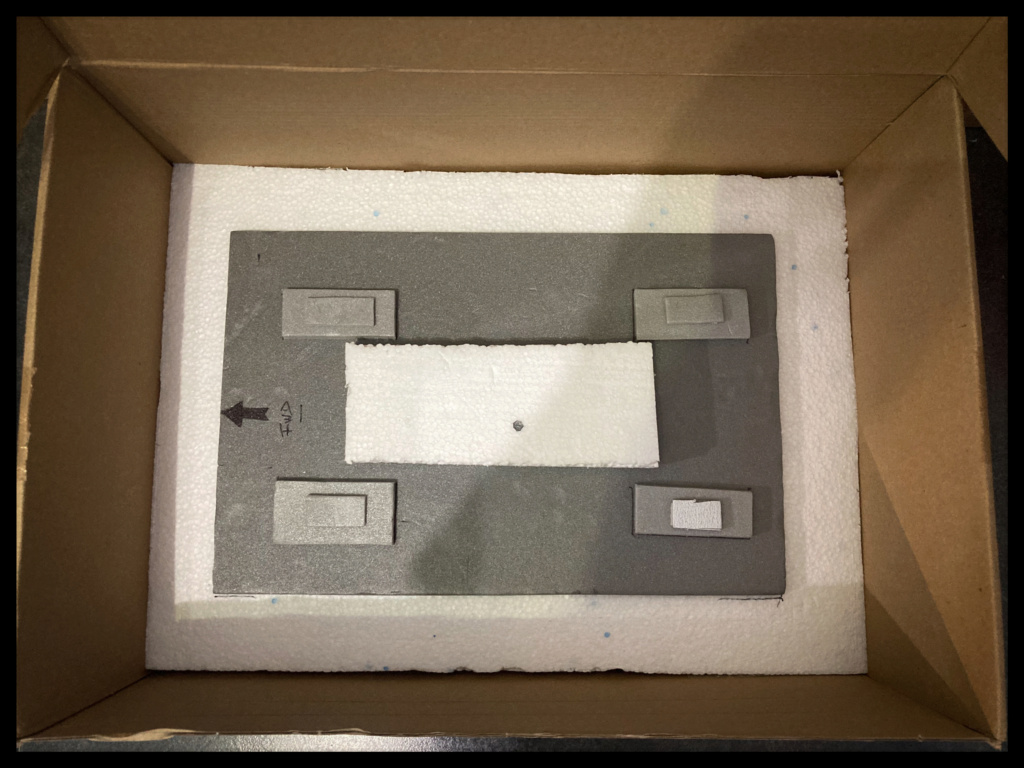 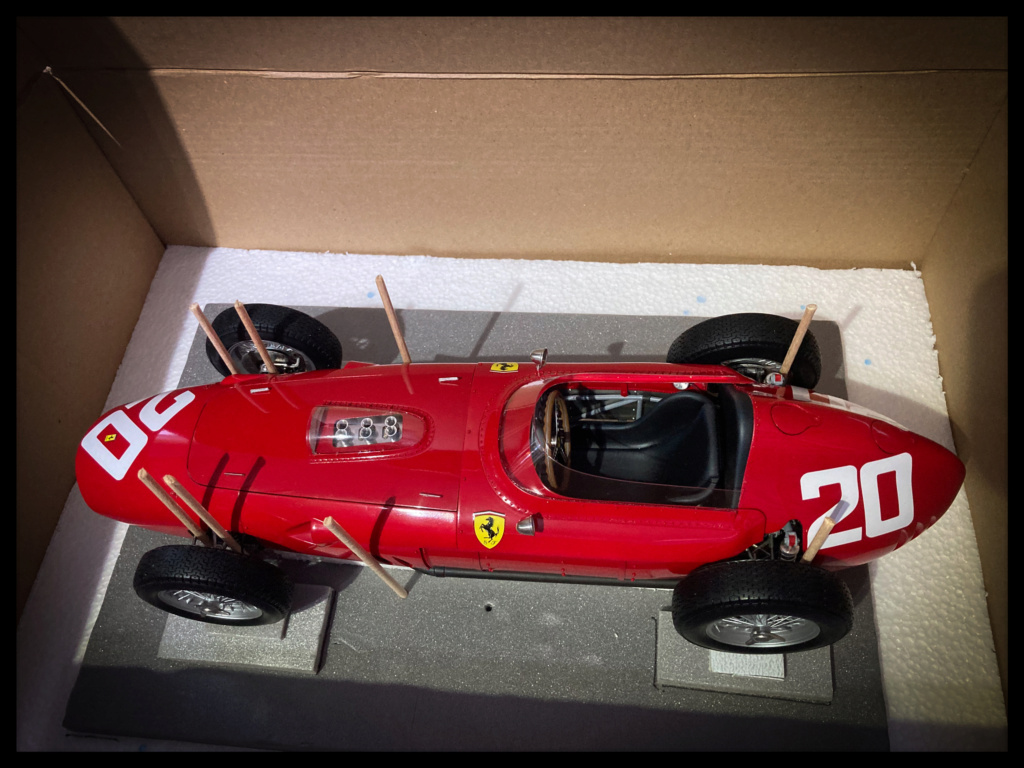 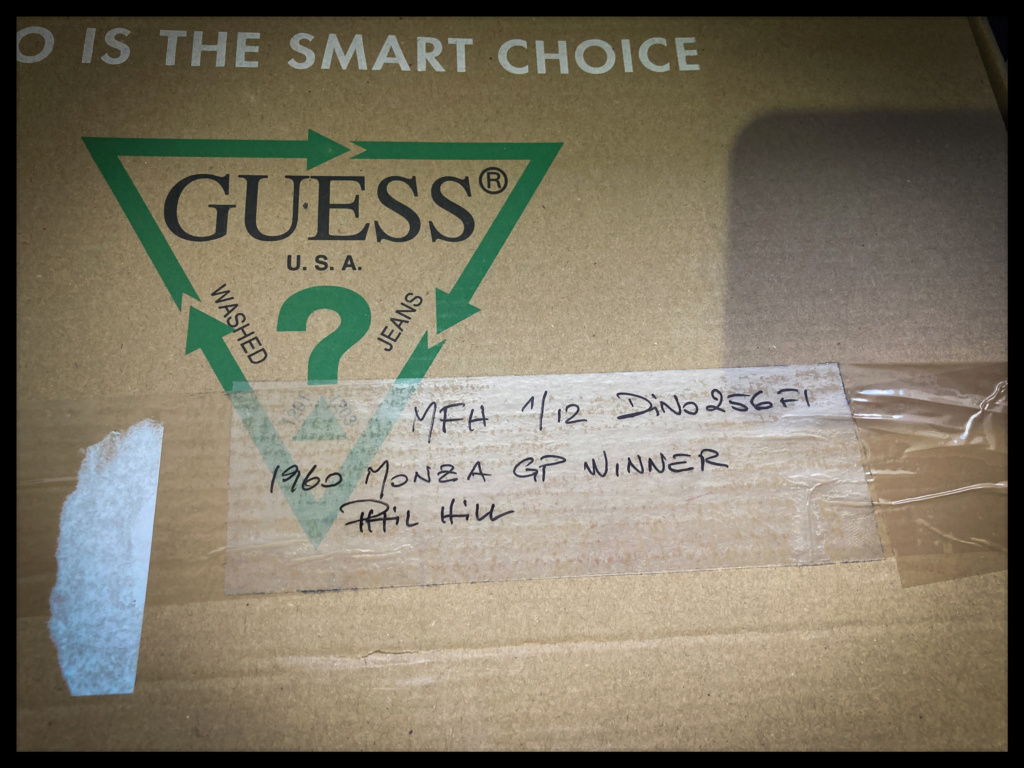 I don't really have a dedicated presentation base at the moment. The Dino will be presented on…a A330 porthole. An accessory to possibly accompany it is under study, barely started. The next one will be… Red! Again on the 12th. Most certainly another Dino who also only left the places of honor to the other competitors. But I'm not immune to getting into a 12-cylinder, or even a sport prototype... Pascal |
|
|
|
Post by kyledehart5 on Oct 16, 2022 14:48:03 GMT -5
Beautiful straight from the beginning. Thank you for sharing your WIP. It was a pleasure to follow along with.
|
|
pg265
Front Runner
 
Posts: 231 
|
Post by pg265 on Oct 18, 2022 3:43:45 GMT -5
Good evening, Thank you very much! The frame of the Dino is provided with pieces of tubes intended to accommodate a quick riser jack. So...I made one. I started from a vintage photo. The brass wheels are turned, the tubes, of the same material, are folded and welded. I made small copper washers as side stops for the wheels. It only remains to paint it in the same gray as the chassis. Here are some pictures. 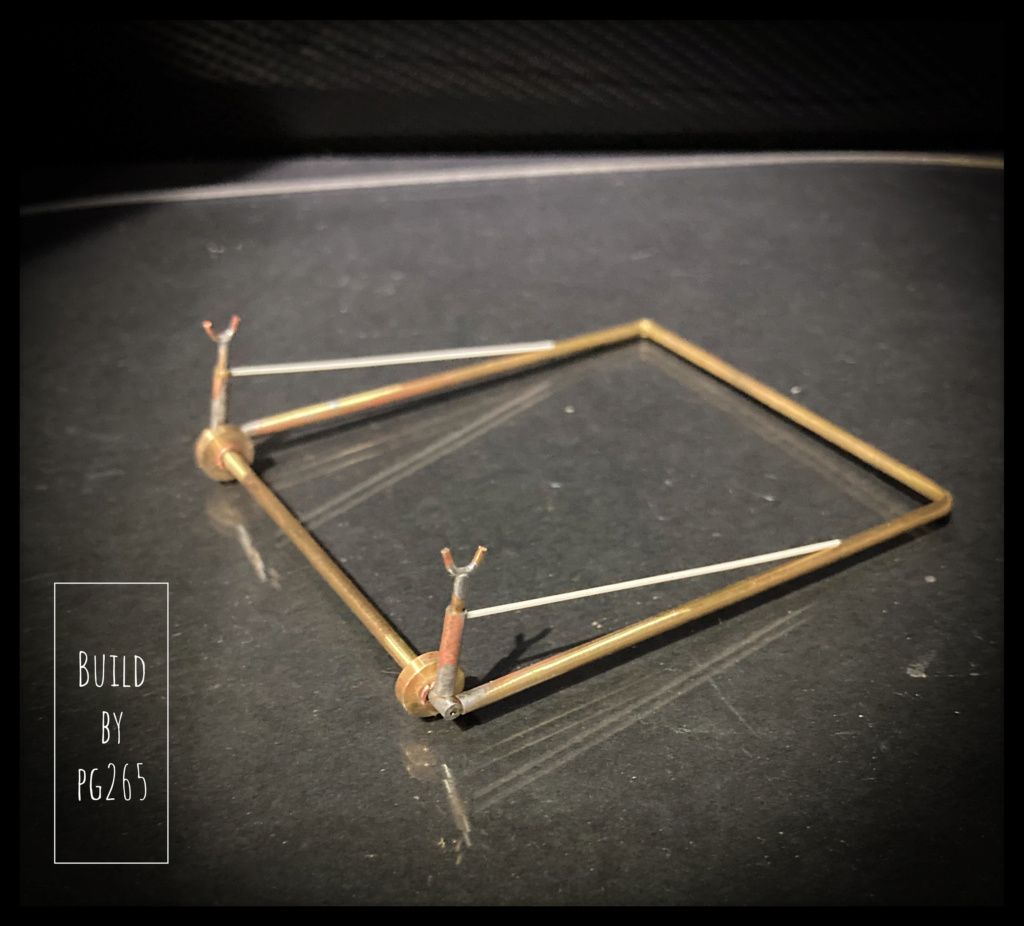 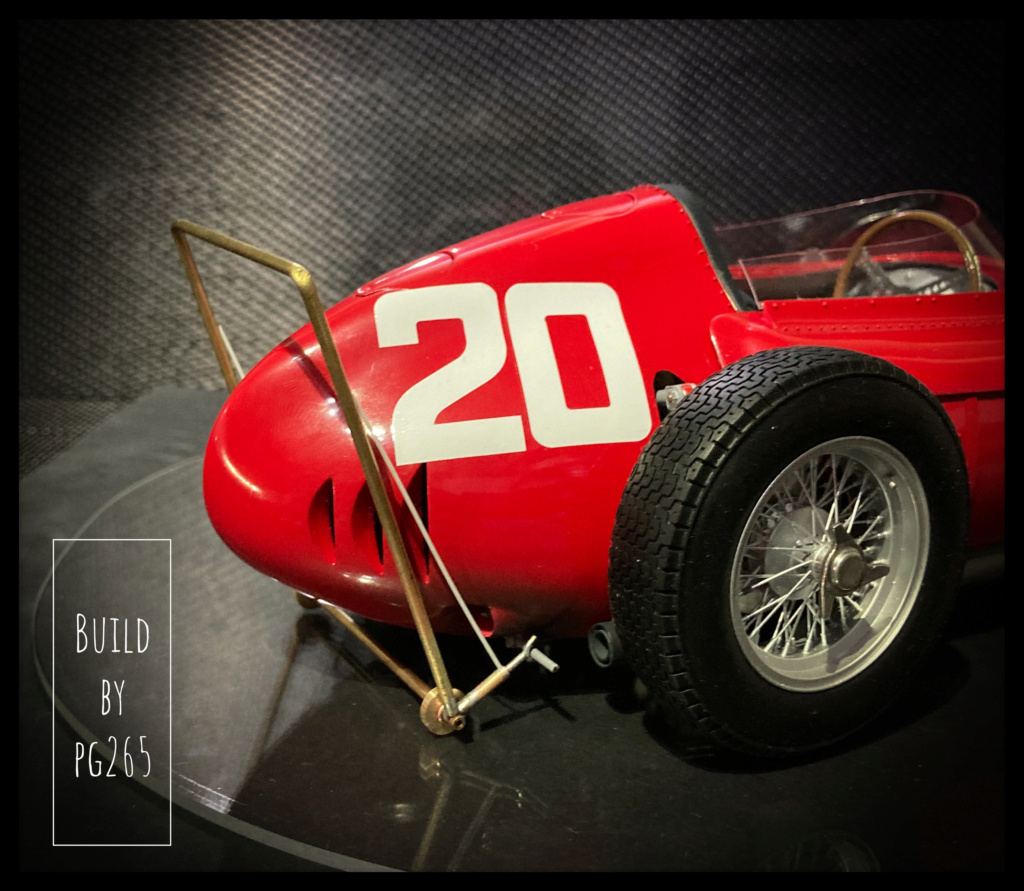 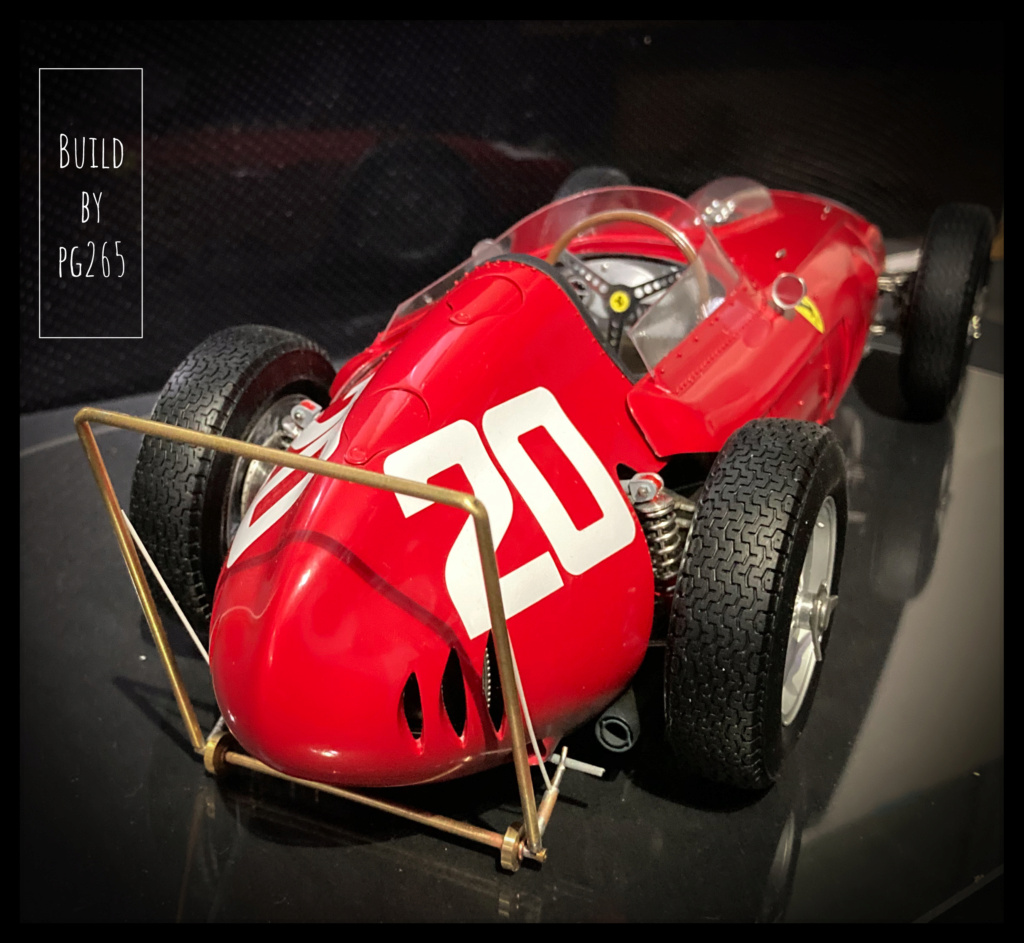 The nuts are locked! 🥳 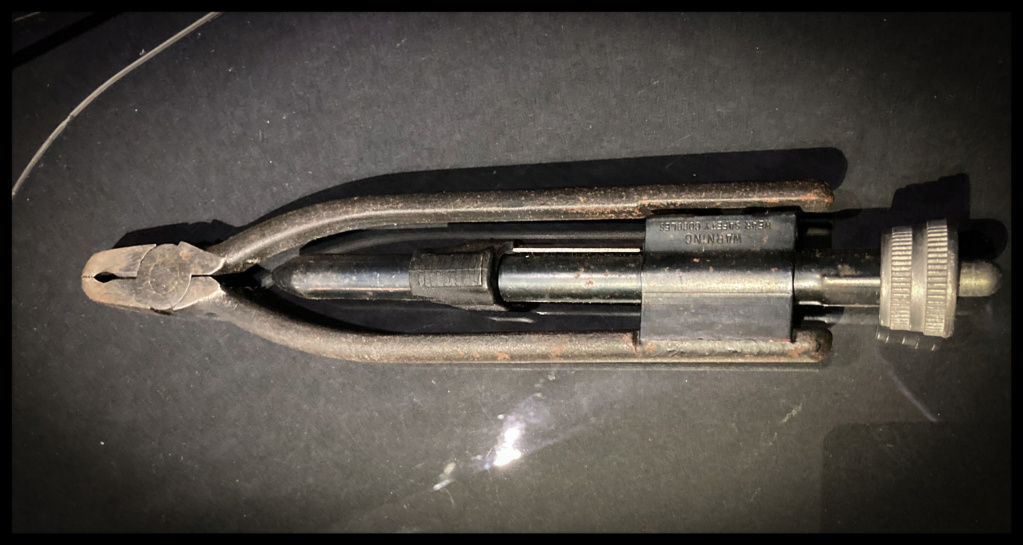 Pascal |
|