pg265
Front Runner
 
Posts: 231 
|
Post by pg265 on May 6, 2022 17:14:25 GMT -5
Good evening, Thank you very much Mates! The Dino progresses. It begins to be heavy with the front nearly completed. The radiators and part of the pipes are installed, same for the front axle. 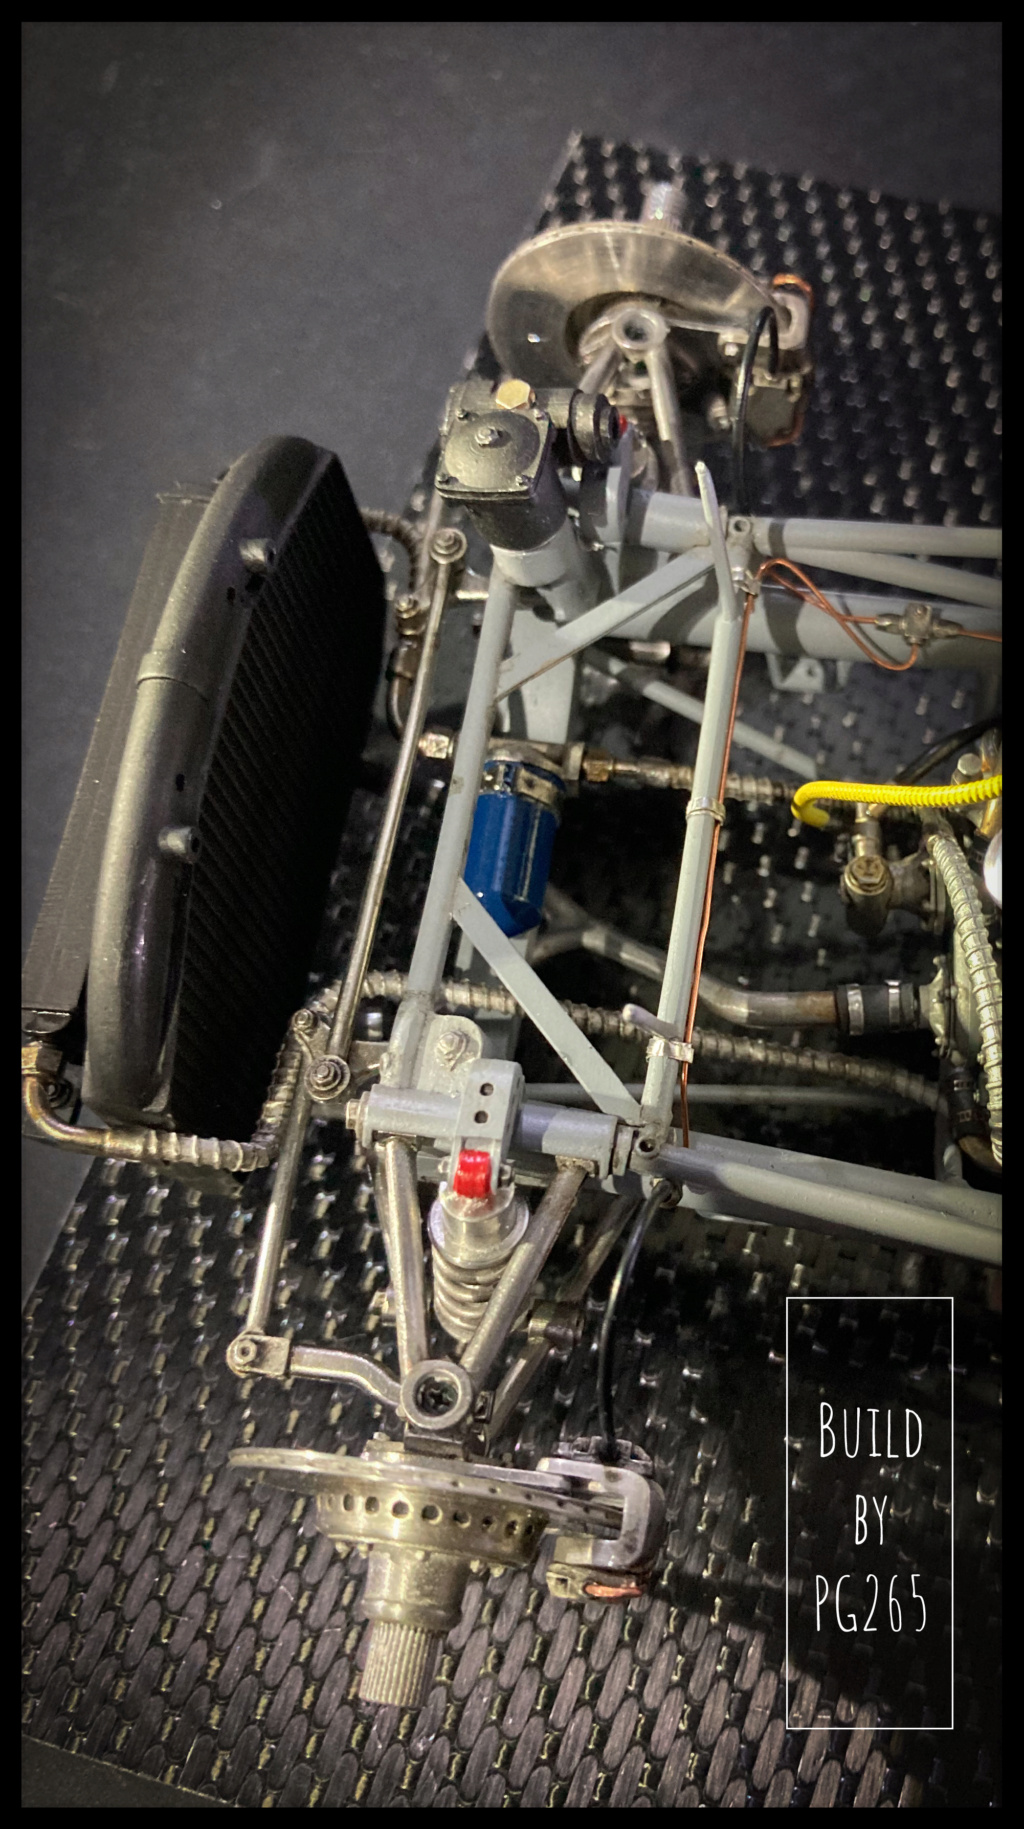 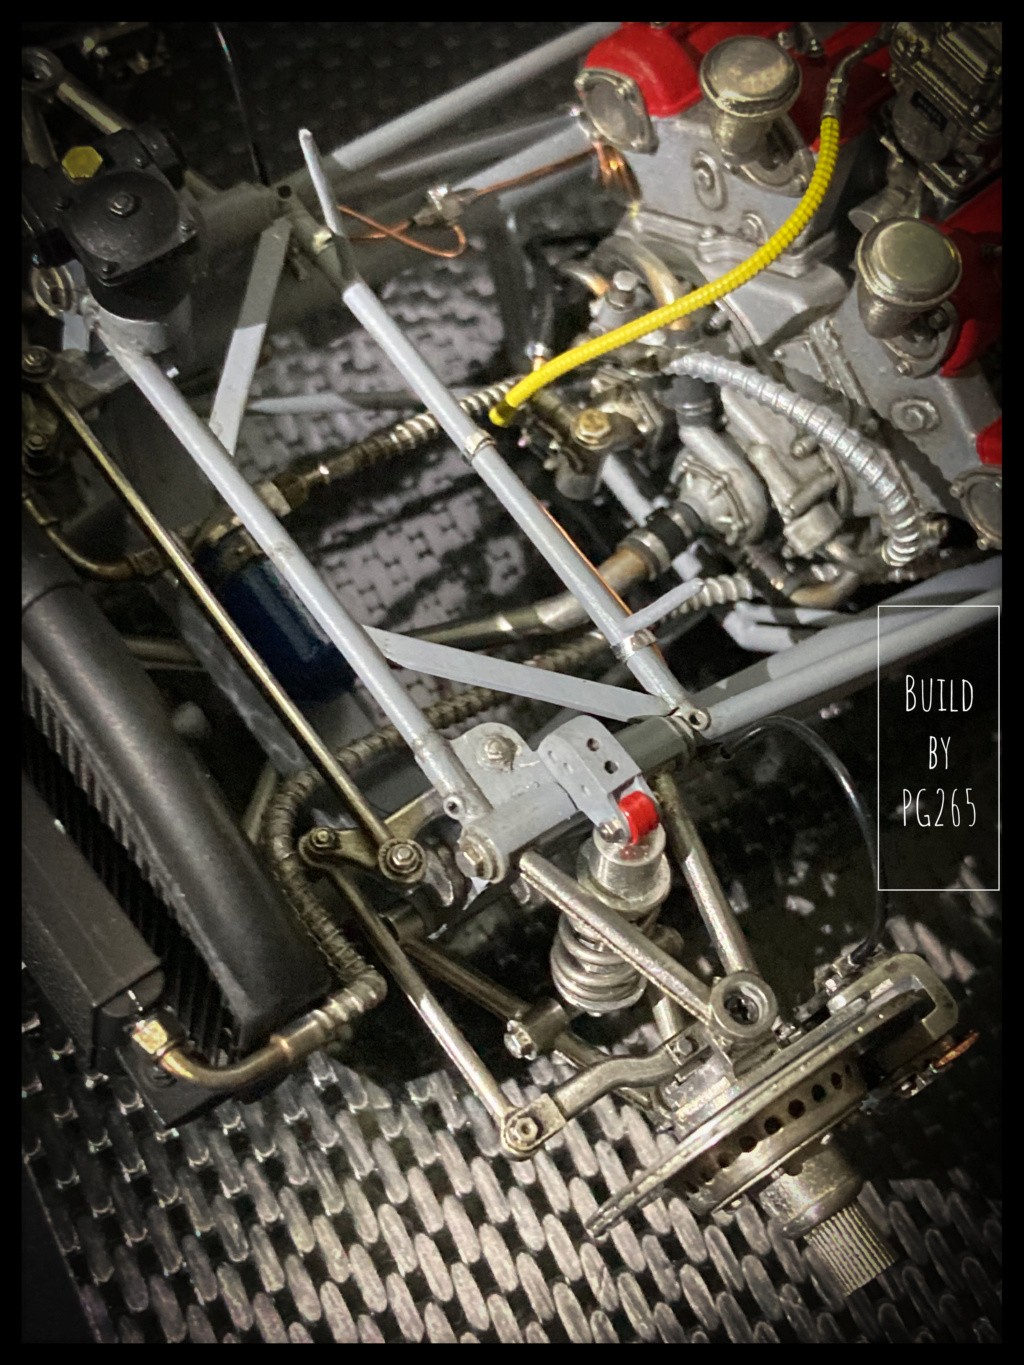 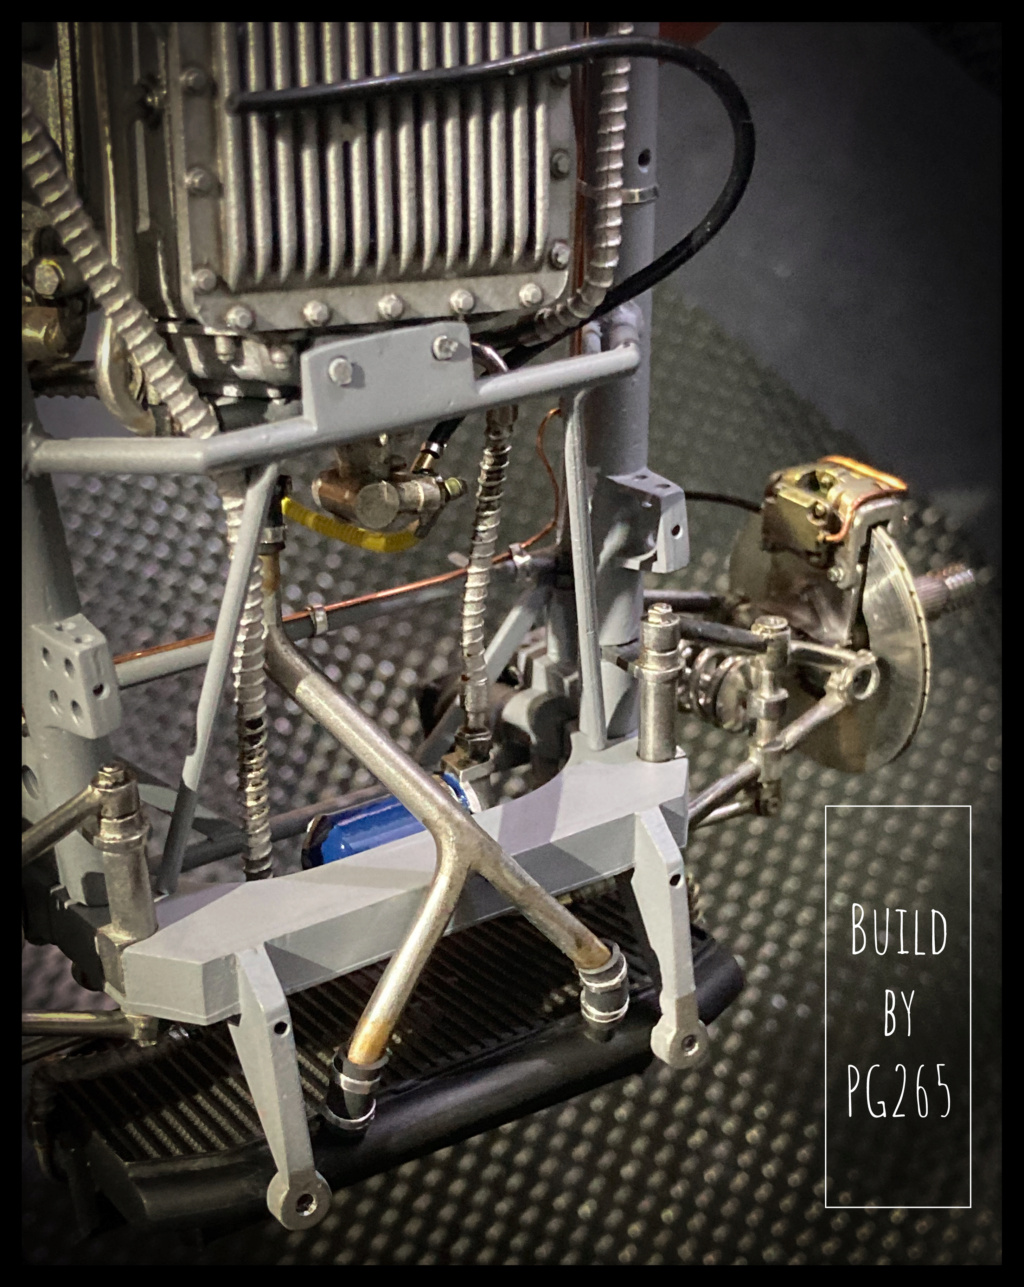 The rest of the hoses as well as the water temperature sensor will be fitted shortly. The rear axle is also permanently fixed and connected to the brake lines.  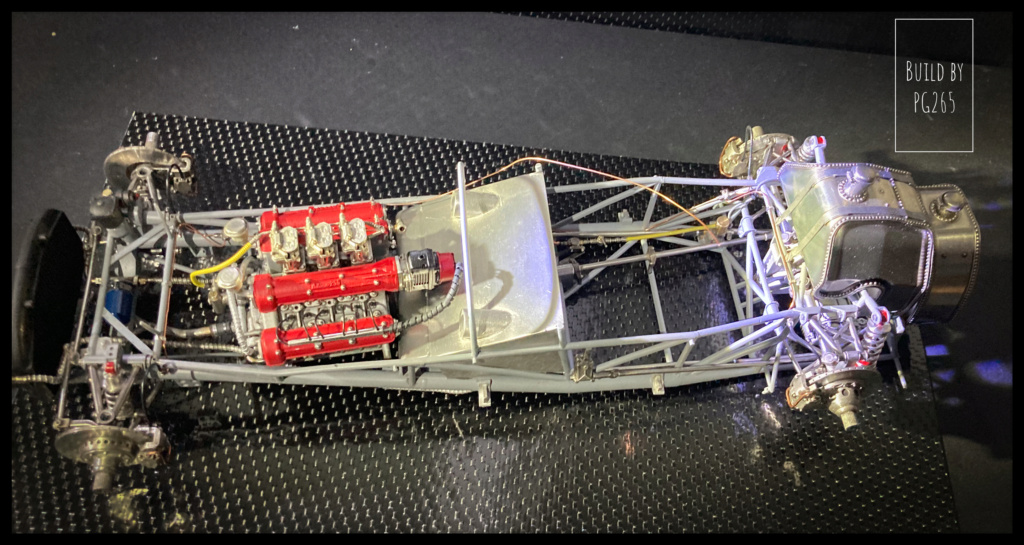 Sorry for the photos, I will take others in a more favorable light… Not much left to add to the front... 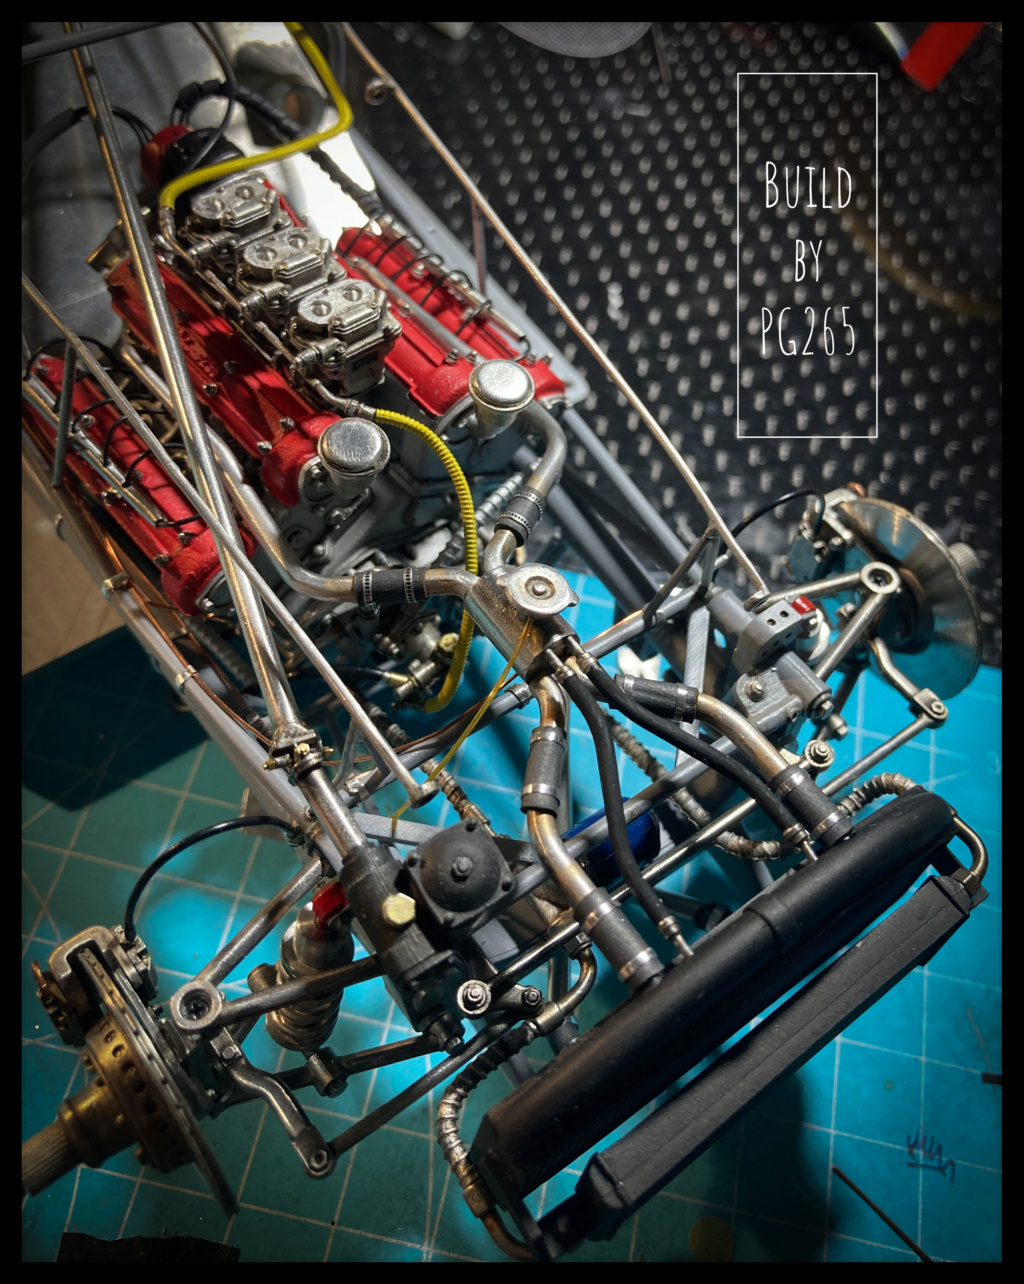 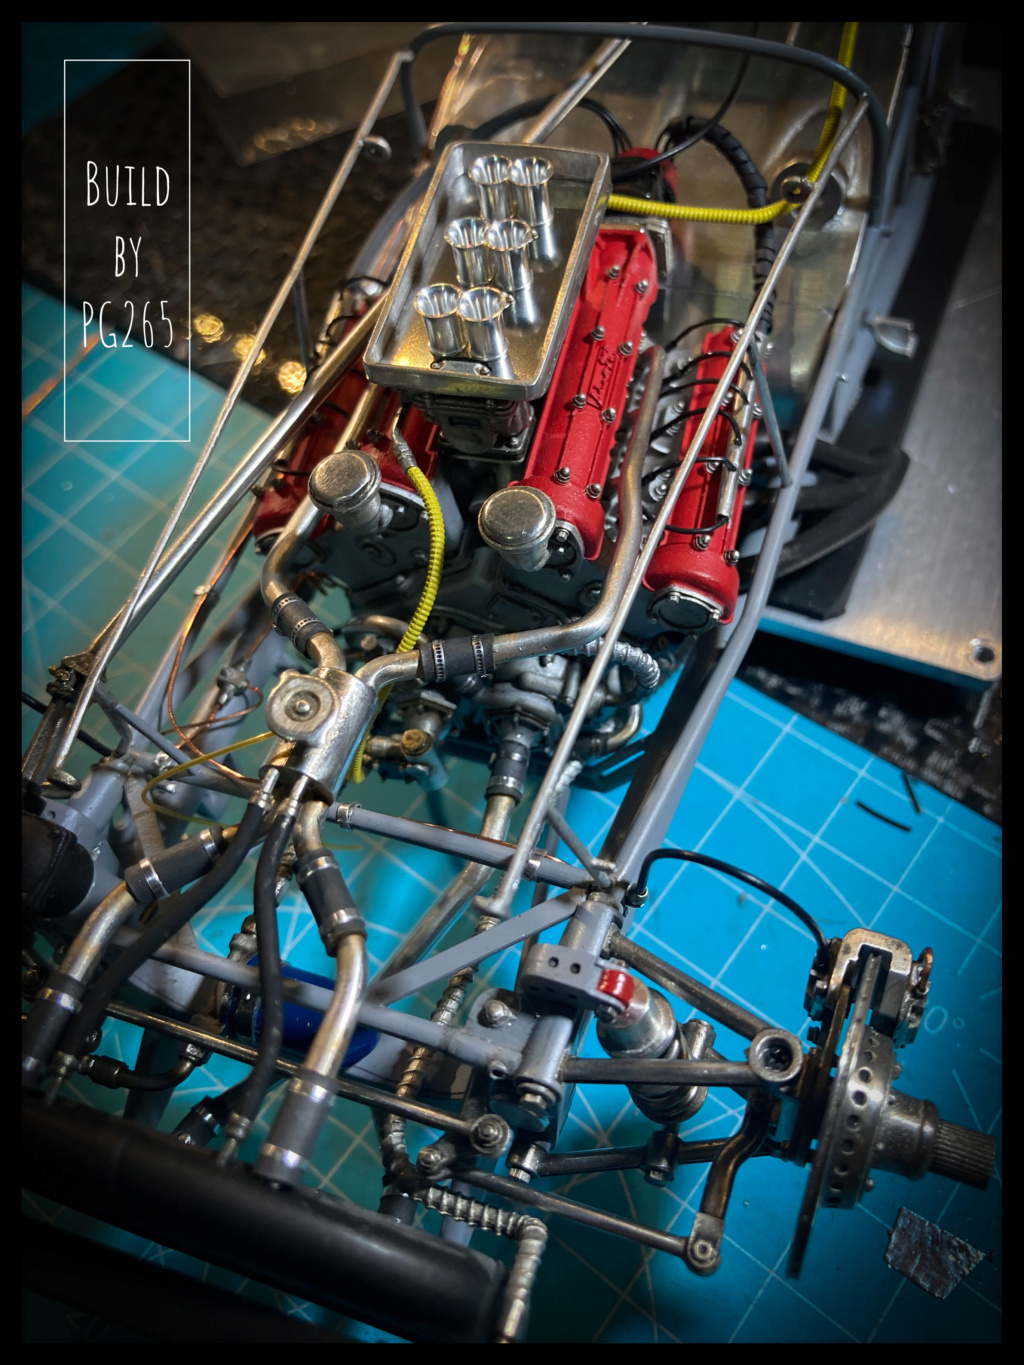 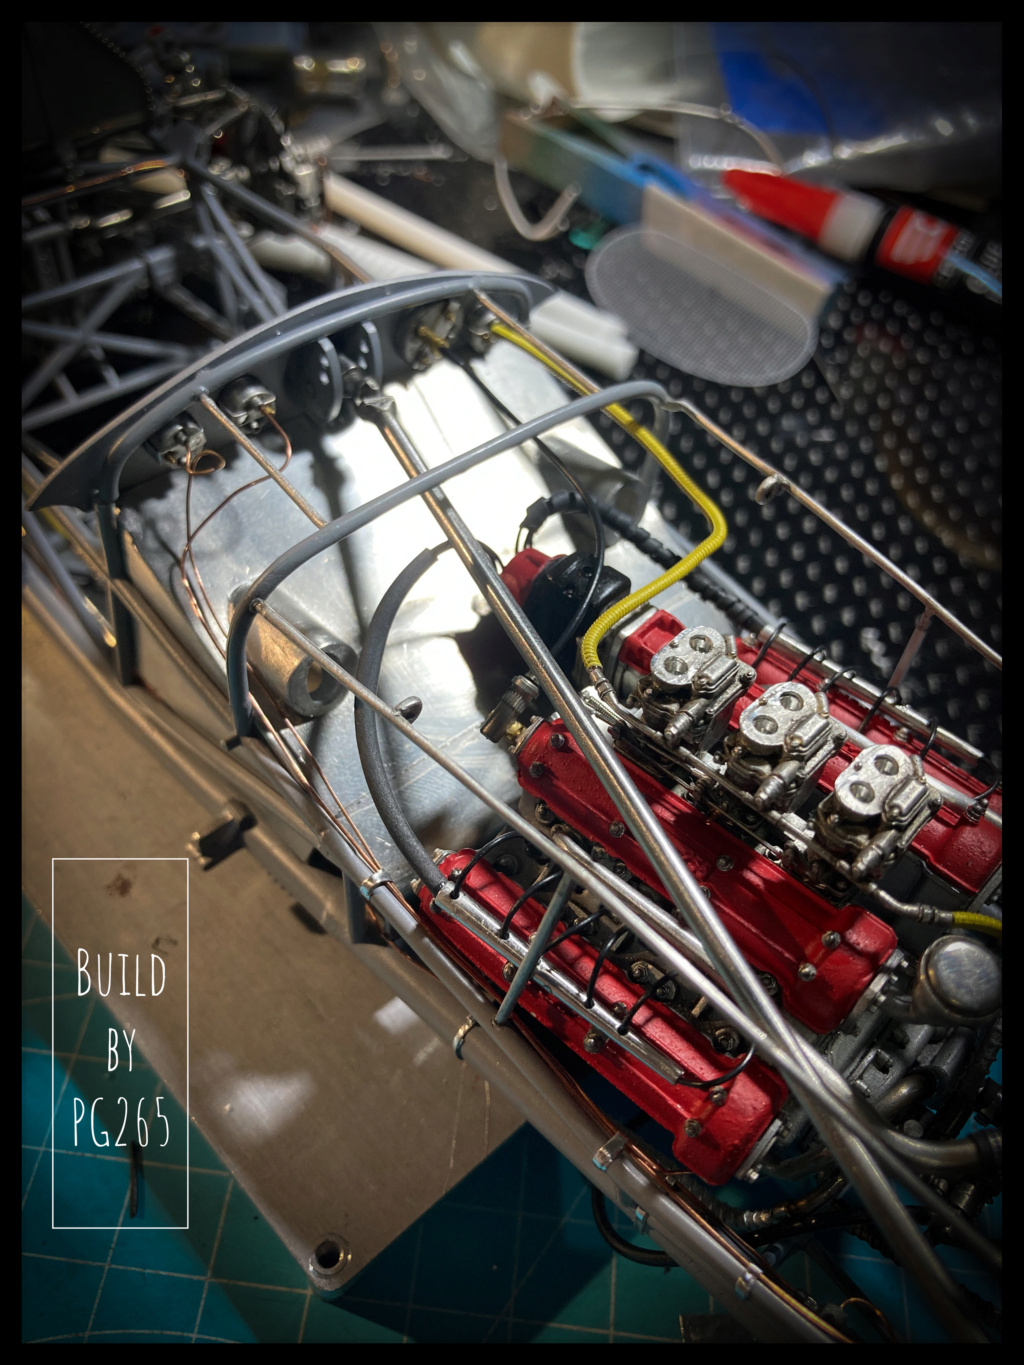 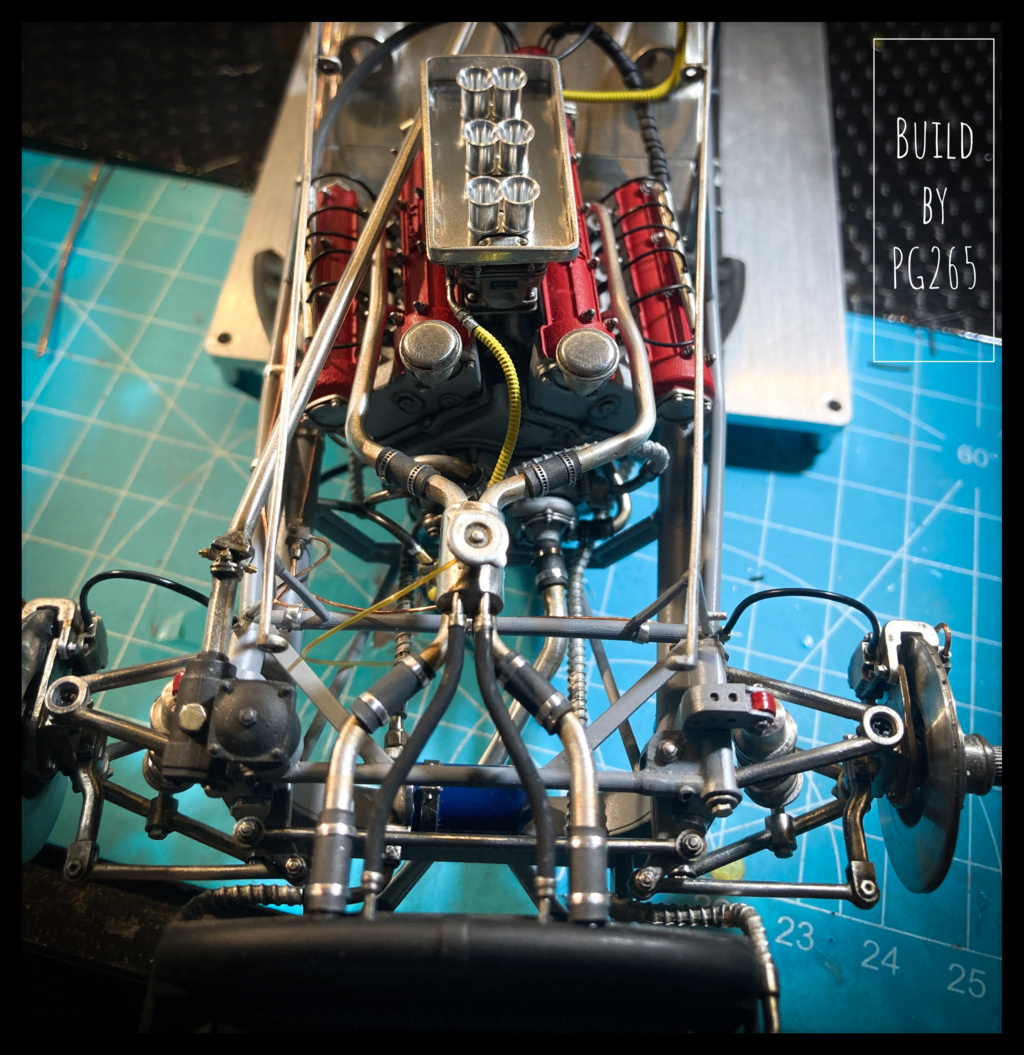 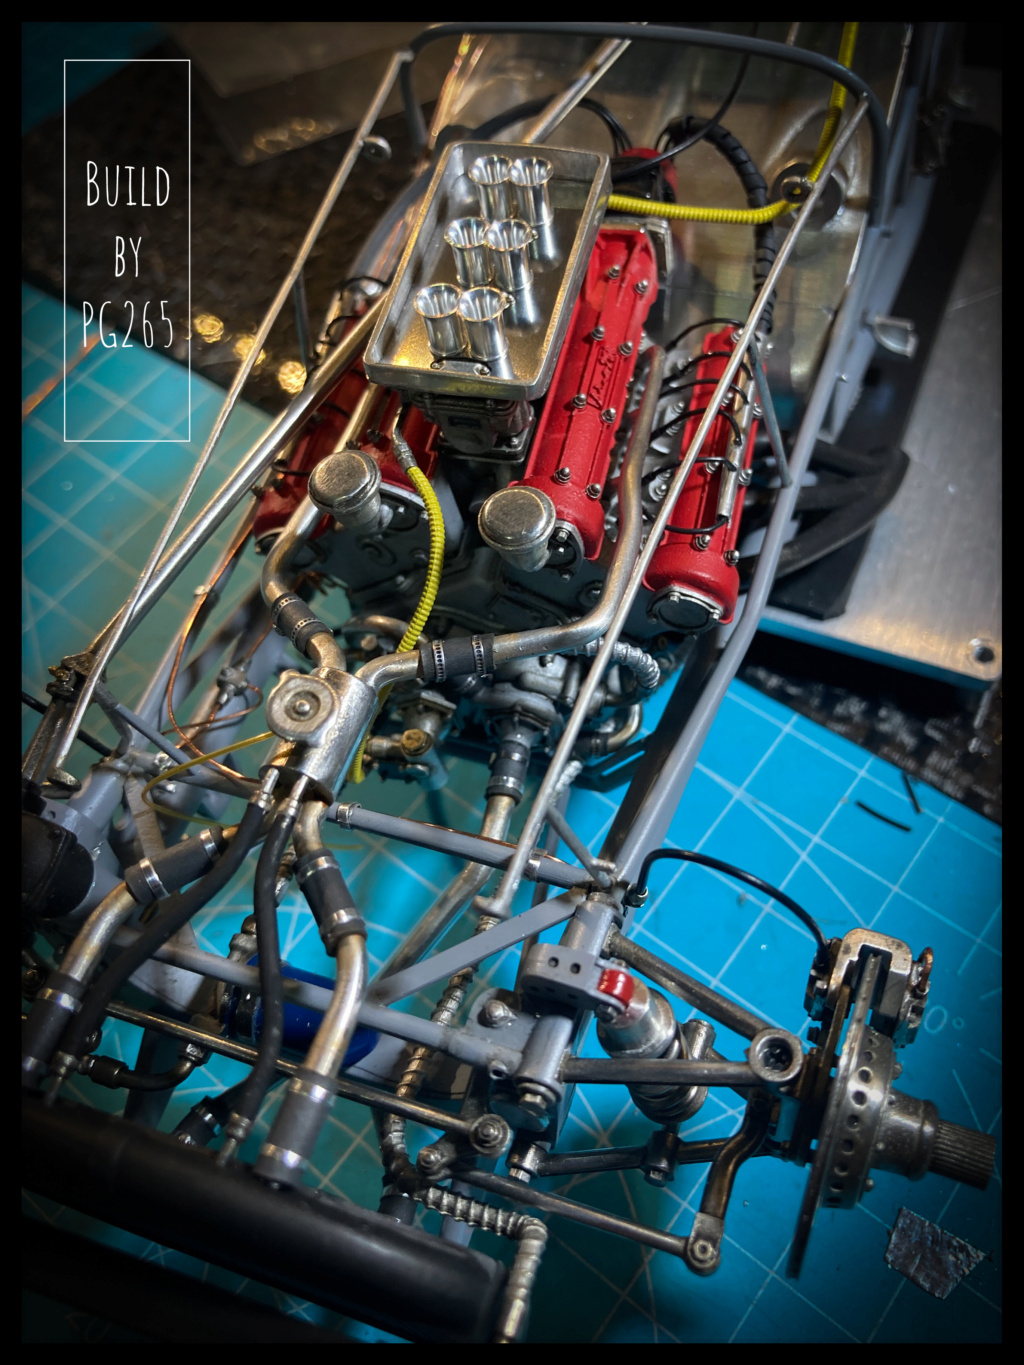 The dashboard is in place and its instruments connected. The thin tubes that support the bodywork elements are also fixed. More soon. Pascal |
|
|
|
Post by kyledehart5 on May 6, 2022 18:00:09 GMT -5
Beautiful stuff!! Just looks amazing!
|
|
|
|
Post by f1tommy on May 6, 2022 21:02:03 GMT -5
Very nice work. I love the light weathering.
|
|
|
|
Post by Gary Davis on May 7, 2022 13:59:56 GMT -5
Dang...that car has got to "RUN". Excellent building all around. It sure looks like a 1/1 for sure....Pascal.
|
|
pg265
Front Runner
 
Posts: 231 
|
Post by pg265 on Sept 3, 2022 17:33:38 GMT -5
Good evening, Thanks! That's it, the building finally resumes!... Sorry for this summer absence, a very favorable period for my other activities which, although practiced all year round, see their rhythm take precedence over the others. So I have a lot of catching up to do on the forum... Good, well we start again quietly with the rims. I had mounted one… there are 3 left! We start with the other front wheel. 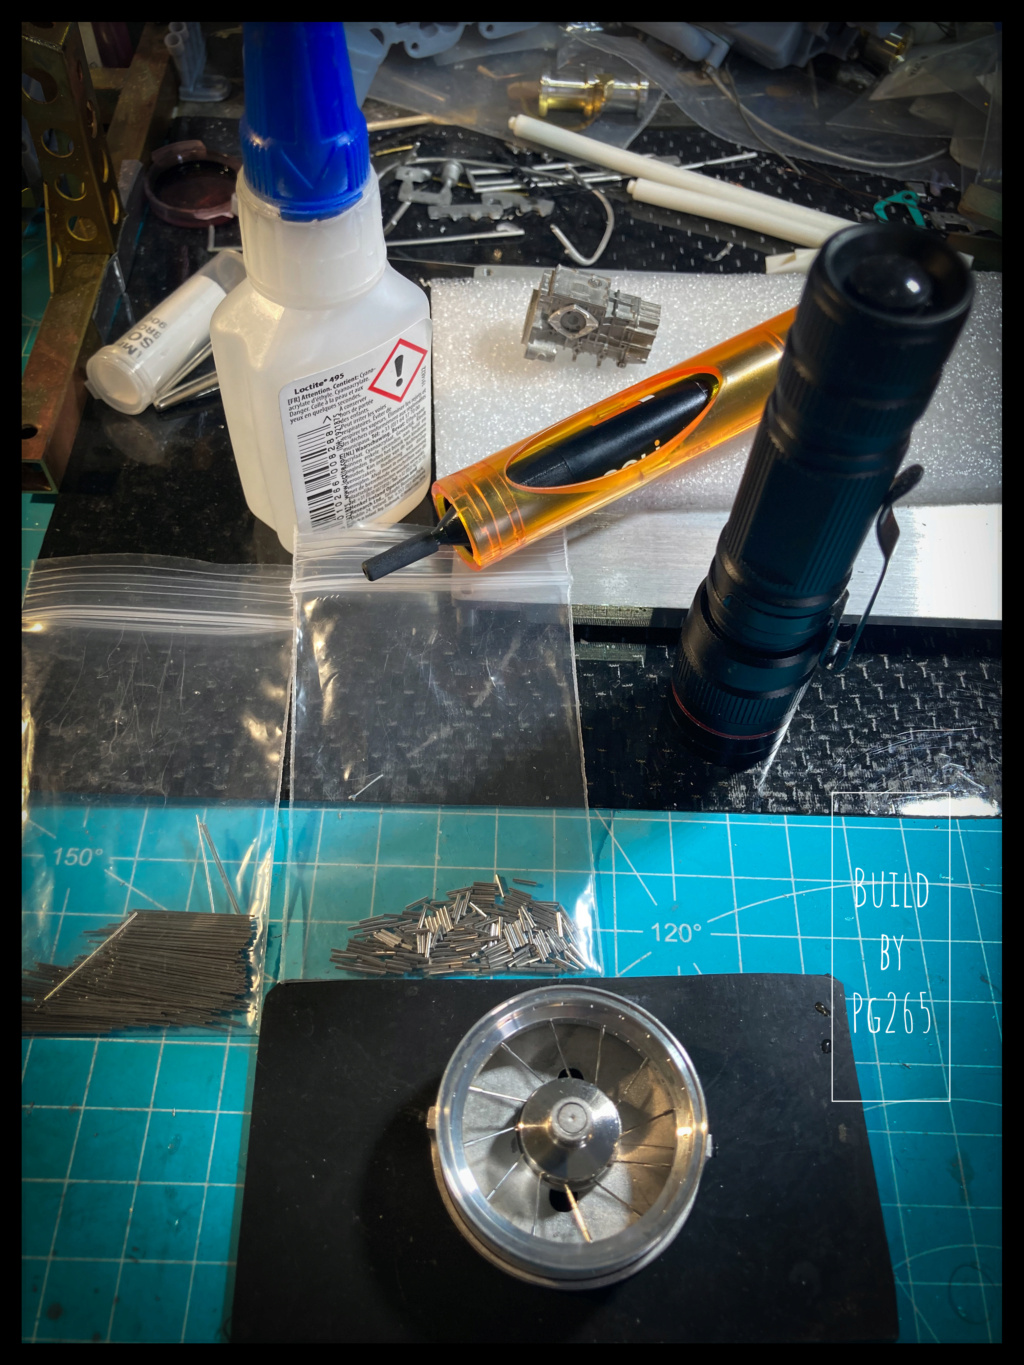 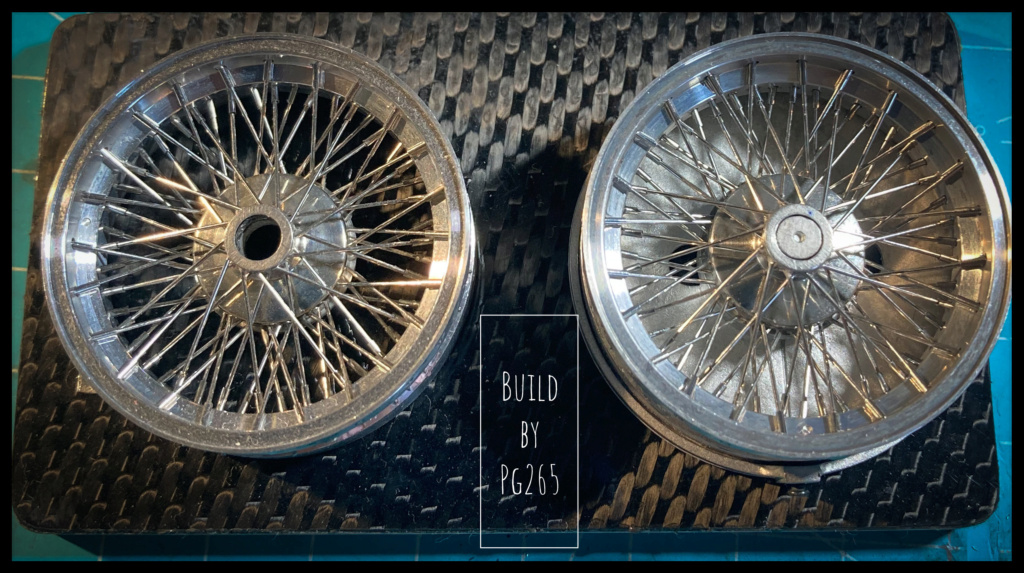 Time to modify the mounting bracket, then move on to a rear rim. The drilling and the preparation of the hub takes a little time: the drilling of the holes (0.45) receiving the spokes is done according to an angulation on the vertical and horizontal plane. 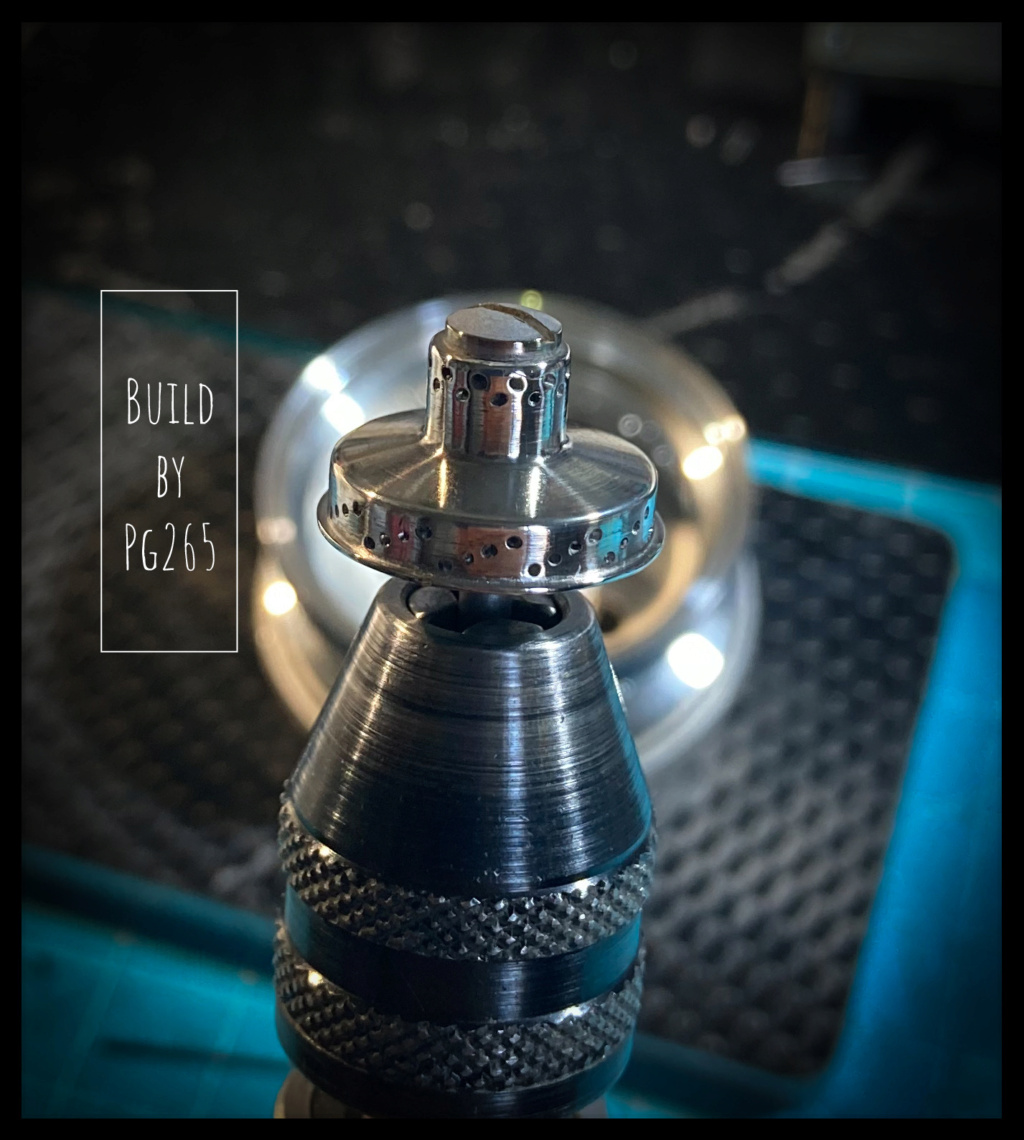 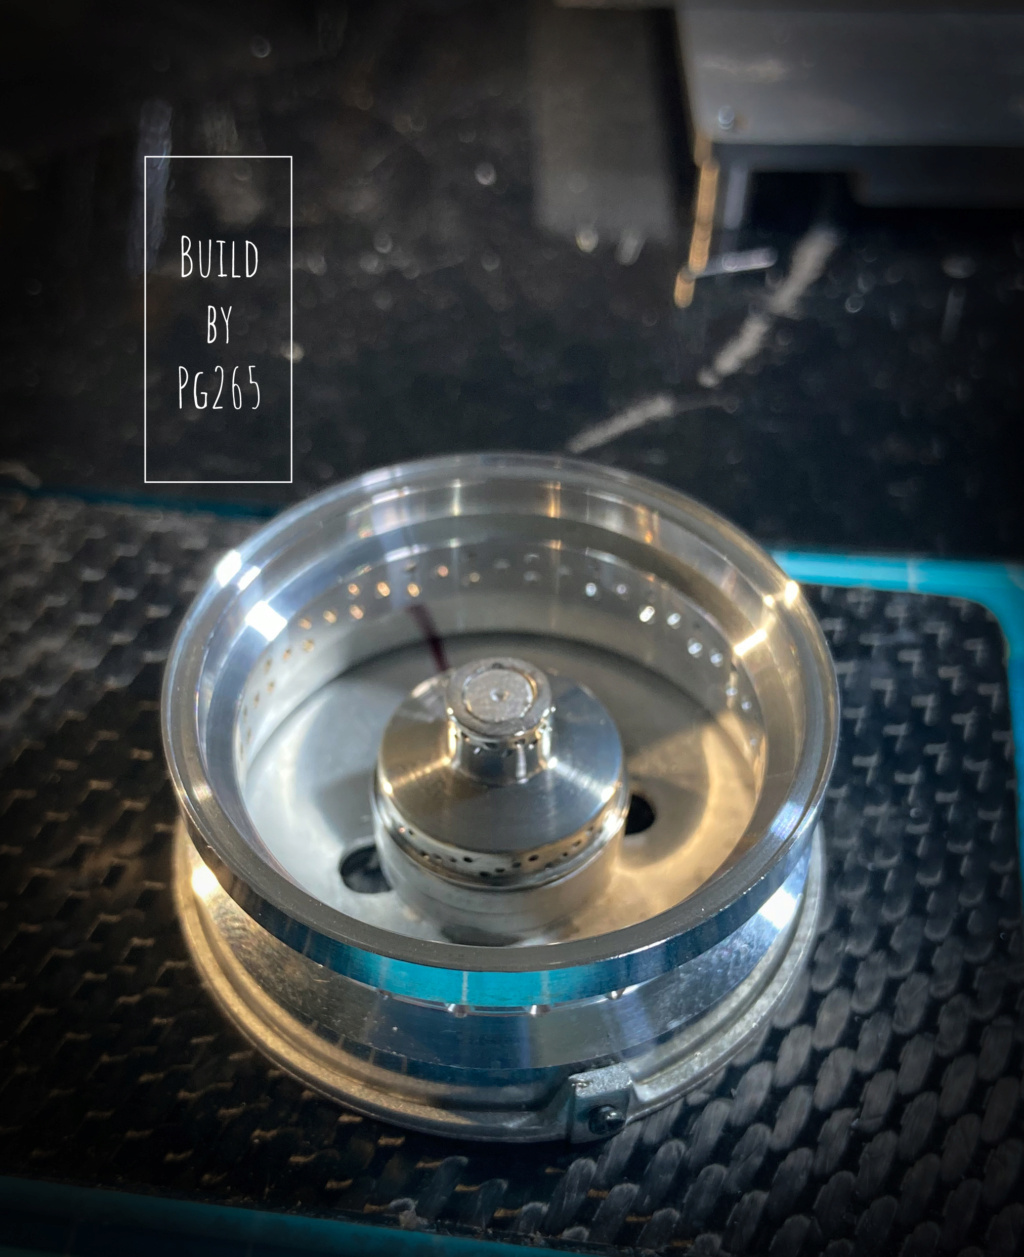 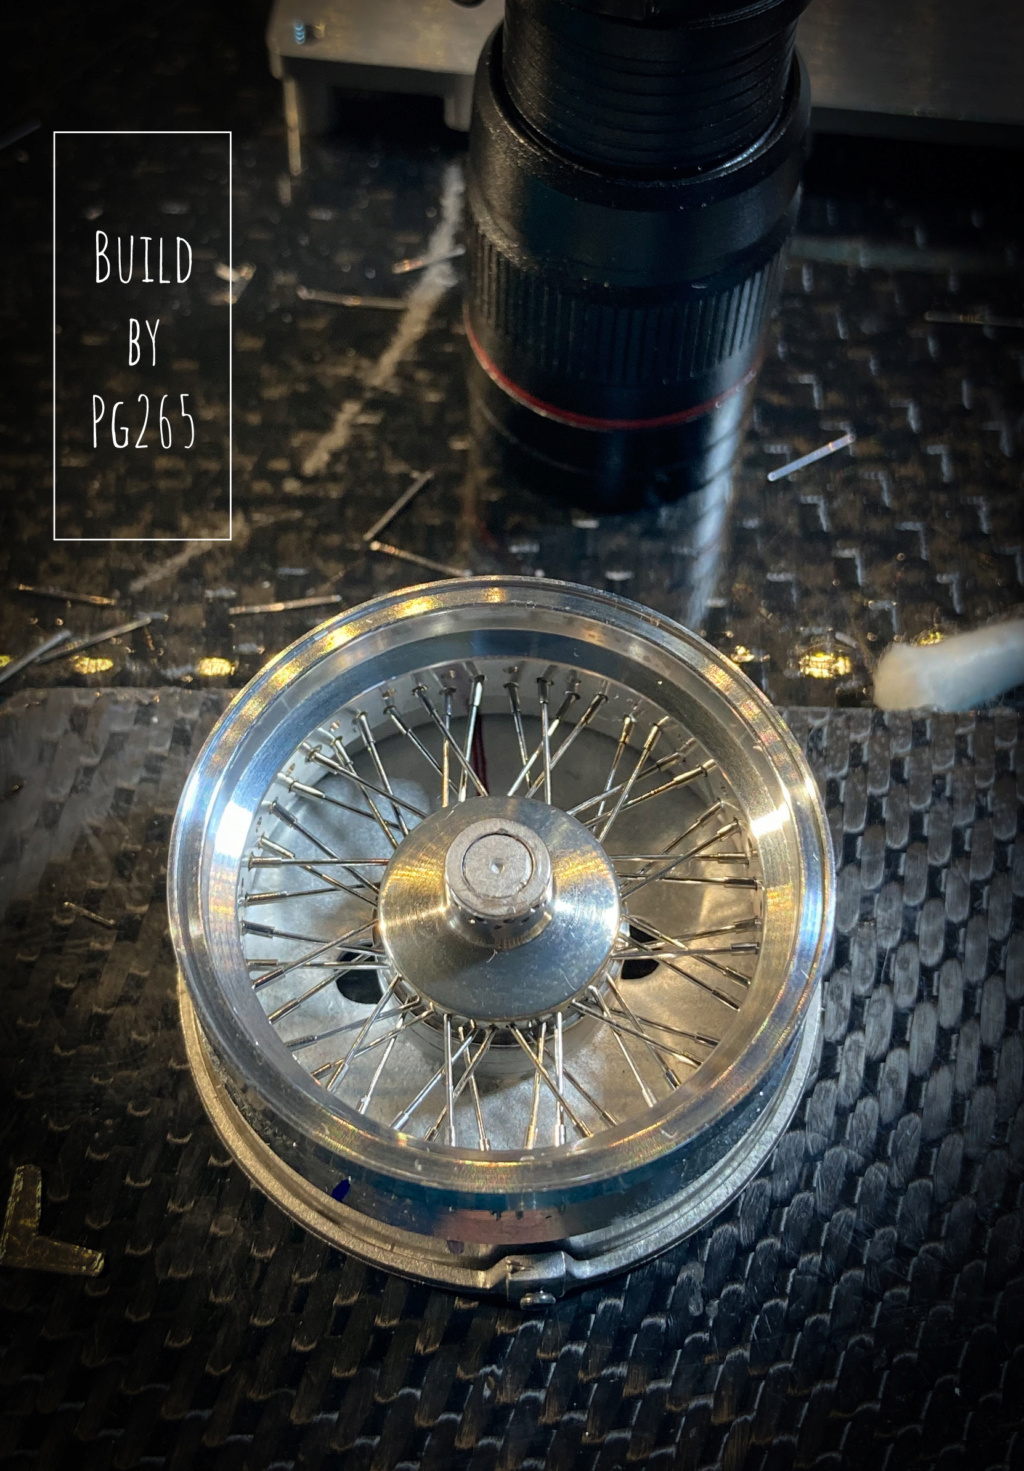 Here they are together to compare the front and rear. 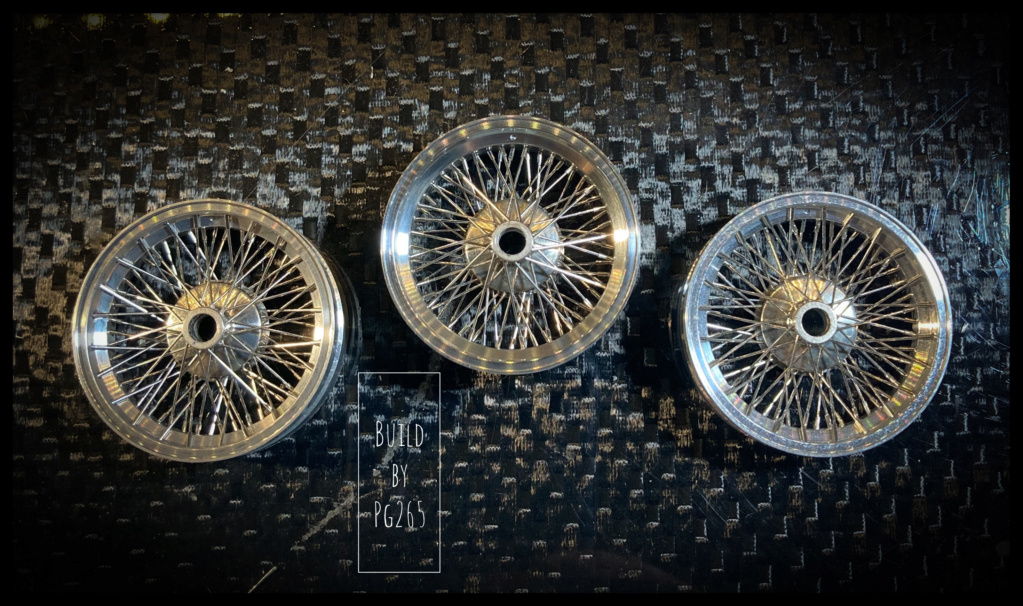 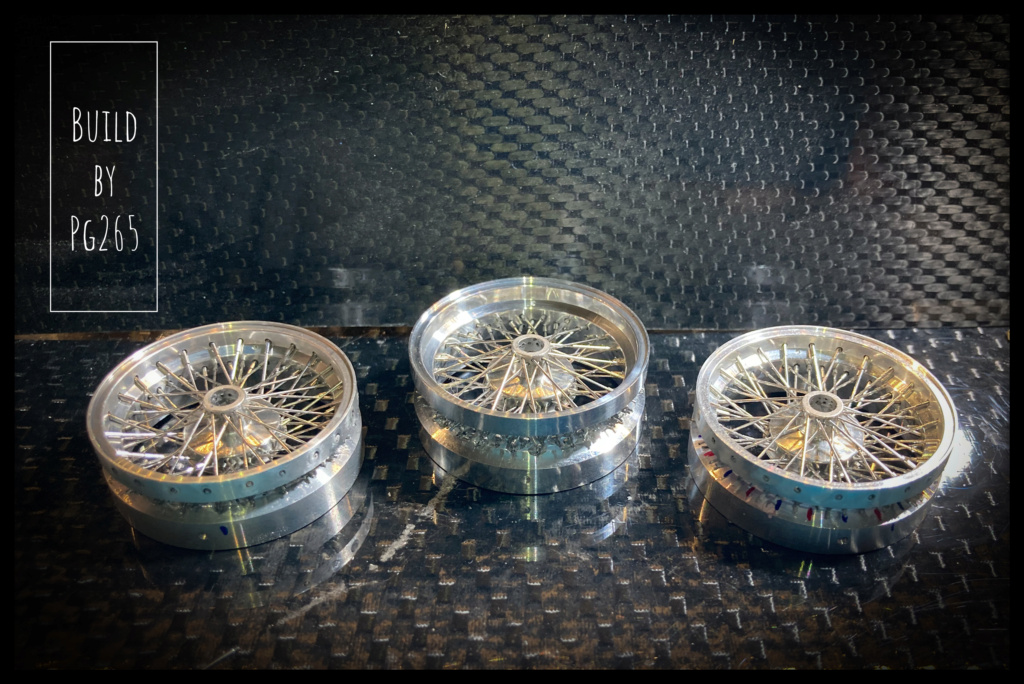  Already not bad for a restart… and then I have 3 more flights tomorrow and the GP! Pascal |
|
|
|
Post by kyledehart5 on Sept 3, 2022 21:08:32 GMT -5
Glad to see the resumption of this incredible build!!
|
|
|
|
Post by Gary Davis on Sept 4, 2022 11:55:25 GMT -5
Dang, those wheels look good!
|
|
pg265
Front Runner
 
Posts: 231 
|
Post by pg265 on Sept 7, 2022 15:35:18 GMT -5
Good evening, Thanks guys! And thank you to all the brave people who follow the assembly of the Beast of Monza! Not a lot, but the 4 rims are mounted. I took the opportunity to try the tires and the installation on the chassis. Here are some pictures. 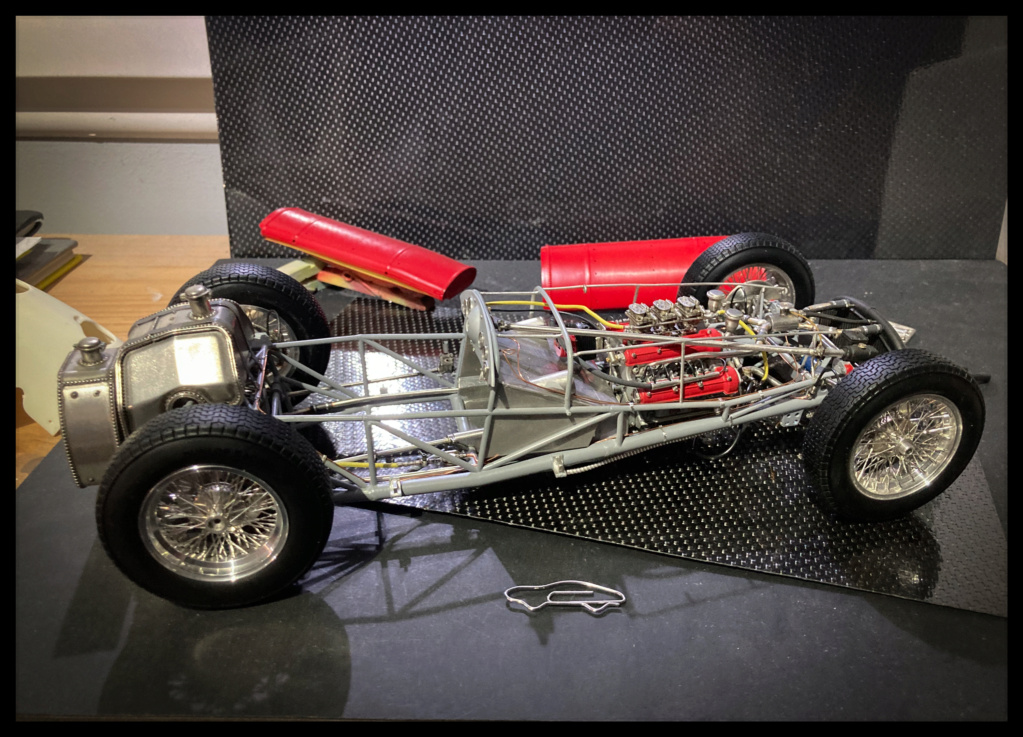 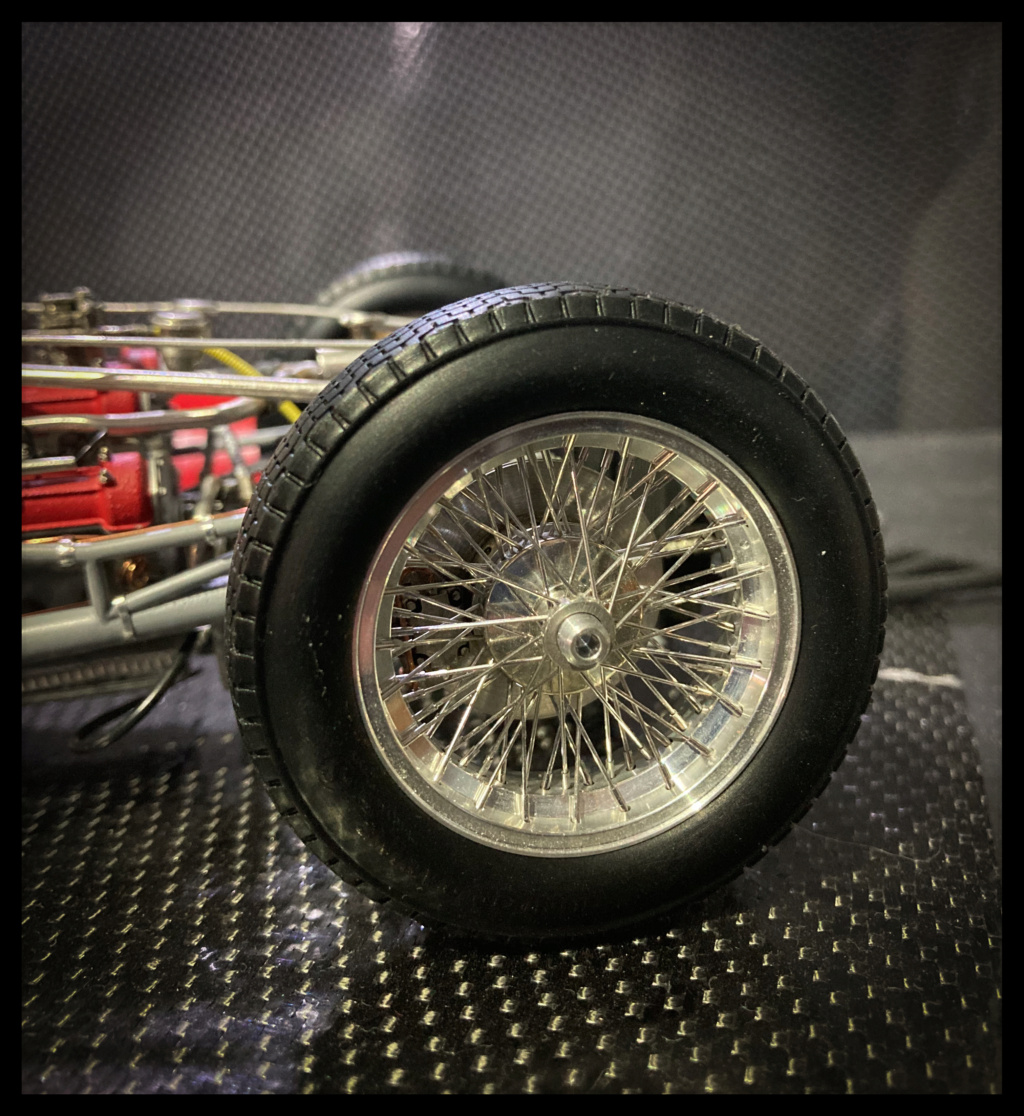 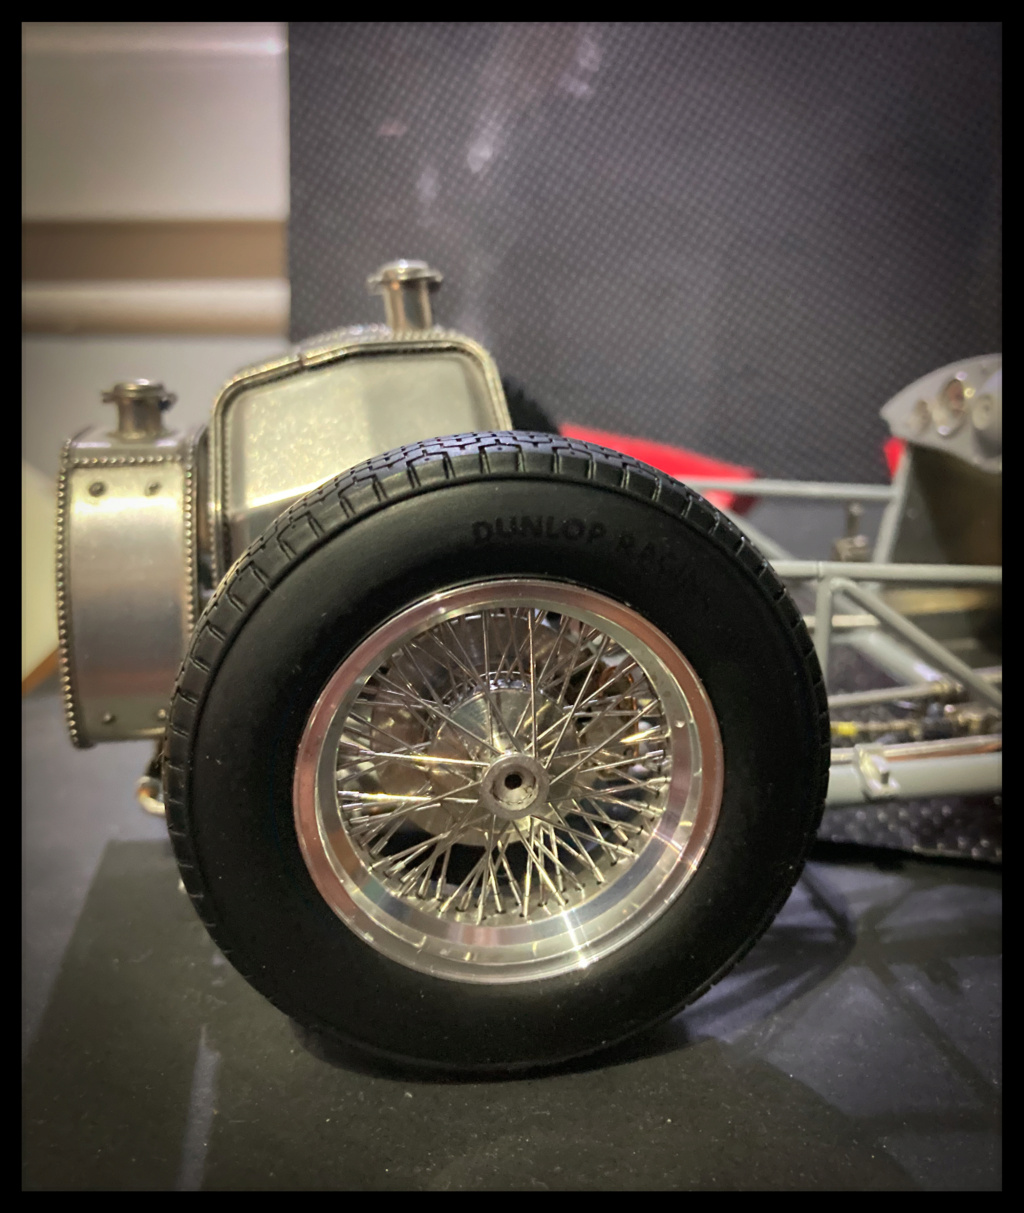 Next soon. Pascal |
|
|
|
Post by kyledehart5 on Sept 7, 2022 21:37:17 GMT -5
Fantastic. It’s going to look incredible.
|
|
pg265
Front Runner
 
Posts: 231 
|
Post by pg265 on Sept 16, 2022 13:16:13 GMT -5
Good evening, Thank you very much!  The hubs are finished, the threading of the wing nut is added after the splines. The wing nuts are prepared and equipped with the female threaded part. It is a turned aluminum part at the end of which is machined a hexagon which corresponds to the female imprint at the back of the wing nut. I must admit that I find the assembly rather judicious and very simple. 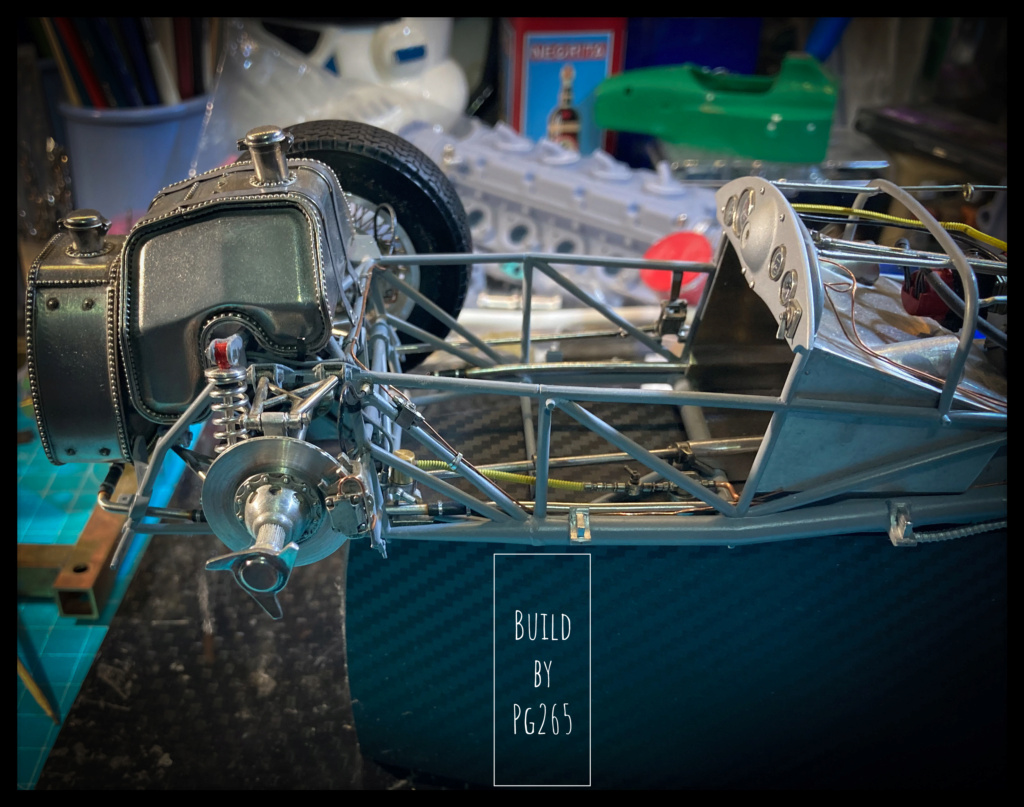 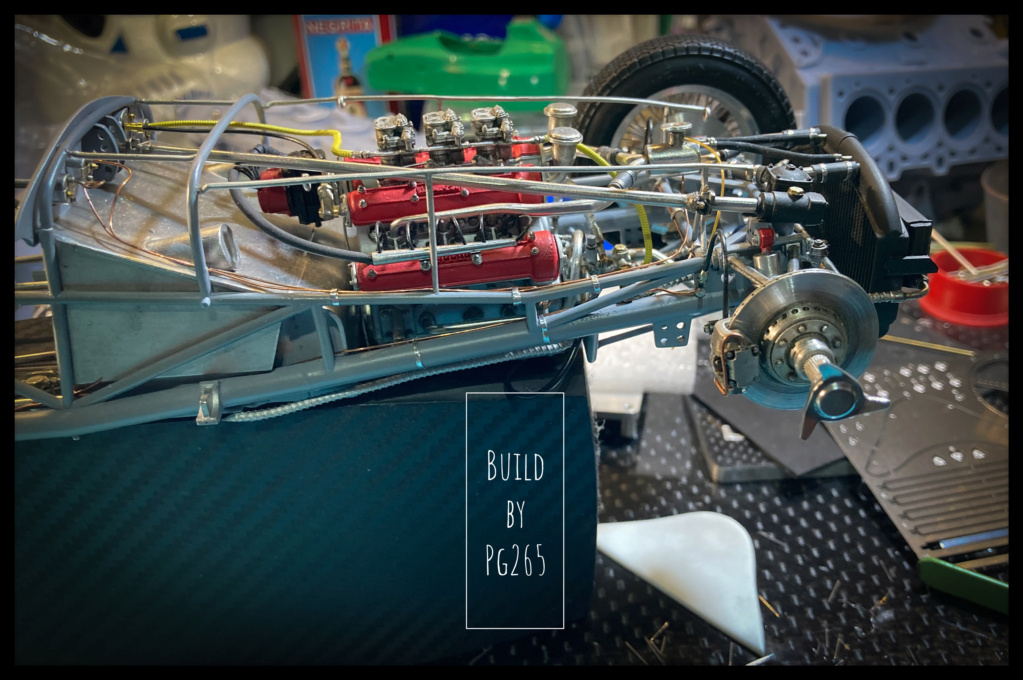  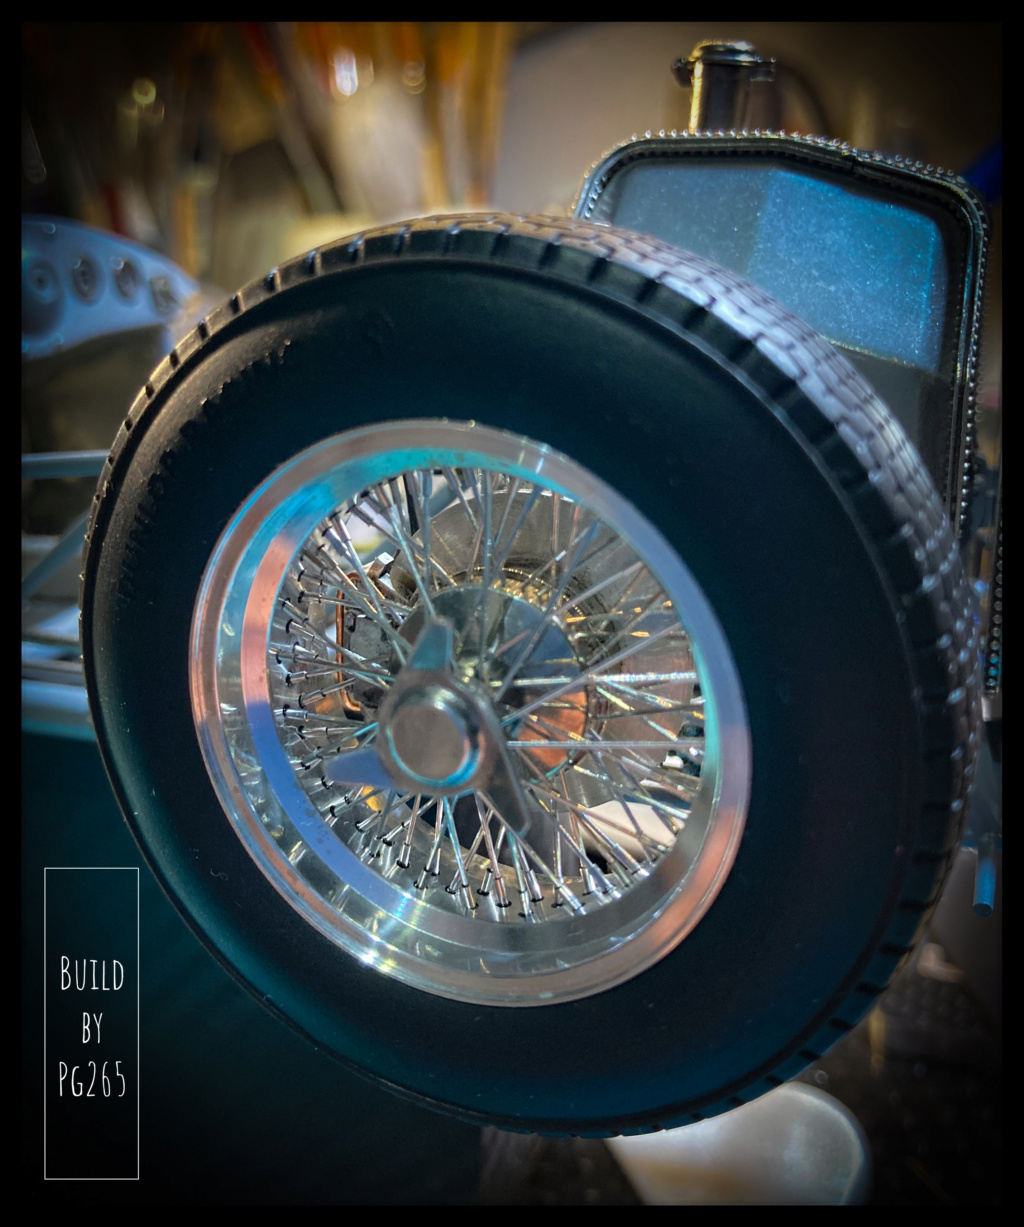 More soon. Pascal |
|
|
|
Post by Gary Davis on Sept 17, 2022 12:24:23 GMT -5
OUTSTANDING!!
|
|
|
|
Post by raceparke on Sept 19, 2022 16:47:07 GMT -5
|
|
|
|
Post by indy on Sept 22, 2022 9:09:29 GMT -5
Pascal, this build is coming along beautifully. The wire wheels are amazing. Keep up the great work.
Jordan
|
|
pg265
Front Runner
 
Posts: 231 
|
Post by pg265 on Sept 24, 2022 10:34:48 GMT -5
Hi, Thank you.  Most of the parts to be painted are now waiting for the primer layer. They were first test fitted, then drilled to receive rivets and fasteners. A sanding session followed before a clean-up with Teepol to avoid any greasy residue. These are the “victims”. 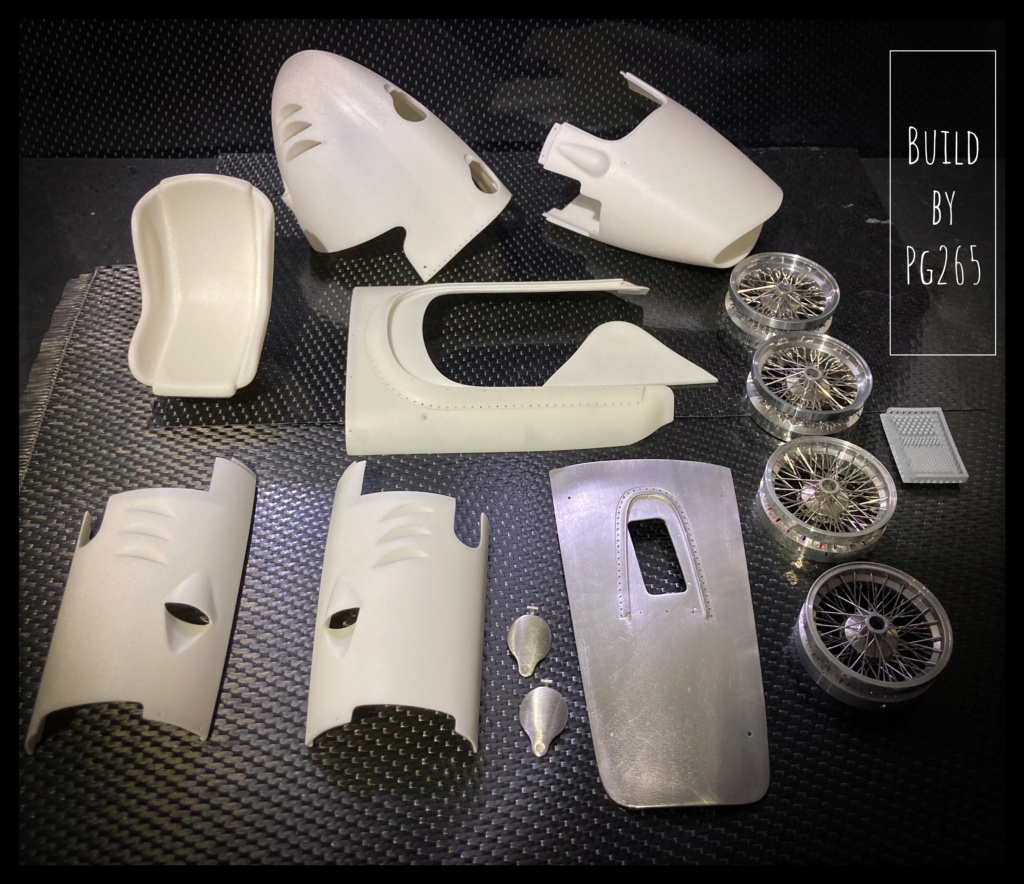 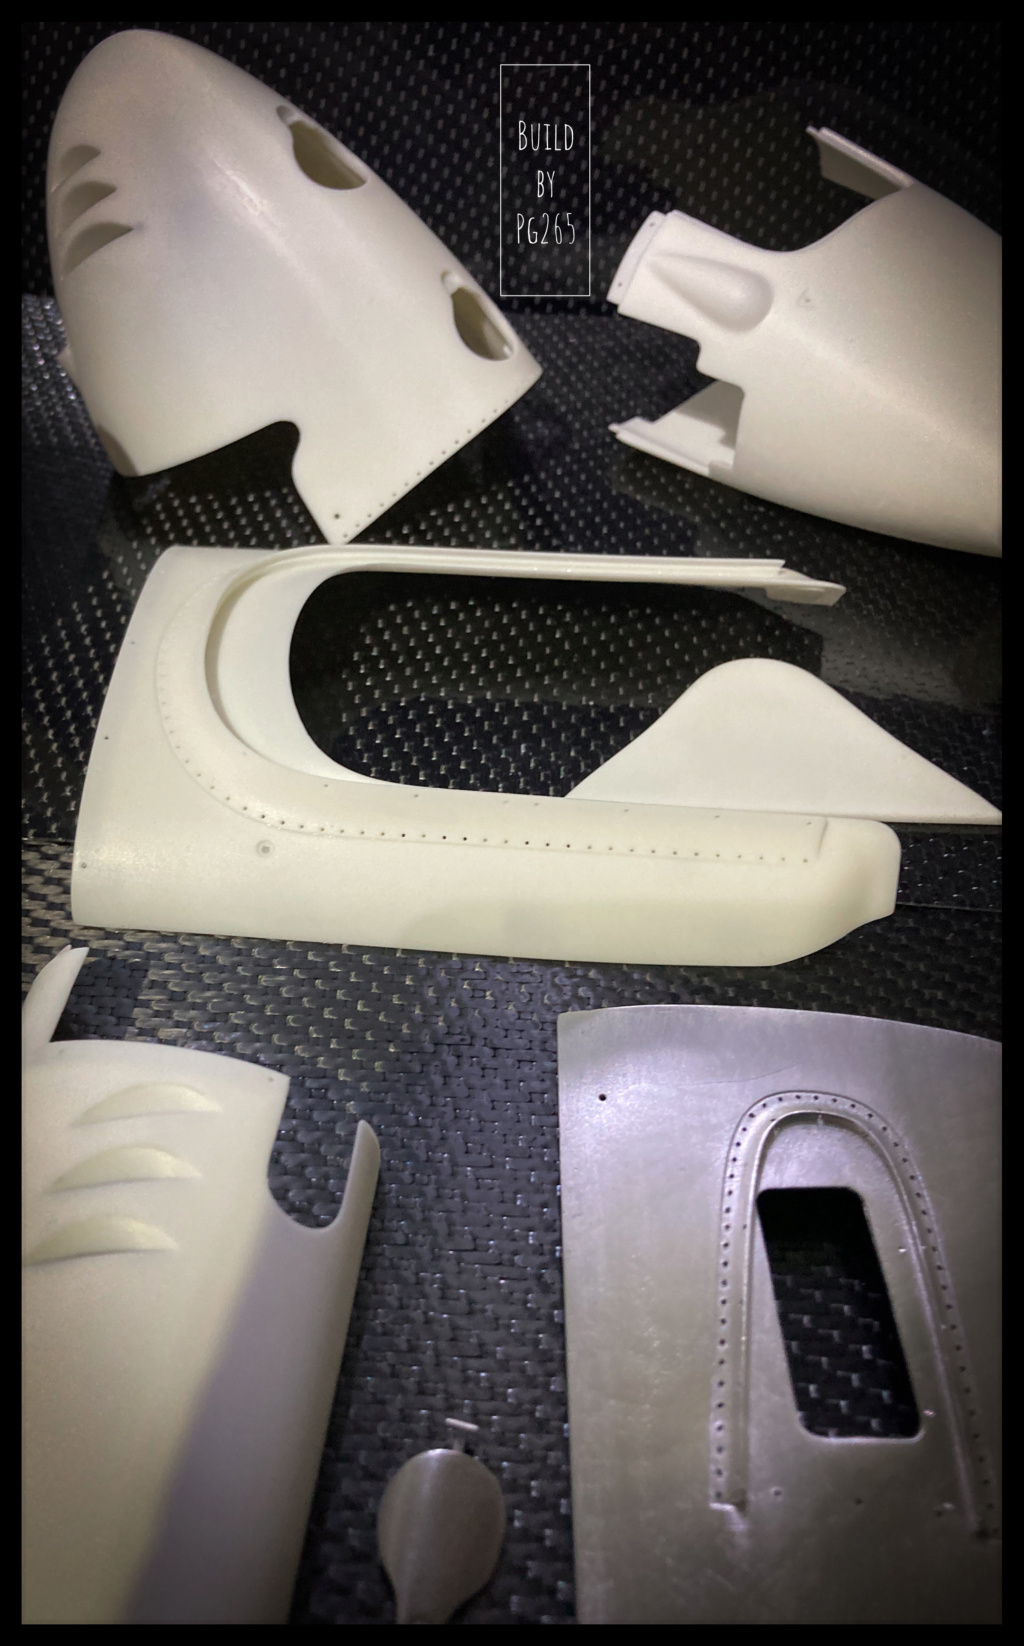 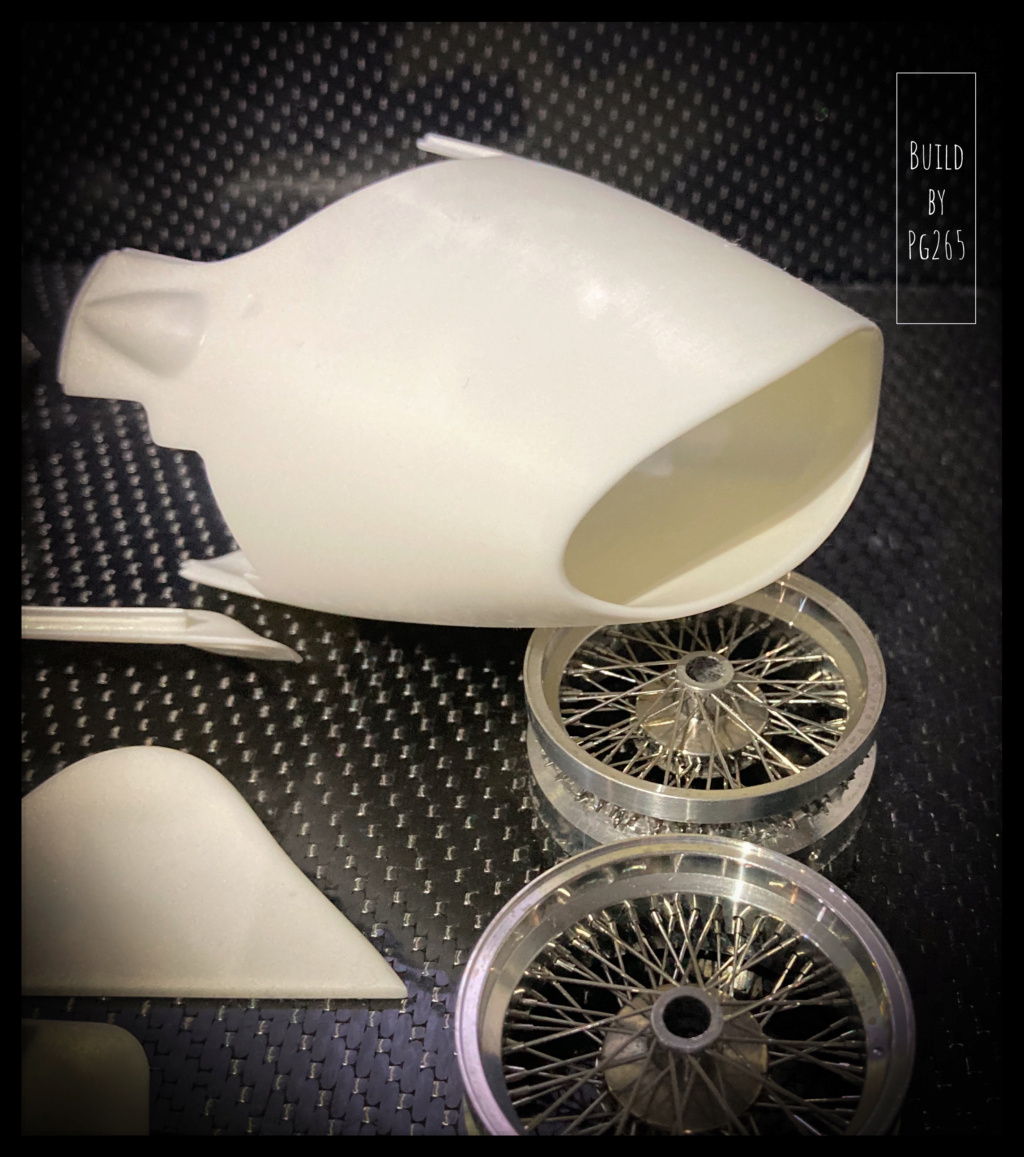 Pascal |
|
pg265
Front Runner
 
Posts: 231 
|
Post by pg265 on Sept 24, 2022 14:15:27 GMT -5
Good evening, Well, I had some time to: - Apply primer, - spray a layer of Giallo Modena, - pass the layer of Rosso Corsa, - paint the rims with Alclad and head rest/seat in black. Here are some pictures of progress. 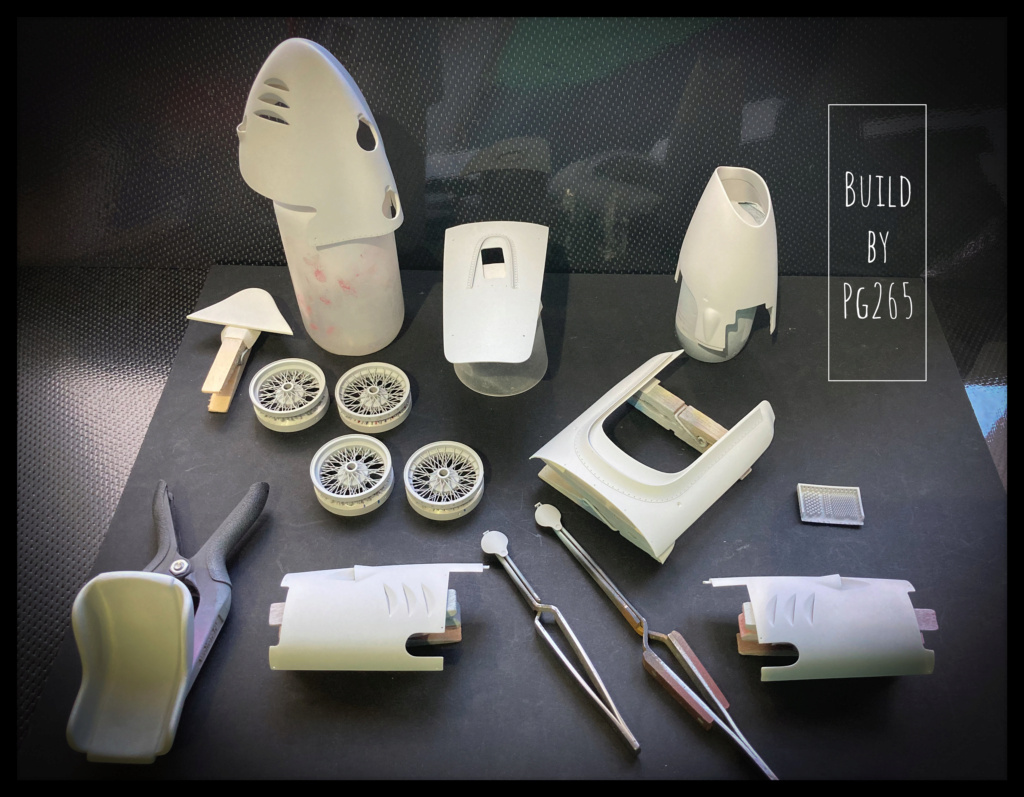  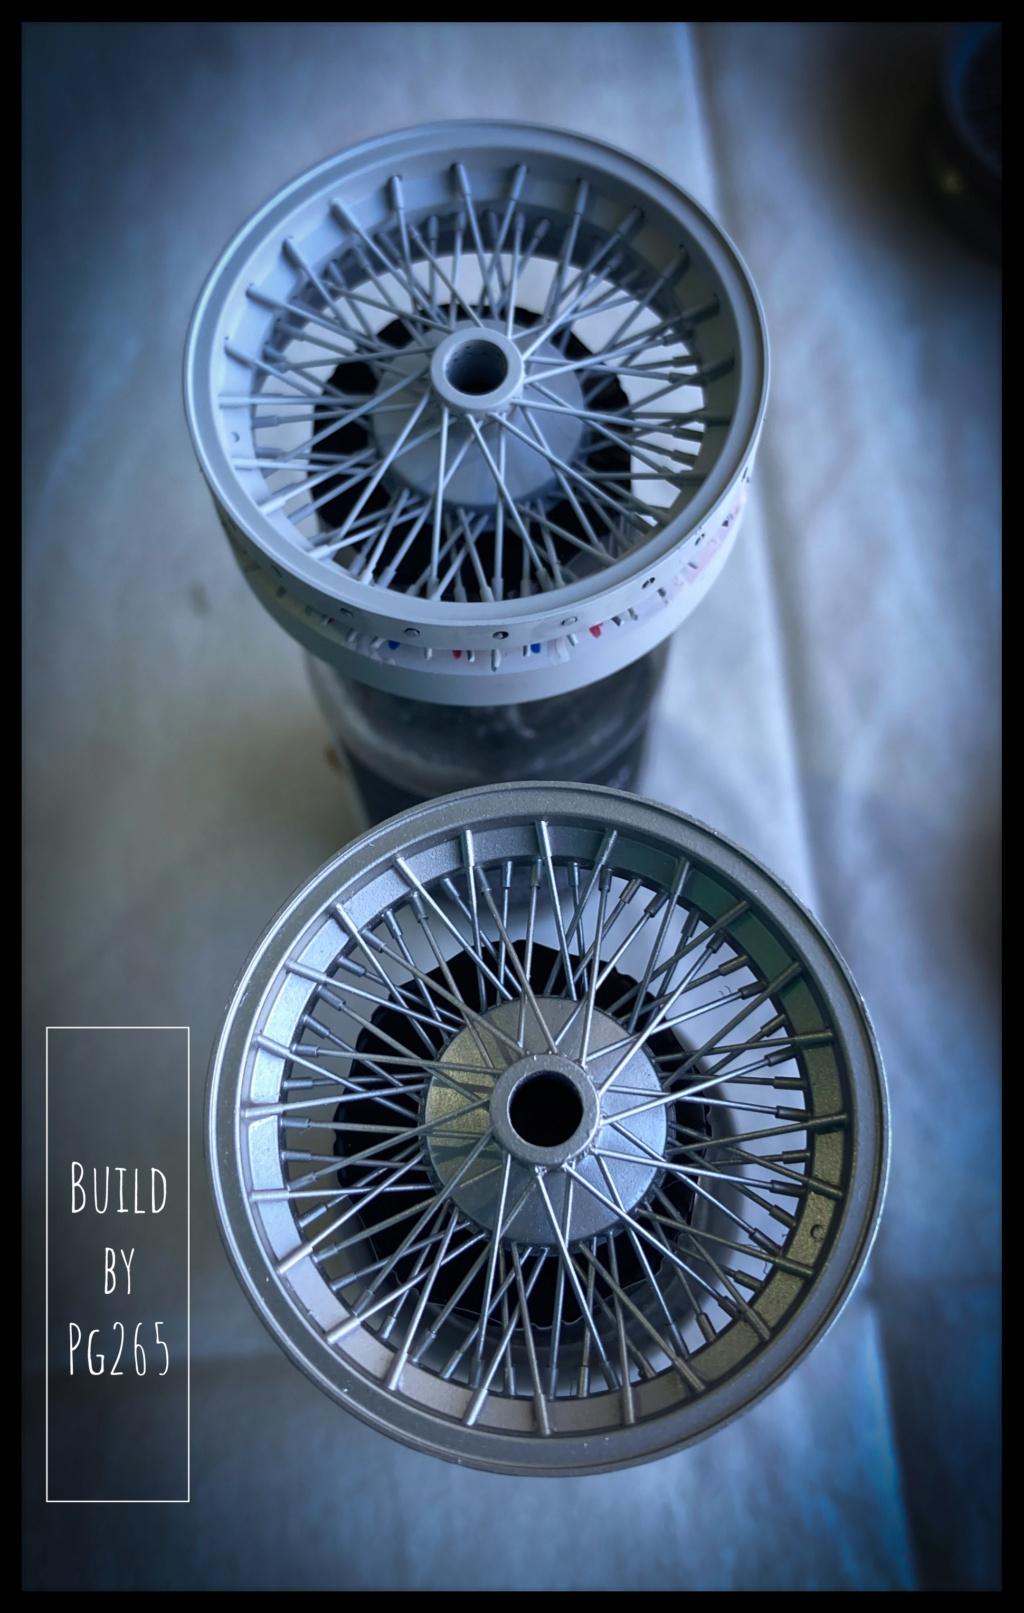 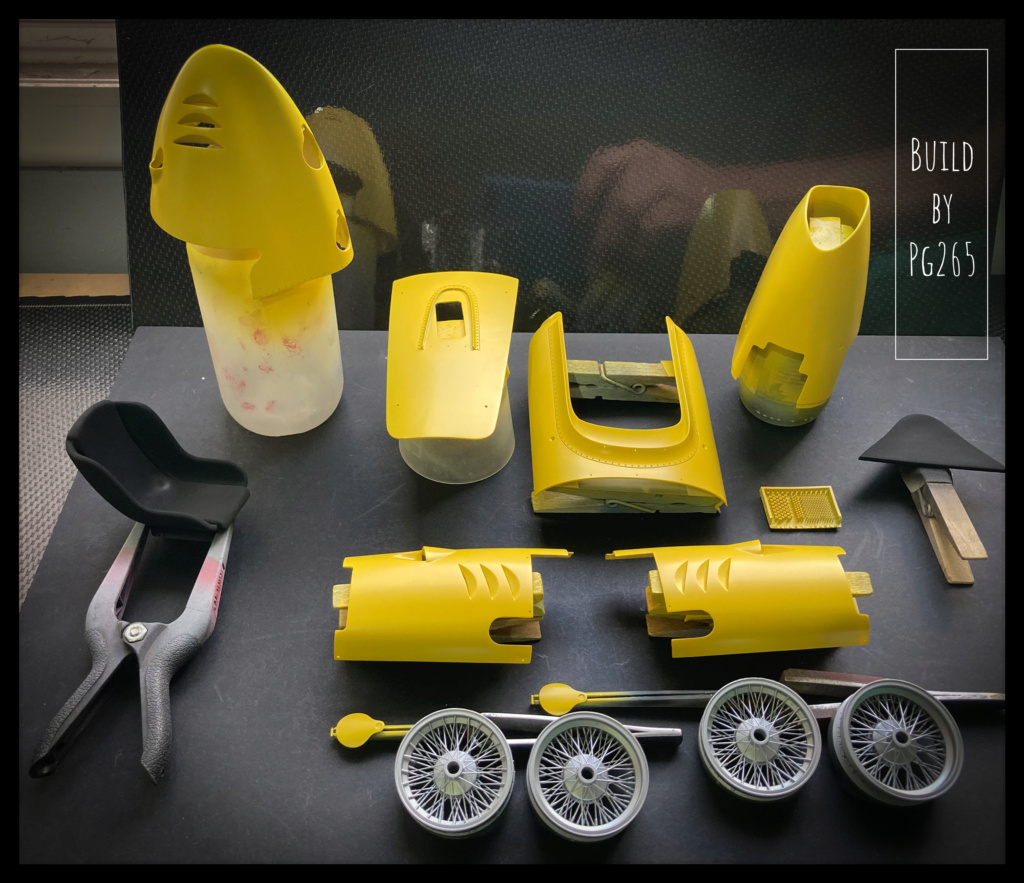 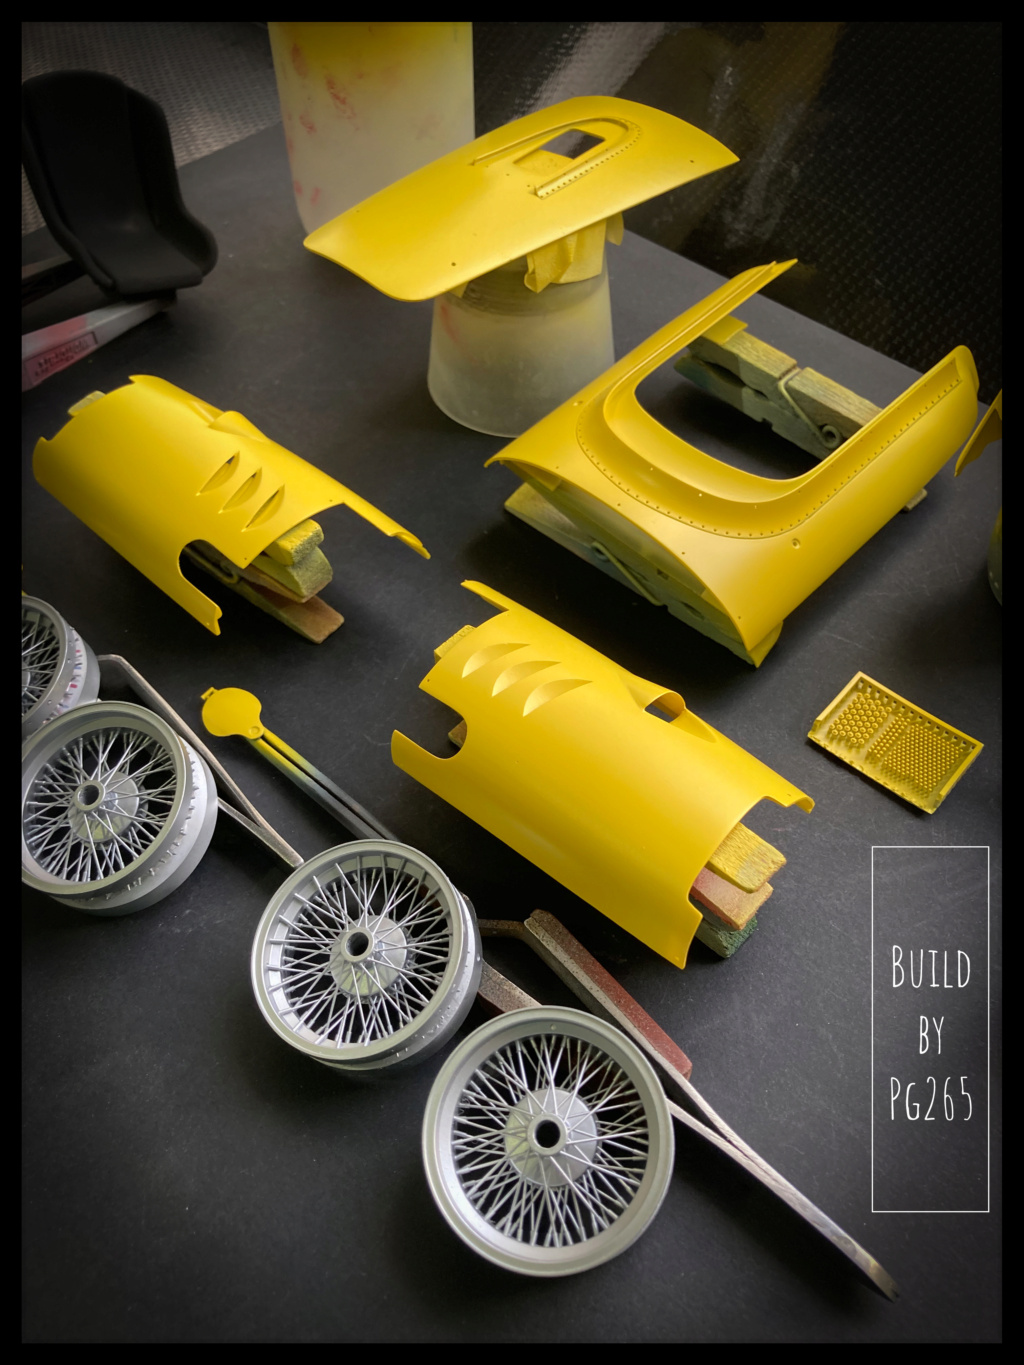 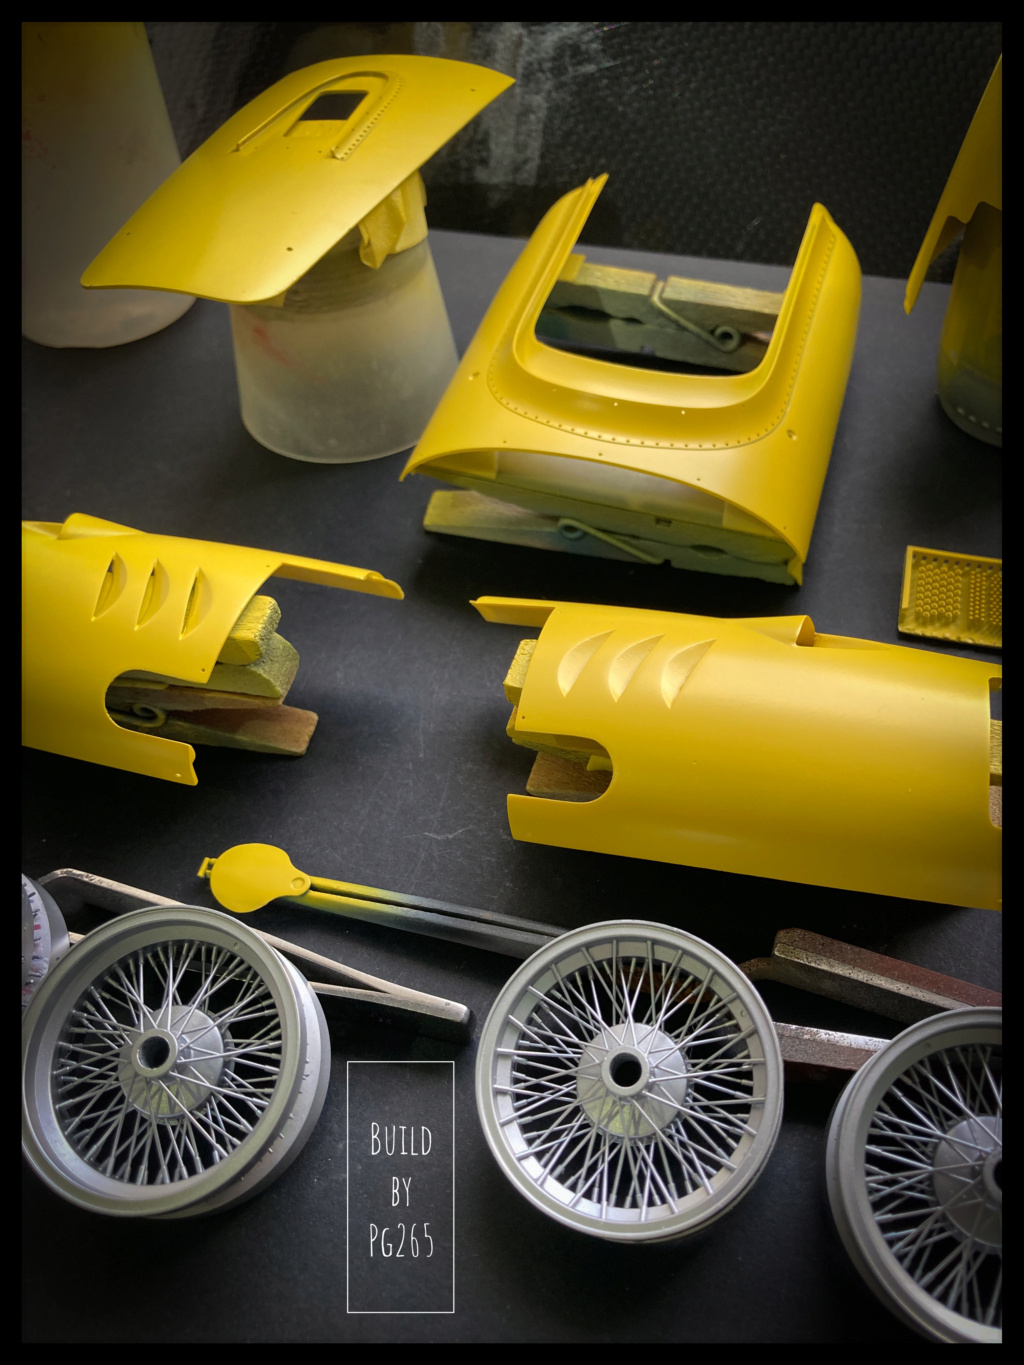 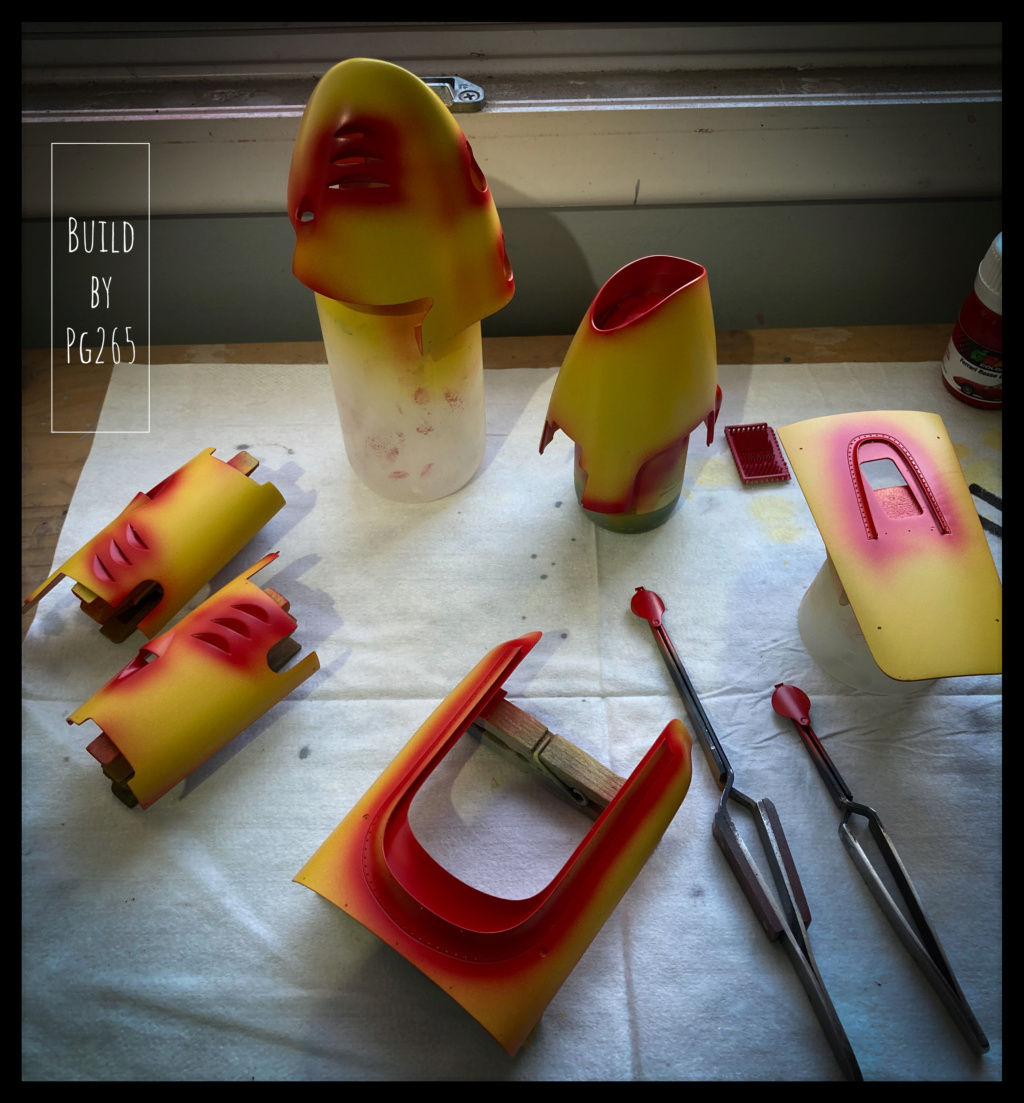 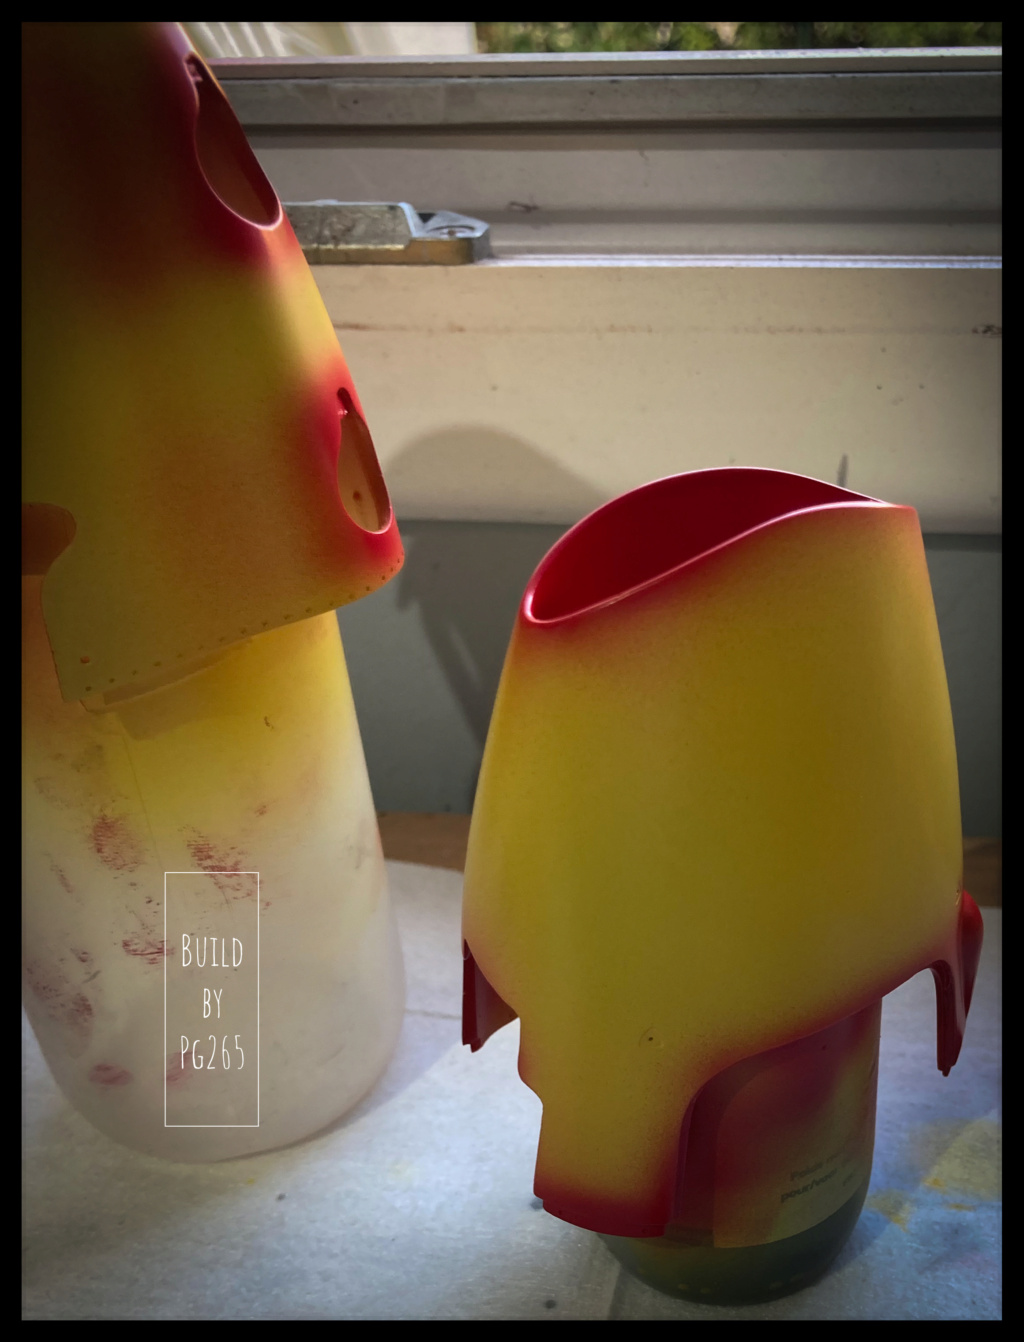  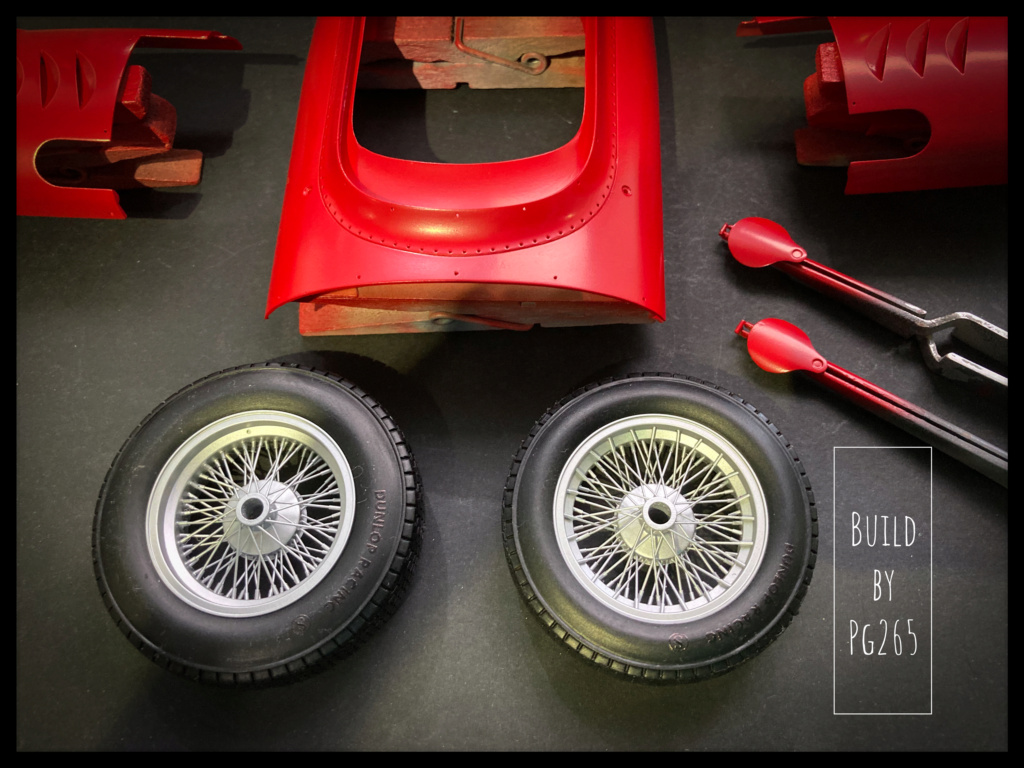 That’s all. More soon. Pascal |
|
pg265
Front Runner
 
Posts: 231 
|
Post by pg265 on Sept 27, 2022 11:57:03 GMT -5
Good evening, Here are 2 pics of the wheels painted and installed for test. 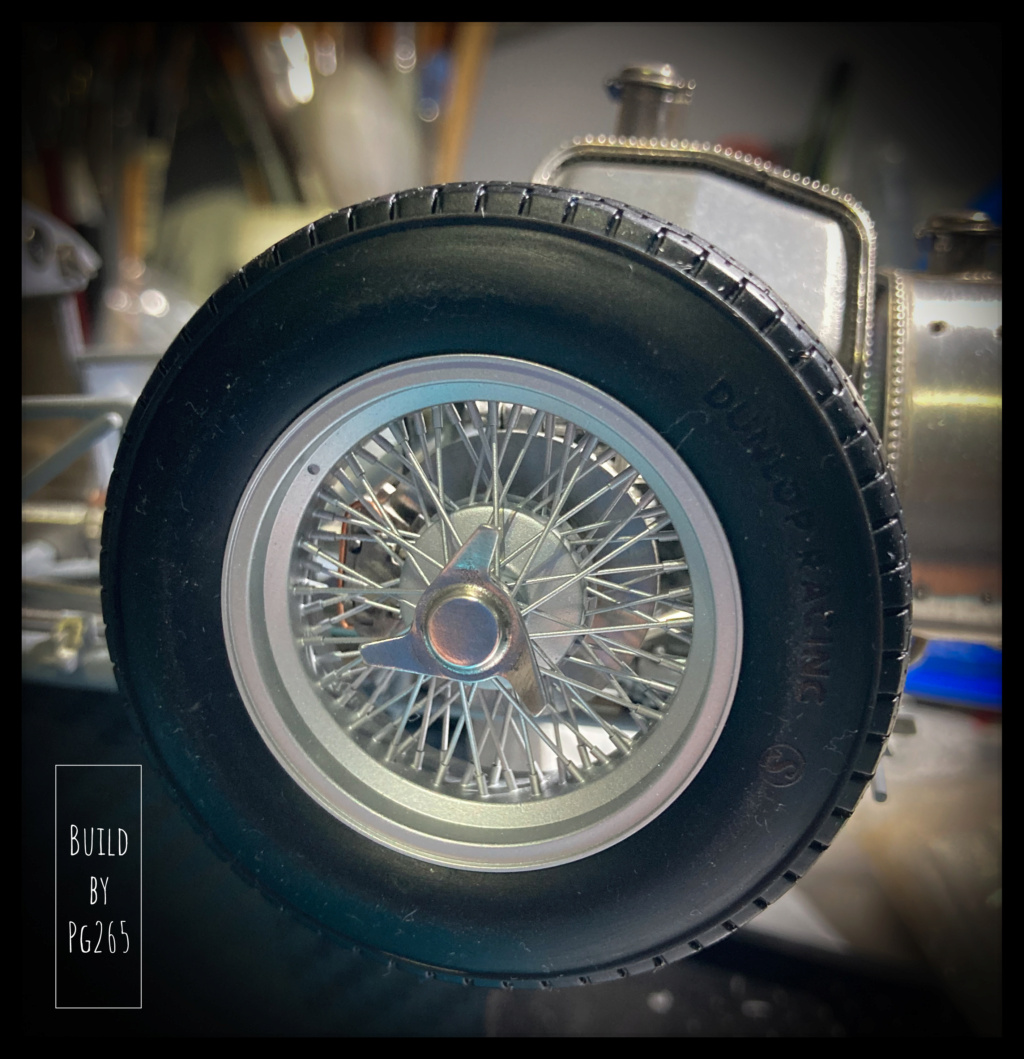 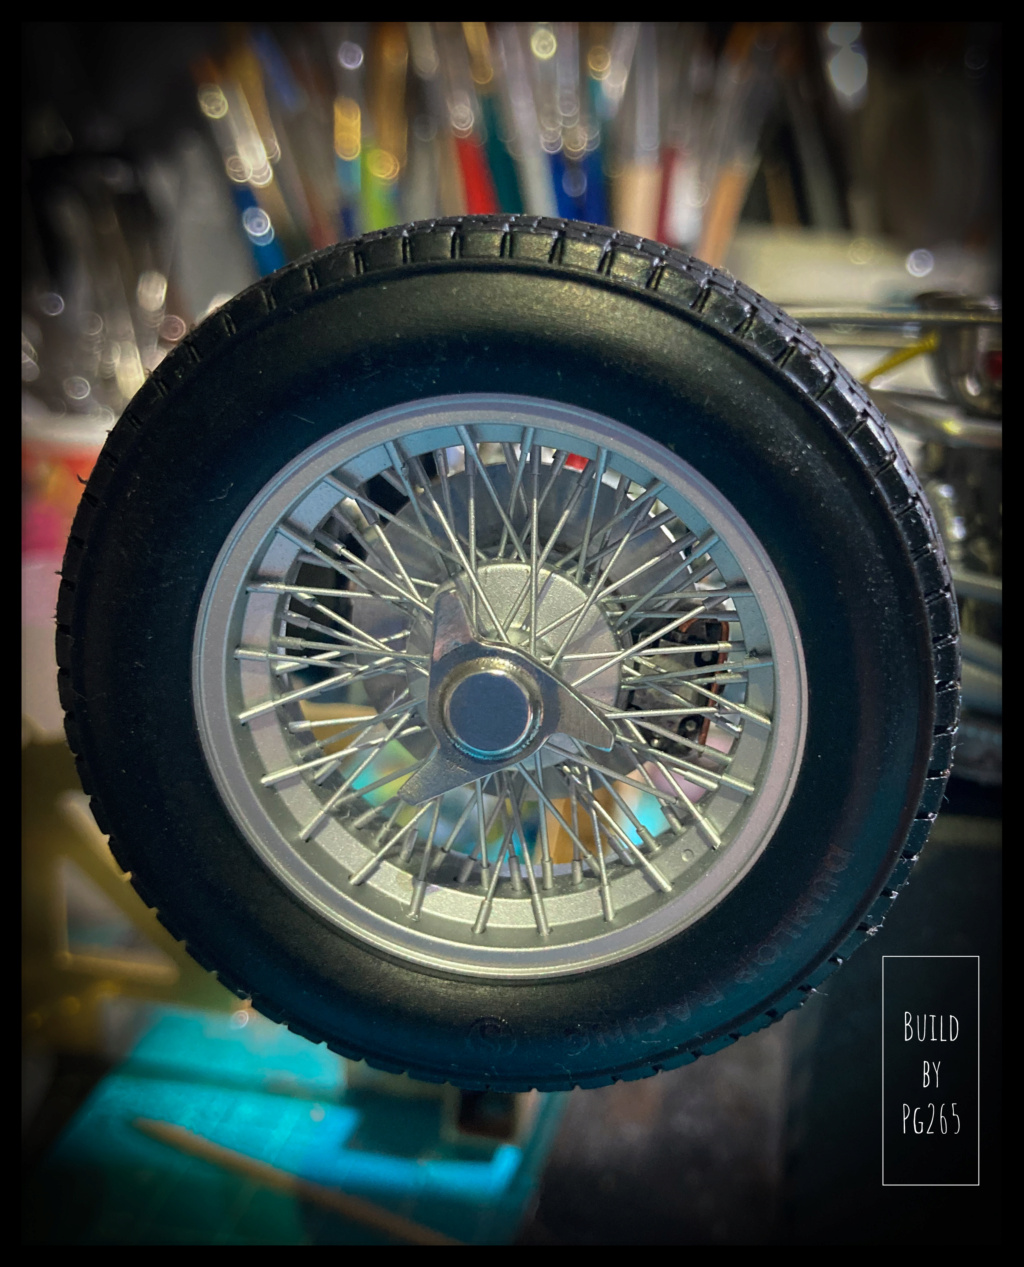 On the seat and headrest, a layer of Semi Gloss Black Humbrol was sprayed over the Tamiya mat black layer. I also started working on these two with oils. 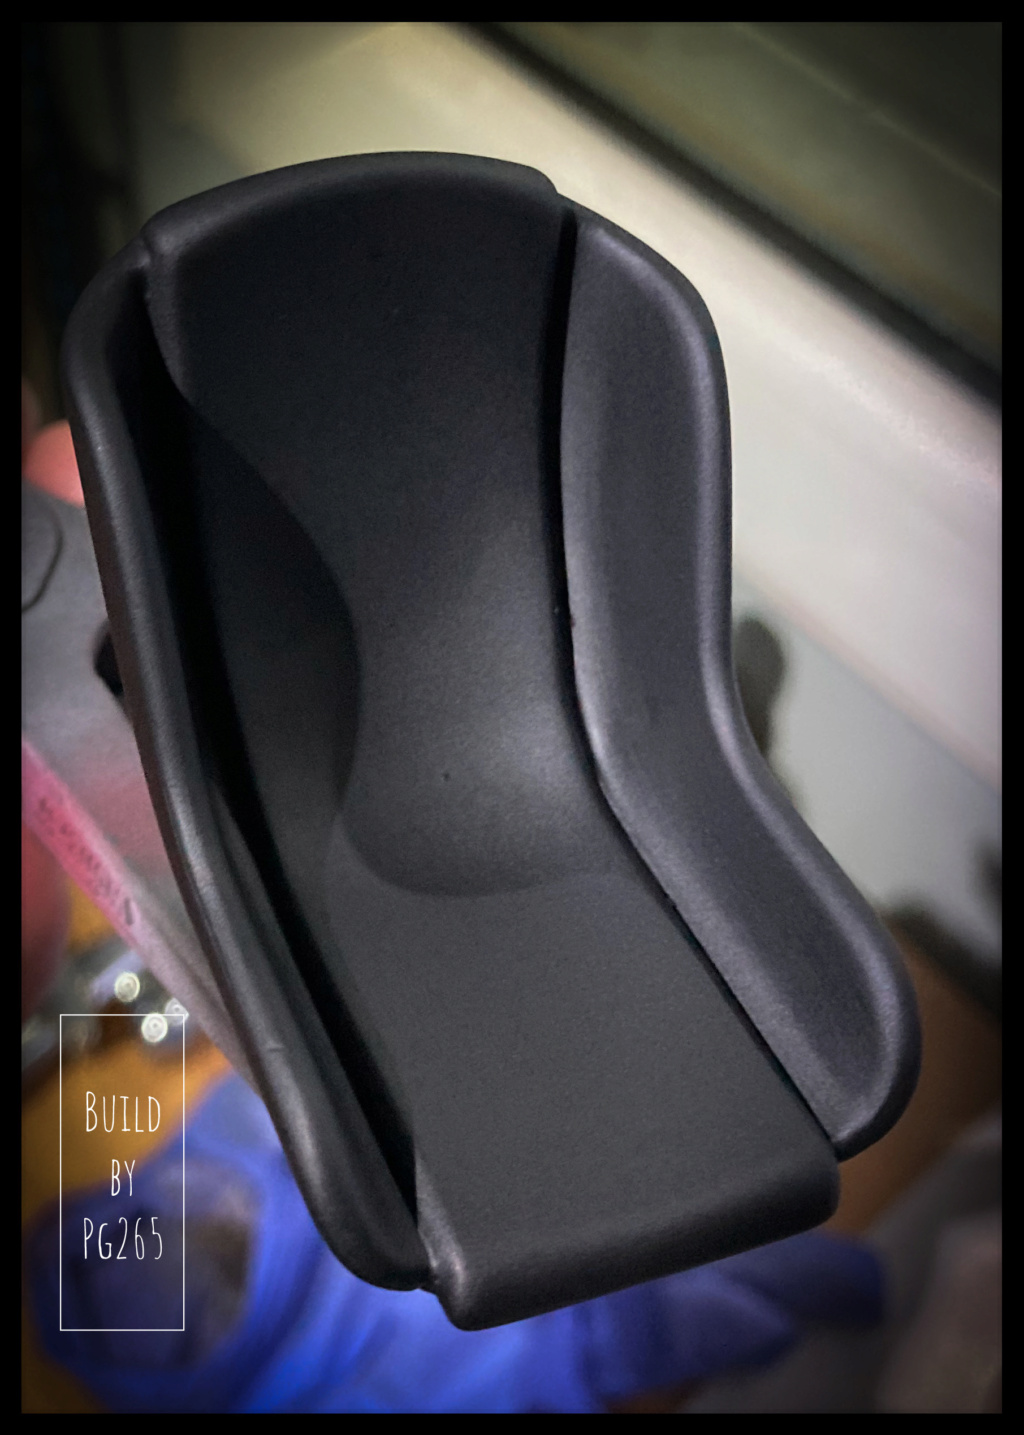 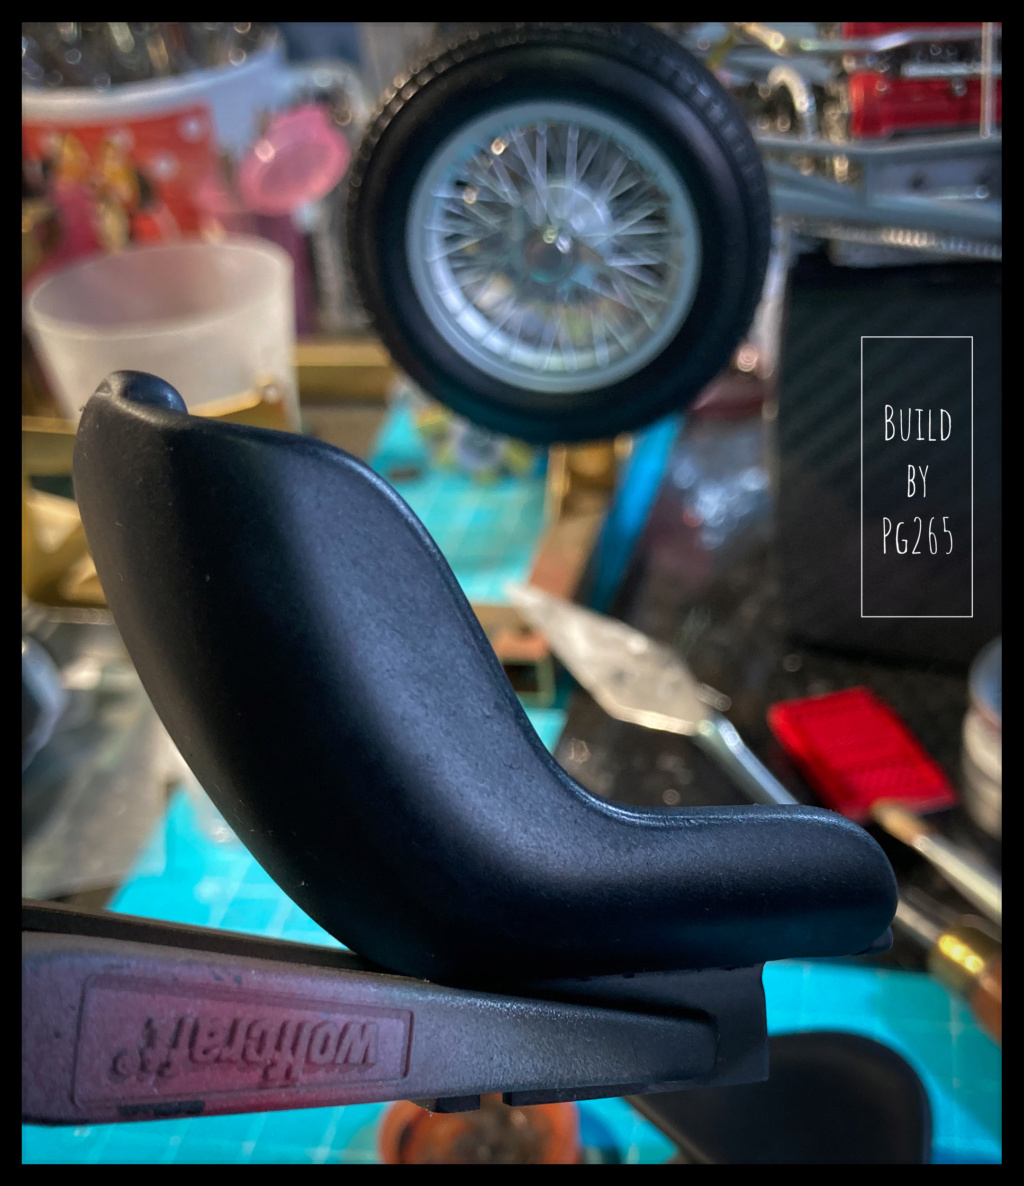  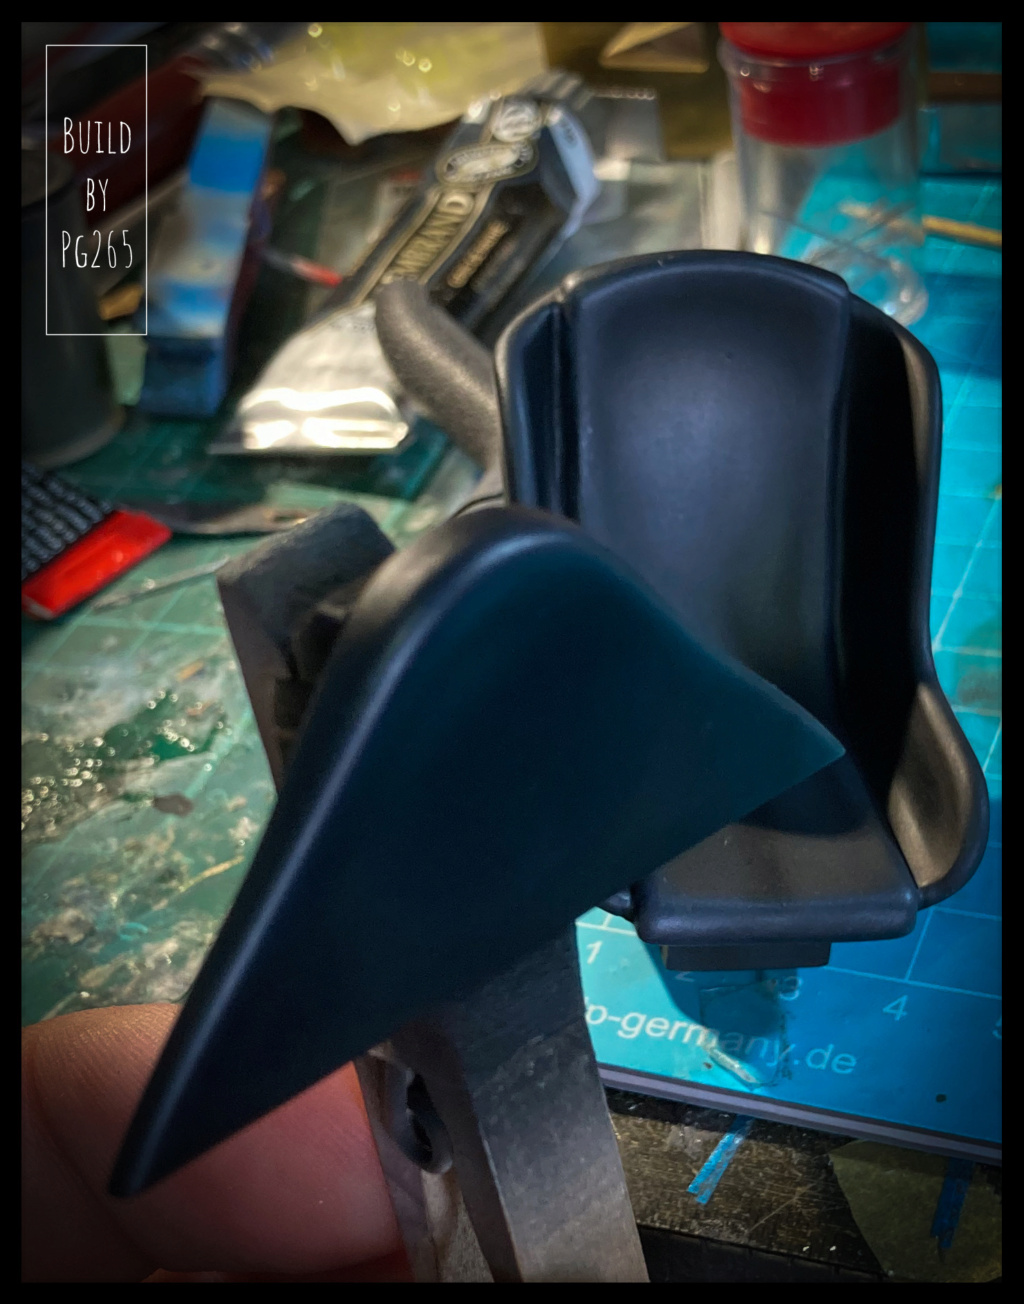 Pascal |
|
pg265
Front Runner
 
Posts: 231 
|
Post by pg265 on Oct 1, 2022 5:43:15 GMT -5
Hi Mates, I had forgotten to post a picture of the chassis of the car equipped with its body for test fit. 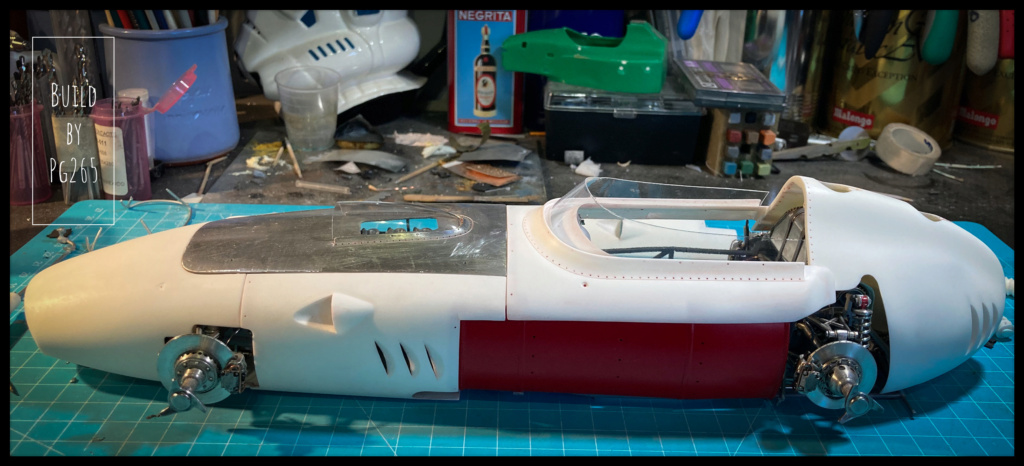 I also prepared, welded, shaped and primed the tubular reinforcement that supports the nose and runs on each side of the lower part of the frame. There’s still the gray to shoot on the parts. 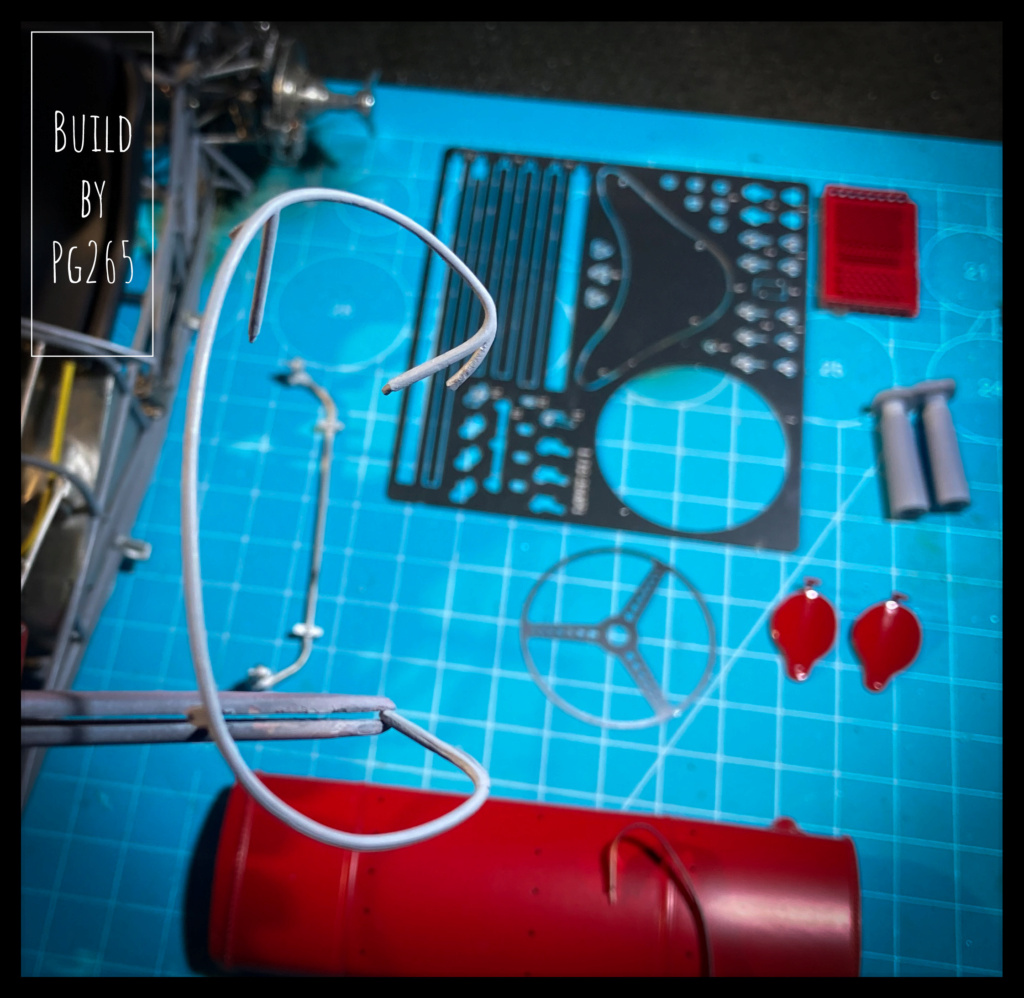 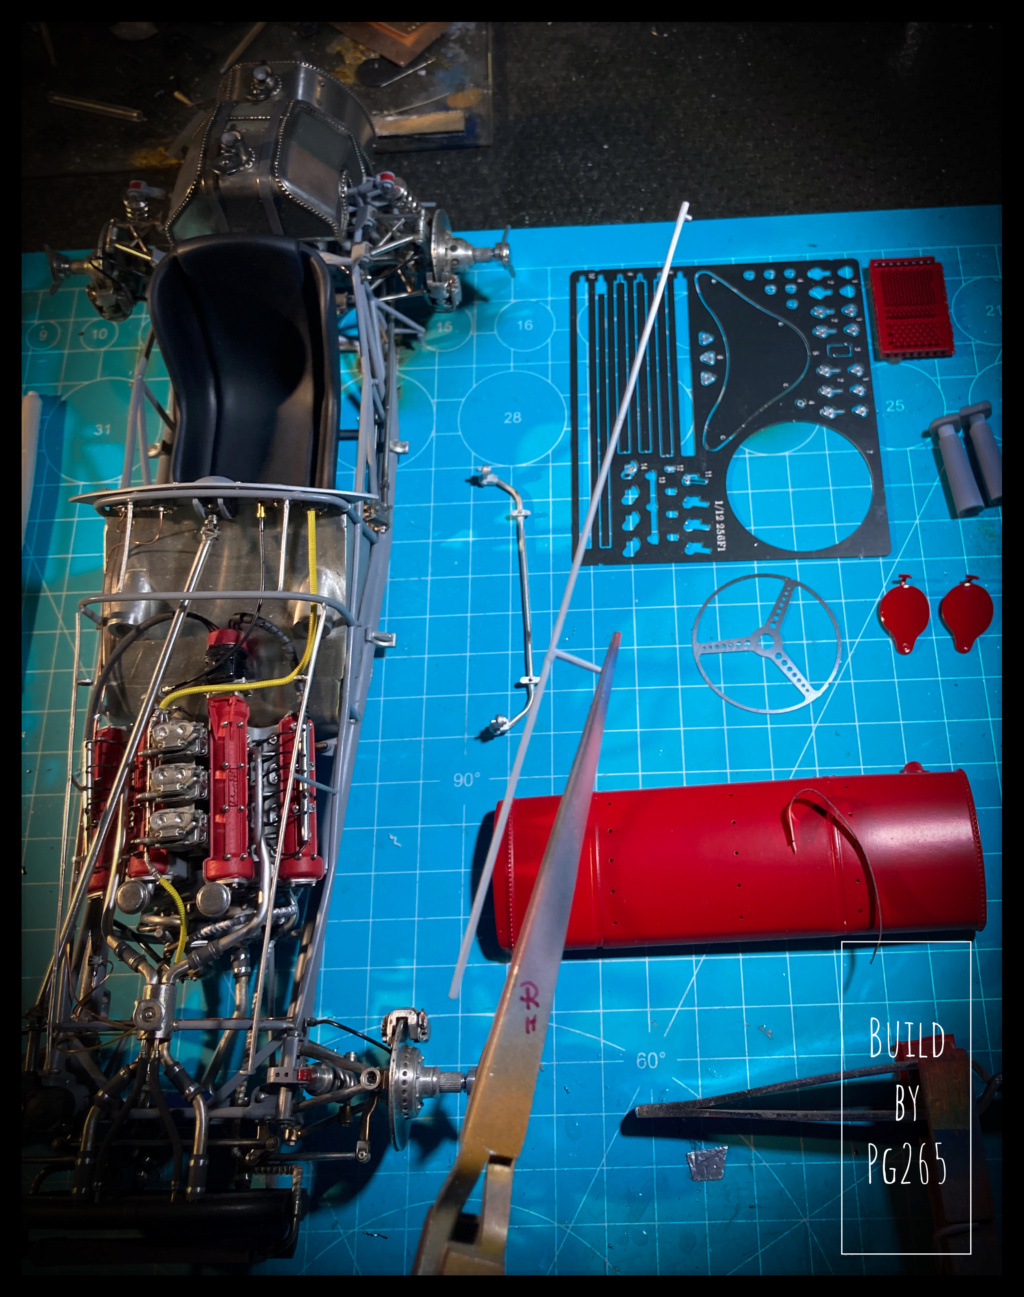 The side tank straps are pretty stiff! They are heated with a mini torch, then put in shape on the tank and using cylinders of different diameters. 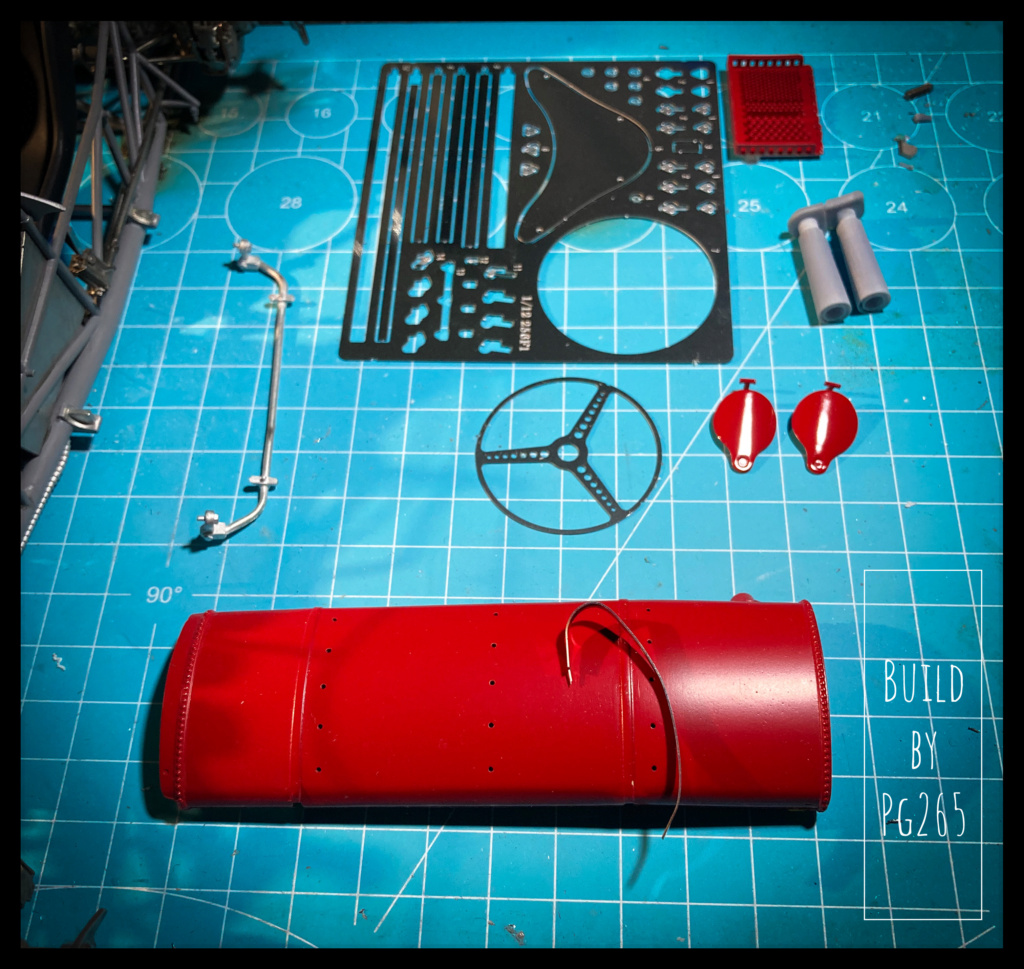 The half wheel rims are also primed in anticipation of woody hues. 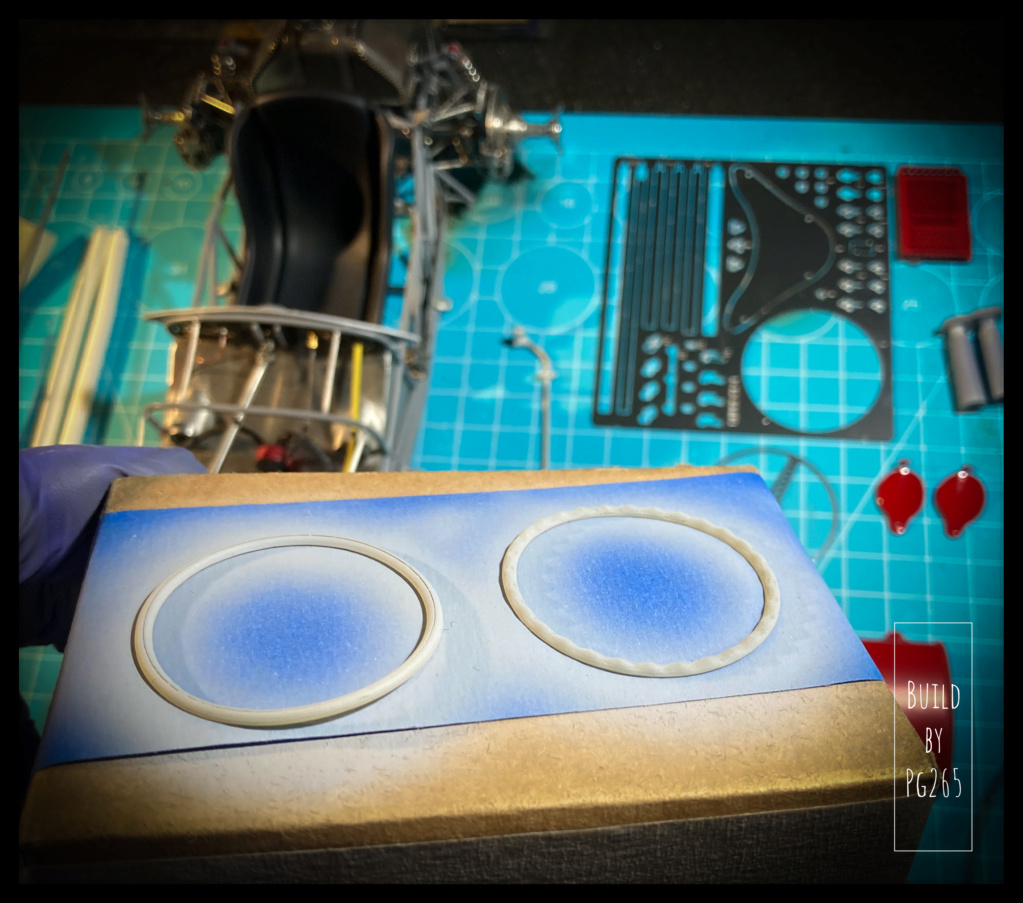 Pascal |
|
pg265
Front Runner
 
Posts: 231 
|
Post by pg265 on Oct 1, 2022 16:50:00 GMT -5
Good evening, Here is the progress of the day: I prepared, assembled and added a small weld on the exhausts. 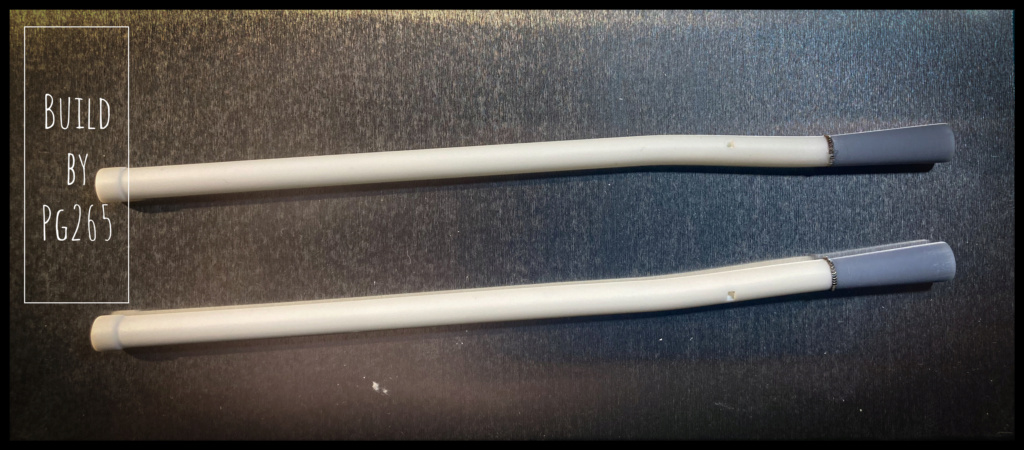 Then a primer layer 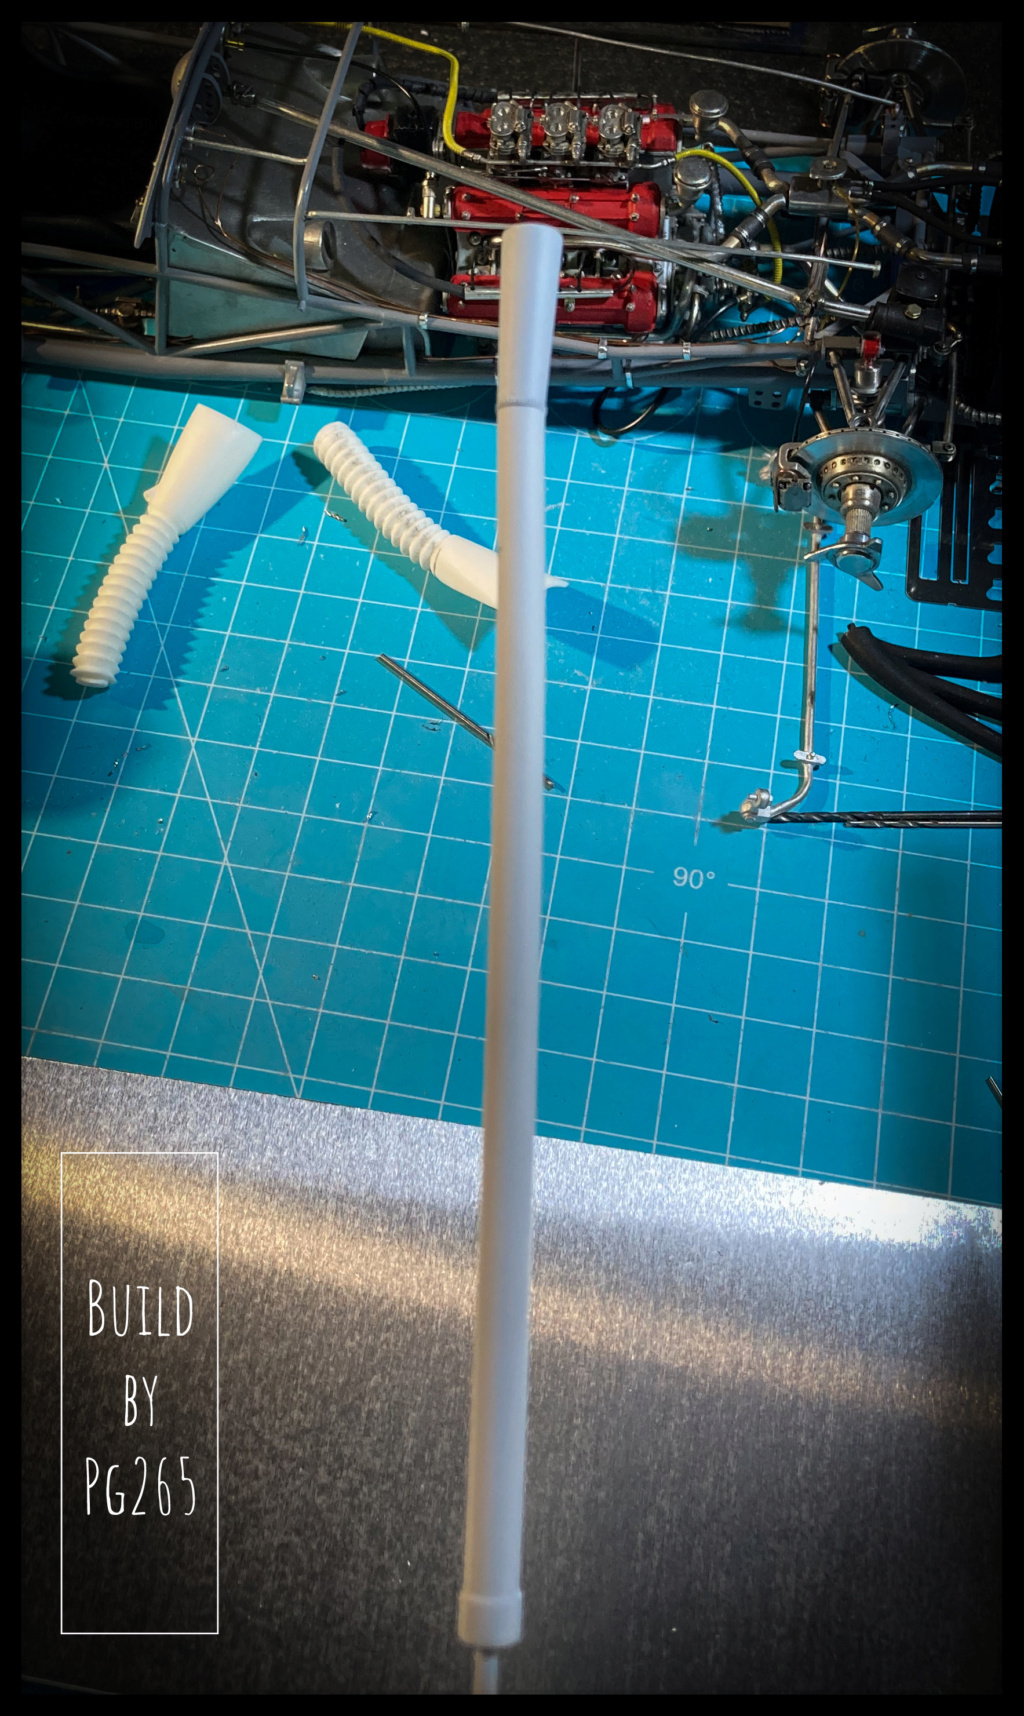 And a quick coat of matte black before pastels and oils.  Same for the steering wheel: A light and very light first layer of acrylic. 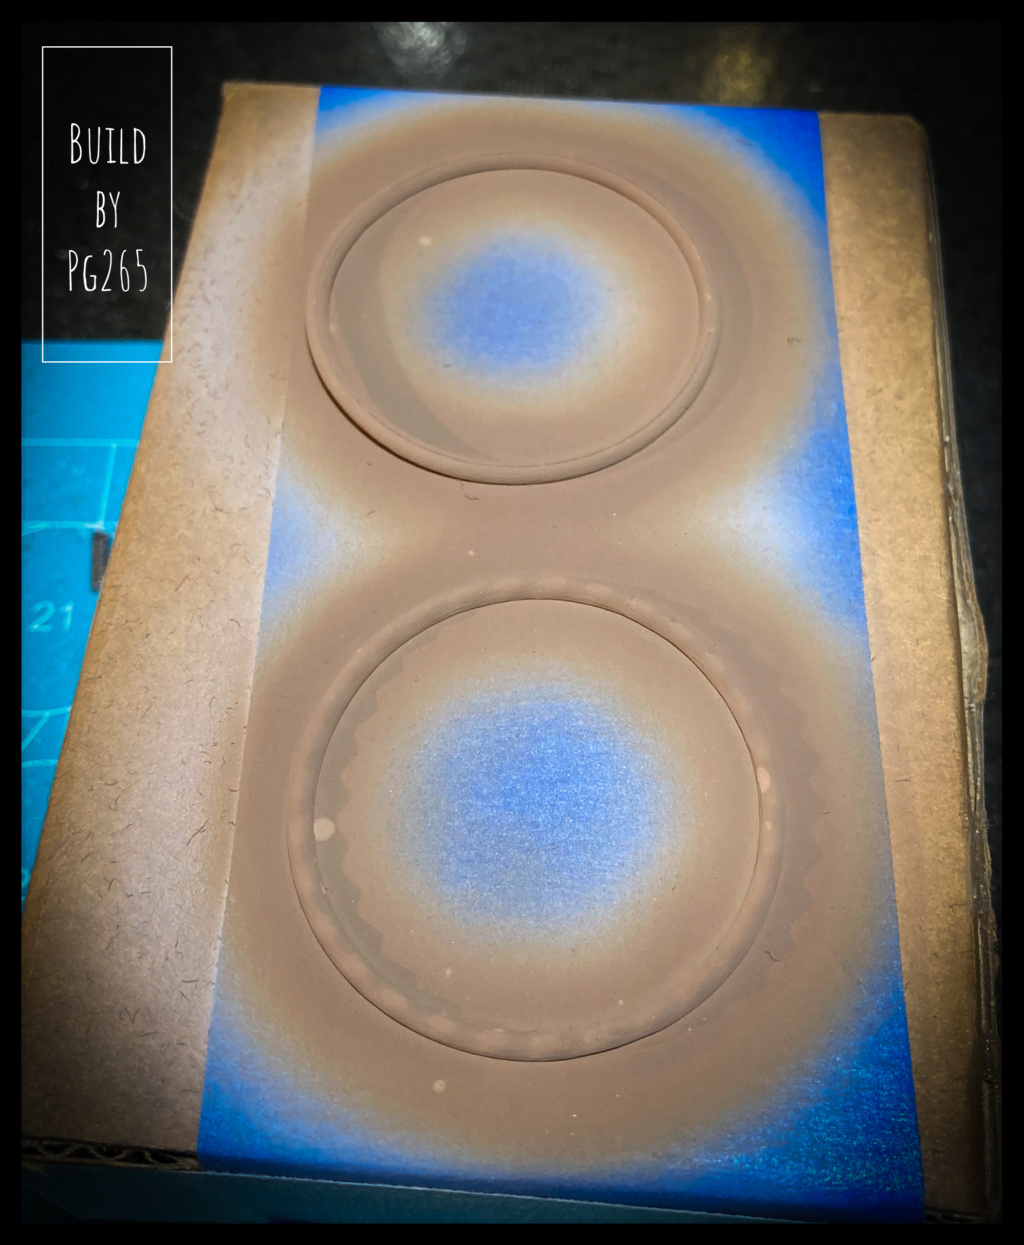 Quickly followed by a second of a slightly darker mixture of 3 shades. 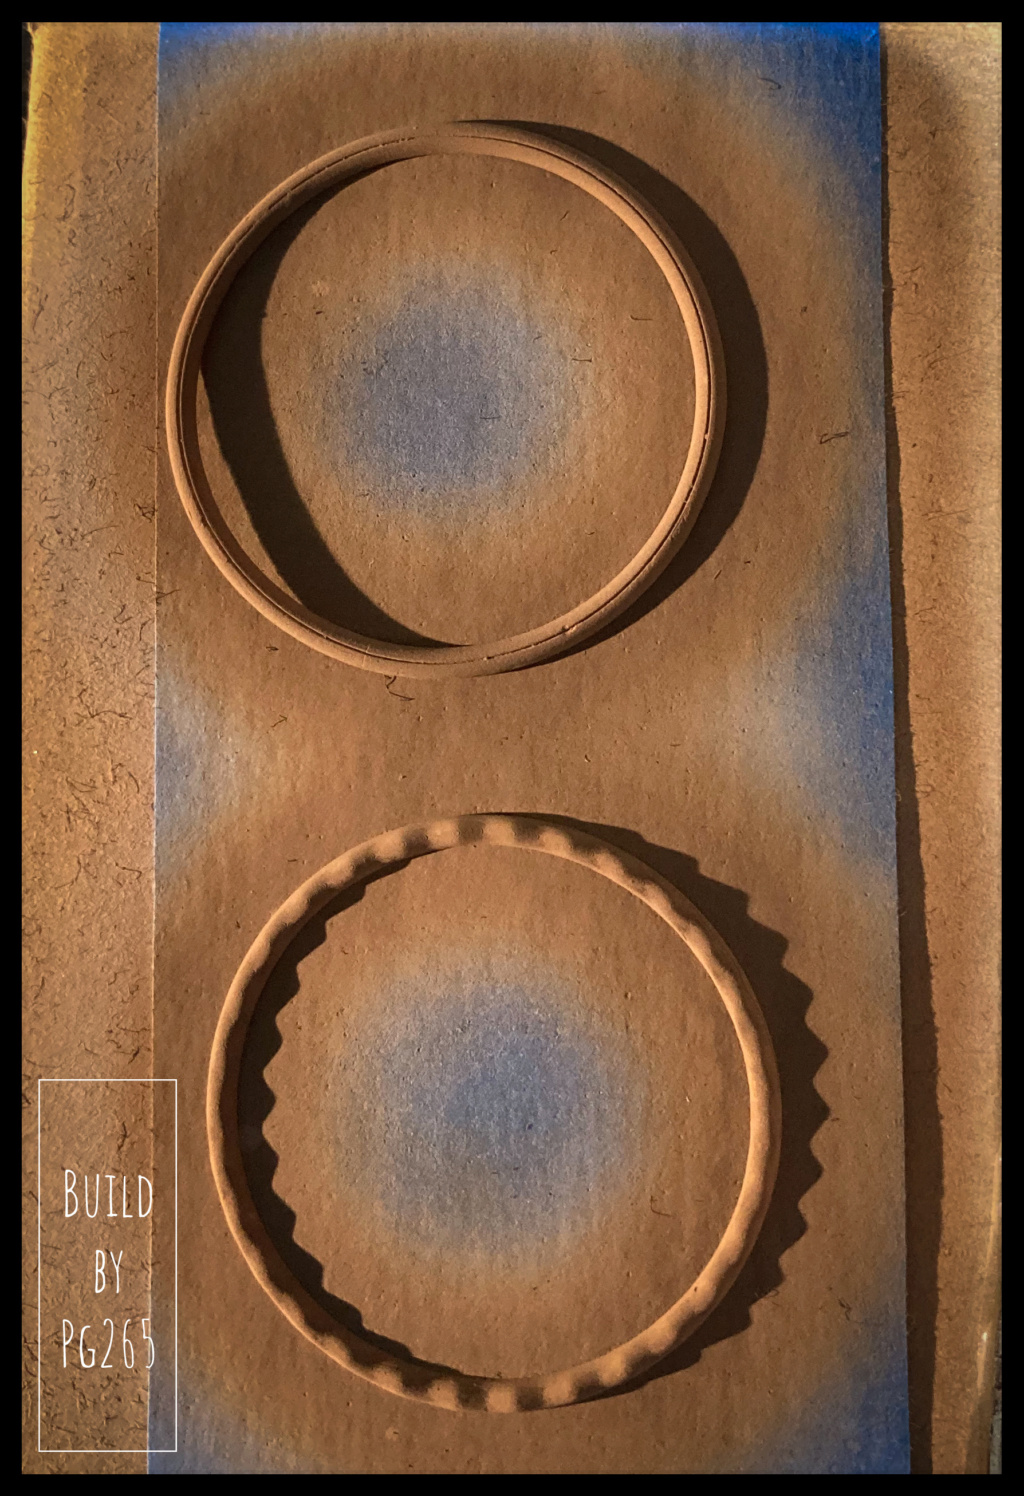 And the beginning of work with oils. 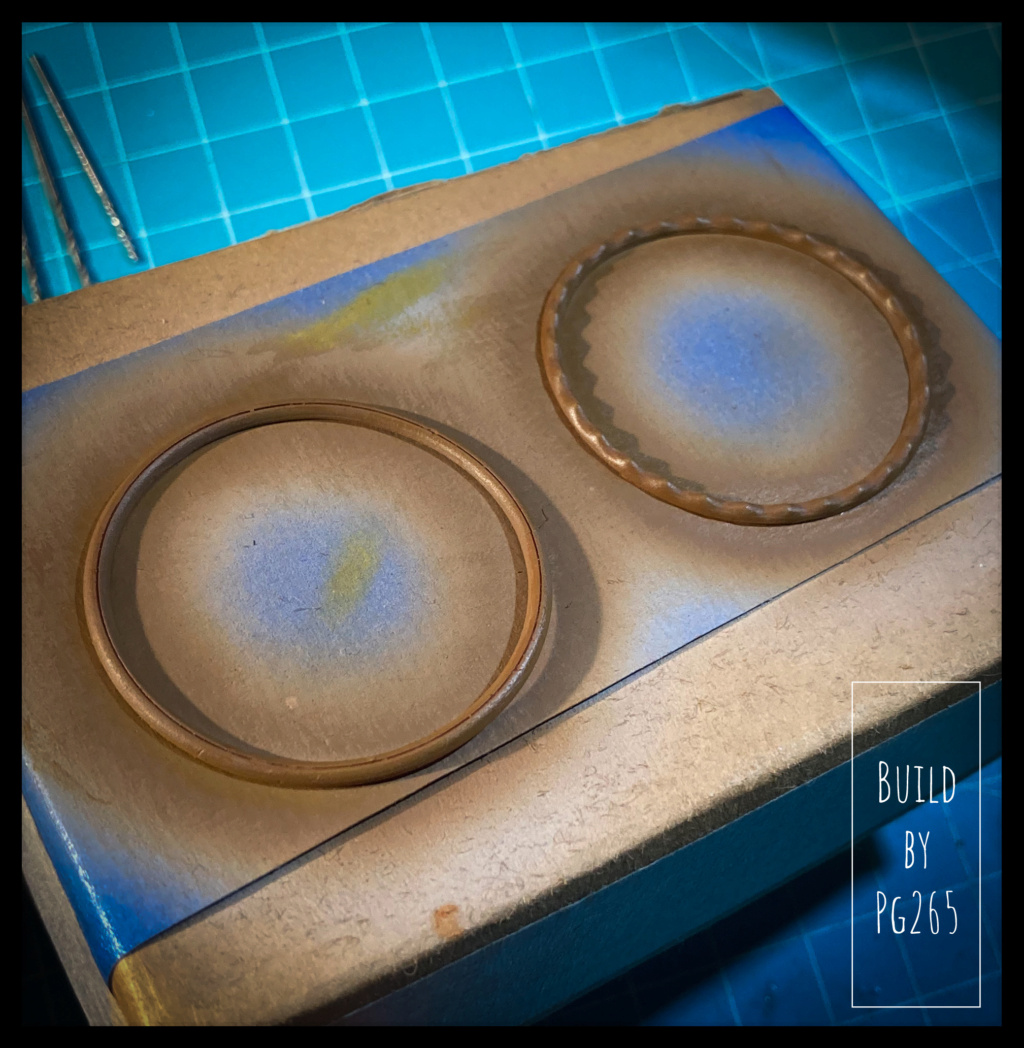 More soon with the exhausts, steering wheel, chassis and tanks… Pascal |
|
pg265
Front Runner
 
Posts: 231 
|
Post by pg265 on Oct 2, 2022 15:56:57 GMT -5
Good evening, The exhausts are painted, assembled and mounted on the chassis/motor on each bench. I started to apply some pastels. 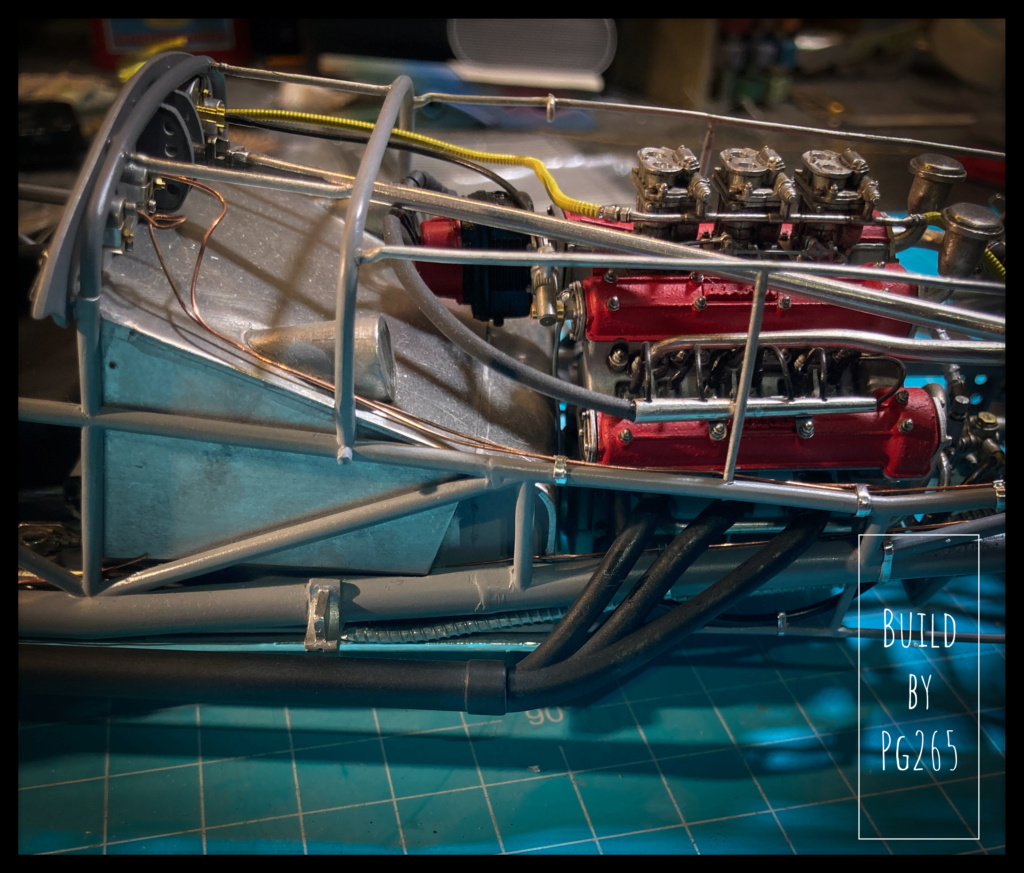 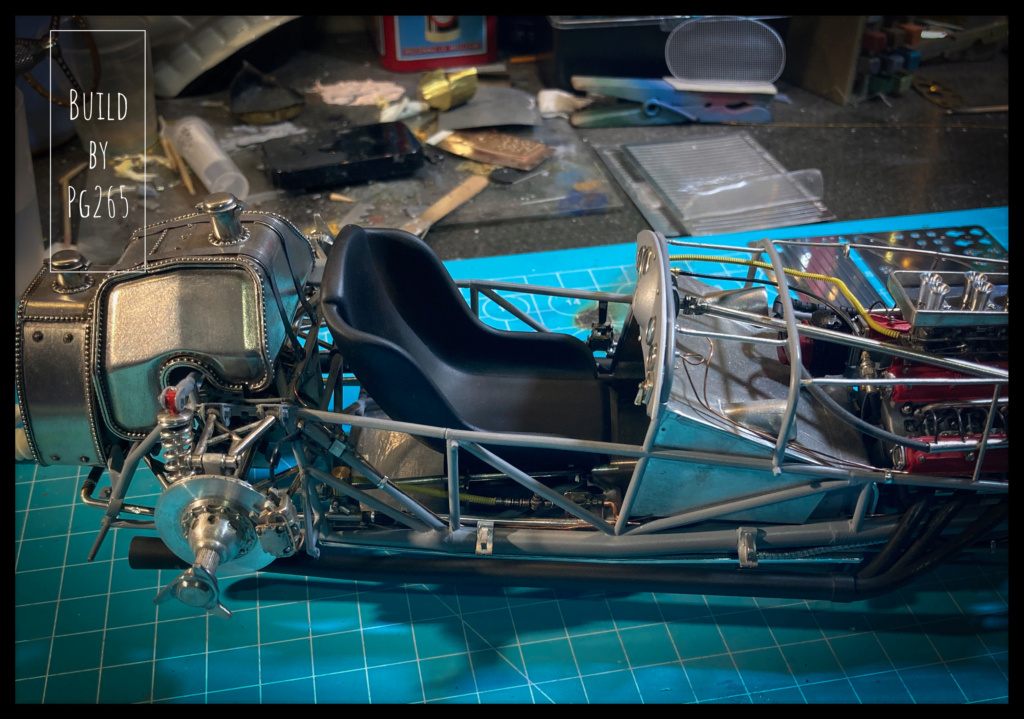  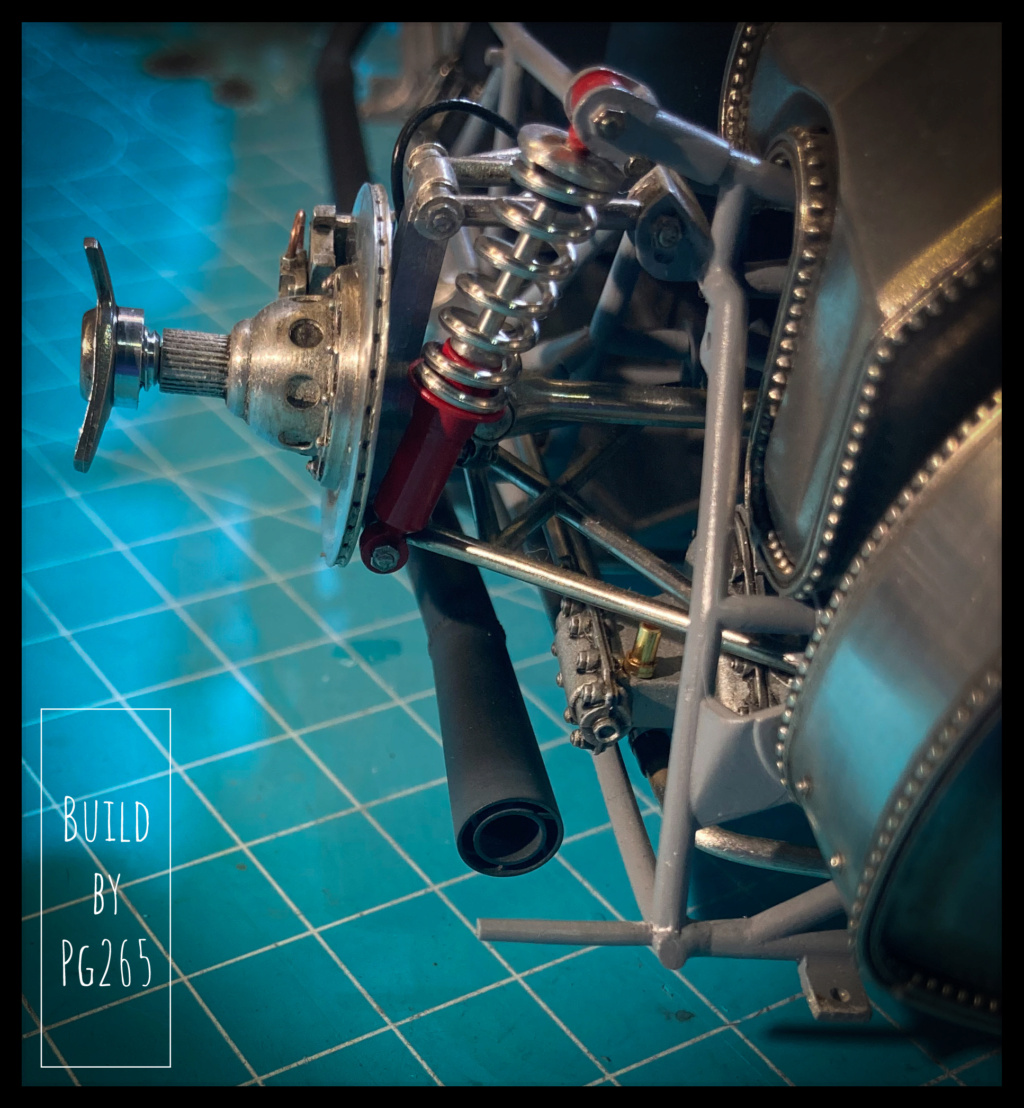 The steering wheel is assembled, varnished and decorated. 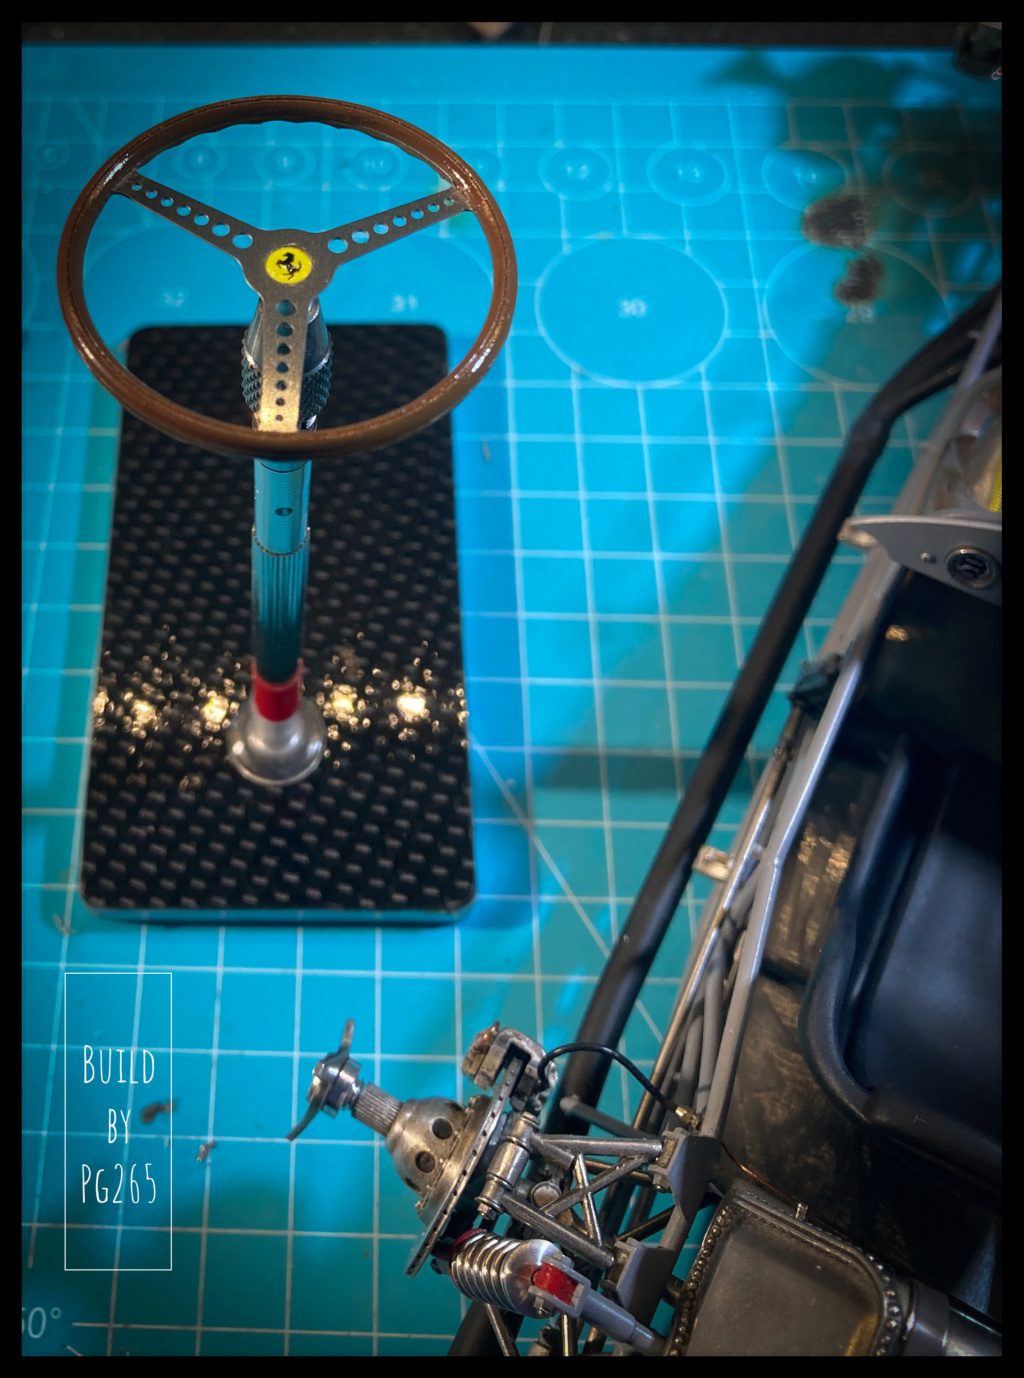 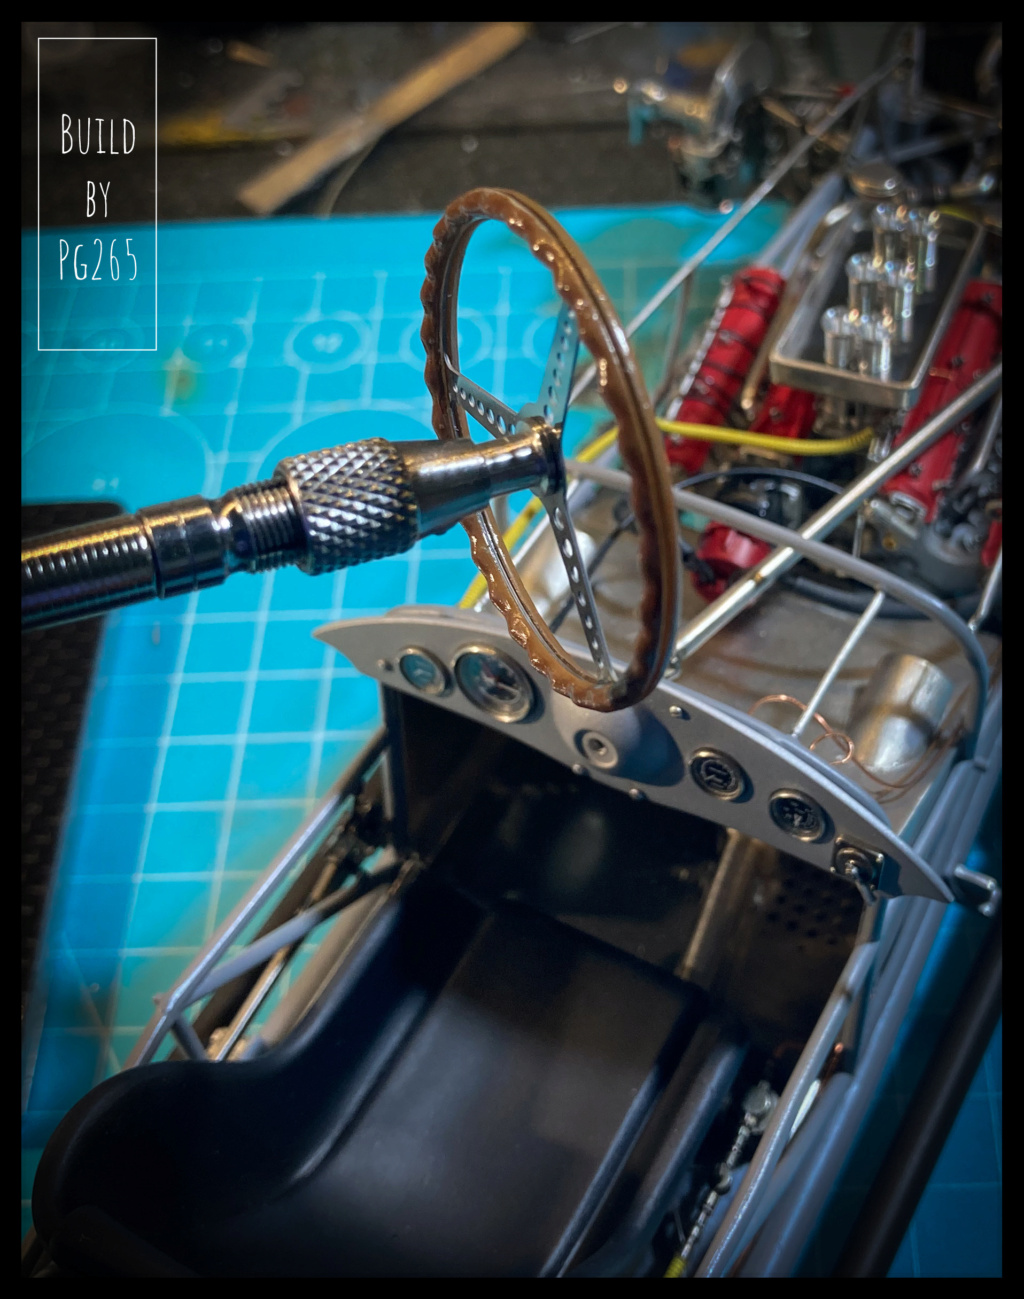 The nose support is installed after receiving its Grayish Blue layer. Same for the lower tubes of the chassis. The front anti-roll bar is done and installed too. 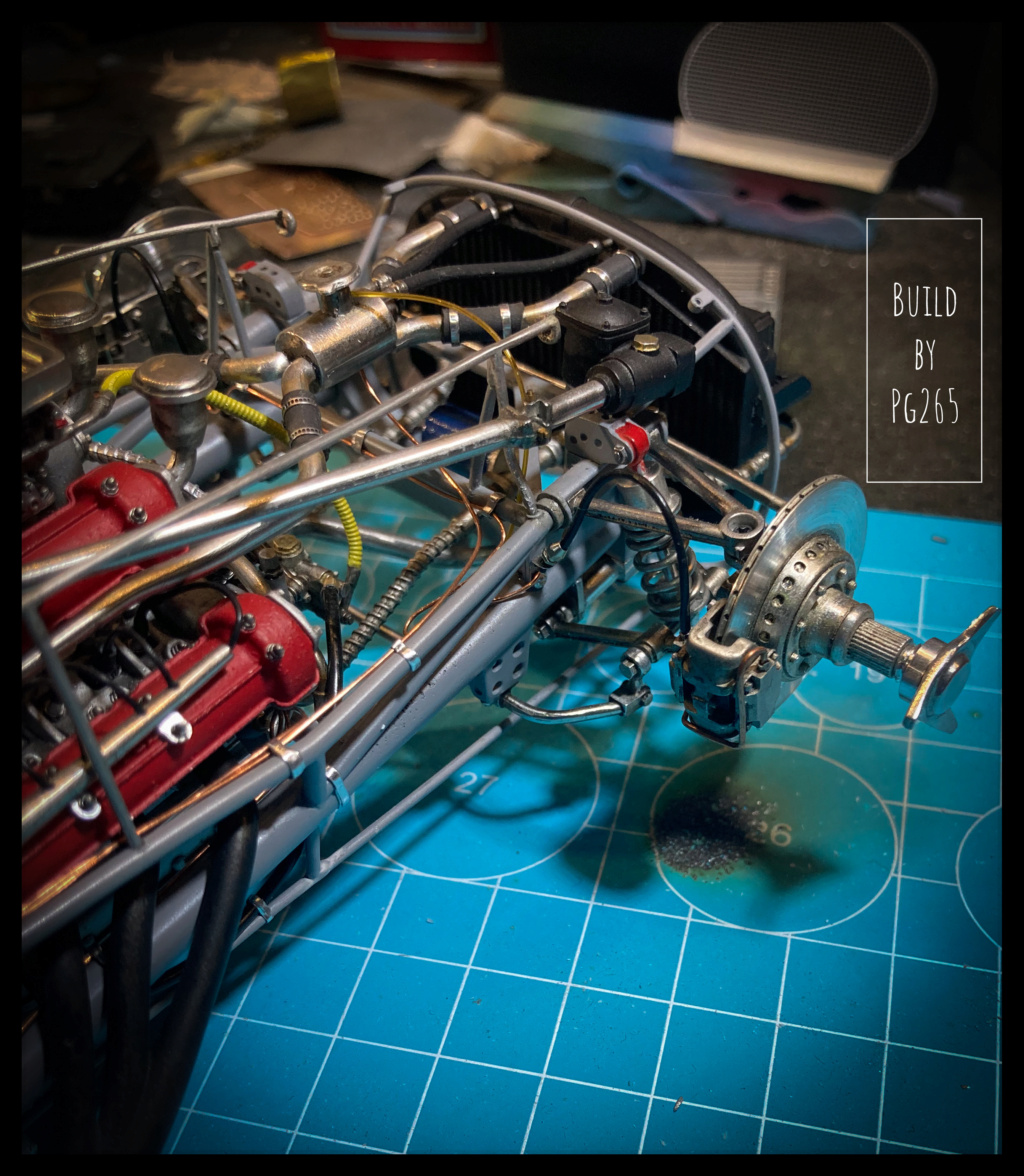 Although they are not very visible afterwards, the new supports of the model are decorated. The two White Metal parts are those provided in the kit. 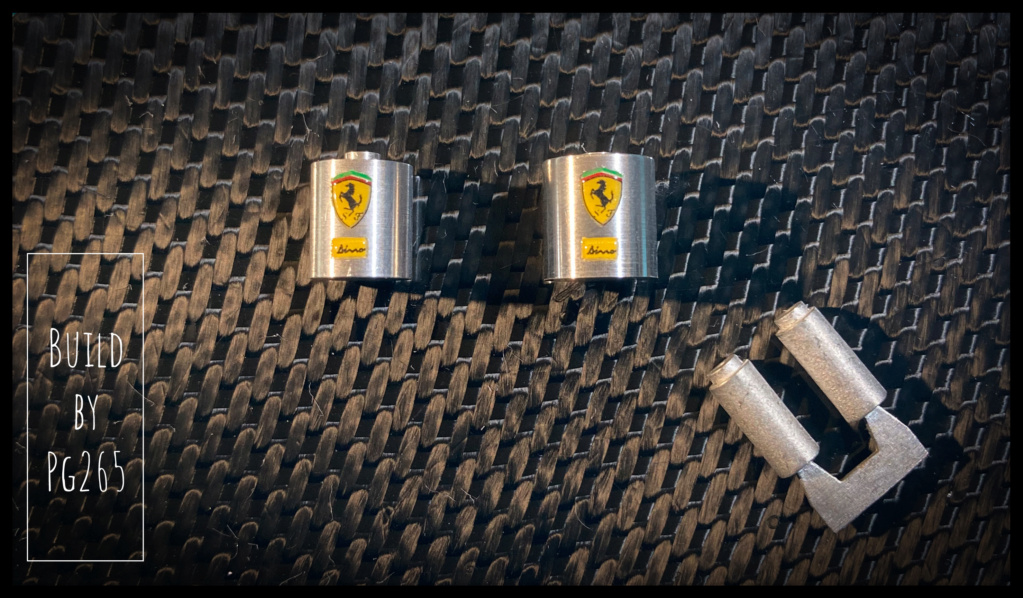 The turned supports are drilled and tapped to be attached to their locations. Pascal |
|
|
|
Post by Gary Davis on Oct 2, 2022 17:33:46 GMT -5
That's really good building Pascal. Looks GREAT!
|
|
|
|
Post by kyledehart5 on Oct 2, 2022 21:27:16 GMT -5
Indeed. This continues to look outstanding. A piece of art!
|
|
pg265
Front Runner
 
Posts: 231 
|
Post by pg265 on Oct 3, 2022 11:28:27 GMT -5
Good morning, Grazie mille Mates! I wasn’t happy with the steering wheel. So I inserted a 0.3 steel wire into a groove: It suits me better. 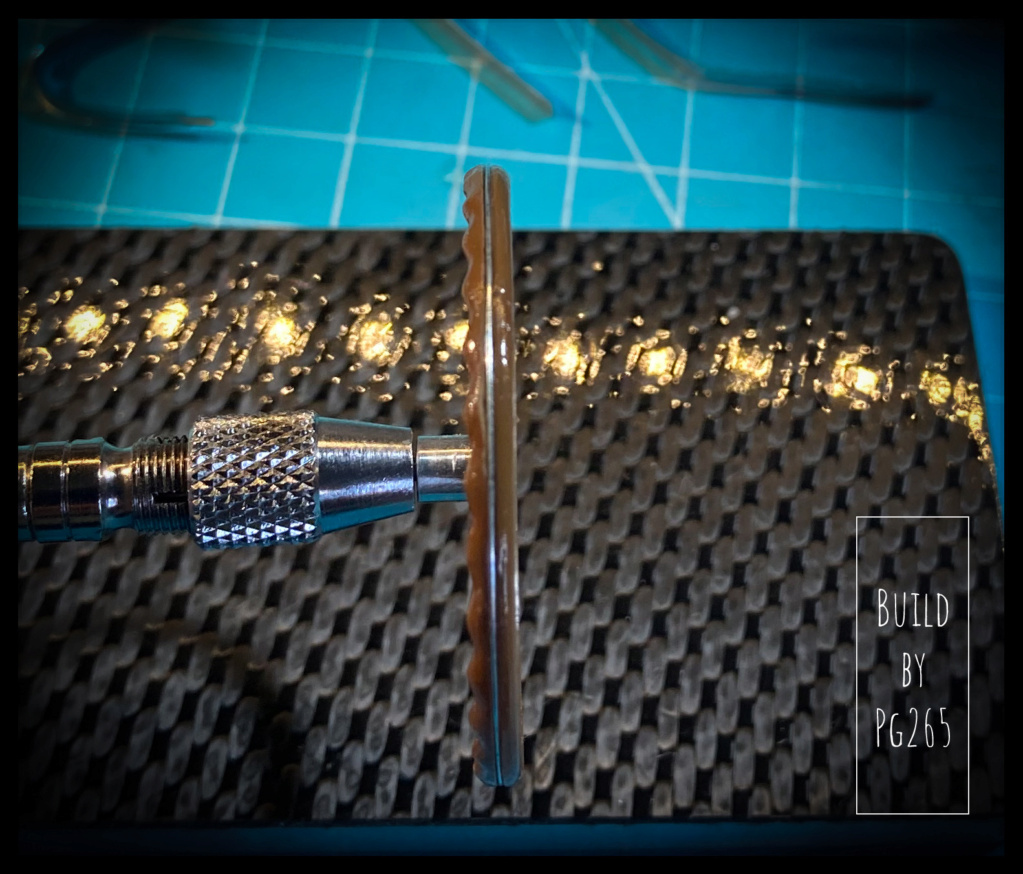 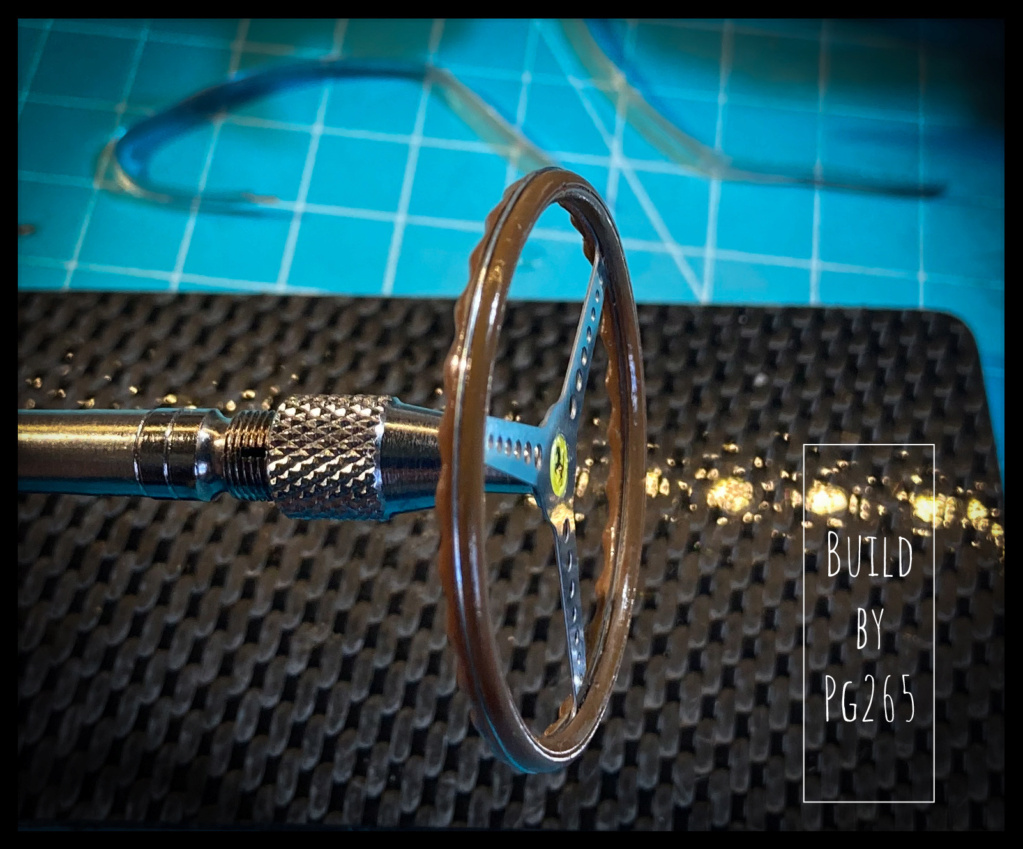 Same with the tank straps. Their rigidity did not facilitate shaping on the tanks or the final assembly. 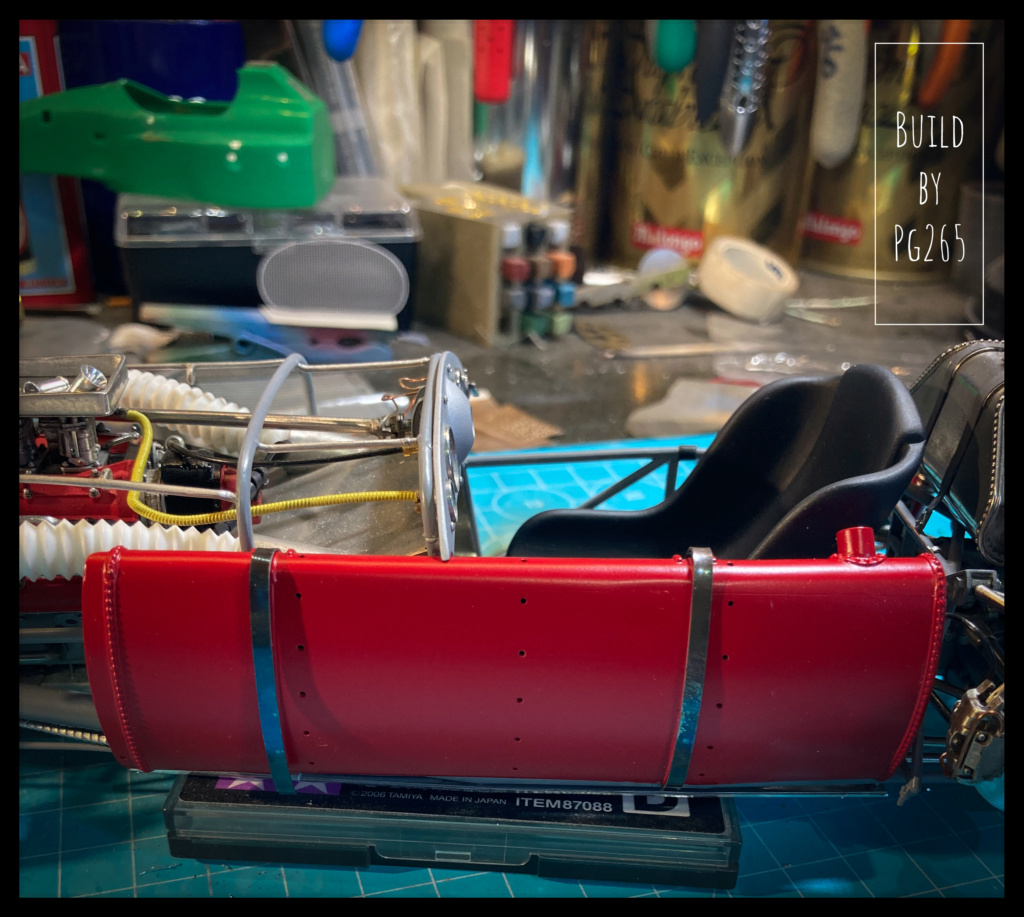 I remade them in 1/10 aero Alu foil. A copper rod is glued and then coated with photo sensitive resin. 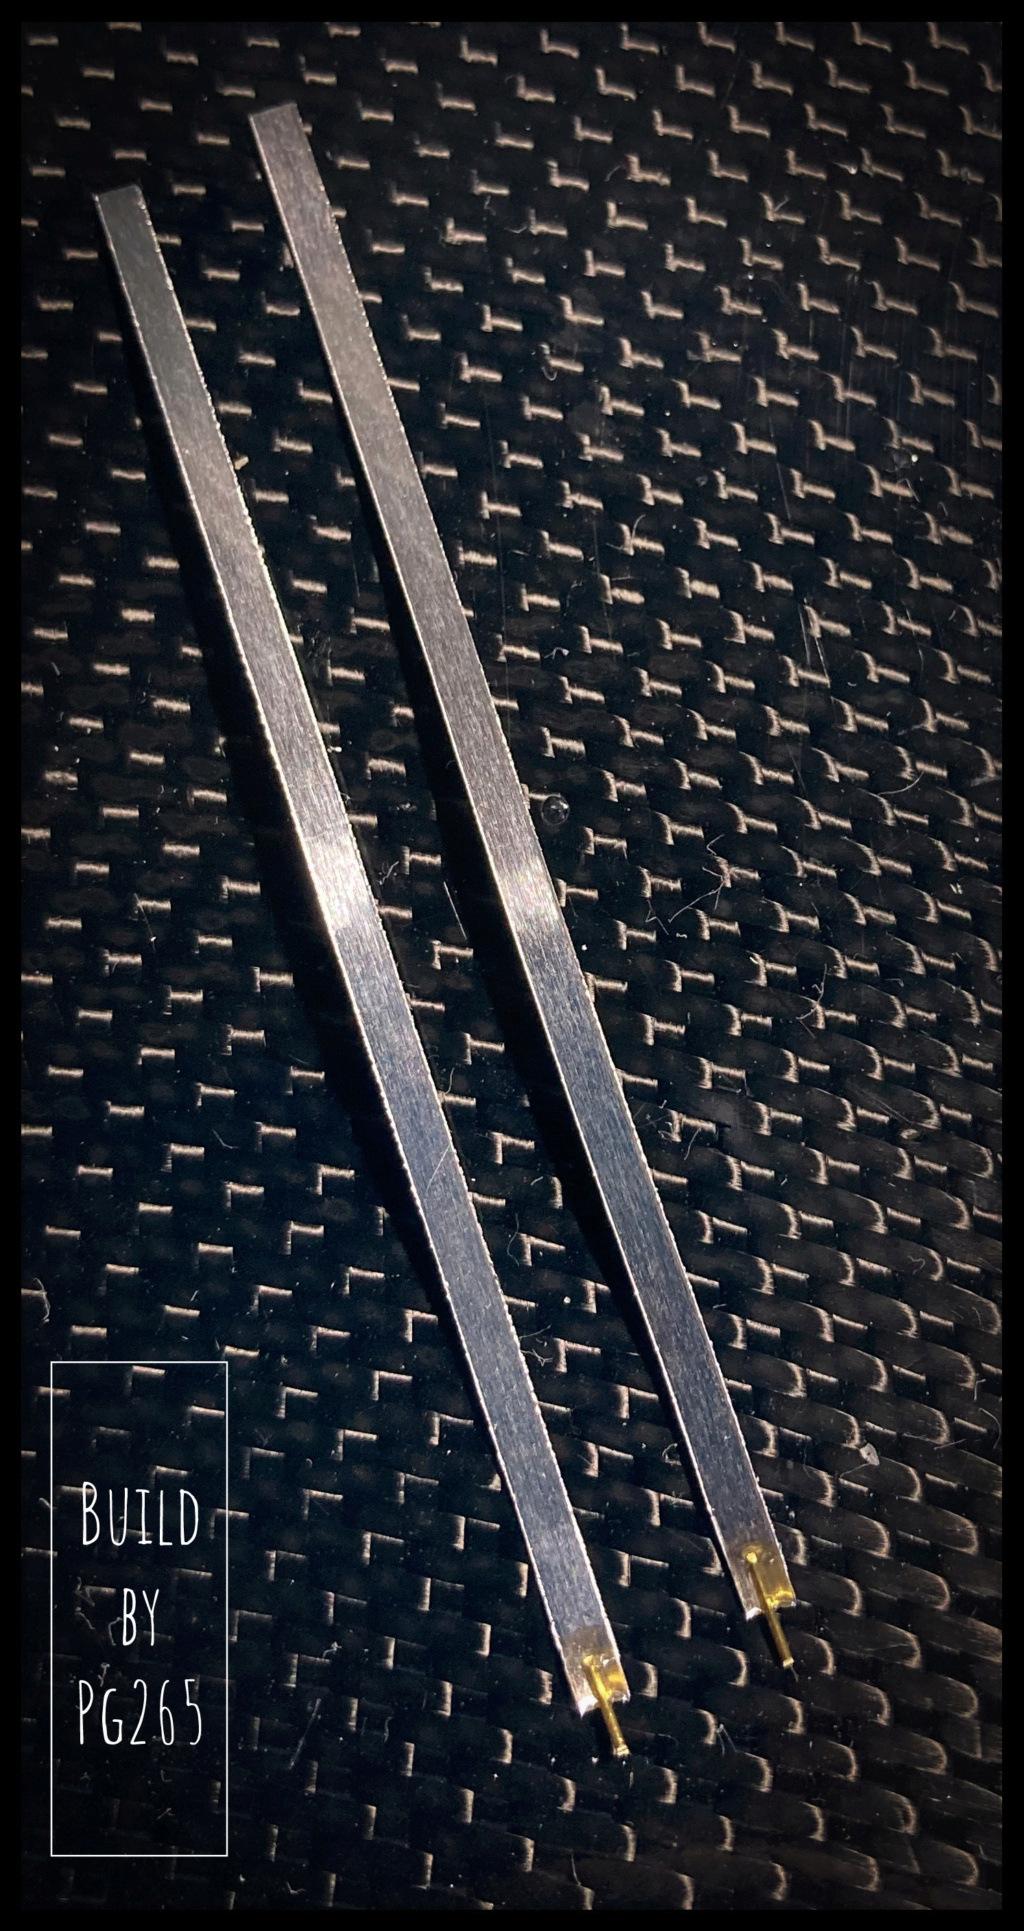 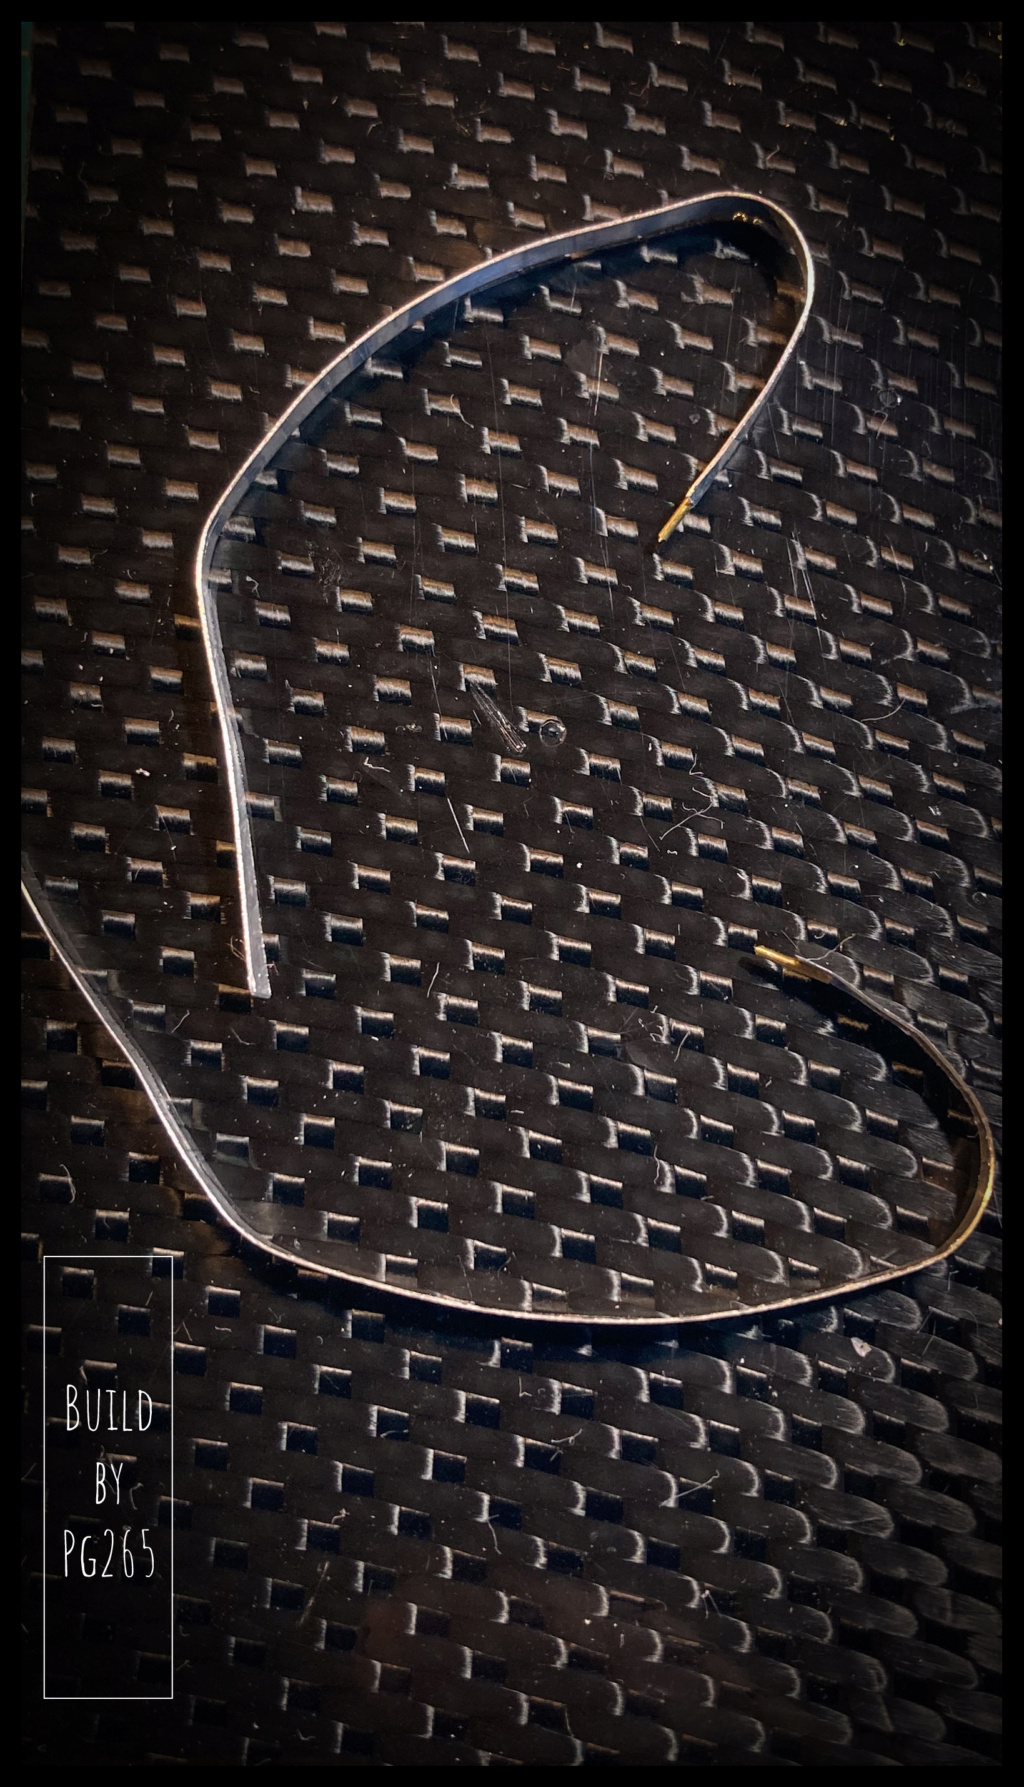 The “Superpotente” coil will be invisible or almost invisible. I decided not to go into too much detail. 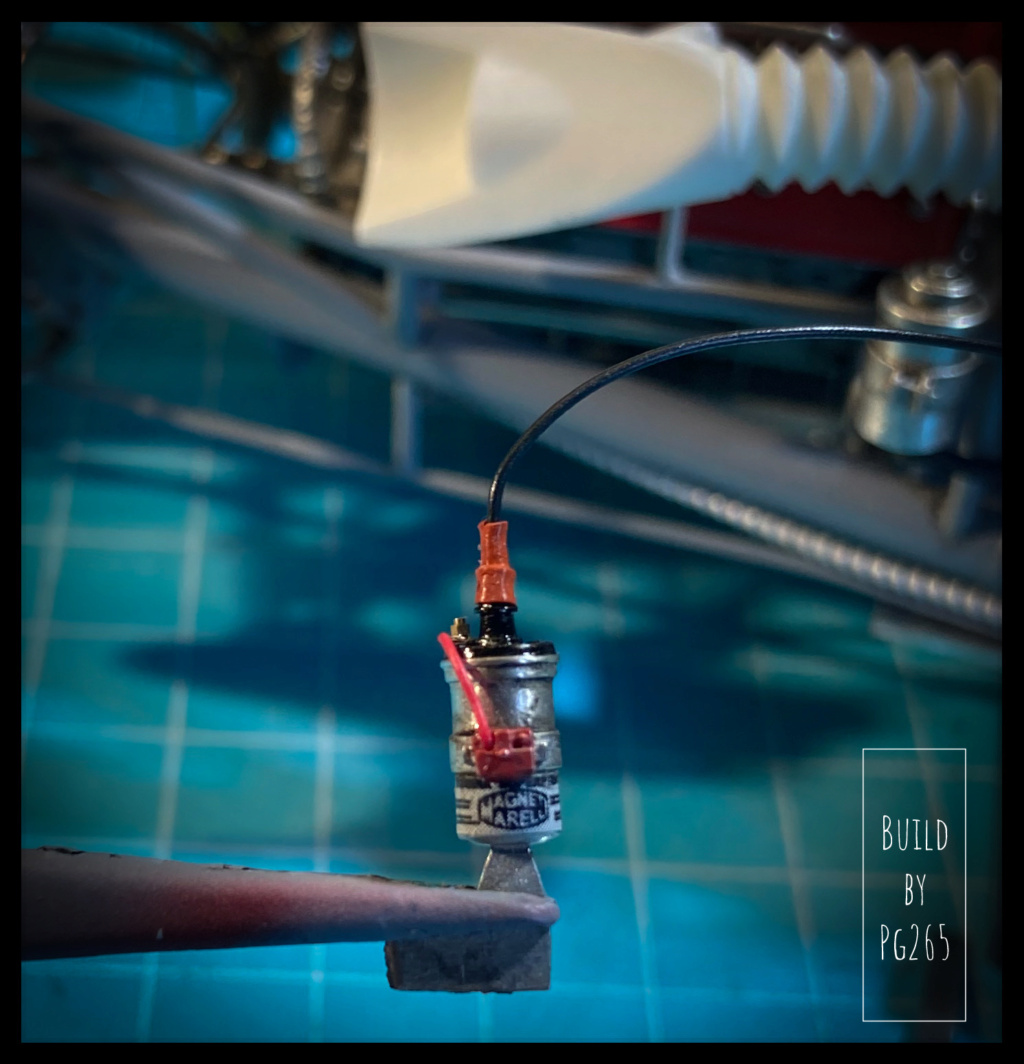 The small lateral tank (brake fluid…) is also installed. 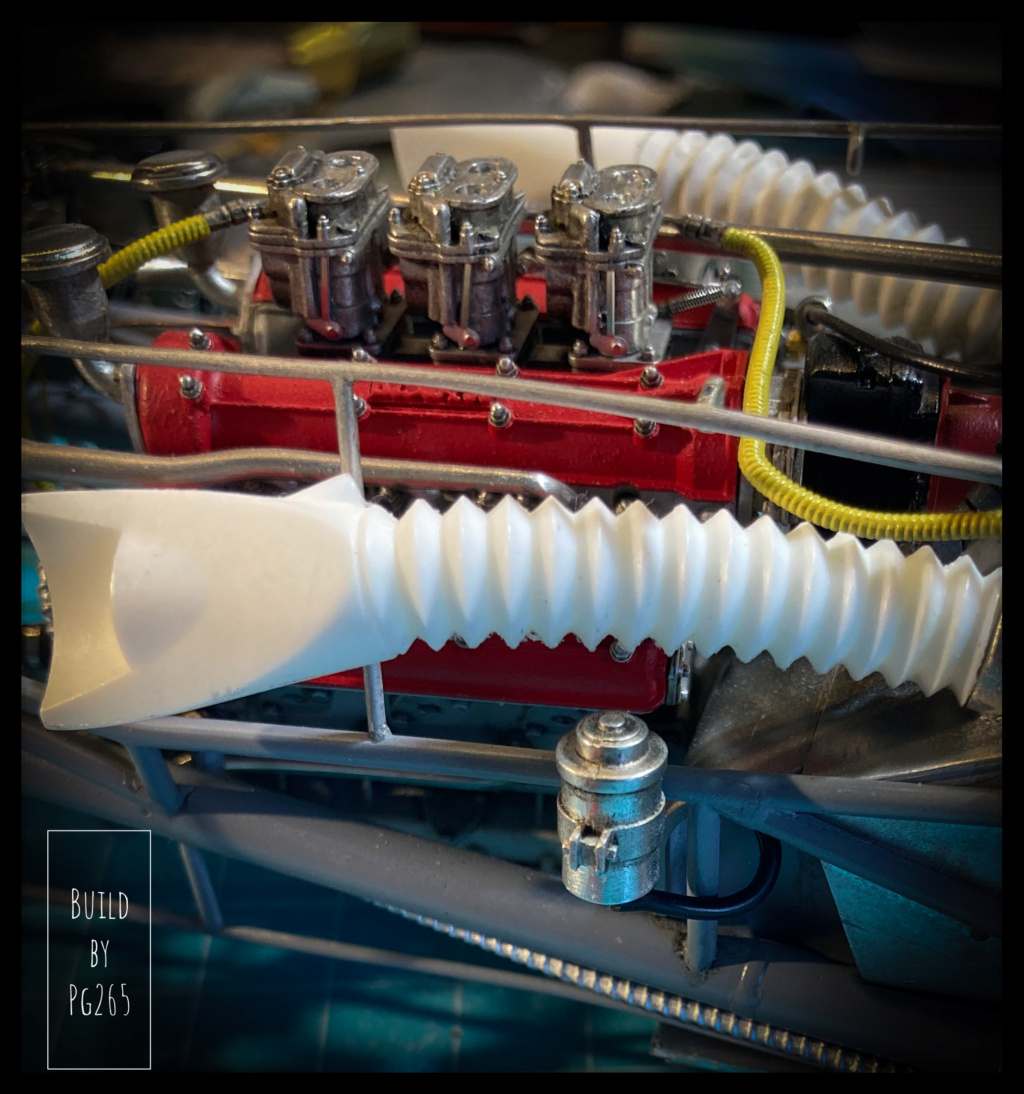 Pascal |
|
|
|
Post by arcticwolf on Oct 3, 2022 11:51:57 GMT -5
I am now convinced that this is really a 1:1 car that Pascal is building.  |
|
|
|
Post by Gary Davis on Oct 3, 2022 12:18:20 GMT -5
FOR real!!!
|
|
|
|
Post by kyledehart5 on Oct 3, 2022 15:59:57 GMT -5
I am now convinced that this is really a 1:1 car that Pascal is building.  No kidding!! Unbelievable |
|
pg265
Front Runner
 
Posts: 231 
|
Post by pg265 on Oct 7, 2022 14:26:14 GMT -5
Good evening, Thank you very much for your comments and your interest in this build Mates!!  The straps are shaped on the tanks, equipped with fixing plates, primed and painted. 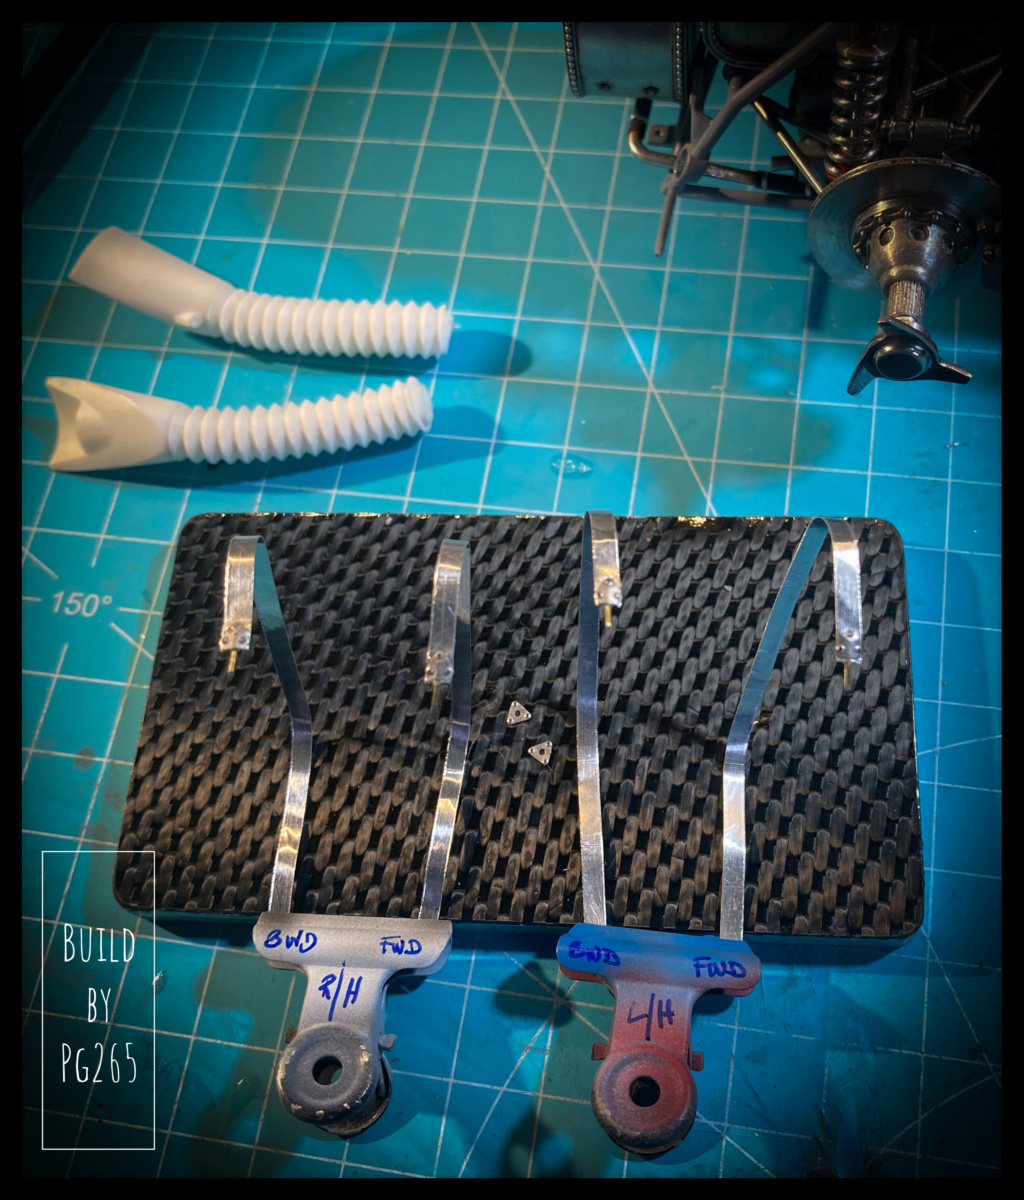 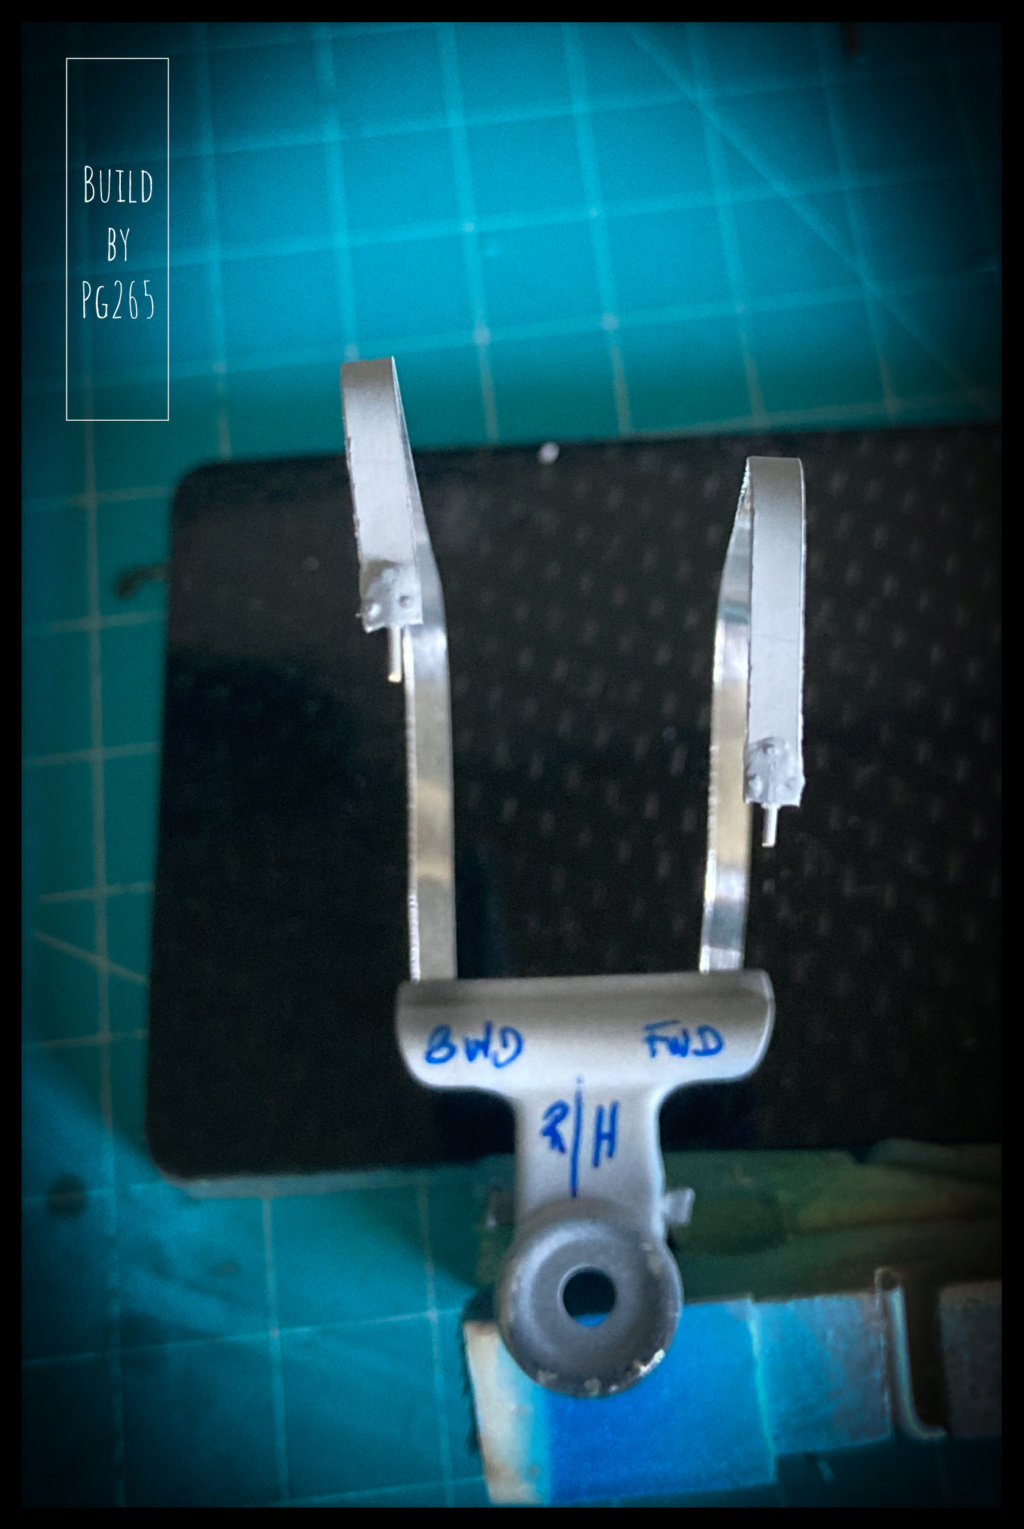 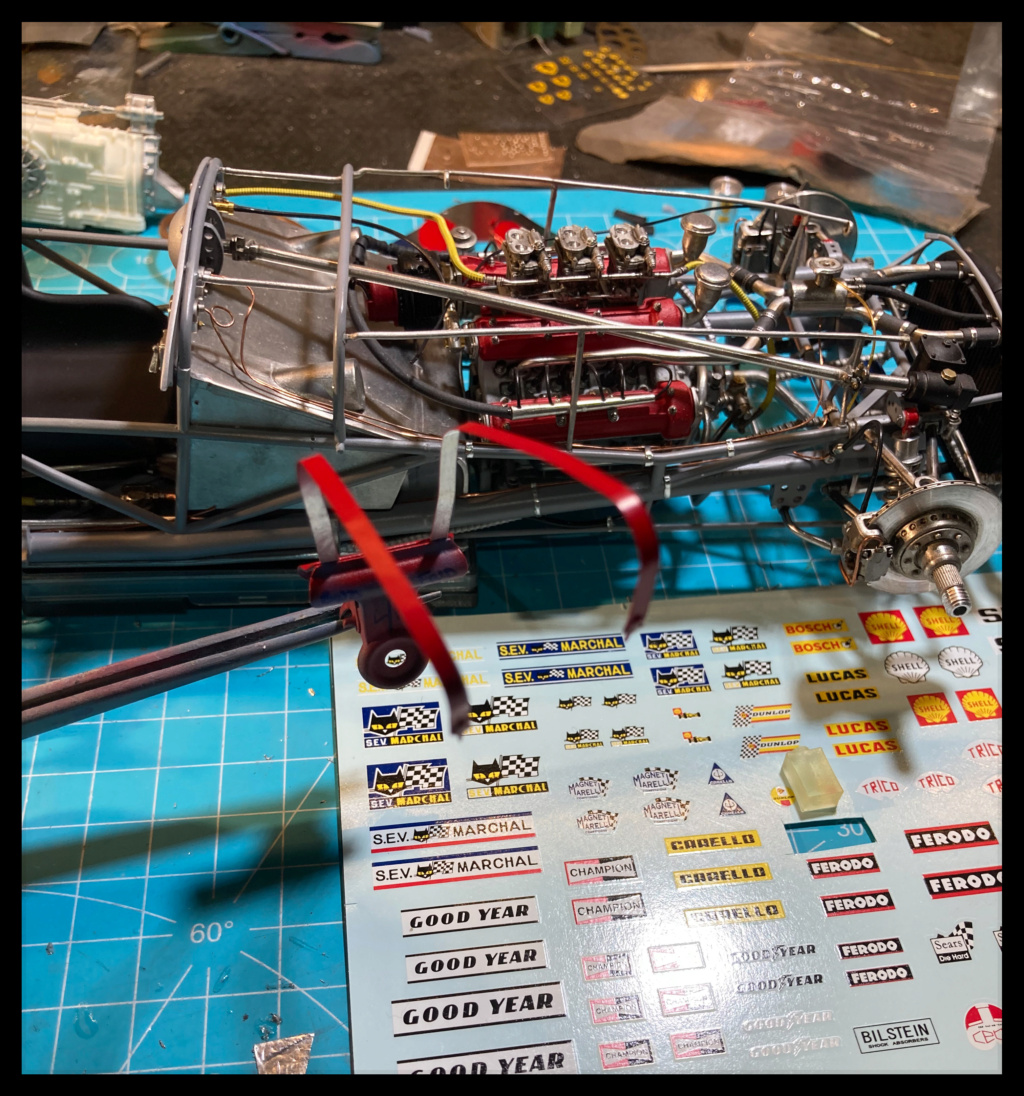 Same thing for fresh air ducts painted gray. The aluminum will be sprayed over the masked part. 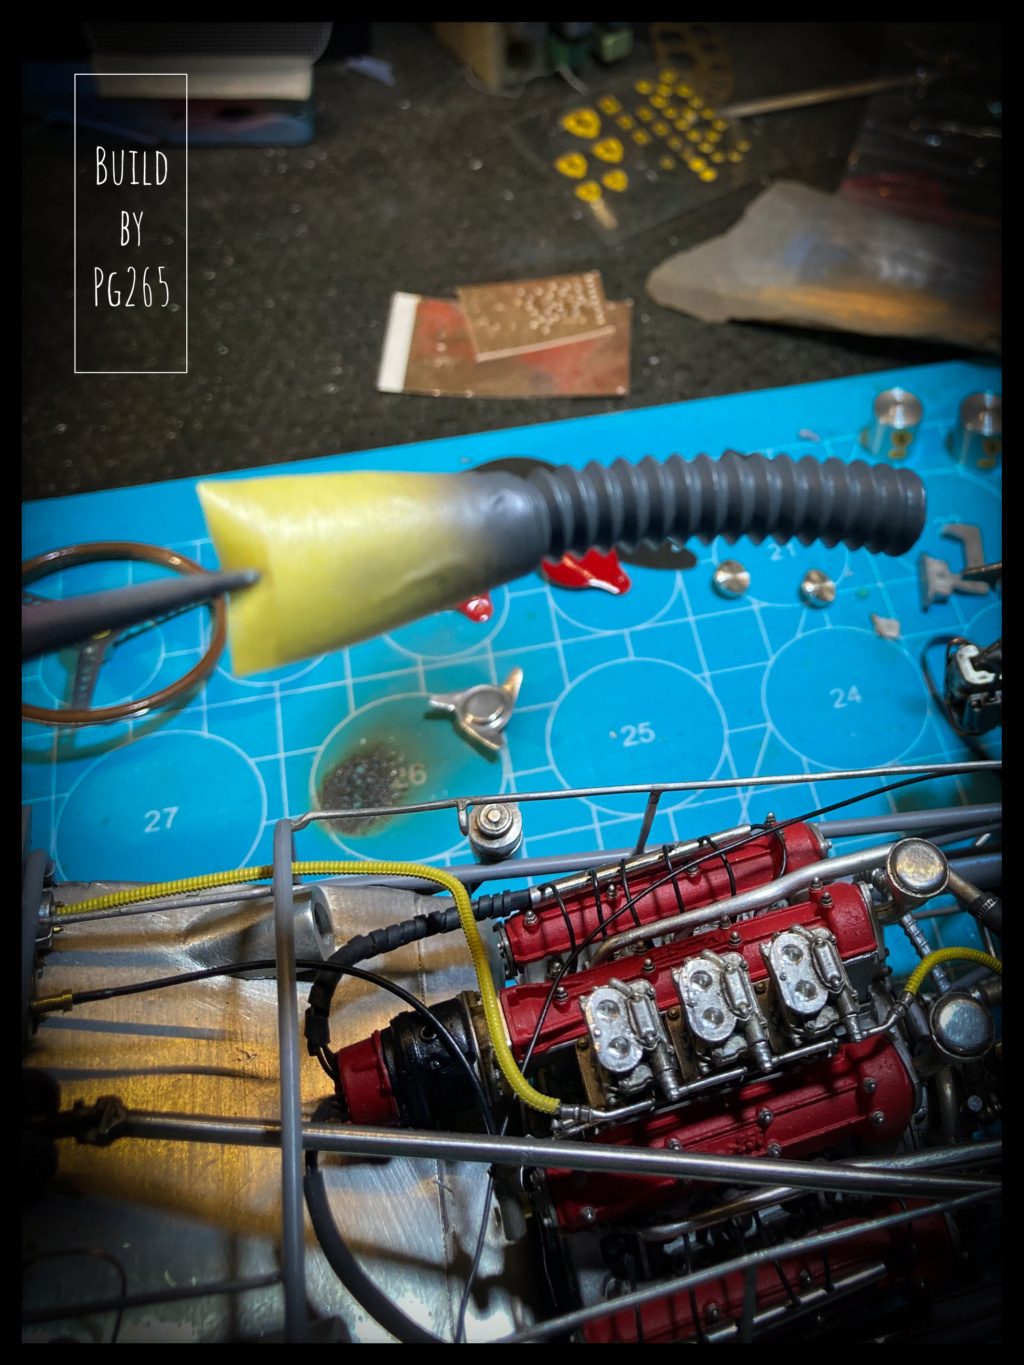 Painting session for small elements. 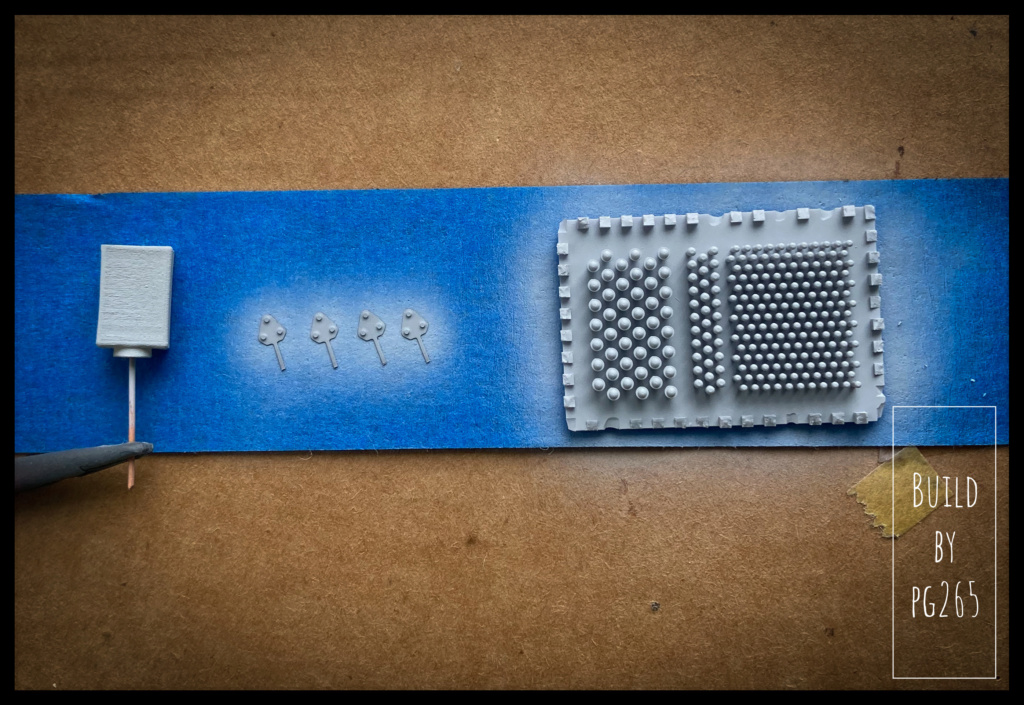 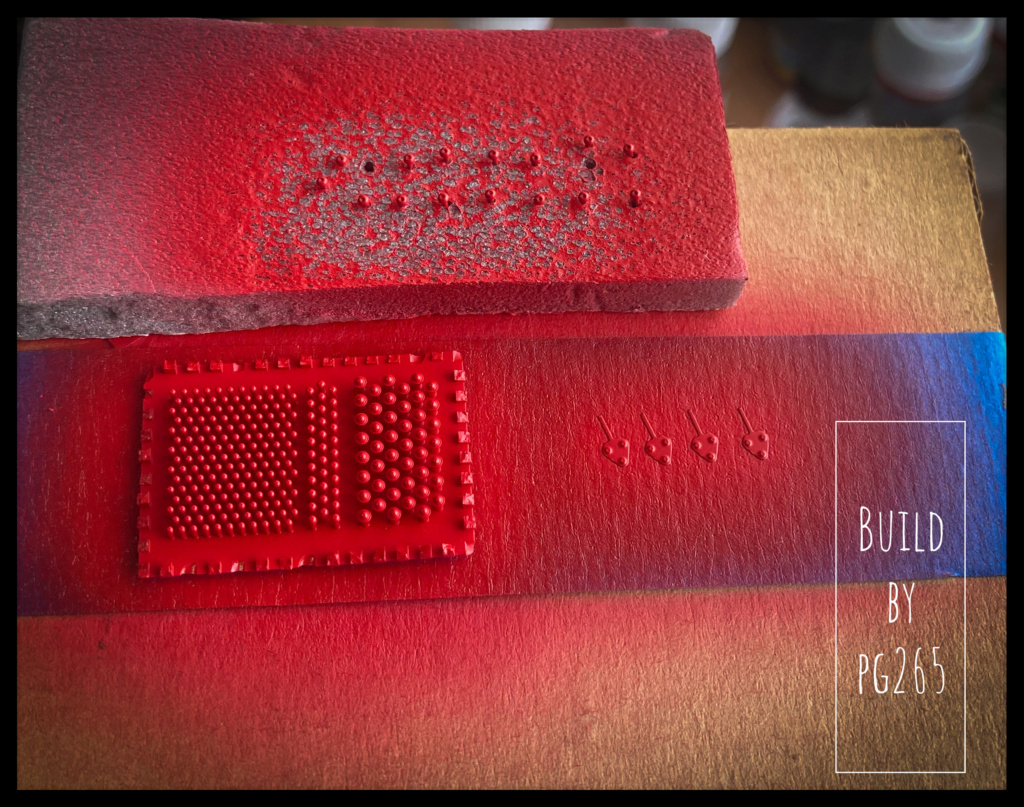 The air ducts are painted and installed on the car. The rear view mirrors are just waiting for… their mirror. 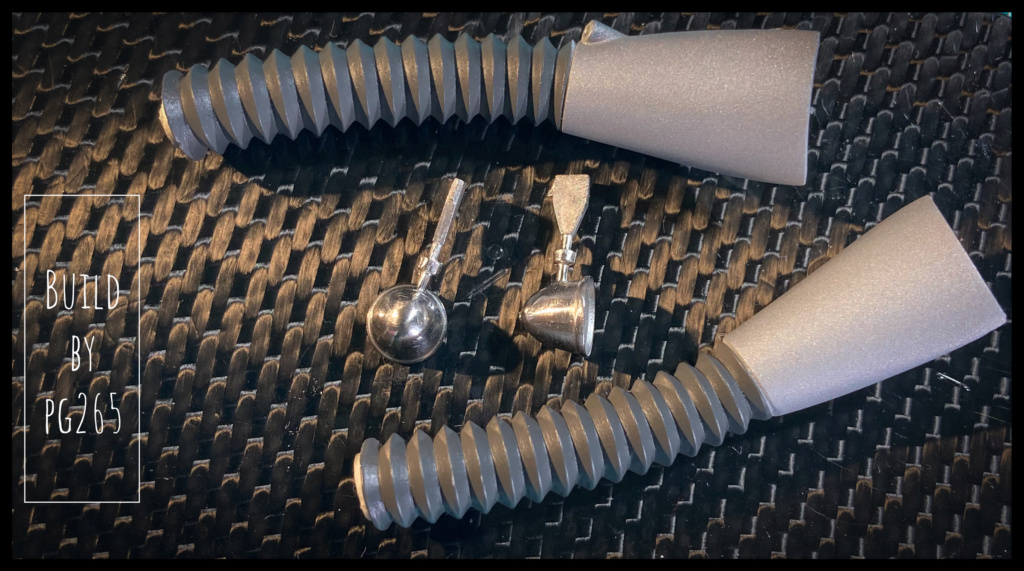 We are not immune to a clear coat attack... 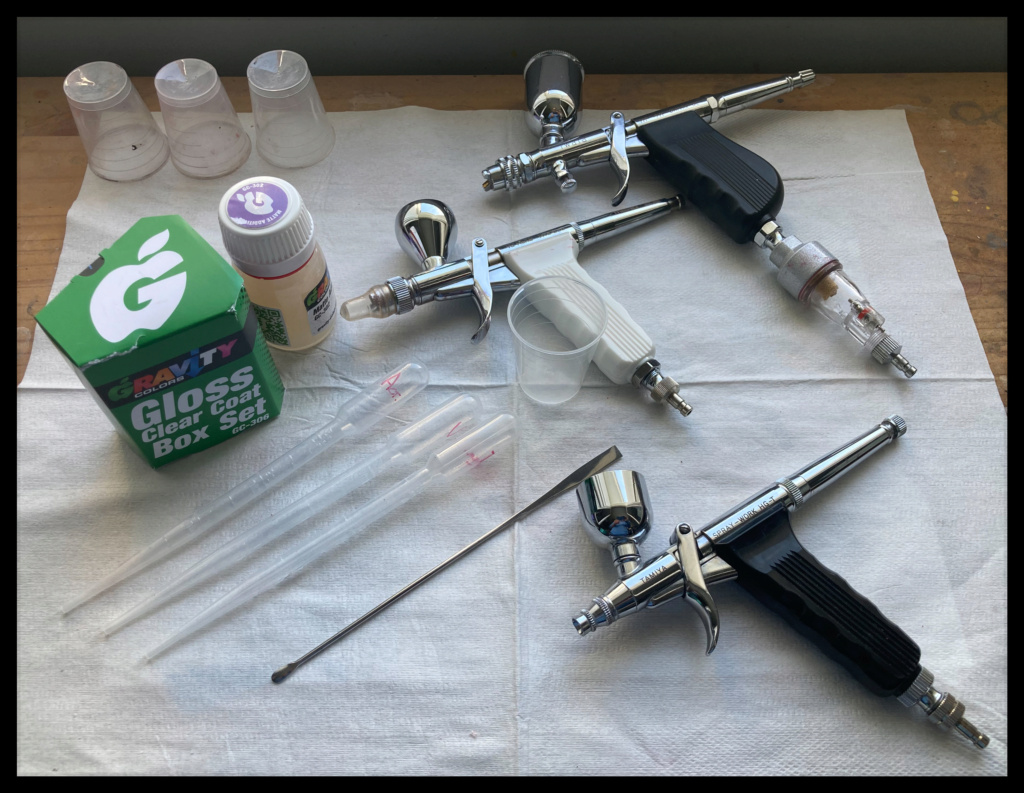 Well, well, of course, I took in the face the thing I was not immune to!… 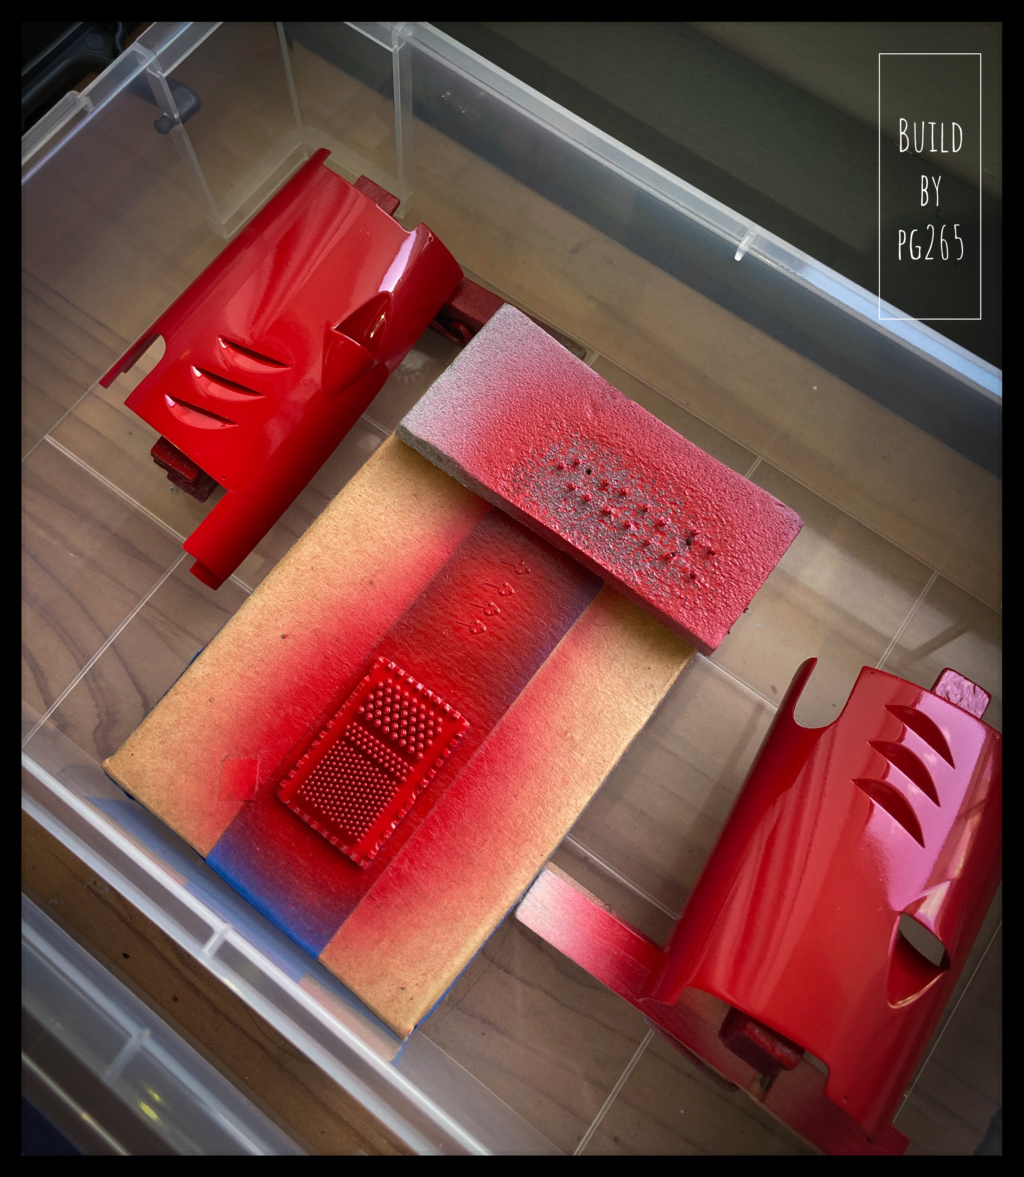 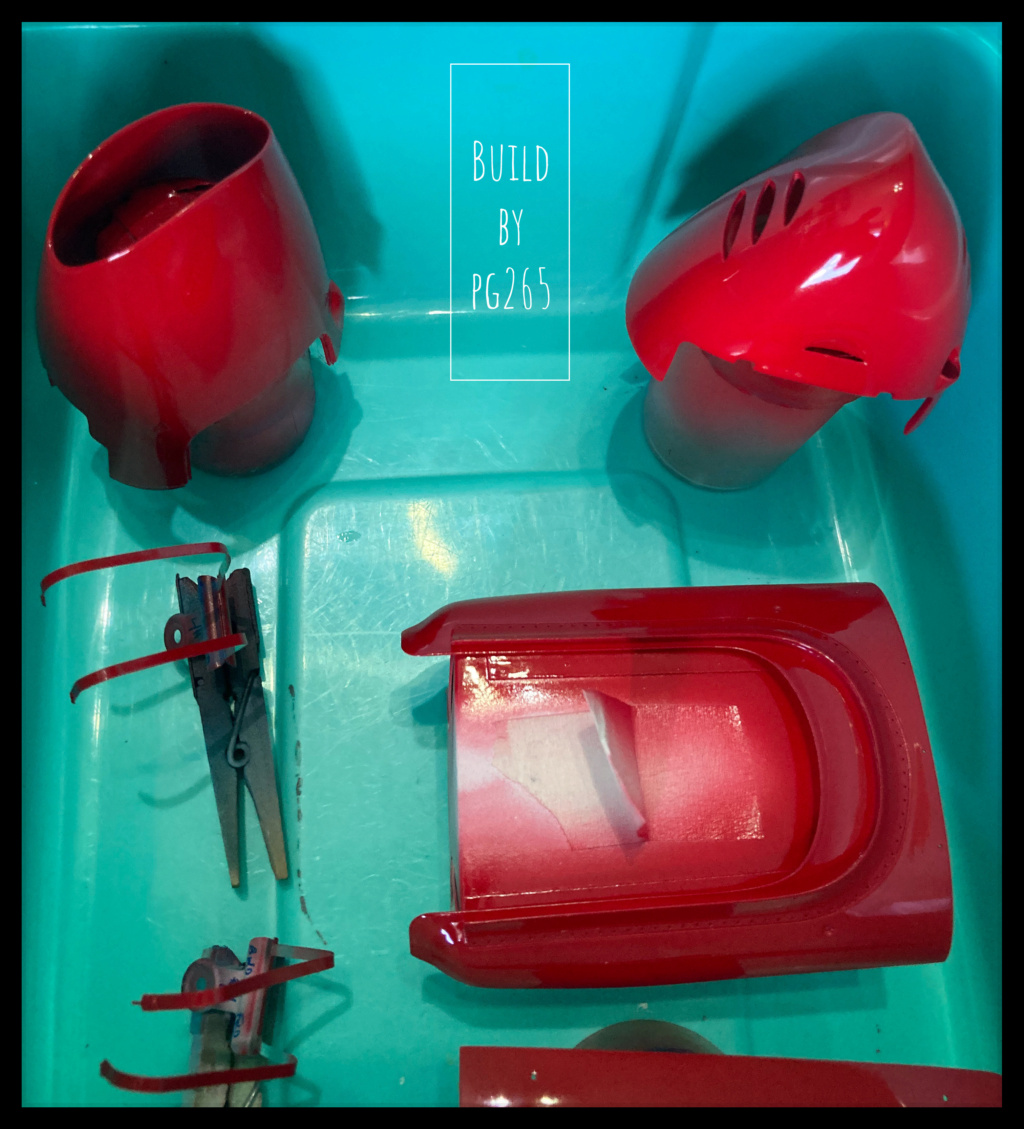 I was not happy with the top of a shock. I redid it using a 1/10th shaped aluminum strip, all that remains is to paint. 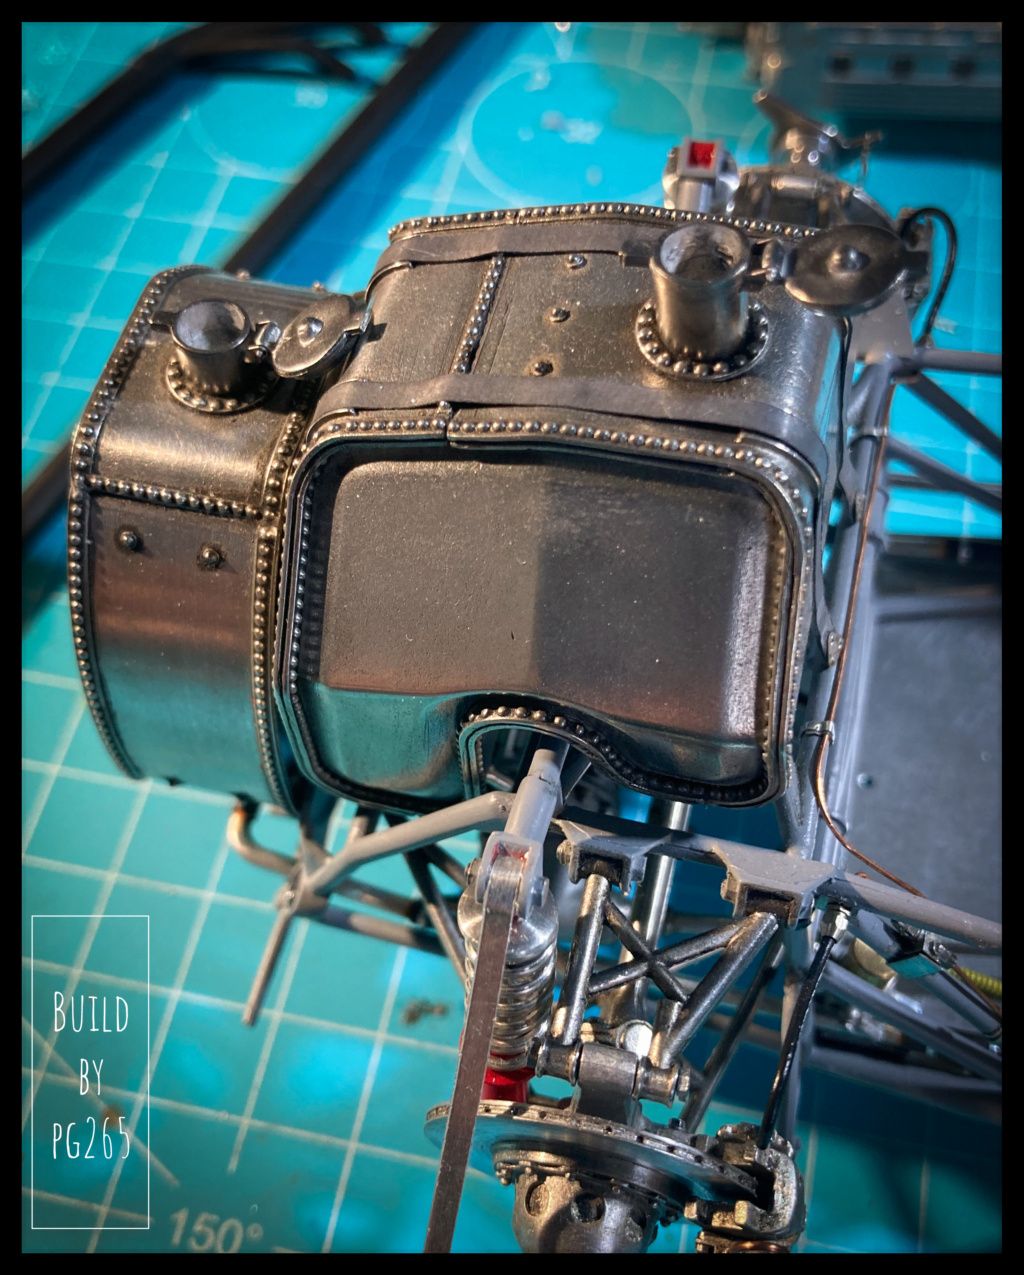 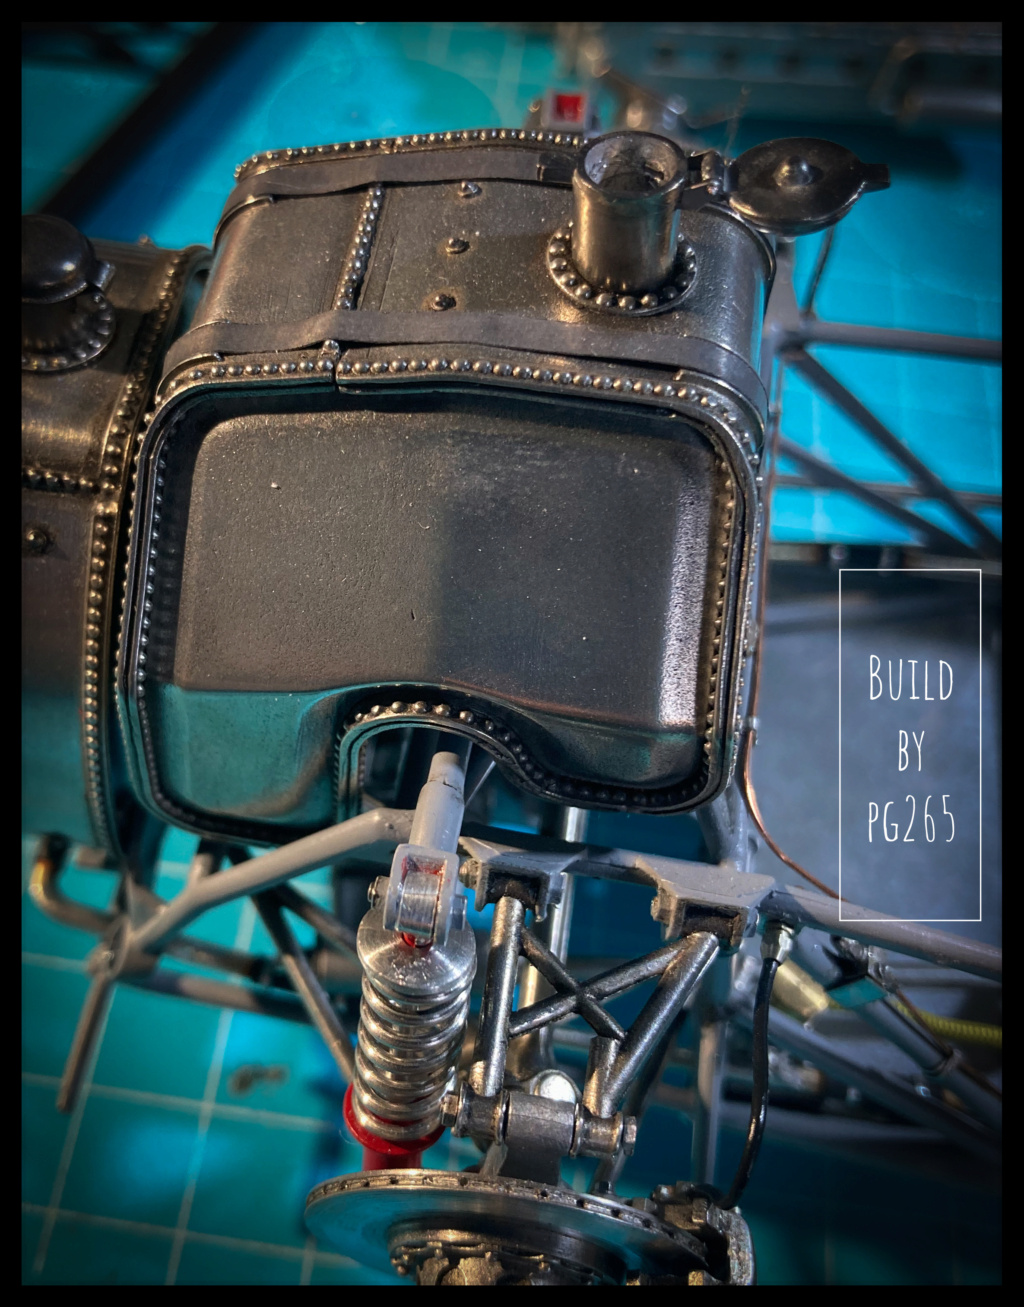 I didn't really know what to do while waiting for the varnish to dry... I decided to make a small bungee cord and a container to collect the overflow of coolant. 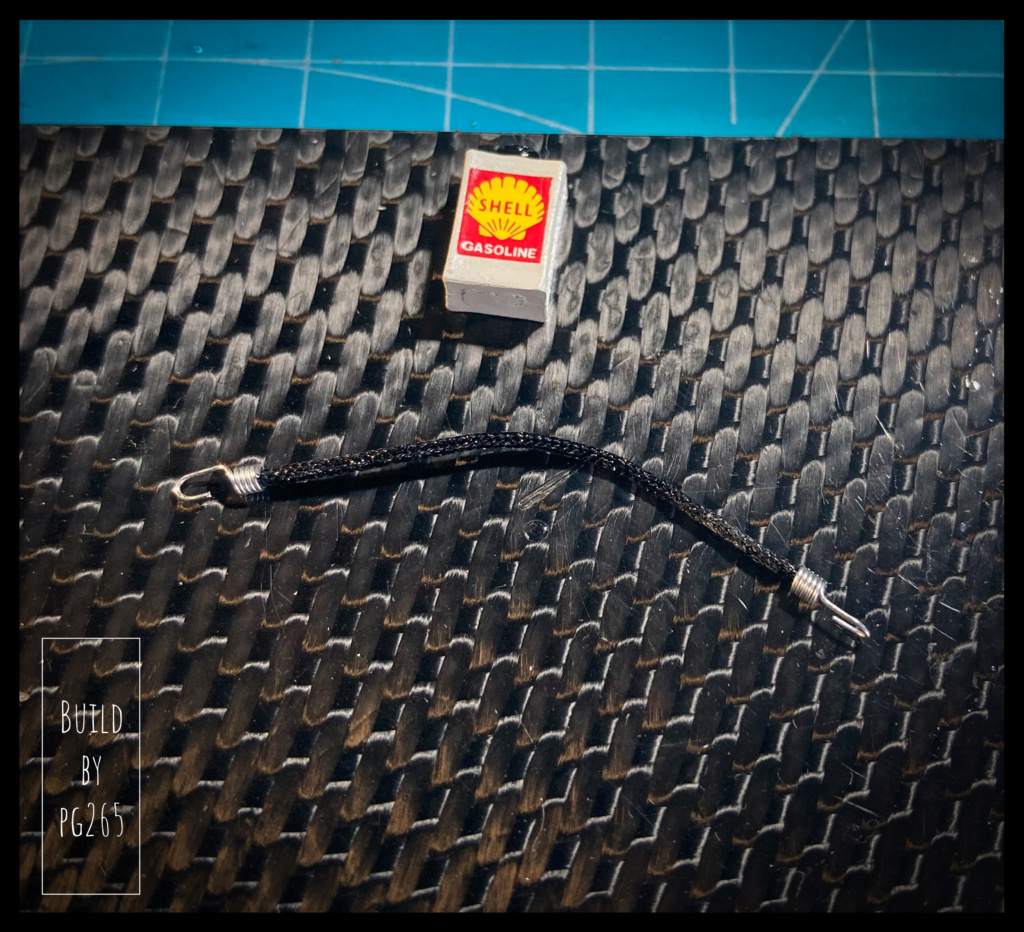 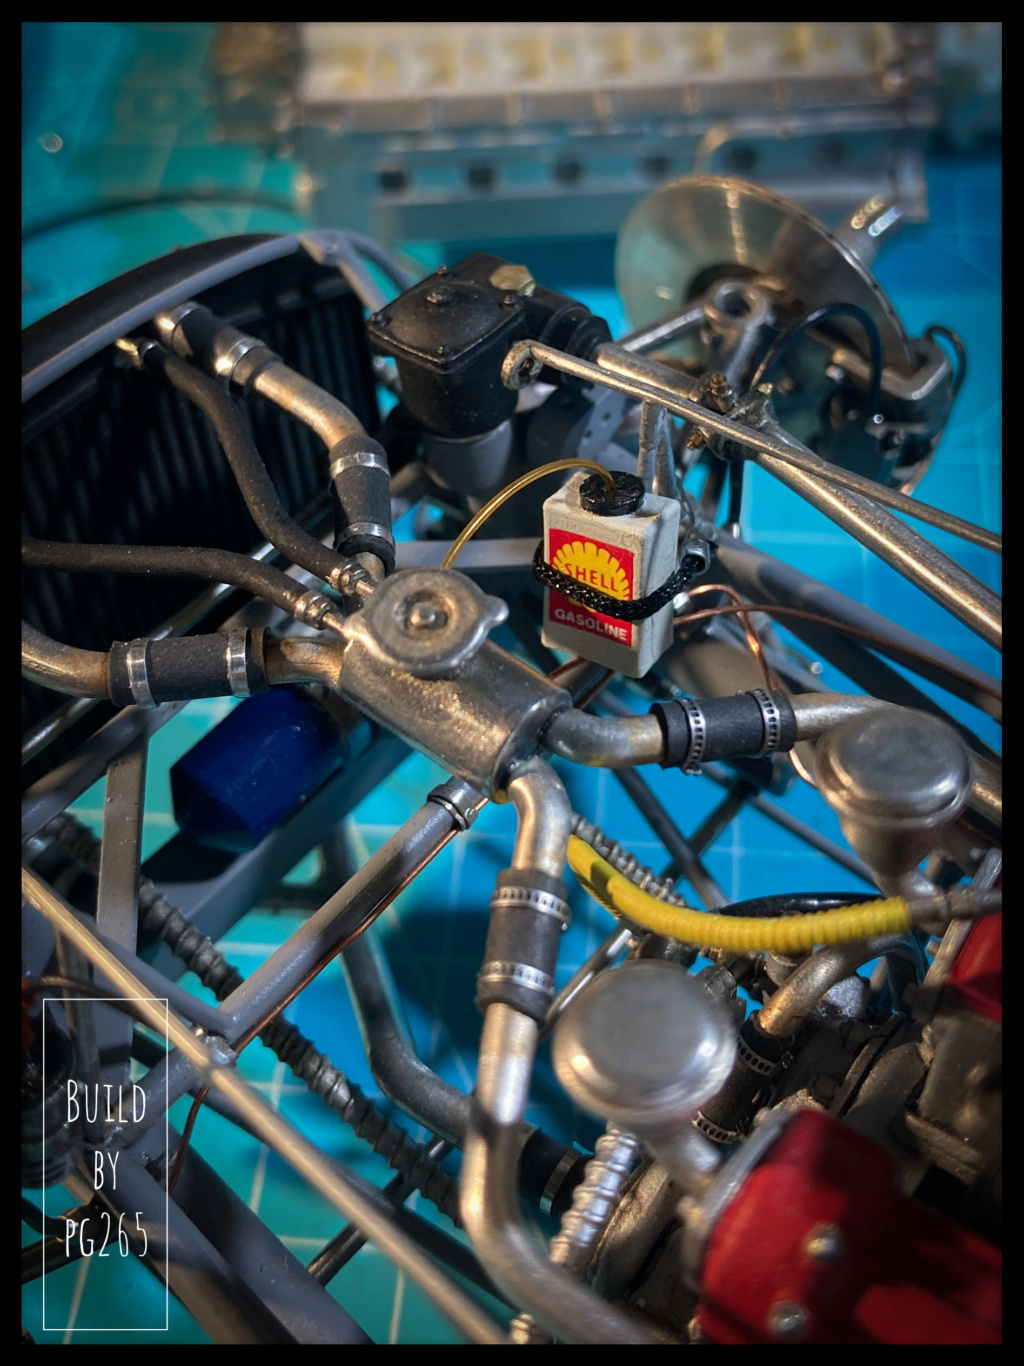 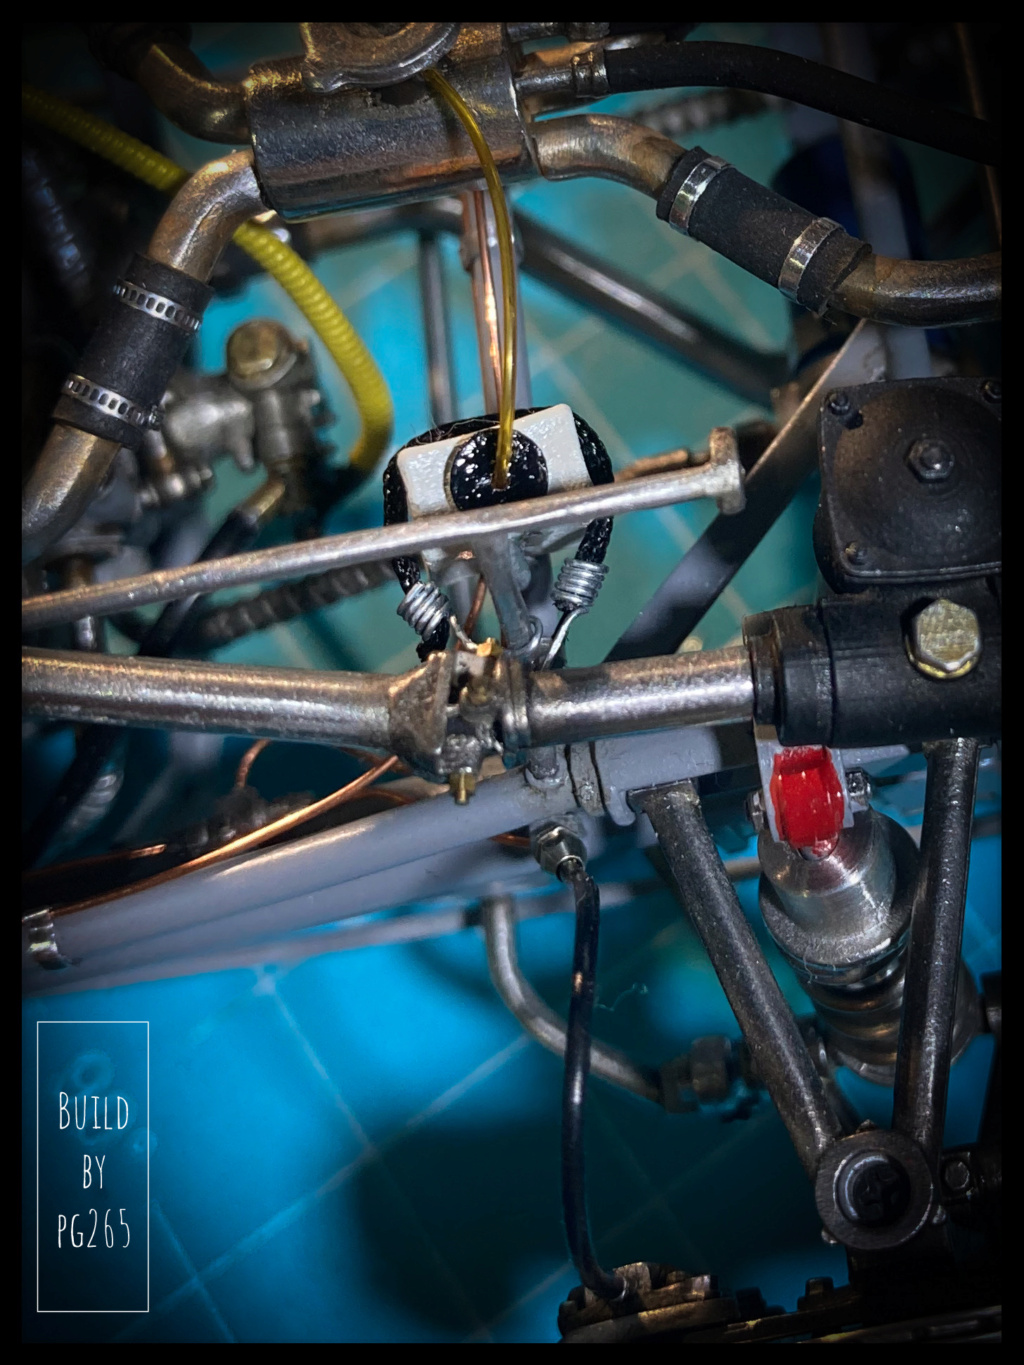 More soon. Pascal |
|
|
|
Post by raceparke on Oct 7, 2022 15:17:43 GMT -5
This is a a very impressive build of a classic racer. I really appreciate your sharing it.
|
|
pg265
Front Runner
 
Posts: 231 
|
Post by pg265 on Oct 11, 2022 11:51:27 GMT -5
Hello, Thanks a lot!  The clear coat is now dry. In order to be consistent with the Grand Prix period, I: - added mat base, - slightly "over-diluted", - sprayed in 2 very fine passes (one veil, one wet), - "scratched" very slightly with 12000. A veeery light film of Carnauba is wiped with a soft cloth. 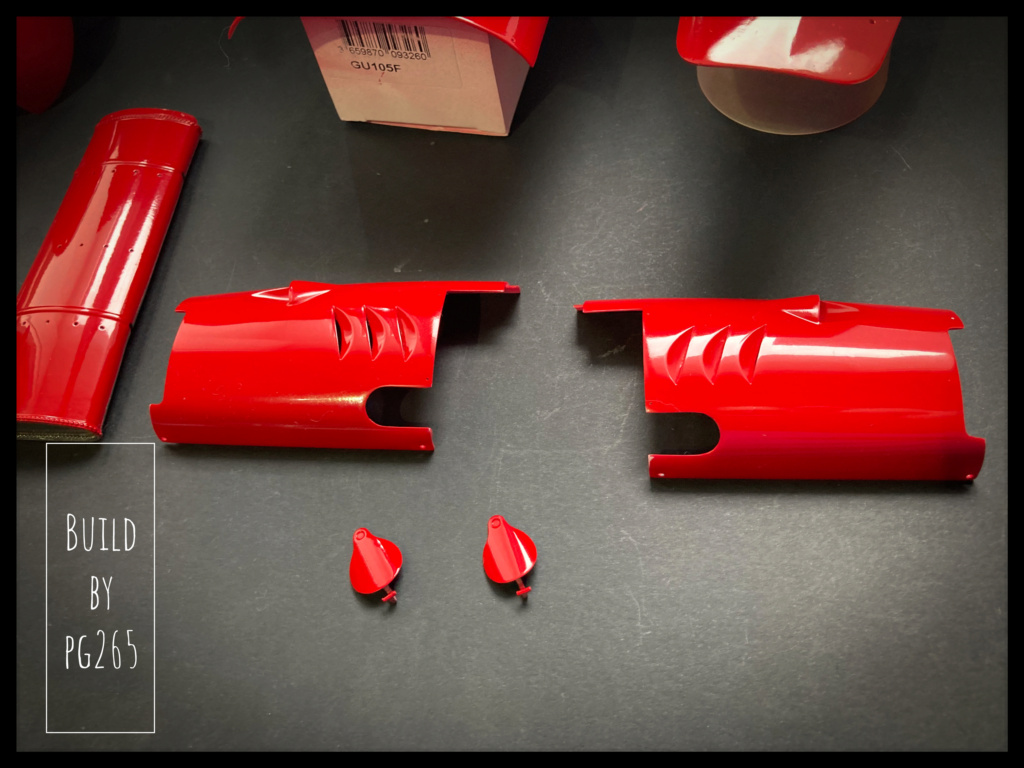 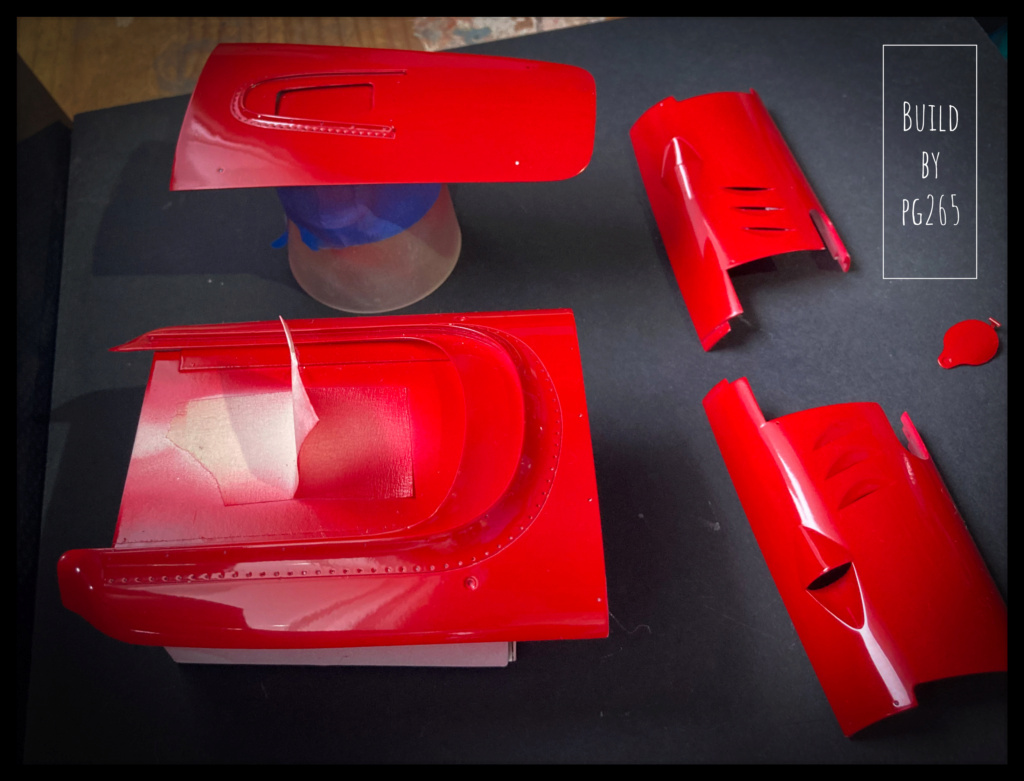 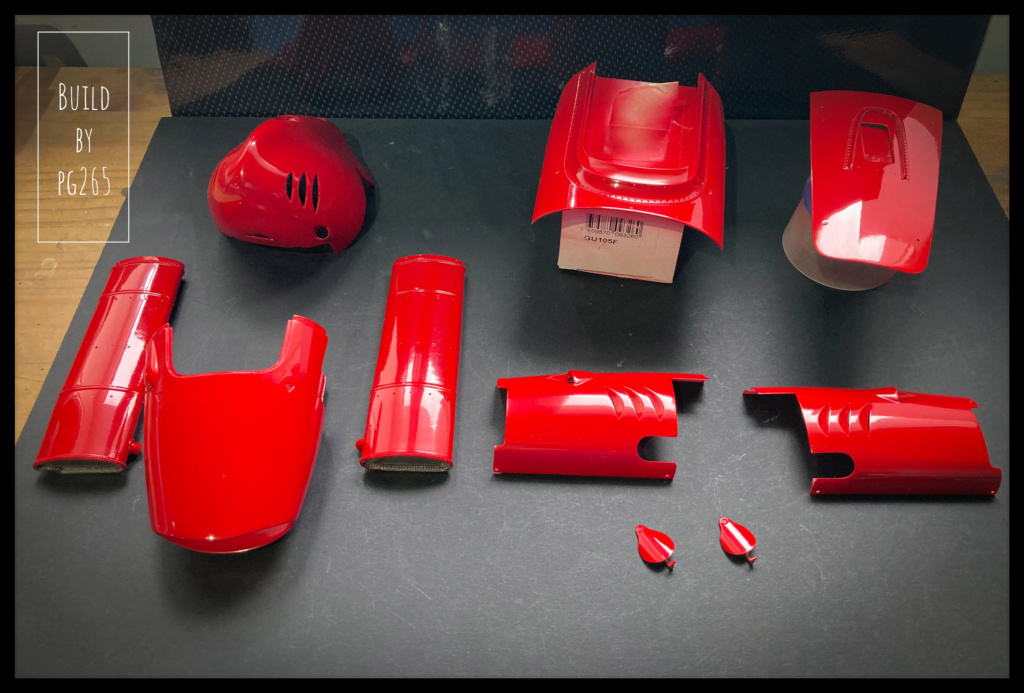 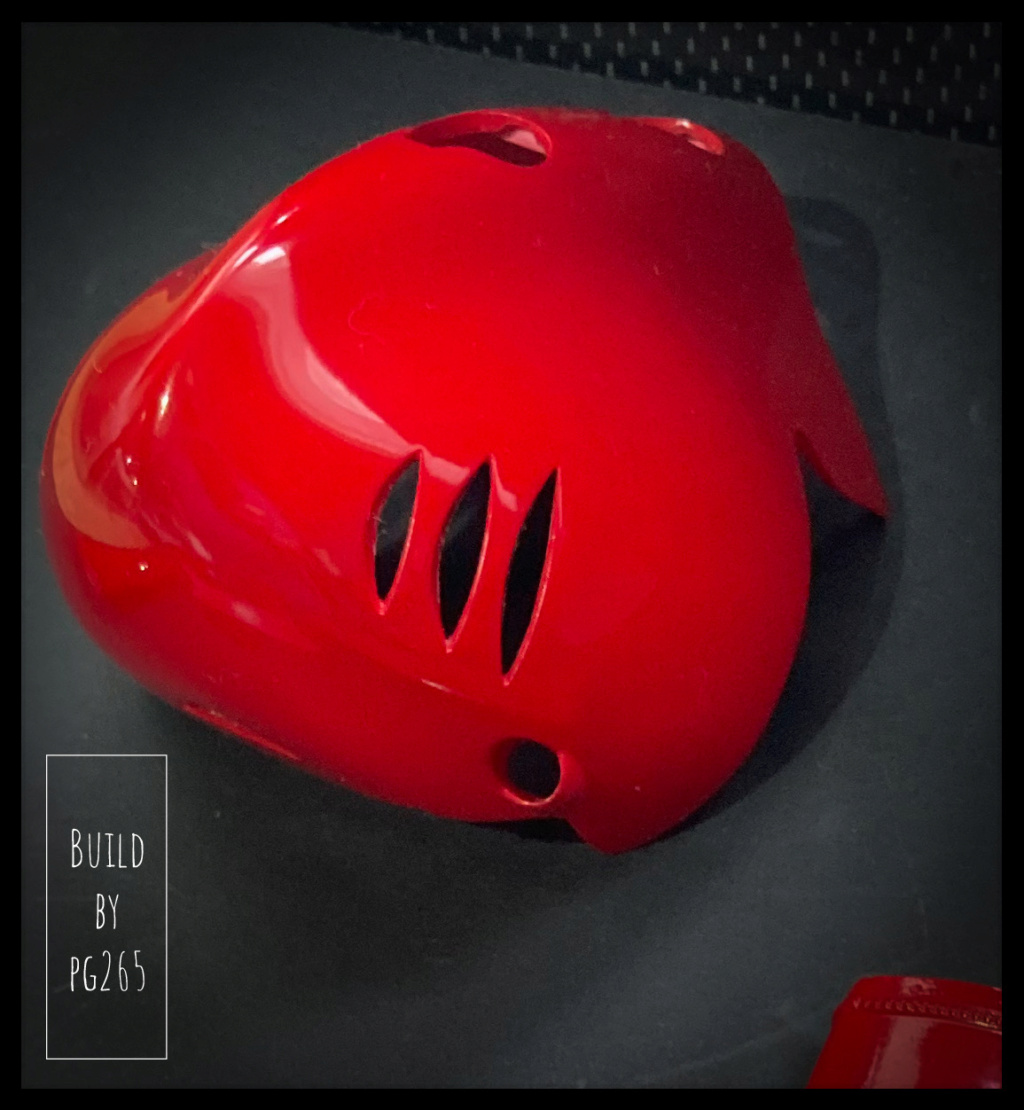 It vibrates less! The wheels are therefore balanced, with a lead wire as at the time, equipped with their inflation valve. 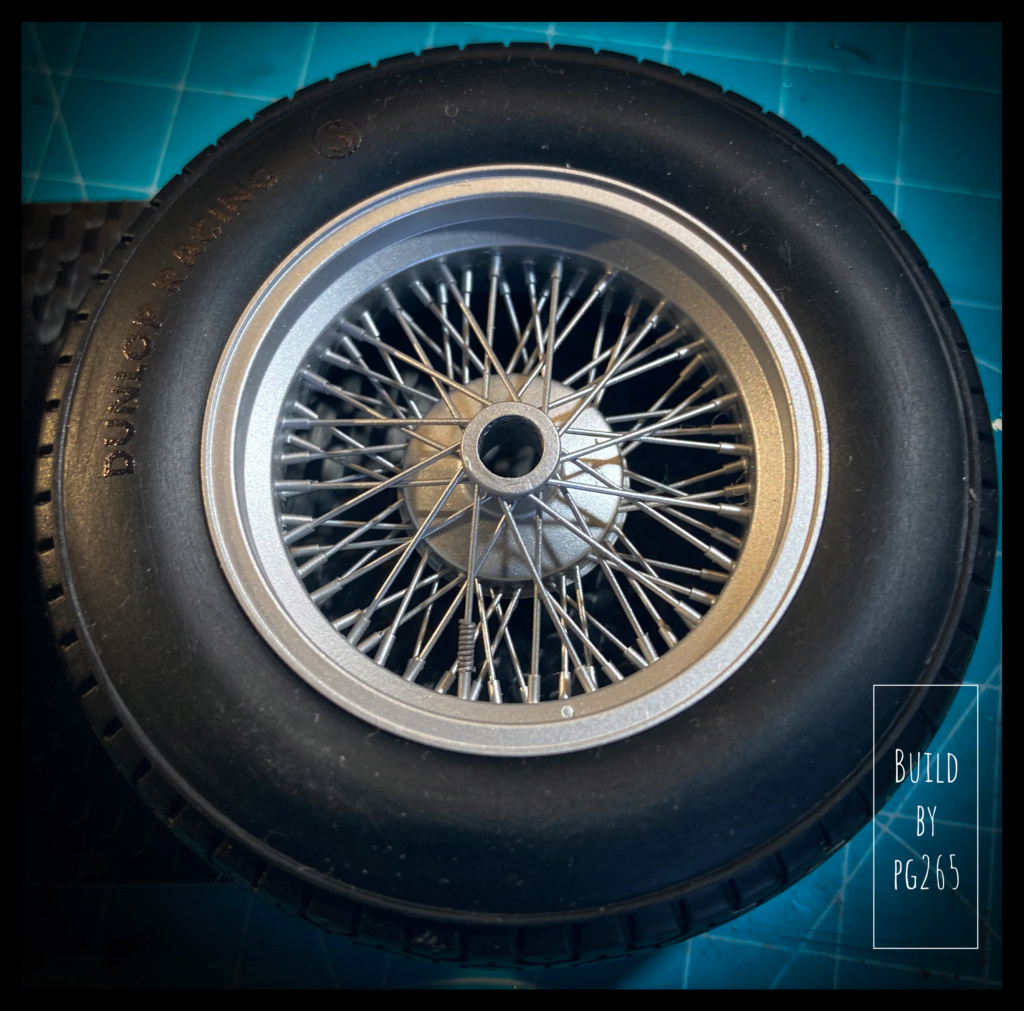 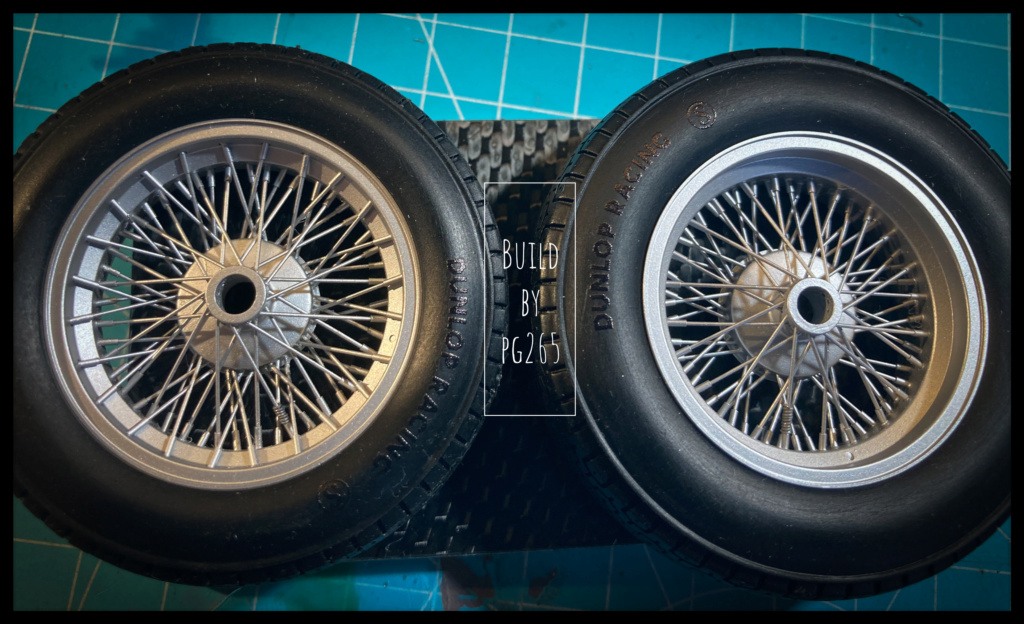 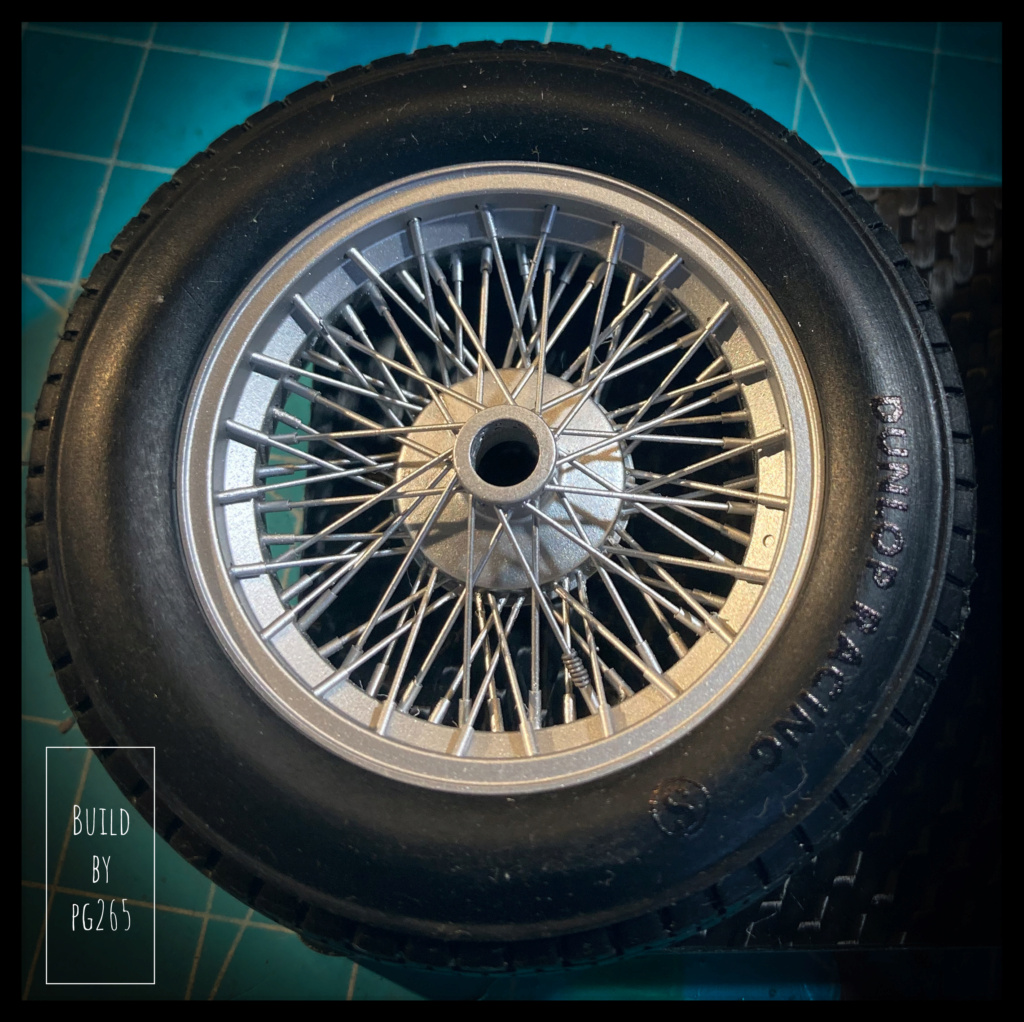 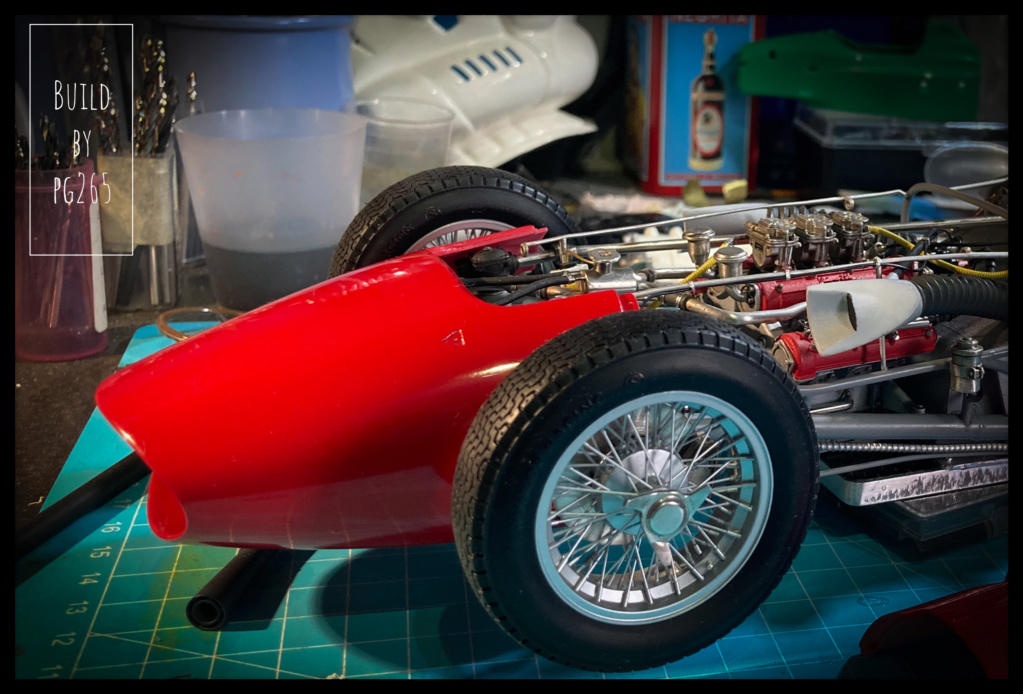 Pascal |
|
|
|
Post by Gary Davis on Oct 11, 2022 12:29:49 GMT -5
I am at a loss for words! This is build incredible.
|
|
|
|
Post by kyledehart5 on Oct 11, 2022 13:59:59 GMT -5
It really is an incredible build. The finished product is going to be unbelievable. Another great update.
|
|