Deleted
Deleted Member
Posts: 0
|
Post by Deleted on Jul 1, 2013 9:25:00 GMT -5
So let's get moving on this WIP! It's the classic Tamiya 1/12 kit of the Williams FW14b. Here is the kit, all nice and laid out: 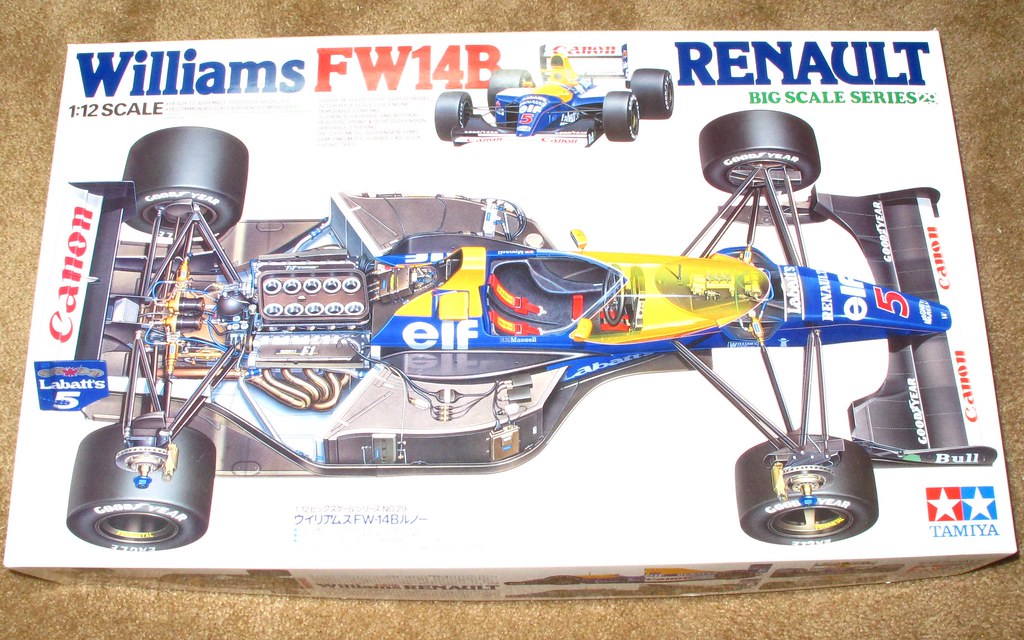 test 003 test 003 by drledford93, on Flickr 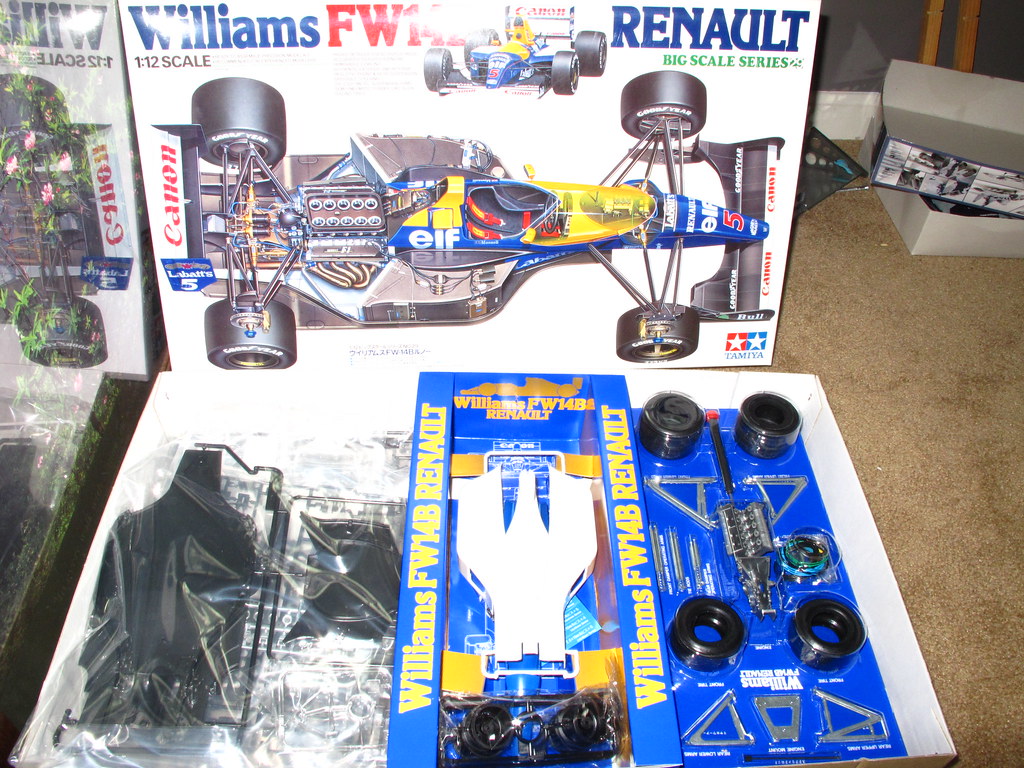 test 007 test 007 by drledford93, on Flickr Here is the RB Motion "Side Pod Kit", divided up into sections to make it easier. There are well over 600 turned parts! Lots and lots of little baggies. Now I know what crack dealers go through... :lol: 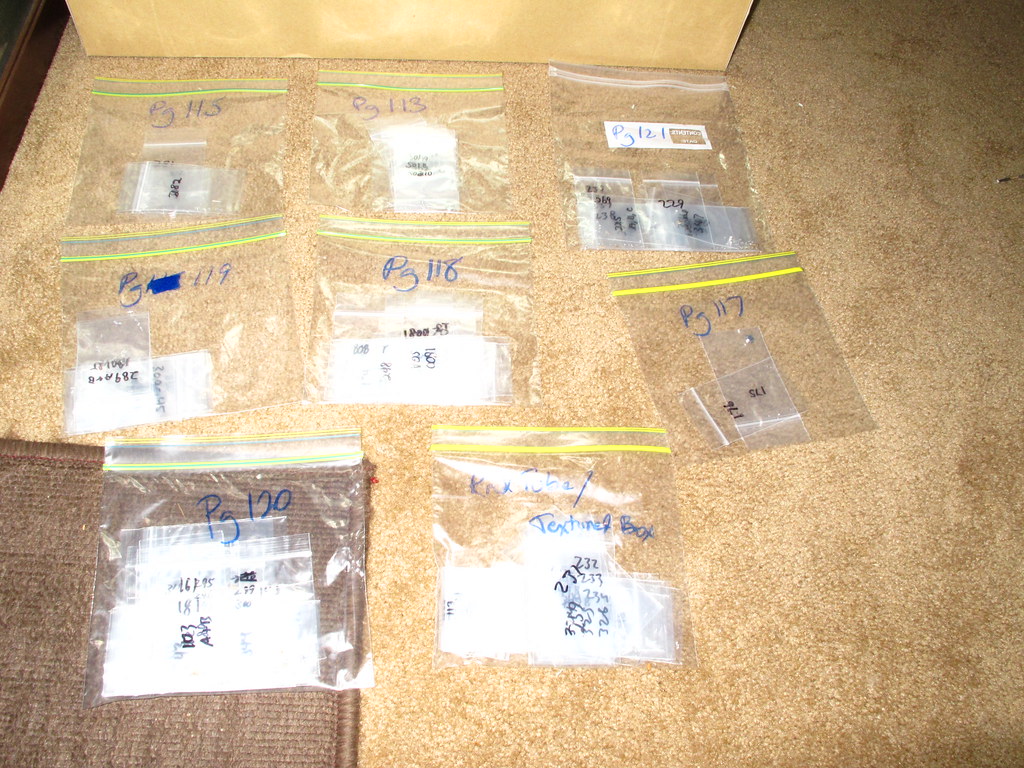 test 006 test 006 by drledford93, on Flickr I've spared you the boring stuff about painting to tub and decaling. Pretty routine stuff. A few shots of the tub (polished out) and the engine cowling (not polished yet):  test 013 test 013 by drledford93, on Flickr 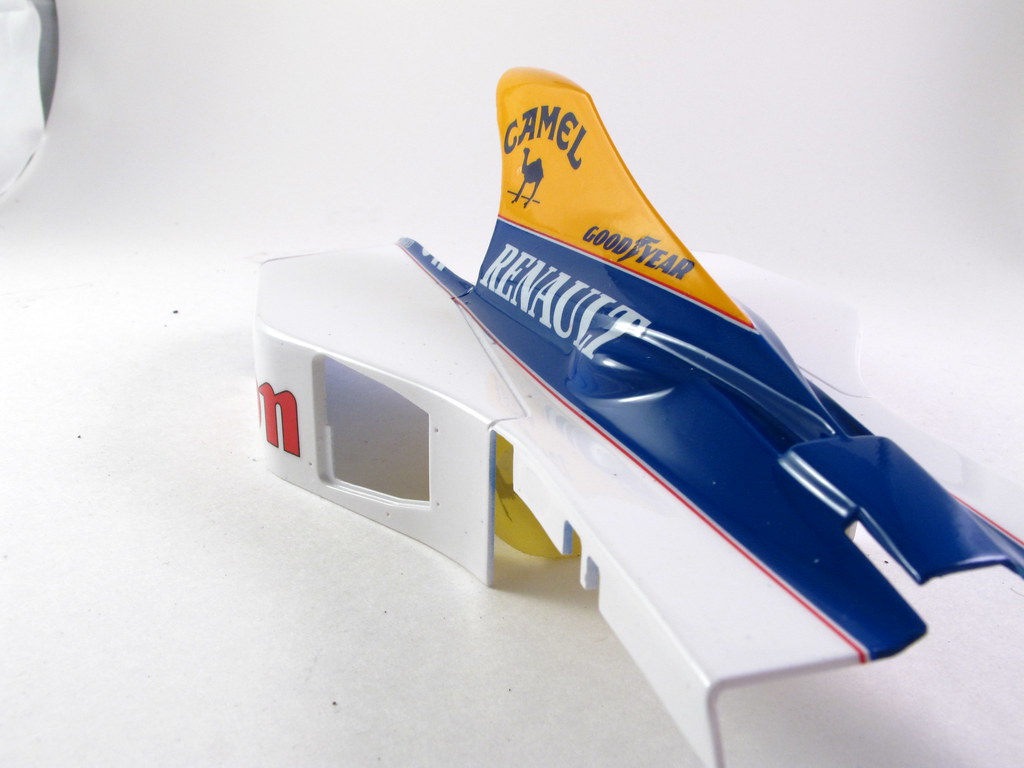 test 002 test 002 by drledford93, on Flickr 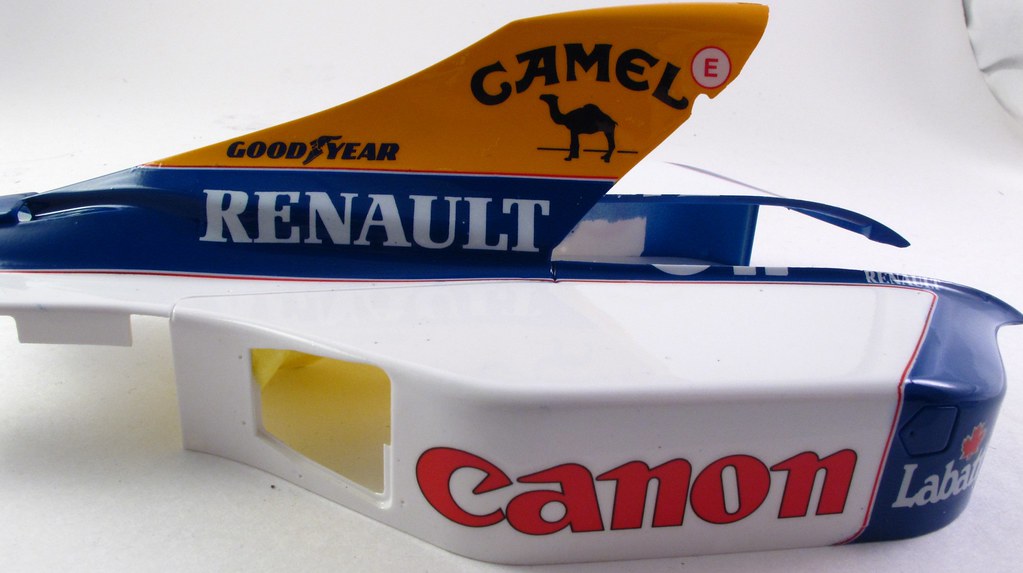 test 003 test 003 by drledford93, on Flickr Now, on to the good stuff. Here is the fuel tank area/back of the air scoop with all the various RBM parts plus a few I did myself: 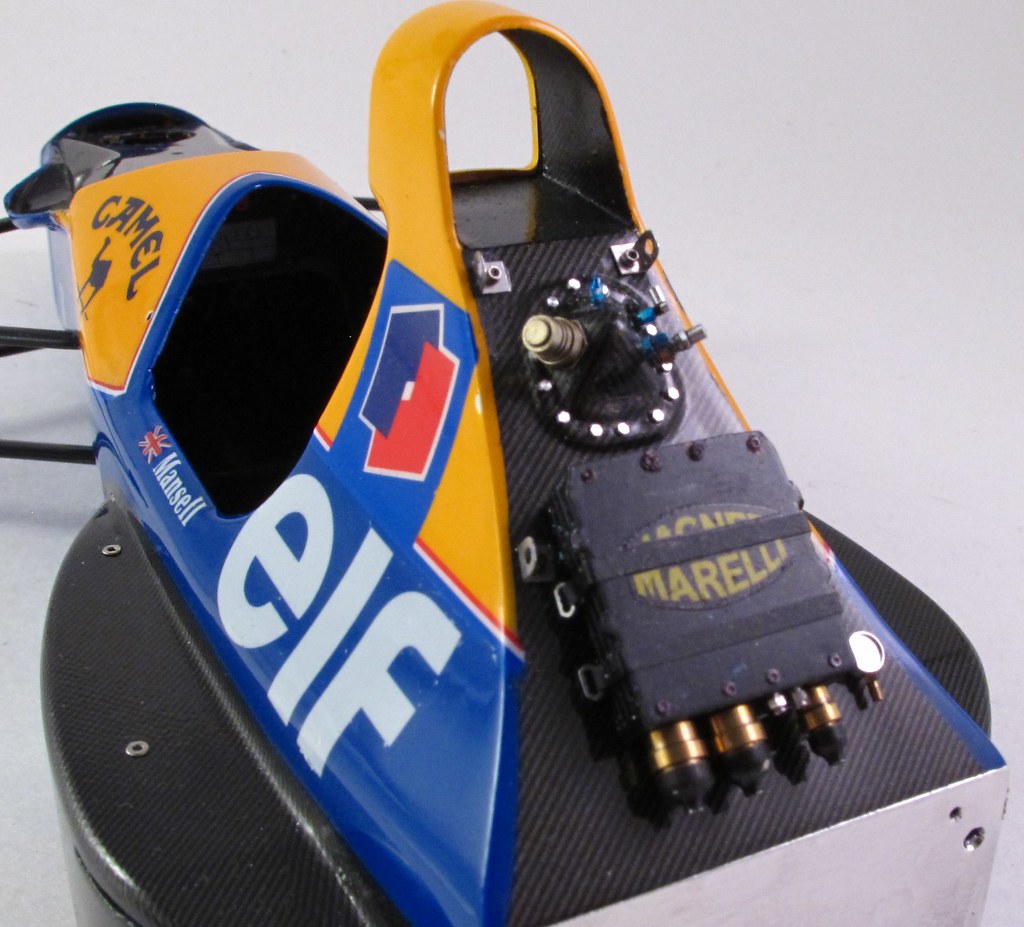 test 012 test 012 by drledford93, on Flickr  test 014 test 014 by drledford93, on Flickr Here is the right side pod: 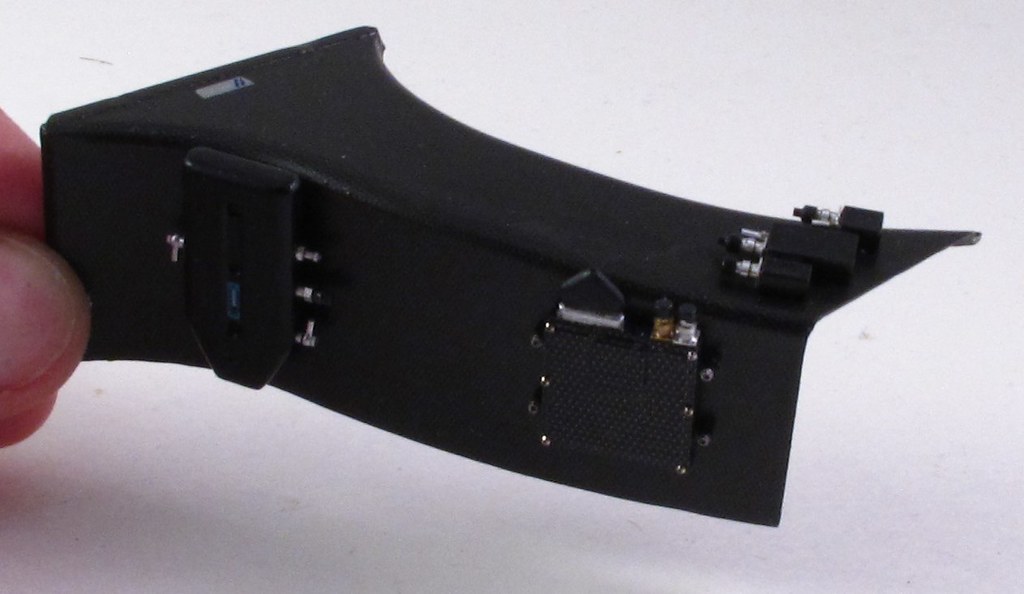 test 009 test 009 by drledford93, on Flickr And here is the Grand-daddy of them all, the left:  test 010 test 010 by drledford93, on Flickr 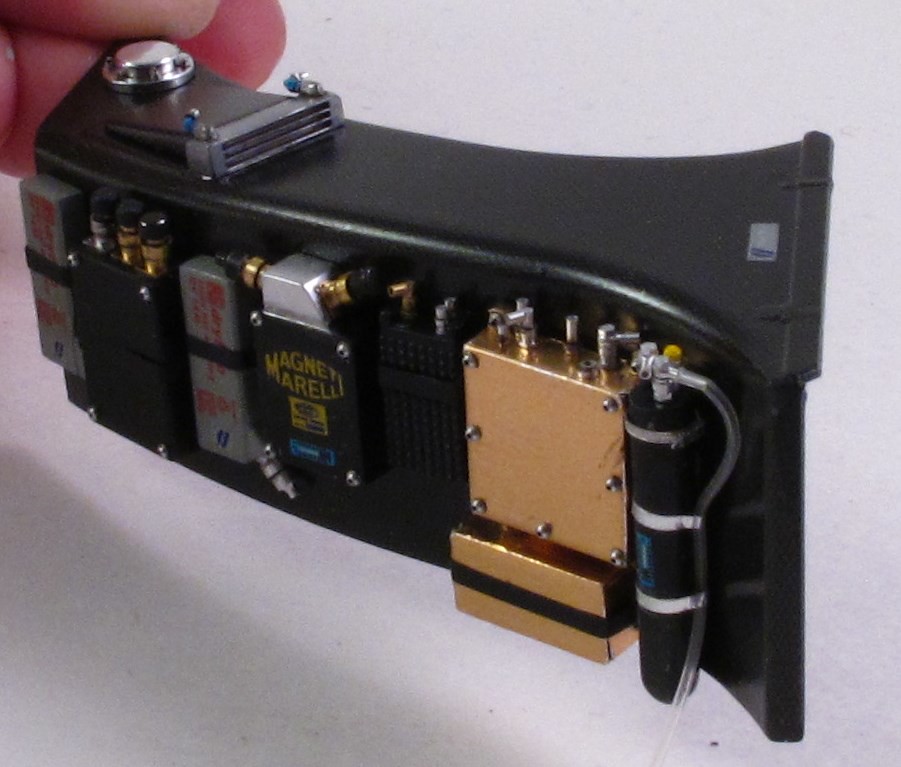 test 011 test 011 by drledford93, on Flickr I'll have more as it progresses. Enjoy for now!  Daniel |
|
|
|
Post by indy on Jul 1, 2013 9:38:42 GMT -5
Thanks for posting this here - the detail is just outstanding. Glad this tub incident didn't set you back too far!  Jordan |
|
|
|
Post by Calvin on Jul 1, 2013 10:28:53 GMT -5
Holy smokes! This is a model building forum we dont work on real cars here!  |
|
Deleted
Deleted Member
Posts: 0
|
Post by Deleted on Jul 13, 2013 23:29:13 GMT -5
Second update! I've pretty much completed work on the front shock/suspension mount detail. I've added and scratchbuilt almost all of it, with RBM's parts being some of the electronics connectors and the a/n and hydraulics connections. The gold hydraulics that replaced the shocks were turned by me (one of my first projects!) and was a lot of fun to try and get right. CF decals are KA Models. Yes, those are simulated velcro strips around the edge of the body panel, as that's what Williams apparently used to help fasten it down! I still have a few things to add but I'm waiting on them from RBM, so I figured I'd take some pics and get them up so that this thread didn't die a horrible, lonely death! :lol: 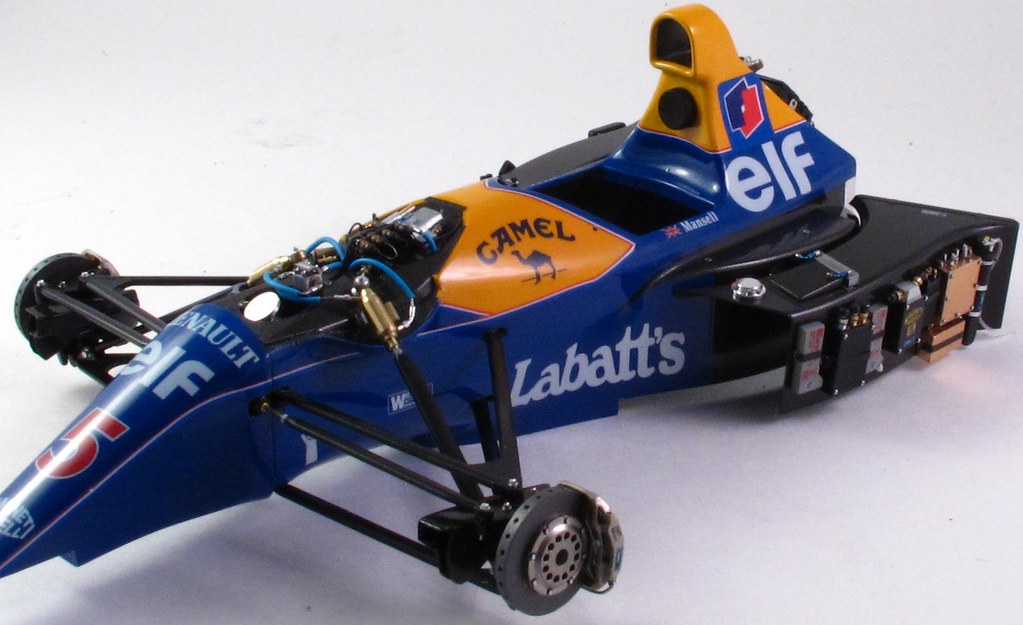 test 004 test 004 by drledford93, on Flickr  test 008 test 008 by drledford93, on Flickr 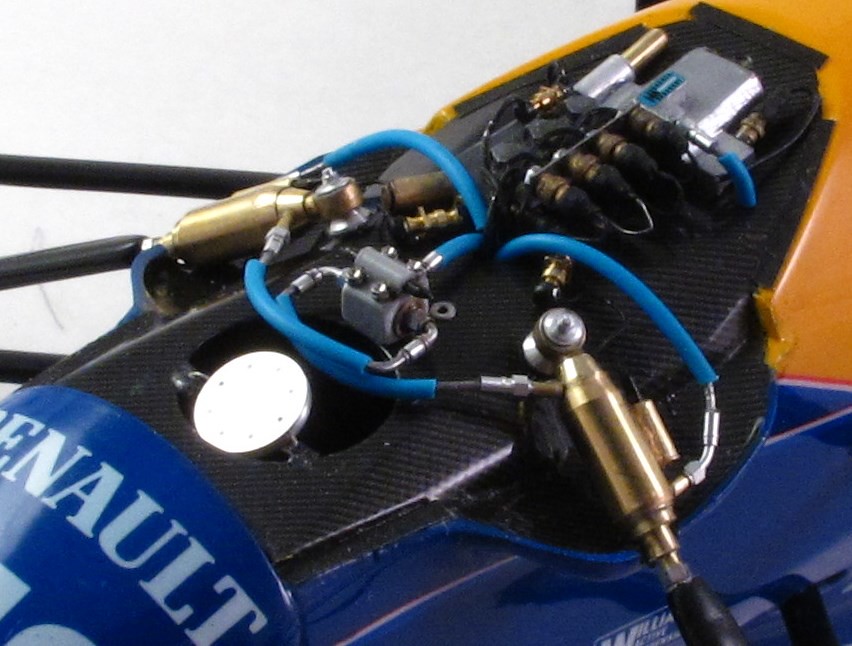 test 009 test 009 by drledford93, on Flickr 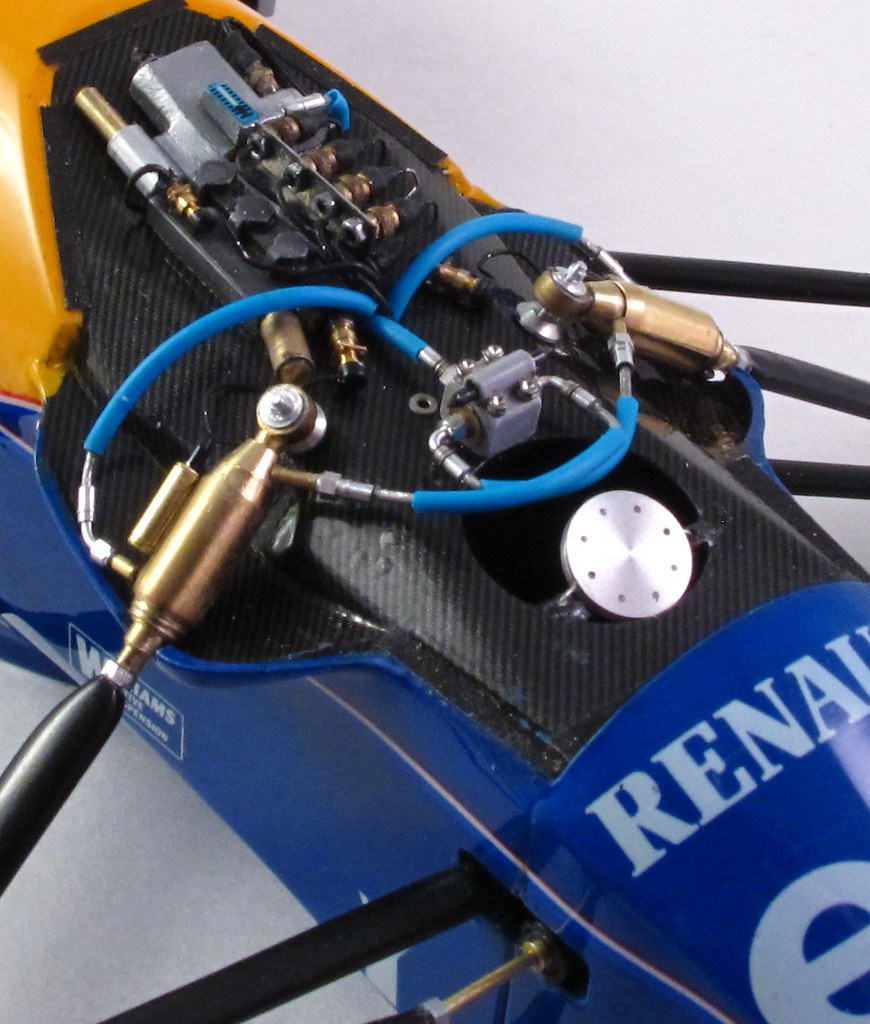 test 007 test 007 by drledford93, on Flickr 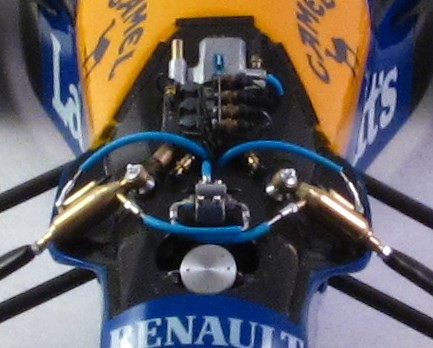 test 006 test 006 by drledford93, on Flickr Enjoy until next time! |
|
|
|
Post by Art Laski on Jul 13, 2013 23:51:17 GMT -5
Awesome work, Daniel!
-Art
|
|
|
|
Post by racerbrown on Jul 14, 2013 7:56:13 GMT -5
won't be long before you can start and run this thing!
thanks for sharing.
duane
|
|
|
|
Post by Calvin on Jul 14, 2013 14:11:53 GMT -5
Before long the real car is going to look fake.
|
|
|
|
Post by mrpeters on Jul 15, 2013 19:43:47 GMT -5
oh my god....the talent you all have just blows me away
|
|
Deleted
Deleted Member
Posts: 0
|
Post by Deleted on Oct 20, 2013 4:28:58 GMT -5
Amazing build....i'm speechless.
|
|
|
|
Post by billgtp on Mar 23, 2014 23:15:32 GMT -5
really great work
|
|
|
|
Post by billgtp on Mar 23, 2014 23:16:03 GMT -5
really great work
|
|
|
|
Post by indycals on Mar 24, 2014 0:12:35 GMT -5
I third that  |
|
|
|
Post by Calvin on Mar 24, 2014 11:48:57 GMT -5
I'll forth that even though I already did months ago...  hey its so good why not! |
|