Post by Calvin on Sept 13, 2011 2:44:32 GMT -5
I'm going to pick this up from the other tread that I screwed all up.
So this is a clean sheet for anyone wanting help with the tough AMT Penske PC 6. Any newcomers looking, this is your chance to ask questions about this challenging kit. I've build a number of these and I know many others on this forum have also so we all have the answers. I have a lot going on right now so I dont know when I'll do my next update on this?
Since this build is going to be one of the most detailed and corrected PC6 ever, we need some good picture for help, for myself this website comes to mind first for cockpit shots of a lot of neat race car at: www.can-am-cars.com/productcart/pc/viewCategories.asp?idCategory=2
They have a good cockpit shot of the Grant King PC7
www.can-am-cars.com/productcart/pc/viewPrd.asp?idproduct=24&idcategory=2
Before you start You want to head over to Indycals and pick out which PC6 car(s) you will want to build.
1979 Gould Charge
1978 CAM2 Penske PC6
1978 Gould Charge Penske PC6
1978 Norton Spirit Penske PC6
and while you are over there get some
1970s-90s Indy tire decals
Because I'm going to later show how to take those bad AMT kit tires and turn them into some good using the Indycals Tire decals!
(1) The first thing that needs to happen is cut out this horrible part under were the front roll hoop goes.
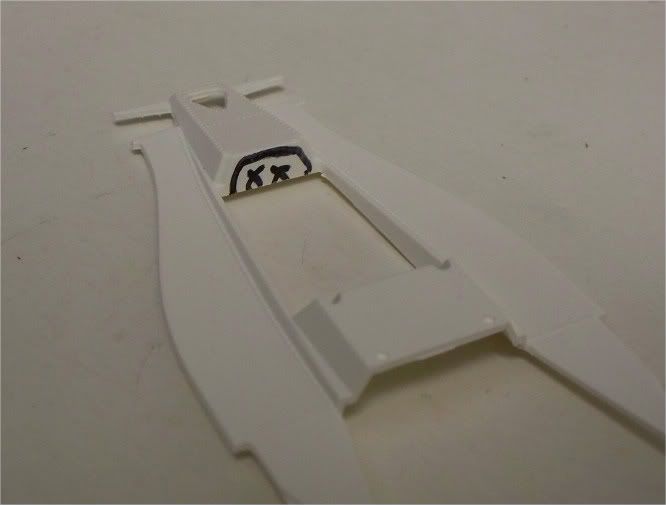
(2)Next just do some clean up and go ahead just glue the cockpit on and the two haves of the tub together.
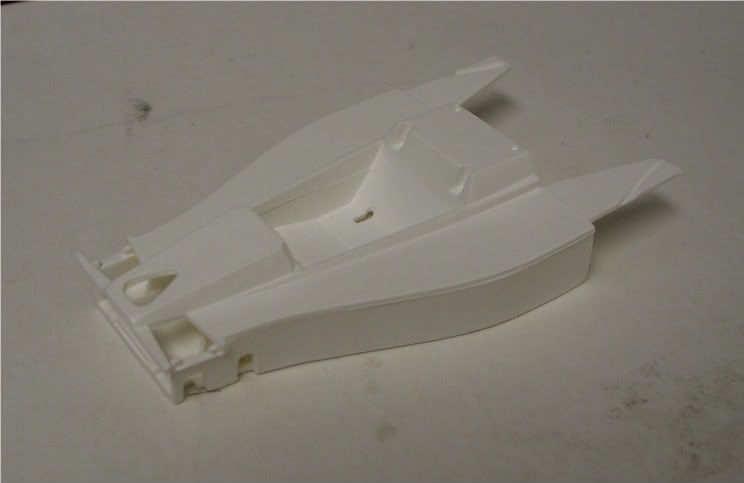
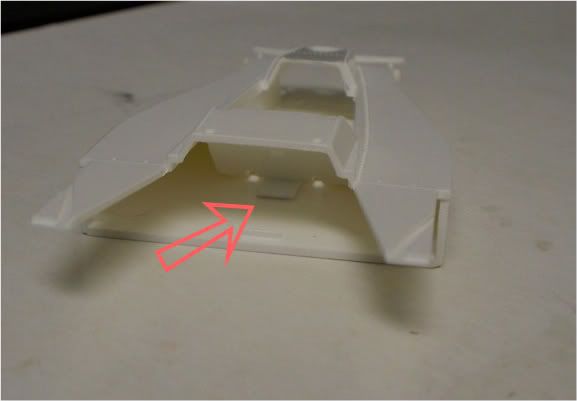
(3)Most of the time when I see something that could use a little more strength I usually do it. In this case adding a shim under the seat area to help keep the whole tub square. Without it the whole tub could of been easily pushed down and out of square.
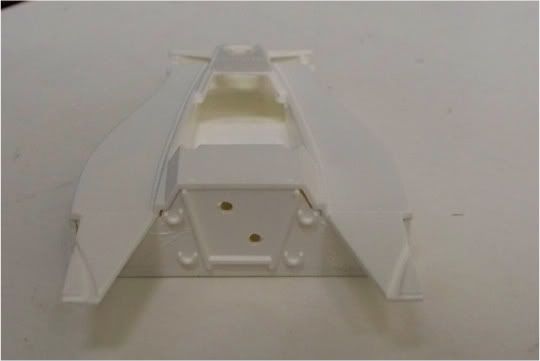
(4) I recommend gluing the back part of the fuel tank area flush up to the rest of the tub. Because later when we hook up the engine we will need it flush. Also glue the front bulkhead.
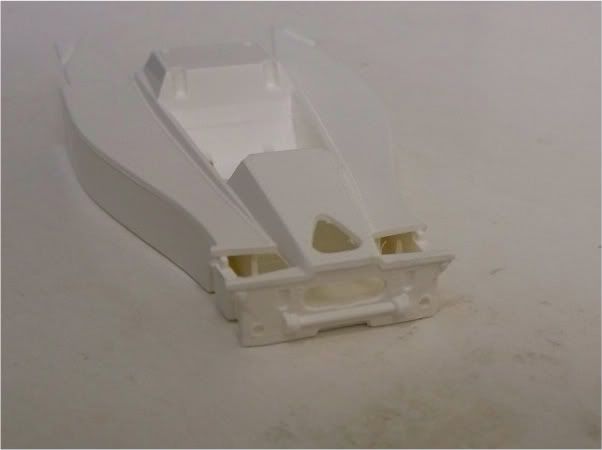
(5) When its time to glue on the radiators some sanding needs to happen to insure the parts will be nice and flush. So get rid of those inaccurate AMT guides, we are just glue up parts that are square which doesn't take rocket science.
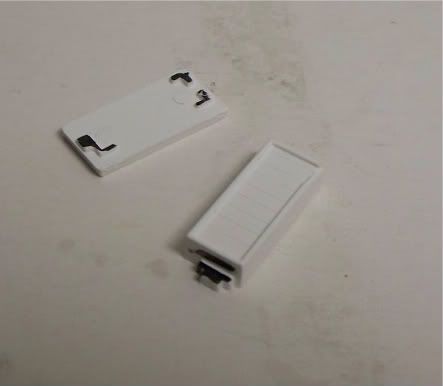
(6) then to insure that you'll have a nice level car make some kind of a jig to hold it down flush after gluing, because the back end of this car seems to bend up.
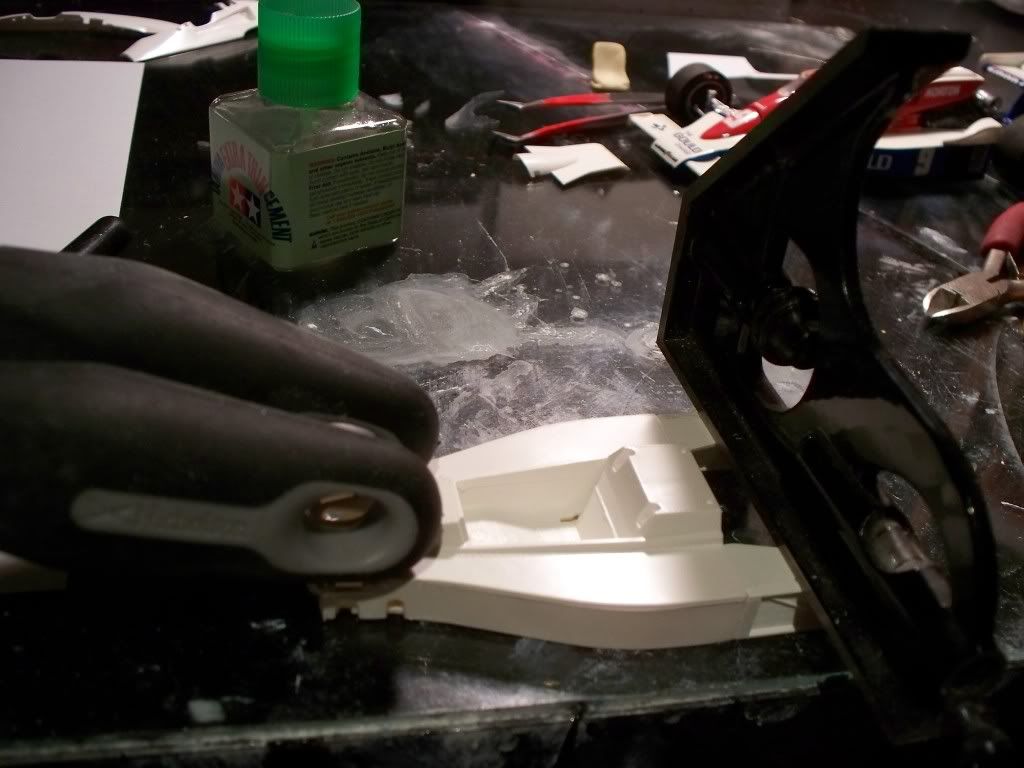
(7) One of the most frustrating parts of this kit is the cowling halves.
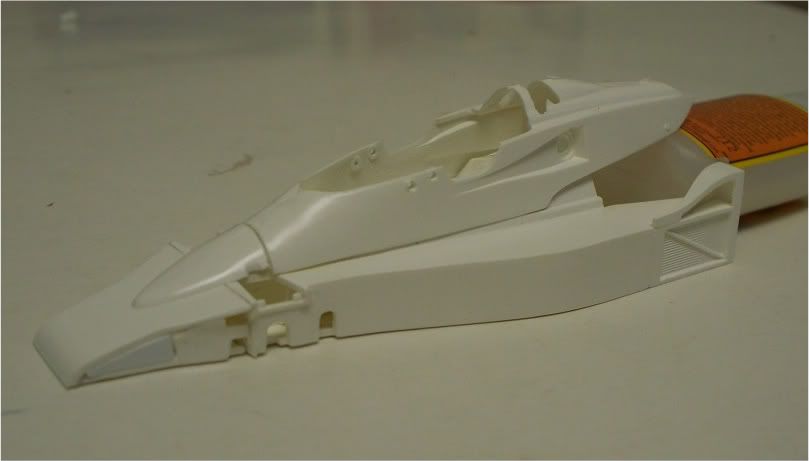
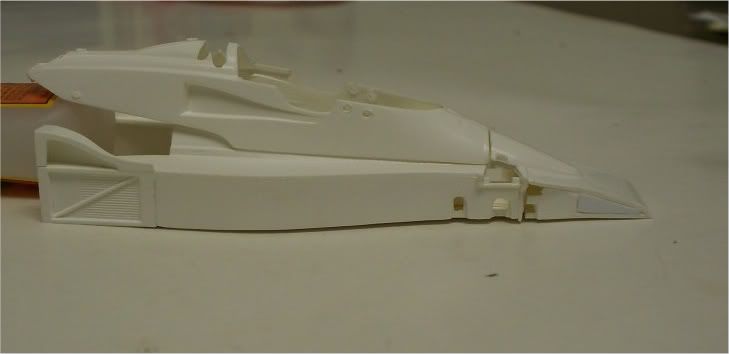
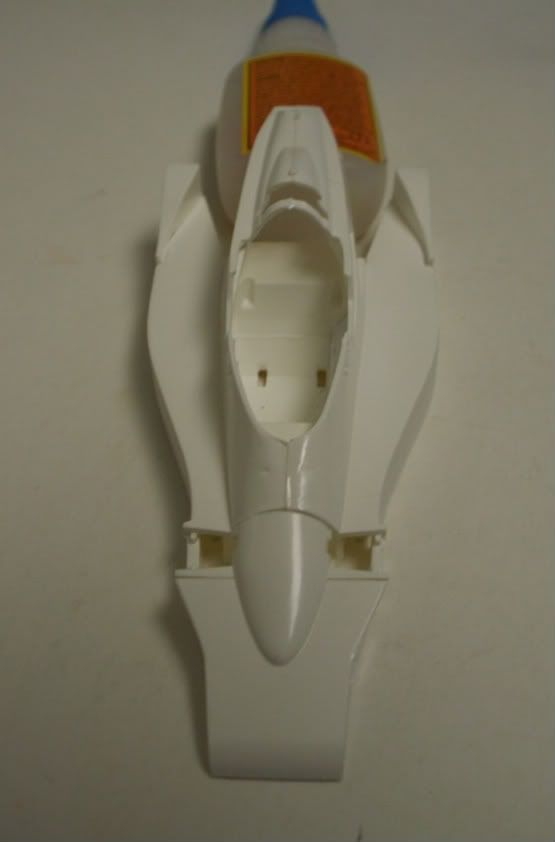
Once glued the cowl usually never fits over the fuel tank. With that said this is what needs to happen to solve that problem. Simply glue the halves together, then push the cowling back a little more than normal then tape it down for a day or so to insure the glue doesn't dry and squeeze the two halves together anymore than we need. Because when glue drys it does move somewhat. This tape jig is helping to stop that from happing and to line up our cowl.
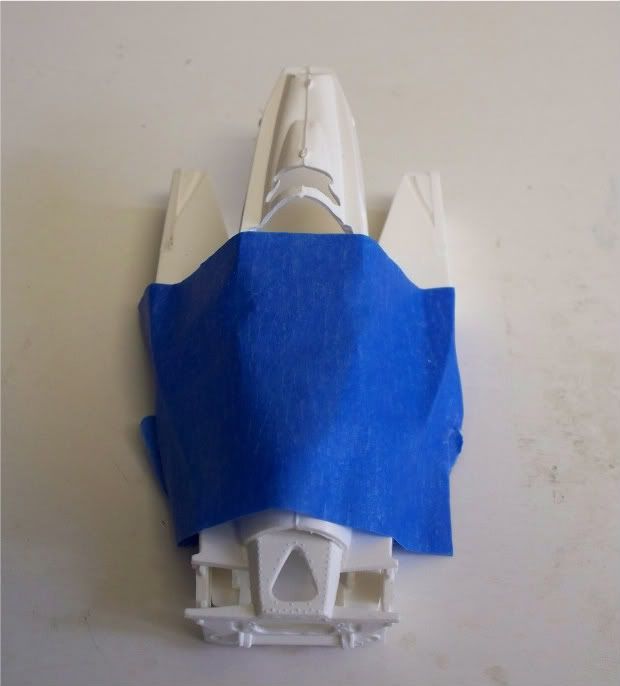
I just pulled the tape jig off of mine after more than 3 days of sitting. It looks good!
I just need to work on the front gap in between the nose cone and cowling.
So this is a clean sheet for anyone wanting help with the tough AMT Penske PC 6. Any newcomers looking, this is your chance to ask questions about this challenging kit. I've build a number of these and I know many others on this forum have also so we all have the answers.
 I have a lot going on right now so I dont know when I'll do my next update on this?
Since this build is going to be one of the most detailed and corrected PC6 ever, we need some good picture for help, for myself this website comes to mind first for cockpit shots of a lot of neat race car at: www.can-am-cars.com/productcart/pc/viewCategories.asp?idCategory=2
They have a good cockpit shot of the Grant King PC7
www.can-am-cars.com/productcart/pc/viewPrd.asp?idproduct=24&idcategory=2
Before you start You want to head over to Indycals and pick out which PC6 car(s) you will want to build.
1979 Gould Charge
1978 CAM2 Penske PC6
1978 Gould Charge Penske PC6
1978 Norton Spirit Penske PC6
and while you are over there get some
1970s-90s Indy tire decals
Because I'm going to later show how to take those bad AMT kit tires and turn them into some good using the Indycals Tire decals!
(1) The first thing that needs to happen is cut out this horrible part under were the front roll hoop goes.

(2)Next just do some clean up and go ahead just glue the cockpit on and the two haves of the tub together.

(3)Most of the time when I see something that could use a little more strength I usually do it. In this case adding a shim under the seat area to help keep the whole tub square. Without it the whole tub could of been easily pushed down and out of square.

(4) I recommend gluing the back part of the fuel tank area flush up to the rest of the tub. Because later when we hook up the engine we will need it flush. Also glue the front bulkhead.


(5) When its time to glue on the radiators some sanding needs to happen to insure the parts will be nice and flush. So get rid of those inaccurate AMT guides, we are just glue up parts that are square which doesn't take rocket science.

(6) then to insure that you'll have a nice level car make some kind of a jig to hold it down flush after gluing, because the back end of this car seems to bend up.

(7) One of the most frustrating parts of this kit is the cowling halves.
Once glued the cowl usually never fits over the fuel tank. With that said this is what needs to happen to solve that problem. Simply glue the halves together, then push the cowling back a little more than normal then tape it down for a day or so to insure the glue doesn't dry and squeeze the two halves together anymore than we need. Because when glue drys it does move somewhat. This tape jig is helping to stop that from happing and to line up our cowl.

I just pulled the tape jig off of mine after more than 3 days of sitting. It looks good!
I just need to work on the front gap in between the nose cone and cowling.


