|
|
Post by raceparke on Sept 21, 2017 15:00:15 GMT -5
Well here we are again, this time with a fine molding of a recent racer. I'll be making the Alonso car. Some initial steps. I used a narrow strip of PE "sprue" to make the thing on the front body. 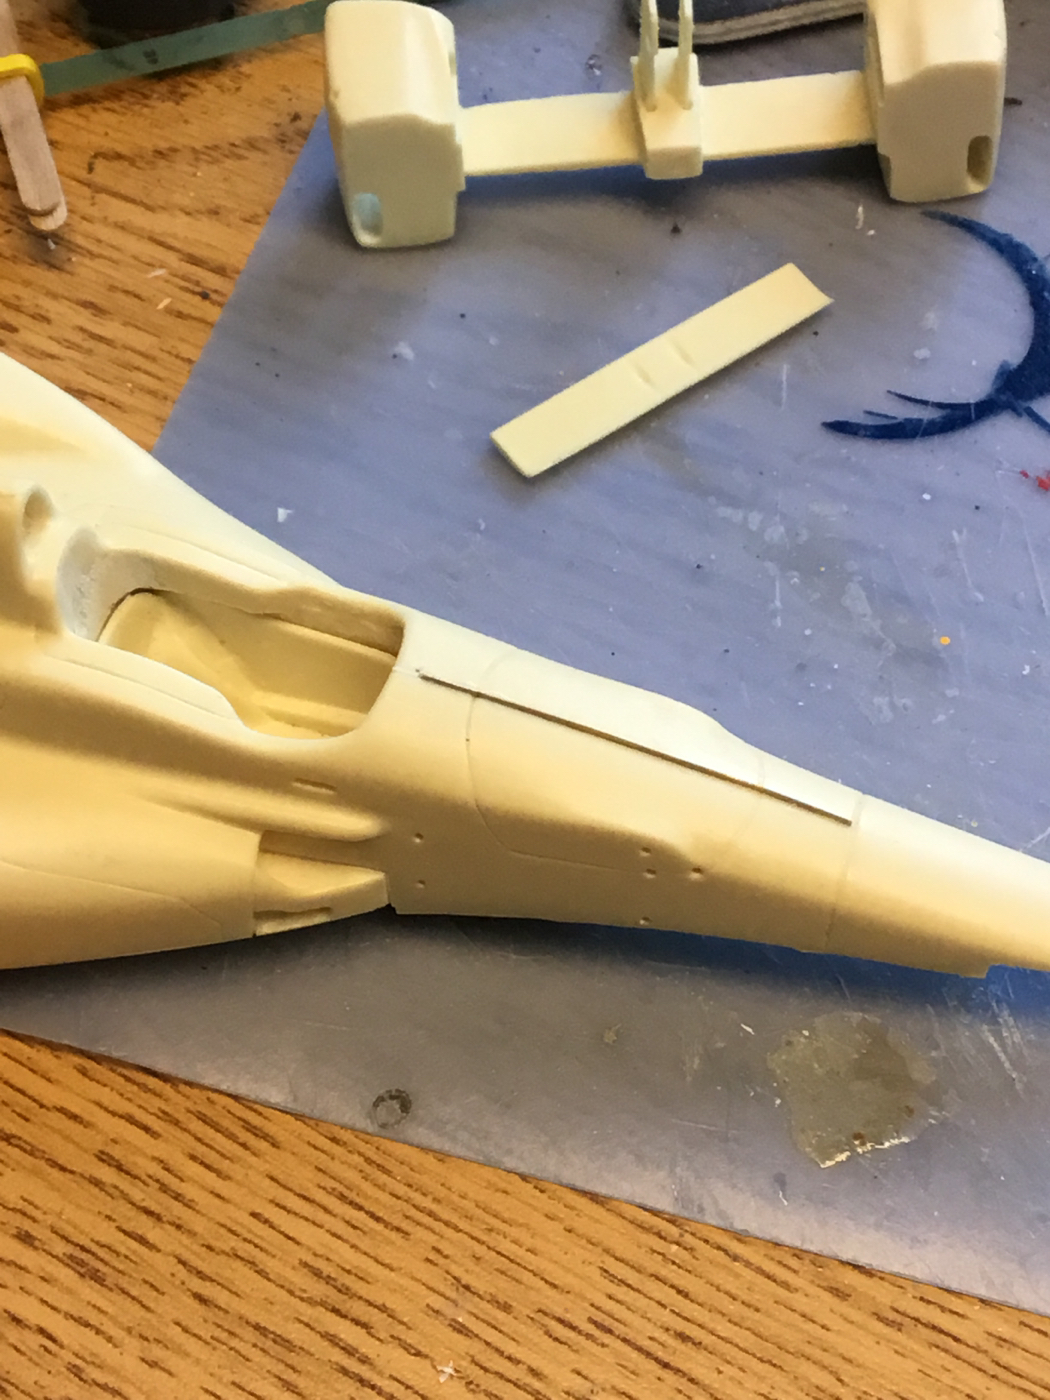 I etch around the openings so I can puddle in the flat black with clean edges. 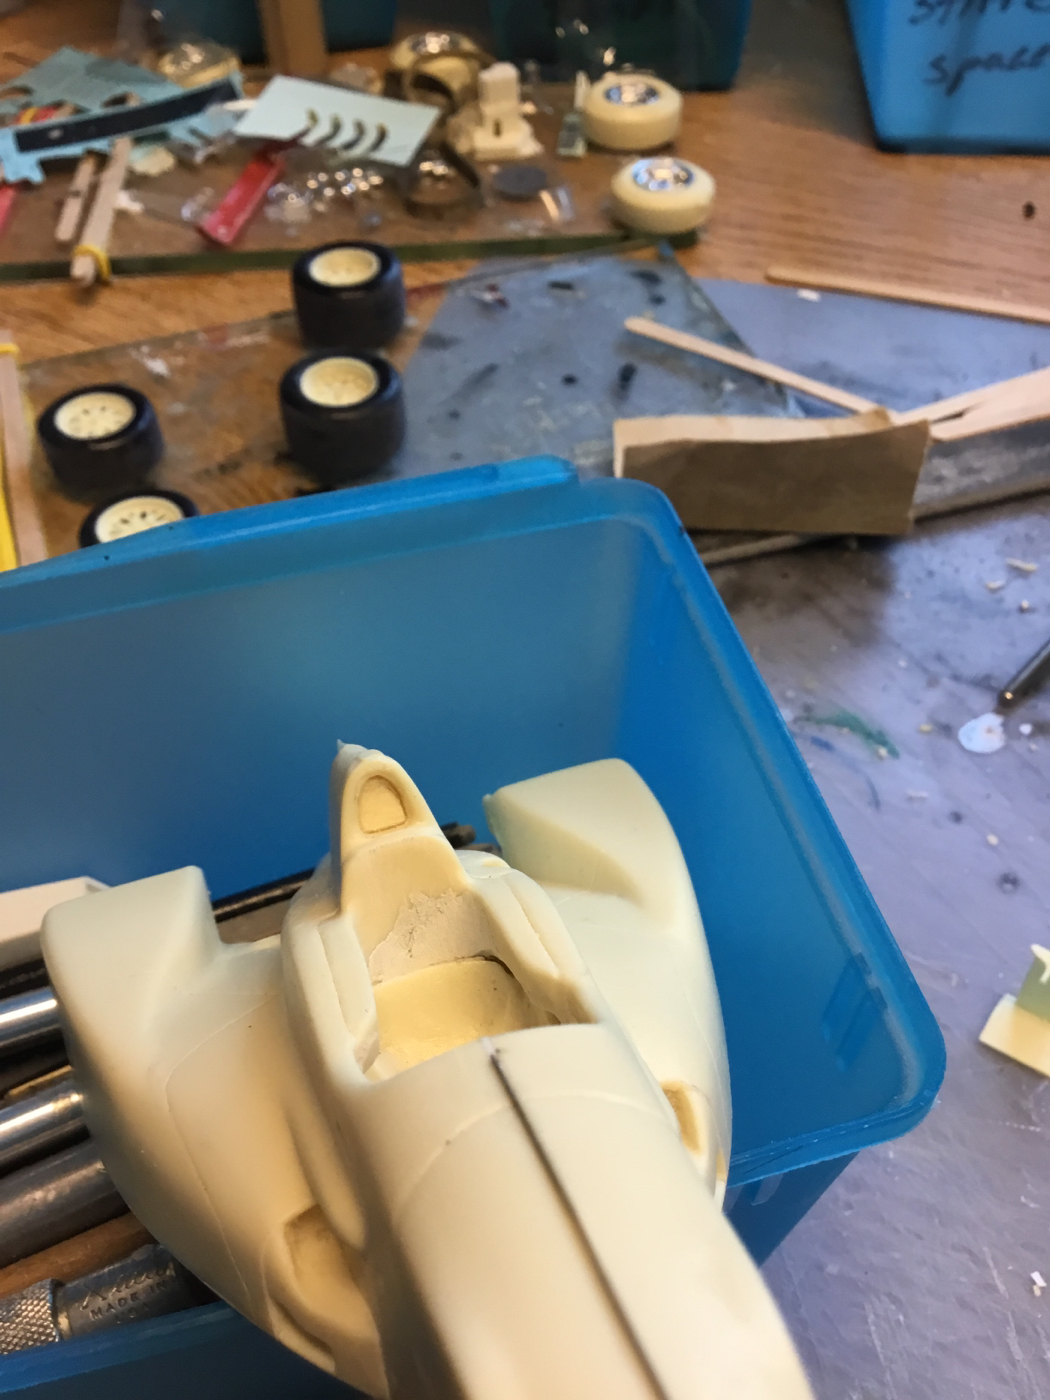 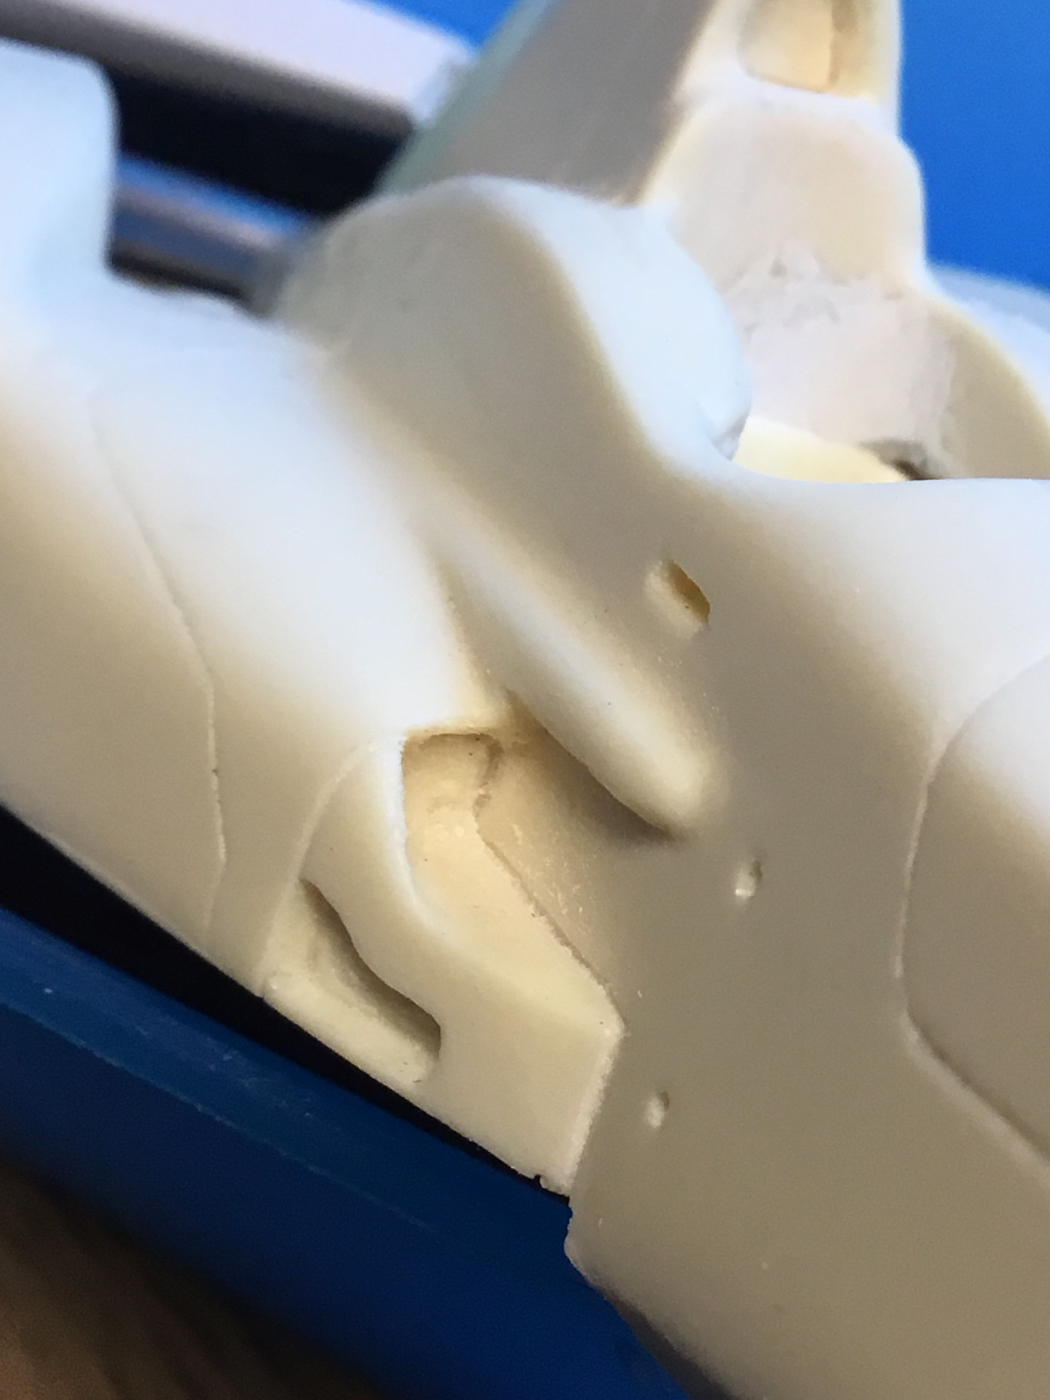 I scribed around the plug in the rad intake, again for a clean edge. It seems that the winglets were both for the same side, I am reshaping one. 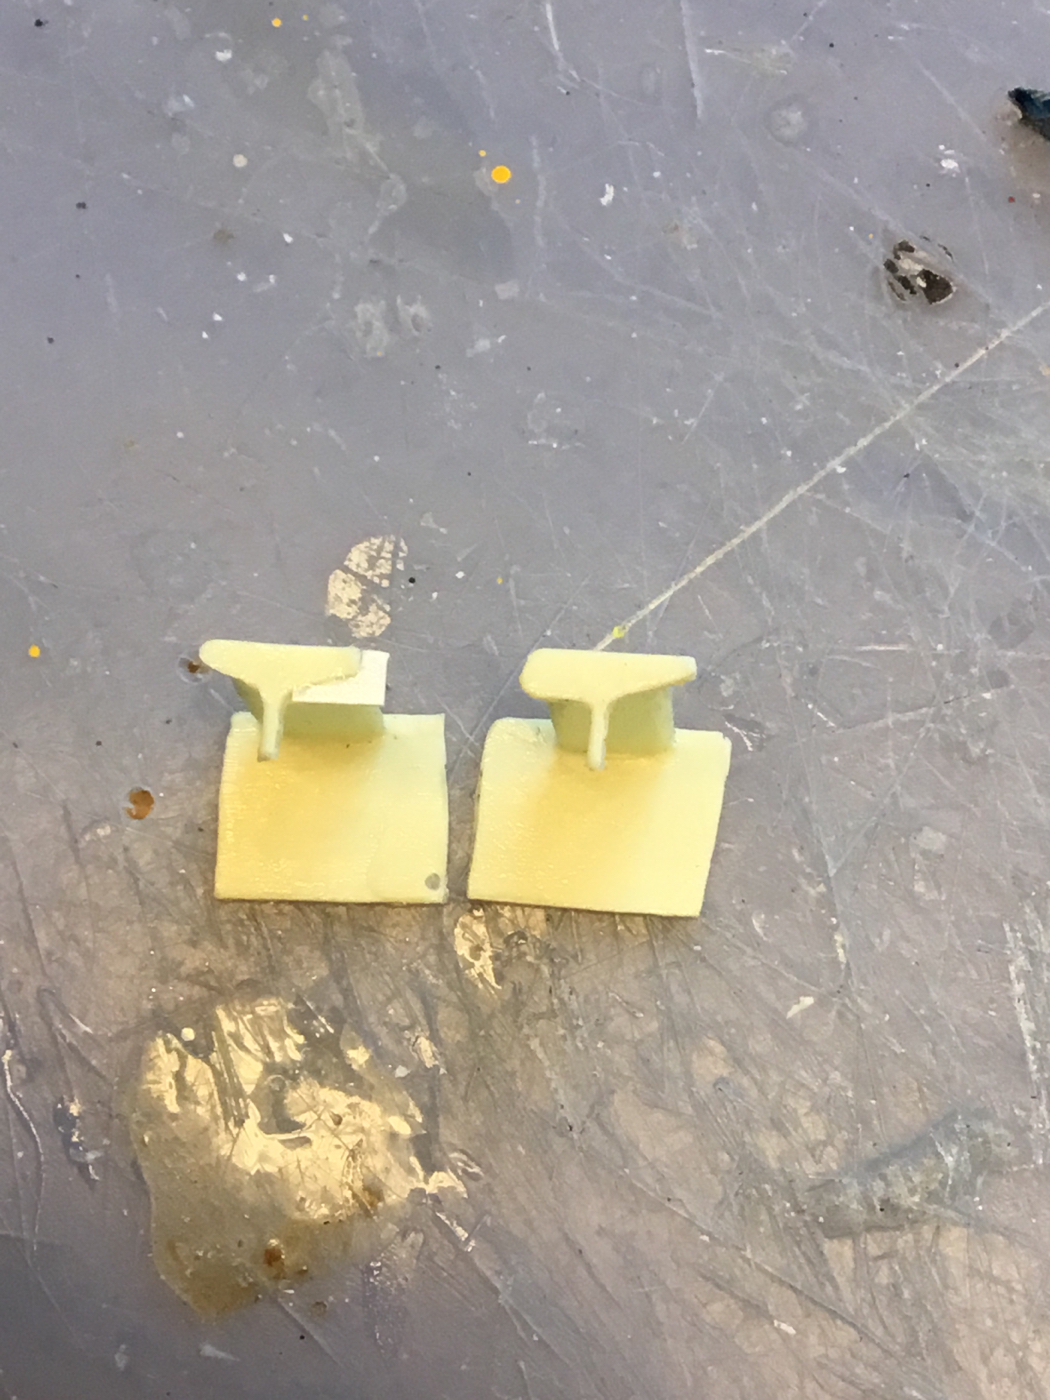 I had a paddle shift in spares and attached it to the wheel. 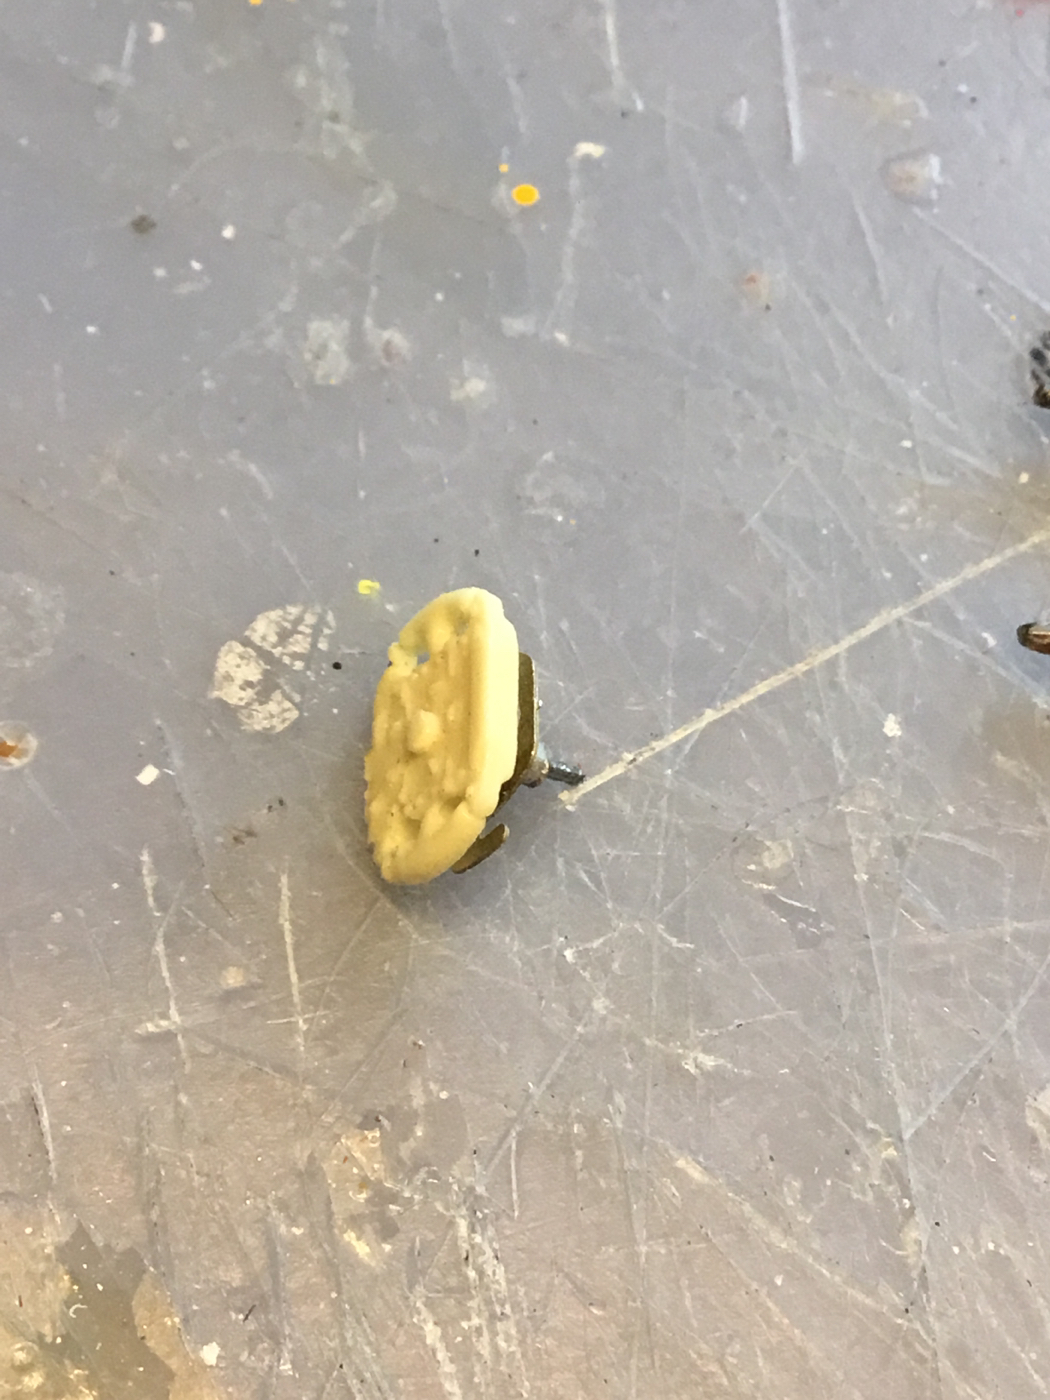 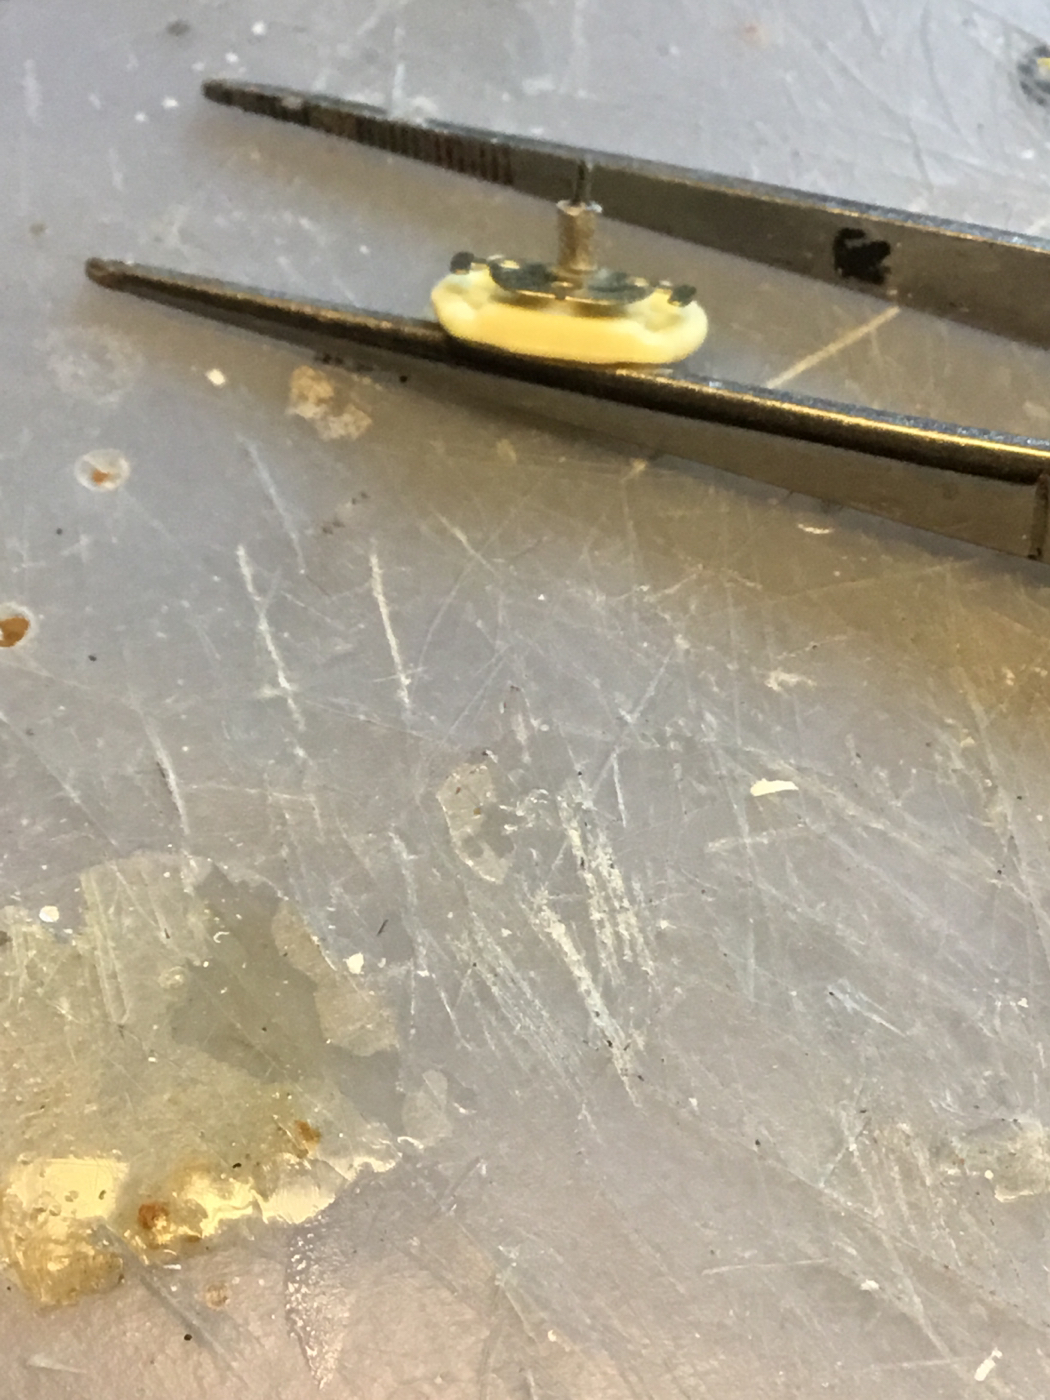 I think the rear of the main wing endplates are flush with the rear of the winglet mounts, so I'll attach some of those parts and try to make it all work.  More to come. . . |
|
|
|
Post by raceparke on Sept 21, 2017 15:03:31 GMT -5
Oops here's the last photo. 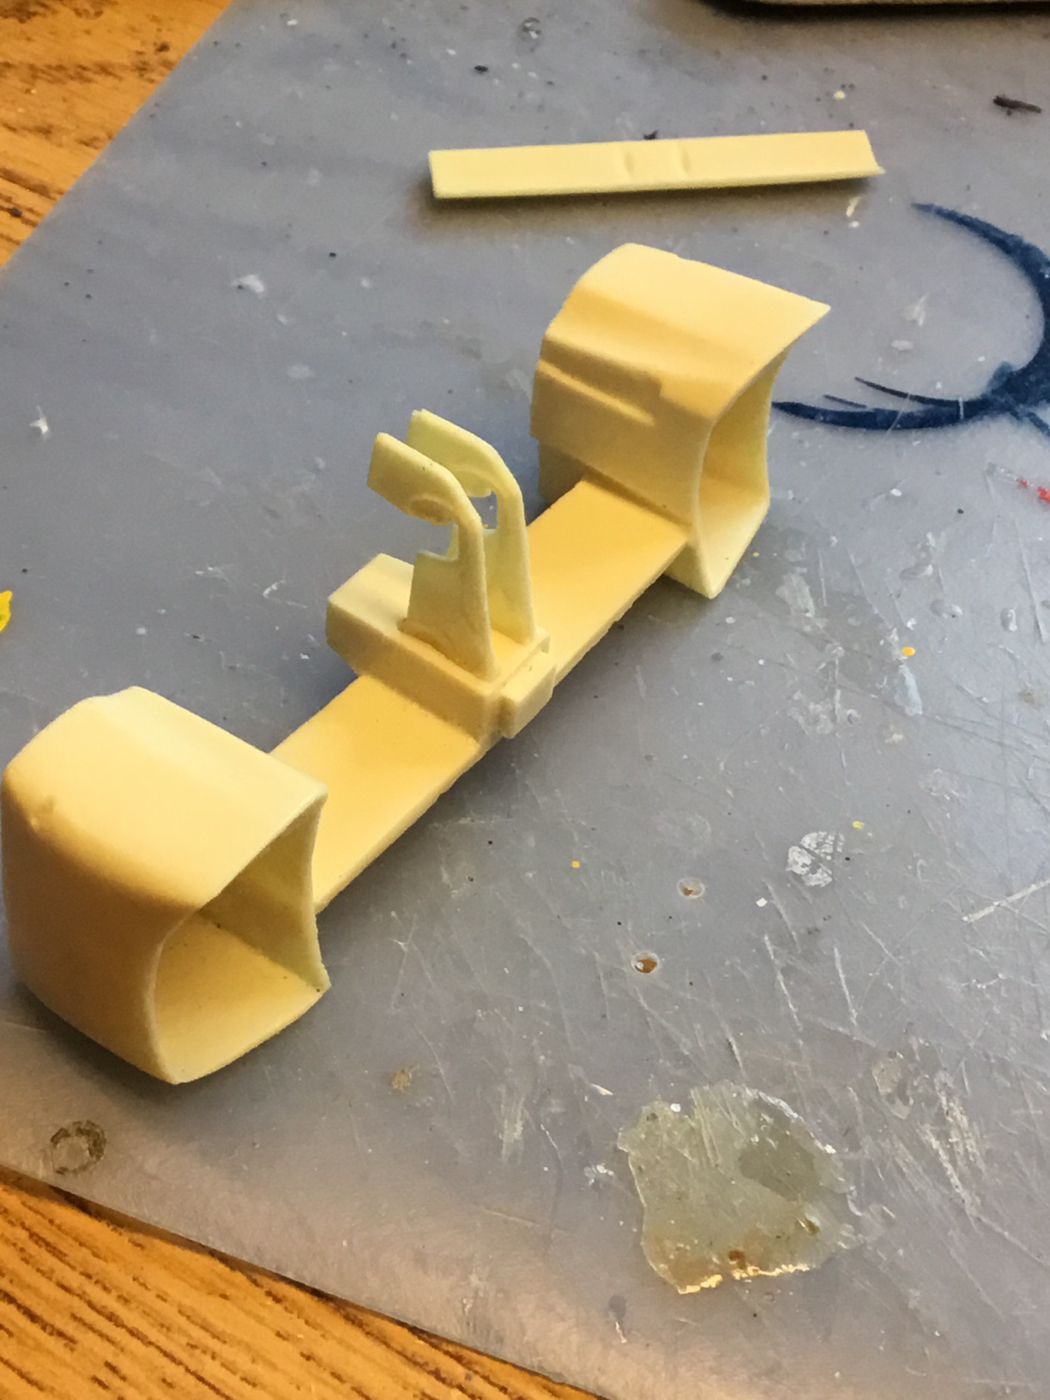 |
|
|
|
Post by indy on Sept 21, 2017 15:28:22 GMT -5
Nice work. Glad to see this kit being built already.
Jordan
|
|
|
|
Post by 2lapsdown on Sept 21, 2017 18:40:22 GMT -5
I'm interested in how you reshape the winglet endplate, I never noticed that until you mentioned it.
John
|
|
|
|
Post by Calvin on Sept 22, 2017 2:21:17 GMT -5
Thank you for doing a WIP!
I started on two but Ive been so busy casting and selling that I never get a chance to work on them.....Im glad you are doing one as you always have great ideas and build great!
|
|
|
|
Post by raceparke on Sept 22, 2017 14:36:15 GMT -5
I temporarily attached main wing endplates to the inner winglet end plates with Elmers. I think the main wing stands alone but is tightly adjacent to those winglets. 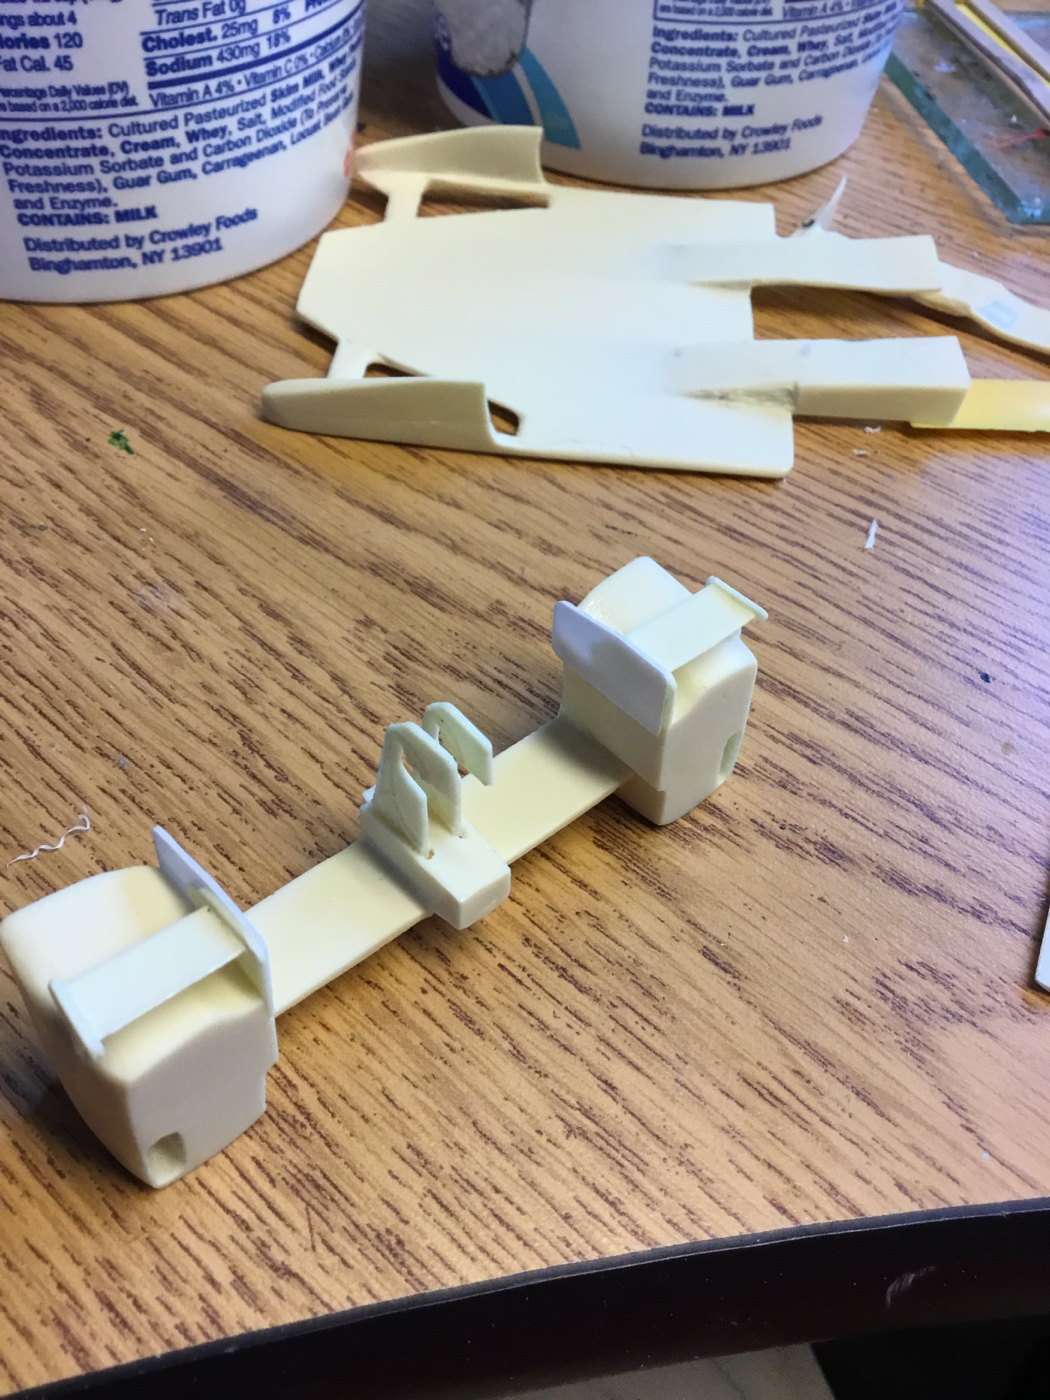 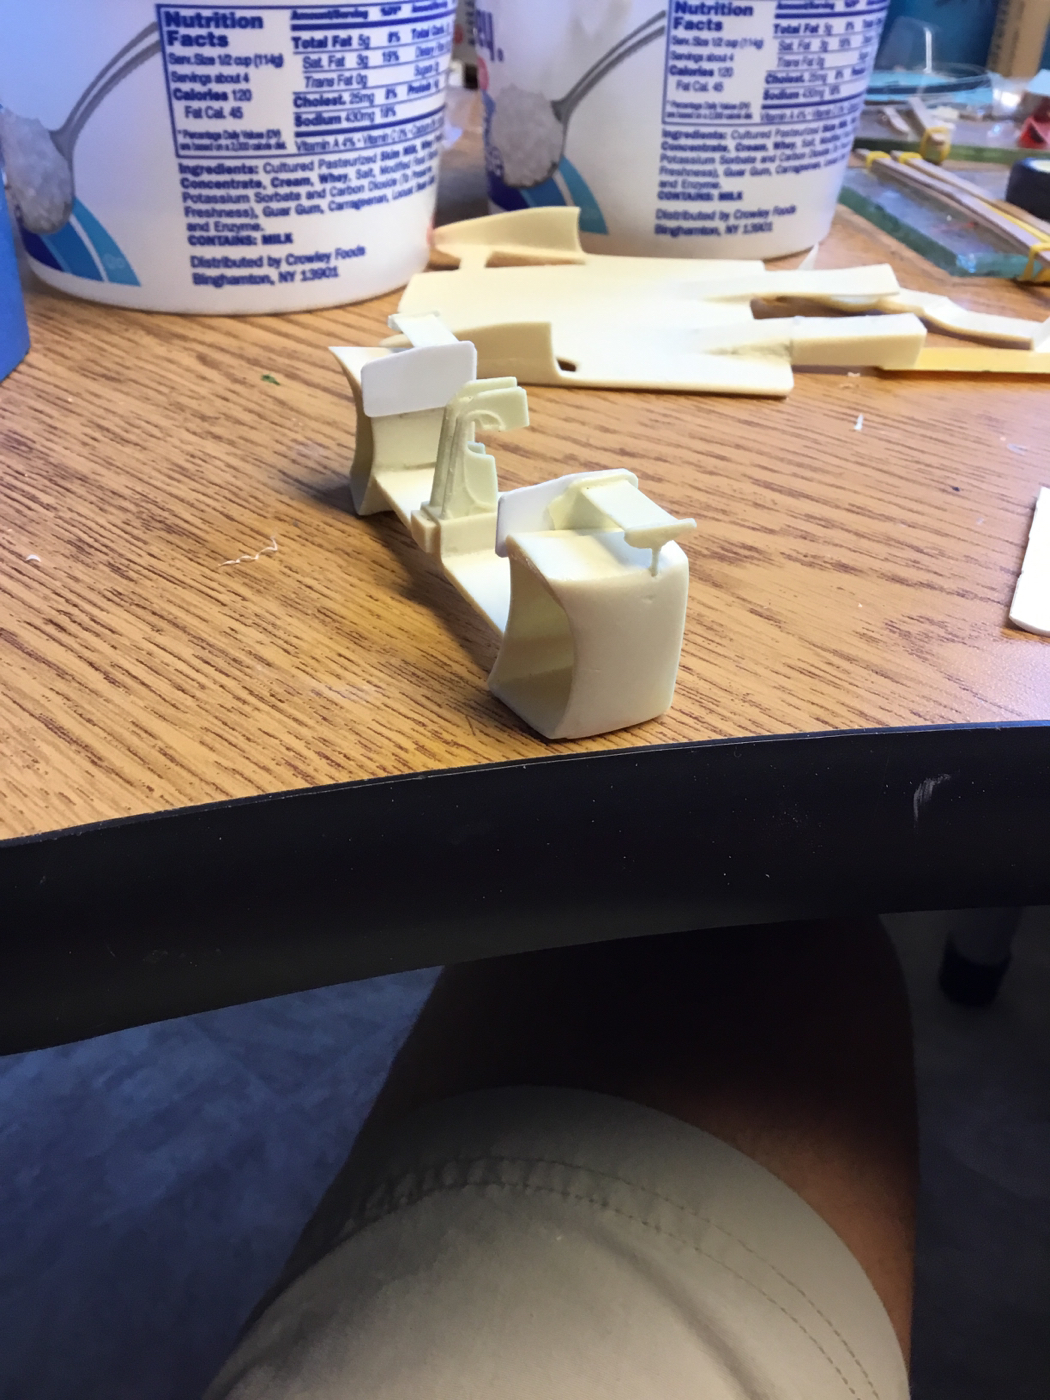 The kit wing didn't bridge the gap, I made a new one. 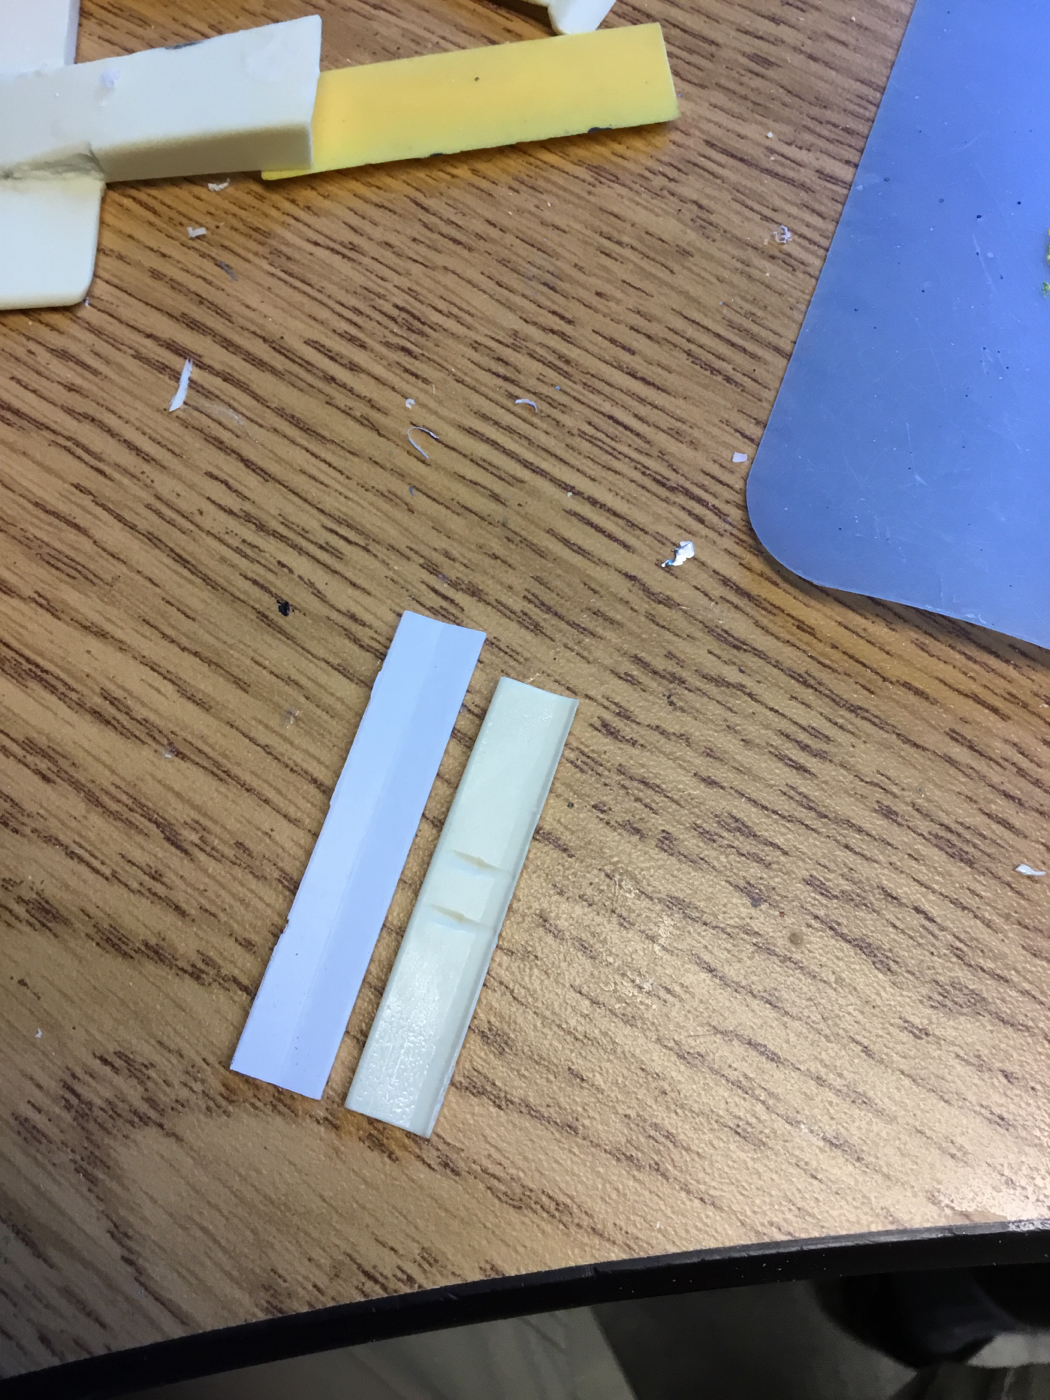 The new wing is slightly too long so it stays put by friction while I fiddle with it. I will glue to end plates and pop the Elmers connection so I have a separate wing/endplate assembly to hopefully allow easier painting. 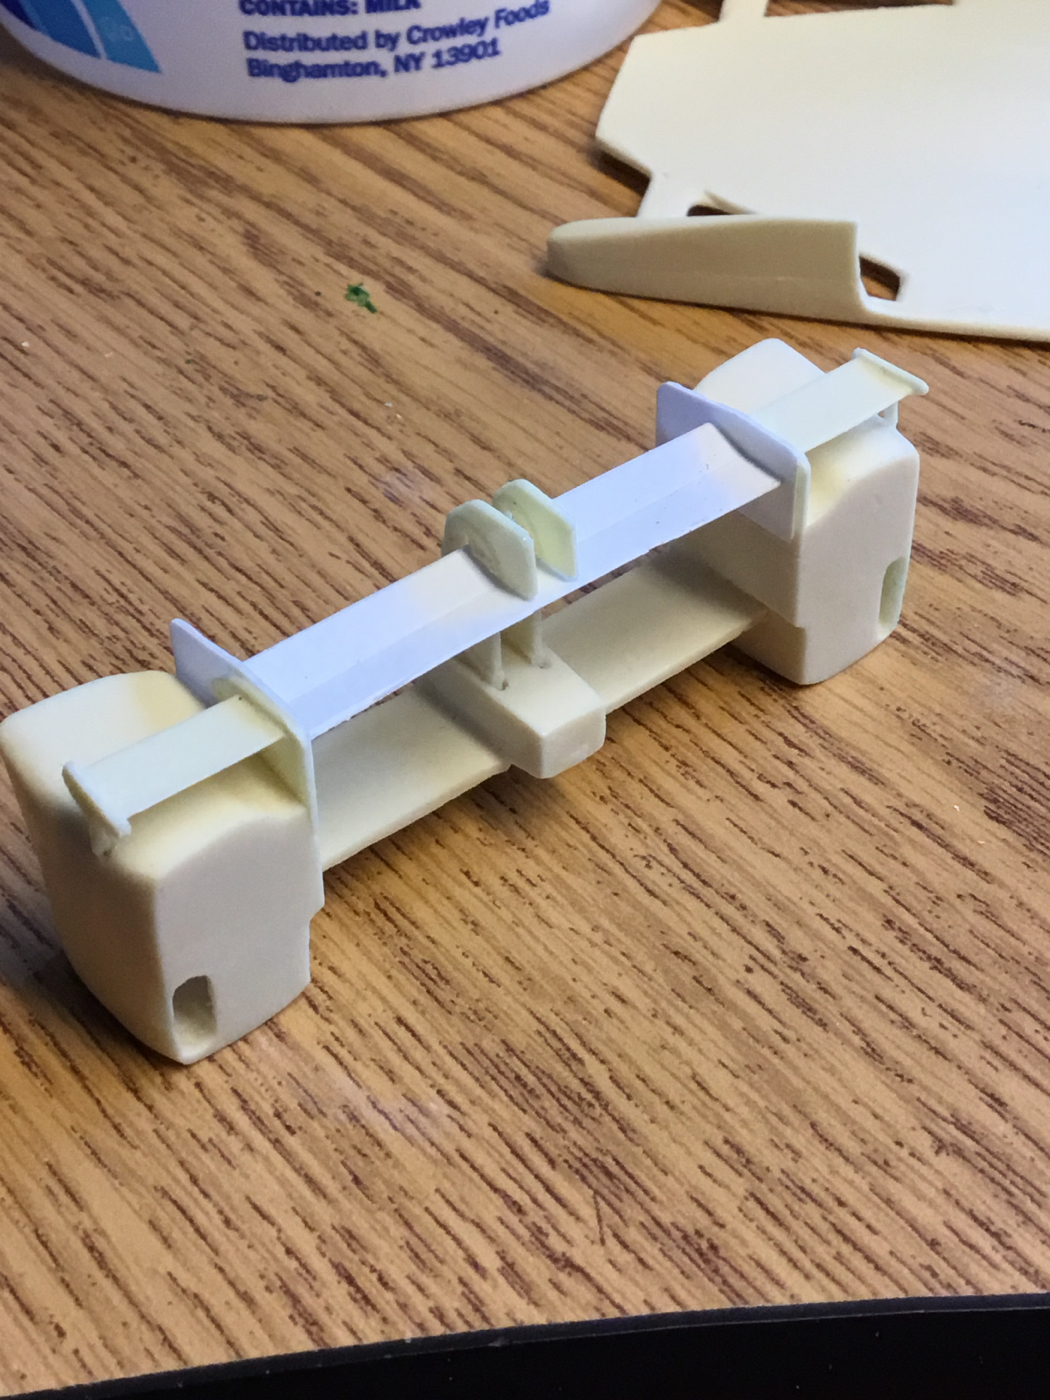 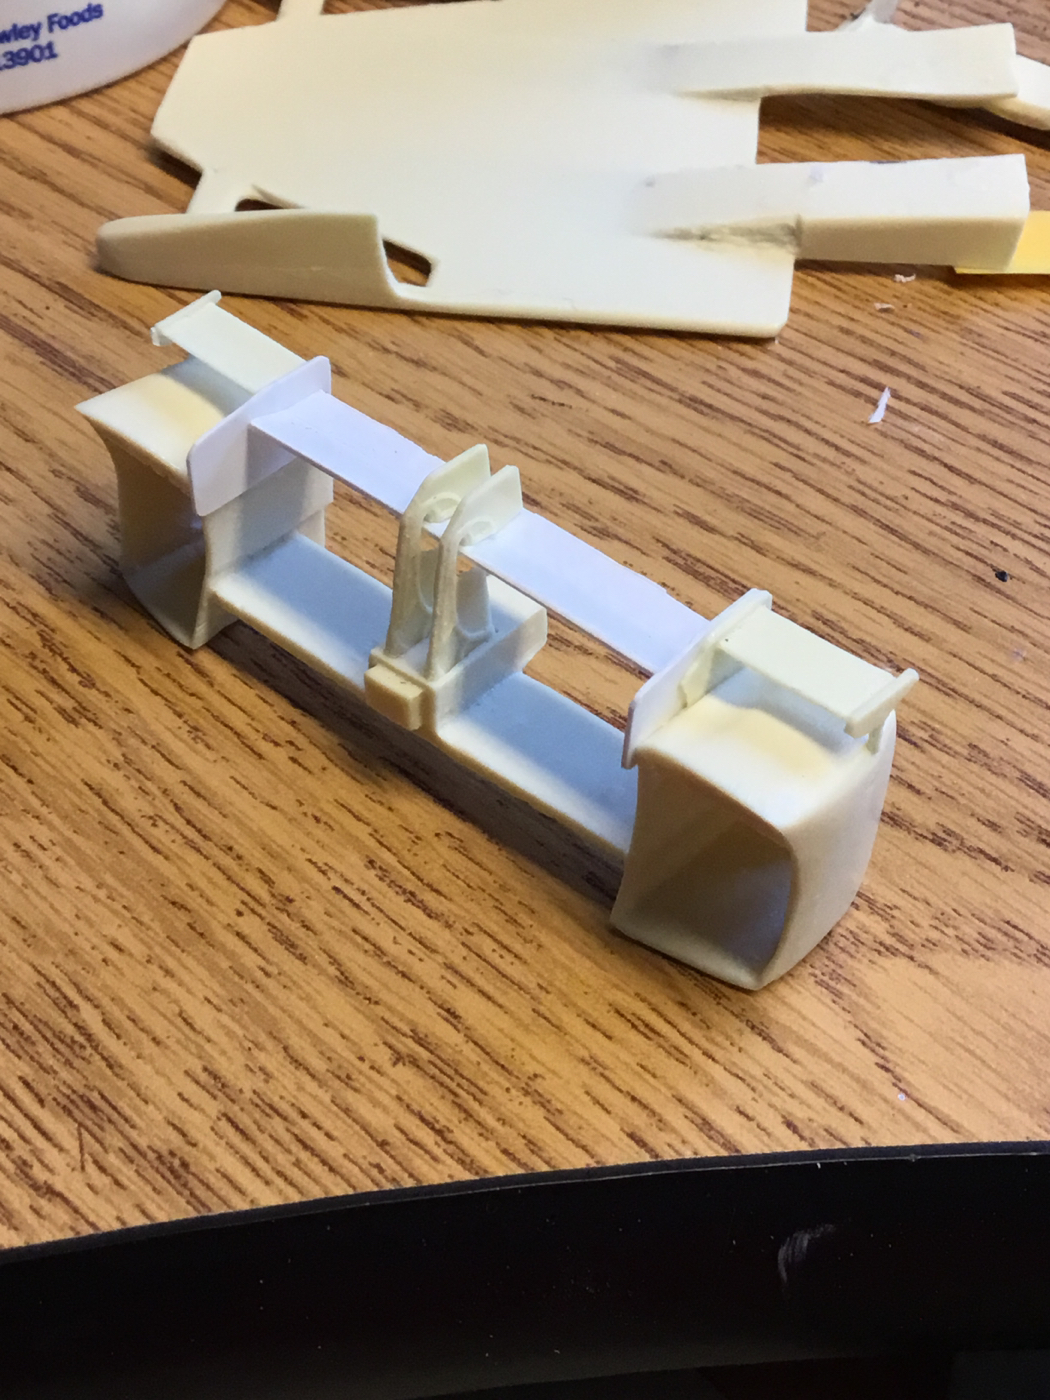 Speaking of paint what blue is the best match for the blue in the decals?? Anyone. . . . Anyone?? |
|
|
|
Post by raceparke on Sept 22, 2017 17:02:35 GMT -5
And the completed wing. 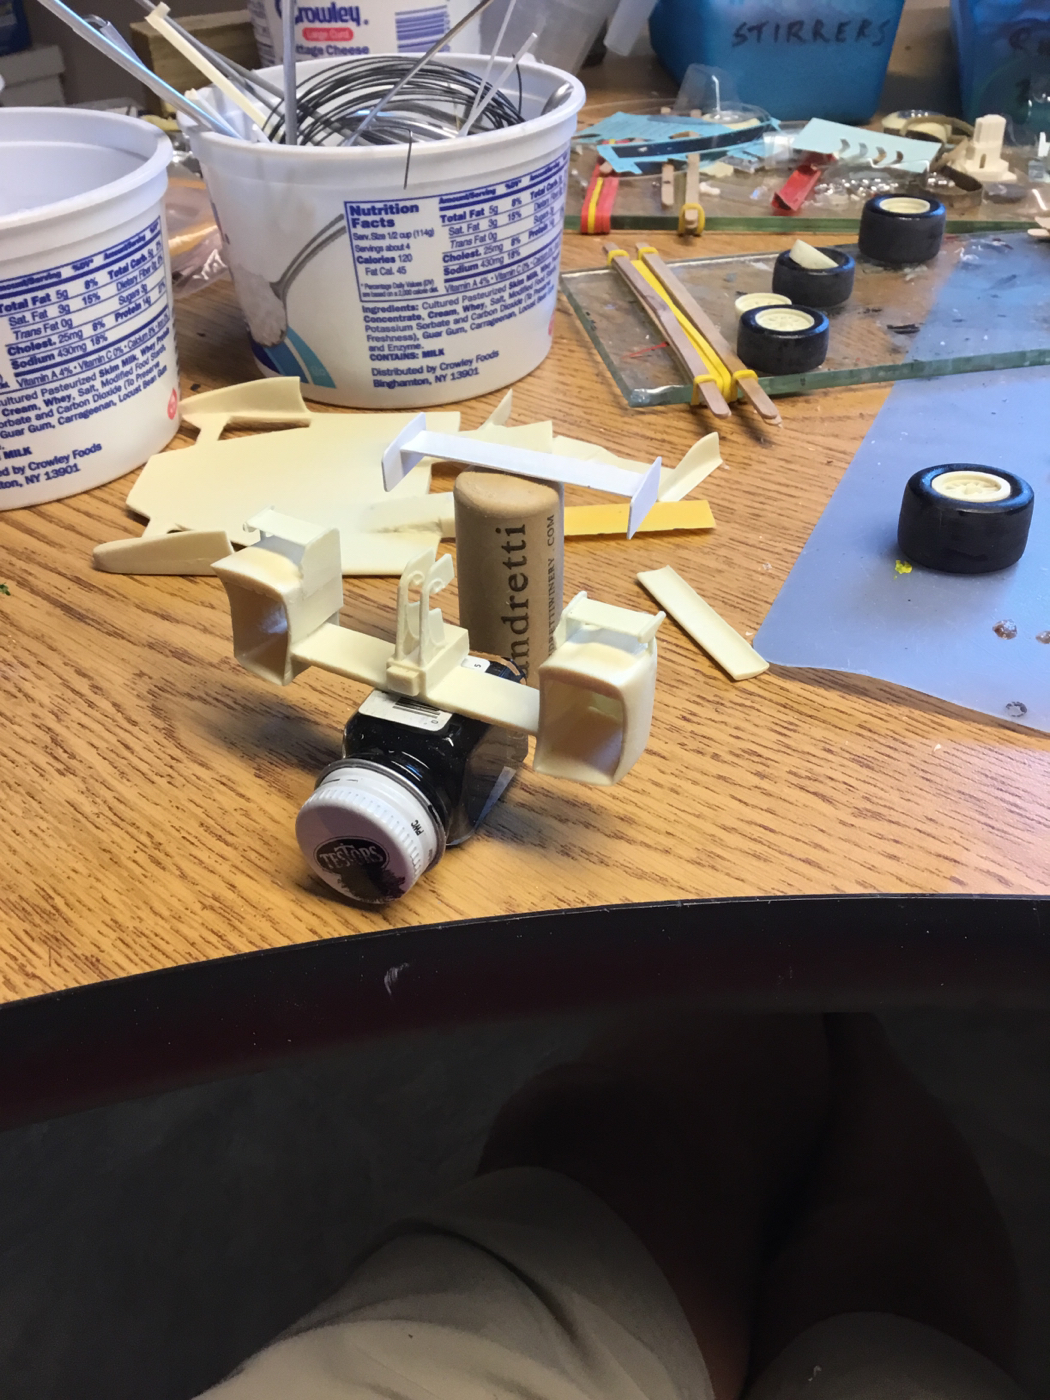 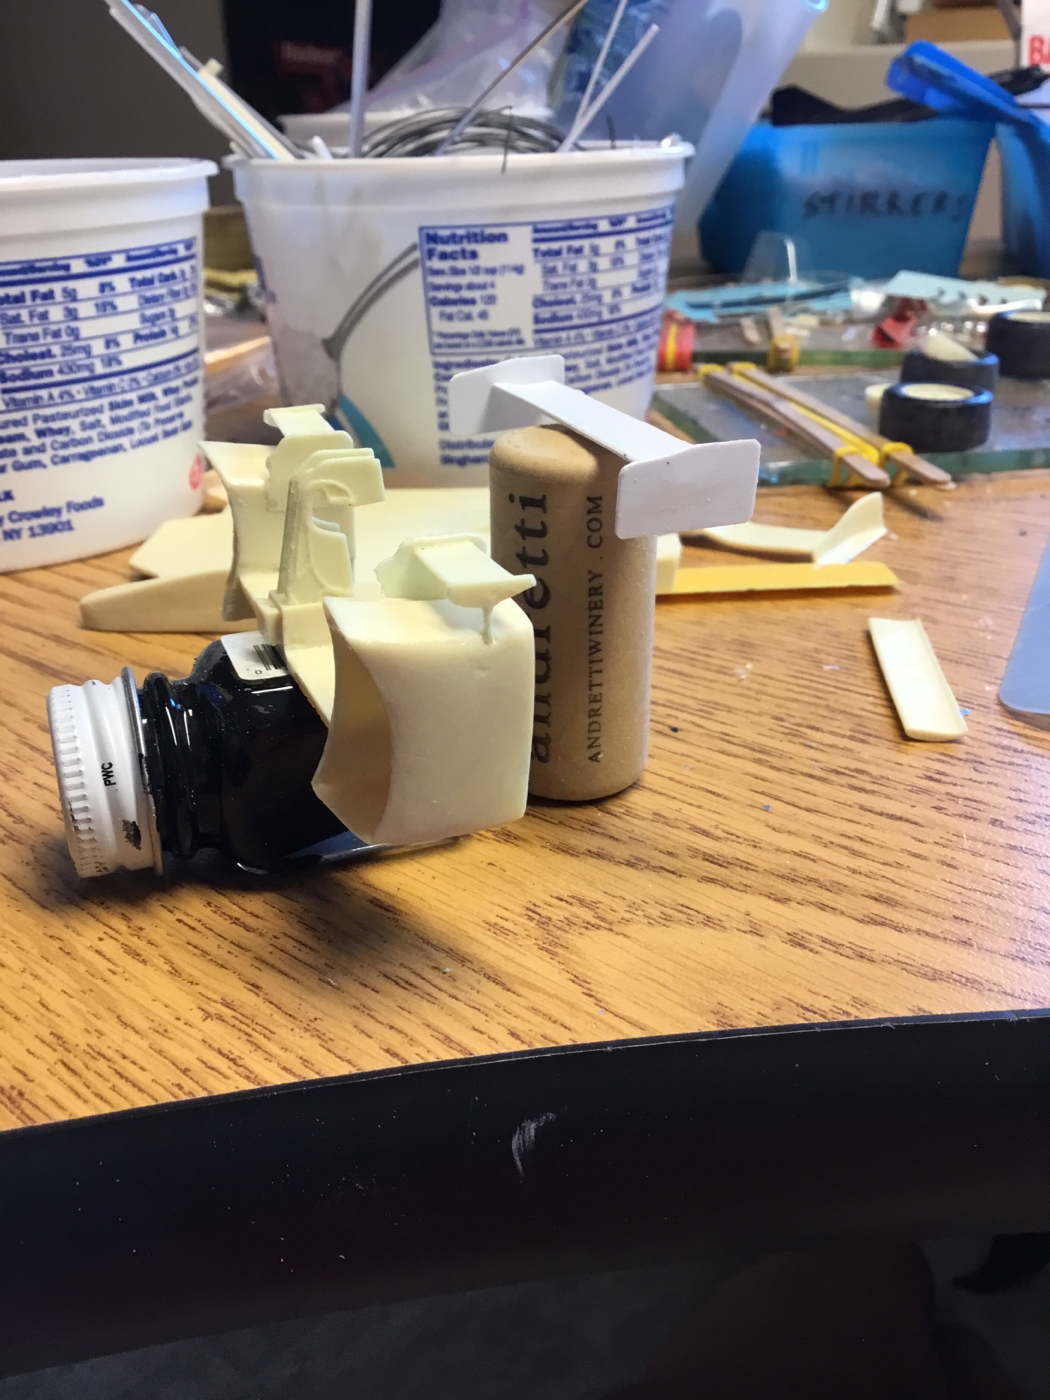 Later. . . |
|
|
|
Post by Patrick on Sept 22, 2017 23:39:58 GMT -5
Wow!Simply wow.
Patrick
|
|
|
|
Post by clm1545 on Sept 23, 2017 6:52:19 GMT -5
Good stuff, Dan.
|
|
|
|
Post by raceparke on Sept 23, 2017 15:05:02 GMT -5
Lamentably, the left bumper was 1 mm farther from center than the right- an easy fix. I'll shorten the wing accordingly. 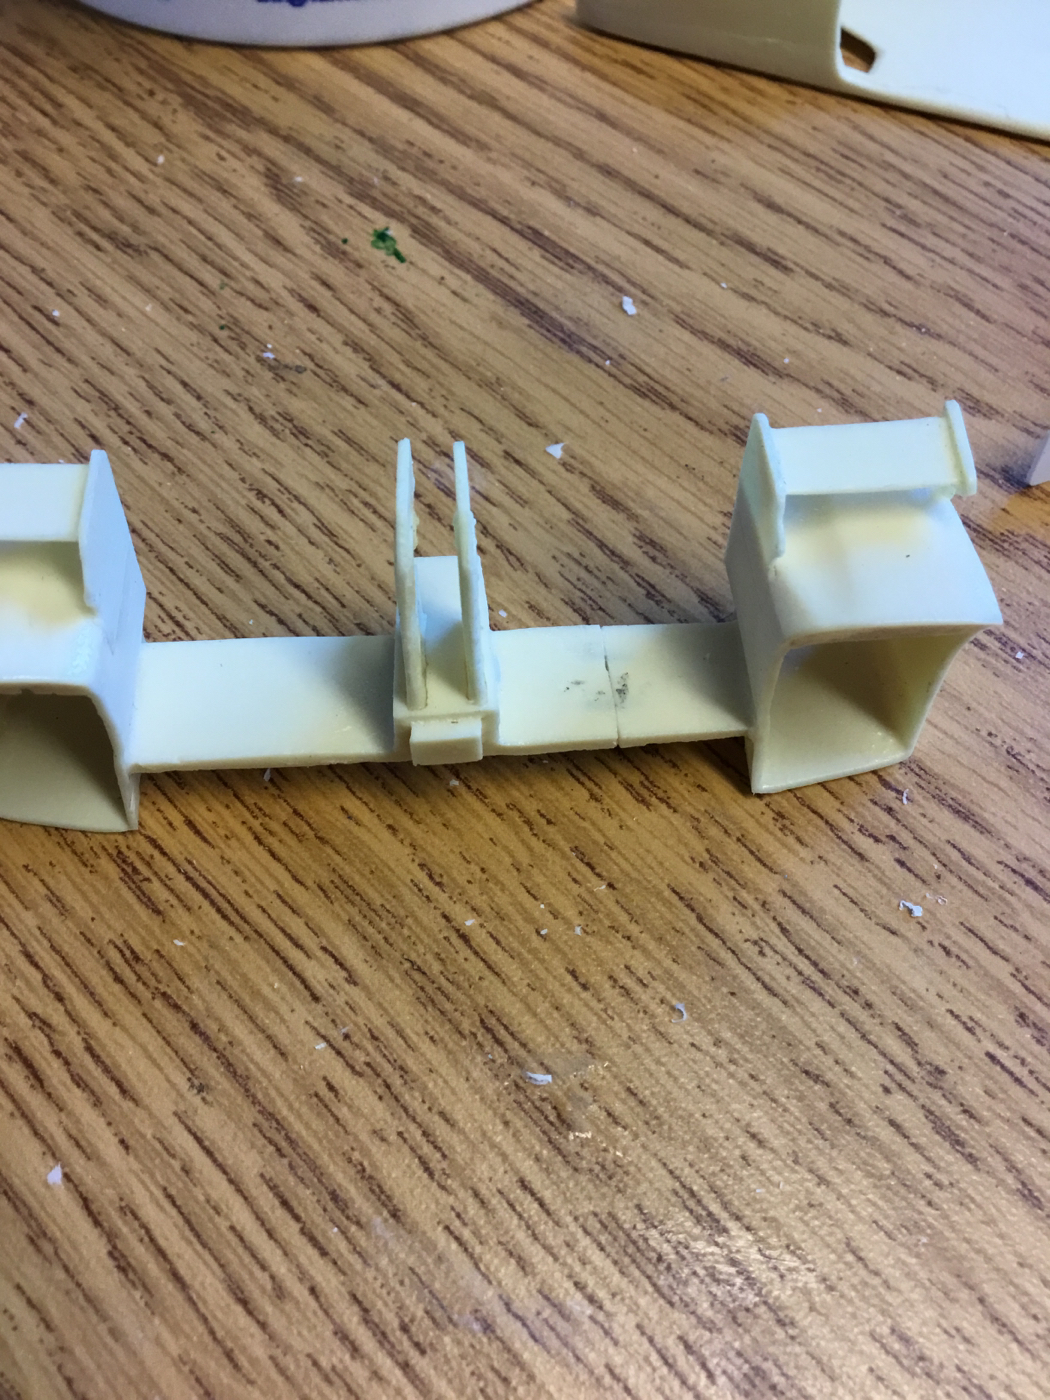 |
|
|
|
Post by raceparke on Oct 10, 2017 16:48:00 GMT -5
I cut the brake flange to leave two narrow mounting surfaces. The brake is then attached to the backing plate, allowing access through it for the suspension arms. I also shortened the pin on the backing plate and the wheel boss somewhat so the plate ends up slightly recessed in the wheel. 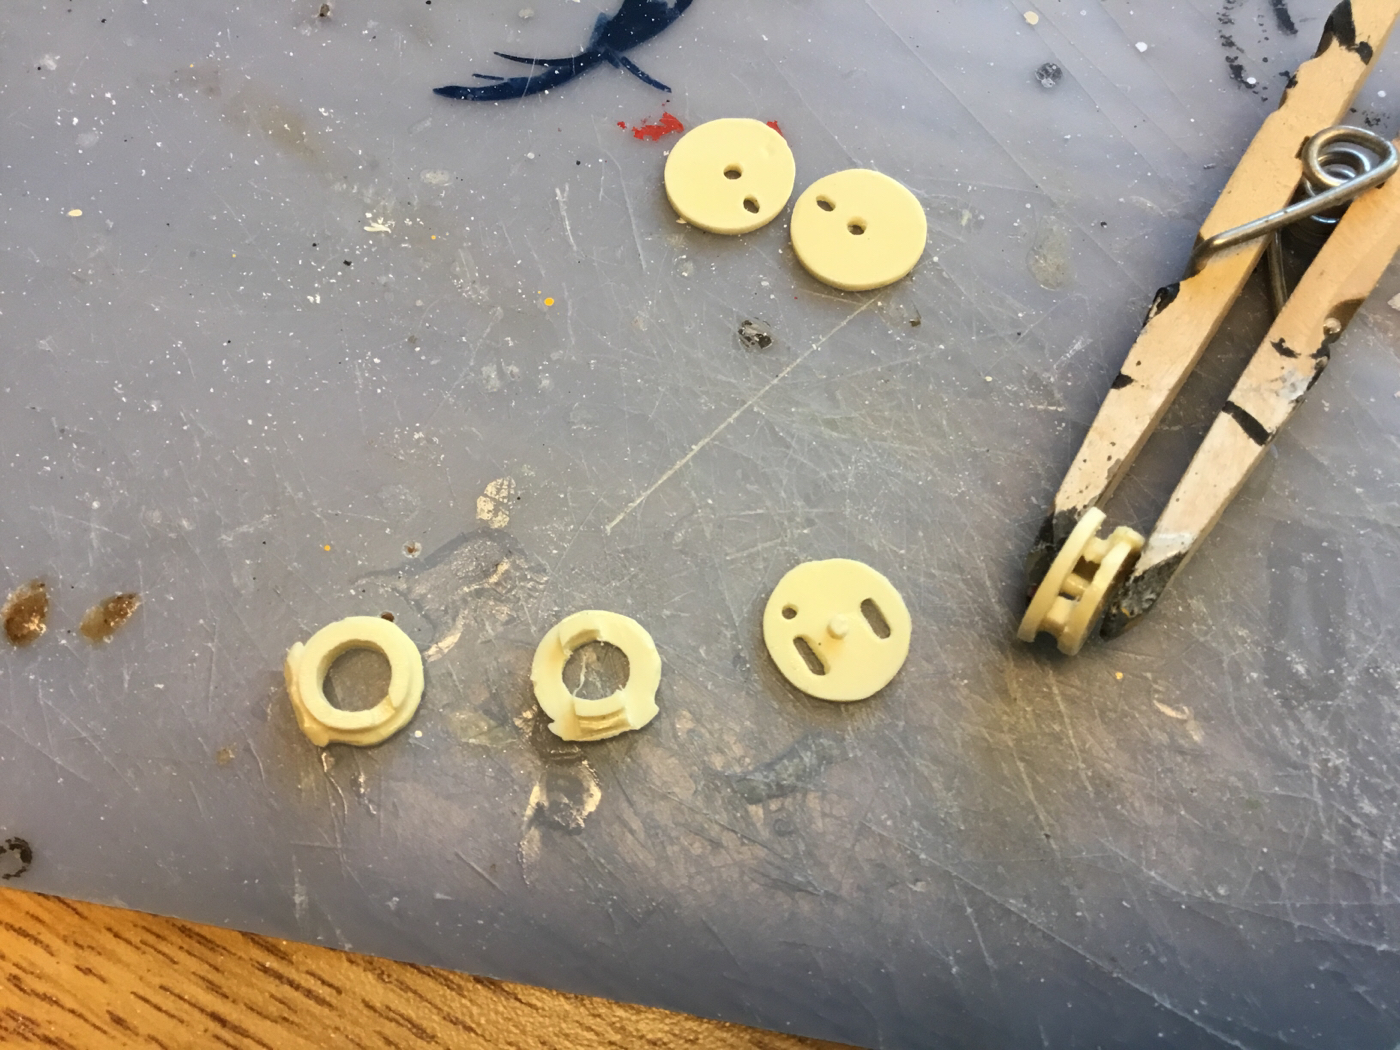 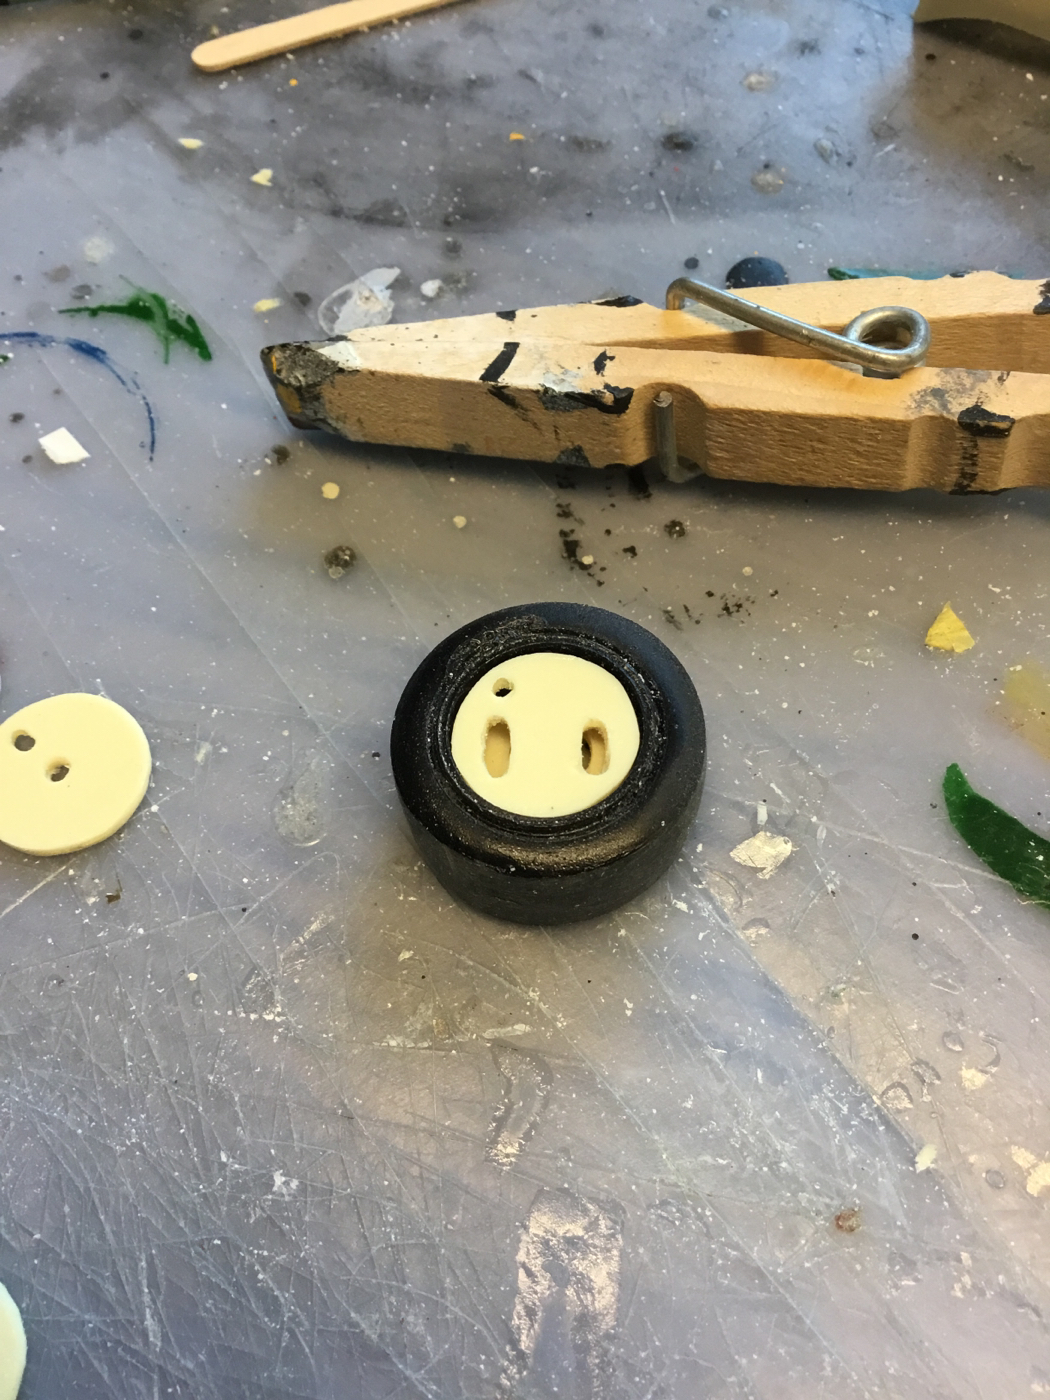 I added material to the wing end plates as they are squared off more. 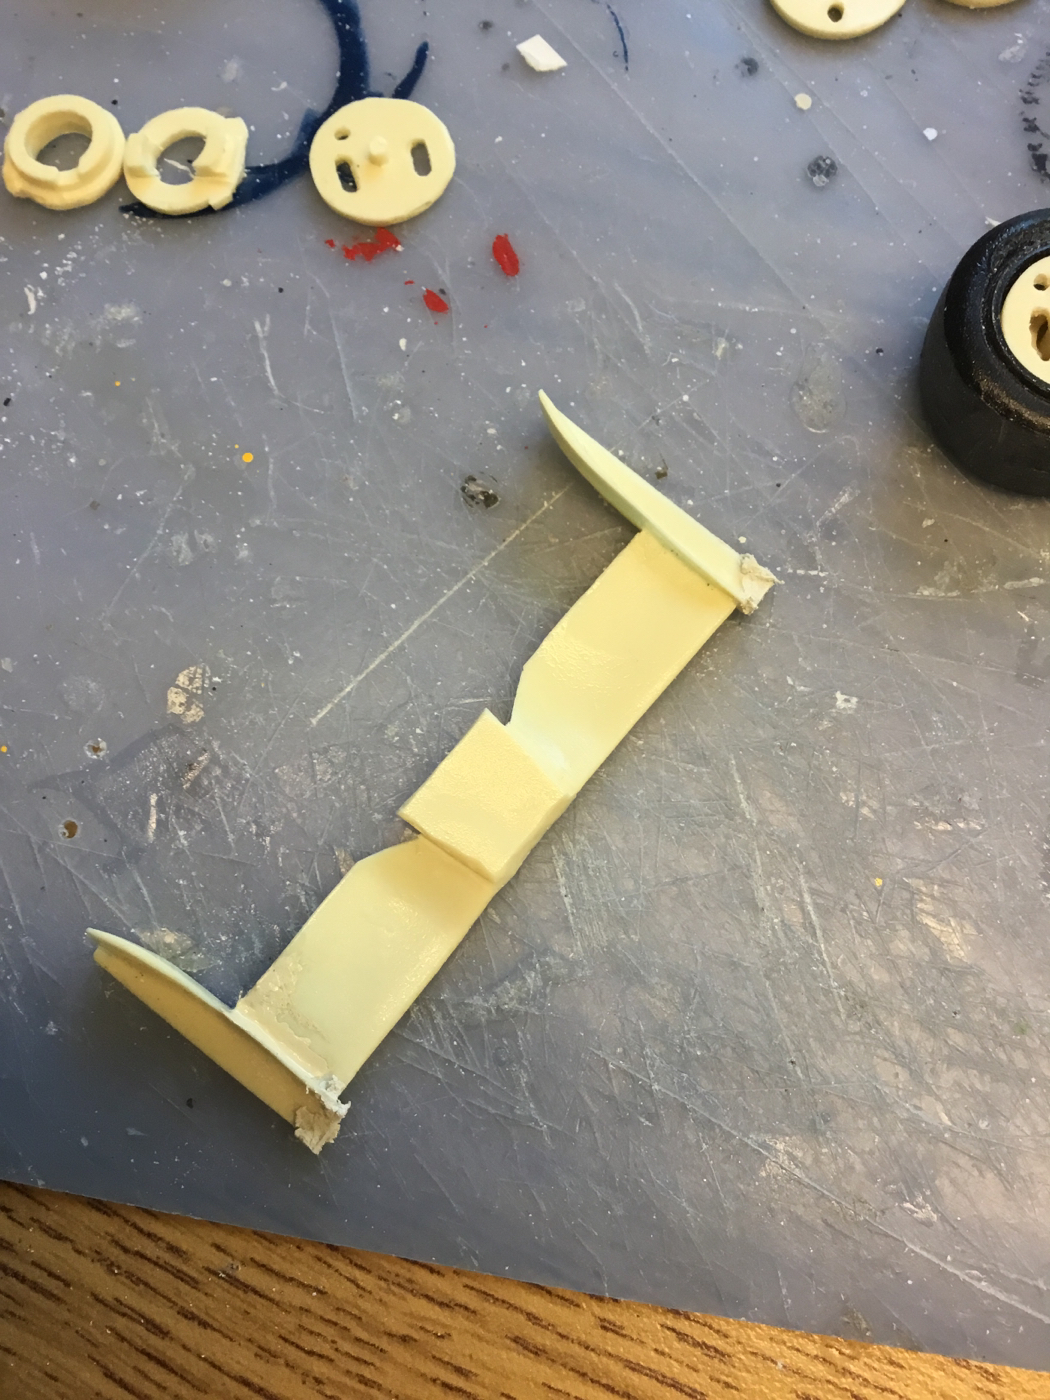 The axle is slightly oversized, not because I can't drill straight,but because I want to be able to adjust it. That's my story and I'm sticking to it. 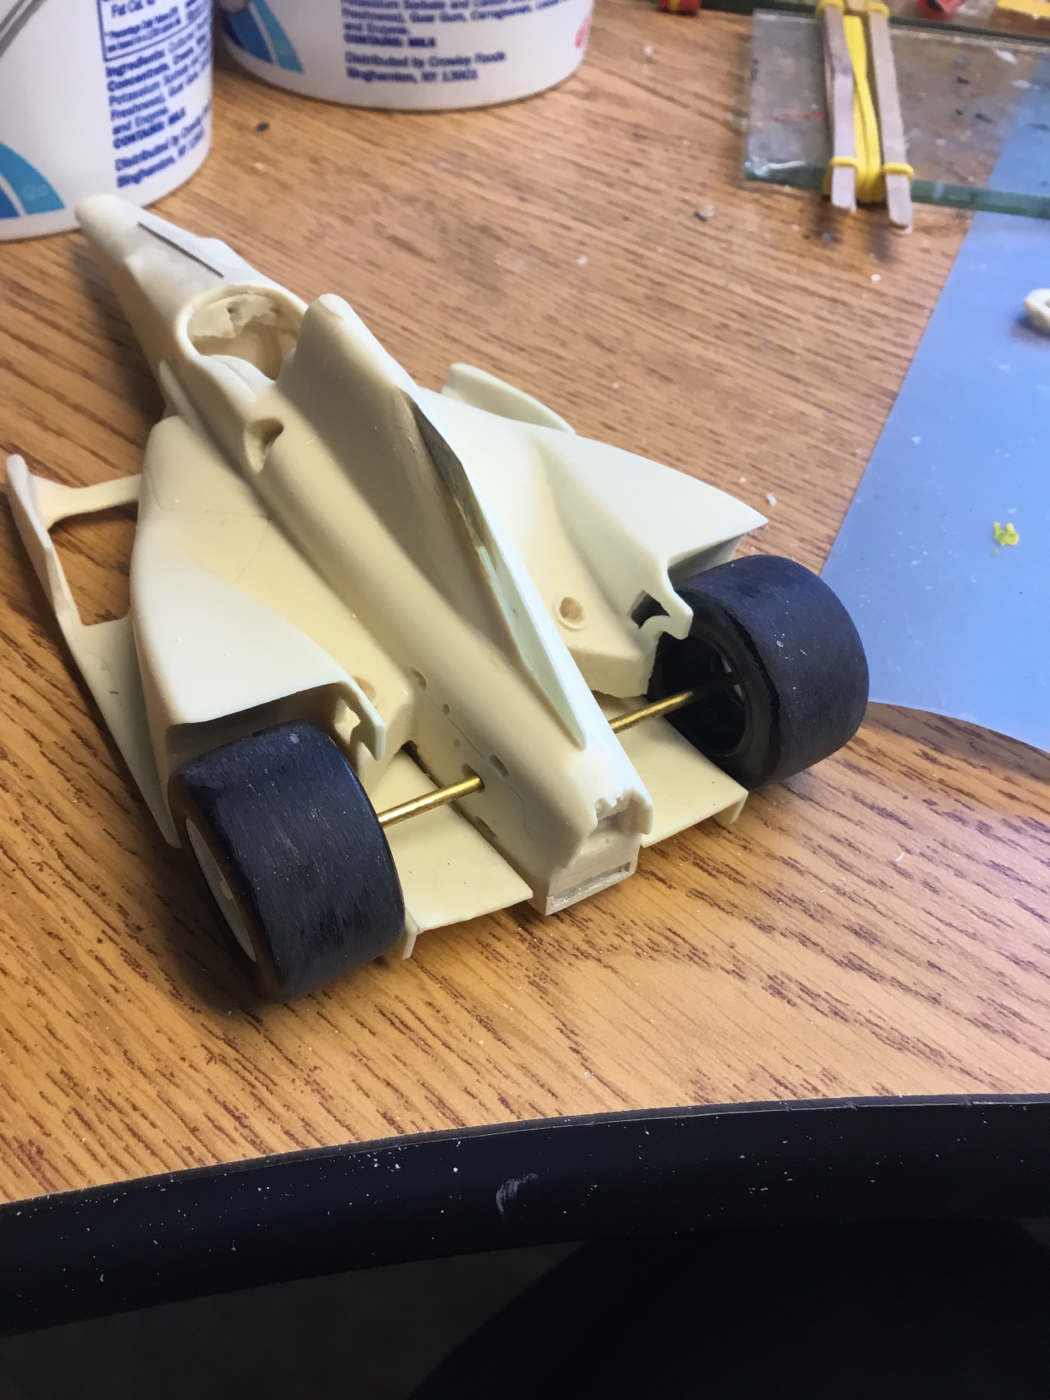 |
|
|
|
Post by raceparke on Oct 15, 2017 15:02:36 GMT -5
Lots of small steps, just plugging along. . I cut the wings from their block so I could fill and smooth the body there. 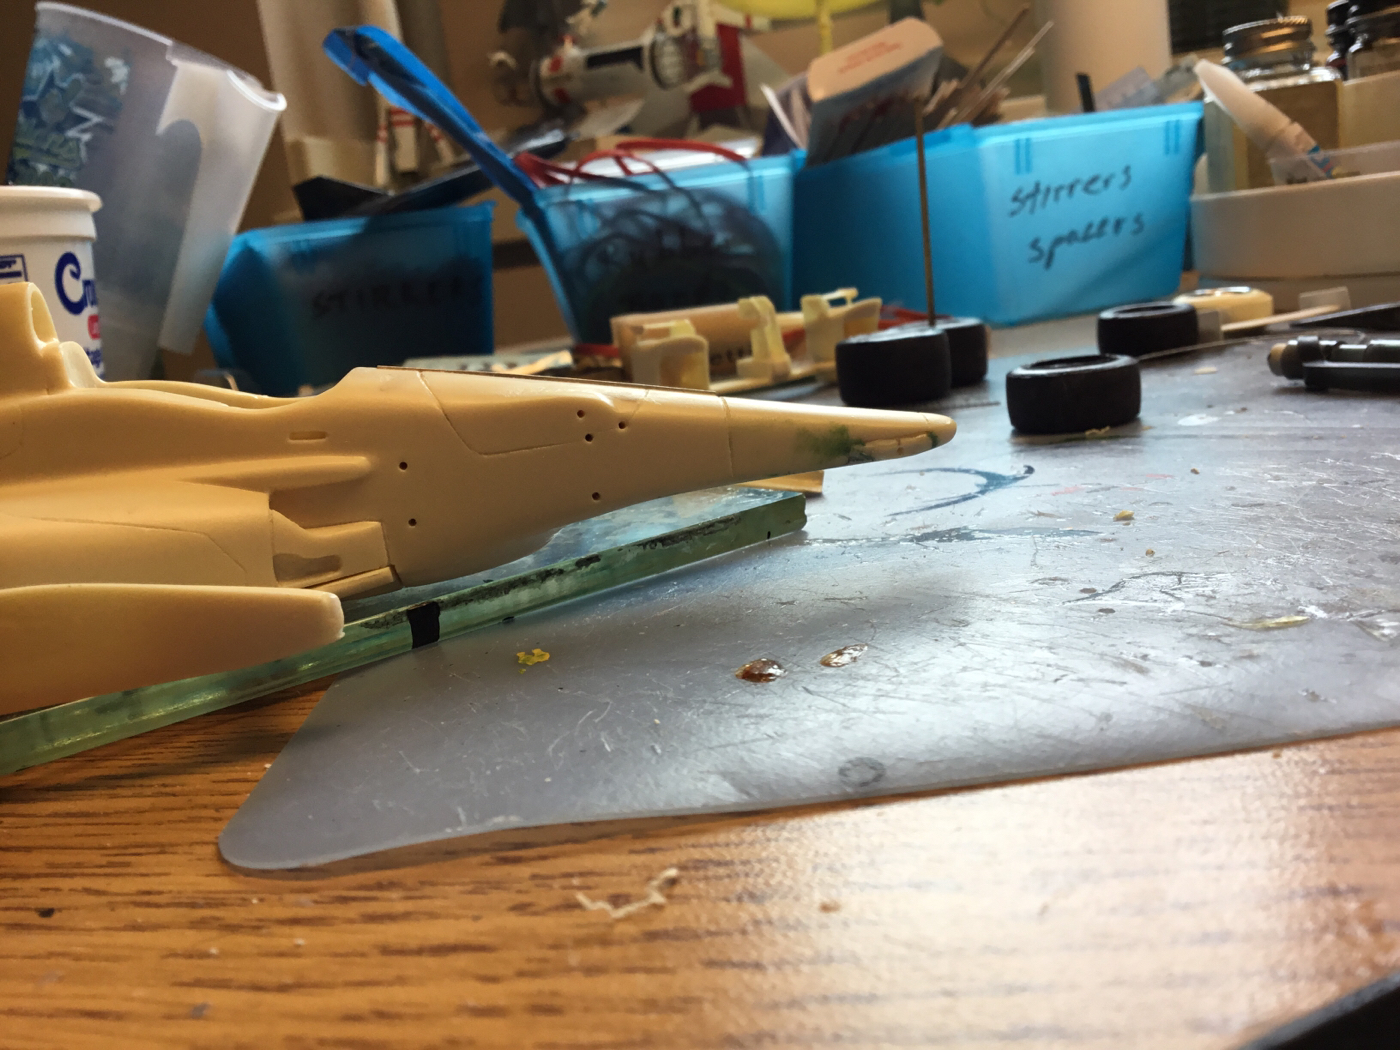 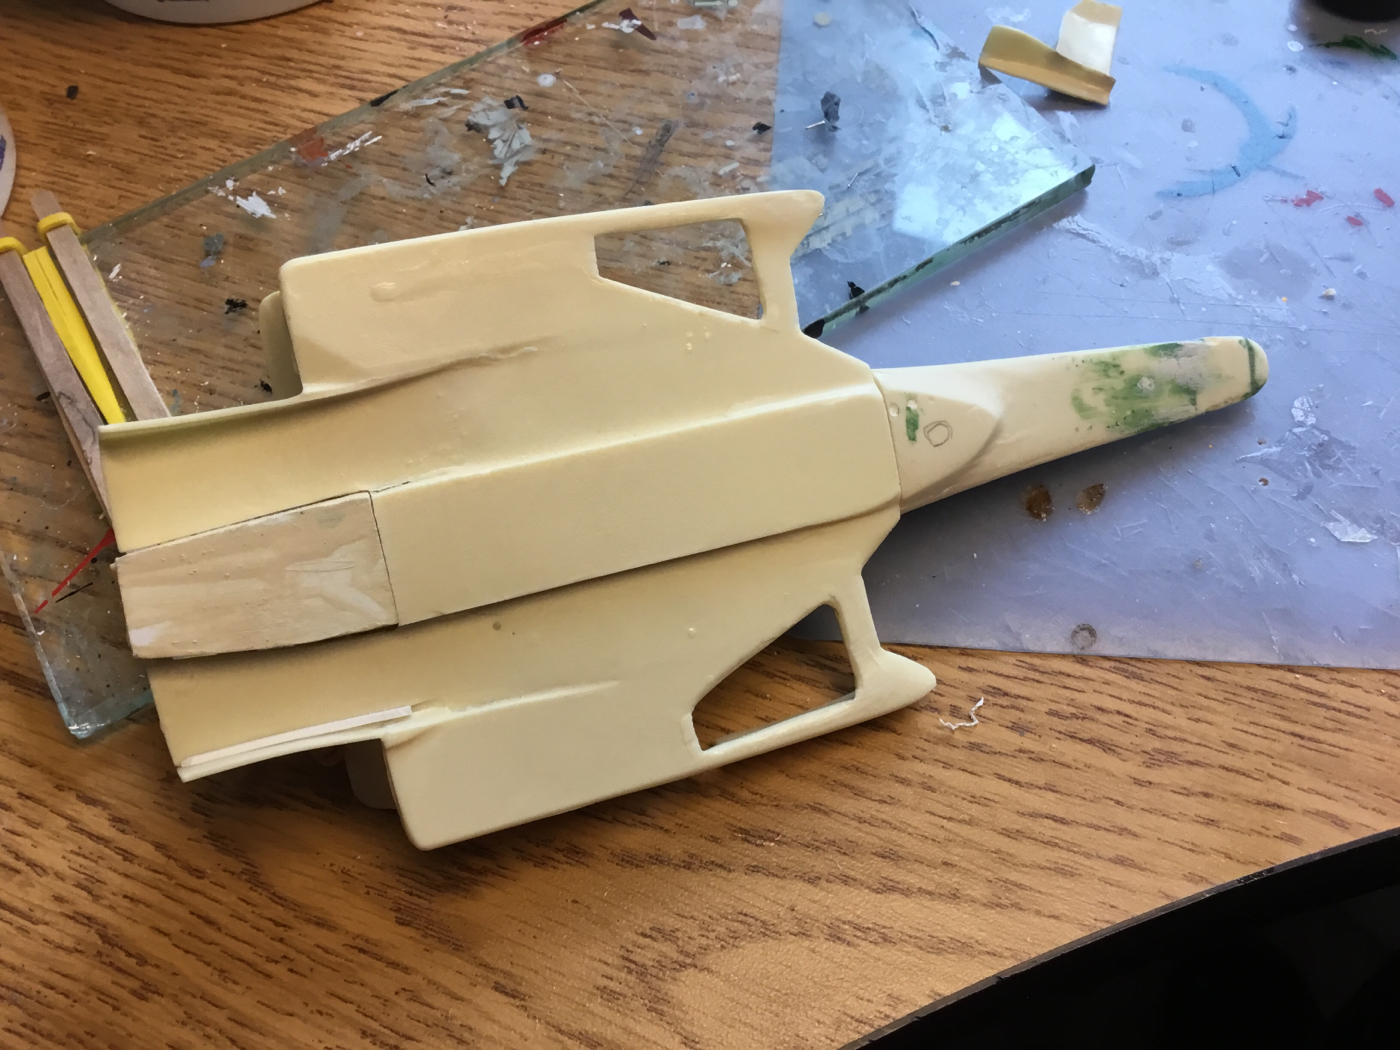 Notice I sanded the area marked with the penciled O to make flush with underbody. I've drilled and will pin the wings. 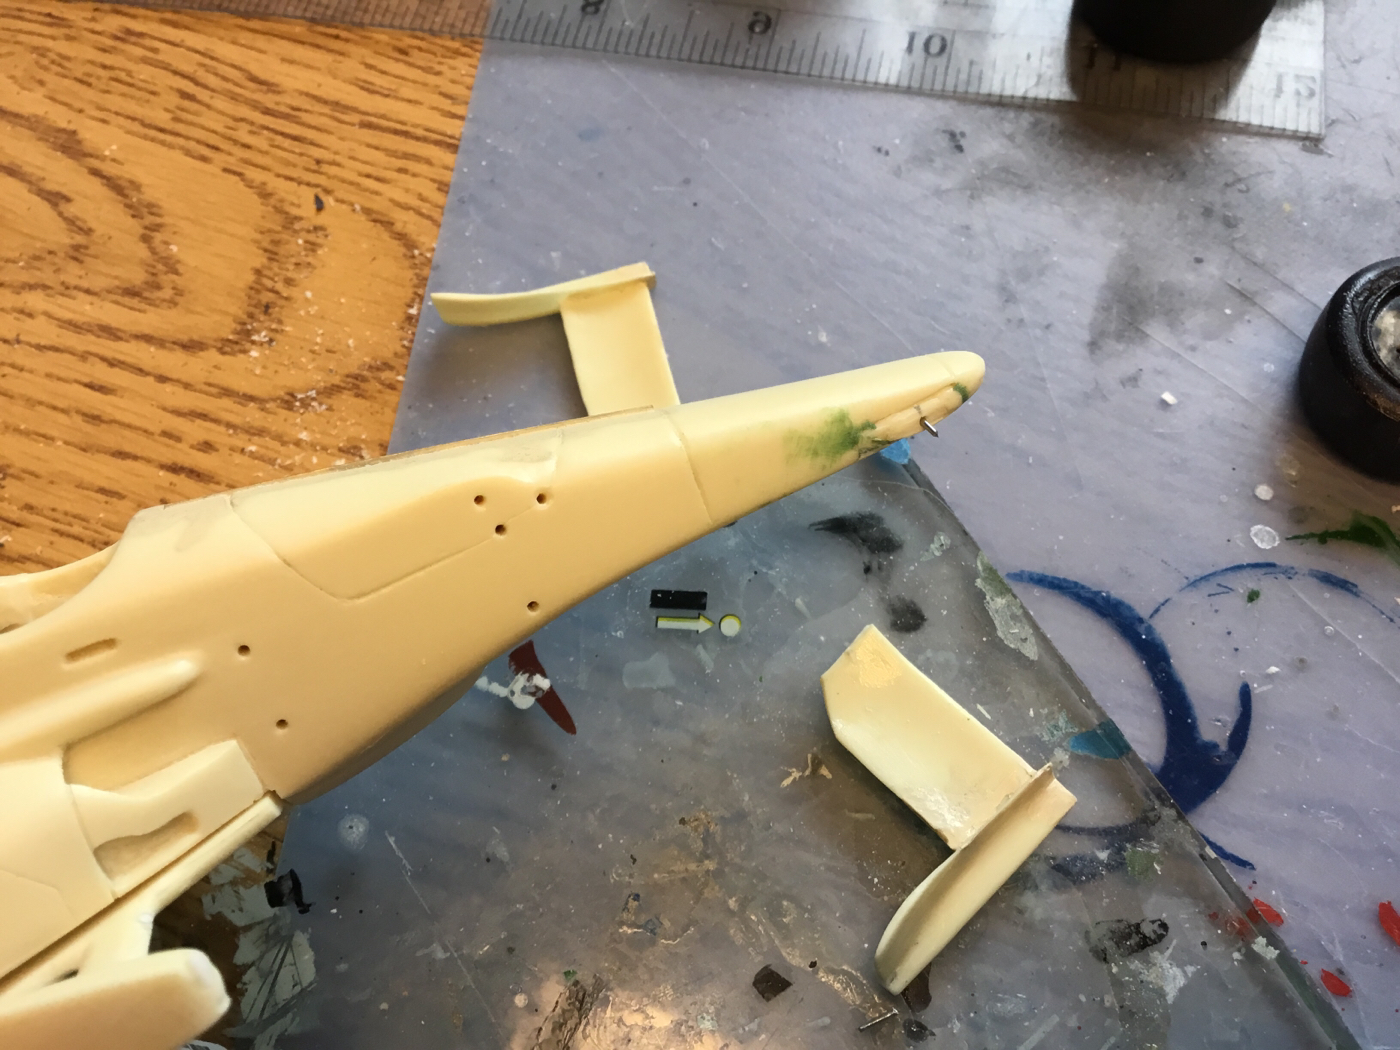 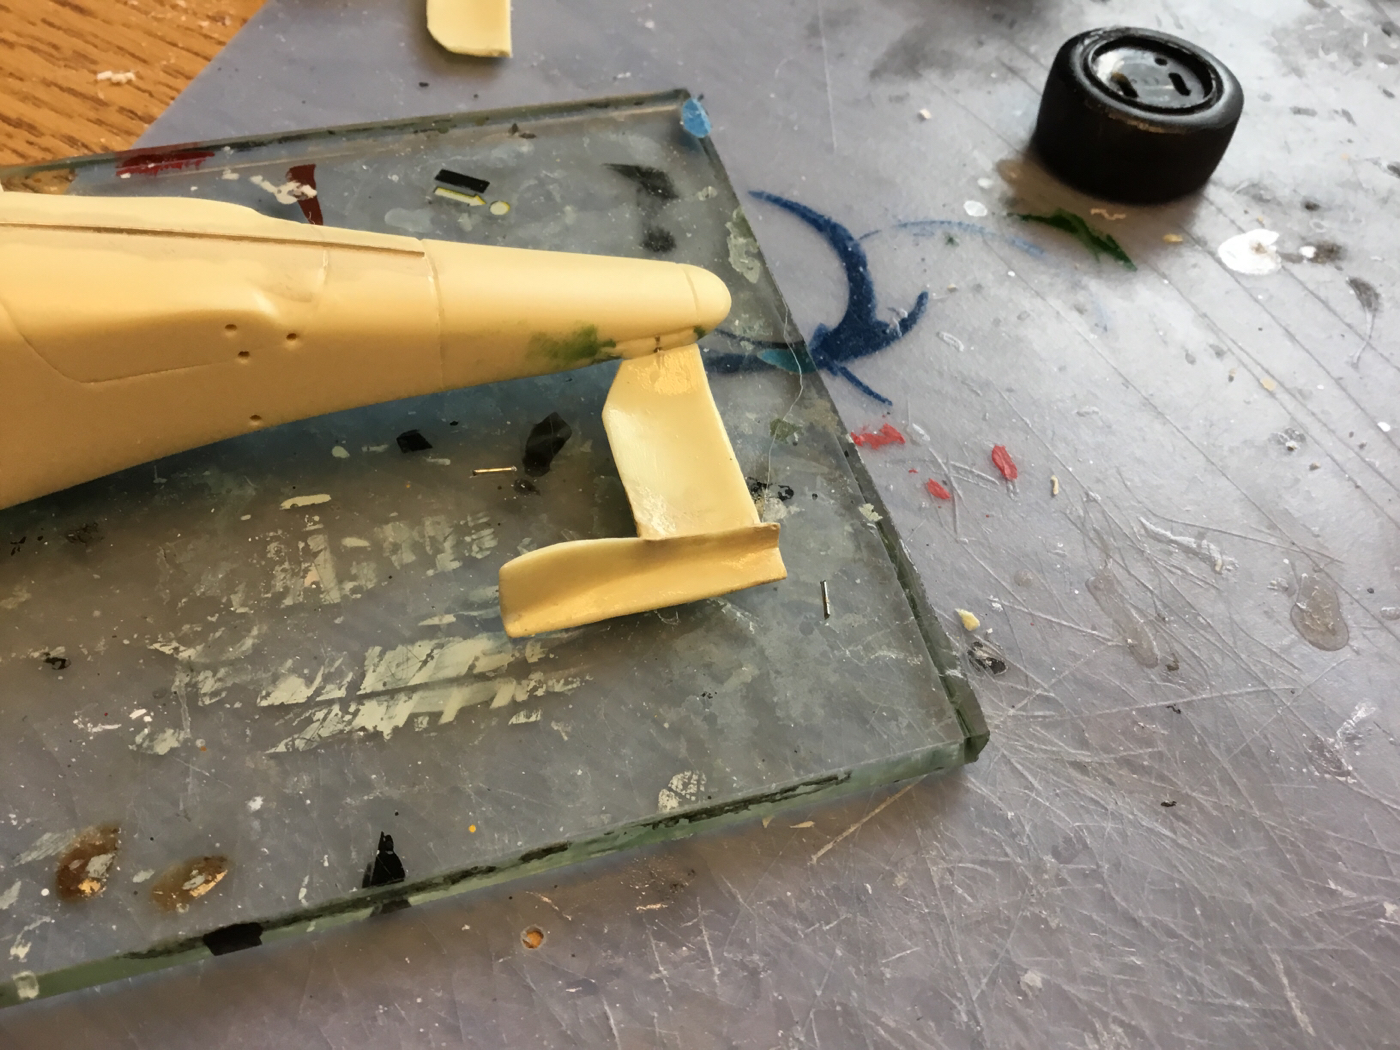 The wheels are mostly done, just some final finishing to do. 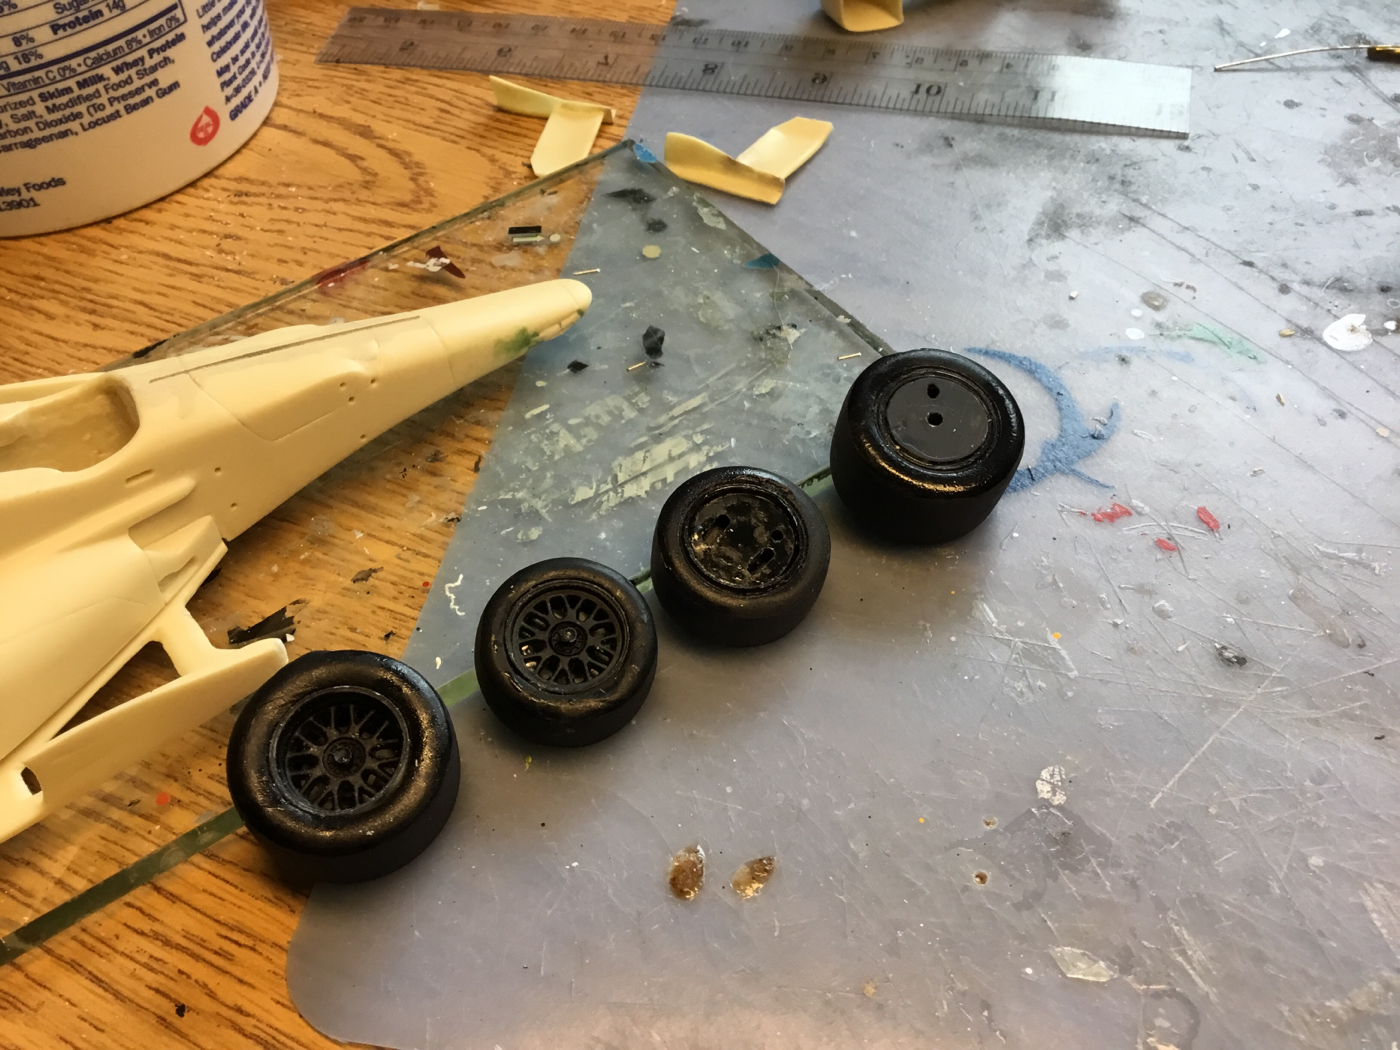 |
|
|
|
Post by 2lapsdown on Oct 15, 2017 16:38:17 GMT -5
Good tips, I like it
John
|
|
|
|
Post by raceparke on Nov 2, 2017 19:25:38 GMT -5
After a lot of cleaning, filing and prep, I’m adding color. Lots of details to go. . . 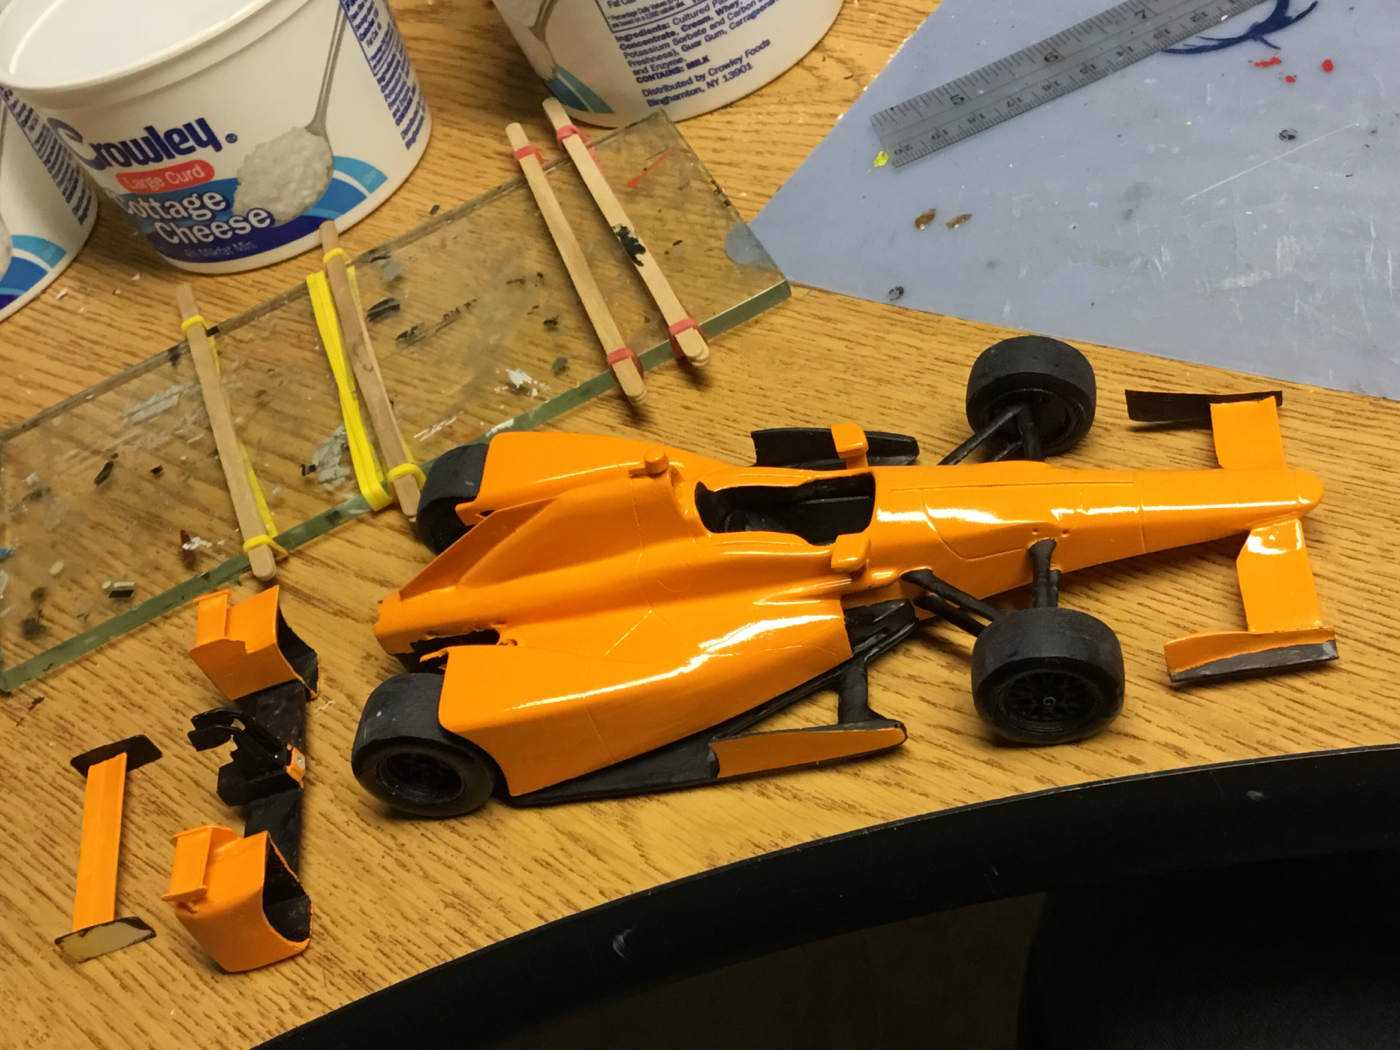 The winglets and main wing endplates will be blue- ts 15 , I think. 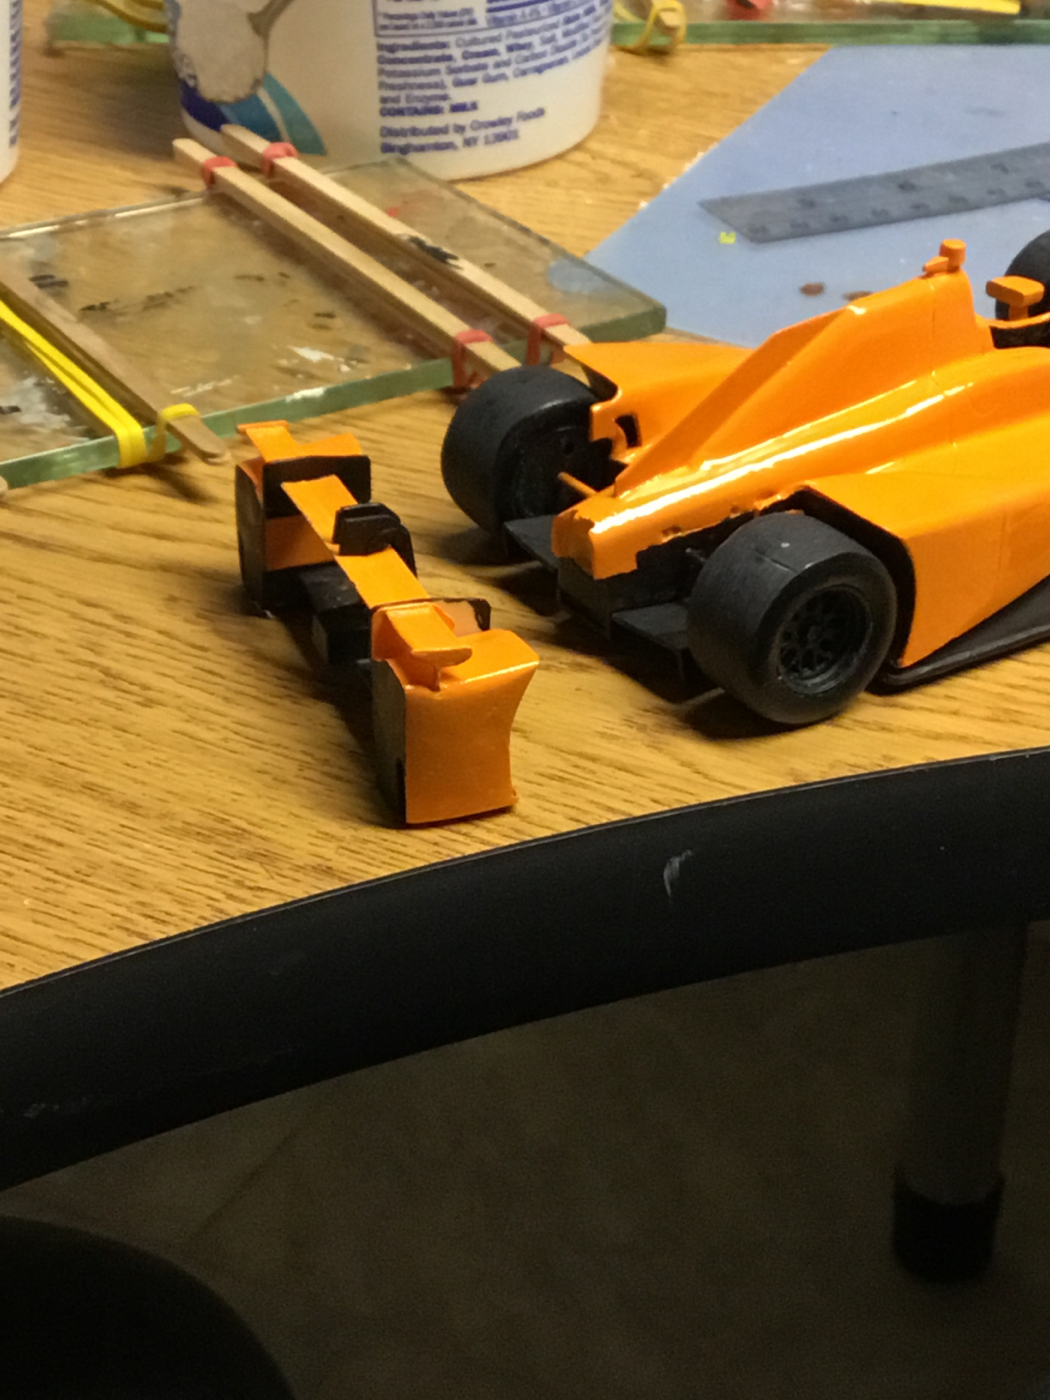 Lots of little touch ups, rear suspension, final rear assembly, etc then Michaels great decals- this hobby has built-in job security. . . 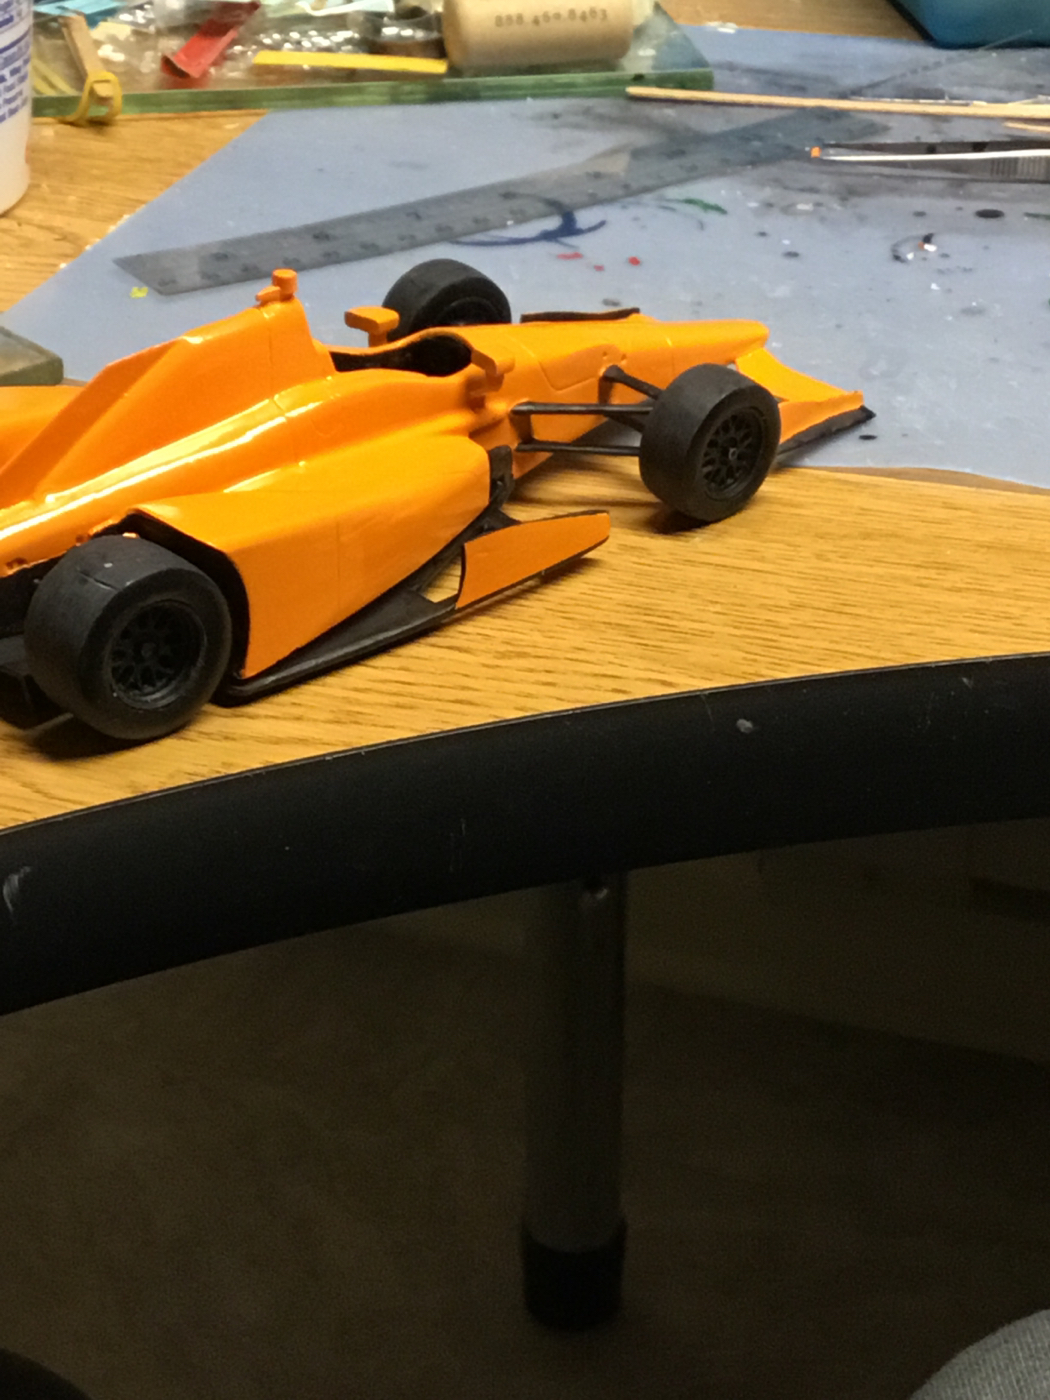 I trimmed the bottom of the bumpers square to eliminate an interference issue. |
|
|
|
Post by Art Laski on Nov 2, 2017 20:28:10 GMT -5
Looks good in color, Dan! Neat cork, too...
|
|
|
|
Post by indycals on Nov 3, 2017 3:33:45 GMT -5
Looking great, but one comment: TS 15 is too dark. They have a new blue I think TS93 that is a good match and will go better with my decals.
|
|
|
|
Post by raceparke on Nov 3, 2017 9:23:41 GMT -5
Thank you, Michael. I’ll get some.
Dan
|
|
|
|
Post by raceparke on Nov 19, 2017 17:17:11 GMT -5
It seems that TS 93 didn’t quite match either. I brush painted the winglets with it sprayed into a small jar compare with front wings. Plan b will be to mix something and repaint. Otherwise things are going ok. More progress will be depending on Herself’s plans for t-giving decoration and cooking duty.
|
|
|
|
Post by raceparke on Nov 19, 2017 17:18:13 GMT -5
|
|
|
|
Post by Calvin on Nov 20, 2017 3:17:32 GMT -5
Awesome!
|
|
|
|
Post by raceparke on Dec 3, 2017 14:45:11 GMT -5
Back at it 😁😁 Decal time! Like Calvin, this is my favorite part of a build. I applied the thin blue line all at once, no breaks or cuts. 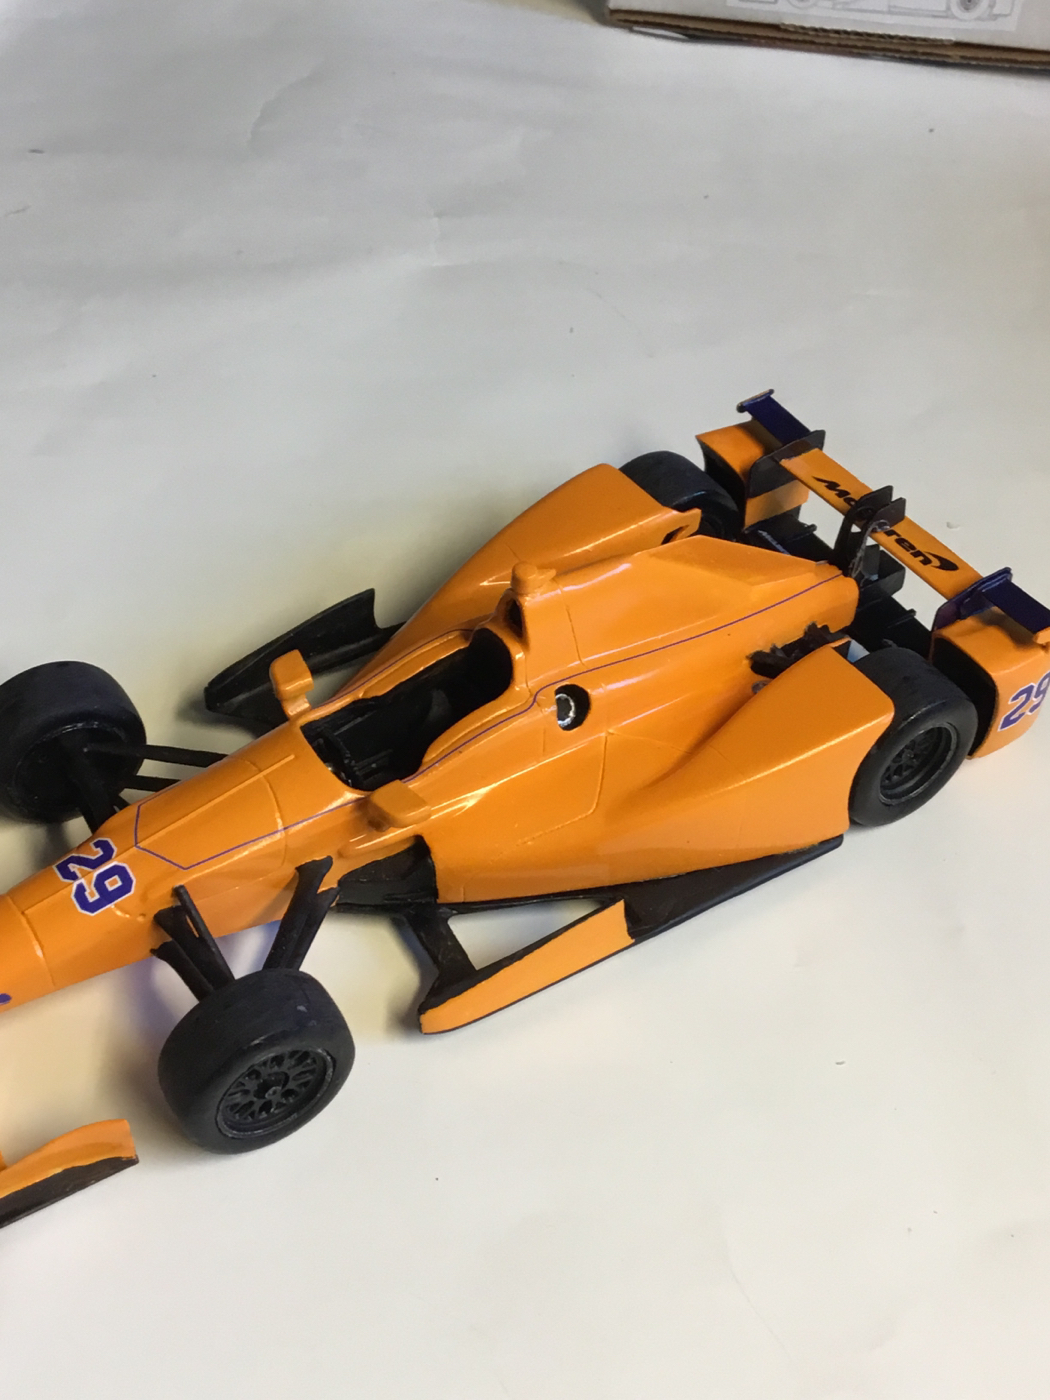 Michaels Tycho (look it up) decal went on nicely. 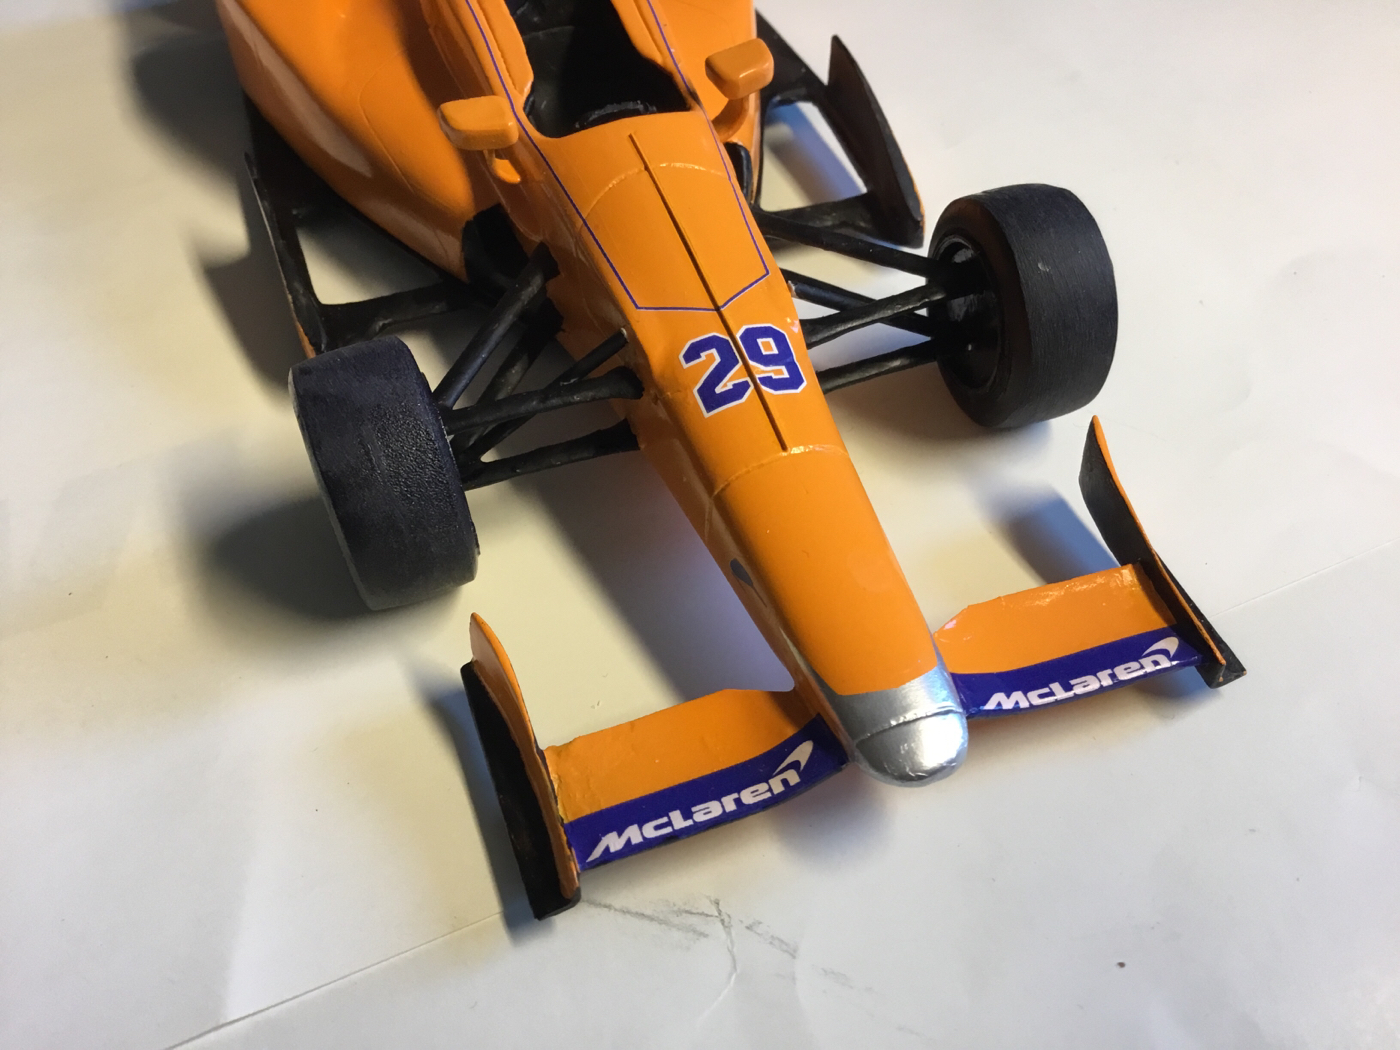 I made some anti-aviation flaps 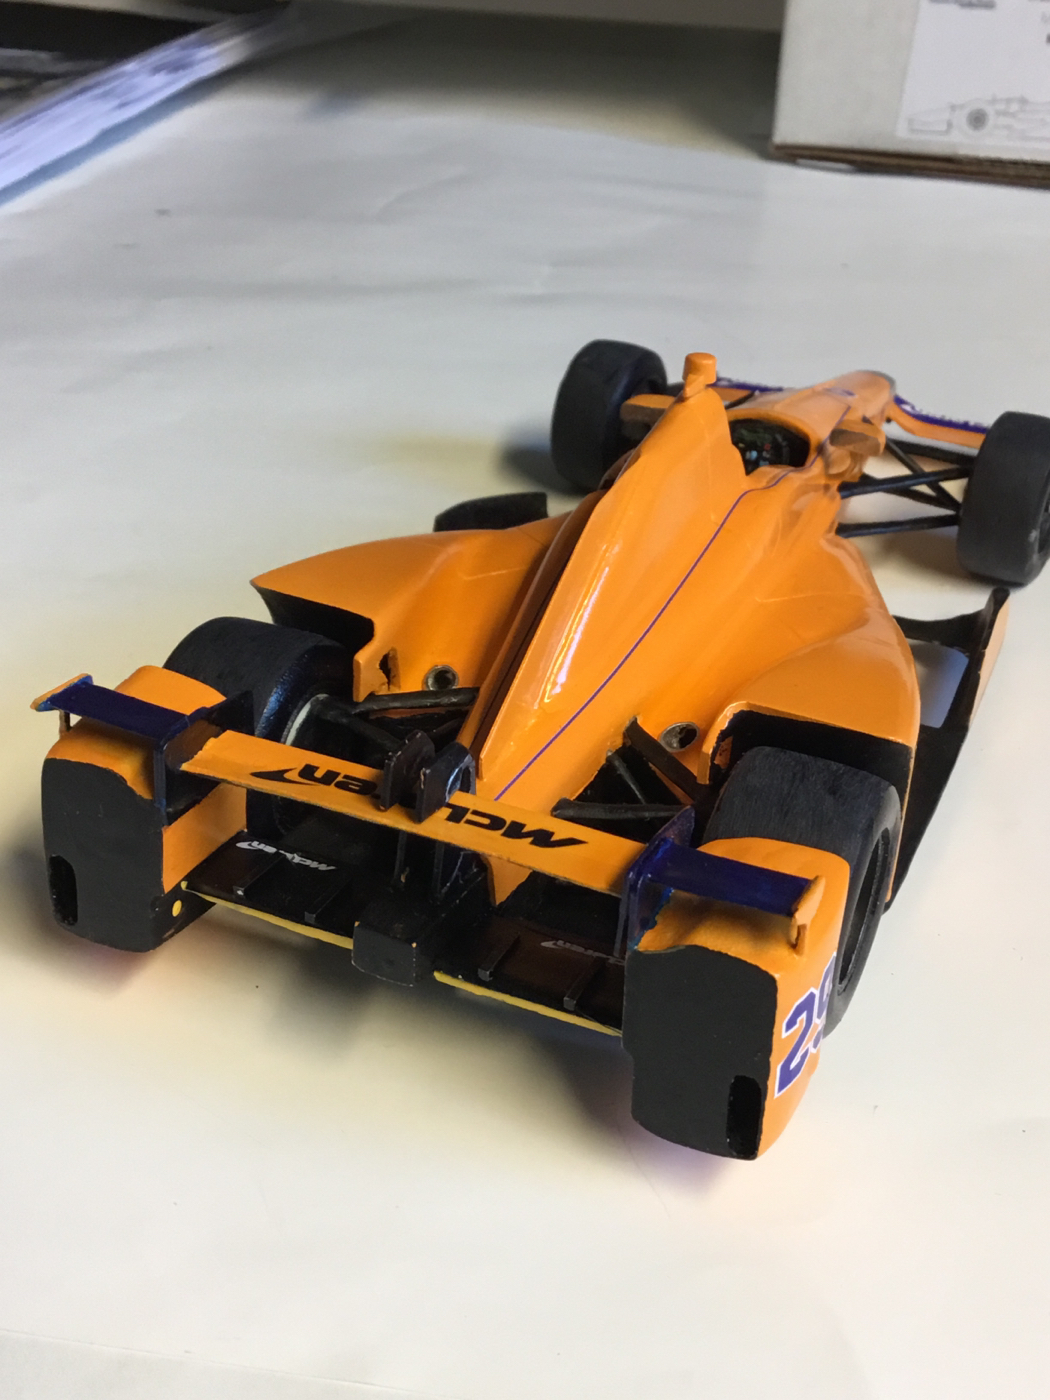 Some dabs of color on the steering wheel. 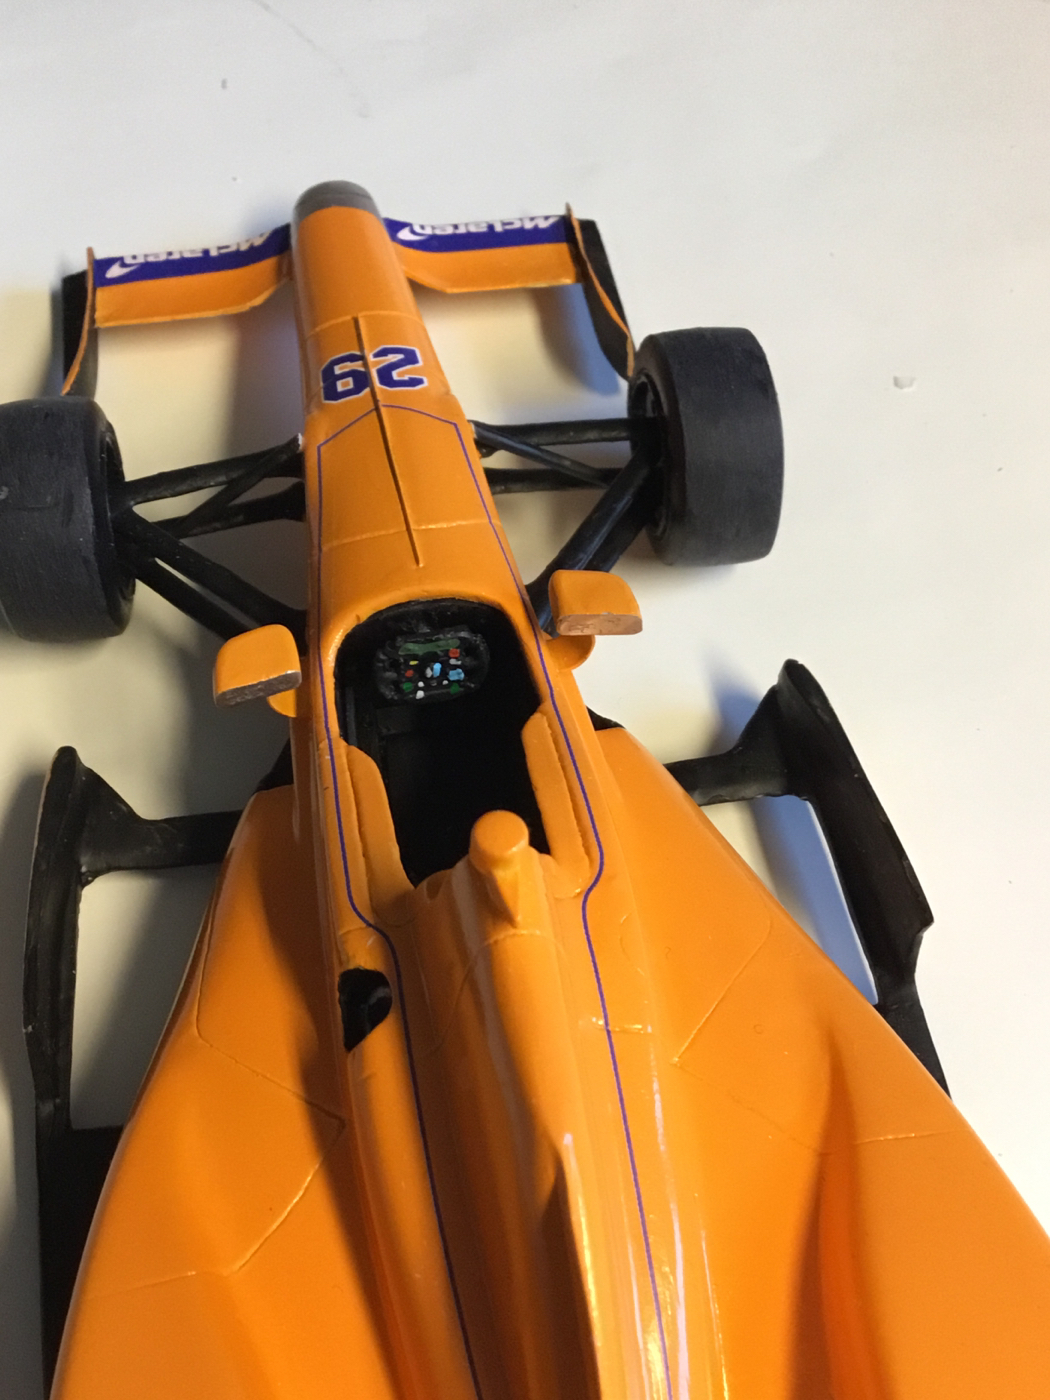 Lots of room for sponsors markings. 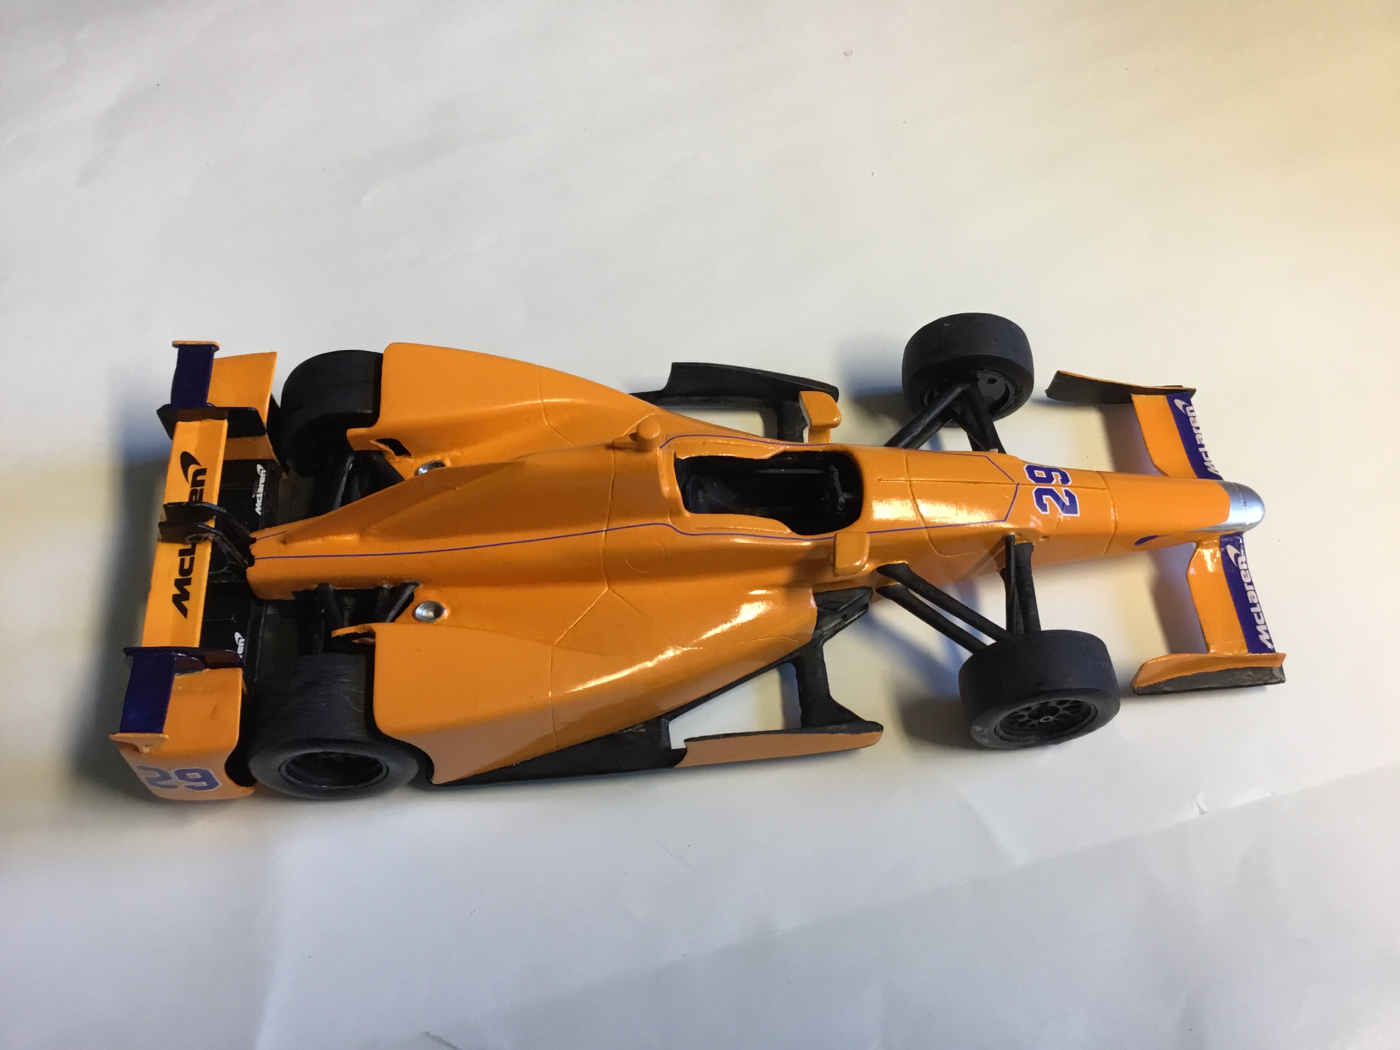 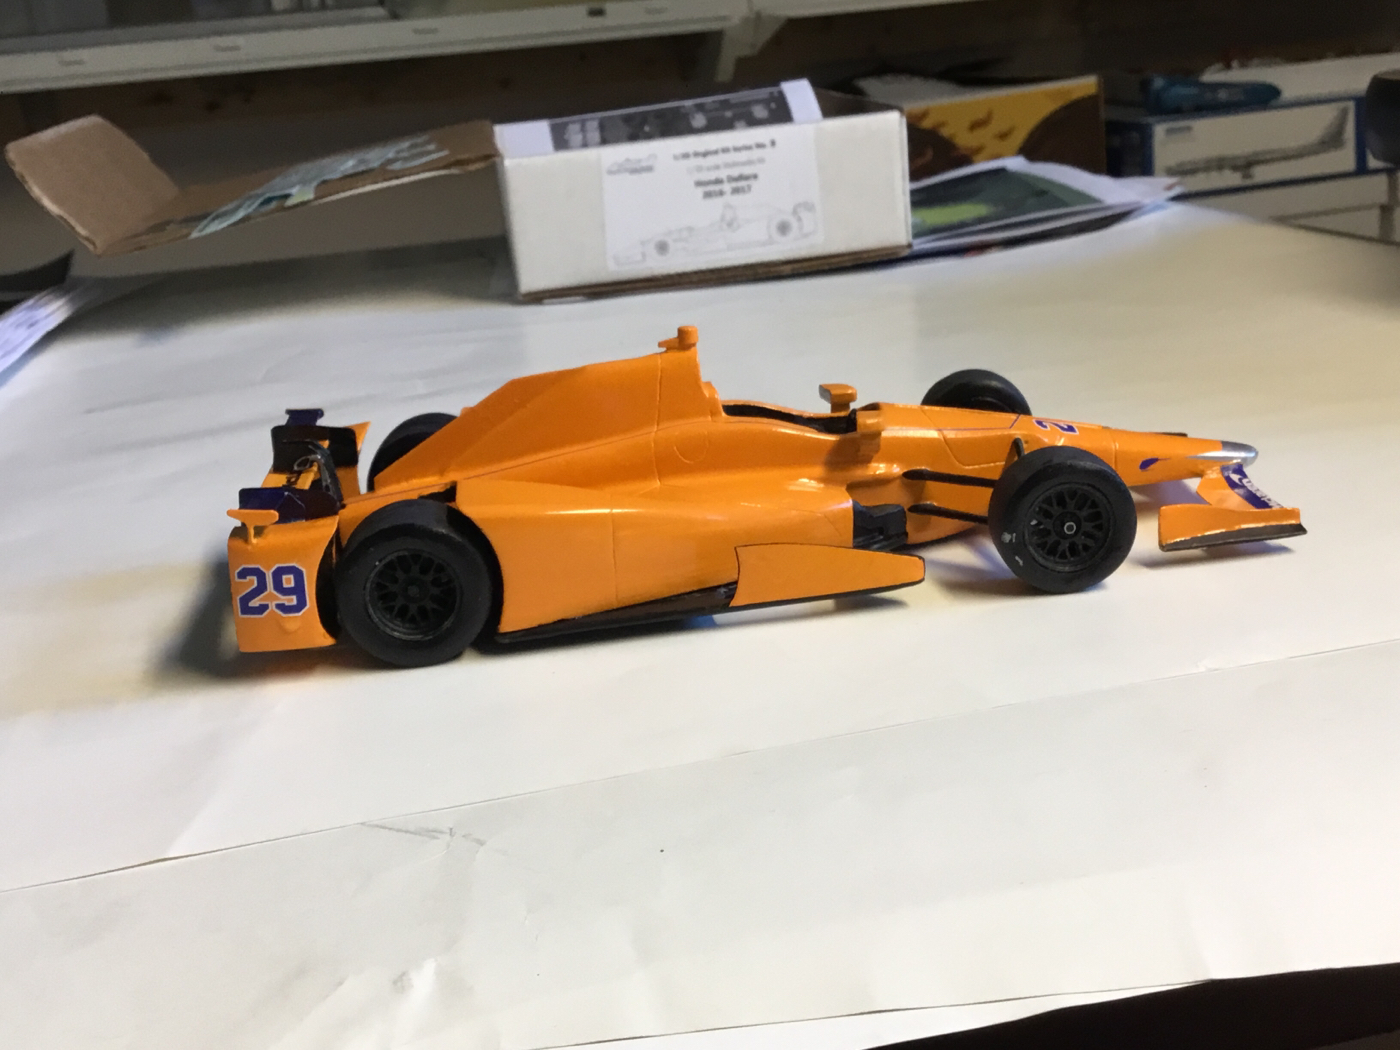 |
|
|
|
Post by 2lapsdown on Dec 3, 2017 14:56:31 GMT -5
You have my unwavering admiration for the way you handled that blue line decal!!
John
|
|
|
|
Post by raceparke on Dec 6, 2017 15:55:16 GMT -5
|
|
|
|
Post by raceparke on Dec 6, 2017 15:58:05 GMT -5
Actually, no decaying!
It’s decaling, decaling!
Stupid auto-suggest
|
|
|
|
Post by Calvin on Dec 7, 2017 4:06:31 GMT -5
Wow! It's looking fantastic! Glad its coming together!
|
|
|
|
Post by racermagic on Dec 7, 2017 19:28:42 GMT -5
Fantastic build. I am getting ready to go over a Greenlight Fernando car and i have been watching this thread.3 questions.
Is that Testors orange ( Tangerine?)in some of the pics the paint used?
Also, on Indycals decals he has included 4 red arrows that i cannot figure them out as to where they go.
Lastly, the rookie stripe on the back, decal or painted?
Thank you.
|
|
|
|
Post by raceparke on Dec 7, 2017 20:13:10 GMT -5
Color is Tamiya TS 56 the 4 red arrows are also a mystery to me I did not use them in years gone by, the rookie stripe was tape that was peeled off I do not m
Know what the current technique is. . . Thanks for your interest.
|
|
|
|
Post by racermagic on Dec 7, 2017 21:16:44 GMT -5
The air reliefs you cut into the rear ramps ( inside by the tire) are awesome. I wish i could replicate. The cf decals in side the rear bumper " air reliefs" are also a very nice touch, and i am unsure how to effectively replicate. You got it bent nicely. I realize you used solveset ( sparingly) but i am ( atleast intending)to use the factory cf as its nice looking and what i got from Indycals goes almost dead on with it. Mr Portoro strikes again.  I am also using the same cf inside the tub on the sides. Looks ok so far. Thank you for the paint. The rear bumper upper extension ( on the outside) is incorrect from Greenlight. They have them blue. Thanks again for your help and i'll probably ask another question or two before you get done. Your making a car from scratch. I'm just modding a factory car, but i want to get them as close to race day as possible. Its part of the fun for me. |
|
|
|
Post by raceparke on Dec 10, 2017 17:47:03 GMT -5
|
|
|
|
Post by raceparke on Dec 10, 2017 18:01:17 GMT -5
|
|