|
|
Post by indy on Jun 23, 2015 9:31:42 GMT -5
First of all, I apologize for the huge post but hopefully it will be really helpful. I am purchasing some of the Reynard Engines from Kevin and happened to get a PM here from a fellow member doing the same. Thought it might be good to pool our references for the various engines during this time frame and the Reynard transaxles. The stock Revell Reynard transaxle looks good with just some paint but a little TLC will get you a great piece. A big kudos to Ed Sexton of Revell for making the prototypes and to Kevin K for reproducing these in resin. Contact Kevin at silvercitymodels@comcast.net if you want to buy any/all, he has a Ford, Honda, and Toyota. Thanks to Calvin Sallee for the scans, as always, I appreciate the research help. If you have any more pictures, feel free to add them onto this post. Engine Pics1996 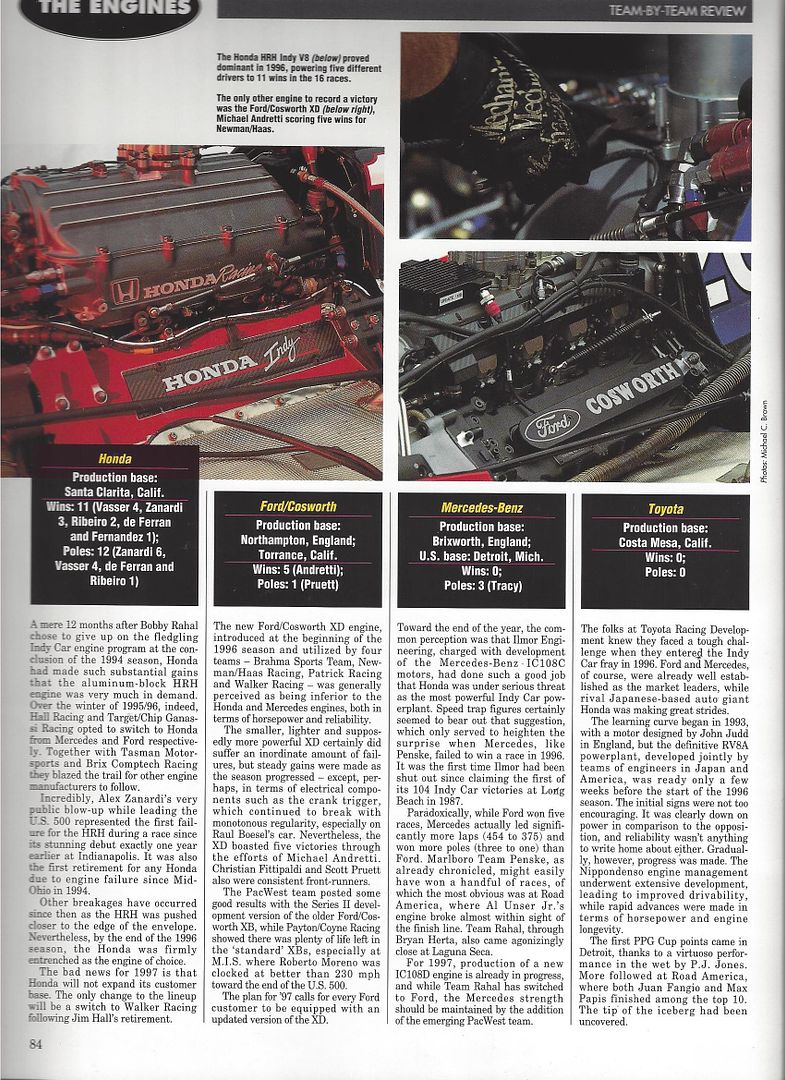 1997 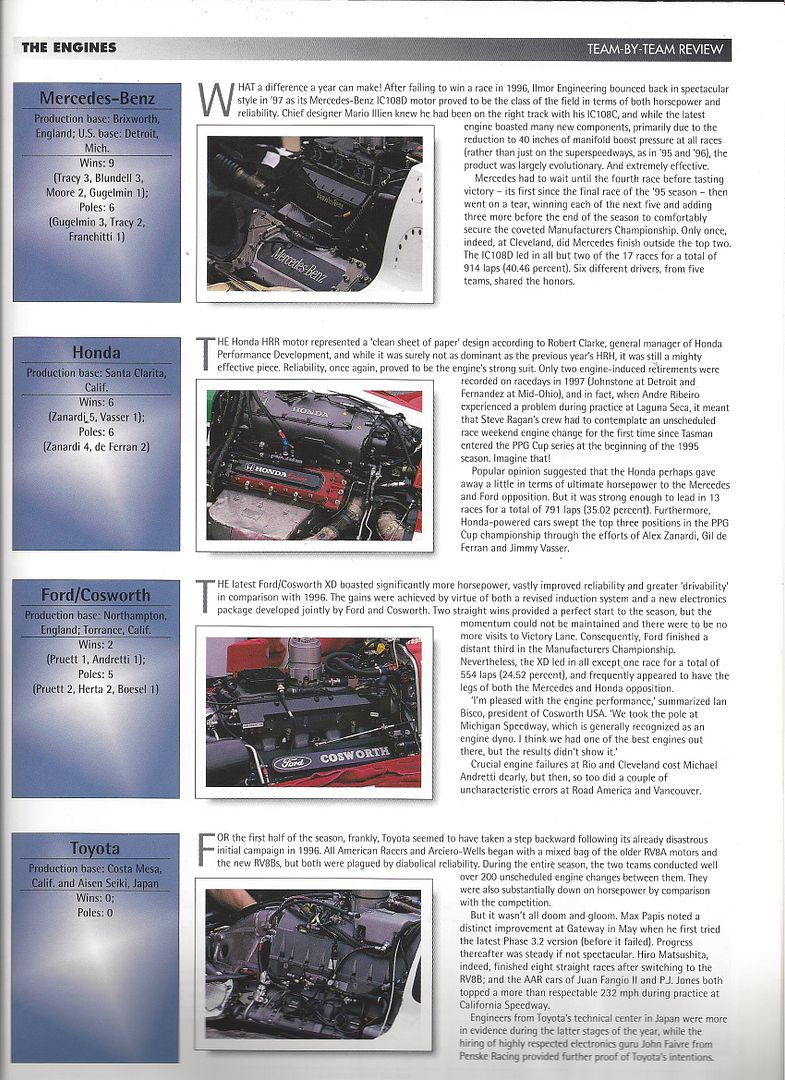 1998 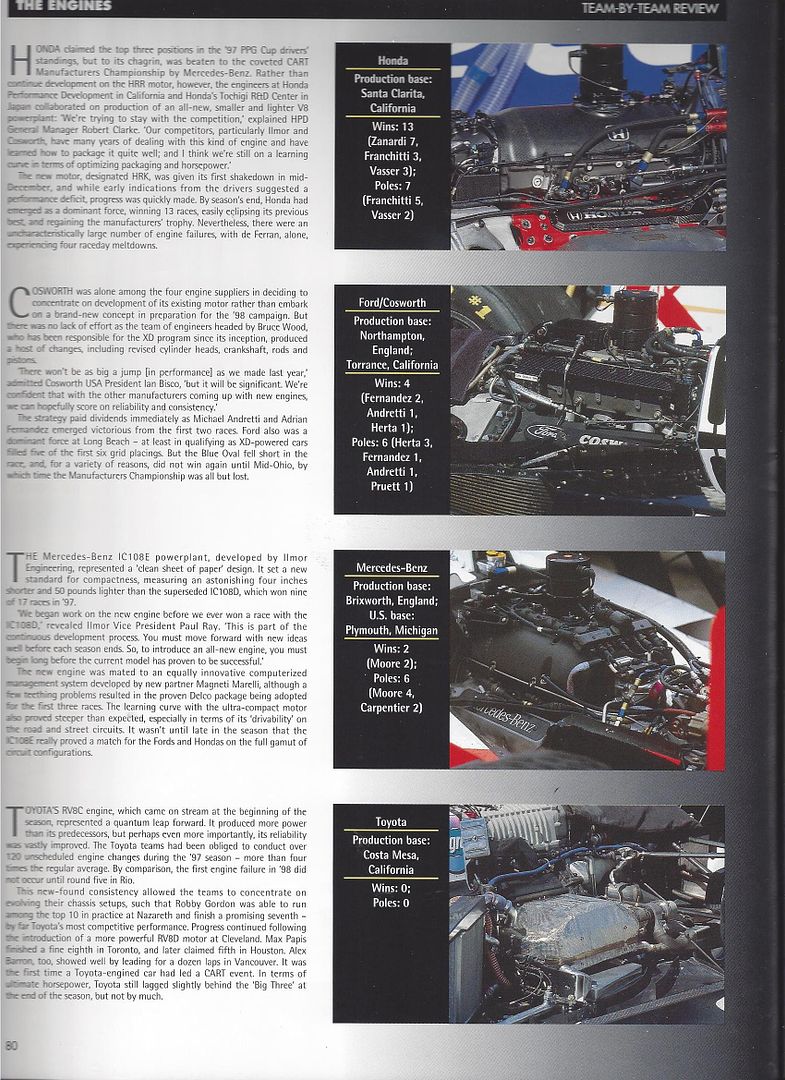 1998 Ford 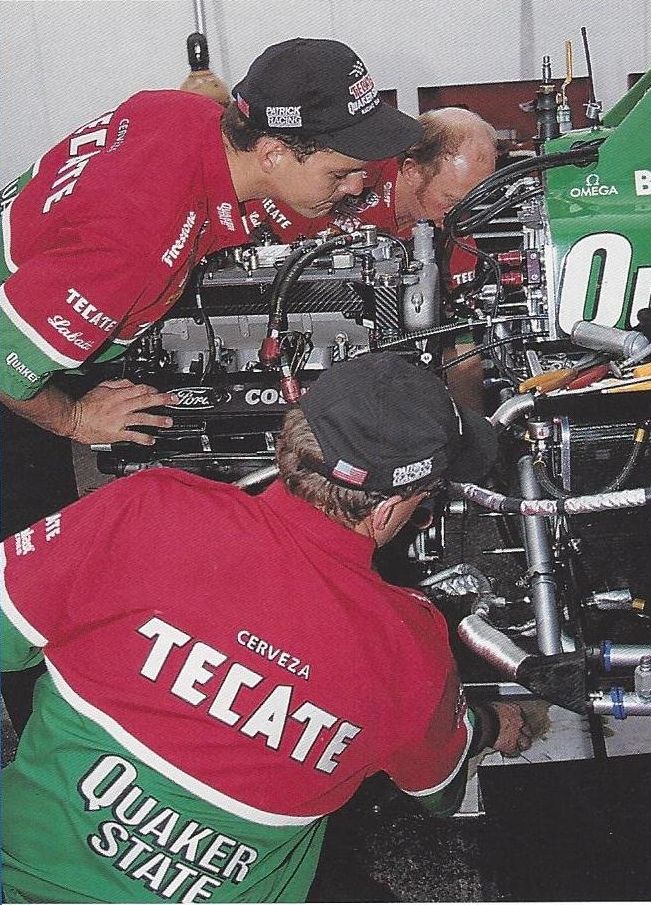 1998 Honda 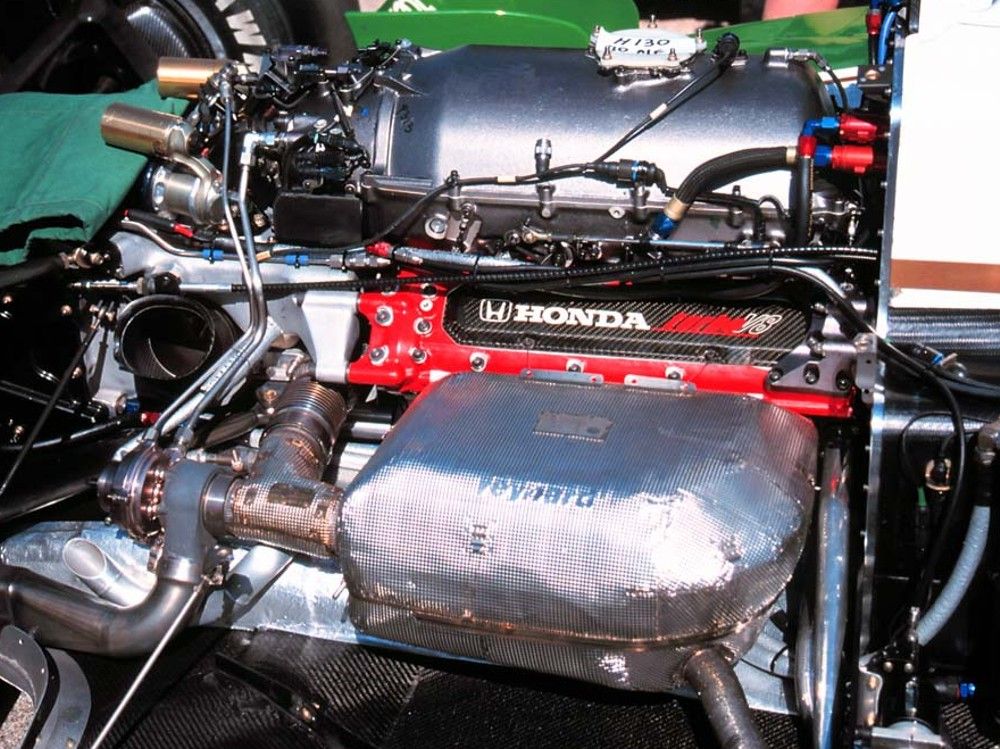 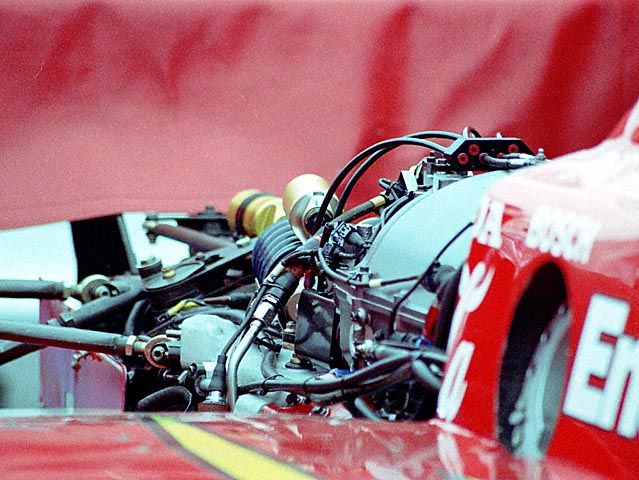 1998 Toyota Even though this is the Eagle 987, AAR used a standard Reynard Transaxle 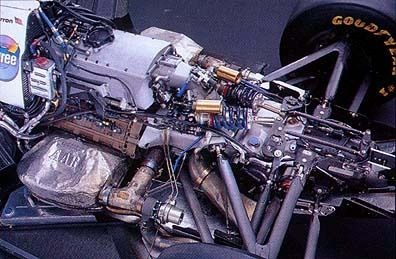 1999 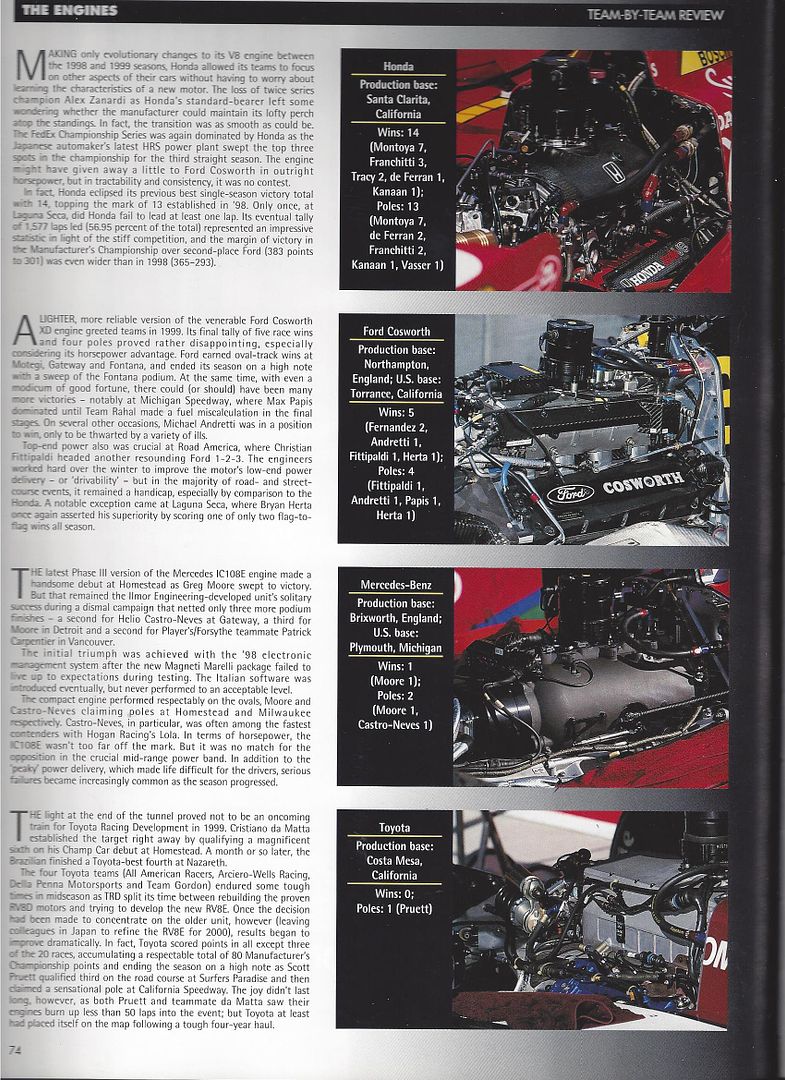 1999 Honda  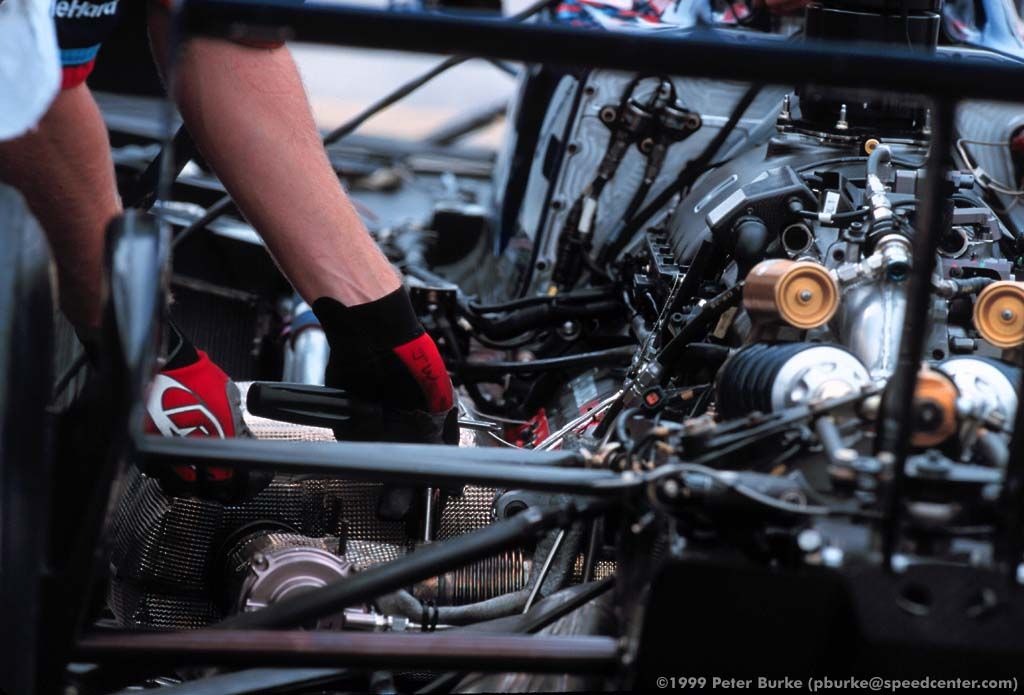 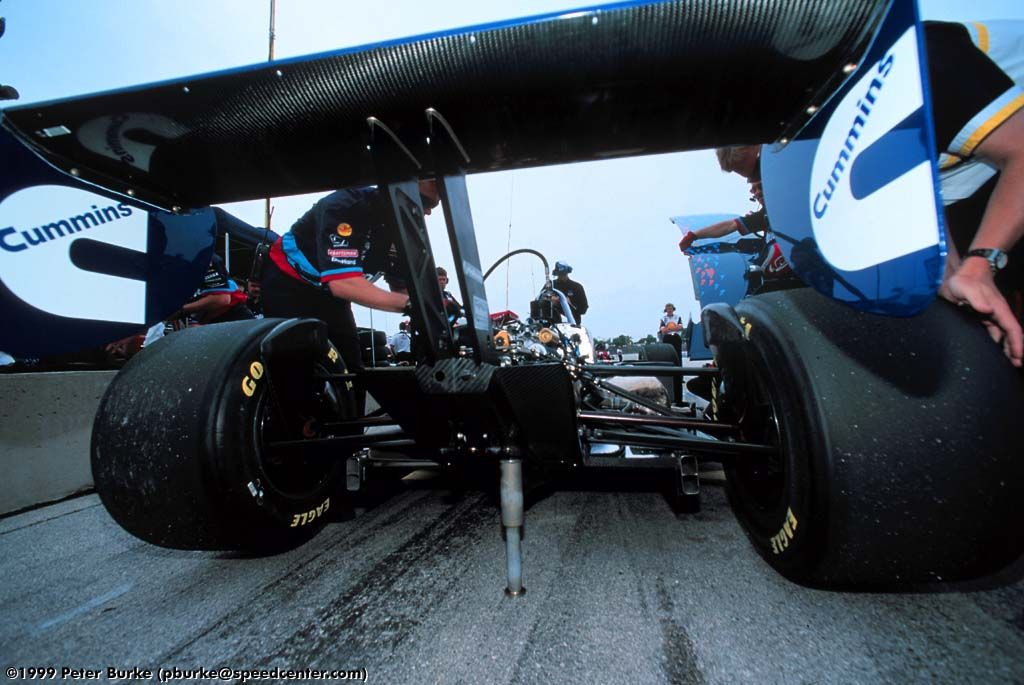 1999 Mercedes Benz 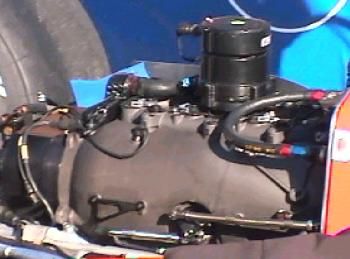 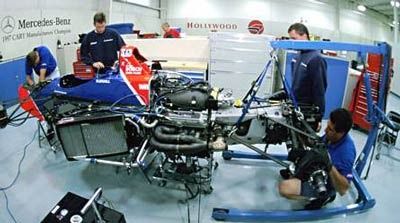 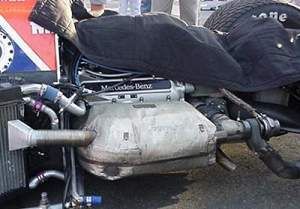 1999 Toyota 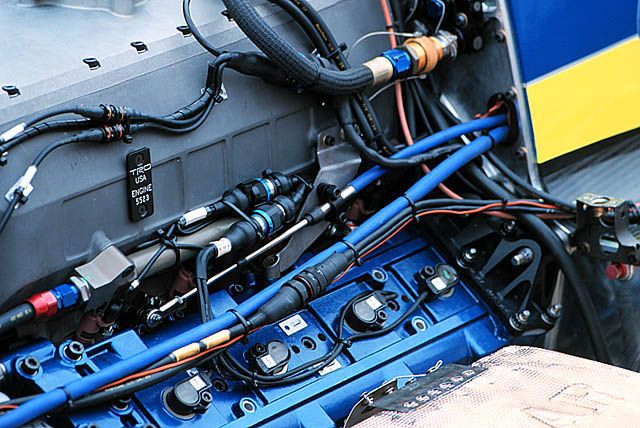 2000 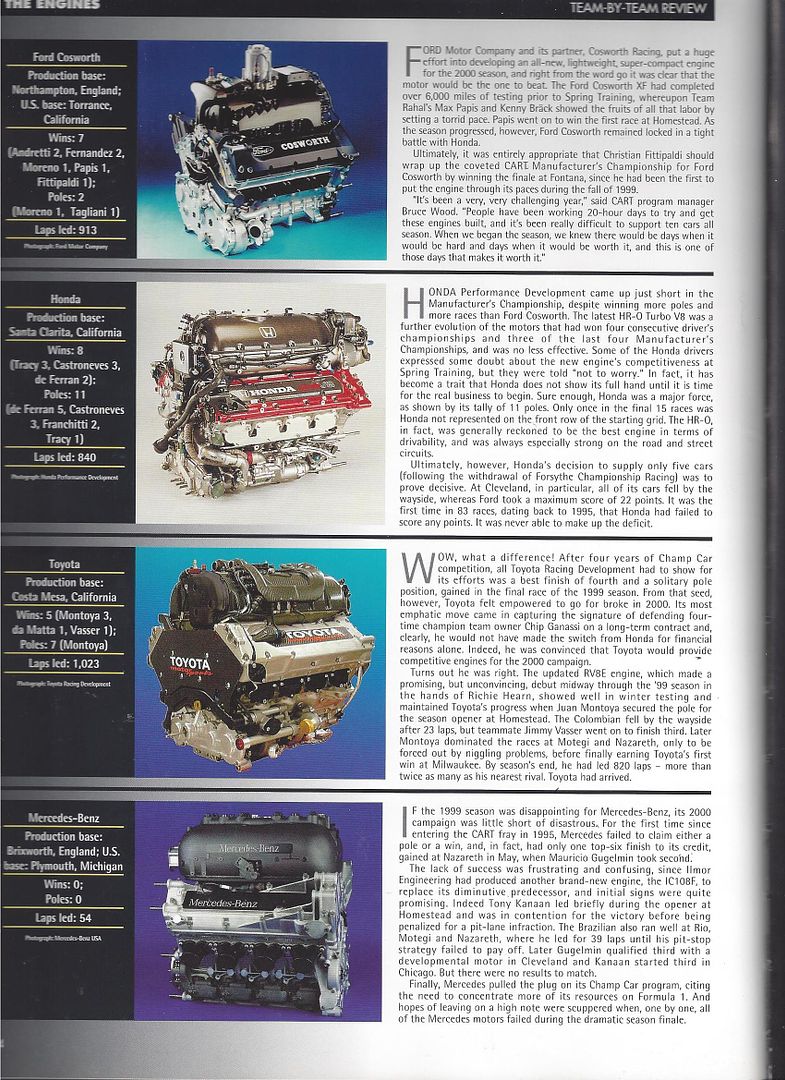 2000 Honda Red bulkhead on Penske!? 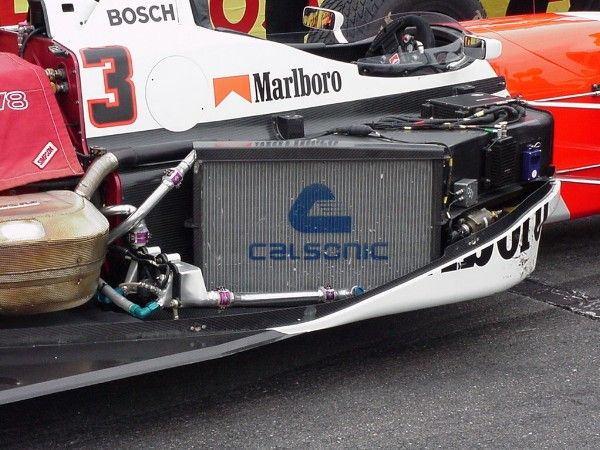 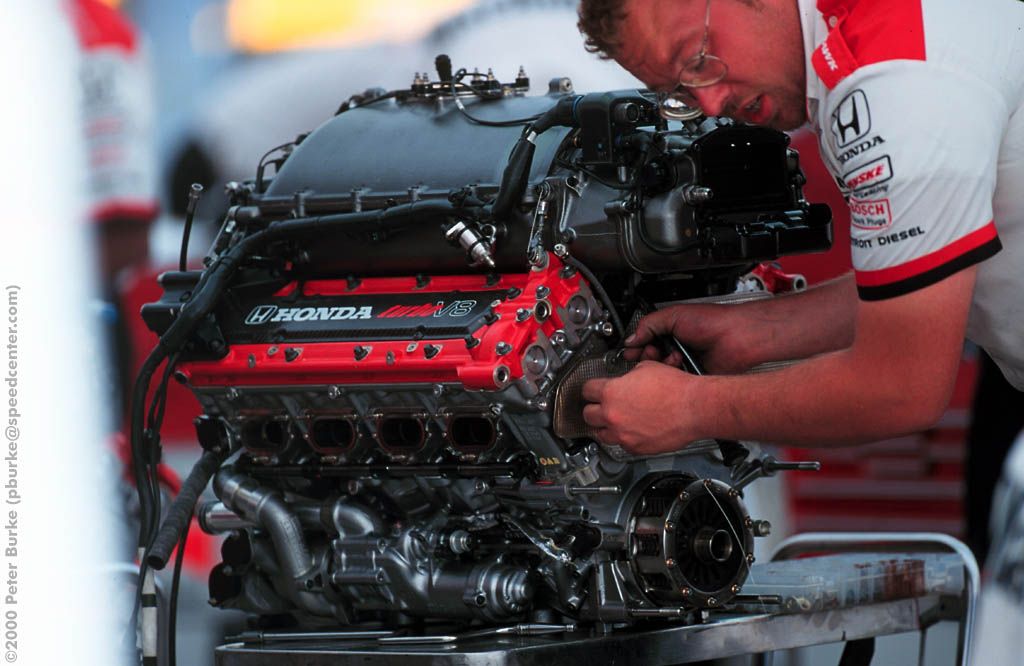 2001 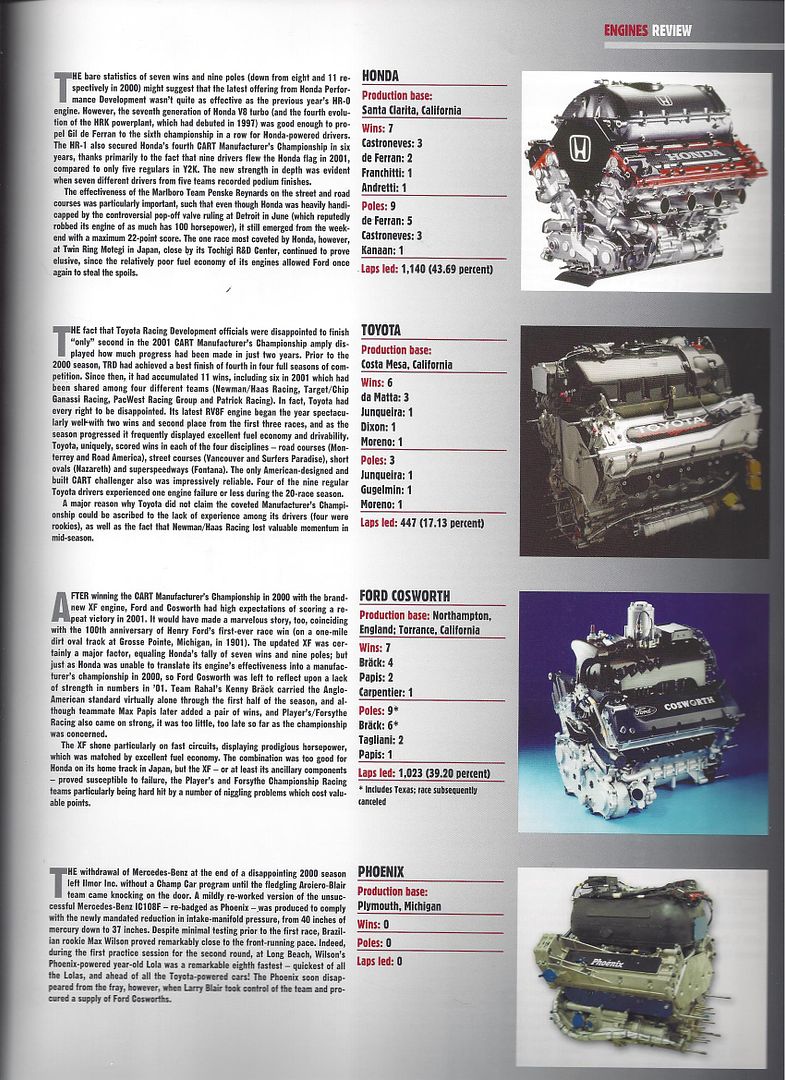 2001 Ford 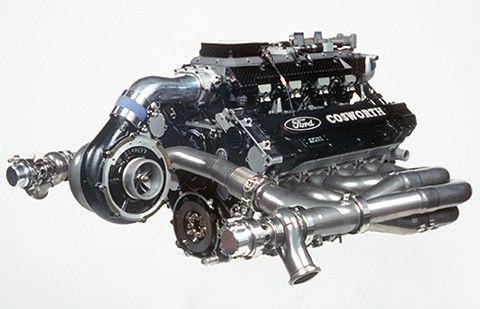 2001 Toyota 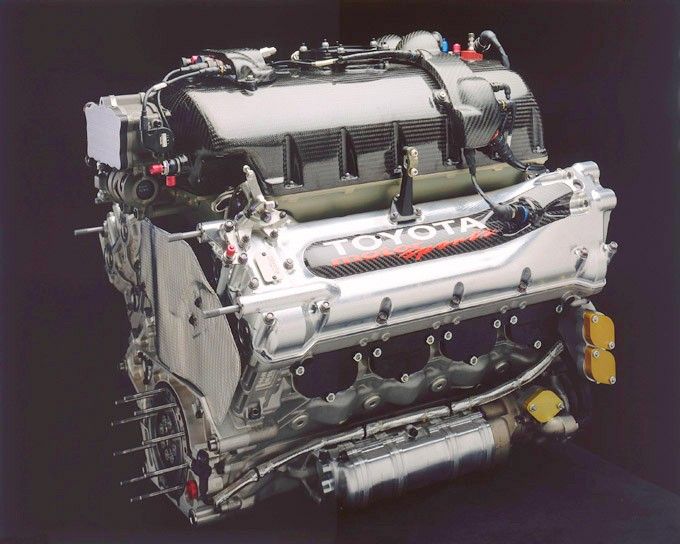 2003 Ford - Sole Supplier from 2003 to 2008 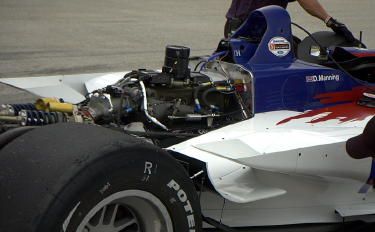 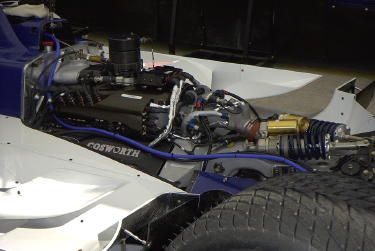  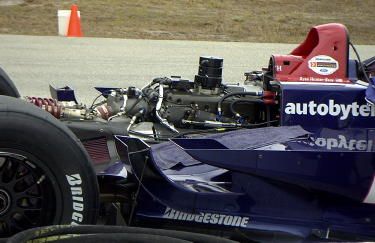  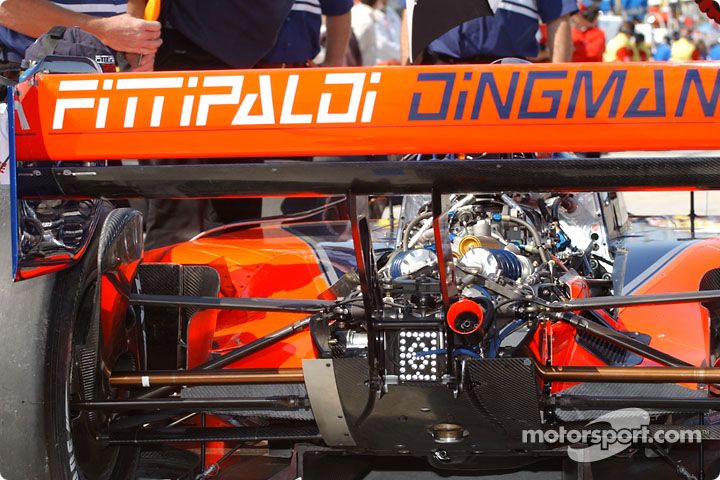 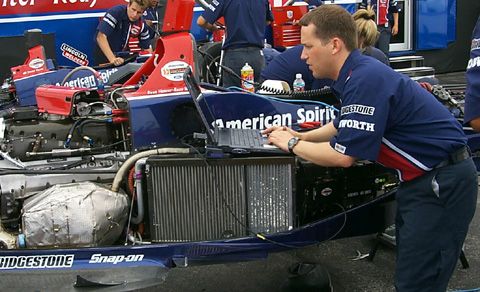 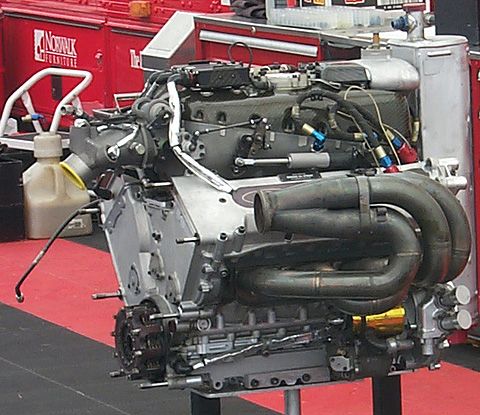 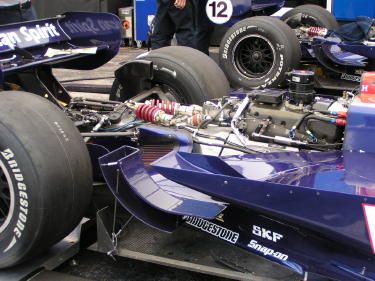 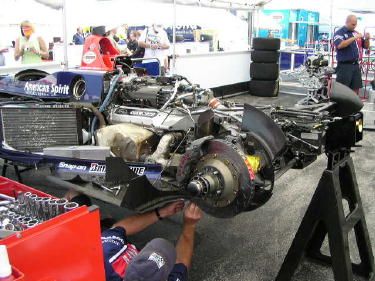 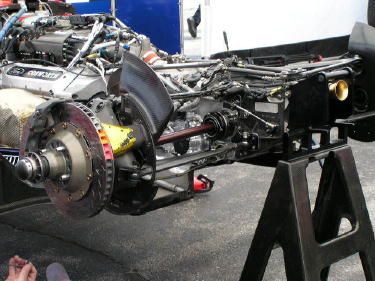 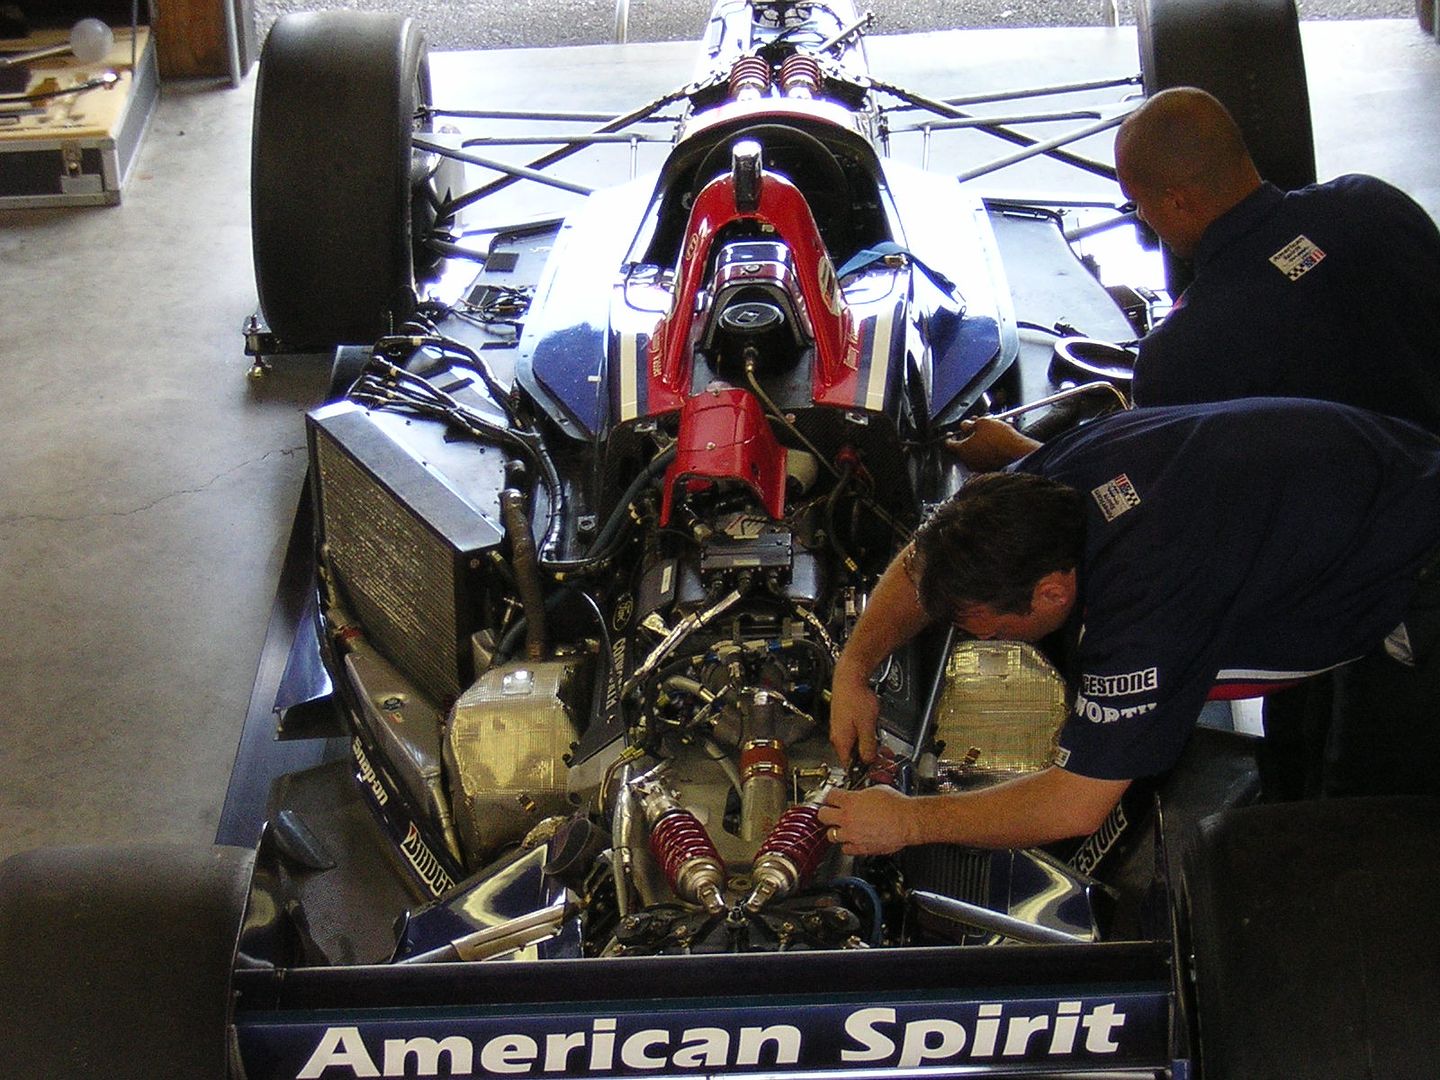 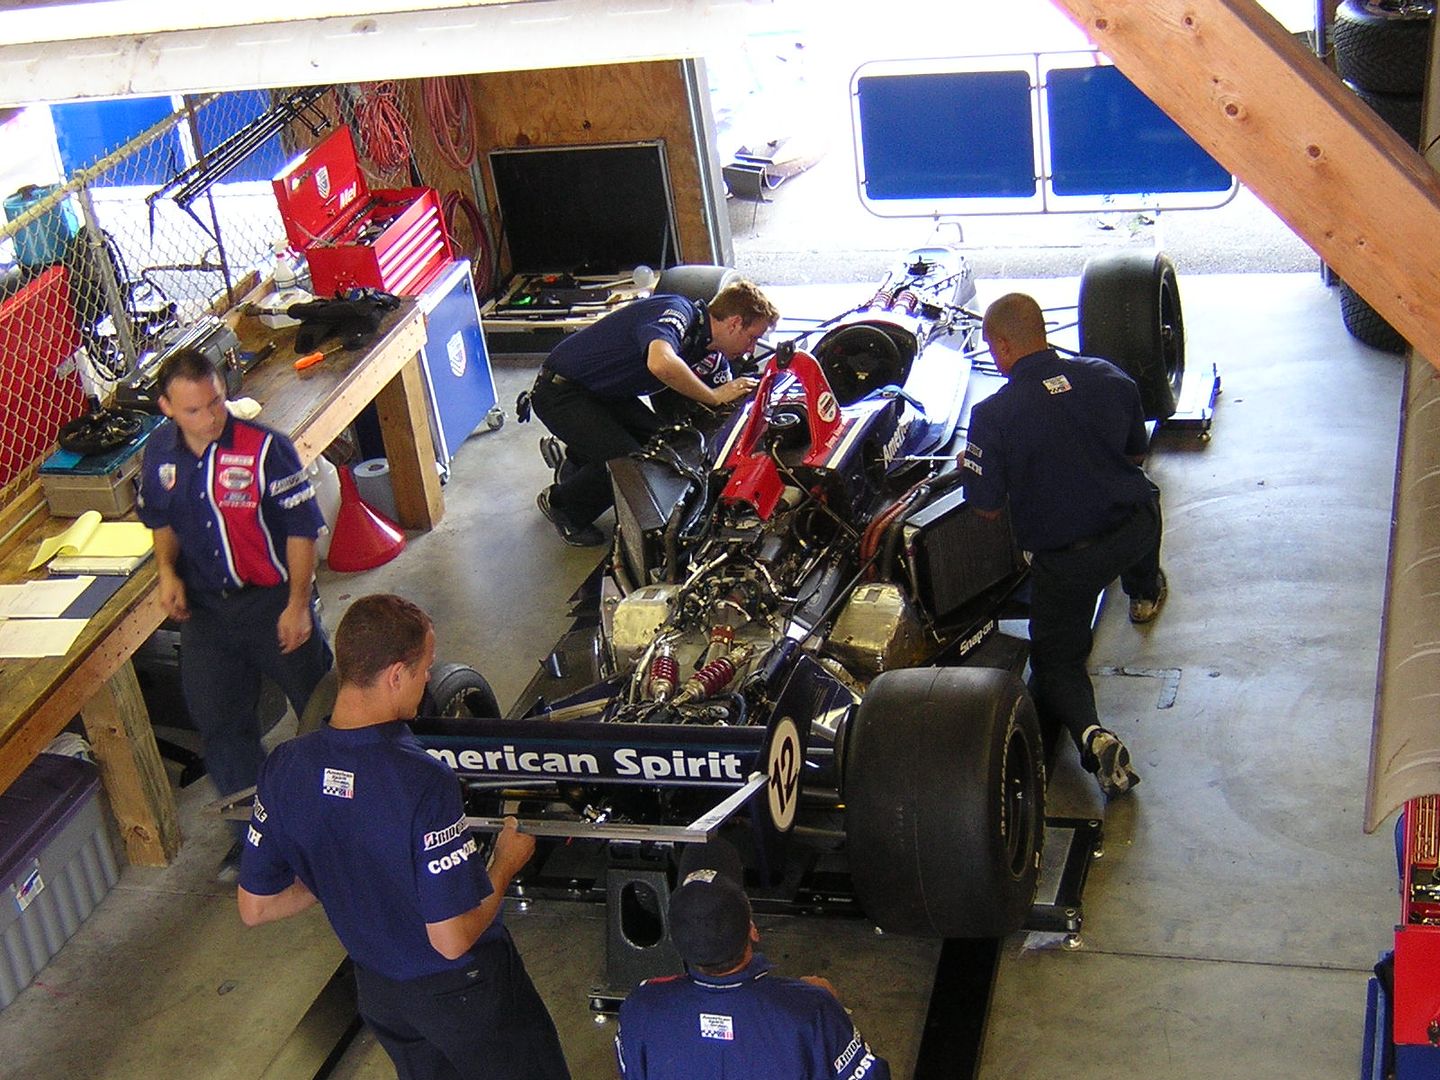 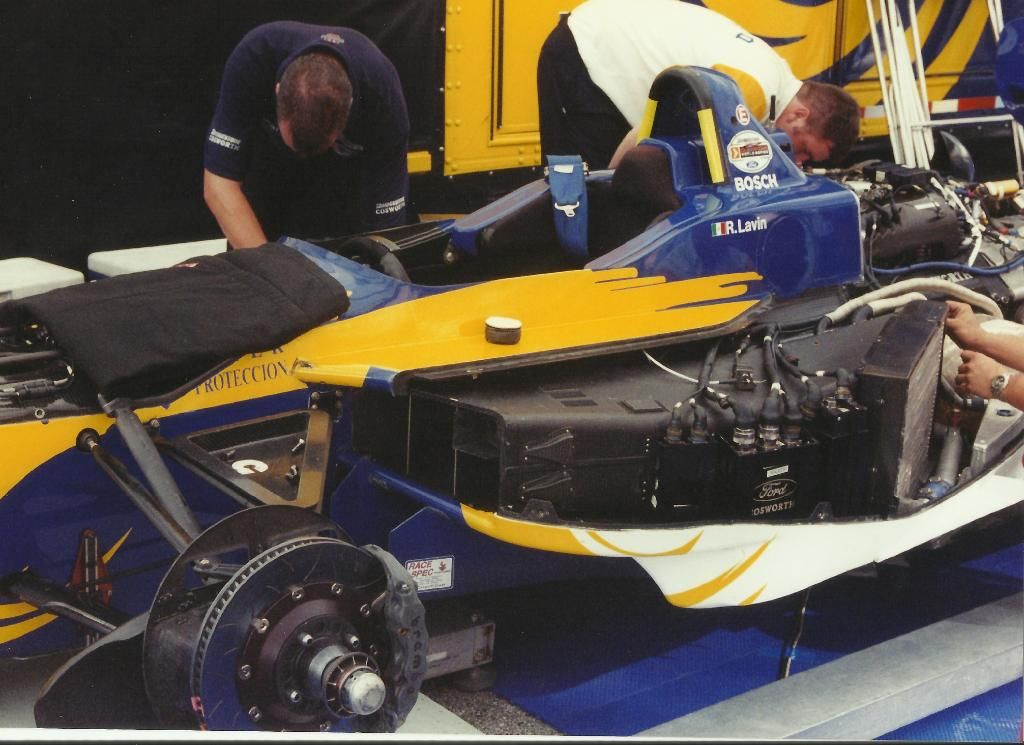 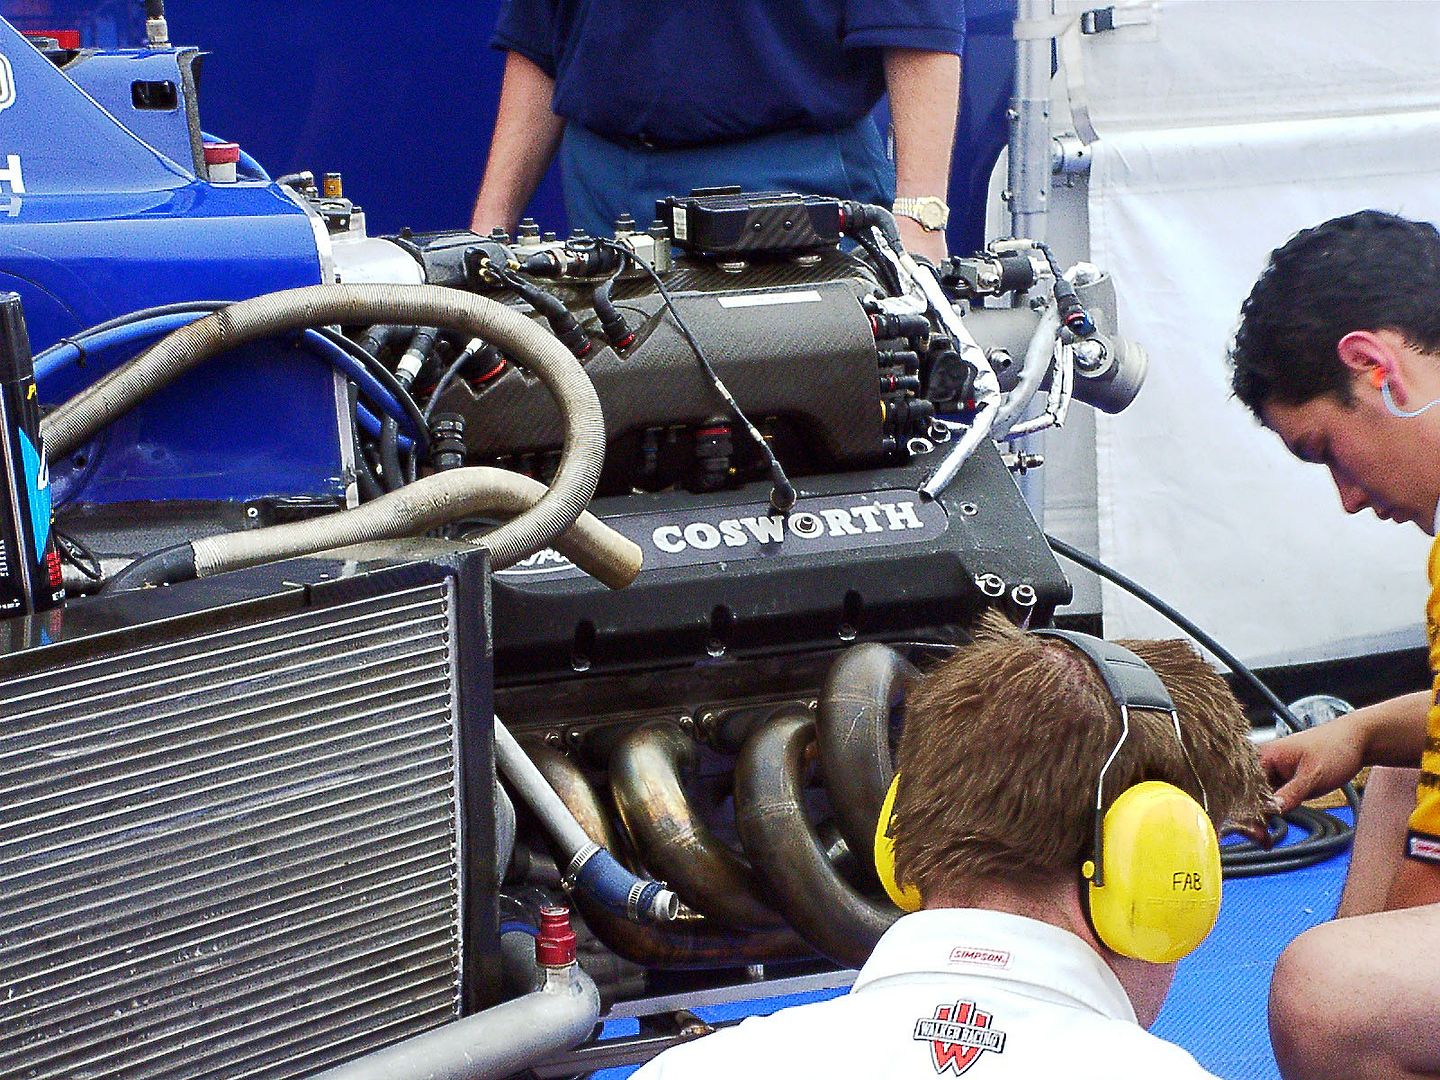 Reynard Transaxle Reynard Transaxle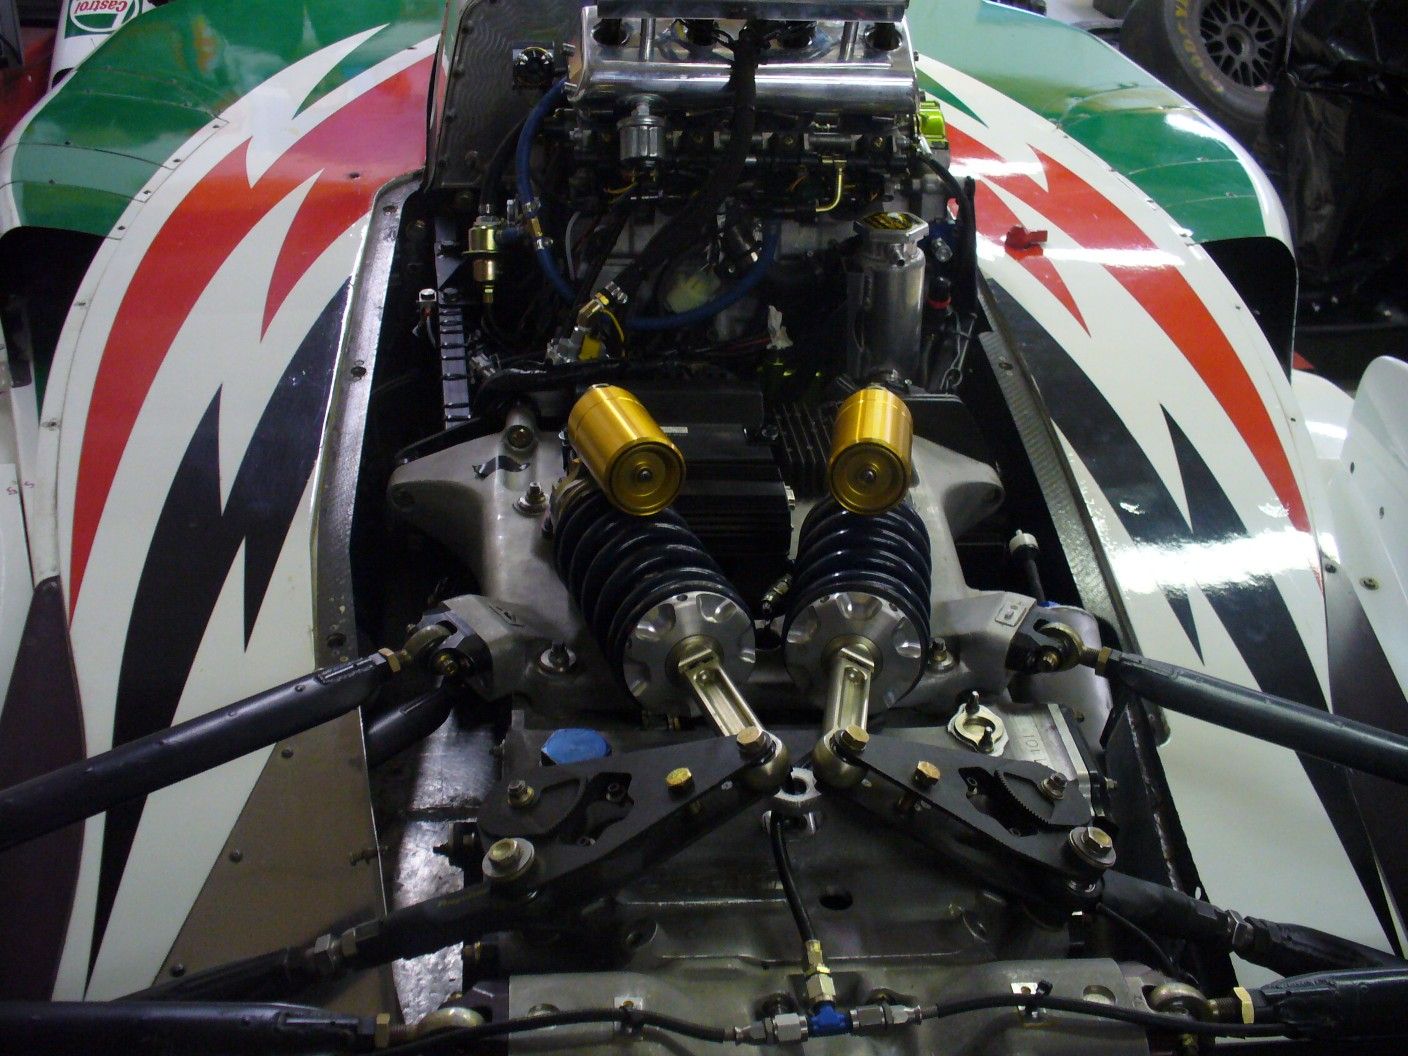 1998 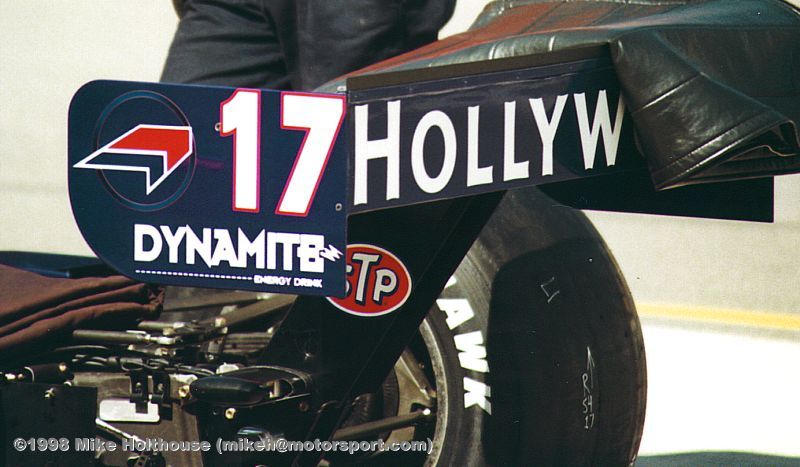 1999 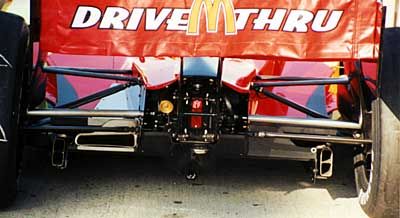 2001 - not great, I know 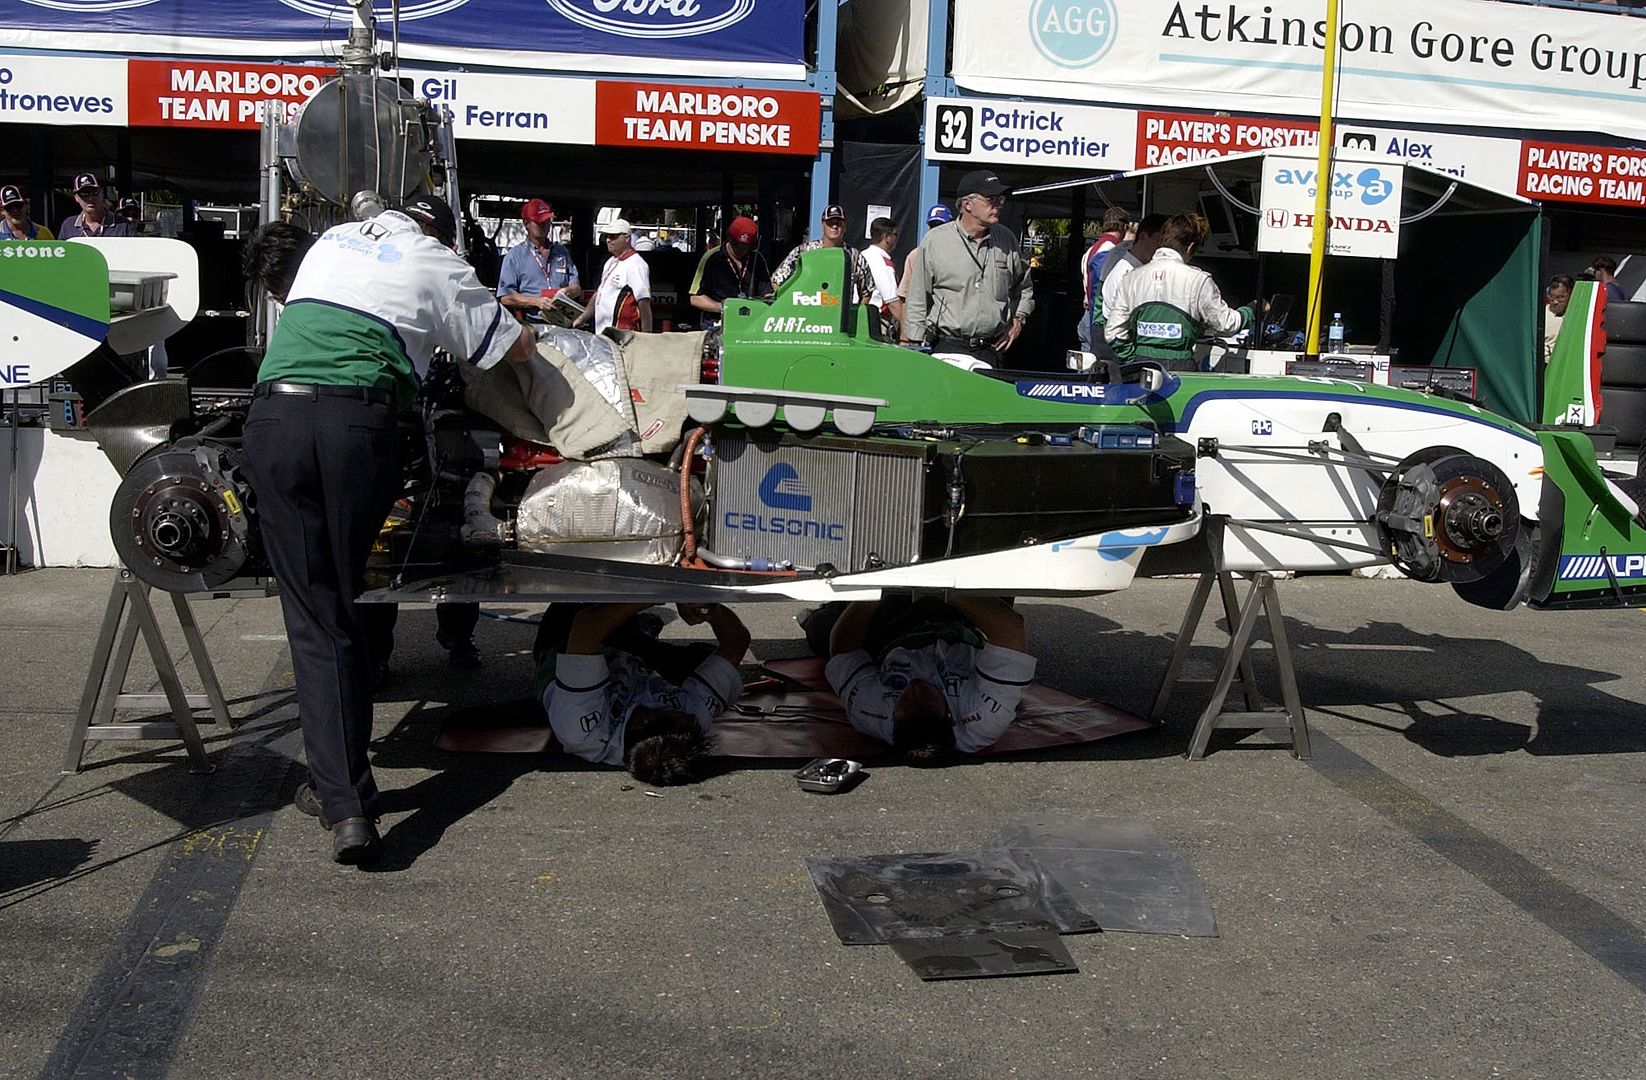 2003 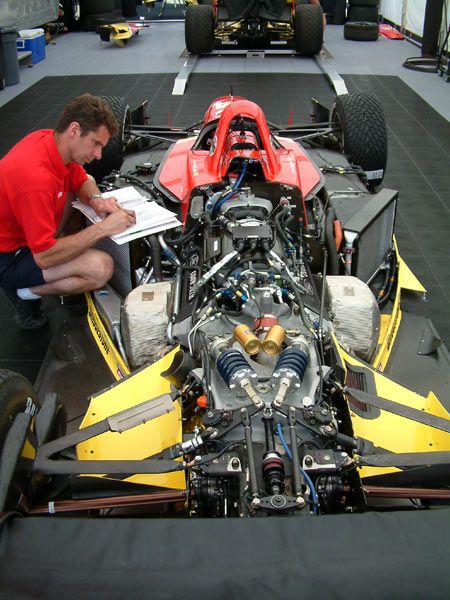 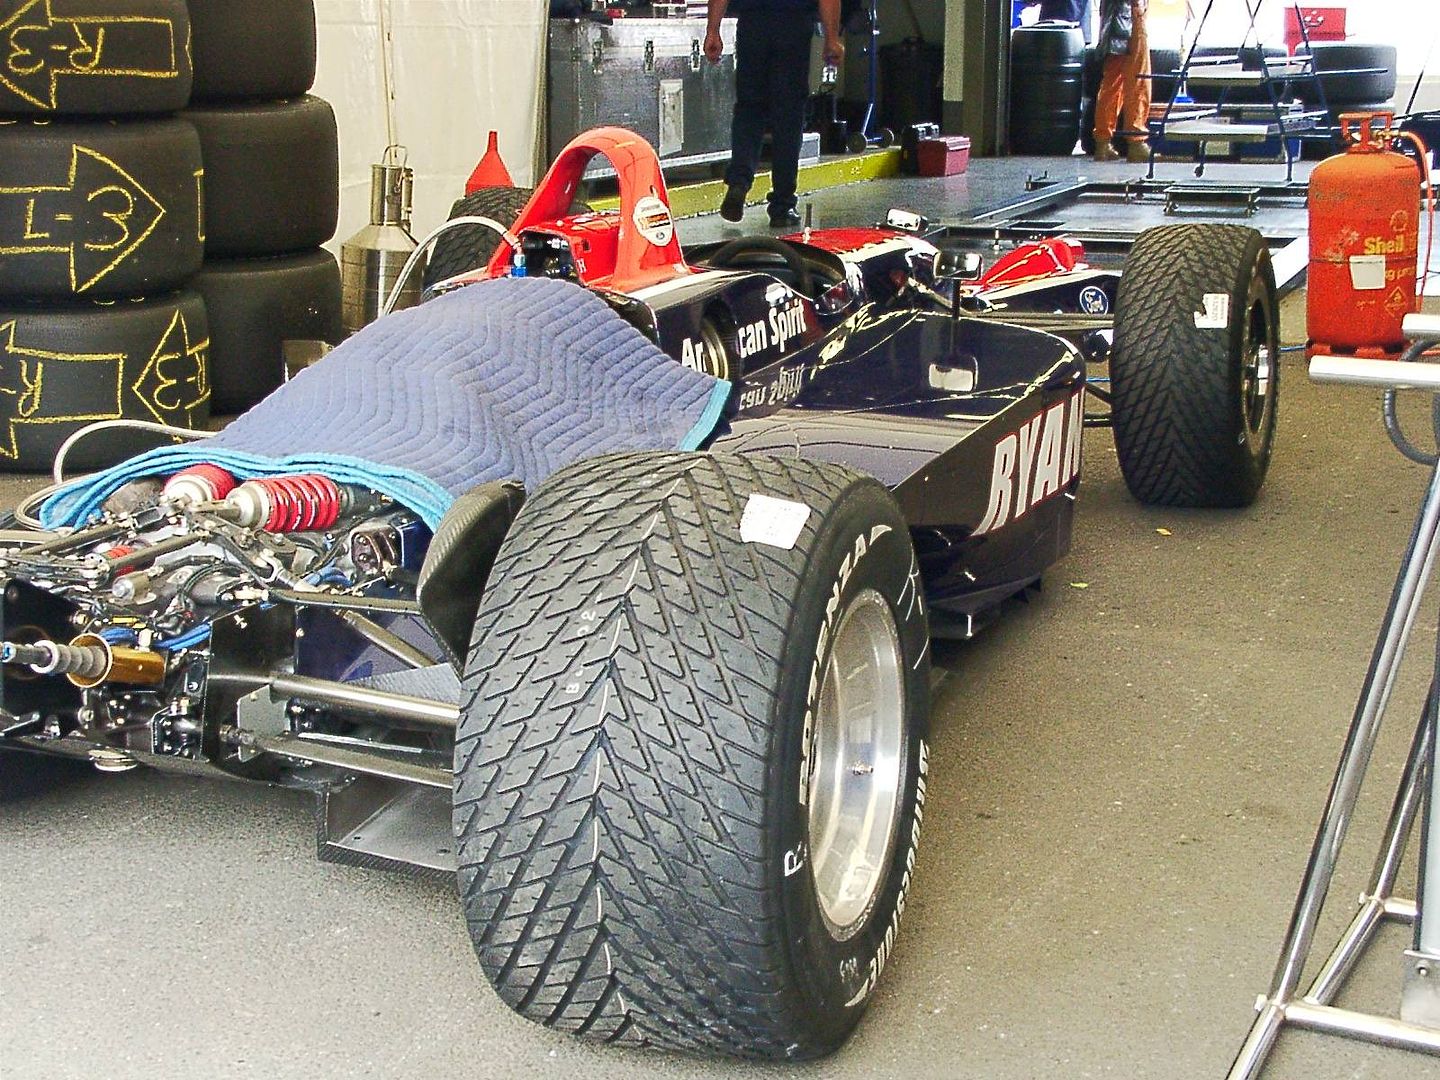 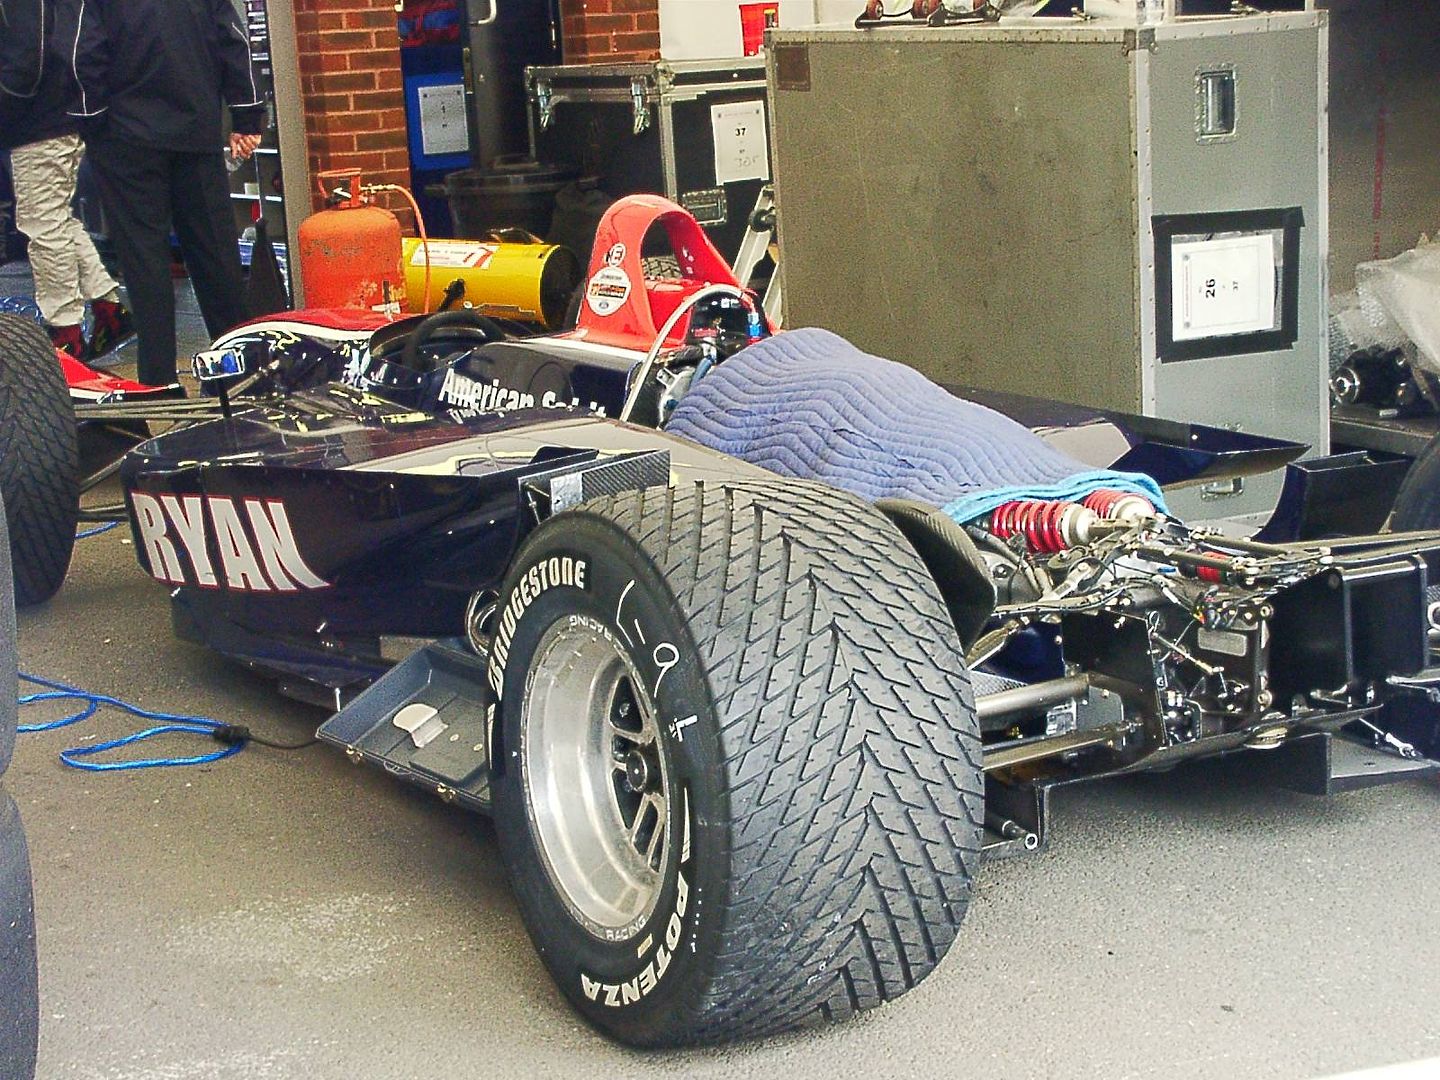  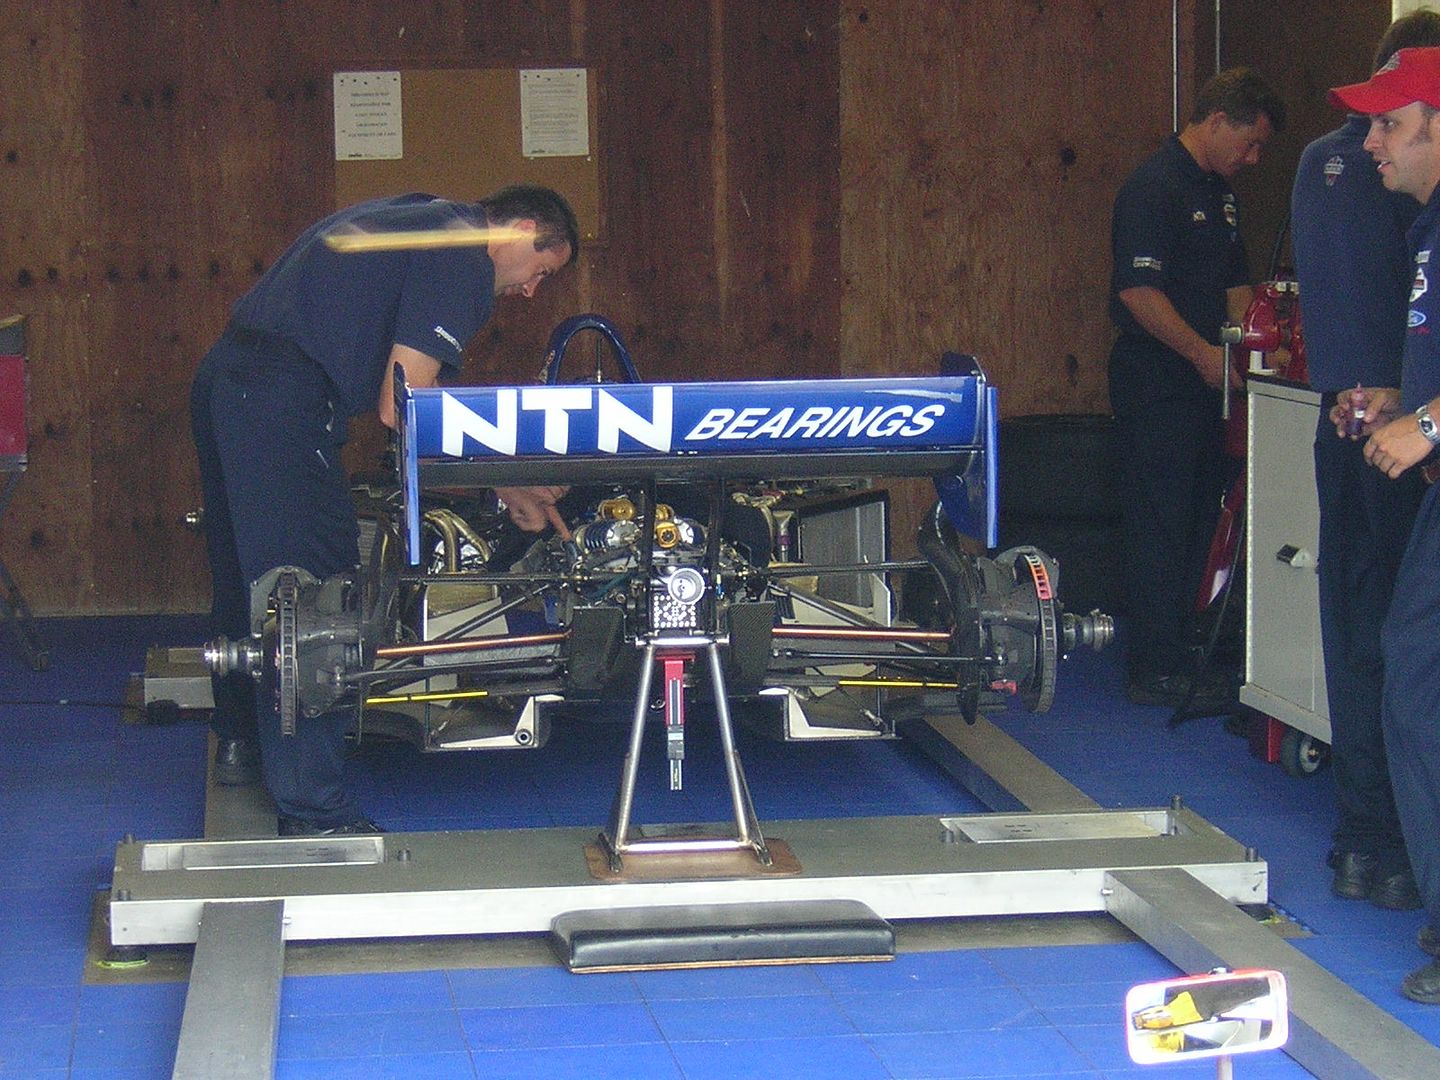 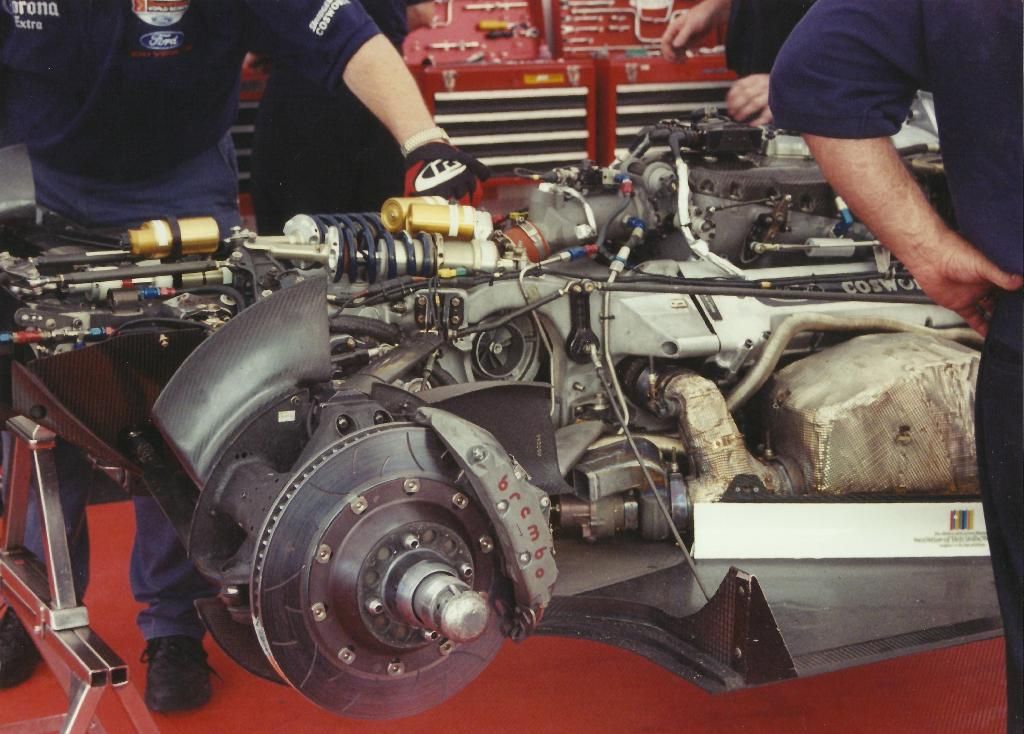 Bonus Pics Bonus Pics1996 Eagle Toyota 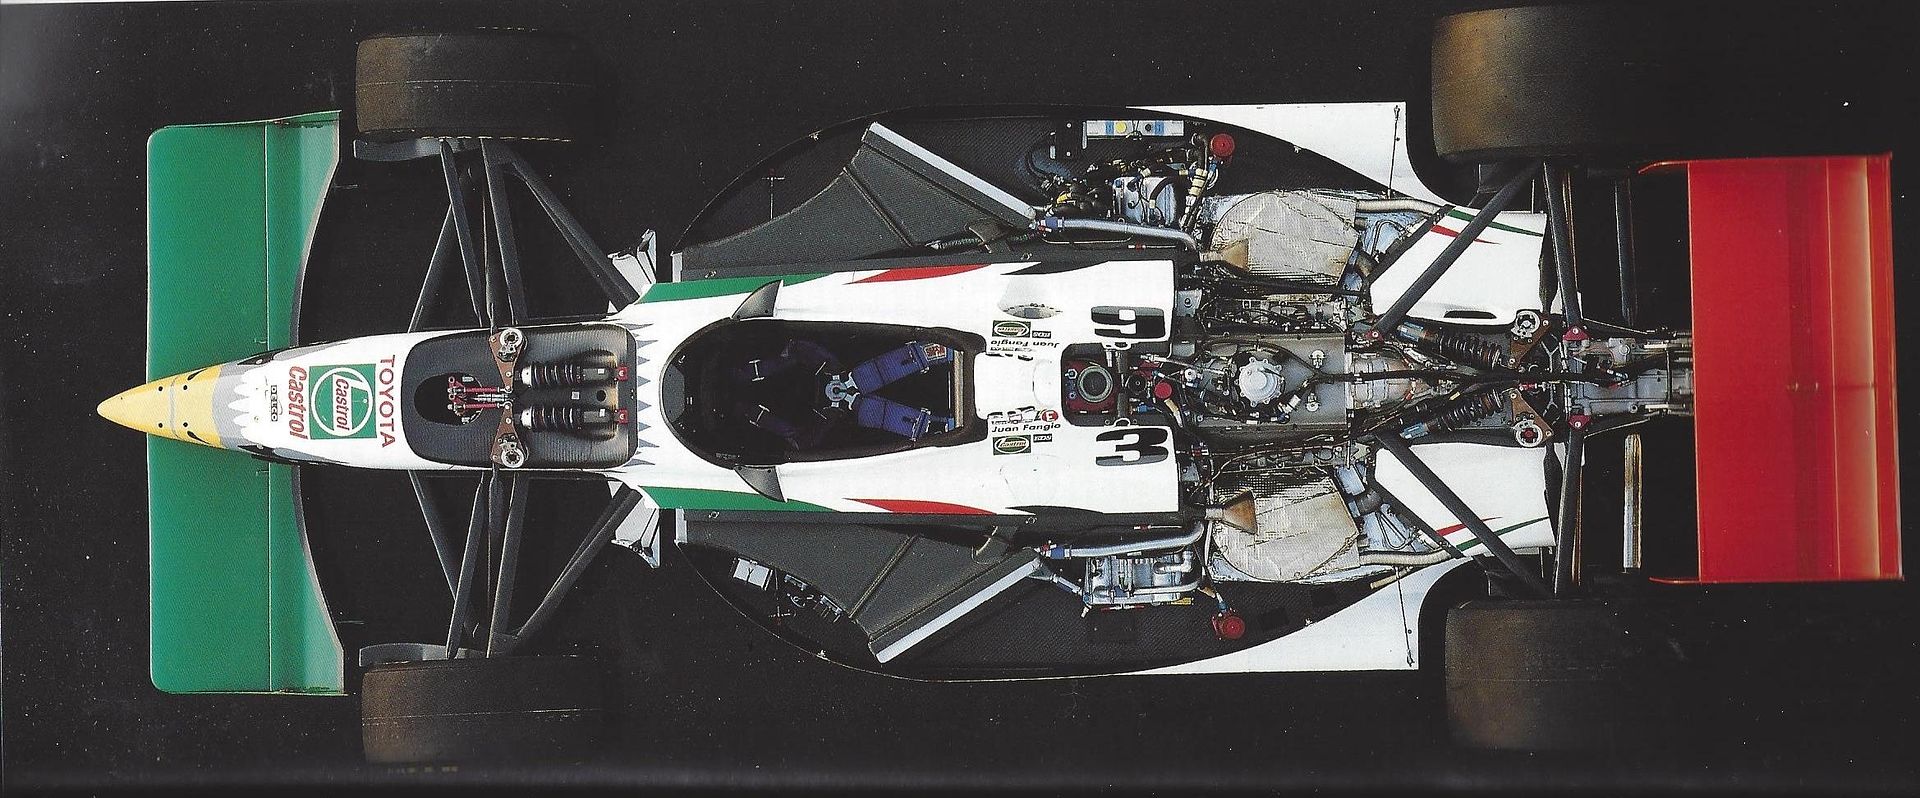 1999 - This looks like Robby Gordon's team and he raced a Swift at Nazareth so this could be a Swift transaxle, but he did test multiple cars on some weekends. 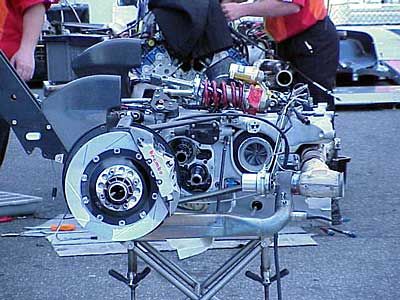 Show cars are not the best references, but in case it helps 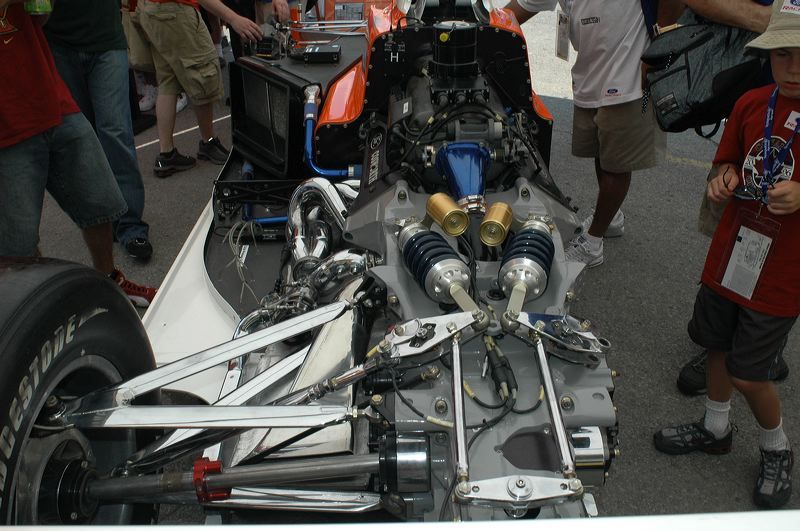 Infamous 2001 Detroit Popoff Spacer 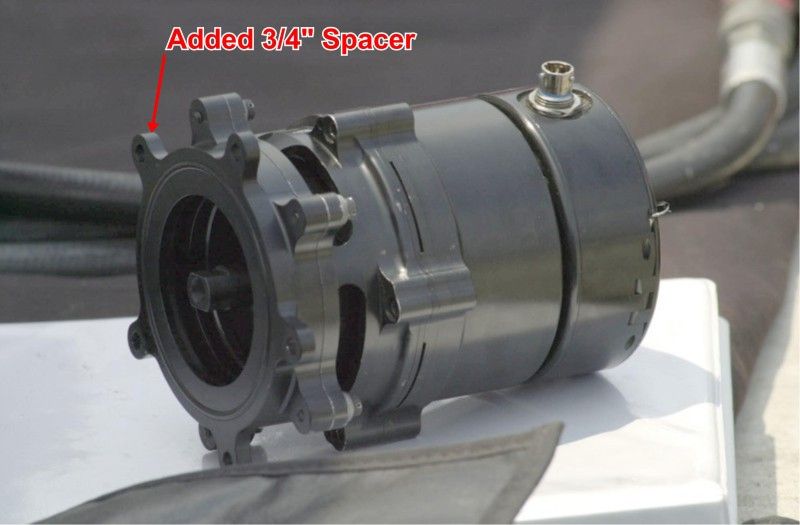 2003 Zanardi Exhibition  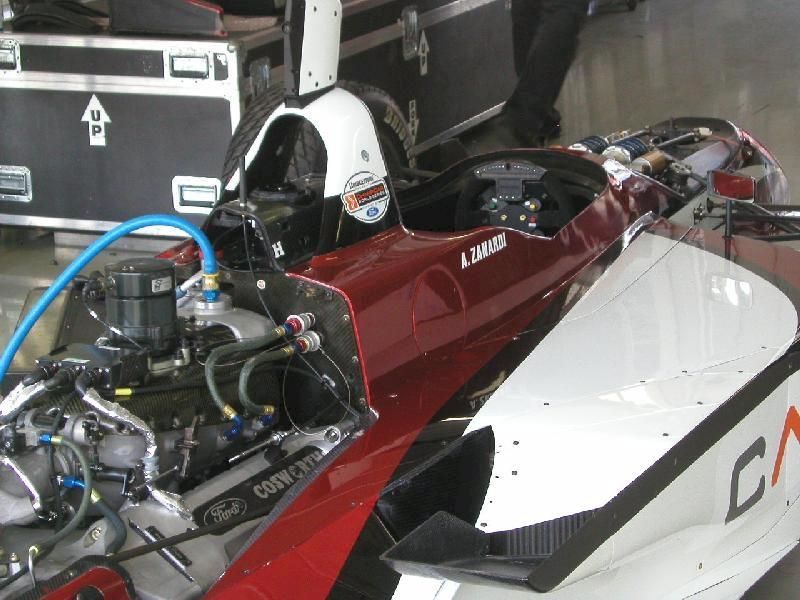 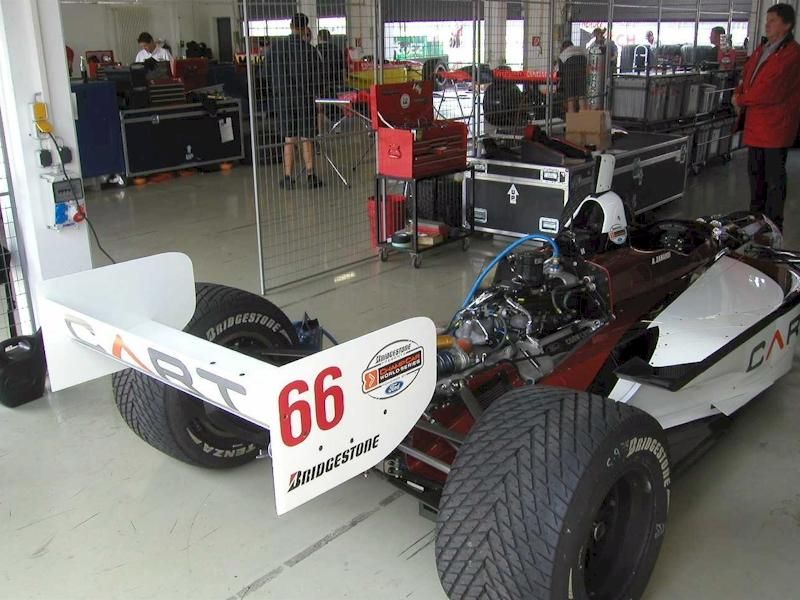 Jordan |
|
|
|
Post by Calvin on Jun 23, 2015 14:44:33 GMT -5
Wow! This is one heck of a reference! Your work put into this is very much appreciated!
IMO you are still the Revell Reynard Guru!
|
|
|
|
Post by mjjracer on Jun 23, 2015 14:50:37 GMT -5
Wow! This is one heck of a reference! Your work put into this is very much appreciated! IMO you are still the Revell Reynard Guru! Absolutely! I too just purchased one of these little gems. Perfect timing. MJ |
|
|
|
Post by shunter on Jun 23, 2015 15:21:12 GMT -5
Jordan you have out done yourself....Thank you for the big help with this one.
|
|
|
|
Post by indy on Jun 23, 2015 15:54:37 GMT -5
Glad to help but no more grand self-proclamations. The more I know, I realize I have even more to learn. I do love researching projects for these Reynard kits and really enjoy getting to share the stuff that I find. Would love to see all you who have finished these or are working on them show us some build pictures. Quick note, I seem to have missed the 1999 summary scan so I have updated the original post. Here are the resin engines that you can buy from Kevin K. 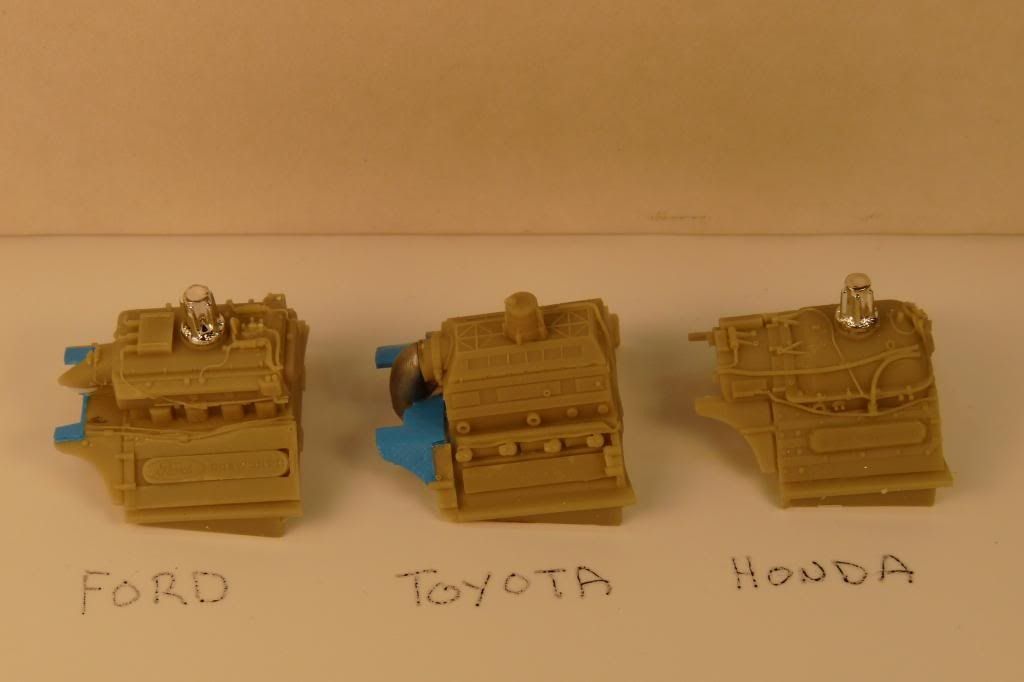 Jordan |
|
|
|
Post by jamesharvey on Jun 23, 2015 15:55:58 GMT -5
This is just nuts!!! I can't believe all that went into this. Thank you so much for all the pictures and reference material even if I never build one of these. As an aside, I do wish that today's cars looked more like these. Sorry, just my opinion, but then I would prefer roadsters or Gurney Eagle or pre-WWII.
Jim
|
|
|
|
Post by alterrenner on Jun 25, 2015 16:49:39 GMT -5
No need to apologize for the long post--the post doesn't seem long enough, to me!
--Frank
|
|
|
|
Post by indy on Jul 23, 2015 23:08:36 GMT -5
Found a good one of the bulkhead looking back towards the front of the car. Added it to the original post but here it is just for reference. Jordan |
|
|
|
Post by Calvin on Jul 23, 2015 23:25:45 GMT -5
Found a good one of the bulkhead looking back towards the front of the car. Wow! All CNC Milled out! I've never seen that for a bulkhead with the engine turning (fine geometric pattern from the milling process) |
|
Deleted
Deleted Member
Posts: 0
|
Post by Deleted on Jul 24, 2015 11:14:58 GMT -5
When I put a finish on a piece of metal I use a wooden dowel rod and lapping compound. Once it is mounted on the table, each turn of the x axis (and the y axis for that matter) is .200. You don't even have to look, just handle down, handle down. You can double it without much trouble. If you use a .500 dowel rod, then the offset is either .200 or .400 and you don't have to look at anything.
My 1,2,3 blocks, sine bar and grinding vise all have this pattern on them, along with my 30' 60' 90' and 45' triangles and my precision square. Keeps them from rusting. I engine turn all my precision grinding tools. Even the base of my diamond dresser. I always mill a name rectangle into them and stamp my name, prior to heat treatment. Just looks nice and identifies them as belonging to you.
I have some very large micrometers with tubular frames, and I machine turned a pattern into them as well.
|
|
jwrass
Rookie
 Mechcanical Engineer. 45 yr's Custom Painter- Pinstriping, Lettering, Airbrush, Exotic Finishes,
Posts: 93 
|
Post by jwrass on Aug 2, 2015 19:35:56 GMT -5
Jordan,
Thank you so much for the awesome reference material!!!! I found the articles very interesting as well! Your willingness to share and put this information together took some time which is much appreciated!!!
Again Thank You!!!
Jimmy "RASS"
|
|


