Deleted
Deleted Member
Posts: 0
|
Post by Deleted on Jan 9, 2015 20:49:07 GMT -5
So, my first time working with resin. I have this absolutely beautiful 1971 Jim Hurtabise Mallard kit from Lance Sellers. This kit looks to be a good beginner kit and is an interesting subject to me. As a kid I saw this car run at Trenton and Langhorn. I also got to meet the mighty "Herk". I was too young to remember his Milwaukee crash, but I sure was impressed when I learned that the Doc's fused his hand in the shape it was, because he said to make it so I can grip the steering wheel. Anyway, the first thing to do,(after just daydreaming of driving this beast) was to clean up all the resin and metal parts. Here they are: 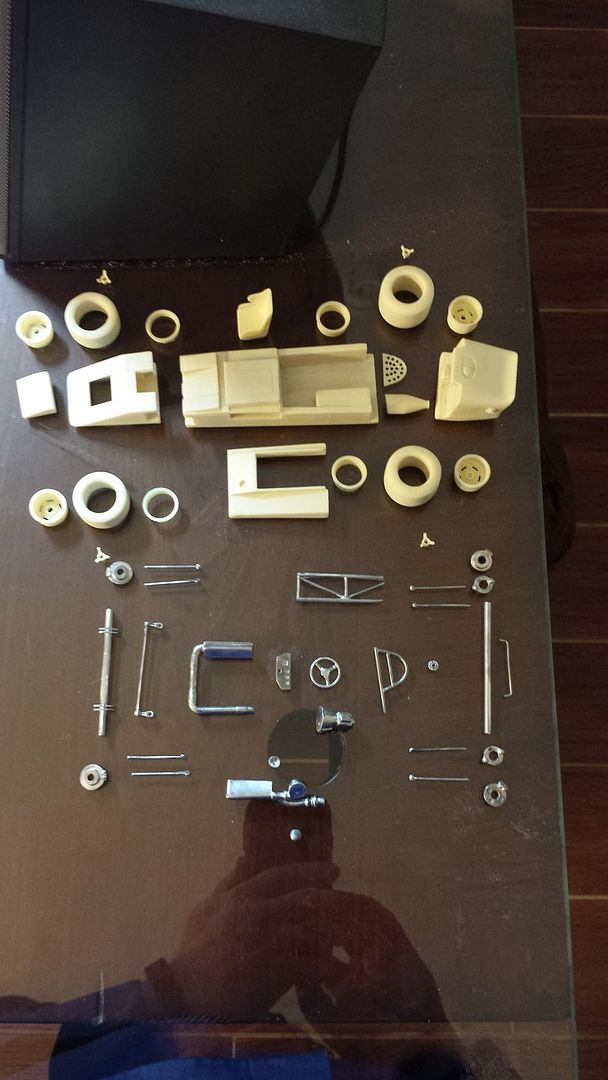 I am very poor at the moment, so I will not be doing this as fast as some on these boards, (you know who you are, Calvin) and I need to purchase paints and supplies that I do not need for my ship models, so....give me a bit of time. I think I can do this well and it is good practice for the other Indy Car kits I have(Swede, Jones, Andretti, Revson) and a couple resin ship models, too. Thanks for looking!! |
|
|
|
Post by raceparke on Jan 9, 2015 21:12:05 GMT -5
This will be cool!!! Take all the time you need. I know you will do well with this kit and I'm looking forward to watching your progress.
|
|
|
|
Post by jamesharvey on Jan 10, 2015 8:14:25 GMT -5
Good luck with this build. I am looking forward to it since I don't recall a recent WIP of this historic car. Some of us like me have this kit so I interested in how it goes. Lance's work is always first rate and you will be amazed at how well everything goes together.
Jim
|
|
|
|
Post by alterrenner on Jan 10, 2015 9:40:19 GMT -5
"Never rush a build." That's my personal mantra. I can still hear it echoing off my stacks of unbuilt kits. Take a short cut now-regret it forever.
--Frank
|
|
|
|
Post by Calvin on Jan 10, 2015 9:46:00 GMT -5
This will be an interesting WIP!
A lot of people love this car!
|
|
Deleted
Deleted Member
Posts: 0
|
Post by Deleted on Jan 10, 2015 10:17:16 GMT -5
So the first thing to do is to install the lower nose piece into the nose. From pictures I have seen of the real car, you should be able to see both front and back of the radiator. From my parts bin, I found some leftover netting from a ship model. I thought this might do a good job of simulating the protective screening that you would be able to see. 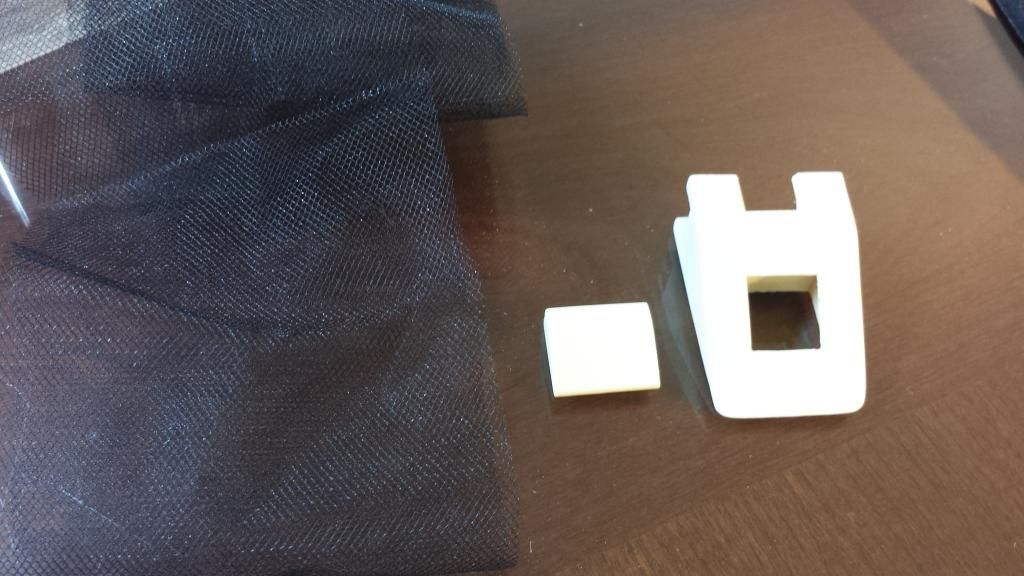 Nose, lower nose piece and netting. 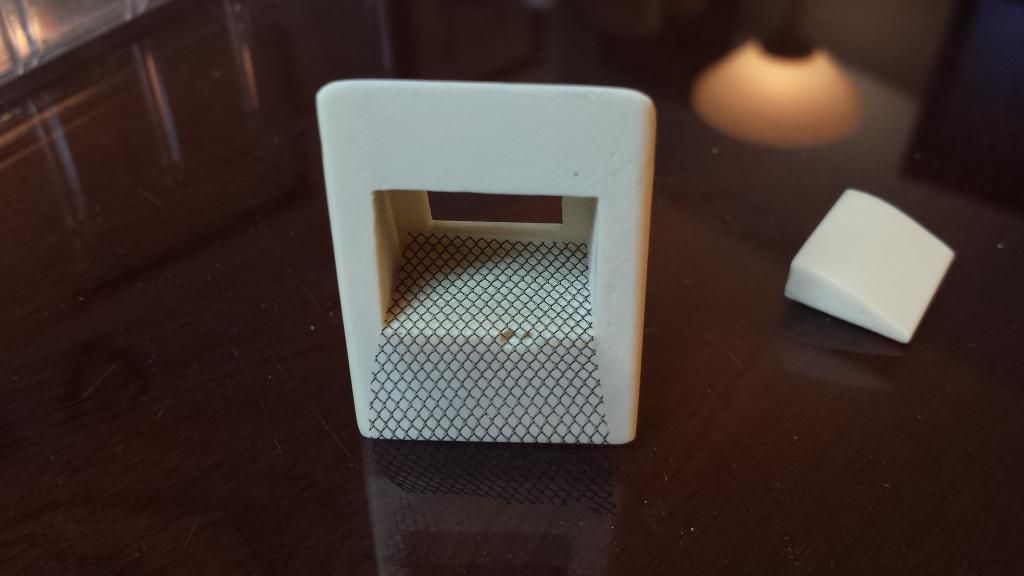 Front screening 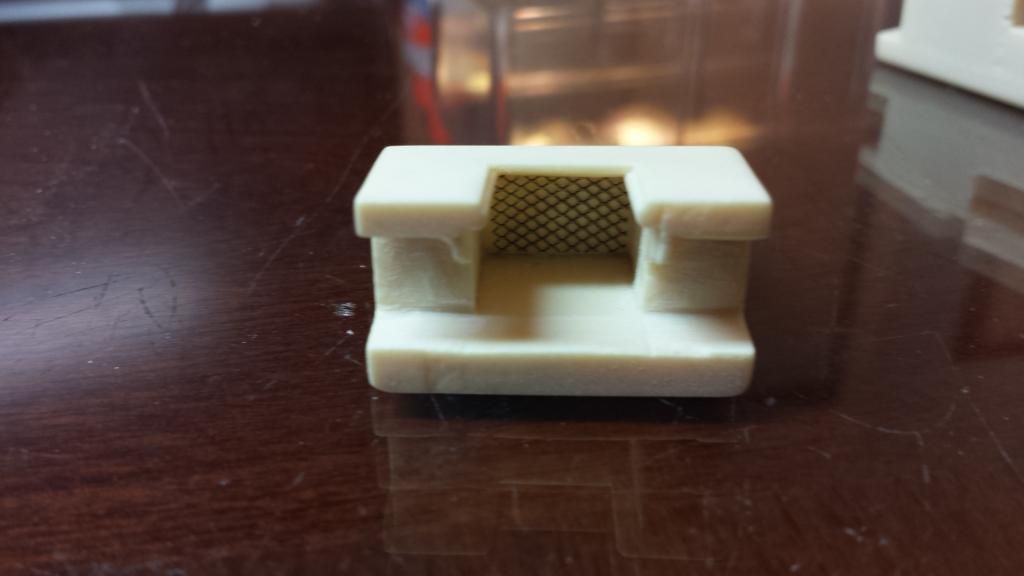 Rear screening 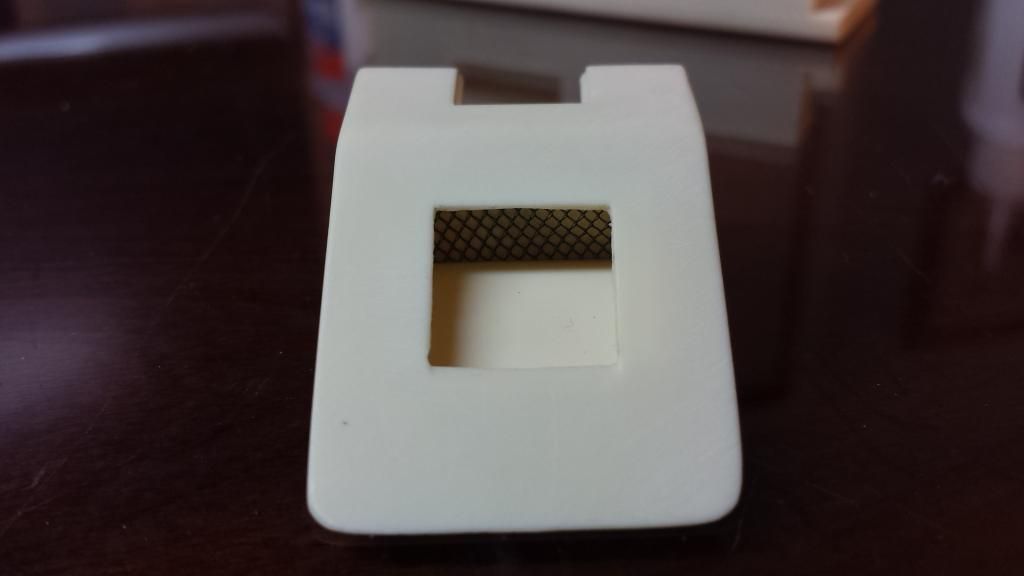 Front view. I like it! |
|
|
|
Post by indy on Jan 10, 2015 11:20:49 GMT -5
Nice start, excited to see you build this one!
Jordan
|
|
Deleted
Deleted Member
Posts: 0
|
Post by Deleted on Jan 10, 2015 19:20:17 GMT -5
Next is to glue on the nose and tail. Then fill the seams. The cockpit cover is not glued at this time. 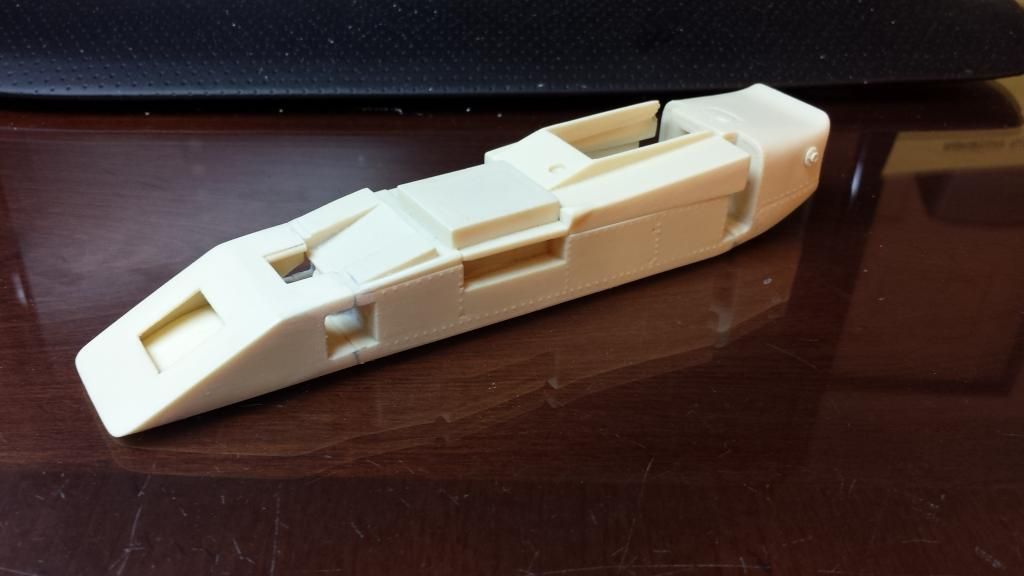 Next is to prime and paint, but I have to wait for the primer to get here. Probably Monday. |
|
|
|
Post by alterrenner on Jan 11, 2015 8:35:17 GMT -5
Parts box from ship builds on an Indy car! Great! Resources are resources...
--Frank
|
|
|
|
Post by lance on Jan 11, 2015 13:15:07 GMT -5
I would turn the insert in the nose 180 degrees. Build on, looking forward to your wip.
|
|
Deleted
Deleted Member
Posts: 0
|
Post by Deleted on Jan 12, 2015 9:06:41 GMT -5
I can't believe I did that. Of coarse, the lower insert should be in with the larger end forward, not to the back like I did. Maybe I can still get it out and fix it. Thanks, Lance!
|
|
|
|
Post by lance on Jan 12, 2015 13:15:49 GMT -5
I can send you another nose if need be.
|
|
Deleted
Deleted Member
Posts: 0
|
Post by Deleted on Jan 12, 2015 19:22:34 GMT -5
Thanks, Lance. I will let you know, but I think I can save it.
Any update on the Lotus I ordered? No rush, just curious!
Mike
|
|
Deleted
Deleted Member
Posts: 0
|
Post by Deleted on Jan 17, 2015 19:09:41 GMT -5
Saved the nose, (thanks for the offer, Lance) and have filled and primed the body. Got the primer on Tuesday, but also got a dental abscess the same day. No fun! Better now!! 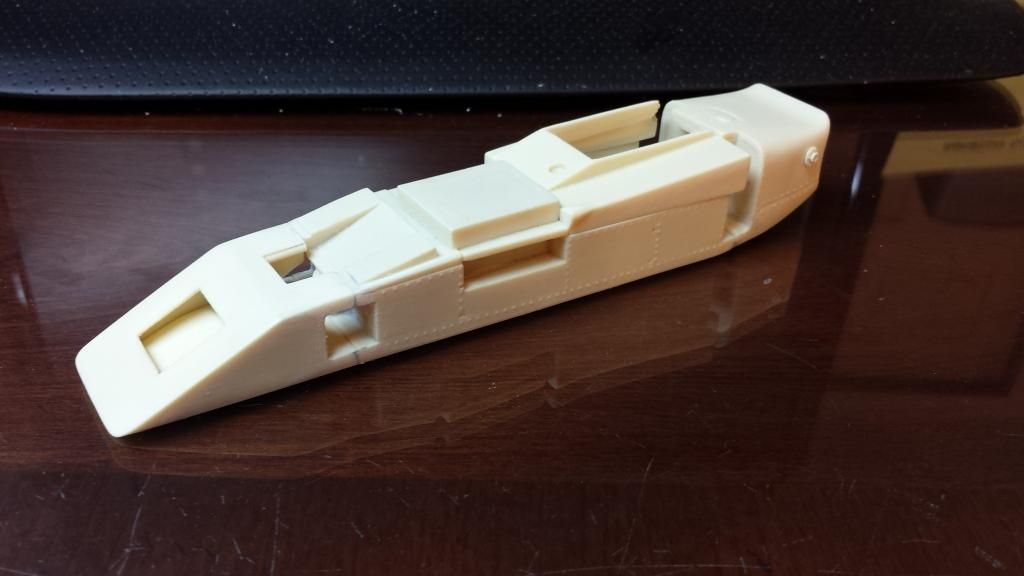 Pre primer and nose fix: 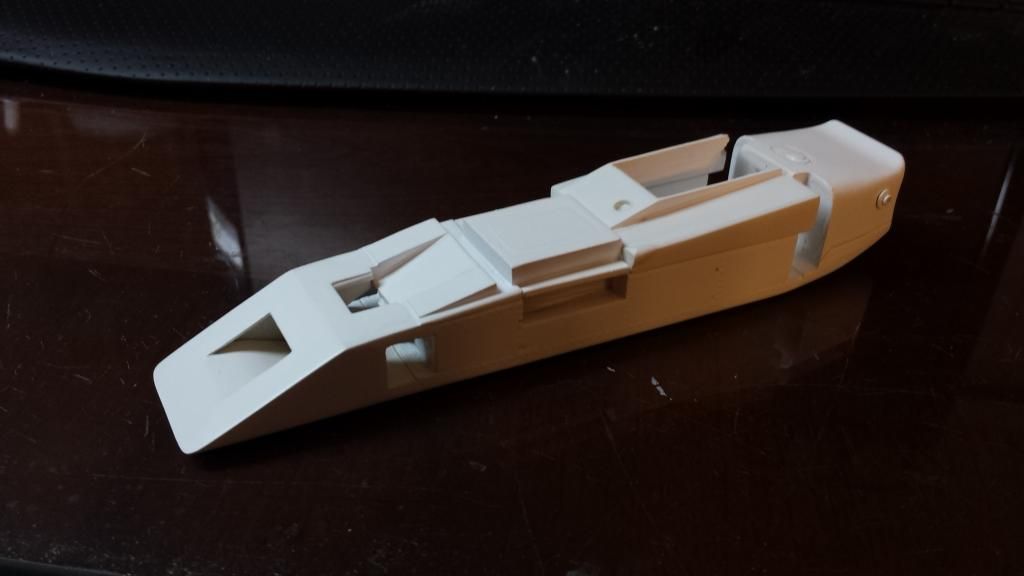 Fixed and primed. Paint next! |
|
|
|
Post by Calvin on Jan 17, 2015 20:53:19 GMT -5
Ah cool! I was actually wondering about this earlier today.....I have a bad habit of worrying about other people's builds.....Craig tells me I have issues and I need to get a life.  |
|
Deleted
Deleted Member
Posts: 0
|
Post by Deleted on Jan 22, 2015 8:43:30 GMT -5
I have had to use Testors Enamel White (rattle can) for the paint. There are no hobby stores in the area that carry the Tamiya line and MO is expensive when you add the shipping. The Testors is a real slow dry. I have an idea, and wanted to see if anyone has tried something similar.
I run a body shop. (No, using the auto paints does not work well with models, I have tried. The pigment grind is too large and the chemicals are very aggressive.) When we paint cars, we bake them. I have a large food dehydrator. I am thinking that I would get a faster drying and harder finish if I put the body in the dehydrator at about 115 degrees for 12 hours. Any thought?
|
|
|
|
Post by indydog on Jan 22, 2015 8:50:34 GMT -5
I have baked plastic auto bodies before and it does work. It takes a bit of trial and error, but 12 hours at 115 sounds a bit excessive. I have never baked a kit for more then an hour. Although resin could be a bit different...
Love the build, mine is just about ready for paint.
|
|
|
|
Post by indy on Jan 22, 2015 8:55:06 GMT -5
I have a food dehydrator that I have used for drying paint and it is really helpful. It has been in storage for a while now so I'm not sure about a good temp for resin but, you might start on the coolest setting and work up from there slowly.
Jordan
|
|
|
|
Post by billj on Jan 22, 2015 9:18:59 GMT -5
I always order Tamiya paint from Tamiya USA website and besides fast service, the shipping is very cheap. I have come to love their paints. I also use a lot of Scalefinishes paints, which are automotive acrylic enamels. I use them on plastic over Tamiya primers, never had a problem with the Scalefinishes paints and the shipping is free. Just some ideas  |
|
|
|
Post by clm1545 on Jan 22, 2015 16:01:40 GMT -5
Everyone has their own favorite system, and products for painting. While I really like Tamiya paints, like you I have no local source. I have to go at least 3 1/2 hours for a reliable supplier, so I try to plan ahead, and buy for several projects at a time. The shop I use is called Model Cave in Ypsilanti, MI. A great place that only does plastic, and supplies, they also do mail orders. I also use Krylon paint quite a bit. Krylon is a "hot" paint, so use the Krylon primer. As a general rule, Tamiya over Krylon is OK, Krylon over Tamiya can be a problem. No matter what system you use, sooner or later, a paint job will bite you in the a$$.
I have seen great paint jobs done with any system, so figure out what works best for you. I like rattle cans, but many guys use a airbrush. Some of the most stunning paint I have ever seen comes from Jim Stephens (Illeagle on the board) I think he uses Model Master with his airbrush. If you use any enamel, the food dehydrater is a great idea, 100, or so deg. for a day or so.
For clear coat, I like the Testors "wet look" lacquer, it's not very hot, and has good gloss. With enamel,be safe, and stick with Future.
I hope all this helps, maybe some others can chime in, with what they like, and use.
Craig
|
|
|
|
Post by Calvin on Jan 22, 2015 17:26:24 GMT -5
I always avoid Testors enamel as much as I can but if you feel comfortable with it and it looks good then there is nothing to say bad about it.
But I know what you mean about how costly Tamiya sprays are as I just got spending $80 on some cans today.....but that's what my hobby budget is for ....my resin sales fund my hobby fun.
|
|
Deleted
Deleted Member
Posts: 0
|
Post by Deleted on Jan 23, 2015 9:50:58 GMT -5
The dehydrator worked. It is nice and dry, problem is I got some kind of contaminate on the body when I primed it. I think from tape, and those spots are NOT drying. I think I need to wet sand and regroup.
|
|
Deleted
Deleted Member
Posts: 0
|
Post by Deleted on Jan 26, 2015 9:06:23 GMT -5
I am on the third attempt to paint this body. It looks great, but after it sits for 8 hours or so, there are a couple spots that are just not drying. I thing the enamel is reacting with the Tamiya filler. What do you think?
|
|
|
|
Post by billj on Jan 26, 2015 9:53:43 GMT -5
Mold release residue on the body parts perhaps?
|
|
|
|
Post by Calvin on Jan 26, 2015 14:26:35 GMT -5
I'm puzzled by this.....
Do you strip everything off 2 prior?
If you say you think it's reacting to the Tamiya filler does that mean there is no Tamiya primer over your filler?
Like I said above I've never been a fan of Testors enamel because back in the day when I used that stuff had about more failures with it than success.....but since using Tamiya lacquer Sprays I've had about a 98% success rate since I started using it 7 years ago.....
|
|
|
|
Post by clm1545 on Jan 26, 2015 16:00:15 GMT -5
The paint job from hell, we have all had them. At this stage, I would strip the car, and start over. The Tamiya paints are pricey, but you have already spent a good chunk of this kit. If you don't want to go the Tamiya route, try Krylon primer, and paint (not the Fusion kind). The car is white, so a color match is no big deal. Plus, you should be able to get the Krylon almost anywhere.
Good Luck, sorry it had to happen on your first resin build.
|
|
Deleted
Deleted Member
Posts: 0
|
Post by Deleted on Jan 26, 2015 18:37:30 GMT -5
I am convinced that the issue is a compatibility one between the Testors Gloss White and either the Tamiya primer or filler. Looks like a complete strip is needed. I will order the Tamiya White. Suggestions for stripping? Brake fluid? Oven cleaner? Other?
Most of the small parts are done, so when the body is complete it should not take too long to finish.
|
|
|
|
Post by clm1545 on Jan 26, 2015 19:07:59 GMT -5
The oven cleaner will work, but in this case, I would try lacquer thinner first. Brake fluid is way to messy IMO.
|
|
|
|
Post by alterrenner on Jan 27, 2015 6:25:32 GMT -5
If you think Testors enamel is slow, you should time my builds! Never had the "paint is not dry yet" problem, because by the time I get back to the build, the paint is not only fully cured, it's old!
--Frank
|
|
Deleted
Deleted Member
Posts: 0
|
Post by Deleted on Feb 2, 2015 20:21:11 GMT -5
I am actually working on this kit. Some day I will paint the body. (It is in simple green right now) I have just about finished the rest of the parts. 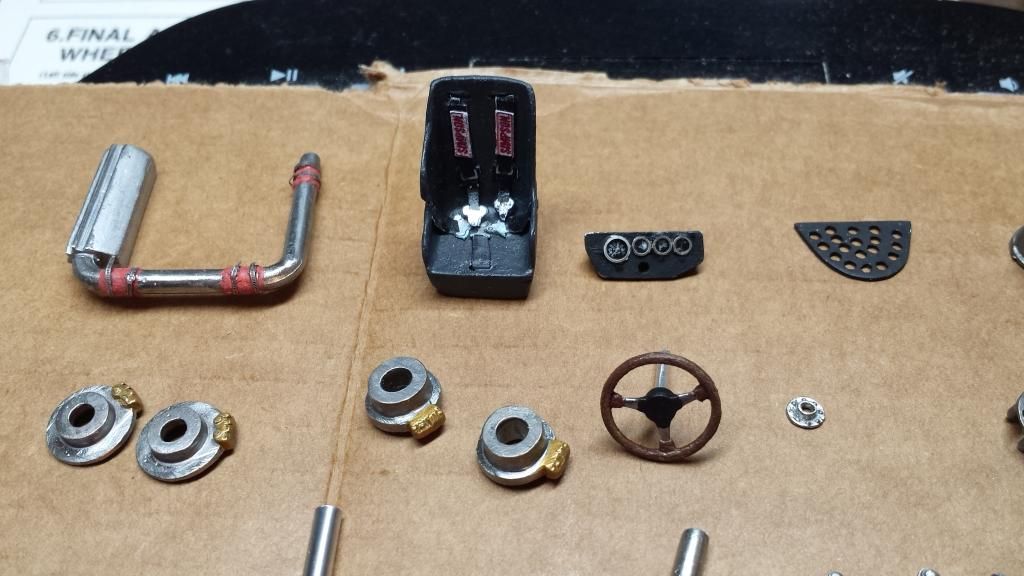 I added seat belts. A combo of Indycals and Detail Masters, Gage faces and photo etch rings and photo etch hose clamps on the inlet pipe. I like. 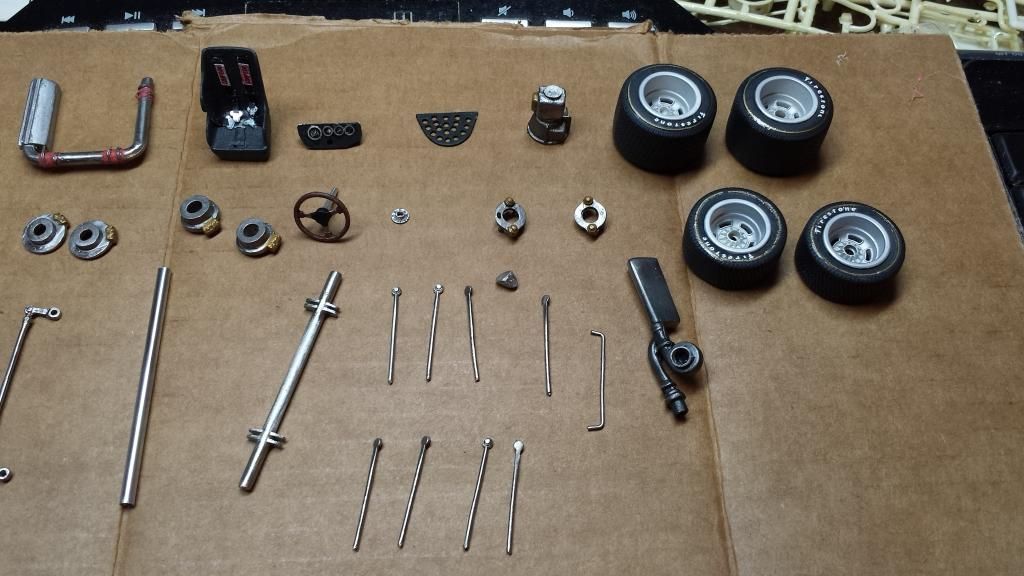 Wheels and Tires are done. About the only thing left are to paint the mirror and finish detailing the exhaust. Should go rather fast after the body is painted. |
|