|
|
Post by raceparke on Nov 28, 2012 12:11:17 GMT -5
so I went to a hobby shop last week and scored the AMT Vintage Police Car (w/ Fronty "high speed pursuit engine"). Printed the plans for paper Fronty Ford from another thread; Thanks 'frontyford'. "Carboned" the back of the plans 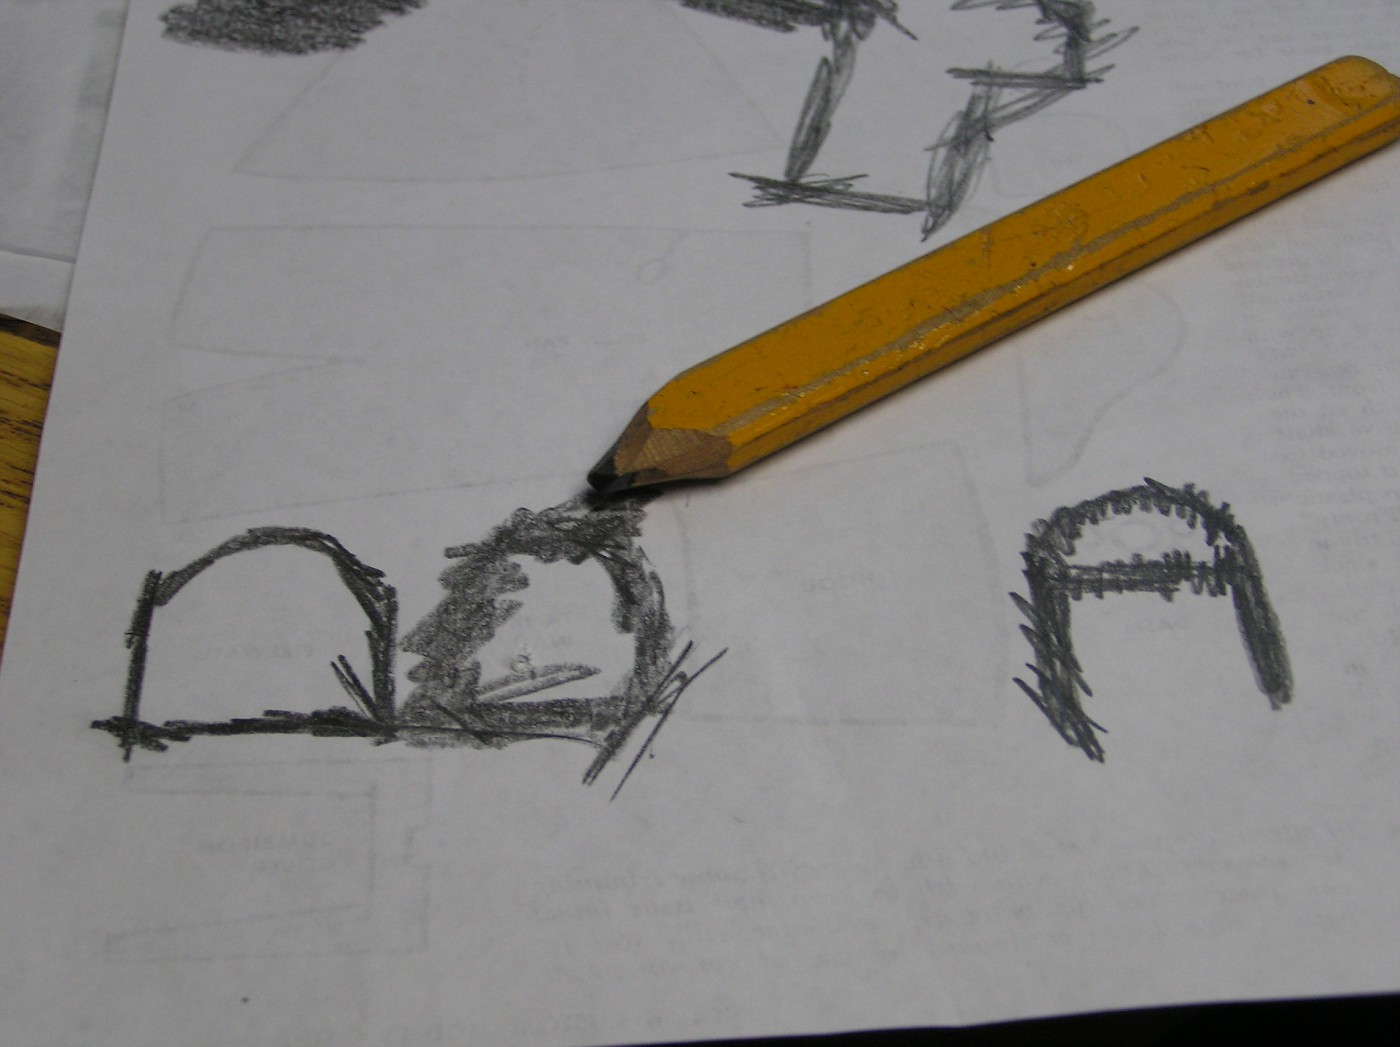 traced onto plastic 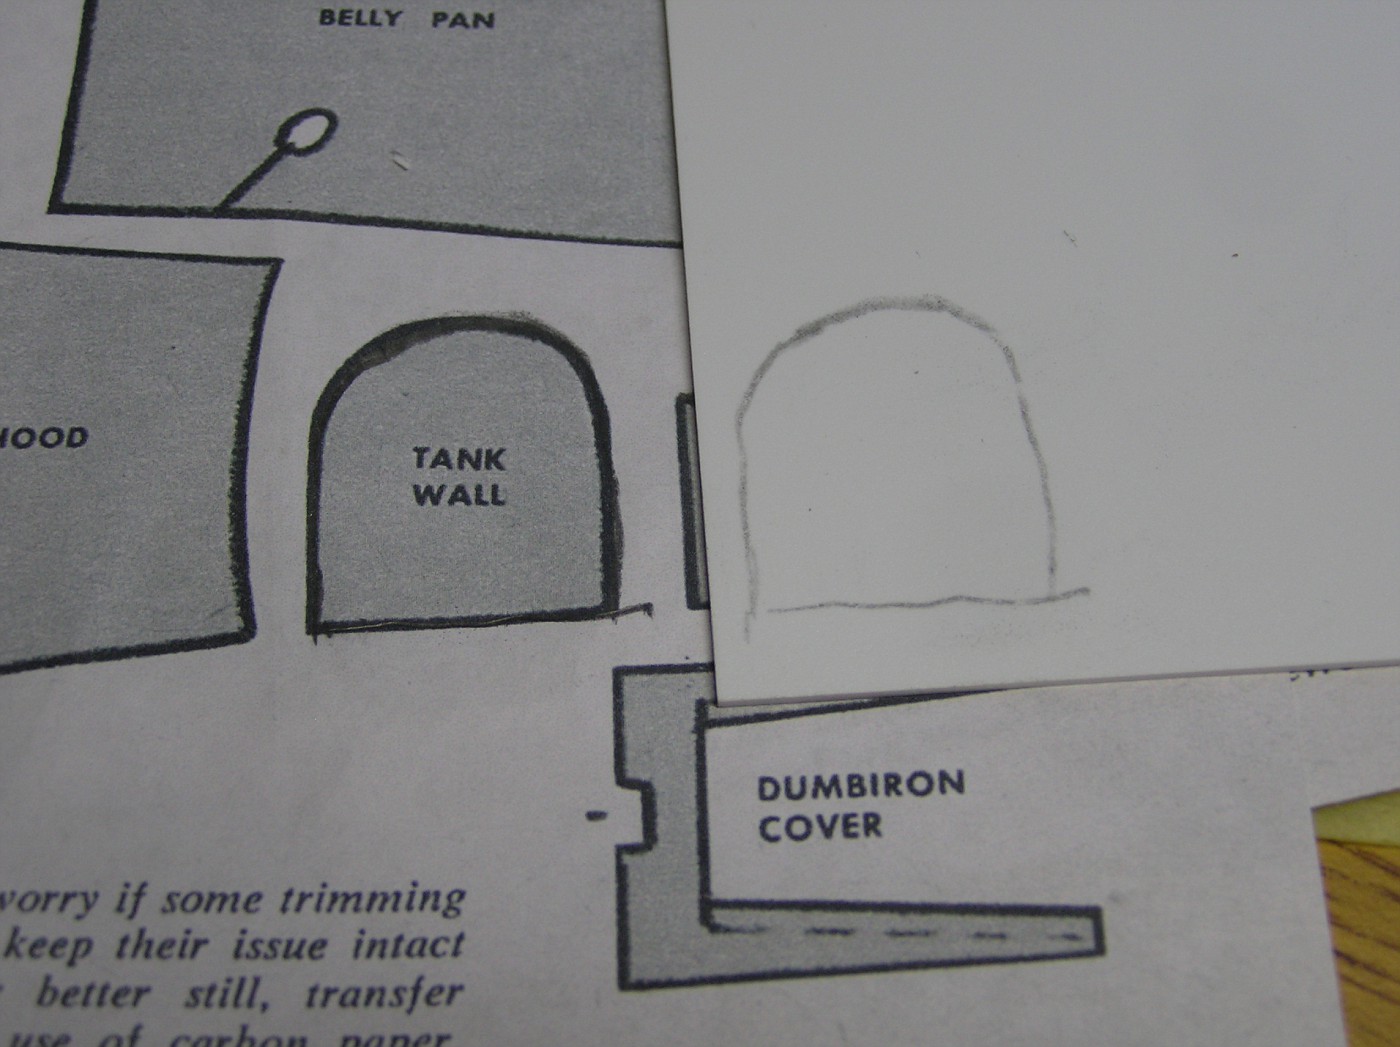 and cut out 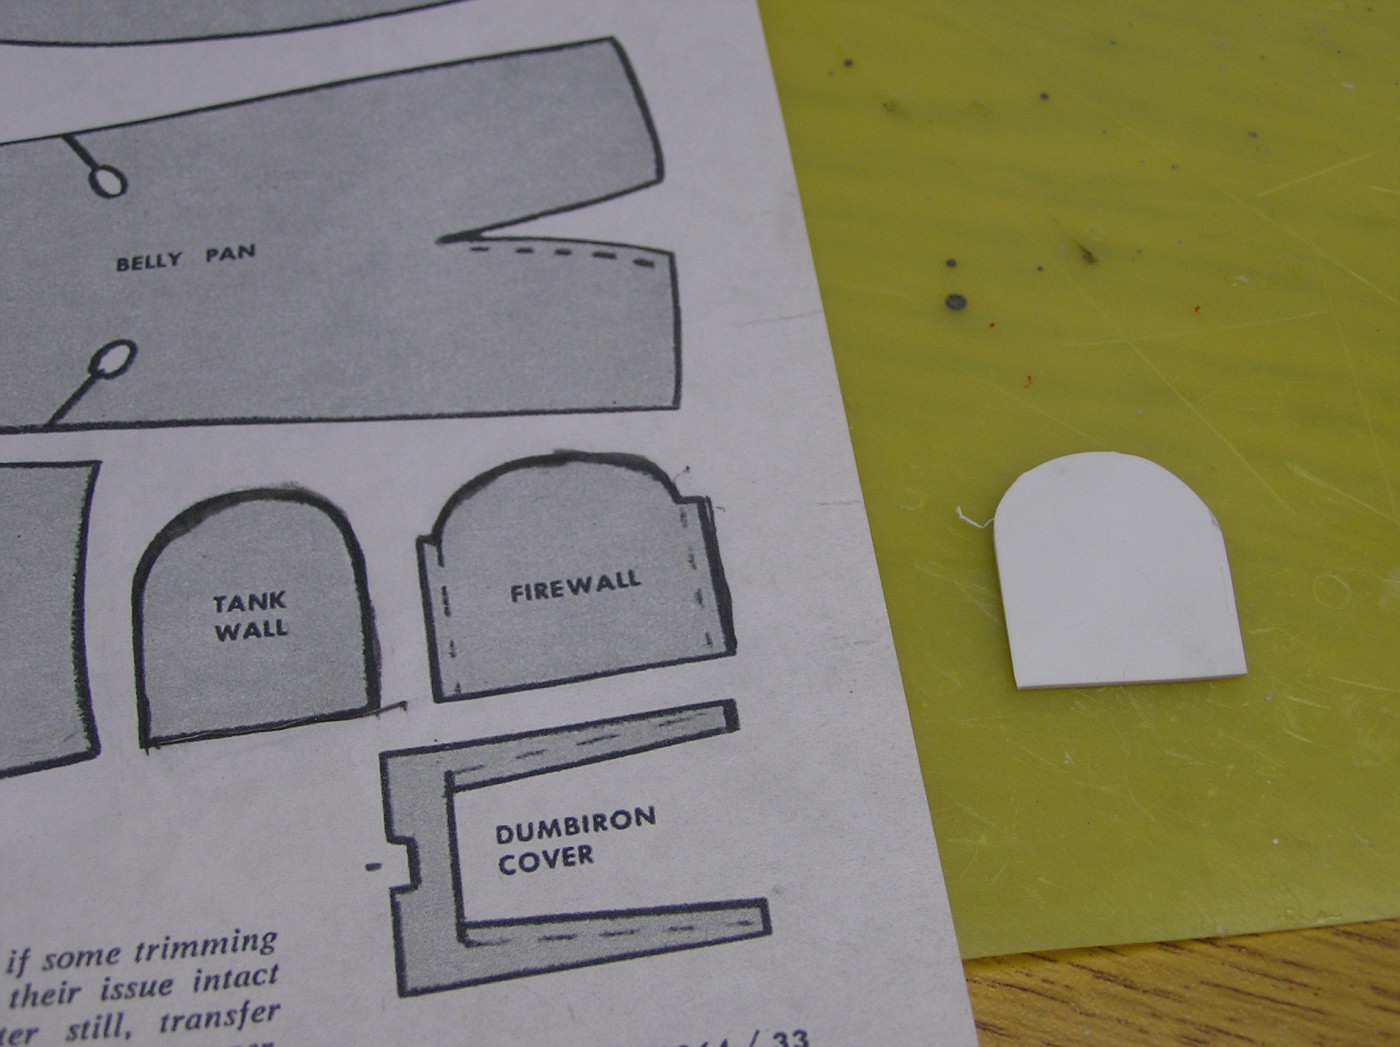 and glued into body that was made the same way. 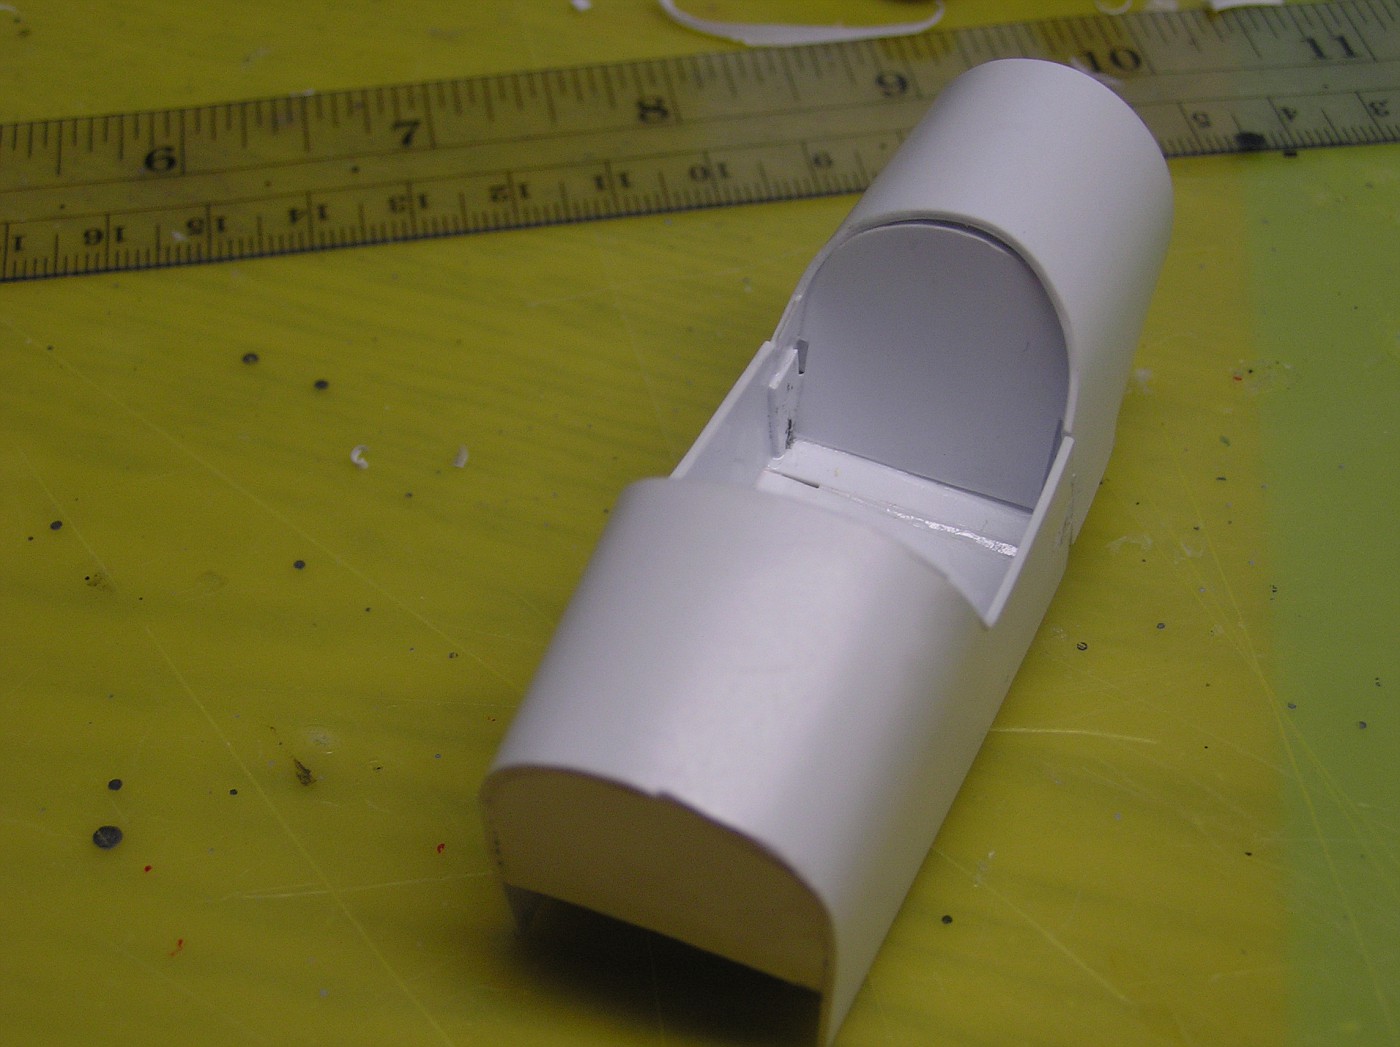 The body so far 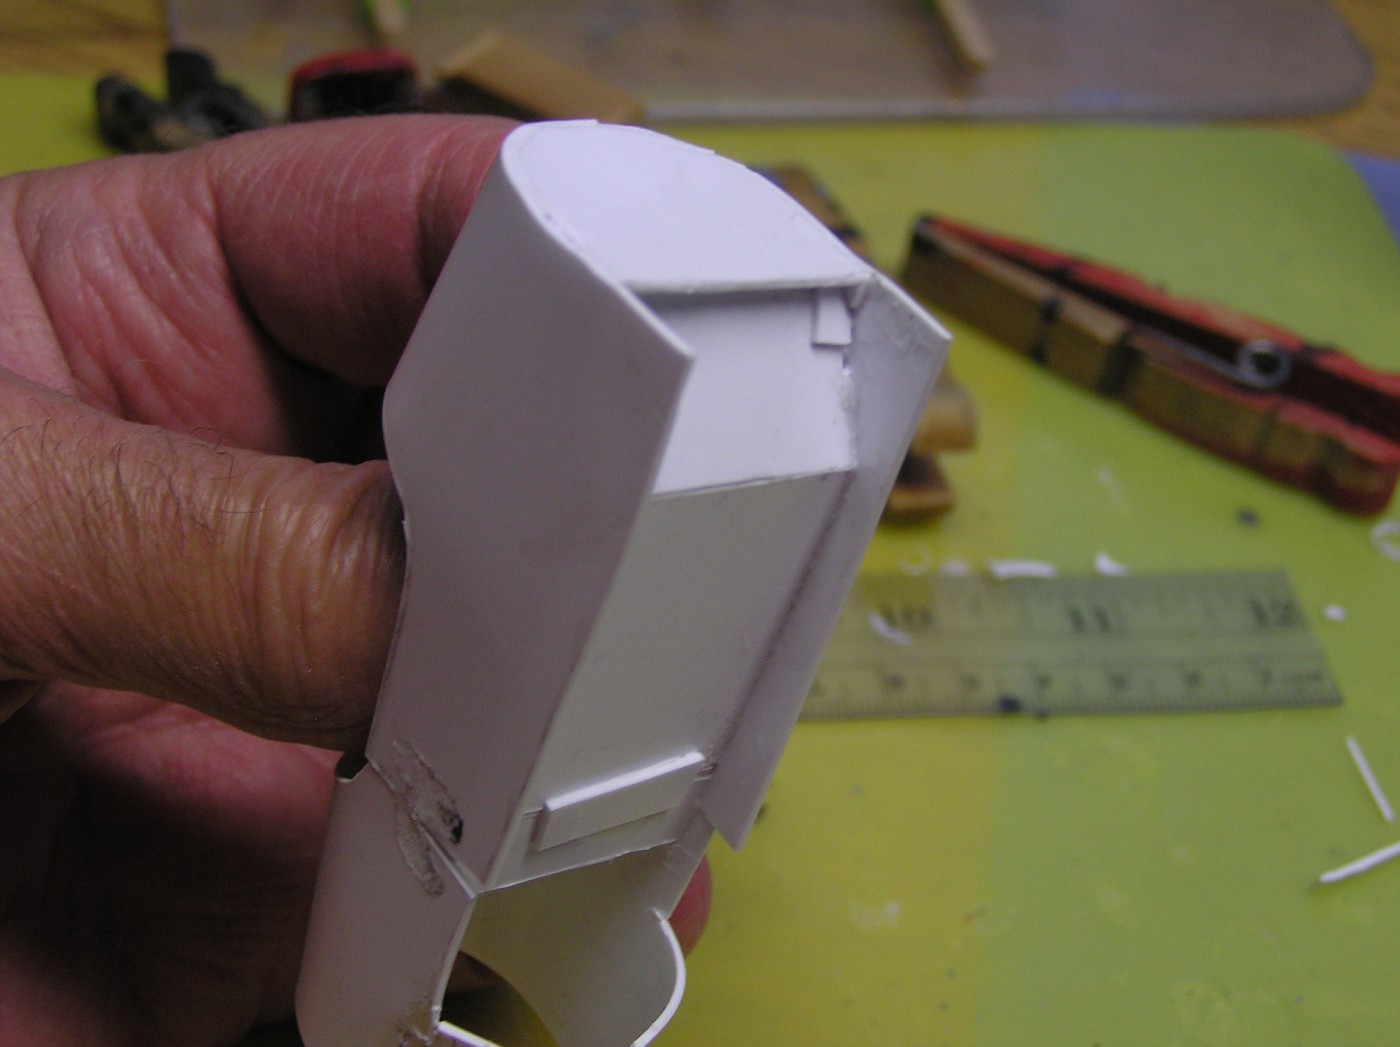 on frame 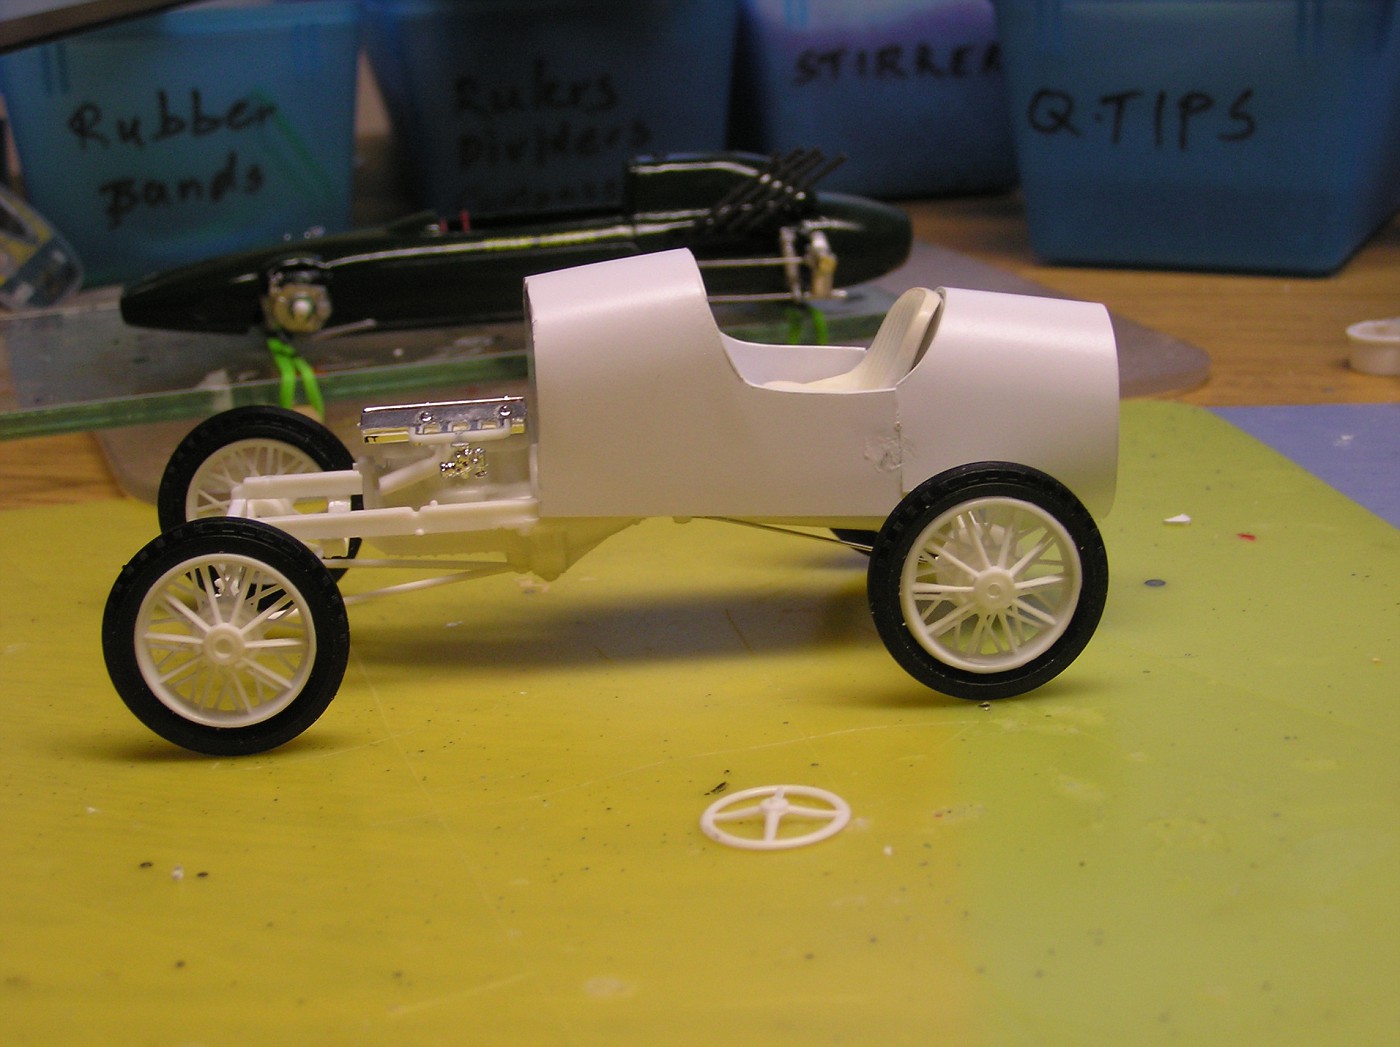 I moved the engine back 15 mm. but used the same mounting points for the axles. Had to put in longer front axle braces and shorten the drive shaft. |
|
|
|
Post by sandysixtysfan on Nov 29, 2012 7:40:12 GMT -5
This is a going to be a great project, can't wait to see more.
Sandy
|
|
|
|
Post by raceparke on Nov 29, 2012 12:58:40 GMT -5
The tail in place. It's too long, will be shortened when glue sets. Made the radiator by the sandwich method, will spray color coat, then flat black the core. 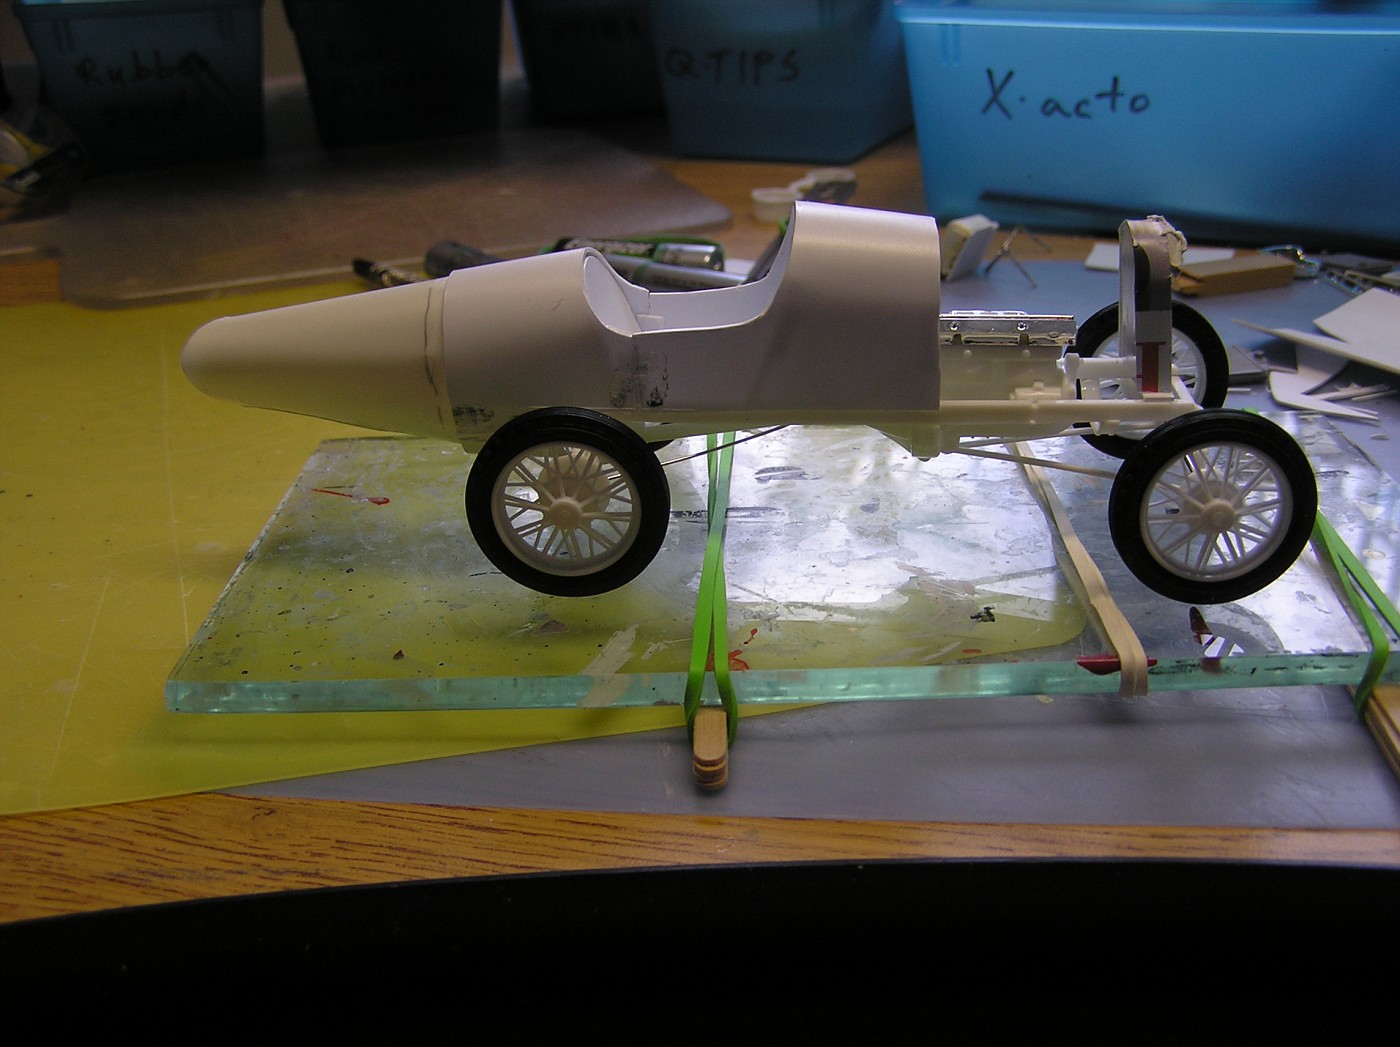 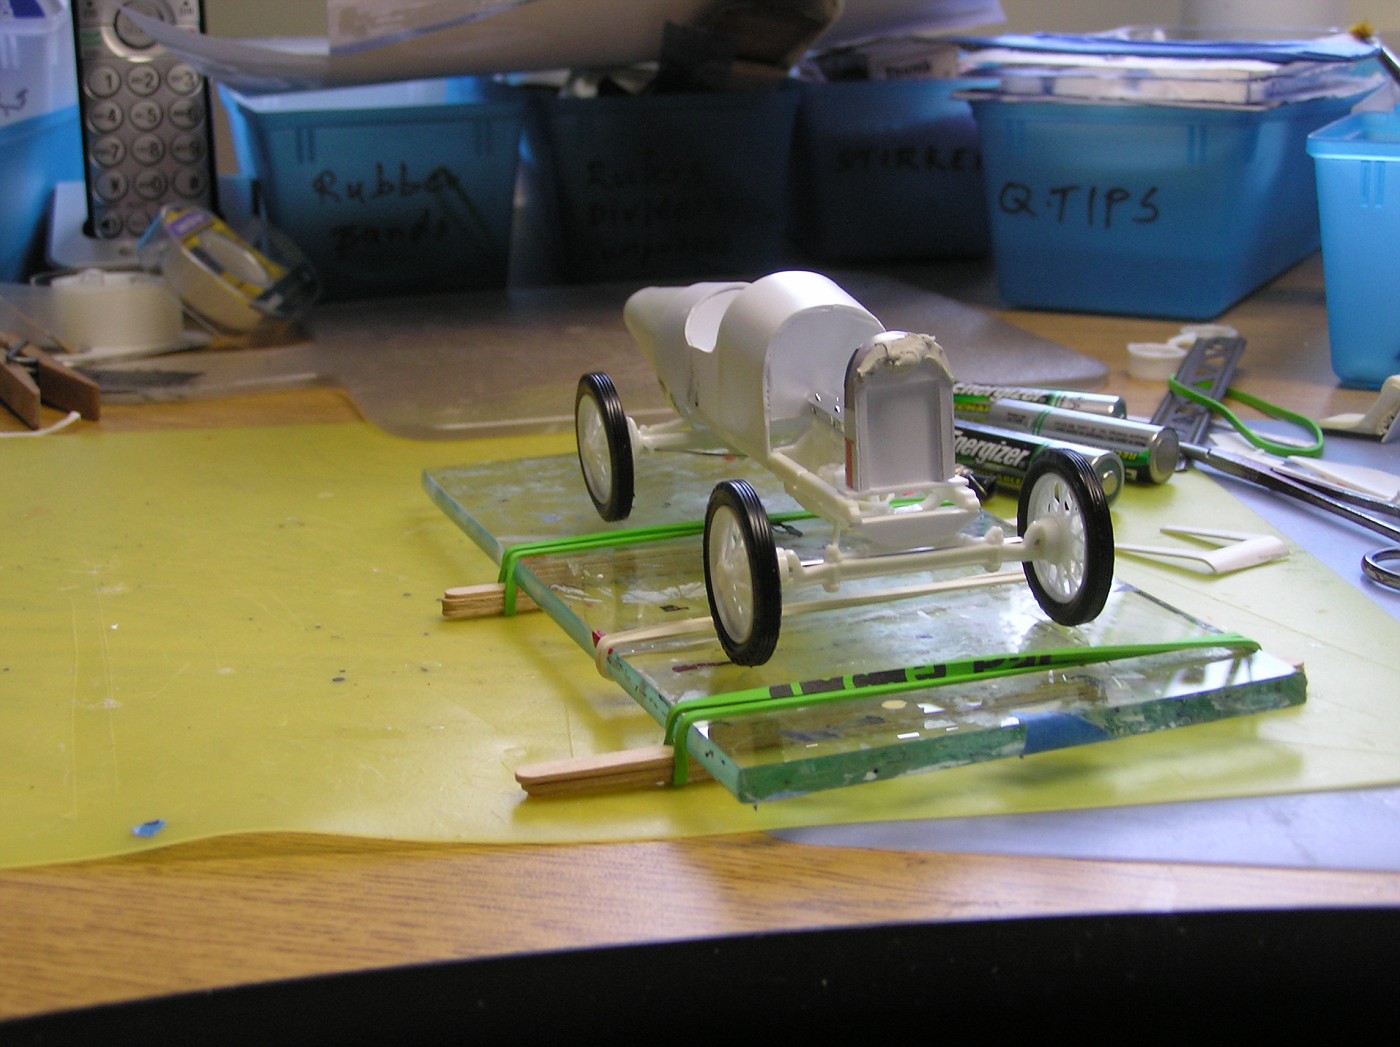 |
|
|
|
Post by tomfaletti on Nov 29, 2012 21:59:22 GMT -5
This is really looking good. I have a similar project in mind based on a car I saw at IMS in 2011. 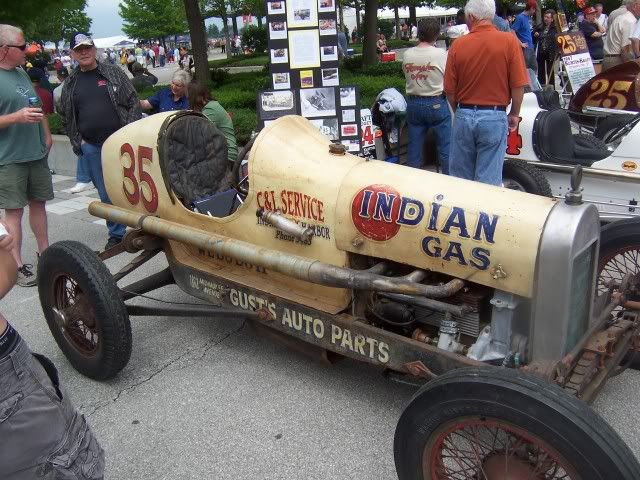 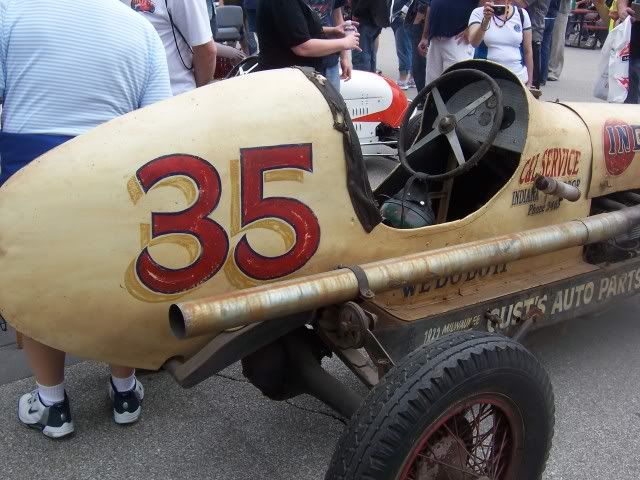 |
|
|
|
Post by racerbrown on Nov 30, 2012 7:37:28 GMT -5
model building at it's best!
that tail looks like a bear to build.
thanks for sharing.
duane
|
|
|
|
Post by harveythedog2 on Nov 30, 2012 13:25:53 GMT -5
Looks like a great start!
Don't you guys love how they used to paint the numbers and lettering on the cars by hand? Lost art for sure.
Stu
|
|
Deleted
Deleted Member
Posts: 0
|
Post by Deleted on Nov 30, 2012 14:31:17 GMT -5
Hi,
I have the same AMT Vintage Police kit with the Frontenac option engine and the Fronty Ford pages with those plans...
Like you, I plan to build it with Plastic sheet. It is great to see it works!!
Did you shorten the Chassis? and by how much? your Chassis seems much shorter than my standard chassis.
Greetings,
Paul Hooft, Netherlands.
|
|
|
|
Post by oldphotos on Nov 30, 2012 14:51:41 GMT -5
The latest issue of Model Cars Magazine November 2012 issue #172 has an article by Ken Kitchen on how to build a Fronty Ford model using Plastic sheet instead of the Paper version. This might help anyone who wants to build this car.
Old Photos
Walt
|
|
|
|
Post by raceparke on Nov 30, 2012 15:03:40 GMT -5
what timing!  |
|
|
|
Post by raceparke on Nov 30, 2012 16:11:09 GMT -5
Paul, frame is unaltered, just set engine back 15 mm. Original mounting points for the springs. I'm using very thin plastic- too thin where I am finding it necessary to shape (like the tail).
Harvey, yes to those old paint schemes and sponsor names. A simpler time.
|
|
|
|
Post by 2lapsdown on Nov 30, 2012 22:01:52 GMT -5
As a former graphic designer who has done some sign painting, I also was impressed by the hand work. With the advent of vinyl die cutting hand lettering really is a lost art.
John
|
|
Deleted
Deleted Member
Posts: 0
|
Post by Deleted on Dec 2, 2012 13:33:12 GMT -5
This is a great project:
A pity that AMT never made this Indy T racer conversion as a kit !!
Could have been an all time Classic!!
Paul
|
|
|
|
Post by raceparke on Dec 3, 2012 14:45:51 GMT -5
My first attempt at the tail was to cut out one piece of sheet as per the paper plans, try to shape it and putty and sand till done. That might have worked if I used 10 mm thick sheet; I ended up sanding through many places. So I cut off the offending appendage and cut profiles traced from the three views and made an armature to correct size. I figure attaching segments cut to size will be much simpler. We'll see. 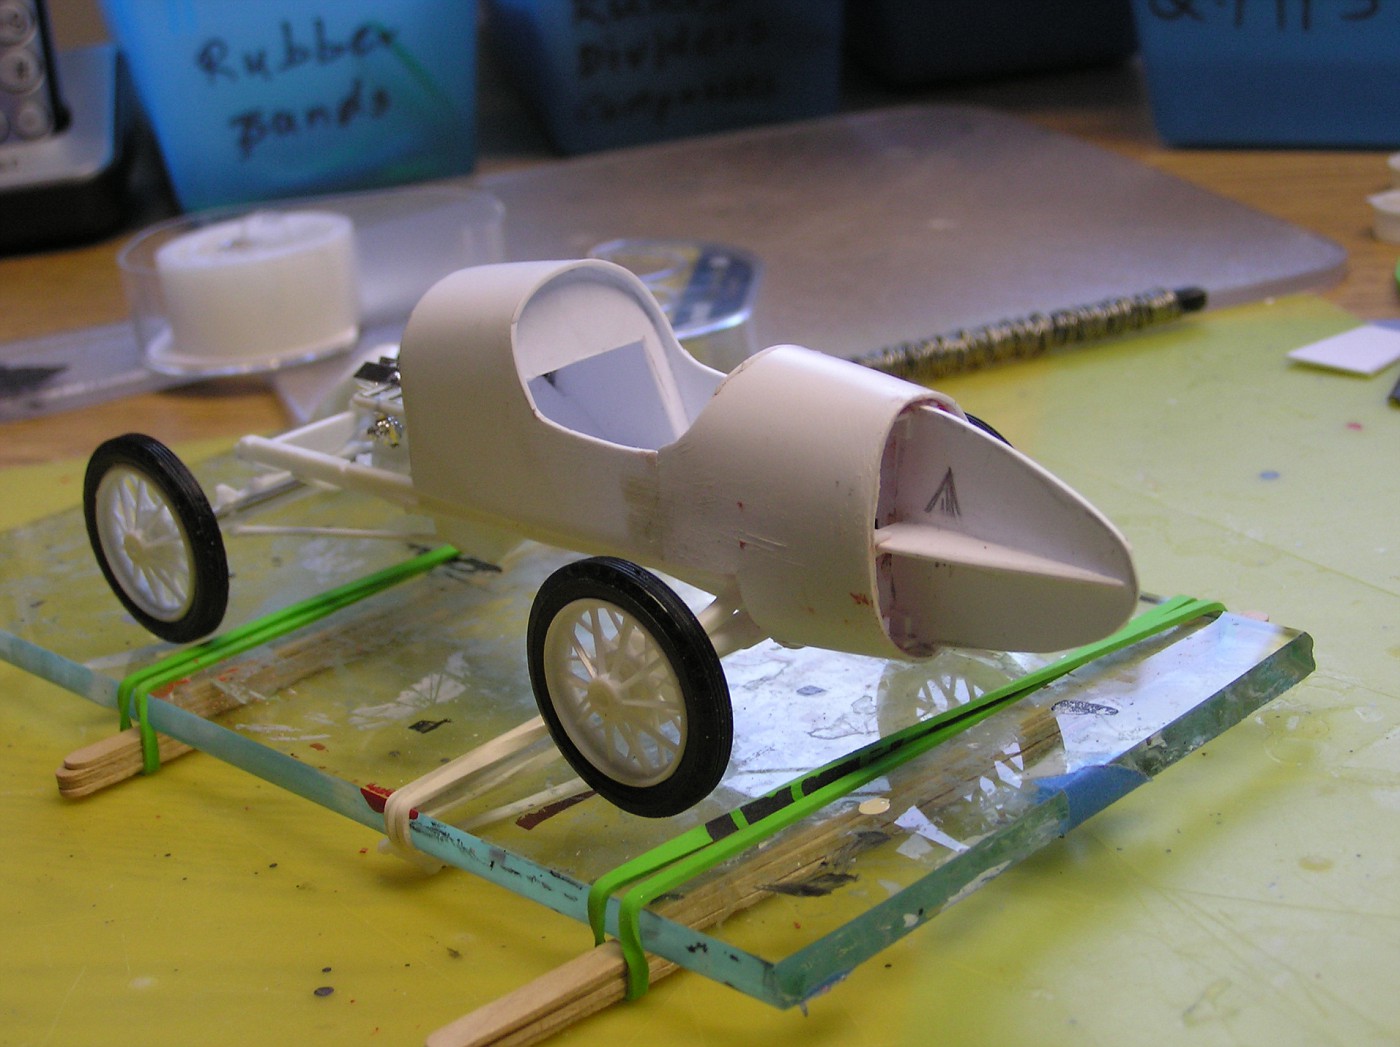 Thanks for looking |
|
|
|
Post by jamesharvey on Dec 7, 2012 9:00:14 GMT -5
I really appreciate your approach to solving the shape of the tail. I built one of these a few years ago and carved the tail out of the piece of pine. It, too, took a look of shaping to get it right. Hope yours turns out well. Thanks for sharing and we'll be looking for more pictures.
Jim
|
|
|
|
Post by Patrick on Dec 7, 2012 16:13:25 GMT -5
;)YEE HAW! Wonderful! Cool! Bitchin"! All of these apply!
Patrick
|
|
|
|
Post by raceparke on Dec 7, 2012 18:10:08 GMT -5
Slow progress for reasons that will become apparent   Adding the tail pieces seemed easier this time around. 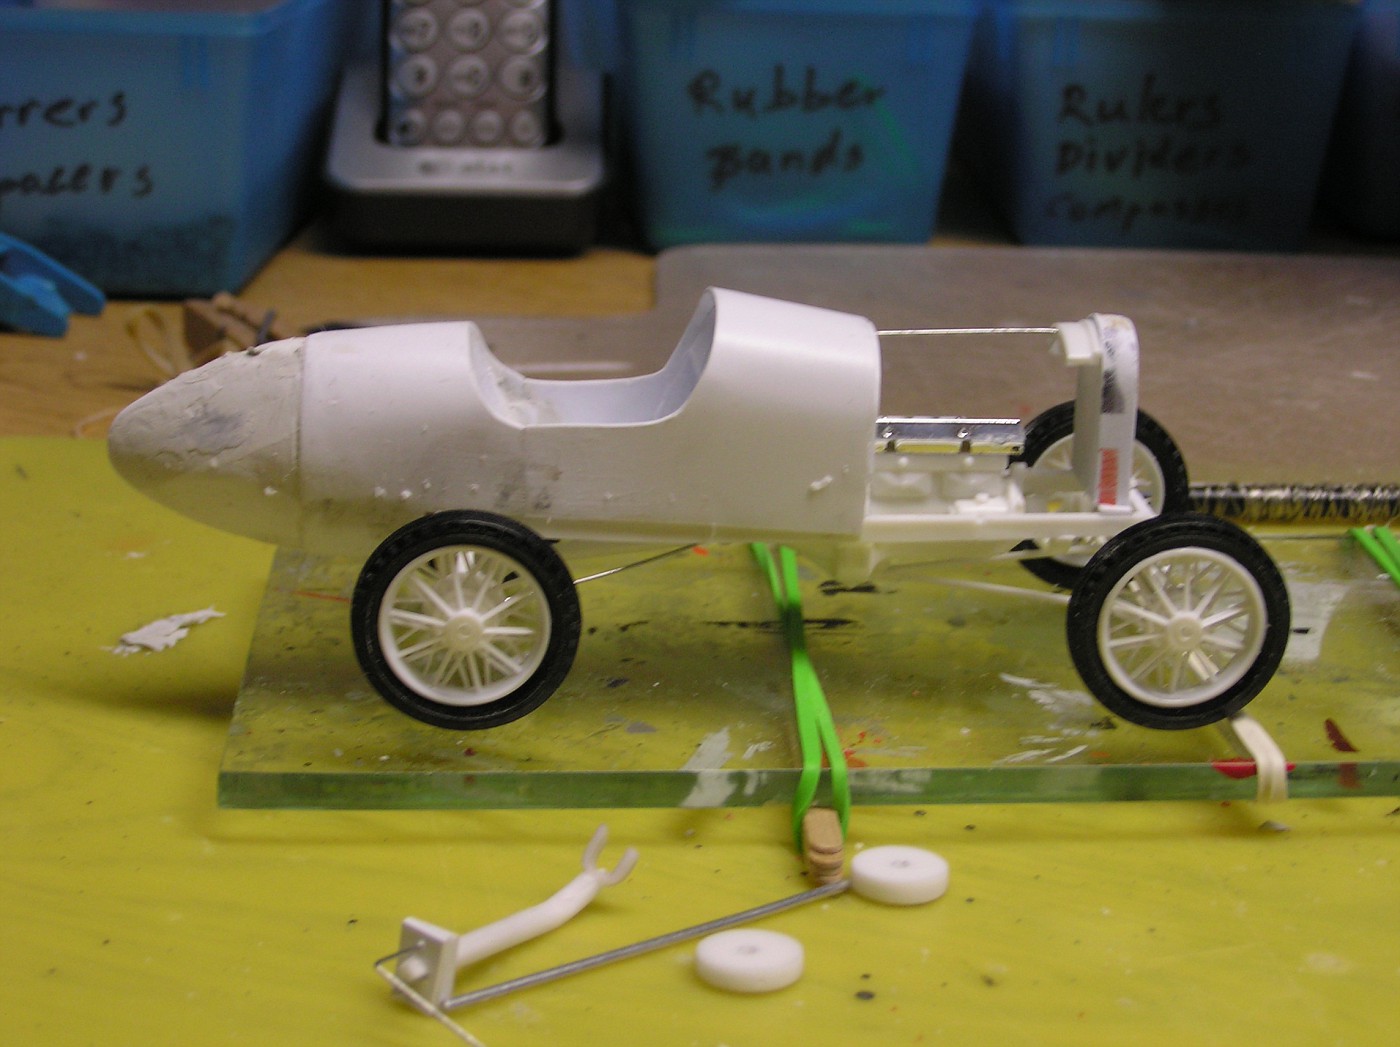 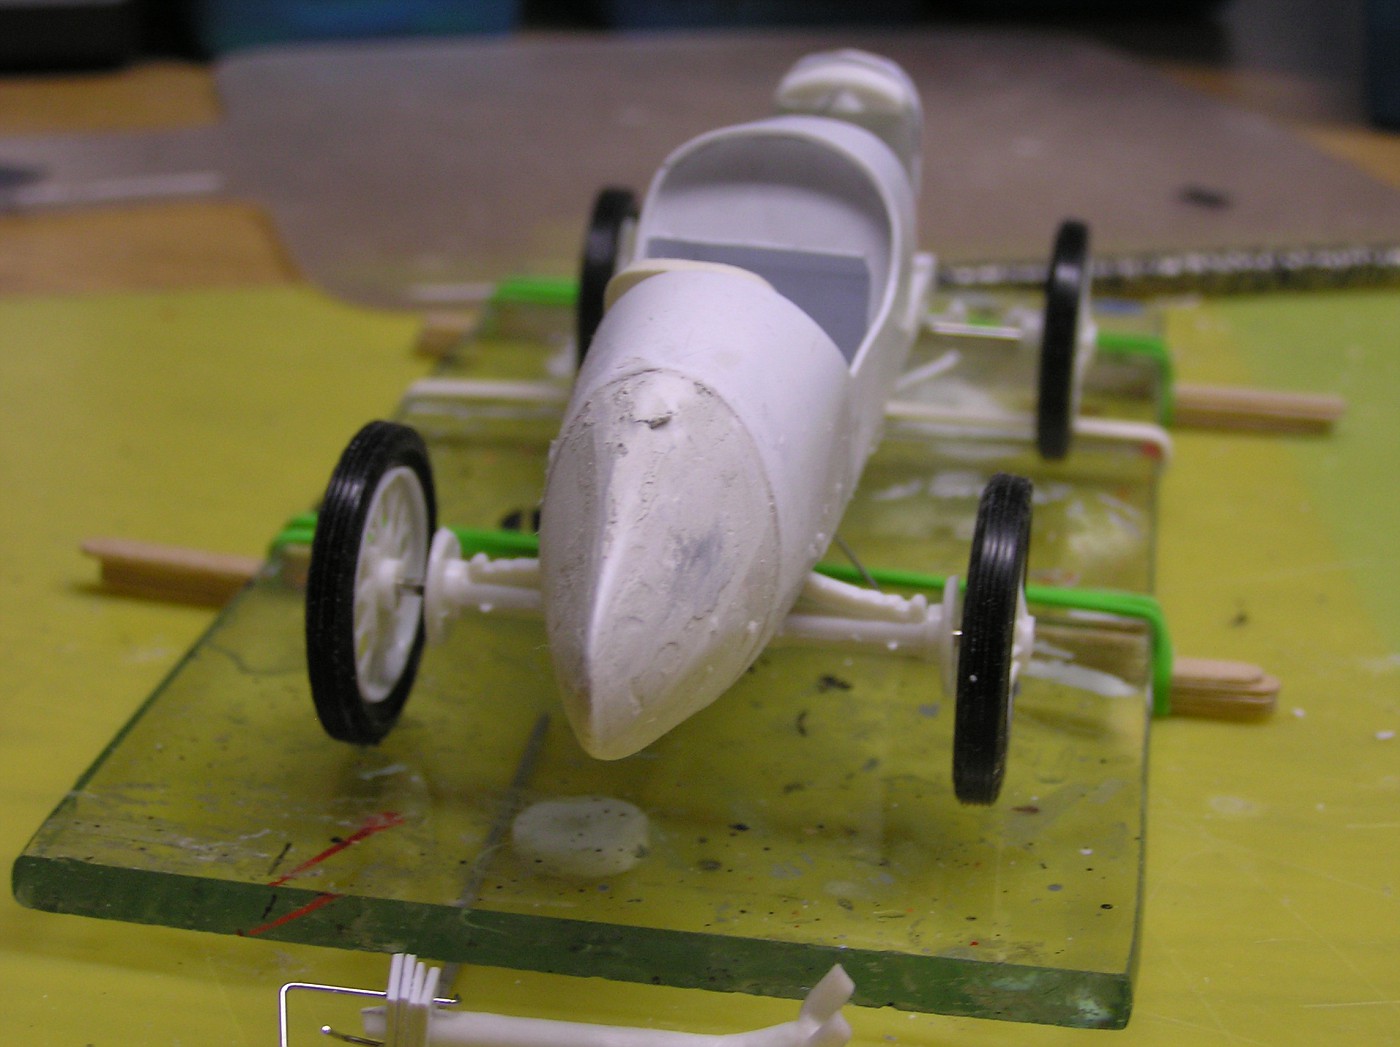 lotso sanding yet to do. Then the dreaded belly pan. In the interest of simultaneity (?), I've been working on Gary Doucette's 1930 winner. A tad rough, but very doable and very cool with the front drive and all. 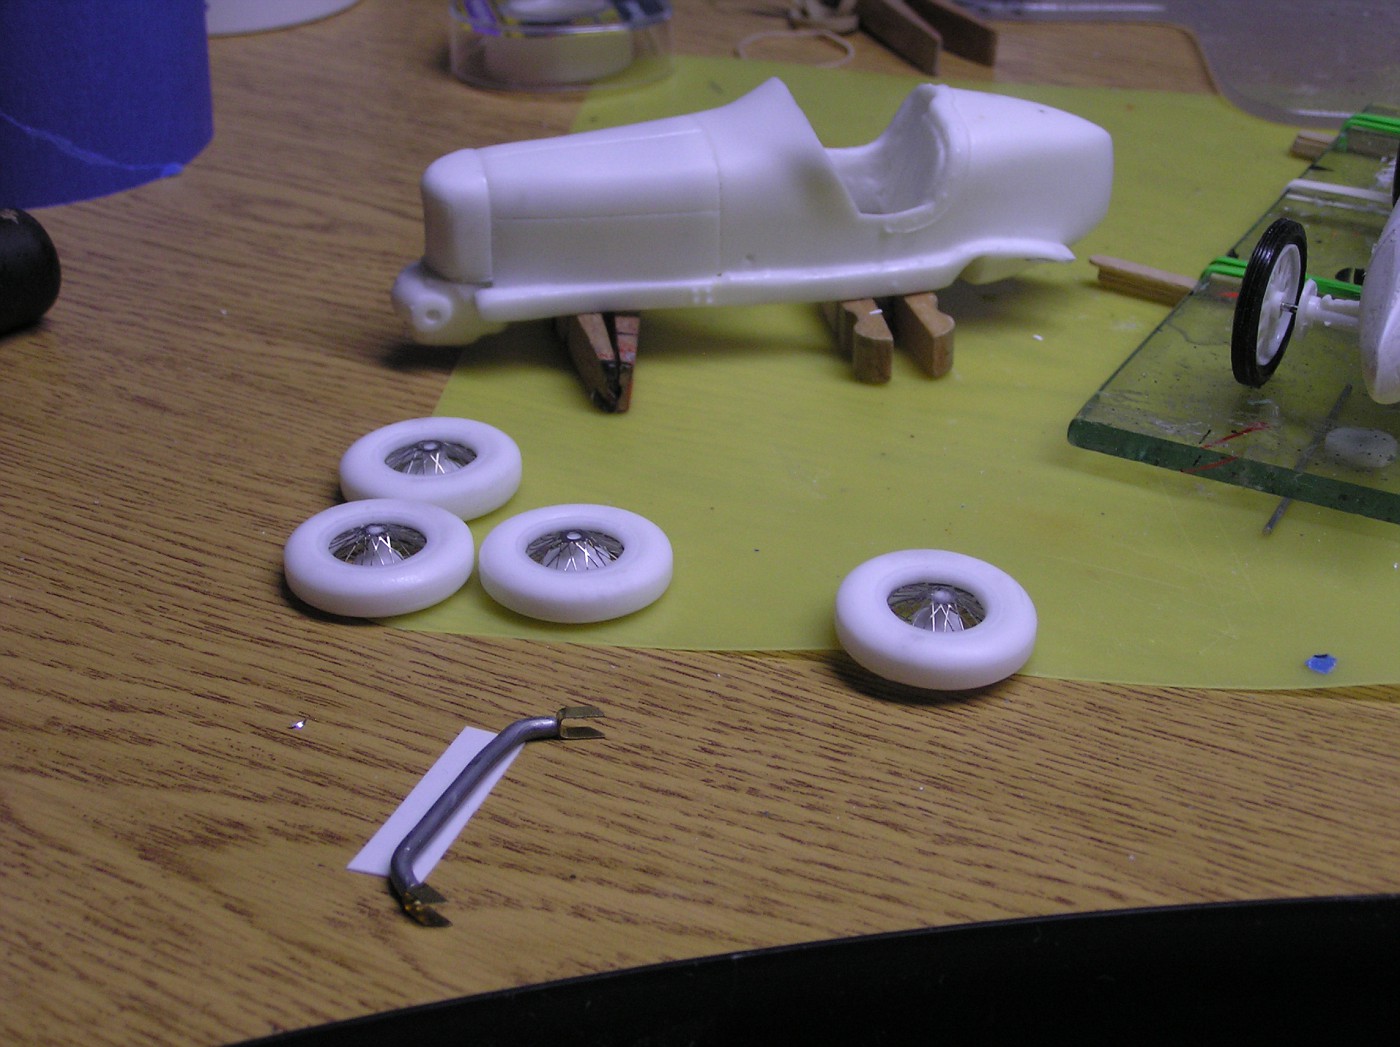 Thanks for looking |
|
|
|
Post by racerbrown on Dec 8, 2012 7:31:40 GMT -5
scratchbuilding at it's best!
thanks for sharing.
duane
|
|
|
|
Post by raceparke on Dec 13, 2012 13:05:45 GMT -5
Upholstery time. I use wine bottle metal; somehow I seem to have an infinite supply ;D ;D .. I can shape and trim it easily for work like this. First cut an interior shaped piece. 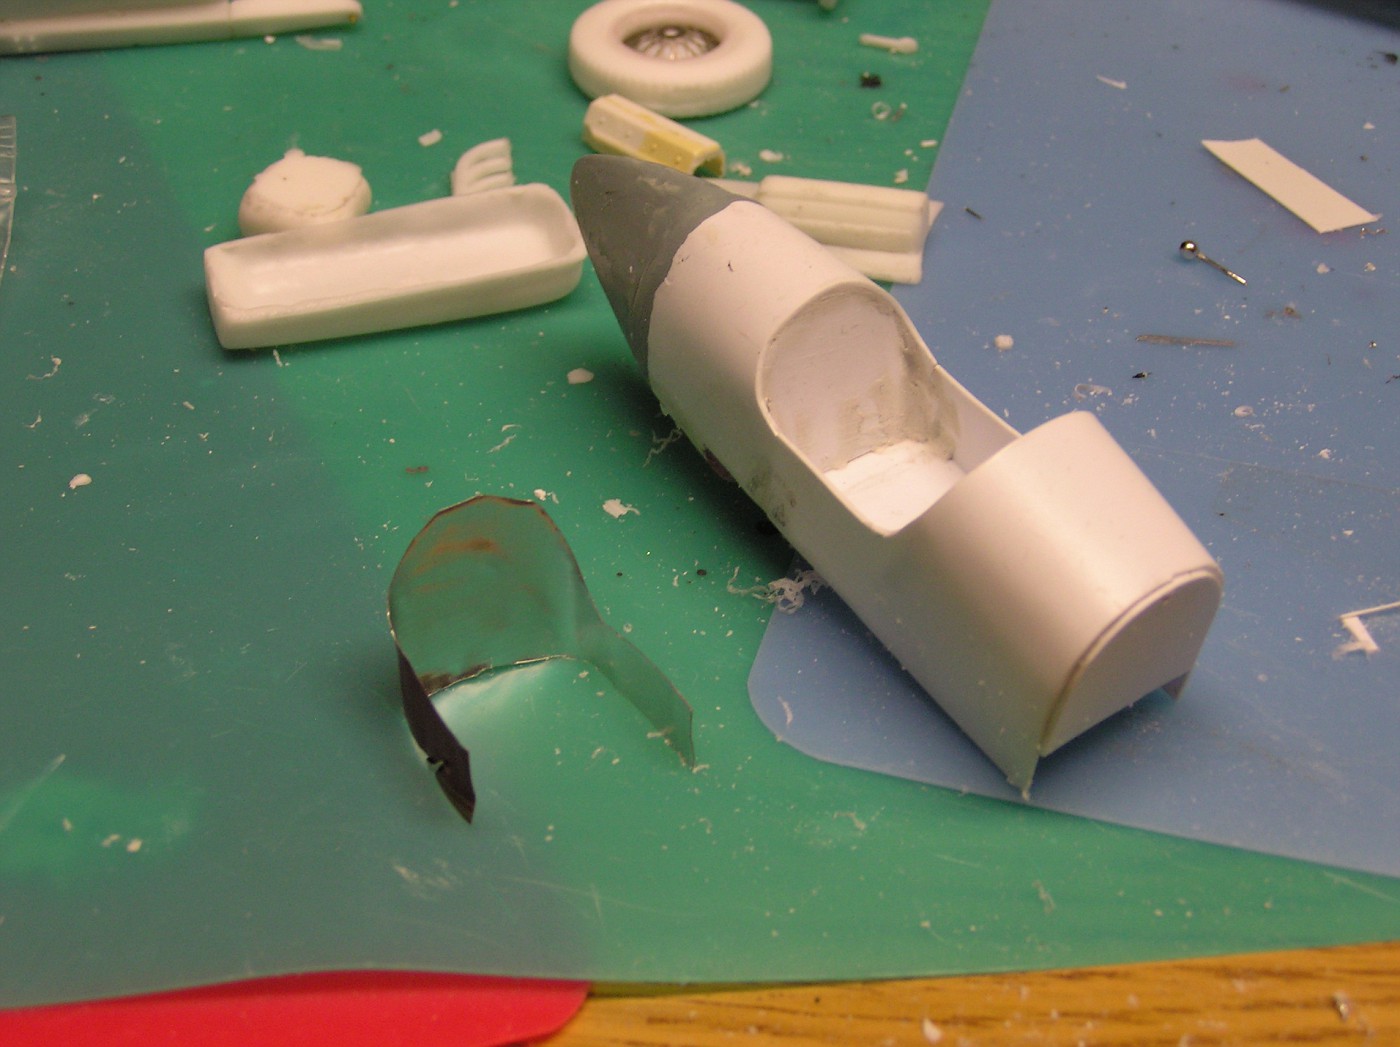 Then I apply wrinkles and folds. 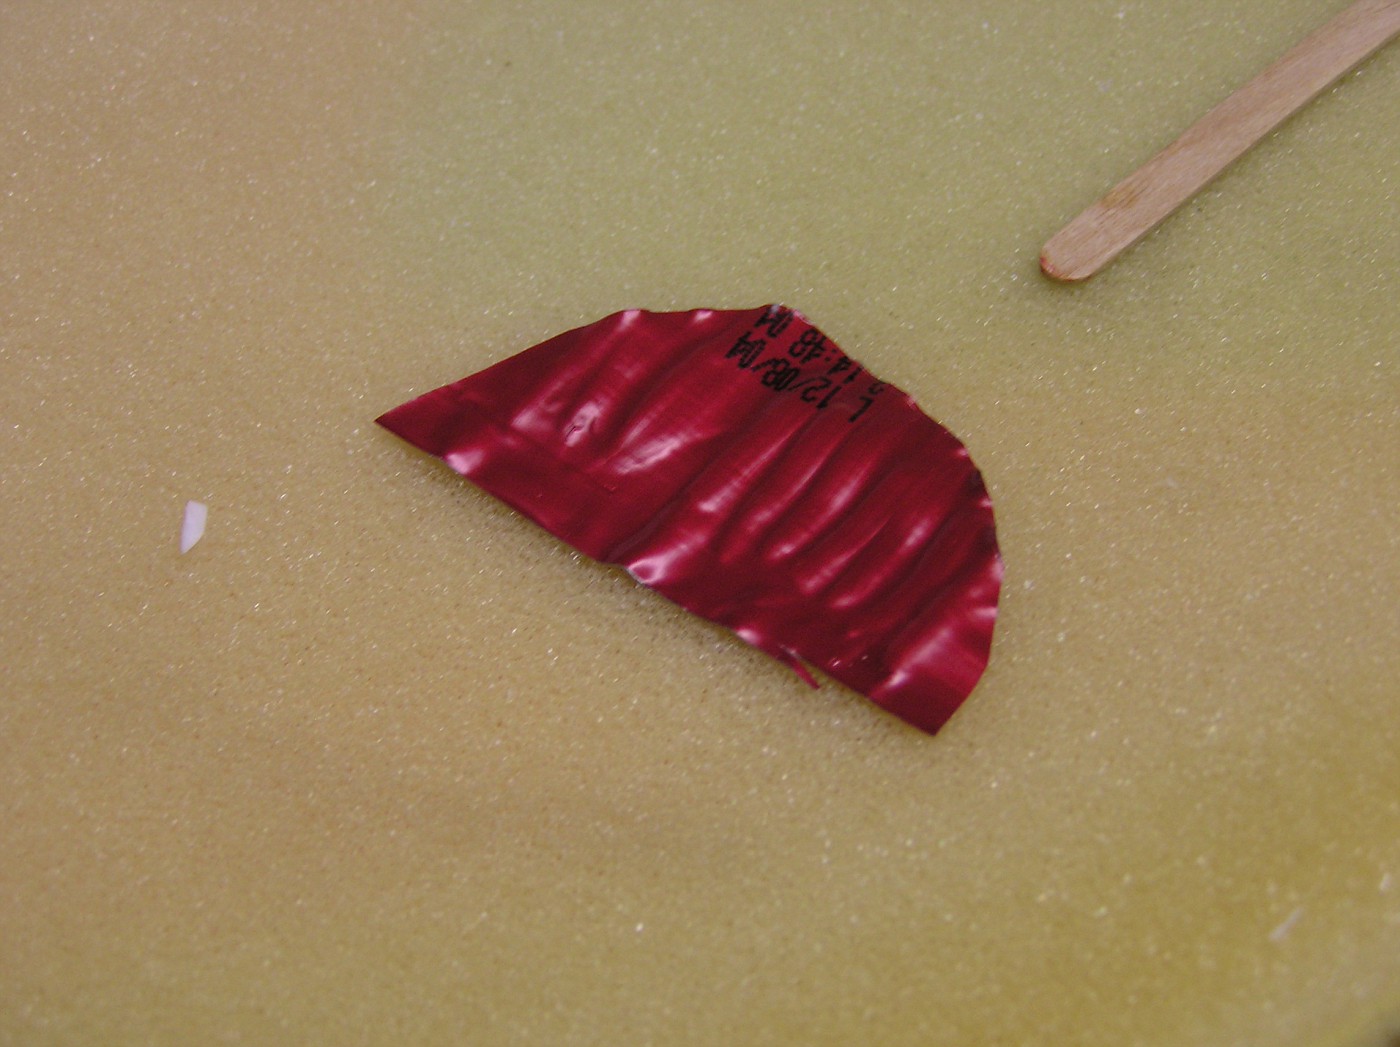 And glue in, using super glue. 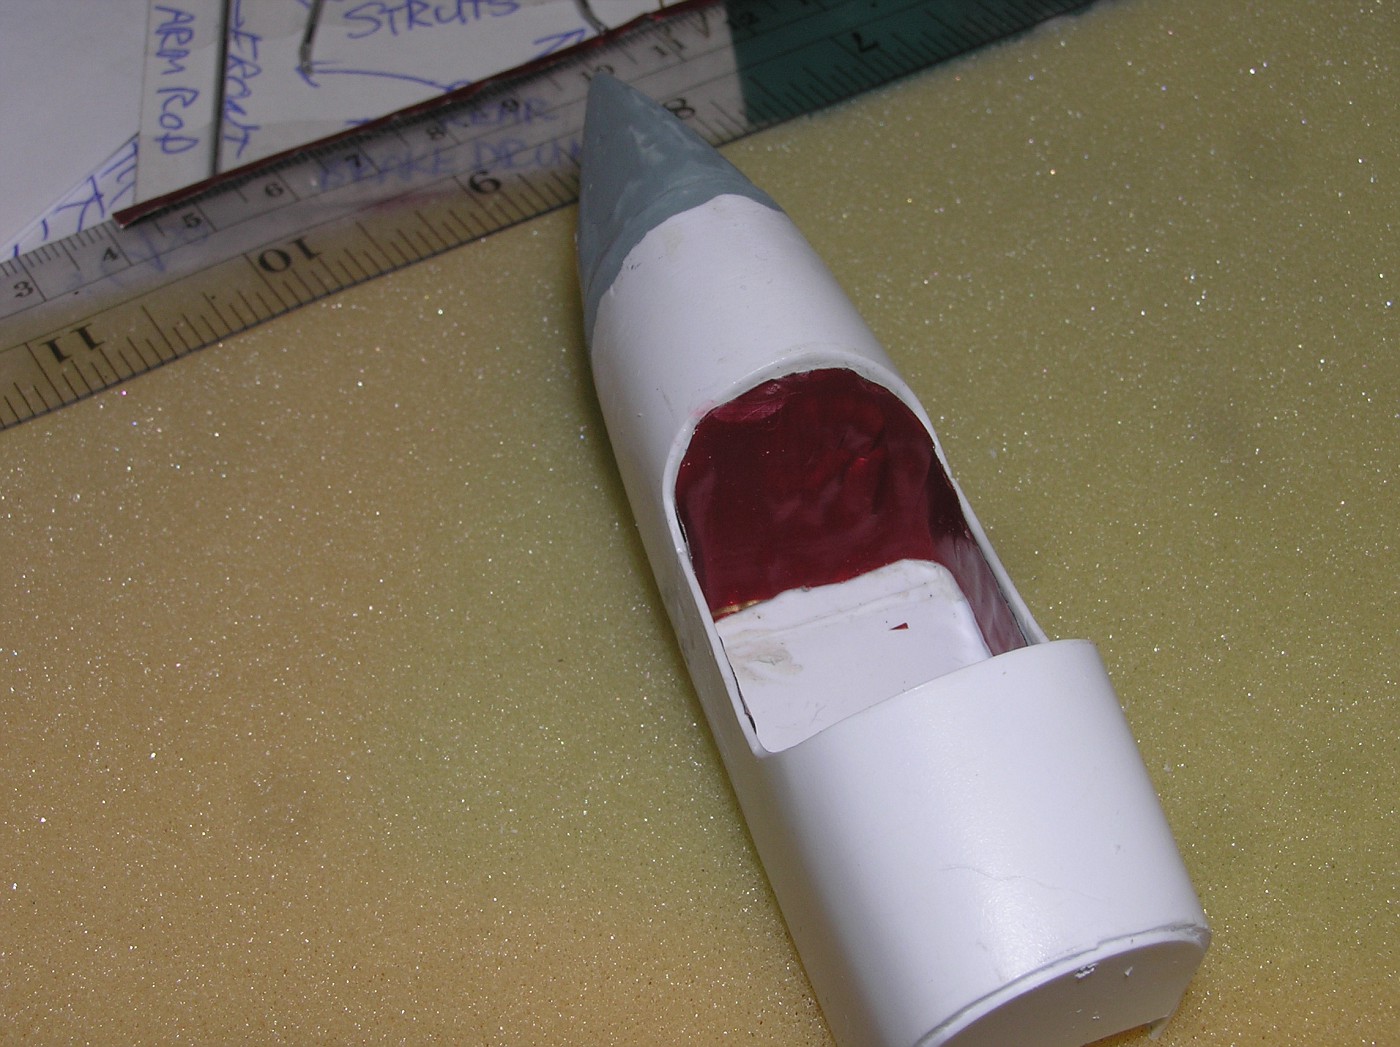 Cut a strip and fold over something thin. 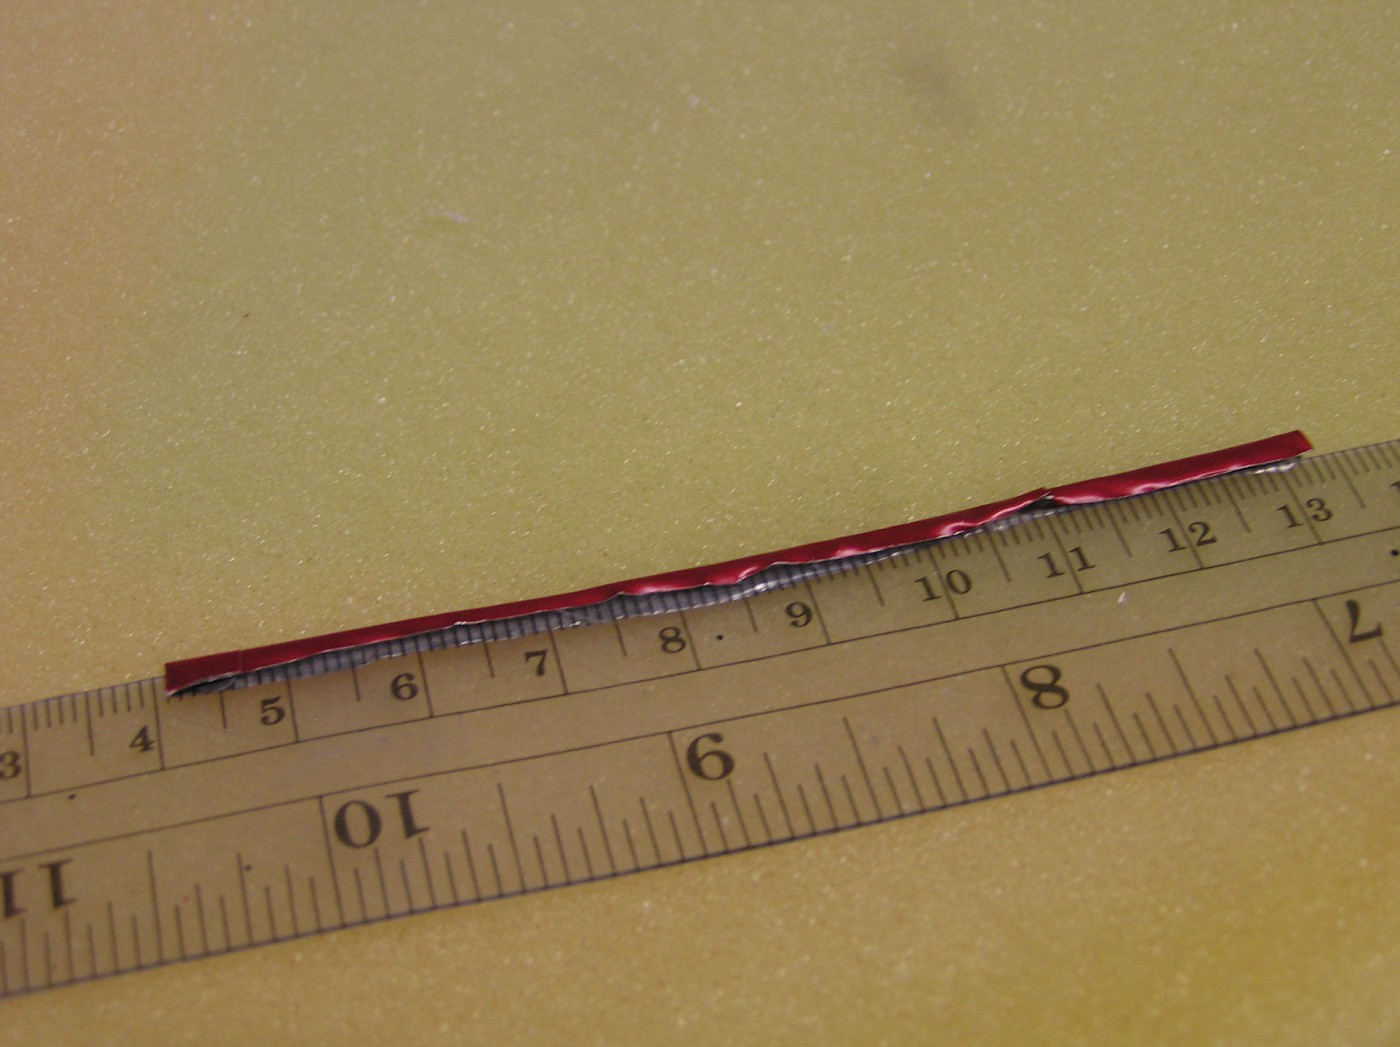 Shape along the edge; this is why this metal works so well- it stretches around curves. 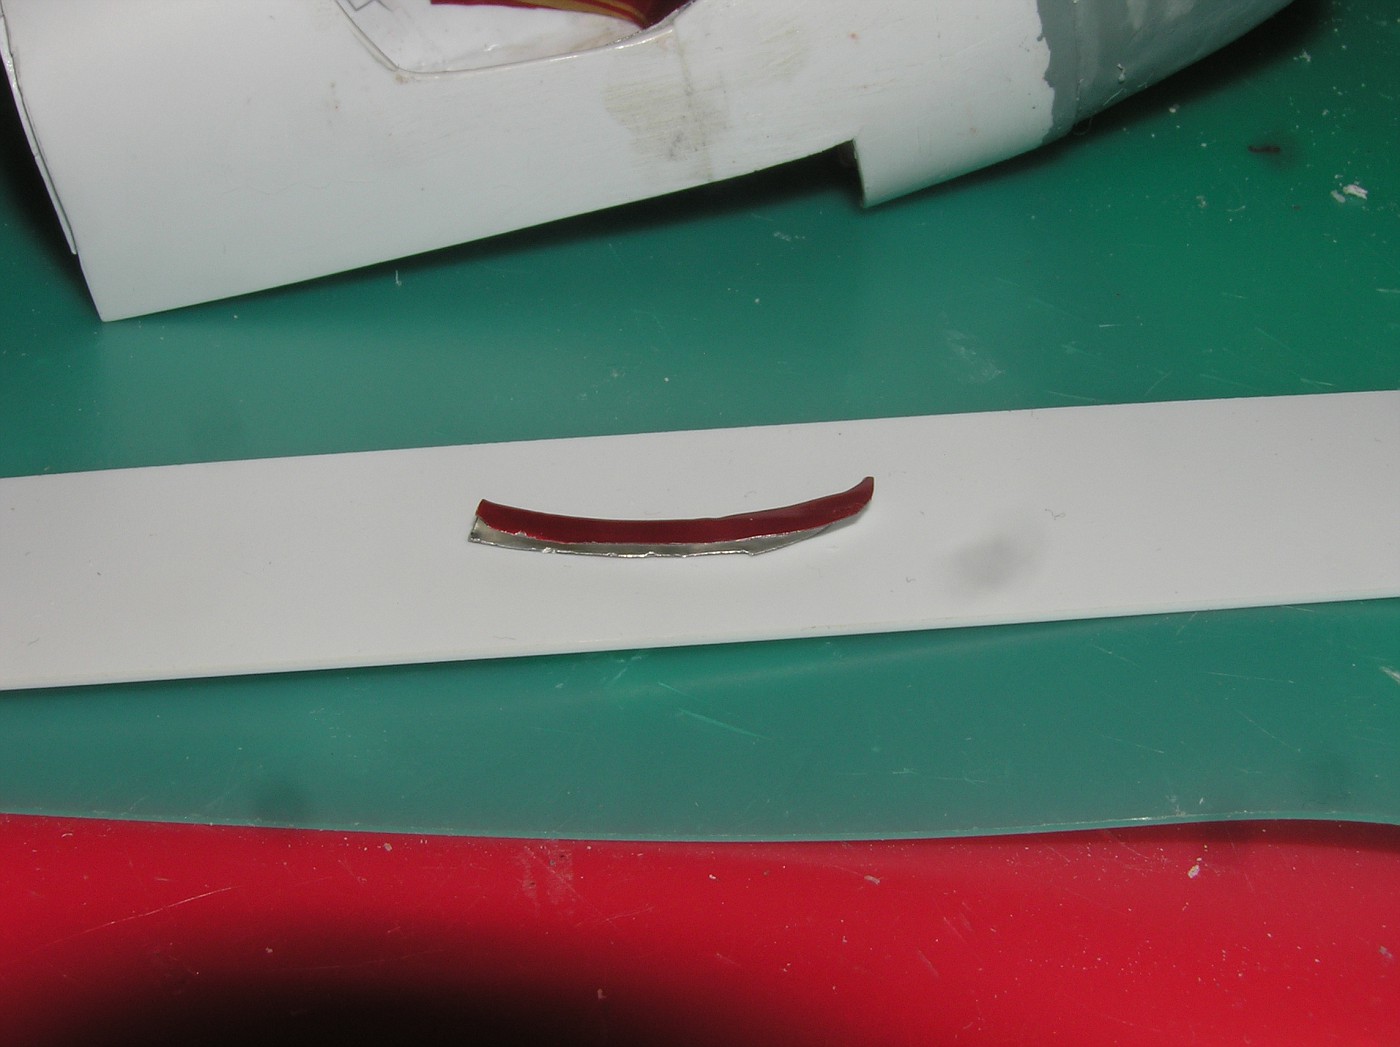 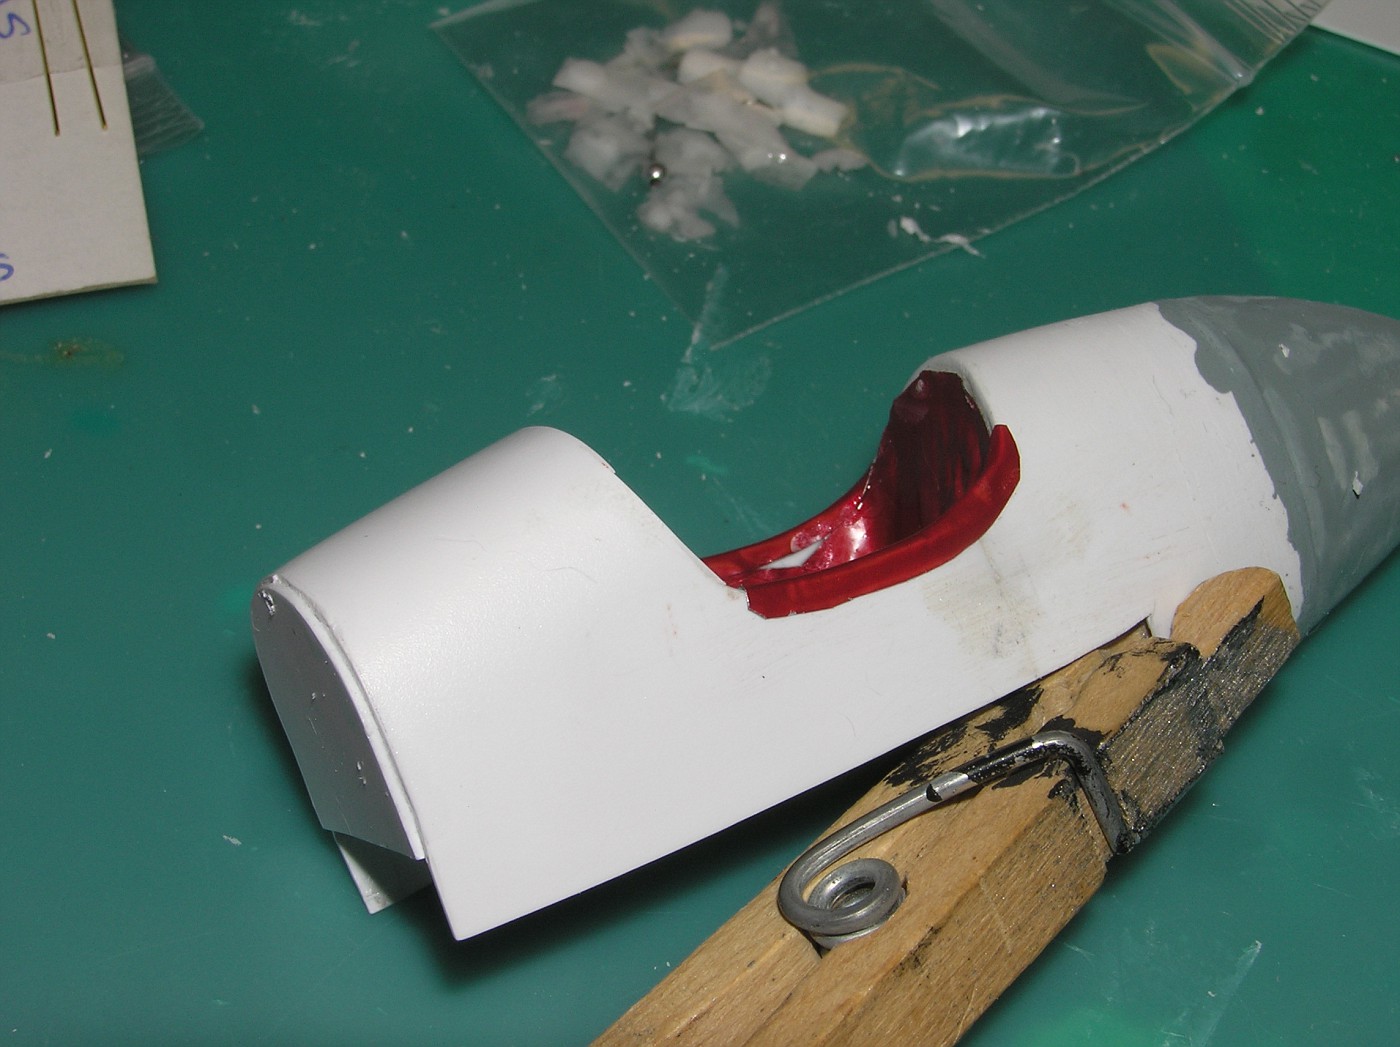 and for the back 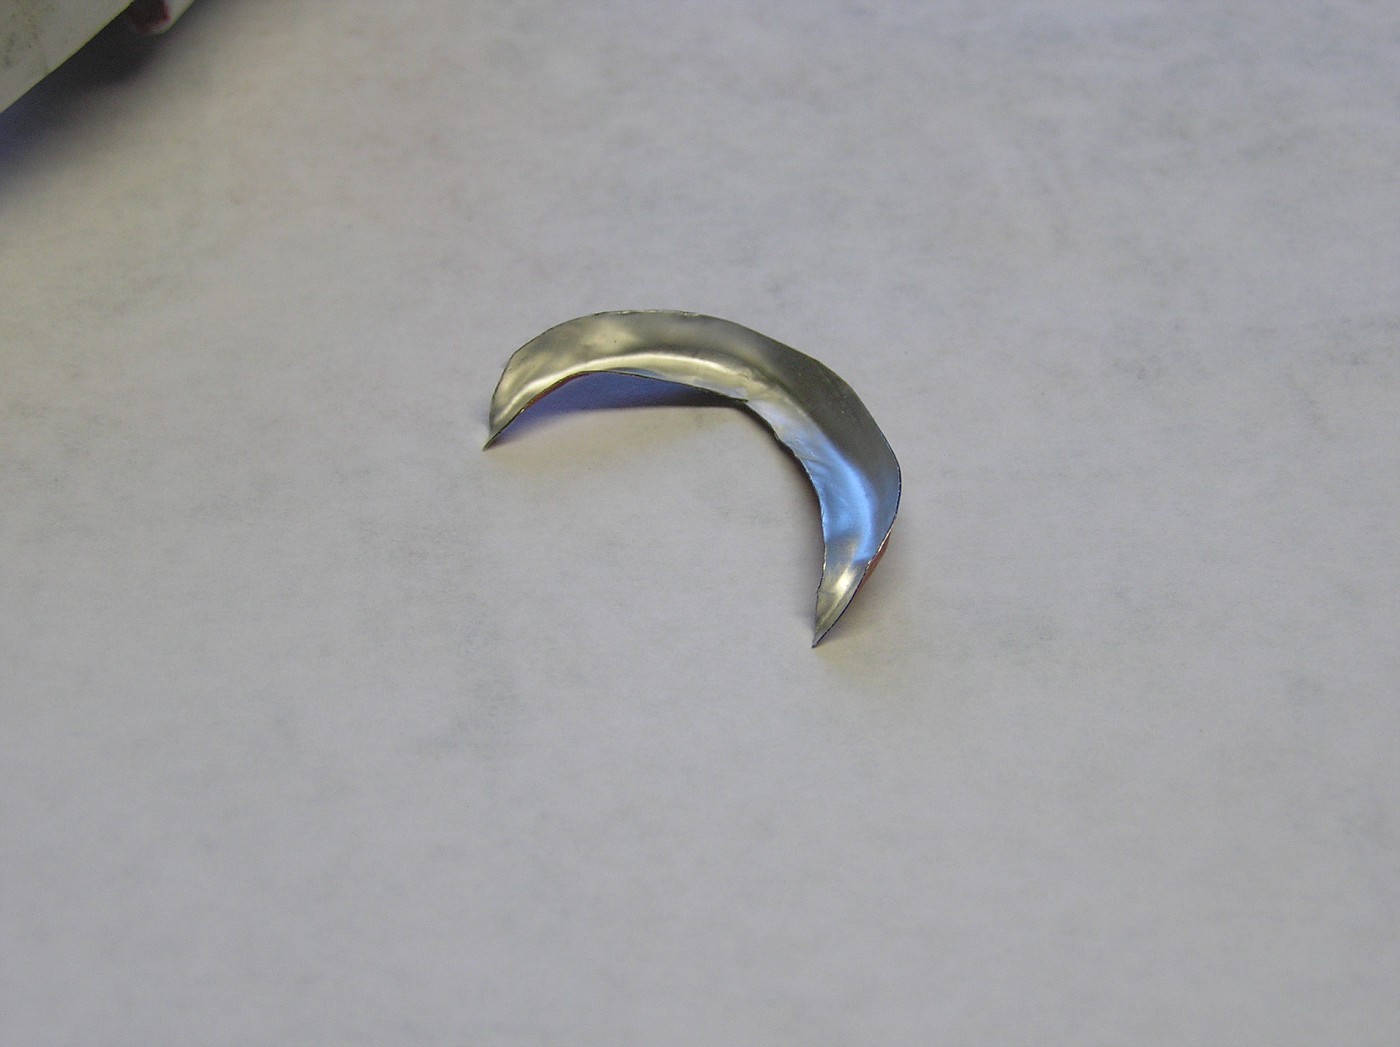 And Presto! 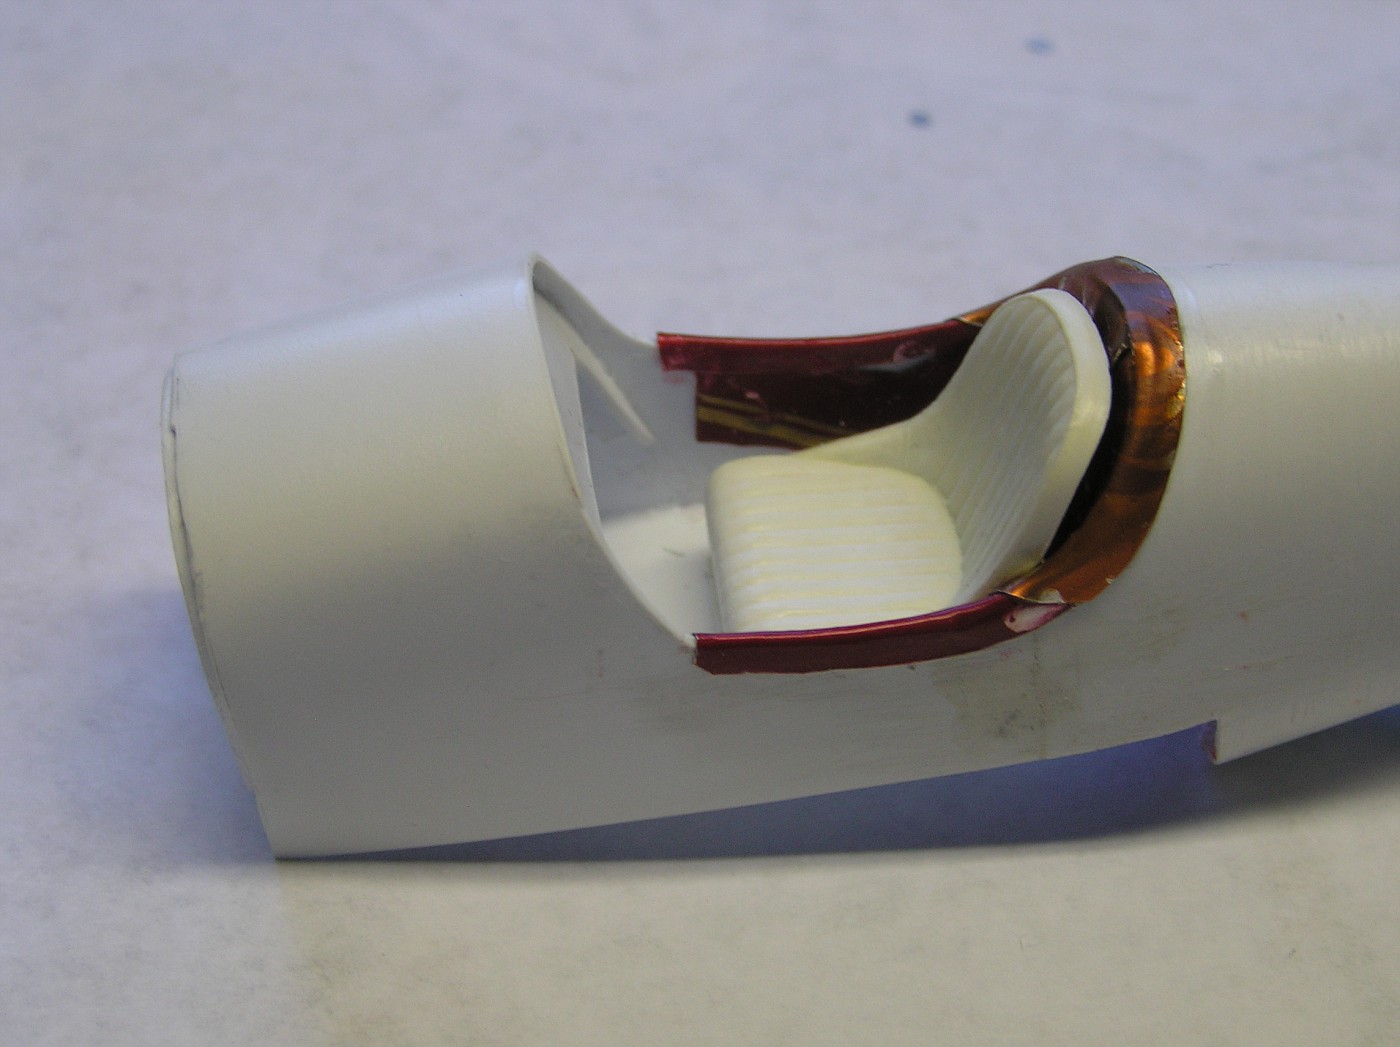 After body paint (brick red), will paint the upholstery black. Now I have to make the bellypan. (Papier mache perhaps?  ) |
|
|
|
Post by Patrick on Dec 13, 2012 16:29:31 GMT -5
Dan,
You be cool!
Patrick
|
|
|
|
Post by raceparke on Dec 13, 2012 17:27:39 GMT -5
Thank you Patrick.
High praise indeed from the Master.
|
|
Deleted
Deleted Member
Posts: 0
|
Post by Deleted on Dec 14, 2012 10:54:58 GMT -5
I understand: I am now opening the bottle...   |
|
|
|
Post by raceparke on Dec 15, 2012 15:19:10 GMT -5
|
|
|
|
Post by drums01 on Dec 24, 2012 9:46:46 GMT -5
MORE!, I want more please!.... This is fantastic.
|
|
|
|
Post by raceparke on Dec 24, 2012 11:49:02 GMT -5
Need time to look for a spray can of brick red paint. Then it will be time to get back to it. Thanks for your interest.
|
|
Deleted
Deleted Member
Posts: 0
|
Post by Deleted on Dec 24, 2012 13:22:17 GMT -5
this forum has really gotten my 'itch' to build again. I'm working now on a 57 Chrysler 300 "Road America". its one of 3 bought by Karl Kiekhoffer to race exclusively at a NASCAR Road America race. but the race was cancelled, so the cars were either sold off or, in the case of the one I'm building, put back to stock and driven by Karl himself. its being restored in Iowa (I think) and I have some pics of the car, before and after. but now I'm putting that project on the back burner and starting up some old Indy Cars. I love following the WIP on the Fronty Ford. thanks to everyone for getting me re-interested in the hobby I've loved for so many years!  |
|
|
|
Post by cobra276 on Jan 13, 2013 13:04:51 GMT -5
Excellent scratch building!
Got to remember this one!
Dave
|
|
|
|
Post by raceparke on Jan 28, 2013 12:57:04 GMT -5
Getting back to this. Not sure about the color. Its Duplicolor Ford Cardinal Red. I think maybe it should have been more lobster red, but anyway. . . 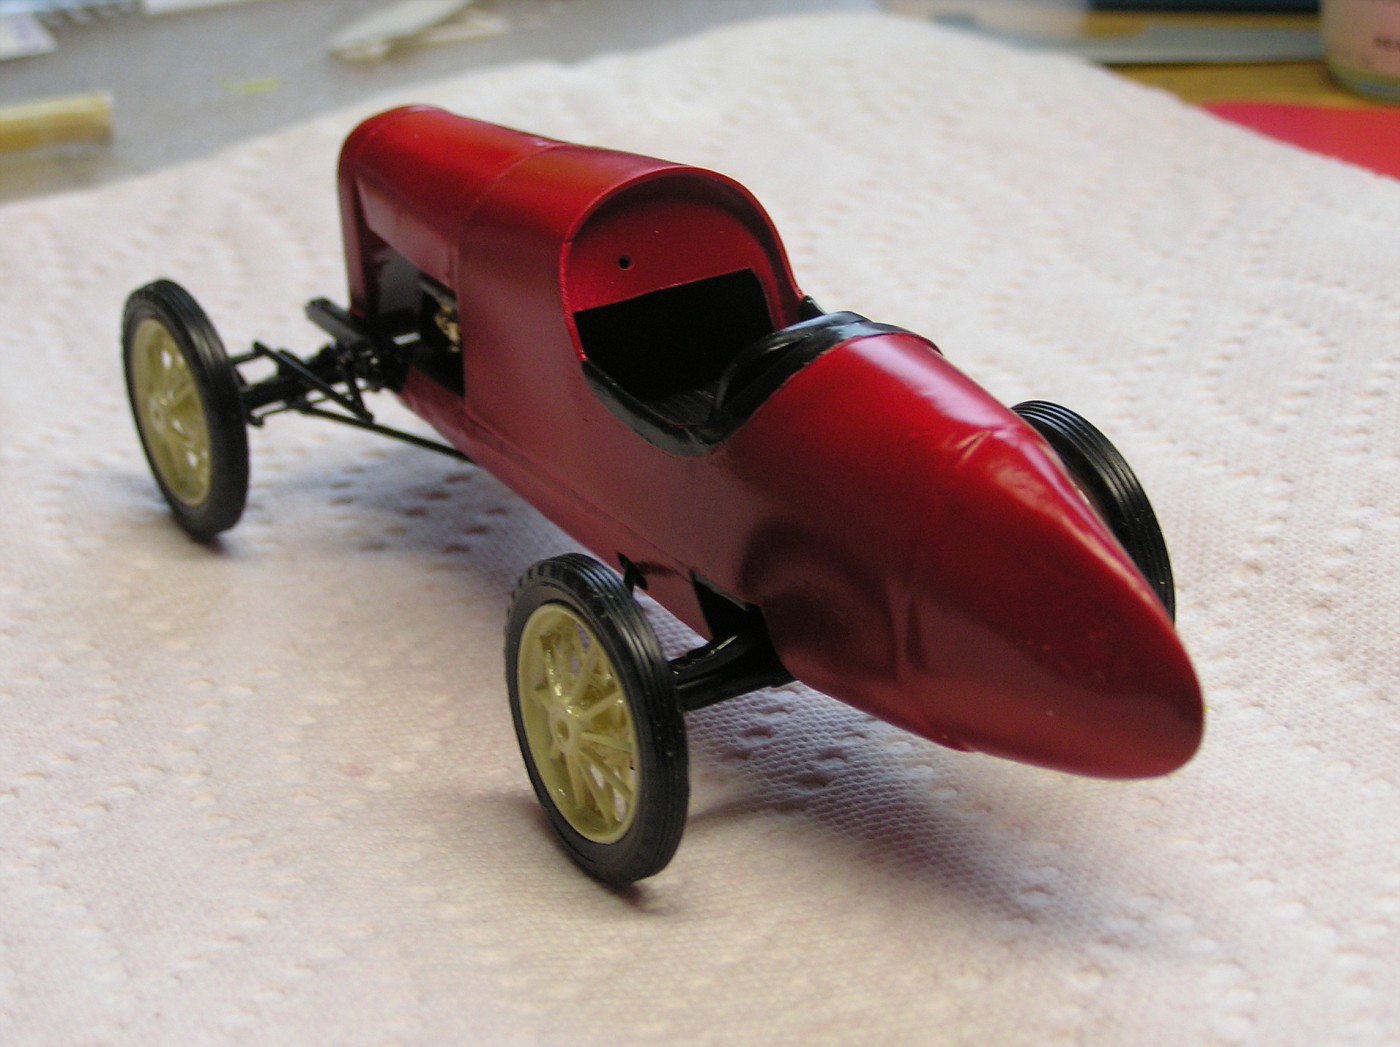 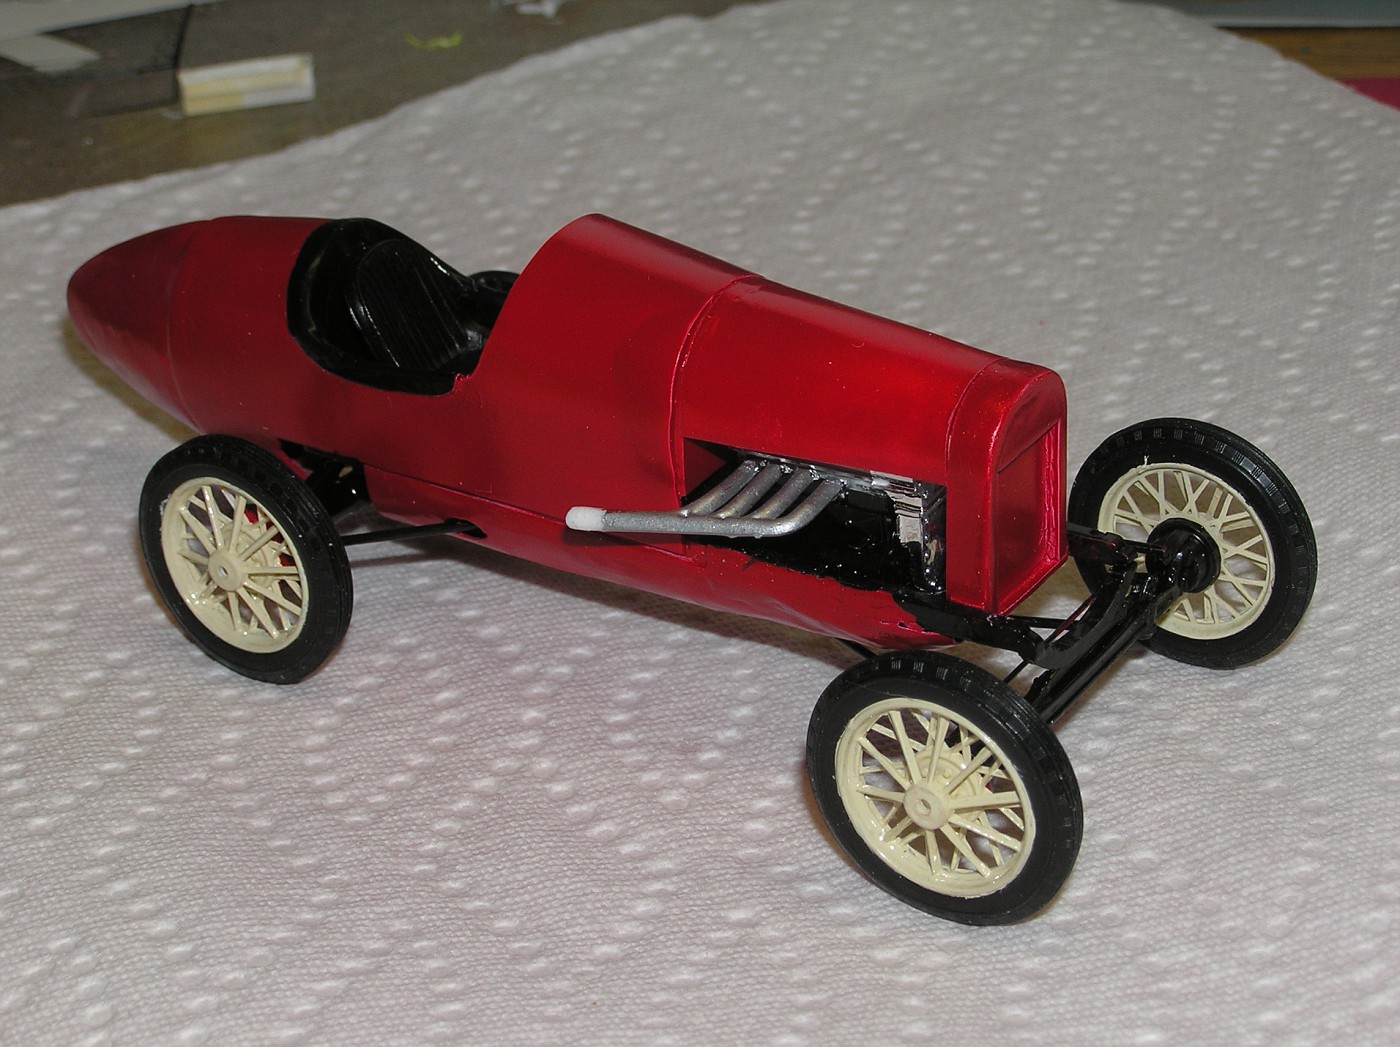 And now for the small details. |
|
|
|
Post by raceparke on Jan 28, 2013 15:44:48 GMT -5
I made several copies of the Barber-Warnock logo, cut them out and glued down with Future clear. 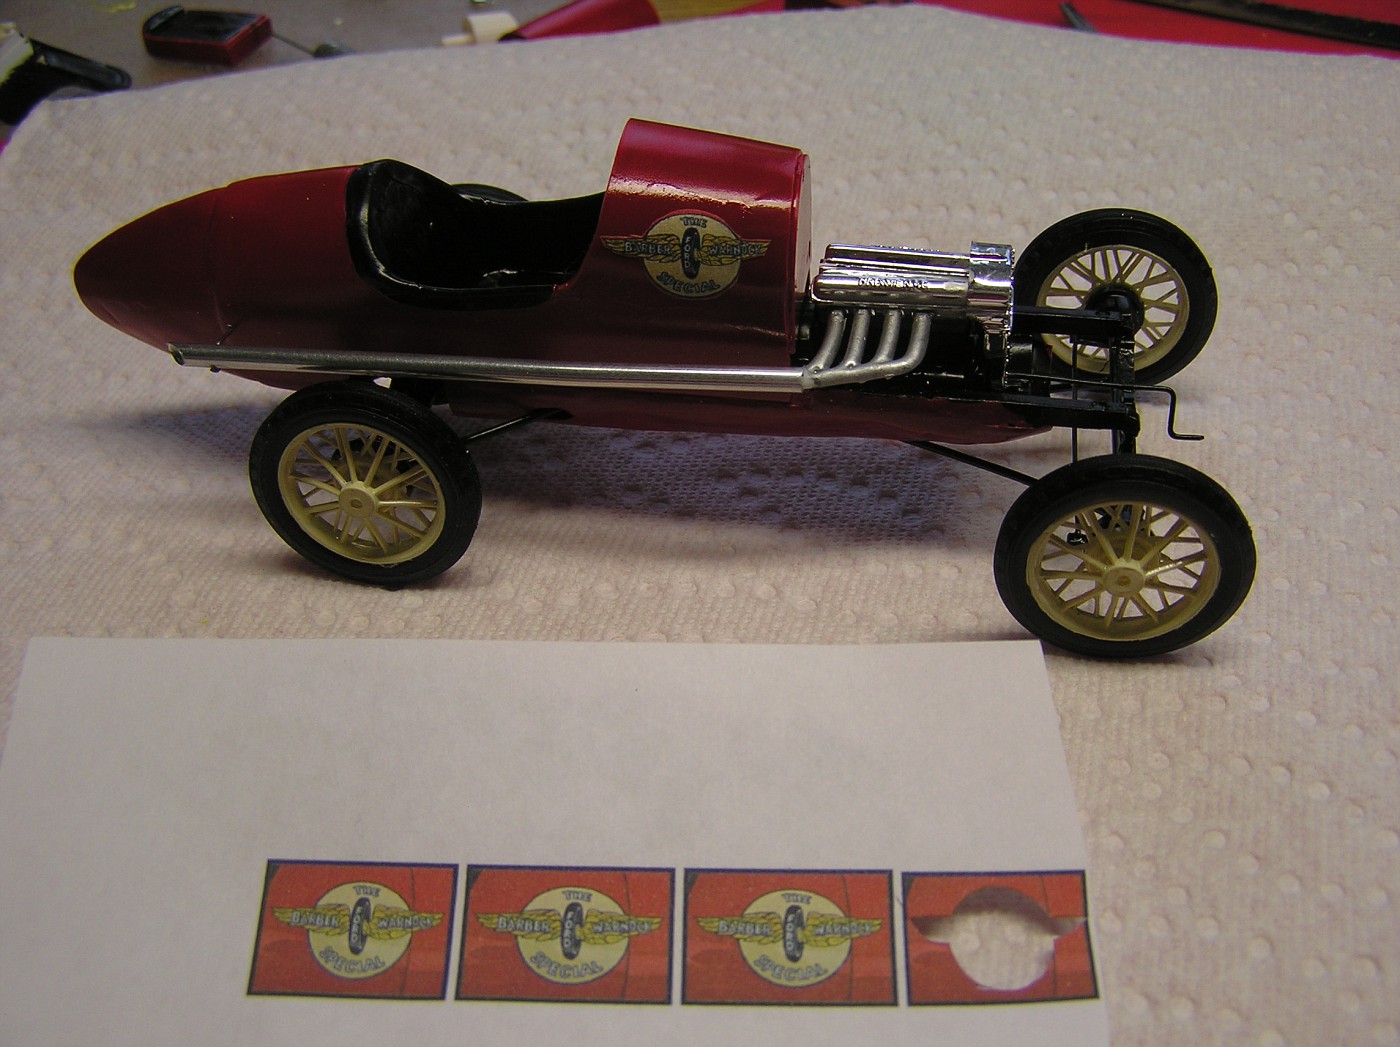  |
|
|
|
Post by jamesharvey on Jan 29, 2013 10:45:16 GMT -5
This is a really great build. I saw one of this kits at Hobby Lobby before Christmas. Like an idiot, I did not build it at the time. When I went back, as usual, it was gone. How did you make the great decals?
Jim
|
|
|
|
Post by raceparke on Jan 29, 2013 11:47:58 GMT -5
Just printed on plain paper, cut out and stuck down with Future clear floor polish. It is always the case that the kit you go back for has just been sold, no matter how quickly you go back. This is known as Fronty's law   |
|