Deleted
Deleted Member
Posts: 0
|
Post by Deleted on Aug 19, 2011 10:20:36 GMT -5
Calvin,
BEAUTIFUL JOB!!! You do great work here!!! It inspire me to one!!!
Best to you!
Russ
|
|
|
|
Post by lance on Aug 19, 2011 10:41:24 GMT -5
Calvin, thank you for your w.i.p. on this car, you did a beautiful job on it!!! Lance
|
|
|
|
Post by Art Laski on Aug 19, 2011 11:01:20 GMT -5
Great job, Calvin!
-Art
|
|
|
|
Post by pje on Aug 19, 2011 12:10:14 GMT -5
Looks great Calvin! Makes me want to start mine soon!
Paul Erlendson
|
|
|
|
Post by Patrick on Aug 19, 2011 12:57:11 GMT -5
Your typical excellent work Calvin! Even the Joker would love it!
Patrick
|
|
|
|
Post by Chris on Aug 19, 2011 13:15:35 GMT -5
Sooo Sooo Nice, Excellent Job, need to get one..... Chris  |
|
|
|
Post by racerbrown on Aug 19, 2011 15:05:50 GMT -5
and calvin just hit another home run!
what did you use on the wheels? alclad?
duane
|
|
|
|
Post by Calvin on Aug 19, 2011 15:56:33 GMT -5
what did you use on the wheels? alclad? Nope, just testors chrome, which I lucked out and got it the best result I've ever got with the stuff. |
|
|
|
Post by Calvin on Aug 19, 2011 15:57:38 GMT -5
Did you buff out the finish or is it SOC - straight out of the can? I did a little bit of buffing. |
|
|
|
Post by Calvin on Aug 19, 2011 16:00:23 GMT -5
It looks like it took many hours to do. Oh, not really I just worked on it off an on.....If I were to guess how many hours I have into it, is prolly around 8 hours total over the past 3 weeks. |
|
|
|
Post by chadm500 on Aug 19, 2011 23:24:15 GMT -5
I am so glad you're back buiding these great cars for all of us to enjoy. You make the rest of us look lazy! g Great job!!!!  |
|
|
|
Post by illeagle10 on Aug 22, 2011 18:36:03 GMT -5
I add my sentaments too! Glad you're back Calvin! What a sweet build!
Jim
|
|
|
|
Post by pje on Sept 23, 2011 23:26:17 GMT -5
Calvin,
I'm just getting started on my kit. What black did you use on your tires? I know Michael at Indycals recommends Duplicolor flat black. I'm also considering Tamiya TS 82 Black Rubber.
Paul Erlendson
|
|
|
|
Post by Calvin on Sept 24, 2011 0:45:28 GMT -5
Duplicolor flat black.
I'd have to agree with Michael it does look pretty good for rubber.
|
|
|
|
Post by senn65 on Sept 24, 2011 8:58:26 GMT -5
Nice kit & real nice work. I wish it was in my scale.
|
|
|
|
Post by Calvin on Sept 24, 2011 11:16:25 GMT -5
Nice kit & real nice work. I wish it was in my scale. Thank you. IMO you sure are at very large disadvantage sticking with 1/18 'hard" every-time. You dont know what your missing in 1/25 "soft"  |
|
|
|
Post by SWT500 on Sept 24, 2011 16:55:28 GMT -5
Ladies and gents, enjoy the hobby, in whatever scale of form you choose to enjoy. Please, no more posts on why one is better. Don't make me start my own board. LOL!!
|
|
|
|
Post by Calvin on Sept 24, 2011 17:38:46 GMT -5
I agree that no scale is better. But there just isn't the wide year range selection in 1/18.
Trust me I dont worry about what scale I build in. If someone came out with a 1/18 indycar kit I'd get it, and build it.
|
|
|
|
Post by pje on Mar 22, 2012 0:07:18 GMT -5
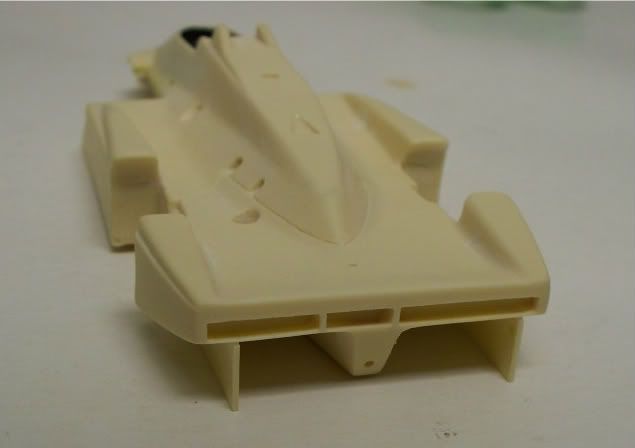
I got the cockpit glue on and the rear skirts on, which are pretty cool. Its amazing how long the car looks just because of the extended rear body work.  Calvin, I'm working on my kit right now. Can you give me a little more info on how you lined up your "skirts" or strakes, got them perpendicular to the floor and glued them in place? Thanks, Paul Erlendson |
|
|
|
Post by Calvin on Mar 22, 2012 0:14:33 GMT -5
To be honest with you all I did was just glued them on. I just eyeballed it, which I do a lot of in my building. ;D
|
|
|
|
Post by pje on Mar 5, 2014 1:15:06 GMT -5
I’m finally getting to the finish line with my build. I ran into some problems with trimming my windscreen and Lance was good enough to send me a couple more. A friend of mine more experienced than I with vacuform has helped me get it trimmed properly and it’s ready for dipping in Future tinted with black food coloring. Once dried I have to secure it to the body. I was thinking of using small pieces of Tamiya masking tape to secure it to the body and running a bead of Testors Clear parts Cement on the inside. I also though that I would use the same cement to attach the mirrors to the windscreen.
I would appreciate feedback from anyone who had other suggestions on how best to work with the windscreen.
Paul Erlendson
|
|
|
|
Post by sandysixtysfan on Mar 5, 2014 7:44:40 GMT -5
I’m finally getting to the finish line with my build. I ran into some problems with trimming my windscreen and Lance was good enough to send me a couple more. A friend of mine more experienced than I with vacuform has helped me get it trimmed properly and it’s ready for dipping in Future tinted with black food coloring. Once dried I have to secure it to the body. I was thinking of using small pieces of Tamiya masking tape to secure it to the body and running a bead of Testors Clear parts Cement on the inside. I also though that I would use the same cement to attach the mirrors to the windscreen. I would appreciate feedback from anyone who had other suggestions on how best to work with the windscreen. Paul Erlendson Small pieces of Tam tape or blue painters tape work well for holding screens in place if needed. If it fits really well you can use Future also, set the sceen in place and just run a bead along the seam. It will blend in well with the Future on the sceen also. If it doesn't fit just right or you have any gaps you can use Zap Poly-Zap to hold it in place and fill the gaps. Poly-Zap works well, it dries clear makes for a strong bond with any kind of flexable types of vacuform plastic. G-S Hypo Cement, or jewelers cement, works really well for cementing vac windscreens in place. It holds well and dries crystal clear. hth, Sandy |
|
|
|
Post by Calvin on Mar 5, 2014 10:54:38 GMT -5
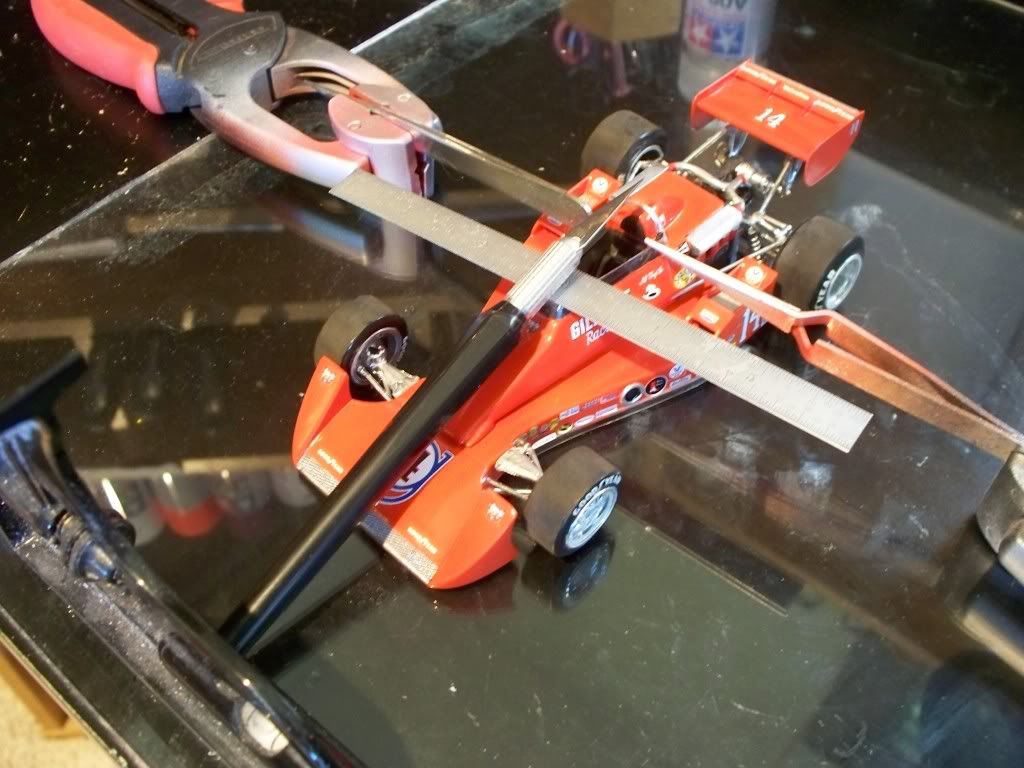
I’m finally getting to the finish line with my build. I ran into some problems with trimming my windscreen and Lance was good enough to send me a couple more. A friend of mine more experienced than I with vacuform has helped me get it trimmed properly and it’s ready for dipping in Future tinted with black food coloring. Once dried I have to secure it to the body. I was thinking of using small pieces of Tamiya masking tape to secure it to the body and running a bead of Testors Clear parts Cement on the inside. I also though that I would use the same cement to attach the mirrors to the windscreen. I would appreciate feedback from anyone who had other suggestions on how best to work with the windscreen. Use a jig.  To be honest with you Paul, everytime I glue on a windscreen its always a different method....some times I use CA glue, sometimes I use windscreen glue, sometimes I use a jig, my hand or tape...... Wow! You know that's an older pic because I cant believe how nice my desk top is! Now a days it looks like a 1/25 scale WWII happen on it! |
|
|
|
Post by INDY22IAM on Mar 5, 2014 21:31:56 GMT -5
First of all I will say very nice build on this one. I cannot believe that he survived that crash and than pursue racing once more and also have the B_ _ _s to go racing again back in 1996 and 1998. 98 he did not qualify but in 96 he started 33rd and finished in 7th. Here is to drivers like him.
Have to say this again what a nice job on the build.
P.S. Yes I have said that before that this car was way ahead of its time. Kind of crazy.
|
|
|
|
Post by 2lapsdown on Mar 5, 2014 21:46:41 GMT -5
I wish I'd gotten one of those. Big mistake.
John
|
|
|
|
Post by indy on Mar 5, 2014 22:15:39 GMT -5
Great build, Calvin. So does this go next to Gordie's '82 or TK's '13 winner?? Would be interesting to see it next to the similarly black DW12  Jordan |
|
|
|
Post by Calvin on Mar 5, 2014 22:48:10 GMT -5
So does this go next to Gordie's '82 or TK's '13 winner?? Jordan No, all my Indy 500 winners go all together, but the Batmobile is close neighbor. |
|