|
|
Post by Calvin on Jul 11, 2010 17:34:41 GMT -5
POST #1Well, I think its time to do a 4 time winning car, more like a first 4 time winning car to be exact. I plain on making this a long detailed WIP, I'll show just about everything, I'll show all the tricks, I'll show just about every mistake, I'll tell you everything that I did that I normally wouldn't, like being lazy and cheating on a step. LOL NO! No! I'll try to do it the right way. ;D I pretty much have this project all mentally mapped out on what I'll be doing, but if anyone has any suggestions, let them out! I like to hear them. Also I think I've figured out how to replicate Coyote Orange with using Tamiya Paint.....Which I'll tell later on in this thread.....its still in the R&D Department  The Beginning The BeginningBut anyhow the first thing I did was let the tub, cowl, and wing sit in Tire Bleach for more than 24hrs Then as of now its all about cleaning, cleaning, cleaning 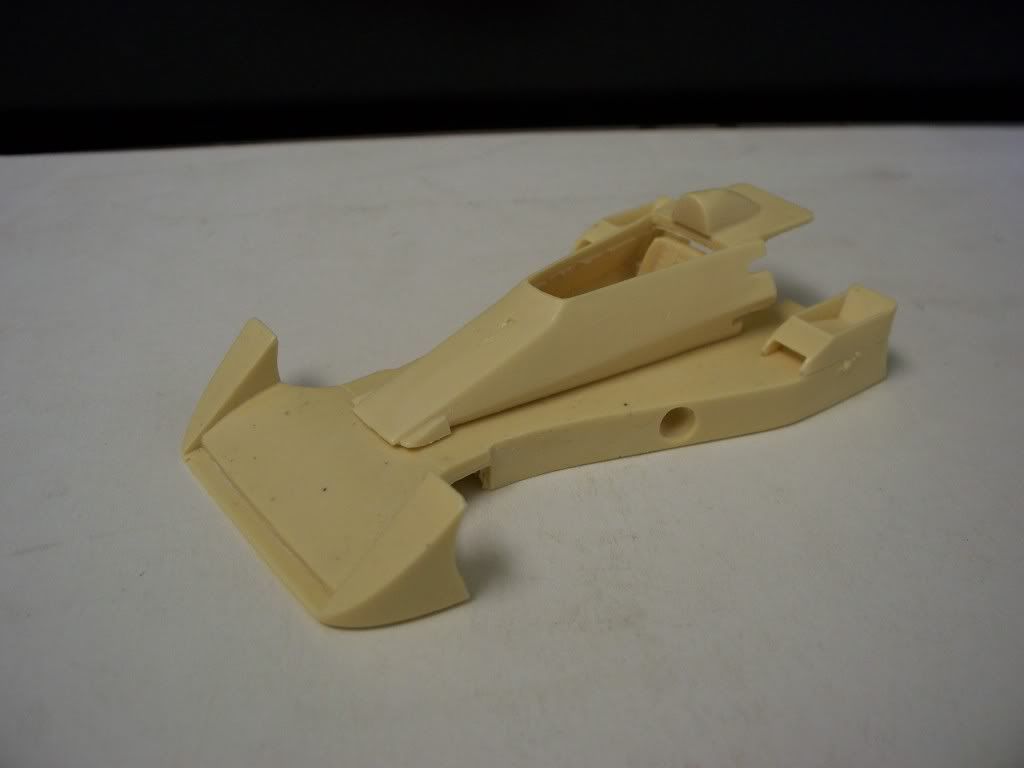 One of next things I did was sand down the extra resin below on the cowl to level it out. 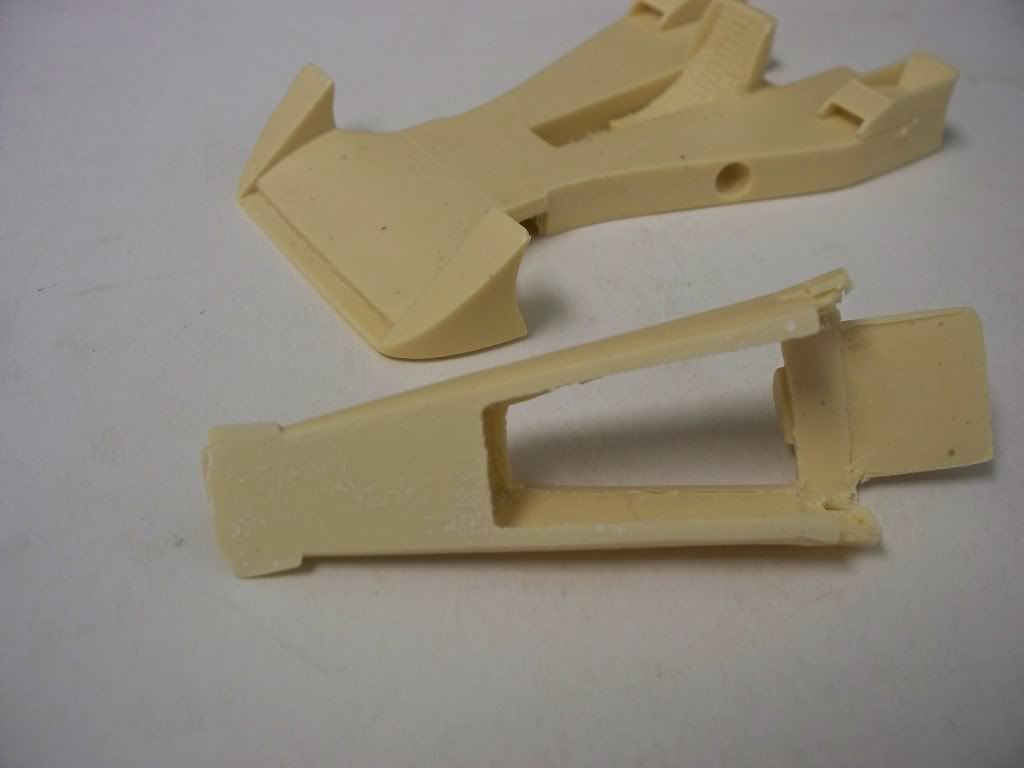 After I get everything clean I'll start filling in all the air pockets with filler. 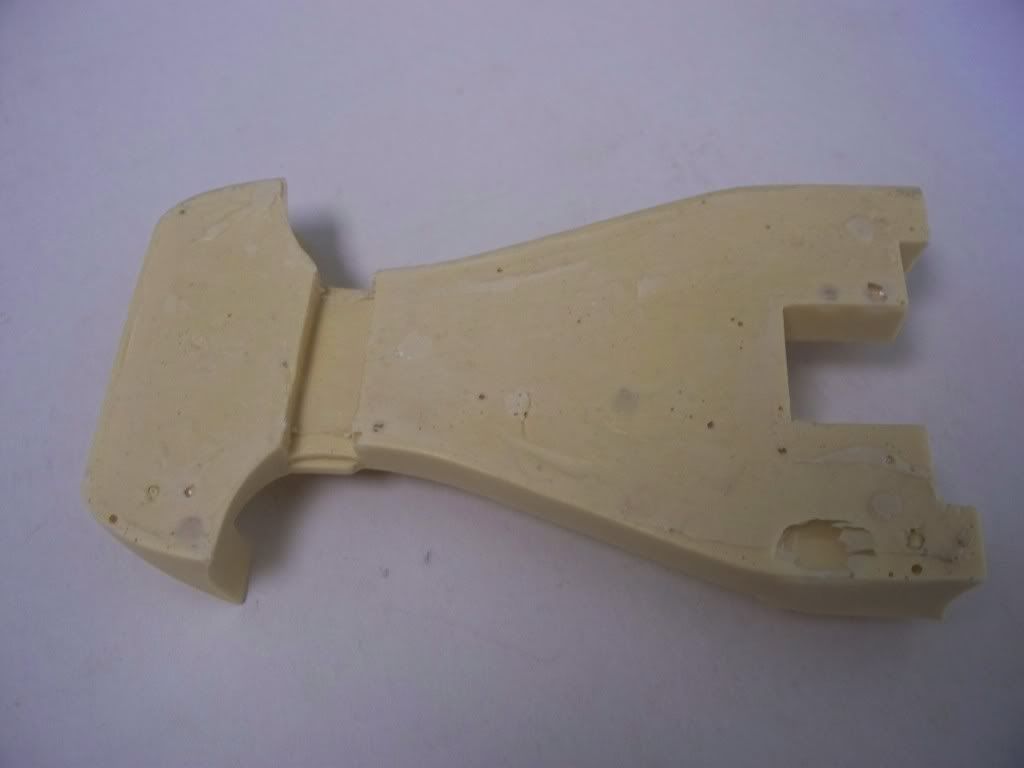
|
|
|
|
Post by 2lapsdown on Jul 11, 2010 18:11:58 GMT -5
This is great! I've had this kit for years and thanks to Russ I have a lot of research material and his articles on the kit. Maybe this WIP will give me the push I need to start it. Give us the good, the bad, and the ugly Calvin. And thanks for doing this.
John
|
|
Deleted
Deleted Member
Posts: 0
|
Post by Deleted on Jul 11, 2010 19:41:34 GMT -5
Calvin....
Seems you got a much later Jorgenson 77 Coyote than I did, yours seems more complete. Let me add one thing quickly....You'll want to fill in the part of the under the nose where you'll put the front suspension...The gap is not needed or necessary. Trust me on this.....and good luck!
Best to you!
Russ
|
|
|
|
Post by herk56 on Jul 11, 2010 19:57:59 GMT -5
I'm looking forward to this one, too!
Brian
|
|
|
|
Post by scalecentral on Jul 12, 2010 19:19:30 GMT -5
This should be good! I am anxiously waiting my kit, and this is making me more anxious, lol.
Nic
|
|
|
|
Post by racerbrown on Jul 12, 2010 21:18:05 GMT -5
this should help a ton! i've got most of my kit but not a clue to how it goes together!
duane
|
|
|
|
Post by Calvin on Jul 13, 2010 23:59:31 GMT -5
|
|
Deleted
Deleted Member
Posts: 0
|
Post by Deleted on Jul 14, 2010 1:32:49 GMT -5
Calvin,
Looking real good. Are you going to glue the valve covers on the Four Cam Ford? Just asking?.......
Best to you!
Russ
|
|
|
|
Post by Calvin on Jul 14, 2010 2:48:37 GMT -5
Are you going to glue the valve covers on the Four Cam Ford? Just asking?....... Yep, Yep.....Im just currently mocking things out, I'll worry about the detail later...  |
|
|
|
Post by stuboyle on Jul 14, 2010 4:28:49 GMT -5
That's a great use of a spare engine since the Olsonite kit comes with 2 anyway. The trans-axle/suspension though seems like rather expensive parts since you it renders a Penske PC-6 kit as unusable. I thought this was essentially a complete kit?
|
|
|
|
Post by sandysixtysfan on Jul 14, 2010 9:05:55 GMT -5
Great WIP, thanks for posting. Looking forward to the next installment.
Sandy
|
|
|
|
Post by Calvin on Jul 14, 2010 10:52:36 GMT -5
The trans-axle/suspension though seems like rather expensive parts since you it renders a Penske PC-6 kit as unusable. I thought this was essentially a complete kit? Yes, but I try to stay away from the resin pieces as much as possible. I'll be using PC6 the front suspension as well. I'll use the rest of the PC6 in a "constructive scratch building project"  to make it not a total lost. |
|
|
|
Post by Calvin on Jul 15, 2010 0:25:31 GMT -5
POST #3[/color] I decided to replace the intake stacks with aluminum tubing that I bent to the angle needed. I wasn't happy with the others that came with the kit. 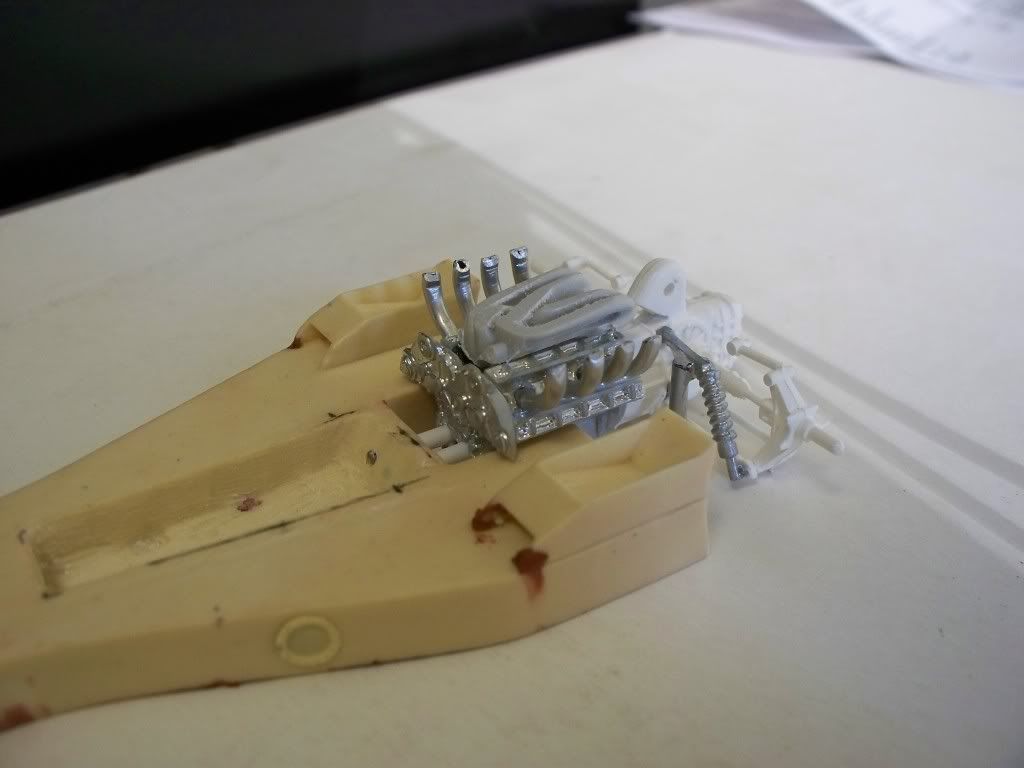 I also replaced the engine mounts with aluminum tubing also to make it more heavy duty. 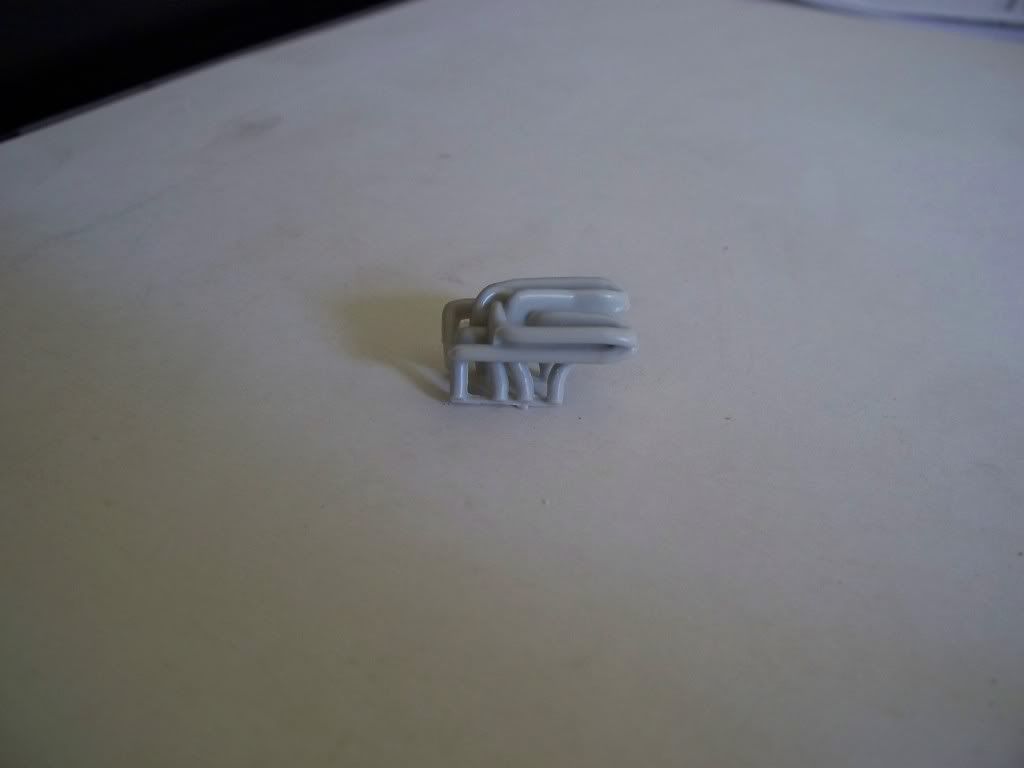 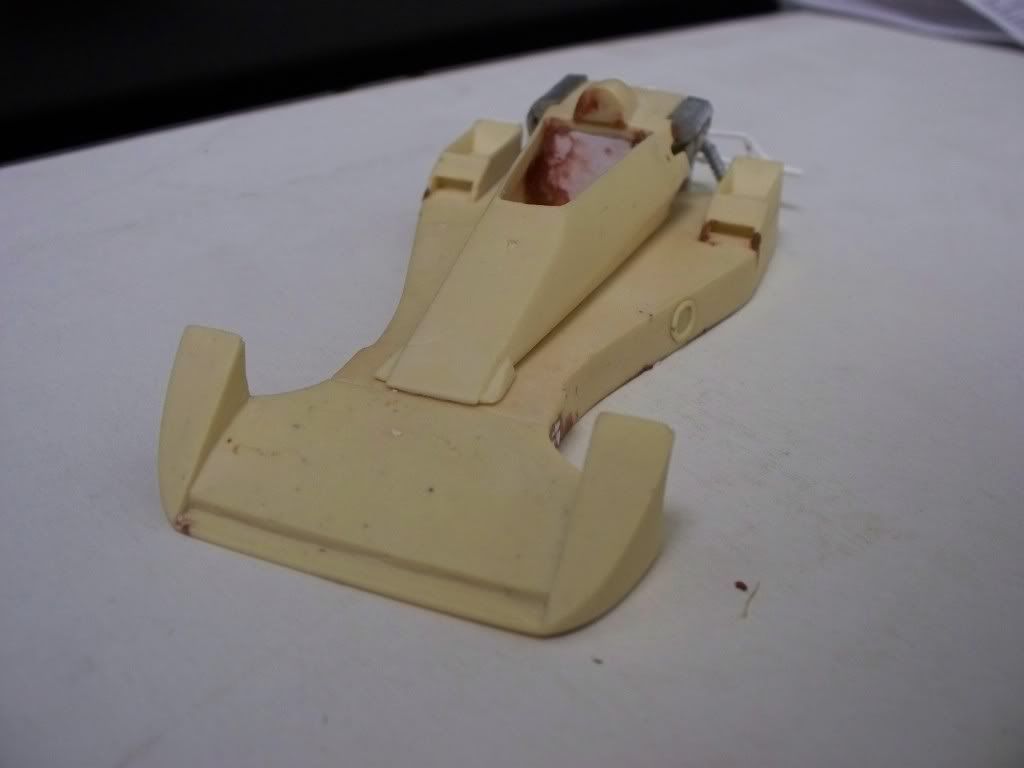 ^I need to make sure also that the exhaust fits under the body work, these are from the MPC Olsonite Eagle 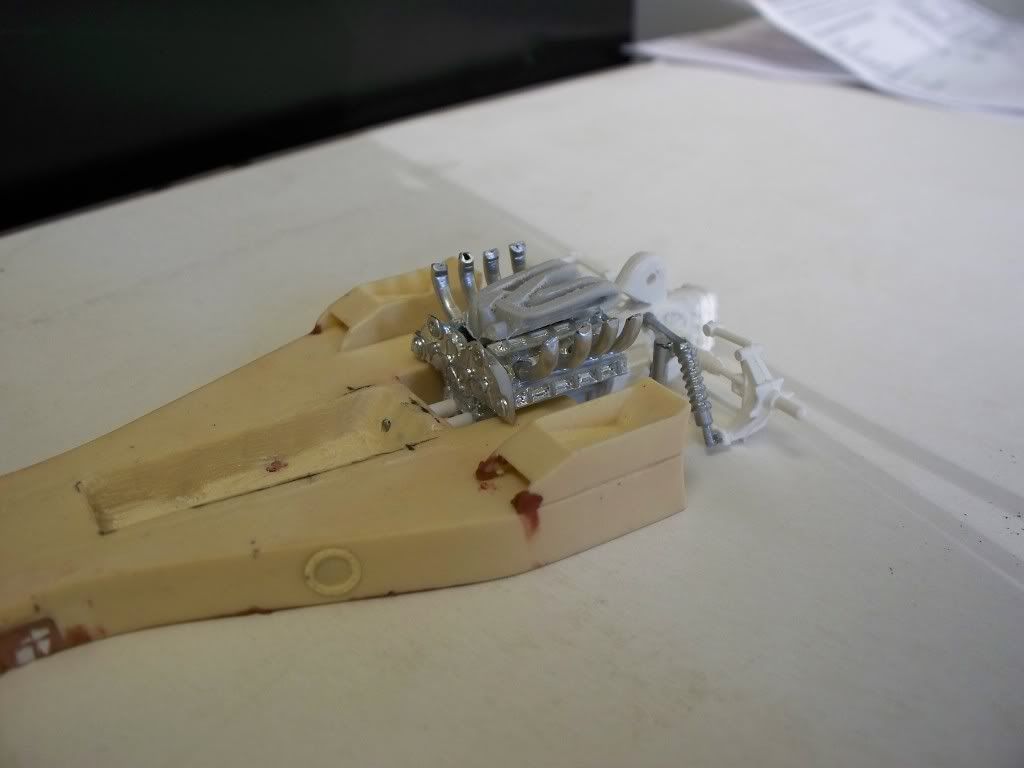 ^Which it didn't so I had to cut off the bottom and sand the hell out of it, but you know what, only the tail ends of the pipes are only part that will be seen.  Also I cant forget about the Mirror! 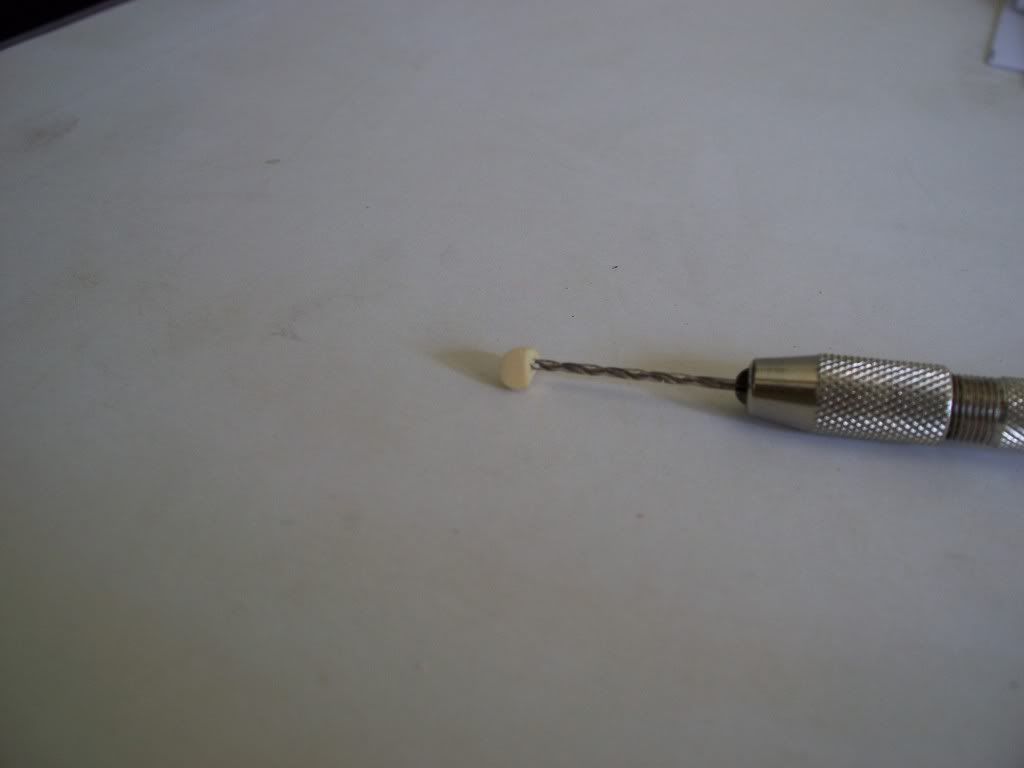 The mirror needs to have a support, so I drilled a hole into the mirror. 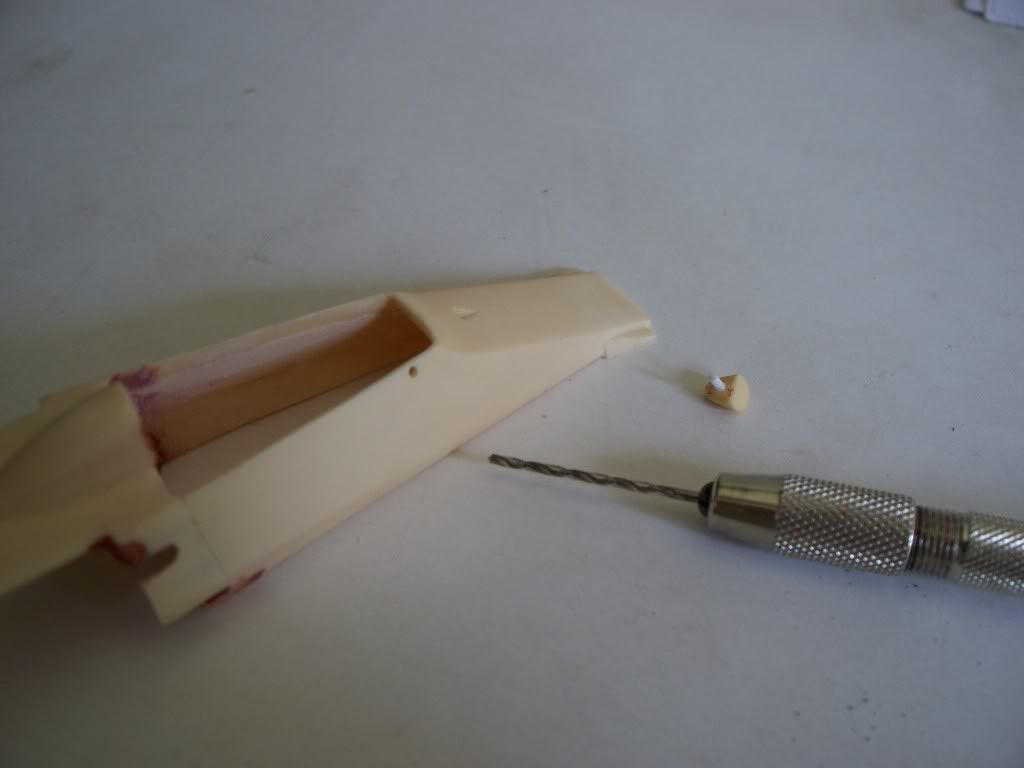 Then into the body 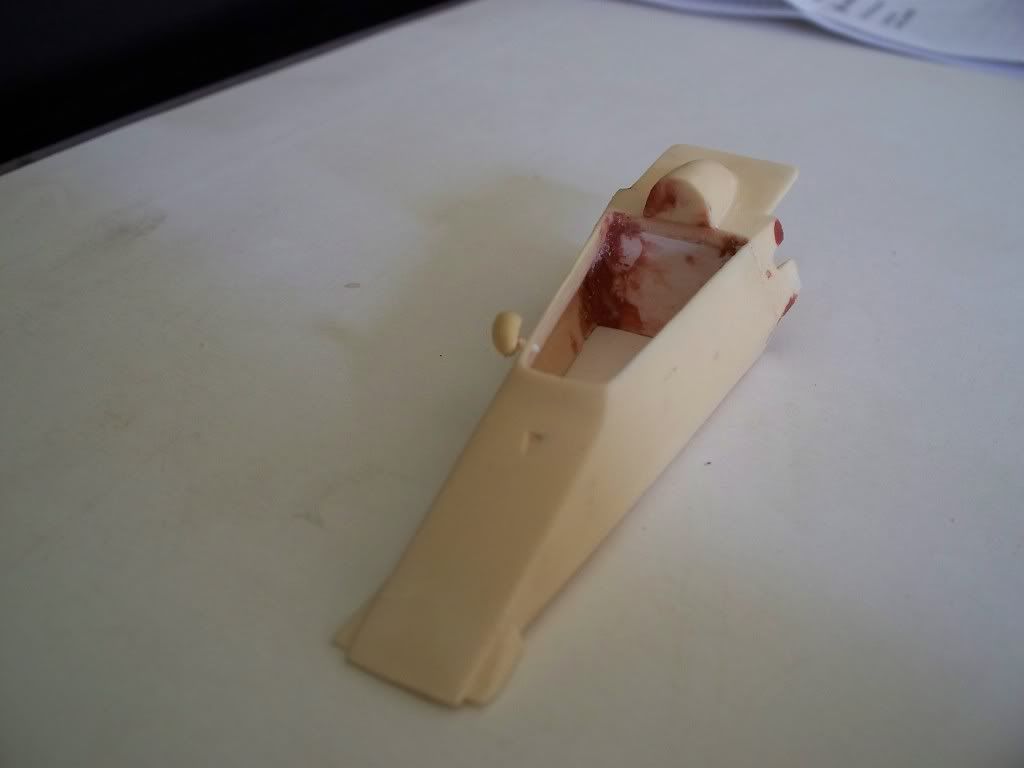 Glued a plastic rod into the mirror and now its ready to be installed after I paint it. I'm pretty much done with the test fitting and mocking up. Next I need to finish up the cockpit and do some more clean up and then prime.
|
|
|
|
Post by Patrick on Jul 15, 2010 0:35:15 GMT -5
This is great Calvin. I bought a vac-form version of this car over a year ago and your WIP explains alot!
Patrick
|
|
|
|
Post by indy on Jul 15, 2010 0:56:31 GMT -5
Nice work Calvin ;D You are a machine!!
Jordan
|
|
|
|
Post by Calvin on Jul 15, 2010 1:08:17 GMT -5
You know, since I've started, I've been keeping track and I only have a combine time of 6 hrs of work into this kit thus far. I spent 2 hrs this evening.
|
|
Deleted
Deleted Member
Posts: 0
|
Post by Deleted on Jul 15, 2010 10:54:30 GMT -5
Very nice, thank you, Calvin. This will come in handy as I (along with all the others) build my kit.
Gonna do any wiring/plumbing??
Mongo
|
|
|
|
Post by Calvin on Jul 15, 2010 10:57:01 GMT -5
Gonna do any wiring/plumbing?? Yep |
|
Deleted
Deleted Member
Posts: 0
|
Post by Deleted on Jul 15, 2010 13:23:23 GMT -5
I sent these detail photos to Calvin and only through his generosity, he allowed me to post them here.   Cockpit and engine detail on the Hall of Fame Museum 77 "Winner." Bob Clidinst got me behind the ropes and I crawled all over Foyt's fourth winning car. Hope this helps all! Best to you all! Russ |
|
|
|
Post by Patrick on Jul 15, 2010 17:00:56 GMT -5
Russ, you are an incredible resource!
Patrick
|
|
|
|
Post by herk56 on Jul 15, 2010 17:12:47 GMT -5
Thanks for those pics, Russ & Calvin, they'll be a huge help with that one!
Brian
|
|
|
|
Post by 2lapsdown on Jul 16, 2010 10:42:40 GMT -5
Calvin,
Could you give us a close up of the engine and tranny. I'm using the exact parts you are and I'd like to see exactly where you cut those two parts before you joined them. Thanks
John
|
|
|
|
Post by Calvin on Jul 16, 2010 11:30:33 GMT -5
Calvin, Could you give us a close up of the engine and tranny. I'm using the exact parts you are and I'd like to see exactly where you cut those two parts before you joined them. Thanks John I just cut the the trans right at the seam the whole thing is actually there. ;D Just make sure the wheels are in the right spot and your on your way.  Make sure you use some sort of a Jig to hold your freshly glued engine and Trans-axle together, to keep them straight. Even though you might glue something straight doesn't mean it will dry straight  |
|
|
|
Post by stuboyle on Jul 16, 2010 11:53:54 GMT -5
Regarding the orange exhaust headers, are they that color because of rust or are they heat wrapped and that is the color of the wrap or is it some other reason. I just can't tell from the pics.
|
|
|
|
Post by herk56 on Jul 16, 2010 12:19:09 GMT -5
Exhaust is black, those orange tubes are the intakes, they are wrapped.
Brian
|
|
|
|
Post by stuboyle on Jul 16, 2010 12:58:40 GMT -5
Exhaust is black, those orange tubes are the intakes, they are wrapped. Brian Doh! So the wrapping is orange colored. |
|
|
|
Post by Chris on Jul 16, 2010 15:04:18 GMT -5
Actually the intake runners are a molded Silicone hose with a fabric outer layer, they use these to eliminate vibration between the intake manifold and the plenum, when they used an all metal runner that bolted together, note the hose clamps on the pictures, the plenum or manifold were subject to fatique from heat and vibration and caused cracking. Chris  |
|
|
|
Post by indy on Jul 16, 2010 16:19:12 GMT -5
Thanks for explanation - the hose clamps had me wondering.
Jordan
|
|
|
|
Post by Calvin on Jul 16, 2010 16:55:20 GMT -5
I have some 1/24 hose clamps coming for those hoses  I think maybe a little mixture of flat red and orange will make my aluminum tubing L   K like Rubber? |
|
|
|
Post by Chris on Jul 16, 2010 17:50:29 GMT -5
In the next day or two I will show how I used Shrink Tubing to replicate them and P/E hose clamps...on my Lotus 56B Offy thread..Chris
|
|